1. Principles and practices & Project management
Assignment:
- Principles and Practices
- Plan and sketch a potential final project.
- Project Management
- Build a personal site describing you and your final project.
- Upload it to the class archive.
- Work through a git tutorial.
Idea of the final project
Access control system
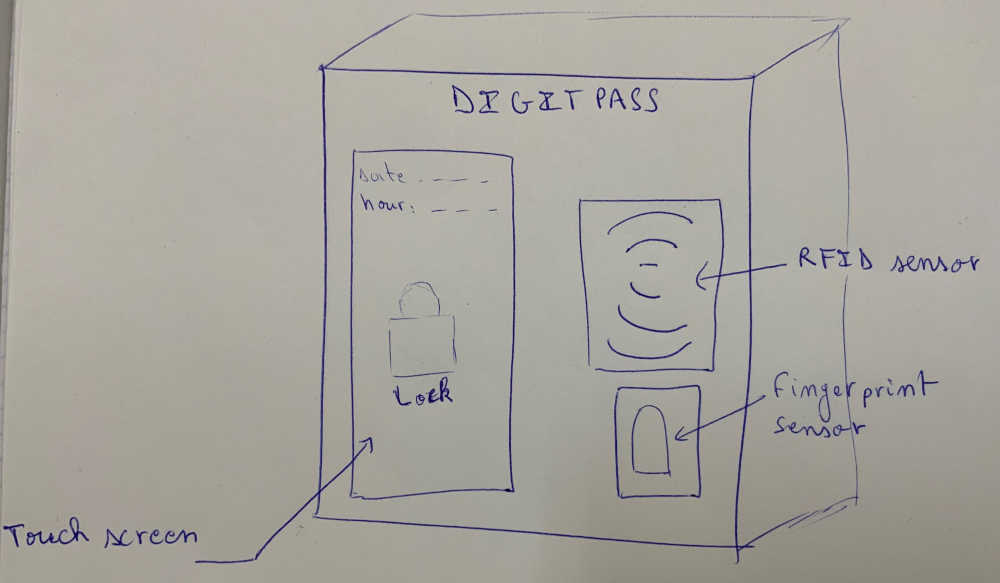
For my final project, I decided to design an access control system for the machines of a fablab.
The idea of this project came from the difficulties we have to manage and follow the access and maintenance of the different machines of our fablab.
The objective of this project is to design a device that will allow to give access to the machines only to qualified people, which will reduce the rate of accidents on the machines and increase their life span.
The device that we will build will recognize people thanks to a badge or a digital fingerprint.
Sketch the final project
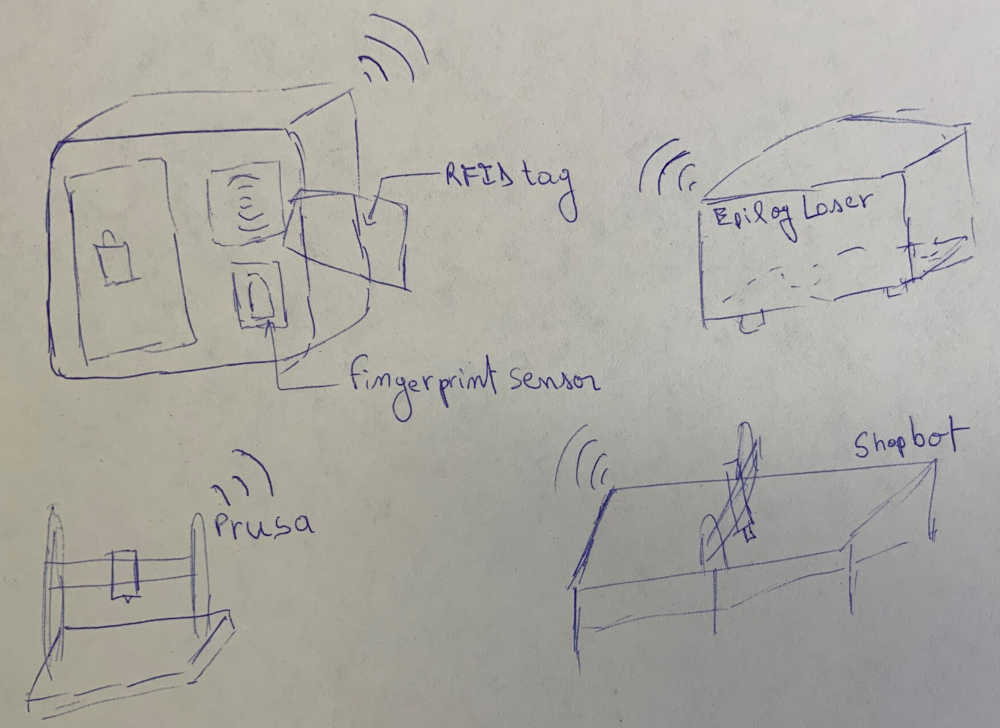
Components needed for my final project
Input device
- RFID reader: member identification
- Fingerprint reader: member identification
Output device
- TFT LCD screen ILI9488 : Information display
- Relay : Control the power of the machine (On/Off)
- Buzzer : Alert
Microcontroller
- ESP32
Refrences:
-
https://fabacademy.org/2022/labs/ulb/students/sylvain-denis/assignments/week01/
-
https://fabacademy.org/2020/labs/khairpur/students/mansoor-soomro/finalproject.html
-
http://fabacademy.org/2020/labs/qbic/students/achraf-benjamaa/MyProject.html
-
http://archive.fabacademy.org/fabacademy2017/fablabbombay/students/483/Project-fabrication.html
-
http://fabacademy.org/2019/labs/echofab/students/philippe-libioulle/capstone.html#result
Make your own website!
For the creation of our website we will use MkDocs.
MkDocs is a static site generator.
The source files of the site are written in Markdown and configured with a single YAML configuration file.
1. Installation of Mkdocs on Windows PC
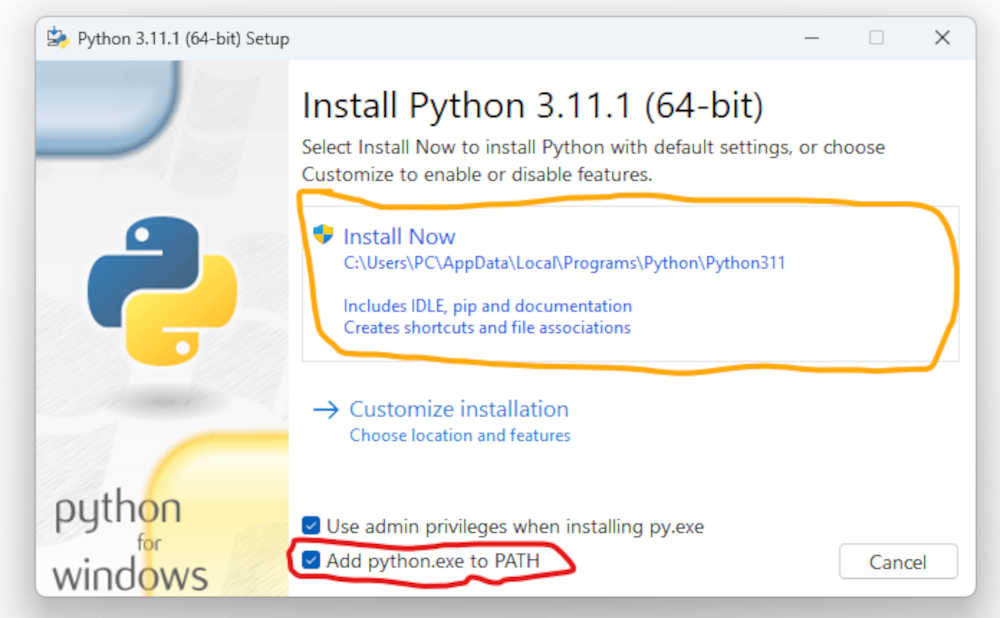
For the installation of Mkdocs on a Windows PC you need a prerequisite namely the installation of the latest version of python. When installing python do not forget to check the box Add python.exe to Path before installation as shown in the image below.
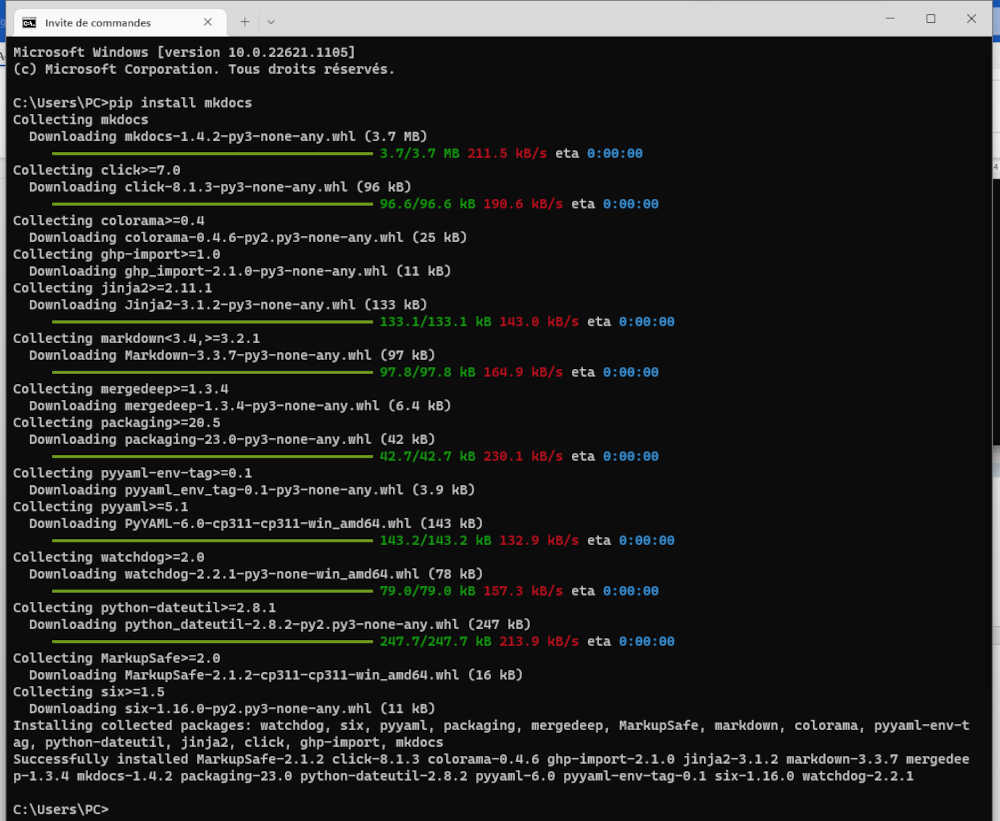
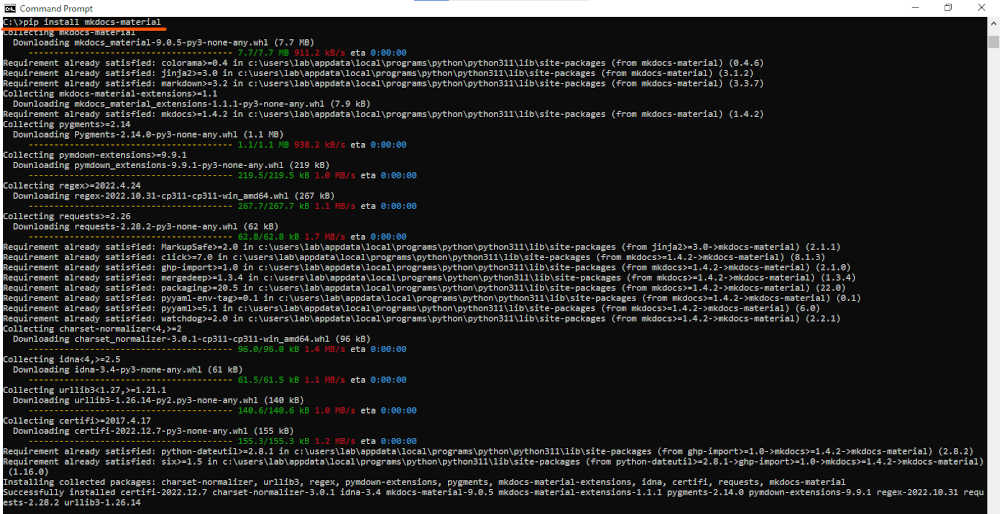
After the installation of python, we can move to the installation of Mkdocs itself. Open the command prompt of your PC and type the following command line: pip install mkdocs
Normally if all goes well you should have the following display in your command prompt.
links:
2. Using an mkdocs template
For the design of our website we used the template available at the following link: https://gitlab.fabcloud.org/academany/fabacademy/2022/labs/testlab/students/julian-henk
After downloading the template as a file (.zip), unzip it in the folder of your choice. To be able to modify the template locally you need some prerequisites:
- installation of the Material for MkDocs theme enter the following command line in your command prompt:
pip install mkdocs-material.
You should have the display below.
- installation of the plugin mkdocs-git-revision-date-localized-plugin. enter the following command line in your command prompt:
pip install mkdocs-git-revision-date-localized-plugin.
Now that the prerequisites have been installed we can launch the site locally.
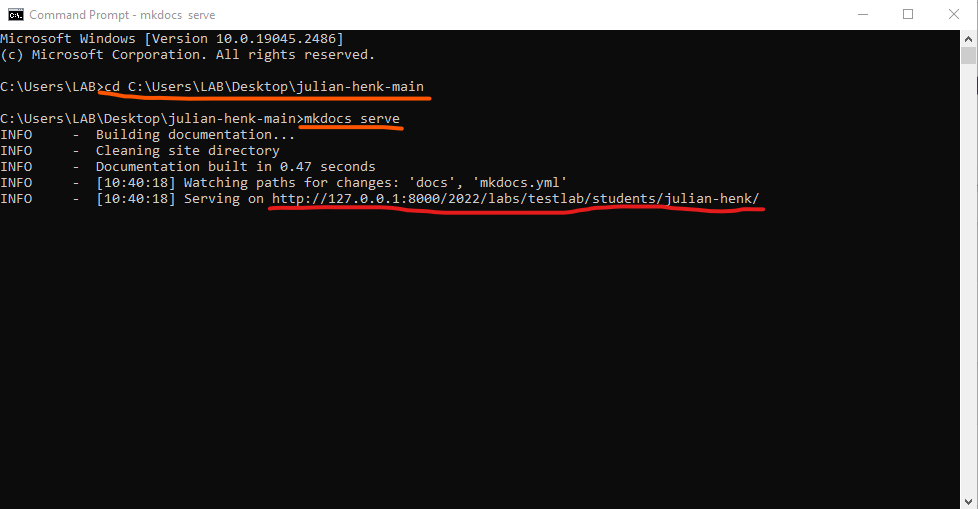
Open your command prompt and type the command cd "location path of your project".
then enter the following command line mkdocs serve to launch the mkdocs server locally.
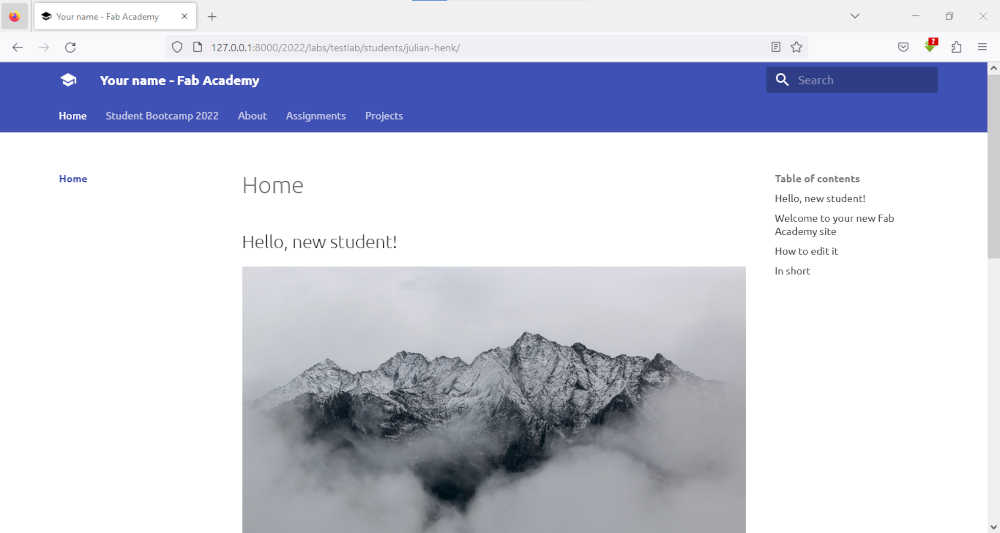
you should have the image below copy the url underlined in red and paste it in the browser of your choice.
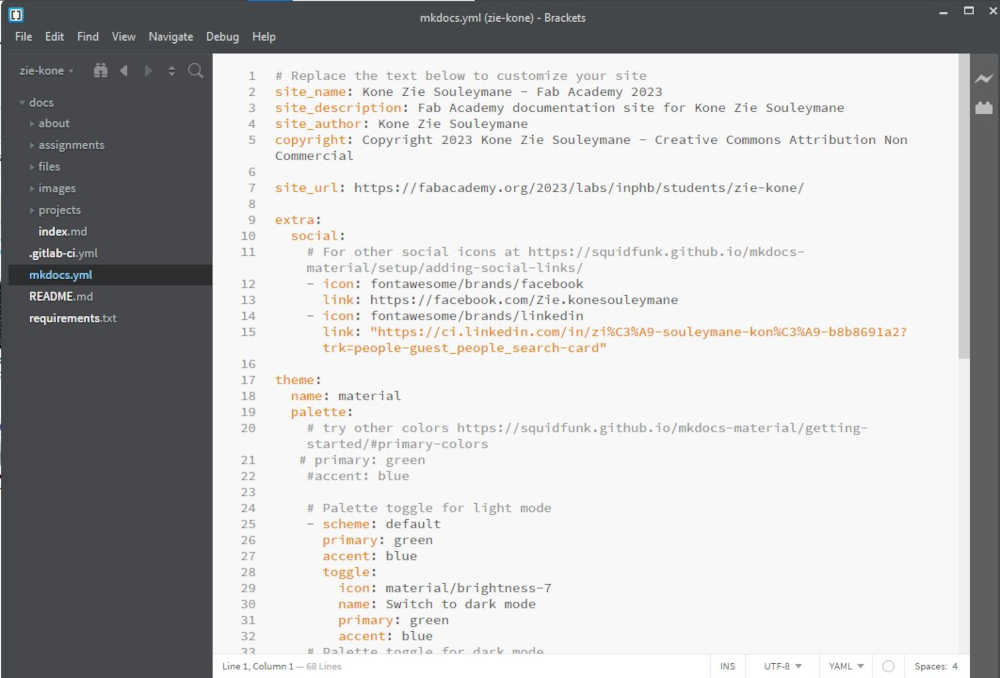
For the modification of the code of our site we have used the software Brackets. It’s a source code editor with a primary focus on web development.
- After installing Brackets go to your project folder right click on your mouse and select the option open as Brackets project as shown below
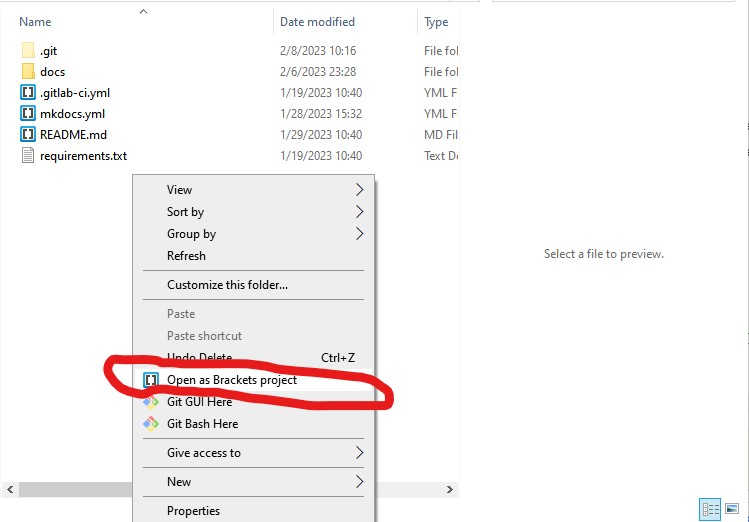
- You should have the display below. Select the file mkdocs.yml. For the realization of our web site we started by modifying some line of code of the file mkdocs.yml.
For more details refer to Material for MkDocs theme
- For the programming of our web pages we have chosen to use markdown.
Markdown is a lightweight markup language to add formatting elements to plaintext text documents.
These are the files with the extension*.md
Some Basic Markdown syntaxes we used to edit our web pages:
| Element | Markdown Syntax |
|---|---|
| Heading | # H1 ## H2 ### H3 |
| Bold | **bold text** |
| Italic | *italicized text* |
| Blockquote | >blockquote |
| Image |  |
| Link | [text](https://www.example.com) |
| Ordered List | 1. First item 2. Second item 3. Third item |
| Unordered List | - First item - Second item - Third item |
| Code | code |
GIT Tutorial
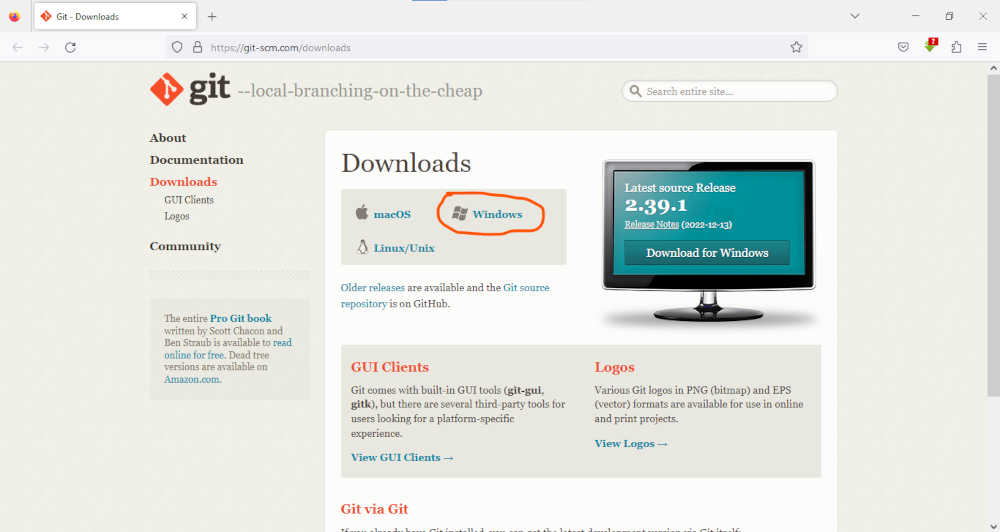
1. Installation of git on Windows PC
To install git go to https://git-scm.com/downloads and select the Windows option.
2. Clone your gitlab repository
- Create an empty folder in the location of your choice “avoid long paths ”
- Open GitBash on your PC and type the command line :
- Initialize a new Git repository
- Add your Git username and set your email
- Configure you email address for uploading
- Generate your SSH key
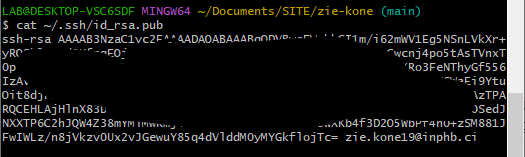
- Now let´s see your keygen
- Copy your ssh key to display in your Gitbash
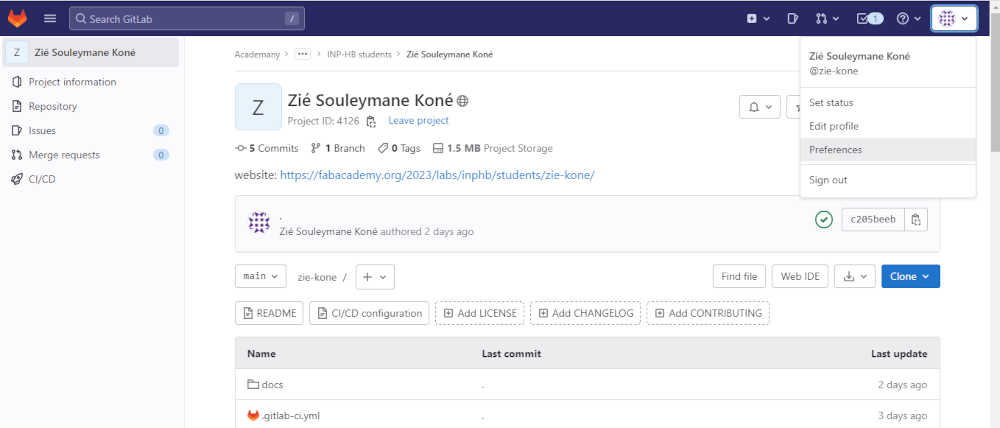
- Open GitLab > Account > Preferences > SSH Keys > paste there the content of the created file
-
Open the folder on the PC where you will work Right click> Git Bash here
-
use the command
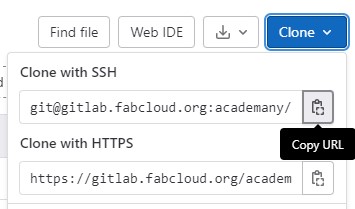
To get the path: open the Git repository to clone > Clone :
3. Upload your repository online
- Add the new files you added to git
- Now name your update, so you know what you changed with this push
- Upload to the Repository
links :
https://www.atlassian.com/fr/git/tutorials/setting-up-a-repository
http://pub.fabcloud.io/tutorials/week01_principles_practices_project_management/git_simple.html