2. Computer Aided design
Assignment:
-
model (raster, vector, 2D, 3D, render, animate, simulate, …) a possible final project
-
compress your images and videos, and post a description with your design files on your class page
1. 2D design software
raster software
To make raster graphics, we used the GIMP software.
GIMP is a free and open-source raster graphics editor used for image retouching and editing, free-form drawing, converting between different image formats, and more specialized tasks. The installation is very simple, just download the .exe file of the Windows installer from GIMP and run the installer.
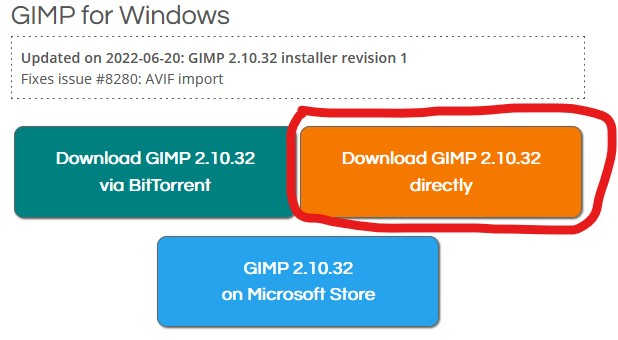
click on the red circle button to download the software
For the learning of GIMP we chose to make the sketch of our final project.
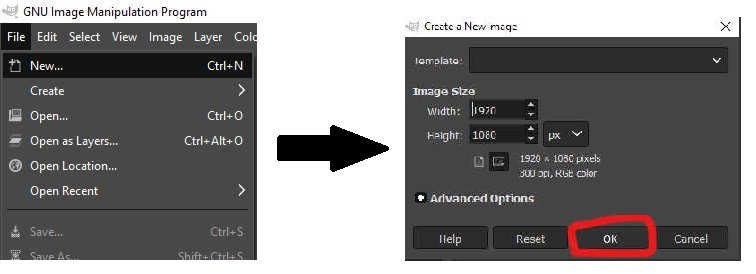
- Open GIMP Go to File > New as shown below and click on OK
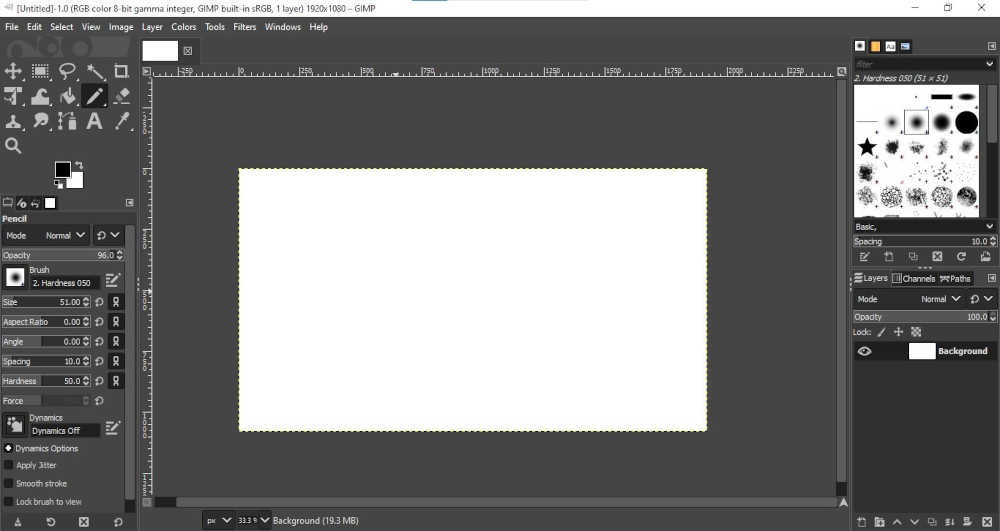
- you should have the display below for an easier use of GIMP used the link keyboard shortcuts GIMP to learn the GIMP keyboard shortcuts on Windows
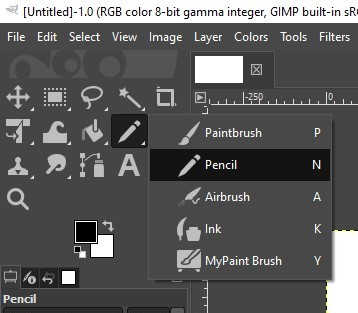
- select the pencil tool
- click on the black square circled in red in the image below
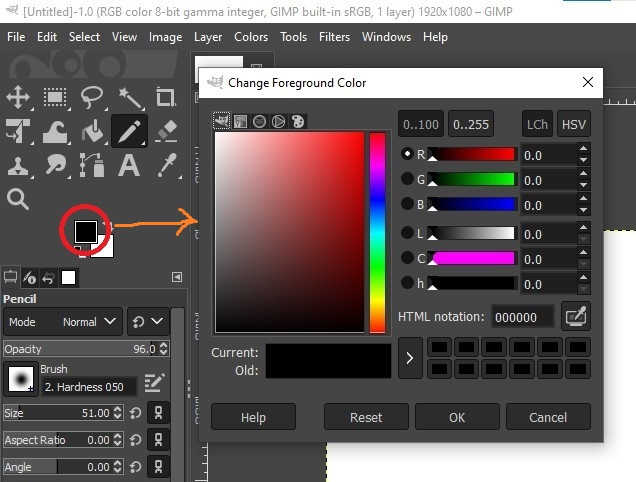
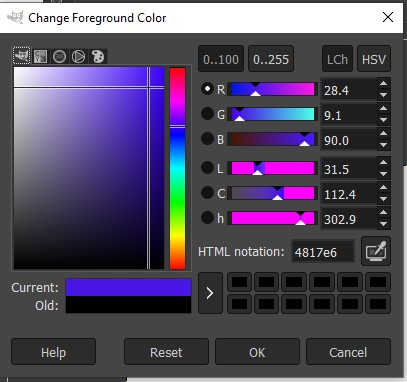
- choose the color of the pencil you like as below
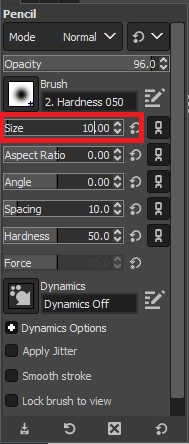
- Once the color is chosen we move to the modification of the thickness of the pencil. modified the size value circled in red below
- It is now time to draw go to the white page hold the left click of your mouse and move it to draw do not be afraid you will break anything 😉
here is our exceptional work that we have done 😊

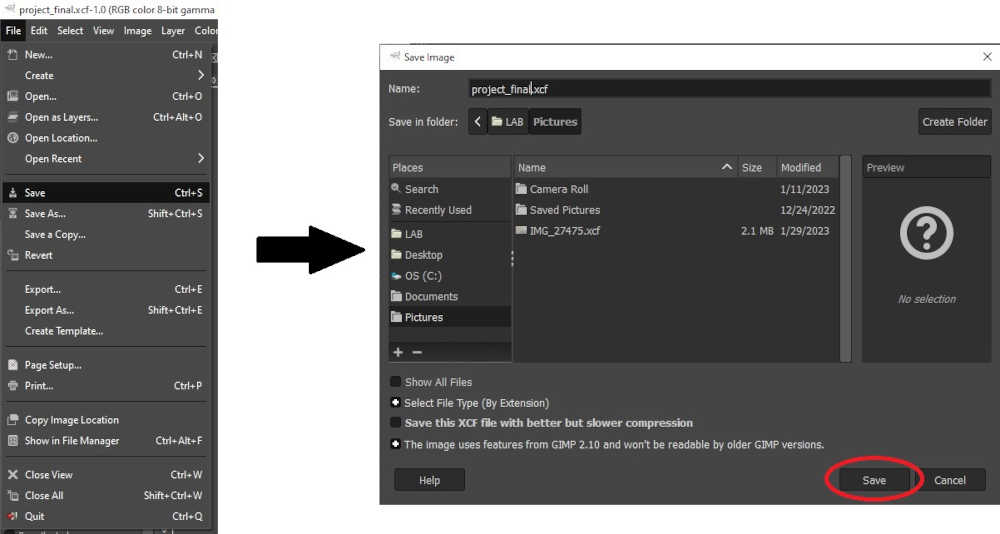
- Once you have finished your design you can save the project by going to File > Save as below
- Now you can export your design in several formats as below

vector software
To make vector graphics, we used the Inkcsape software.
Inkcsape is a free and open-source vector graphics editor. This software can be used to create or modify vector graphics such as graphics, logos, business cards, book covers, icons…
To install, simply download the Windows installer .msi file from Inkscape and run the installer.
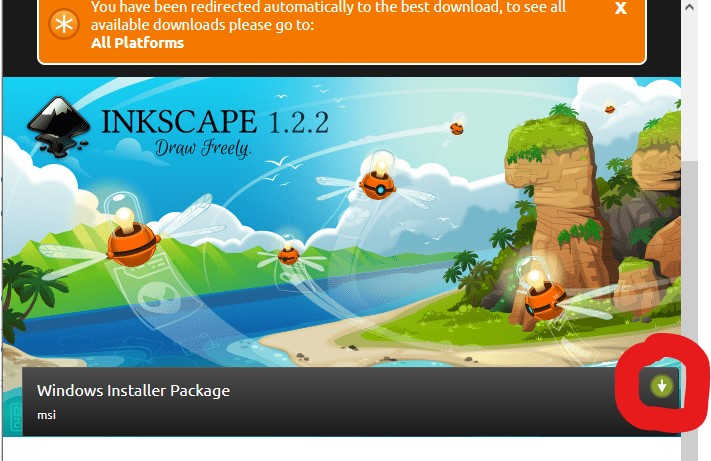
click on the red circle button to download the software
To learn Inkscape we designed a logo for our final project.
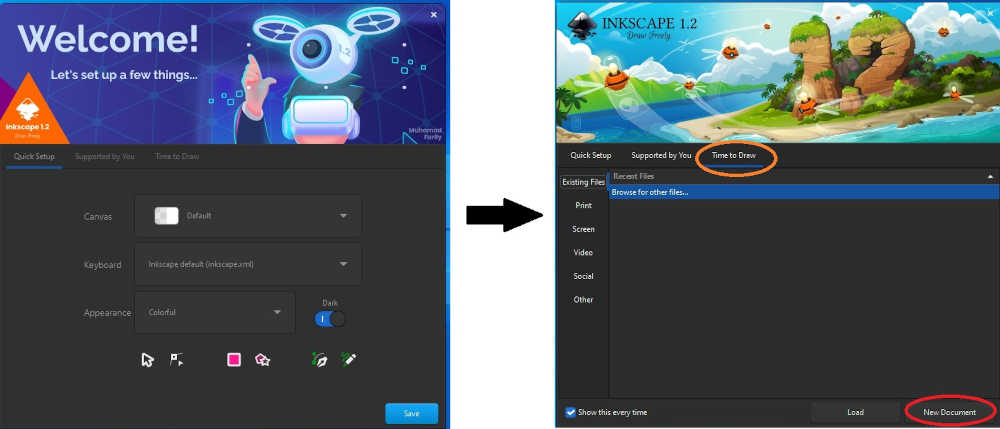
- open Insckape choose the Time to Draw tab and click on New Document as below
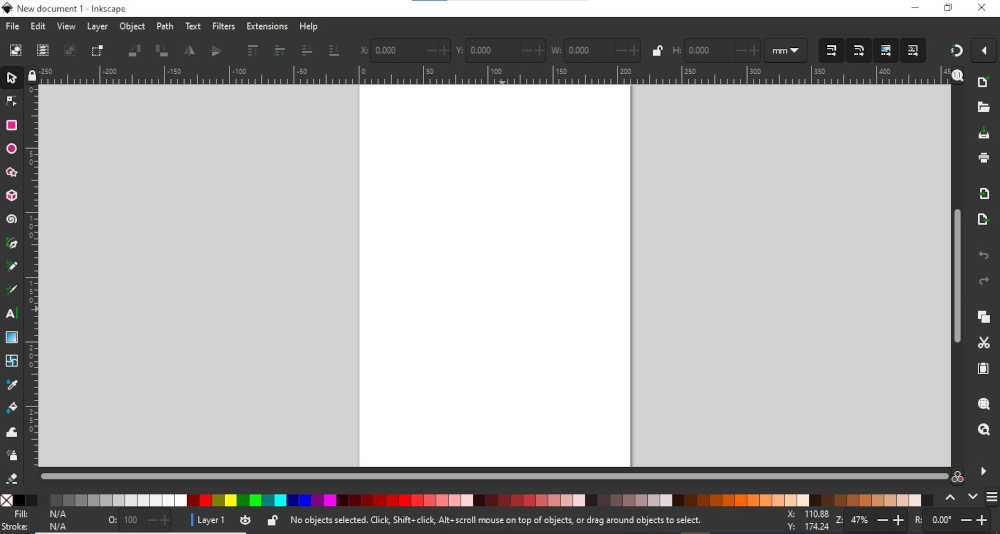
- you should have the following display
- to move the blank page click on the wheel of your mouse and move the mouse
- to zoom in or out, hold down the Ctrl key on your keyboard and turn the wheel on your mouse
- select the rectangle tool go to the blank page and draw the rectangle by moving your mouse with the left click held
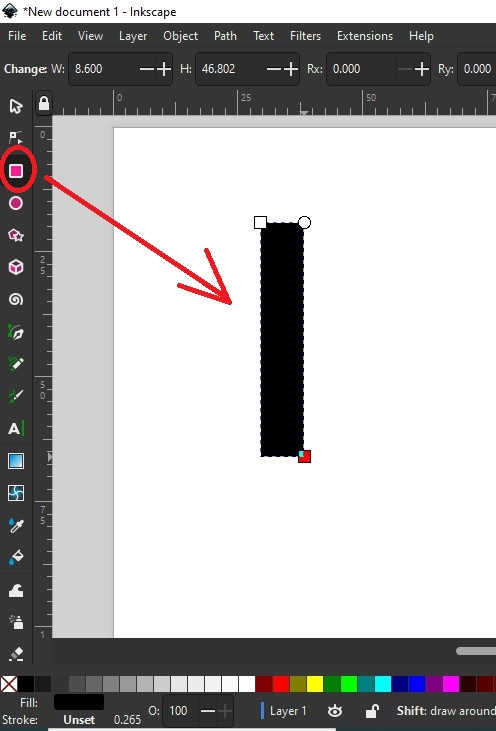
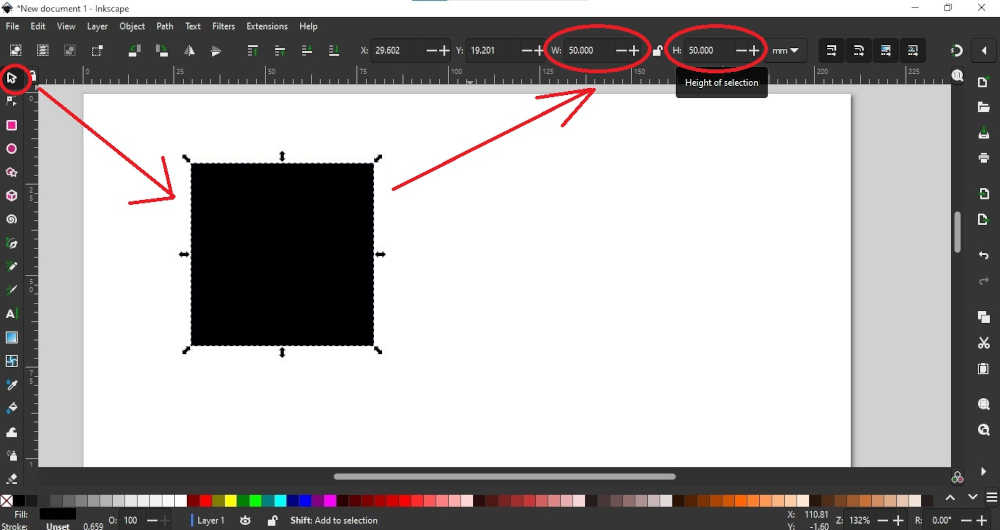
- Select the Select tool; click on the rectangle and change the dimensions as shown below
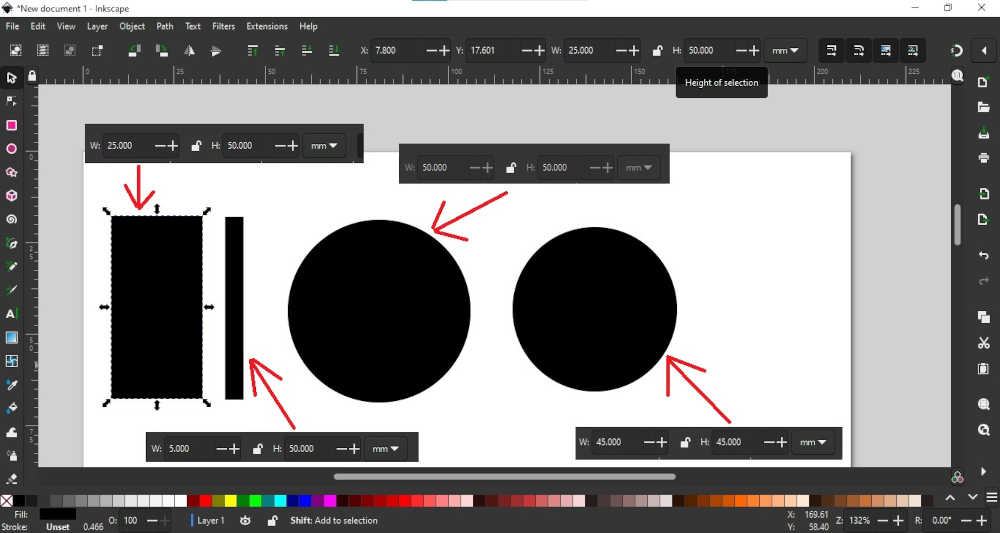
- Follow the same procedure indicated previously to draw and resize two circles with a second rectangle. You should have the result below
to move a figure click on it with the left click and move your mouse while maintaining the left click
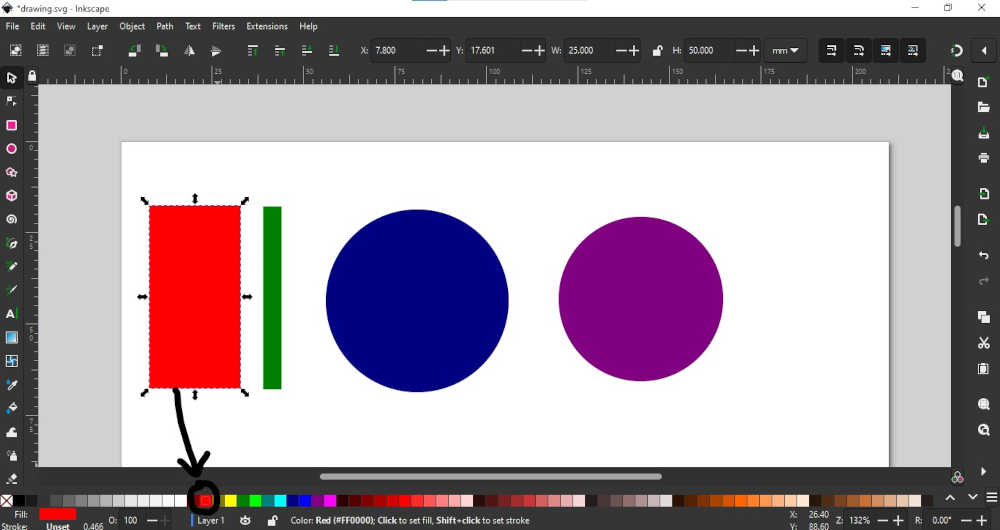
- to change the color of the figures we have drawn select the figure and go click on the color of your choice as shown below
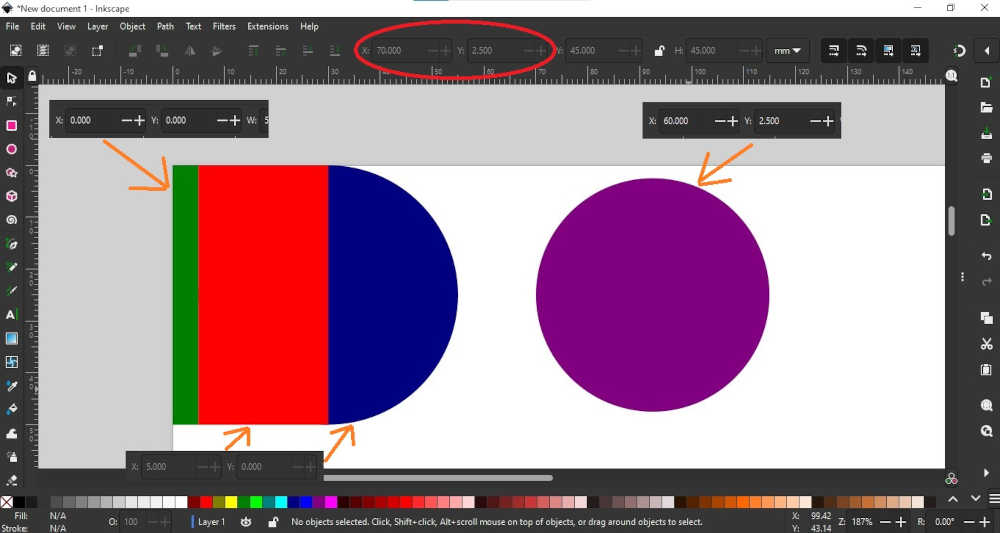
- For the rest of our tutorial we have to move the shapes we have created to specific places. To do this, go and modify the X and Y coordinates of the figures as indicated below
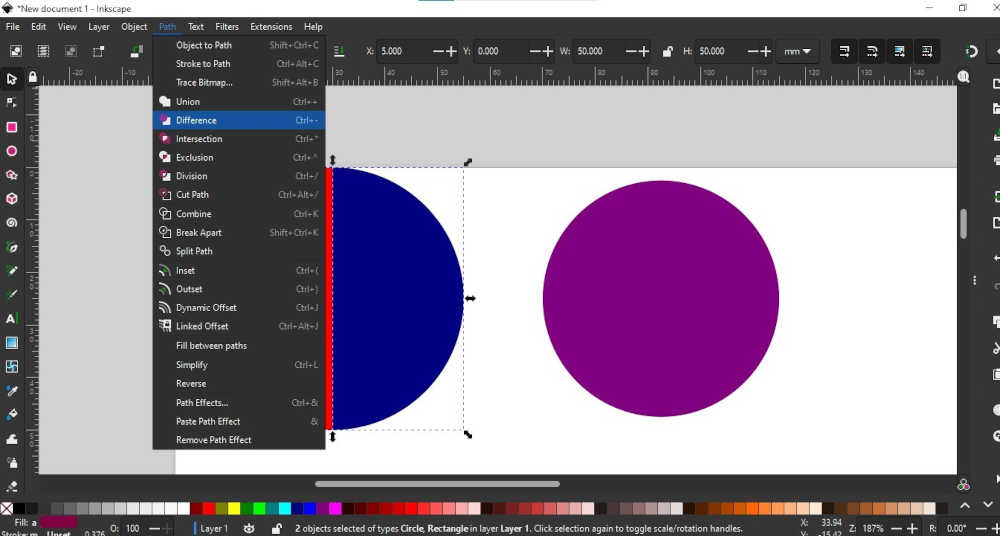
- Select the red and blue figures by holding the Shift key on your keyboard. Then go to the Path tab and click on Difference
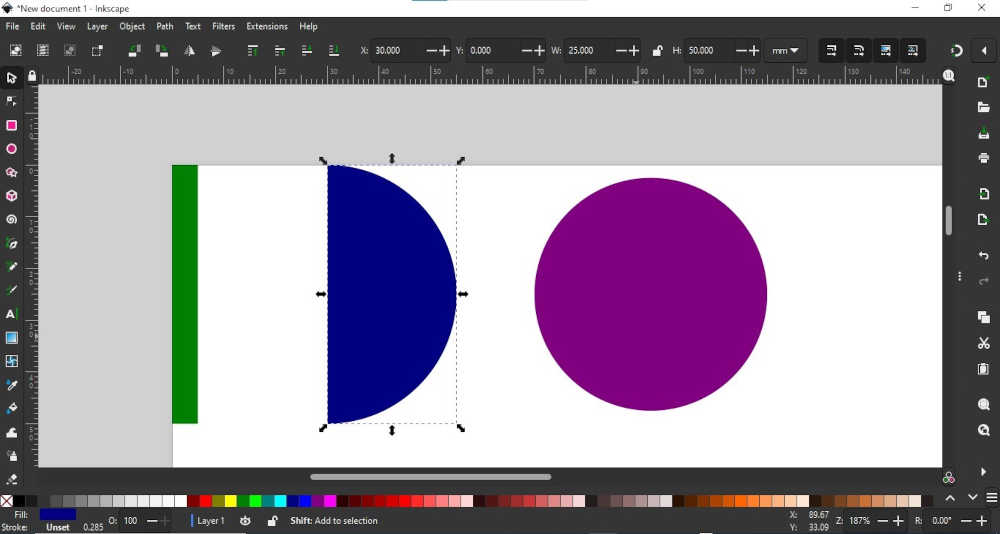
- You should have the result below. Move the purple circle to the line indicated below and perform the same operation as in the previous point with the blue and violet figures

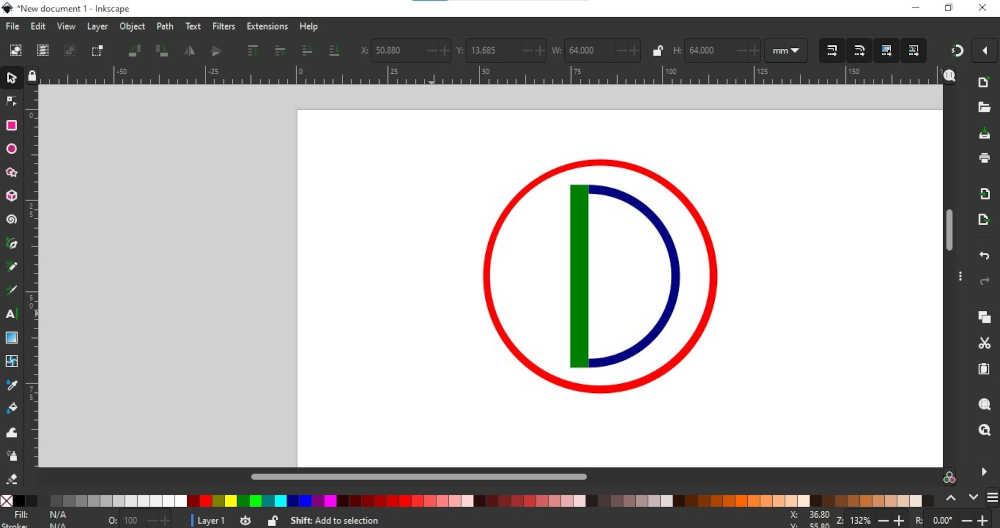
- Add two circles with different diameters and repeat all the previous procedures and you will end up with a result similar to the one below
- Congratulations on finishing our Inkscape tutorial 👏
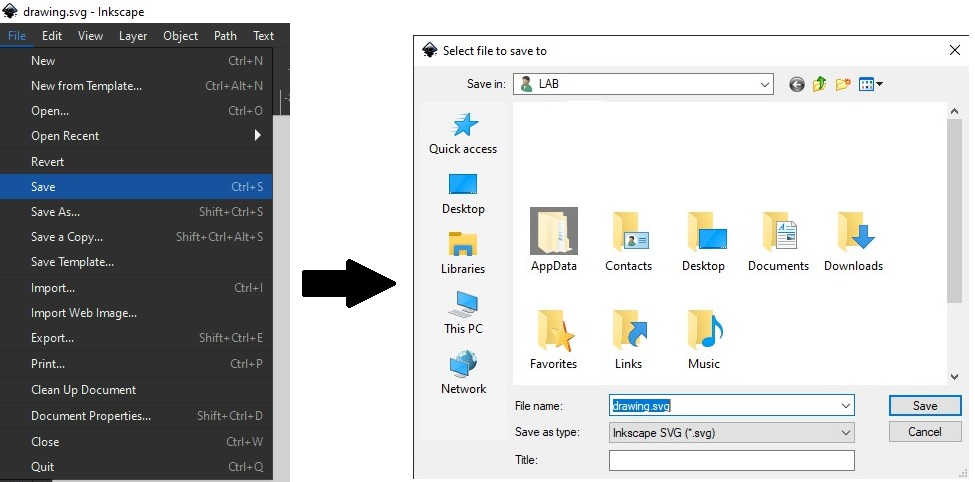
Oops!!! We forgot something very important save our work don’t worry this is the easiest part of the tutorial go to file > Save as shown below
2. 3D modeling software
3D modeling is the process of developing a mathematical representation of any surface of an object in three dimensions via specialized software.
Fusion 360
For learning Fusion 360 we chose to design a box for our final project.
- For the installation of fusion 360 we used the free version as shown below
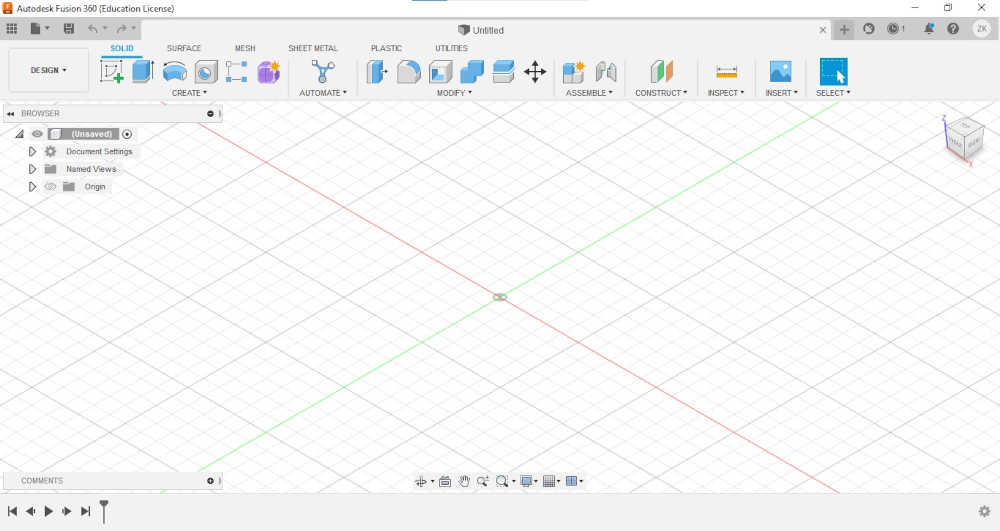
- once the software is installed you just have to create an Autodesk account to use it with the free version.you should have the display below
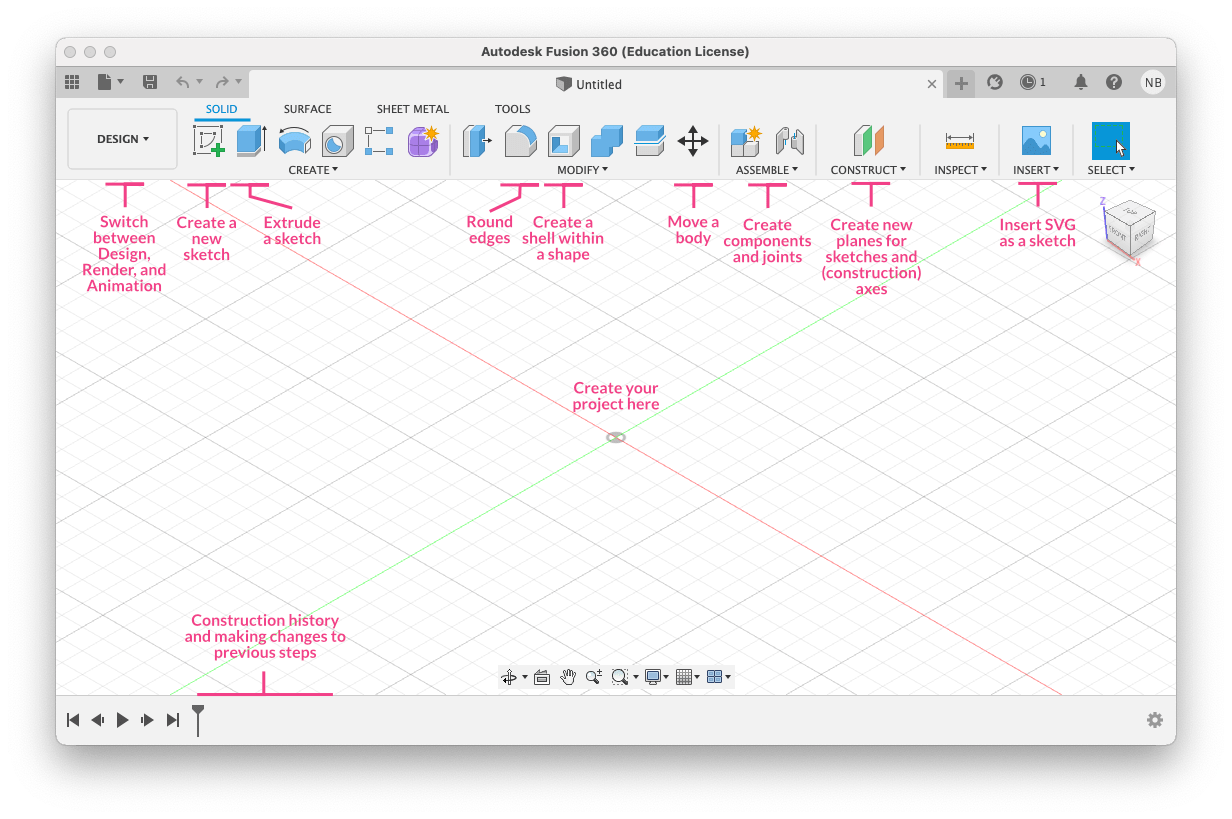
Descriptive image of the fusion 360 interface made by Nadieh Bremer Fabacademy 2021
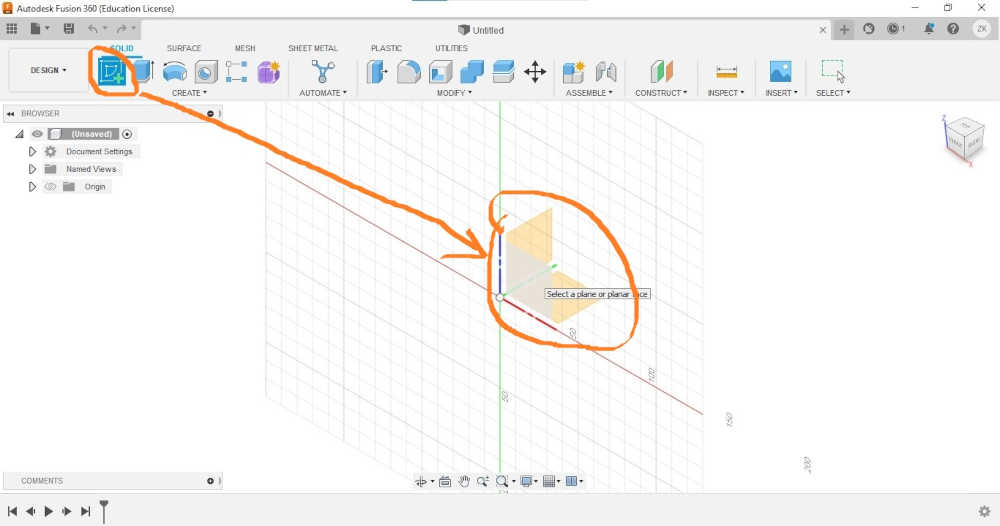
- click on the create a new sketch button and select the front plane as shown below
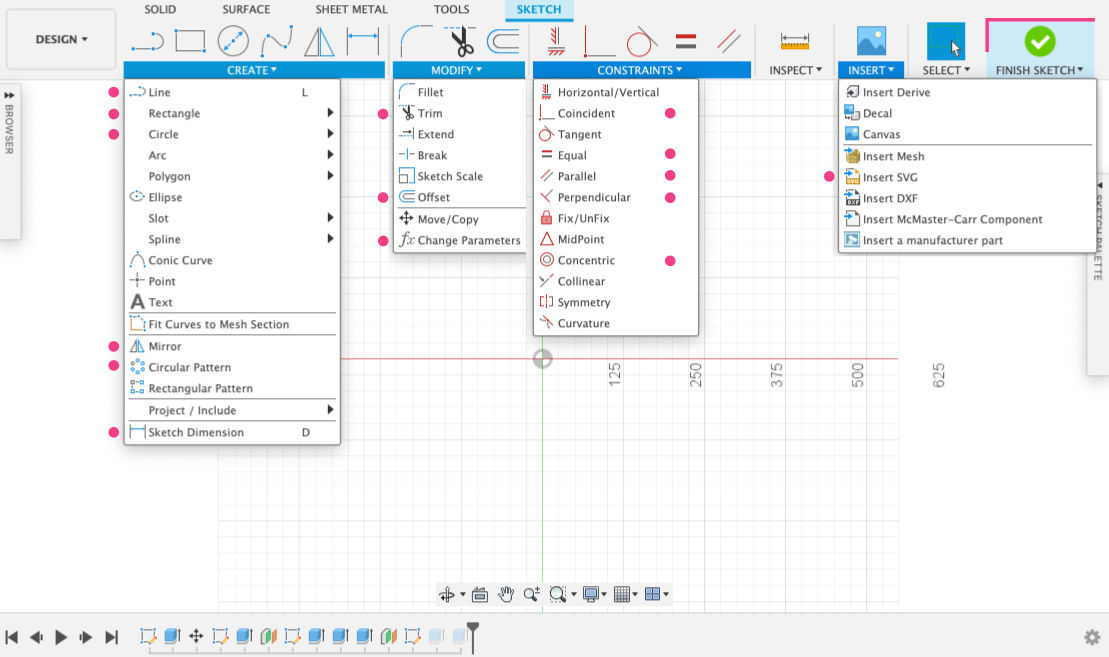
- you should have the following display
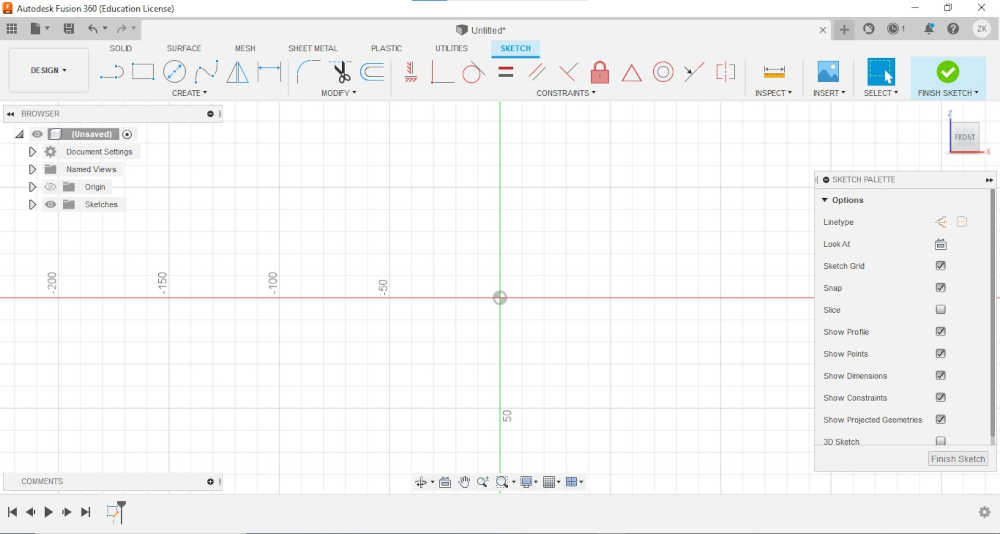
Description of the sketch building tools by Nadieh Bremer Fabacademy 2021
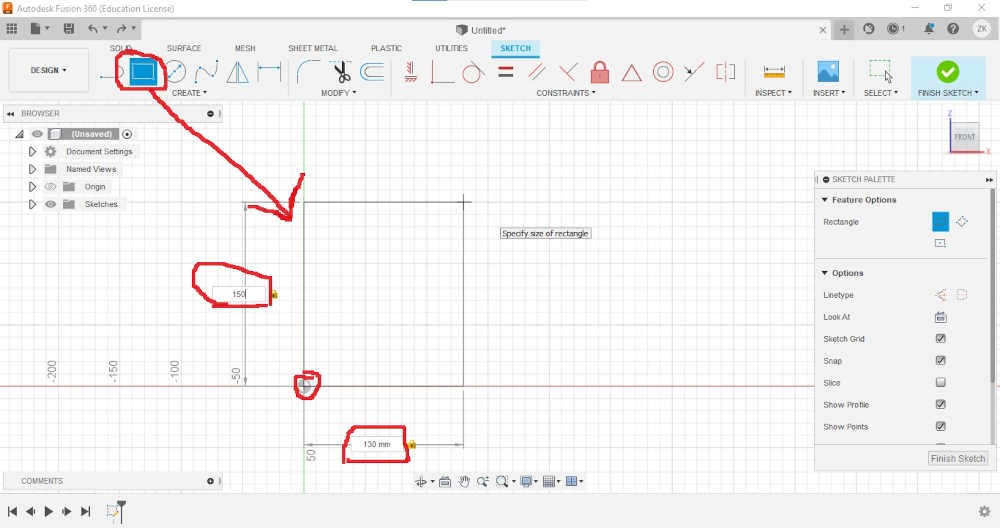
- Select the rectangle tool. go to the grid page. Mark the first point of your rectangle by left clicking on the mouse and then move your mouse. To define the size of your rectangle you can enter the values as shown below. Then click on the green button FINISH SKETCH.
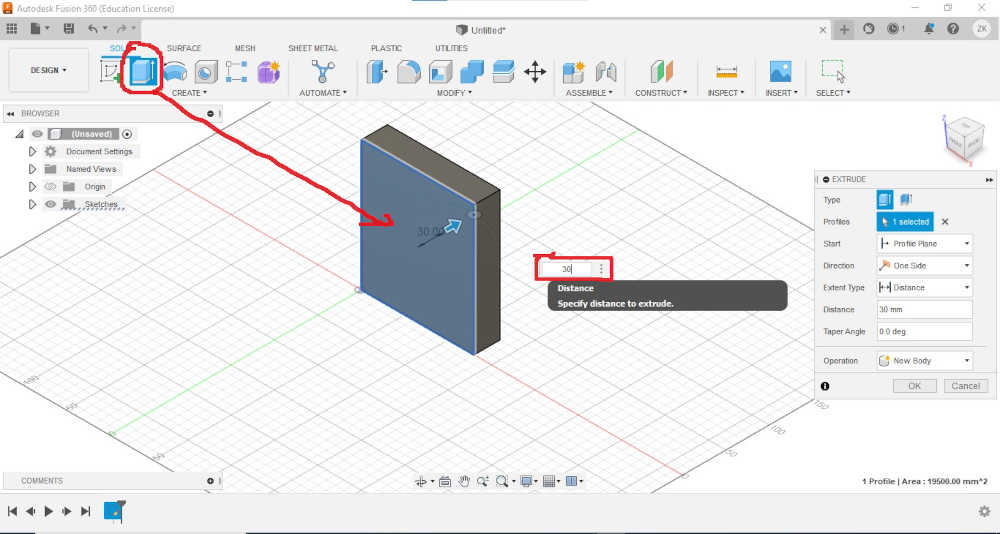
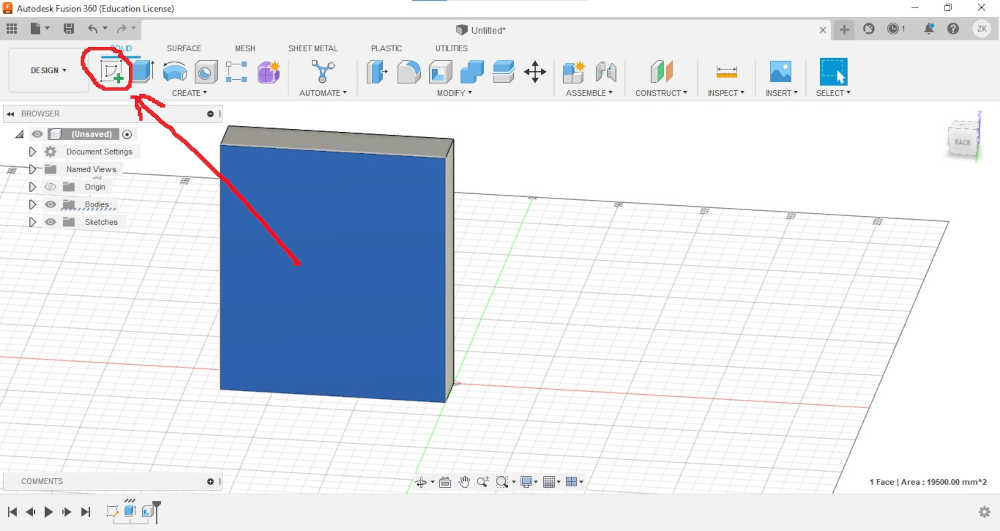
- Select the sketch and click on the “Extrude a sketch” button then enter the value as shown below
Tip
- To move around the Fusion 360 workspace, hold down your wheel and move your mouse
- To zoom in or out, simply turn the wheel of your mouse
- To rotate in the fusion 360 workspace, hold down the mouse wheel and the shift key on your keyboard and move your mouse
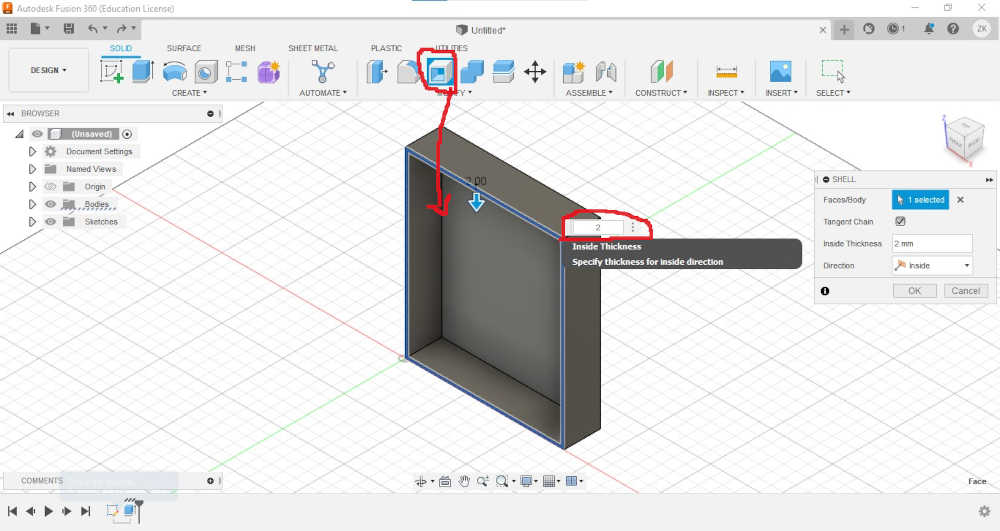
- select a face of the 3D part and click on “create a shell within a shape” and enter the value as shown below
- select a face of the piece and click on “create a new sketch” as shown below
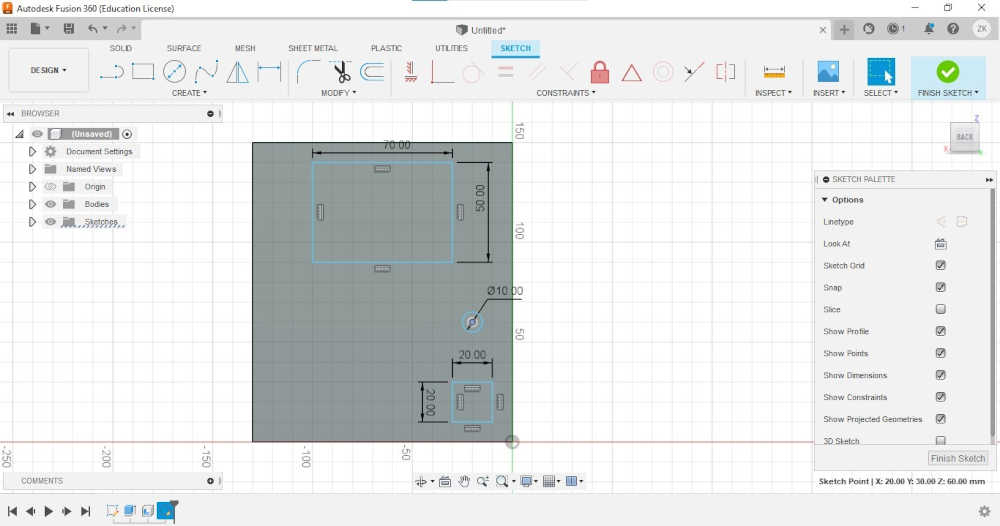
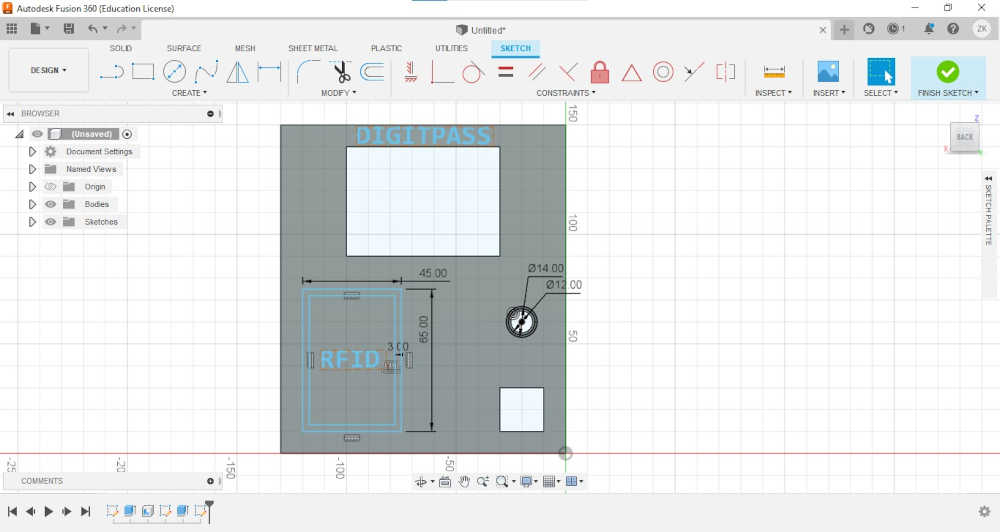
- draw the sketch below using the “circle” and “rectangle” tools, don’t forget to respect the dimensions
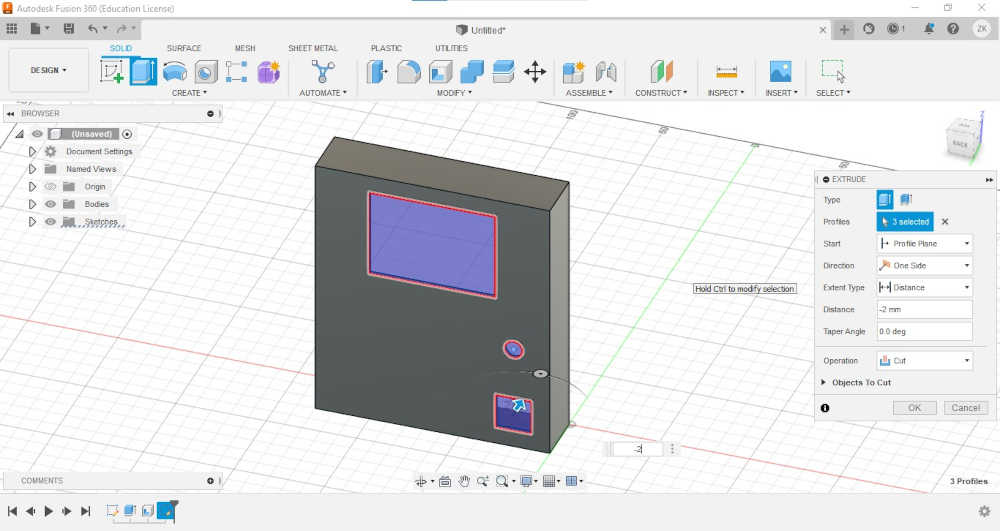
- Select the sketch and click on the “Extrude a sketch” button. then enter the value as shown below
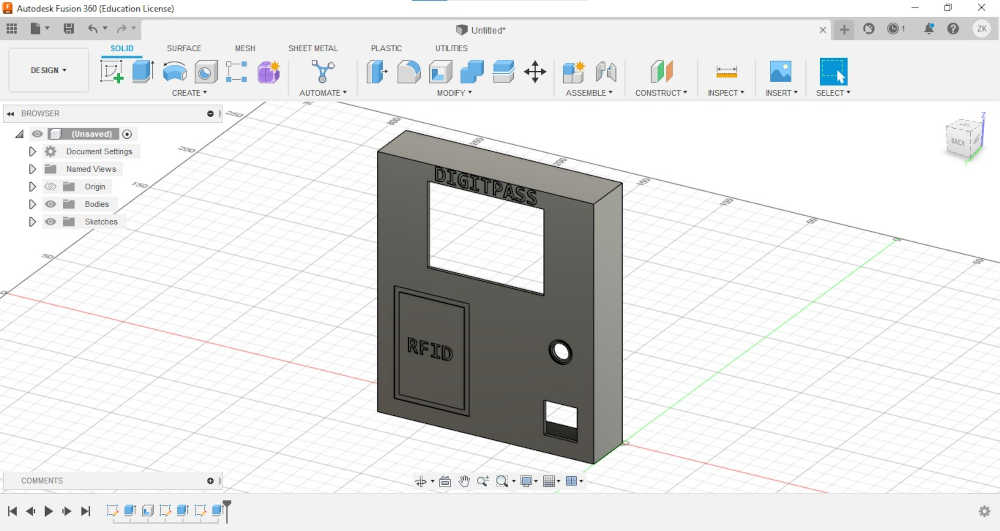
- Select a face, create a new sketch and draw until you get the result below
- Make an extrusion of -0.5mm. if all goes well you should have the result below. do not forget to save your work.