05. 3D Scanning and printing
Part one : Assignments
-
Groupe assignment
- Test the design rules for your printer(s).
- Document your work on the group work page and reflect on your individual page what you learned about characteristicsof your printer(s)
-
Individual project
- Design and 3D print an objet (smal, few cm3, limited by printeer time) that could not be easily made subtrctively.
- 3D scan an object(and optionally print it).
-
Task
- Linked to the group assignment page
- Explained what you learned from testing the 3D printers.
- Documented how you design and 3D printed your object and explained.
- Documented how you scanned an object.
- Included your original design files for 3D printing
- Included your hero shots
Part two : Groupe assignment
To see our group assignment click here
Part Three : Individual project
Design and 3D print
1. Overview
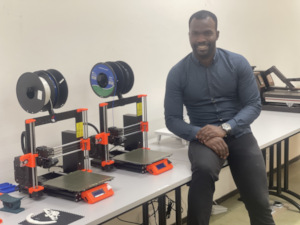
1.1. Our 3D printers in the Fab Lab and other 3D printers
- In the INP-HB Fab Lab named Y’ello Lab , we are two 3D Printer. These are the 3D Printer we use currently for the Fab Academy assignments.
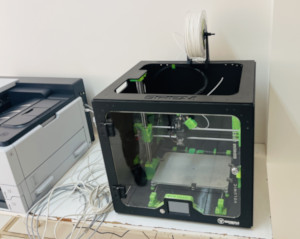
- In another Fab lab called Akuna LAb, I try to developp, we are two 3D printer. these are donation of UDPN. This donation is to help the institut to train the students particulary the girl. Try to help them to like technology.

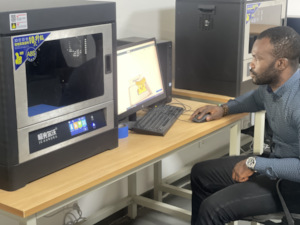
- In the laborratory called Lu Ban, we are two 3D printer. These printer is a donnation of China.
- And the last 3D printer, is in other classroom
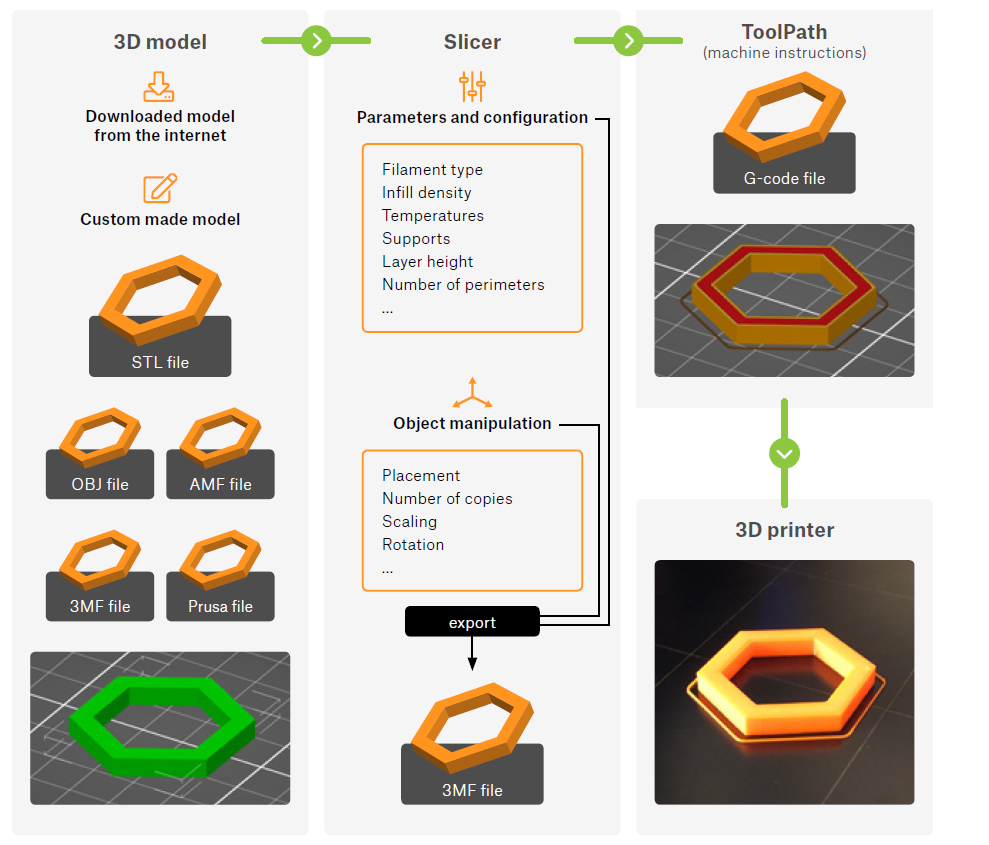
1.2. Diagram of 3D print
1.3. Things to keep in mind when desiggning a model
-
Try to minimize the need for suports.
-
Decide how the model will be positioned on the print bed.
2. Modeling 3D
Before any 3D printing, we need to do a 3D modeling. For the 3D modeling, we will use the Fusion 360 software.
2.1. 3D Design
Step_01 :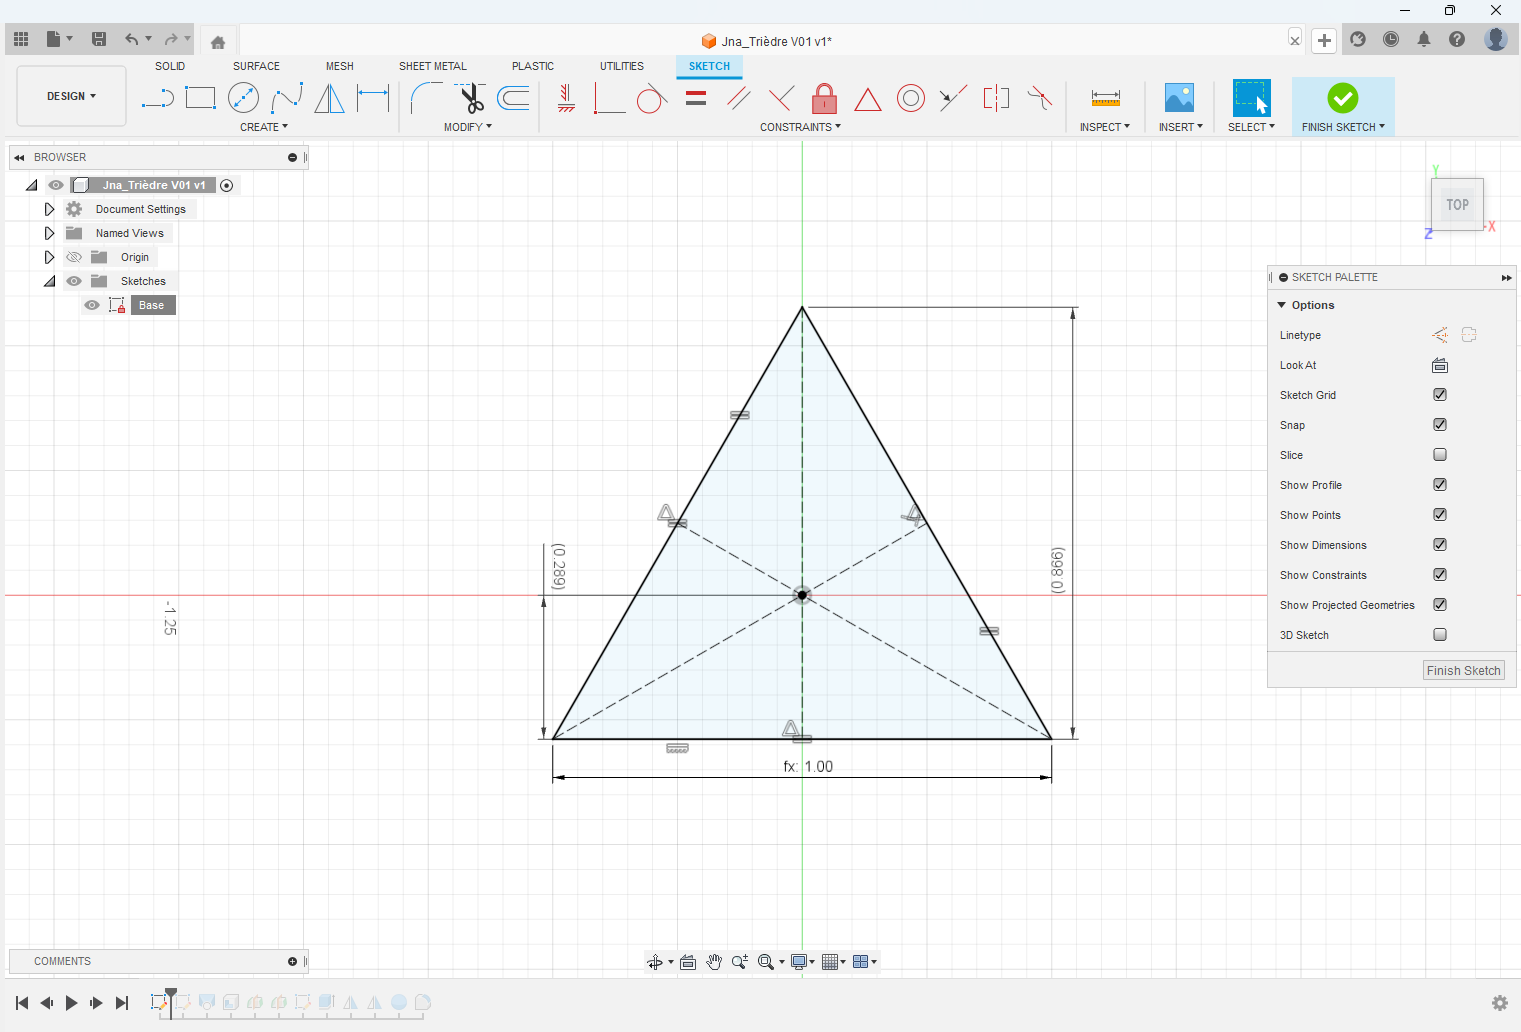
Step_02 :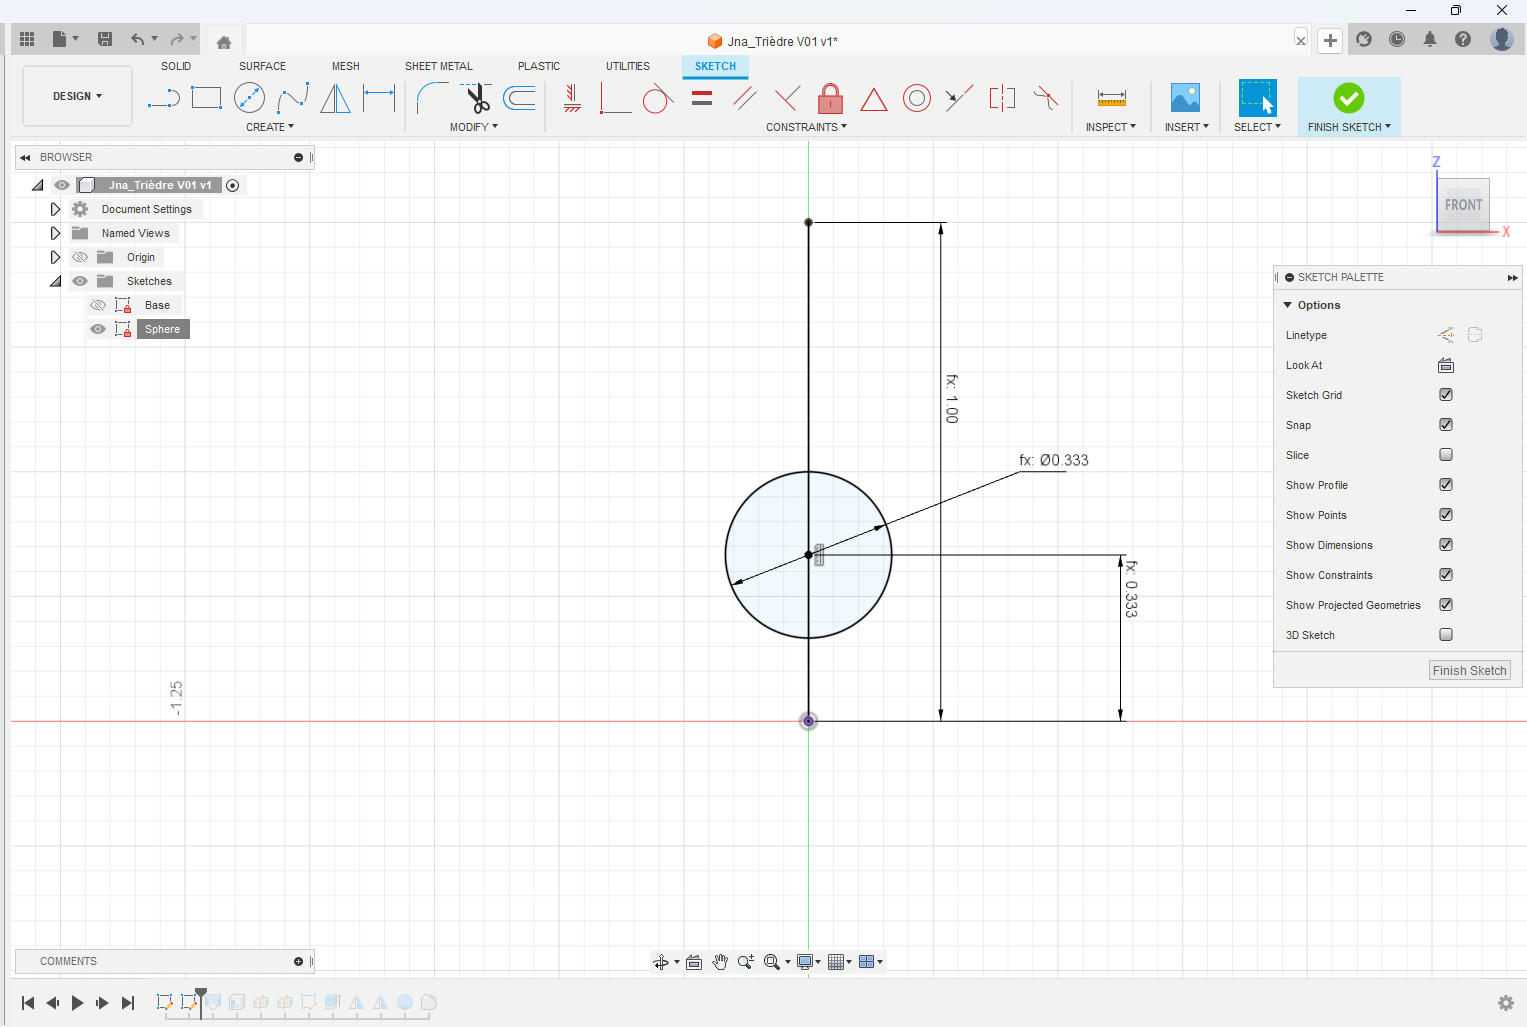
Step_03 :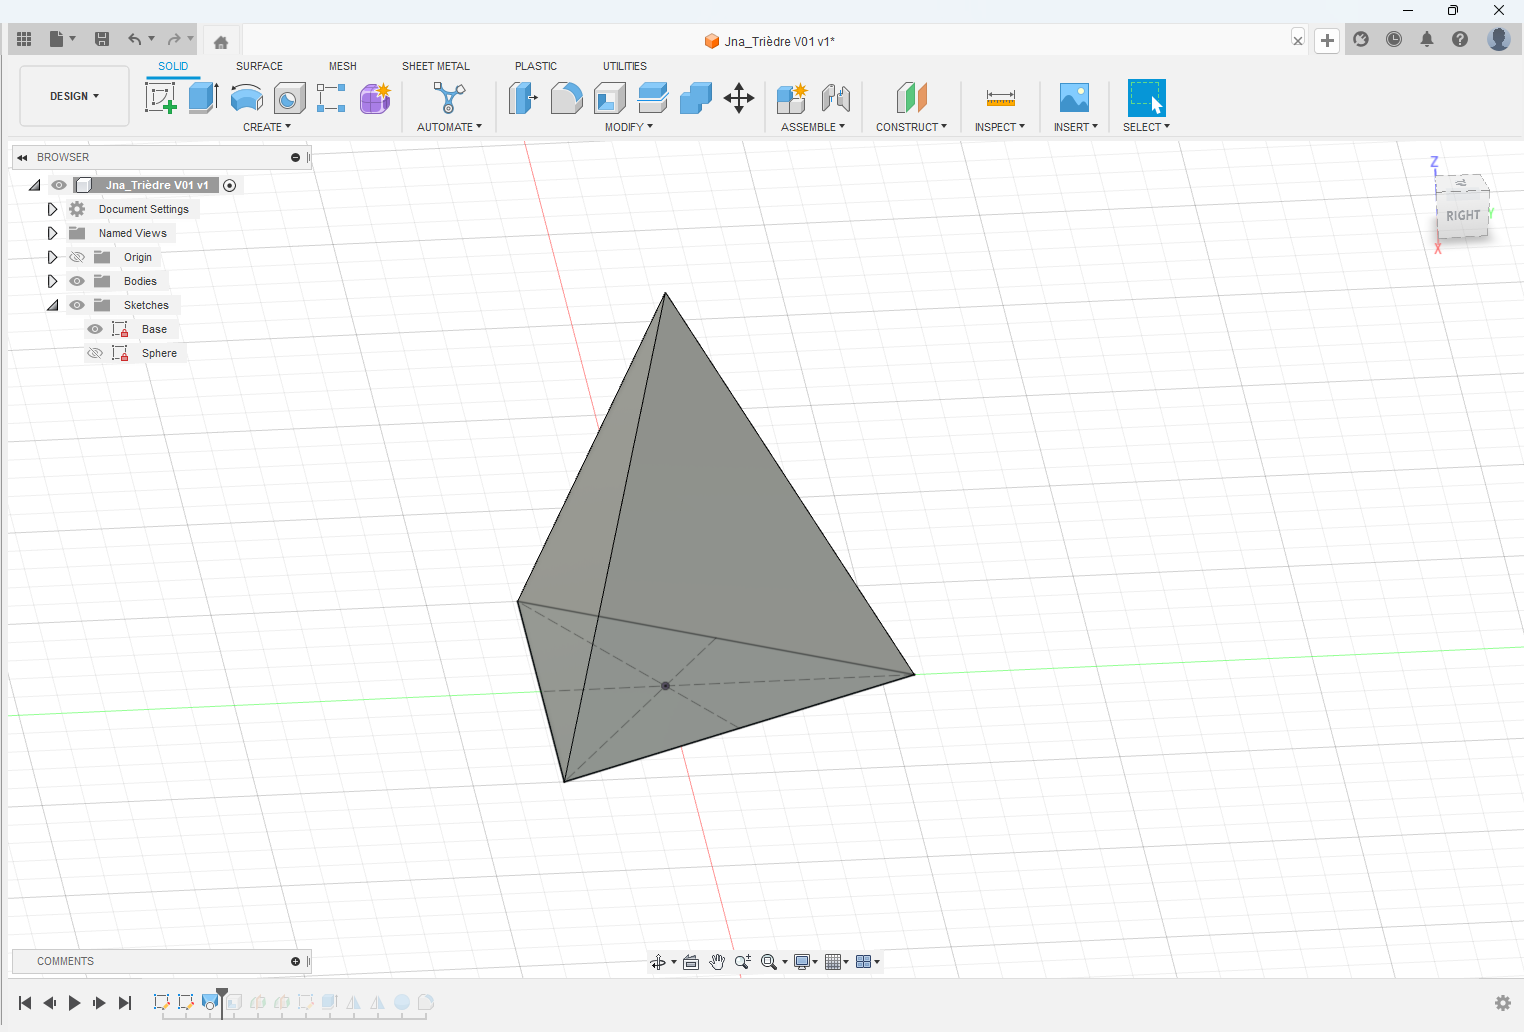
Step_04 :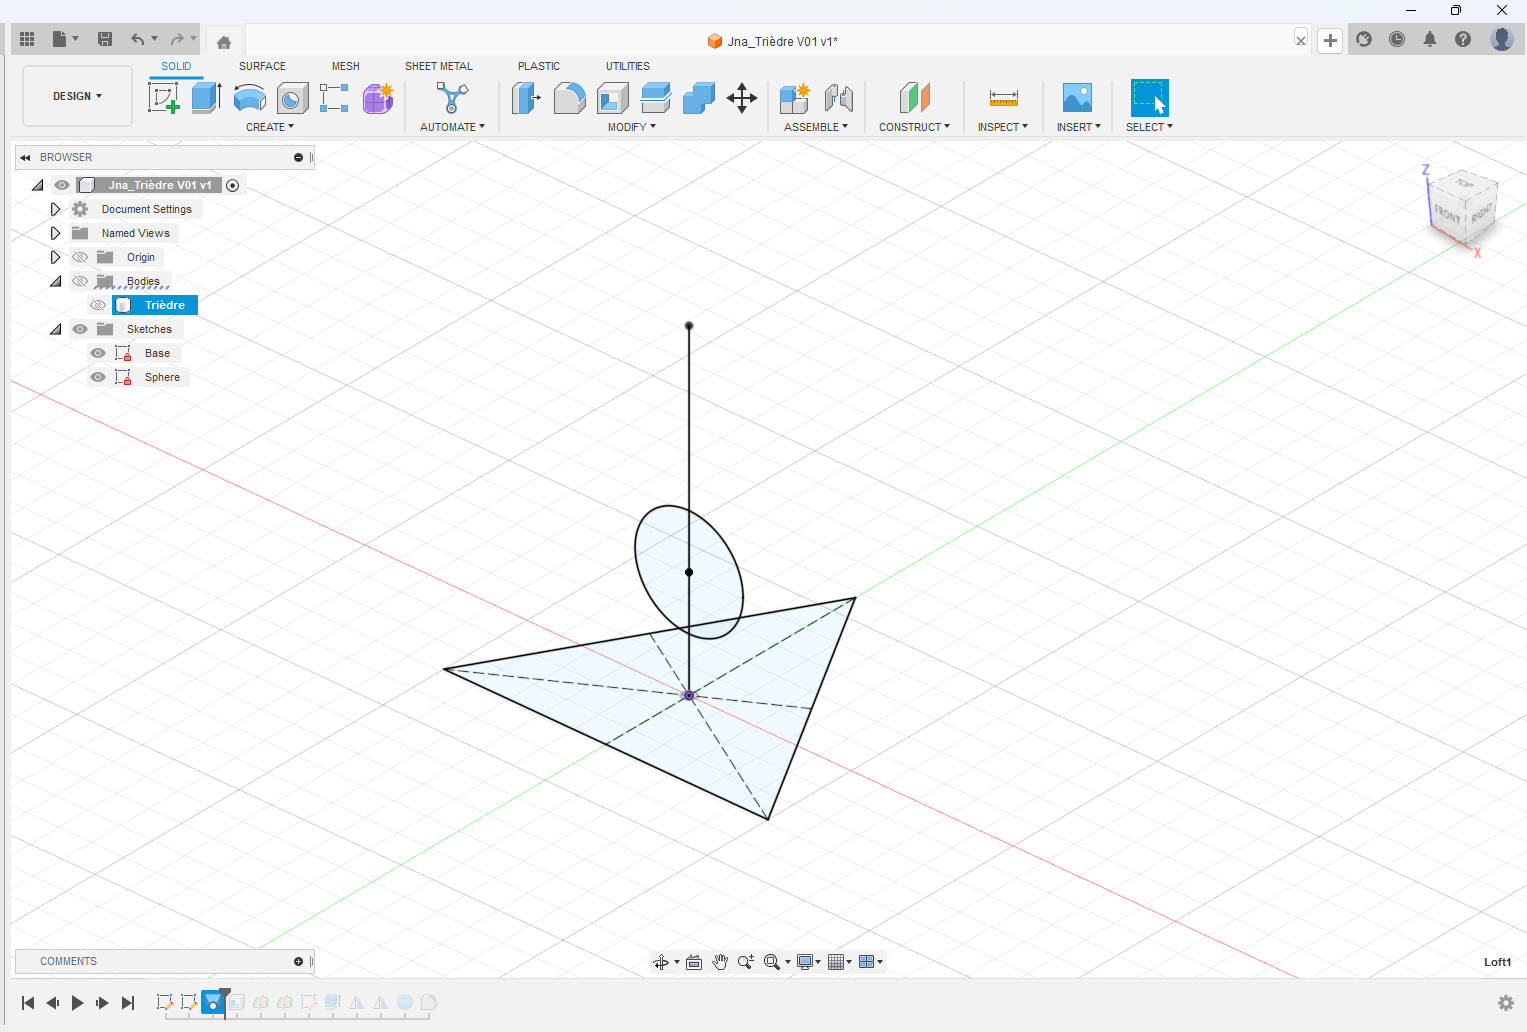
Step_05 :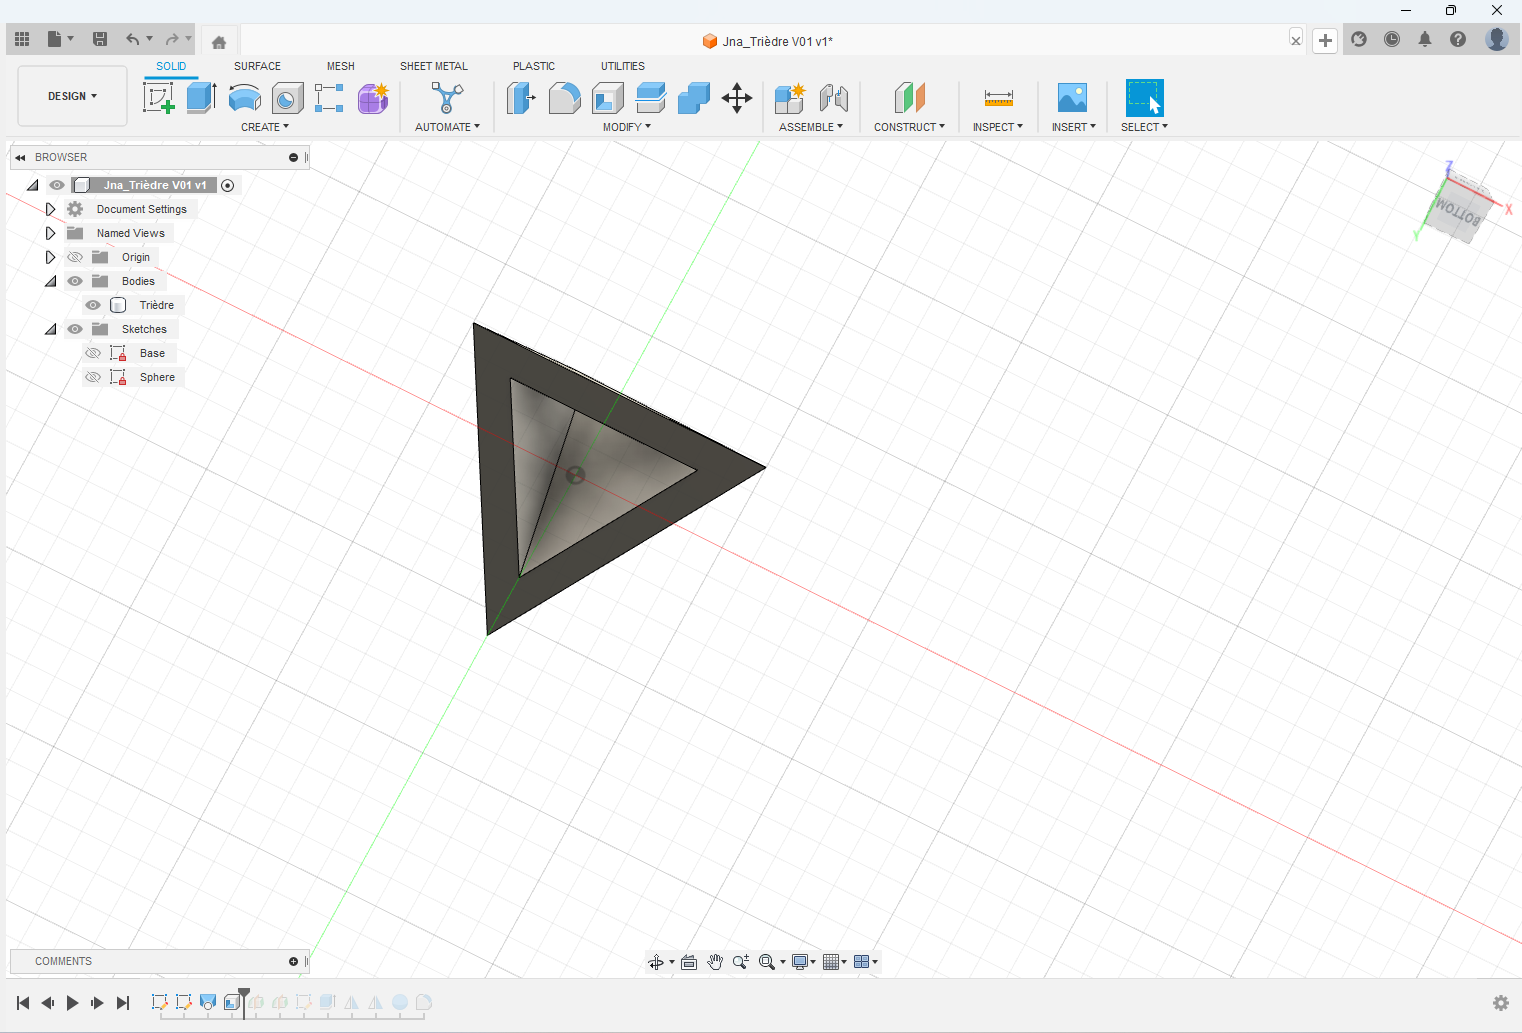
Step_06 :
Step_07 :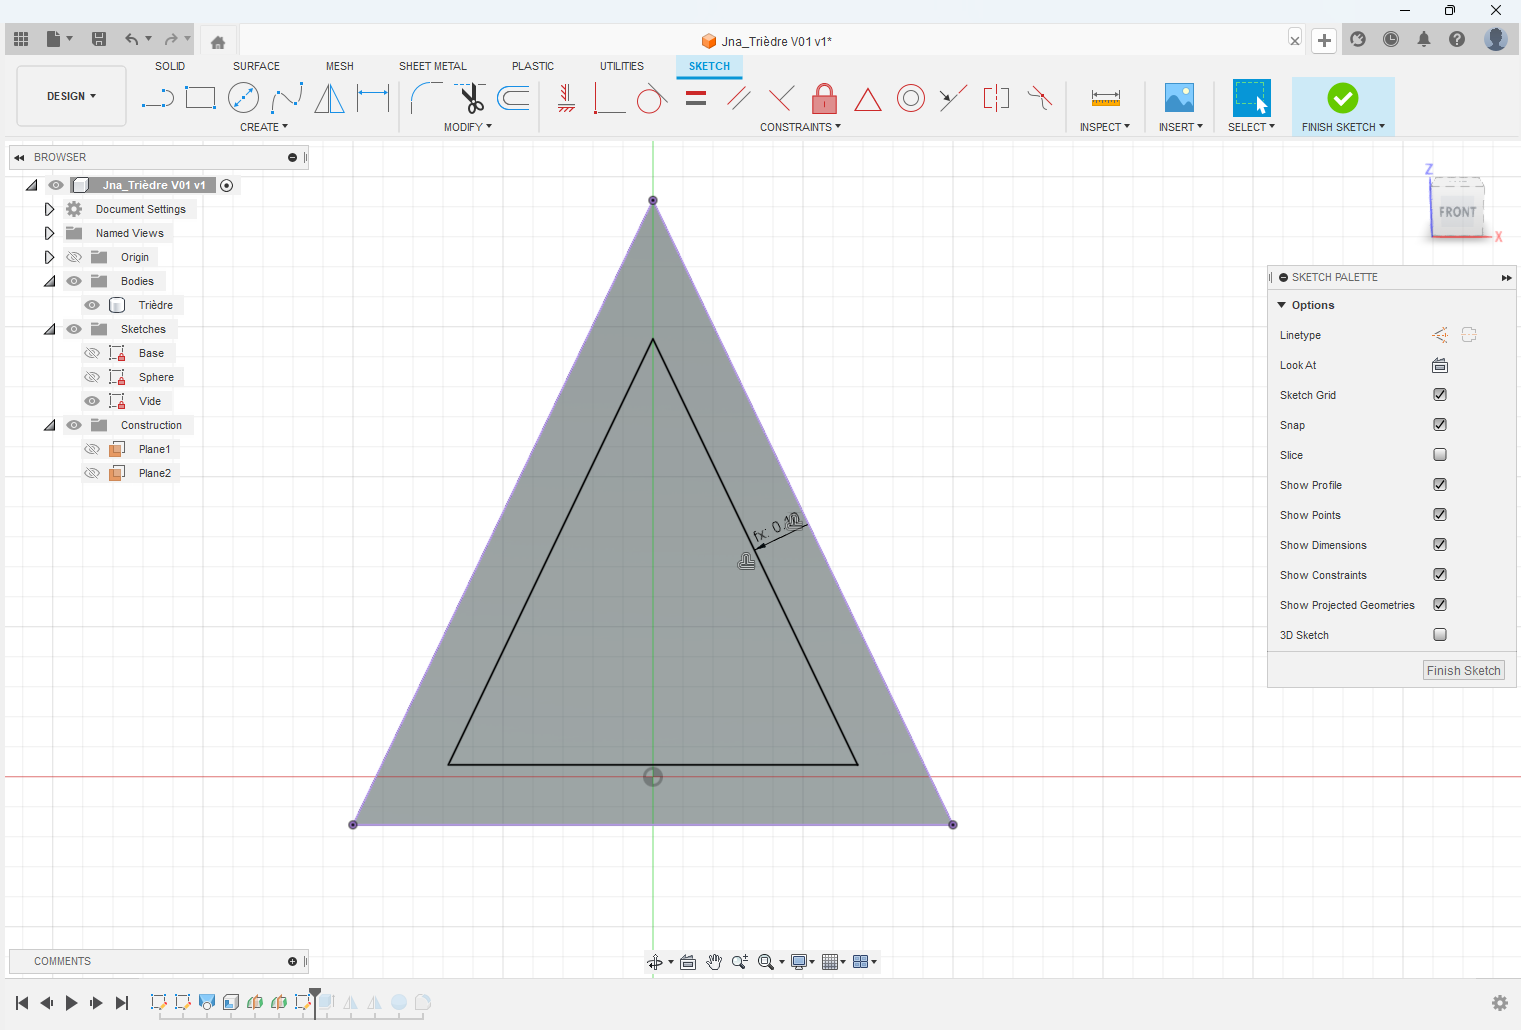
Step_08 :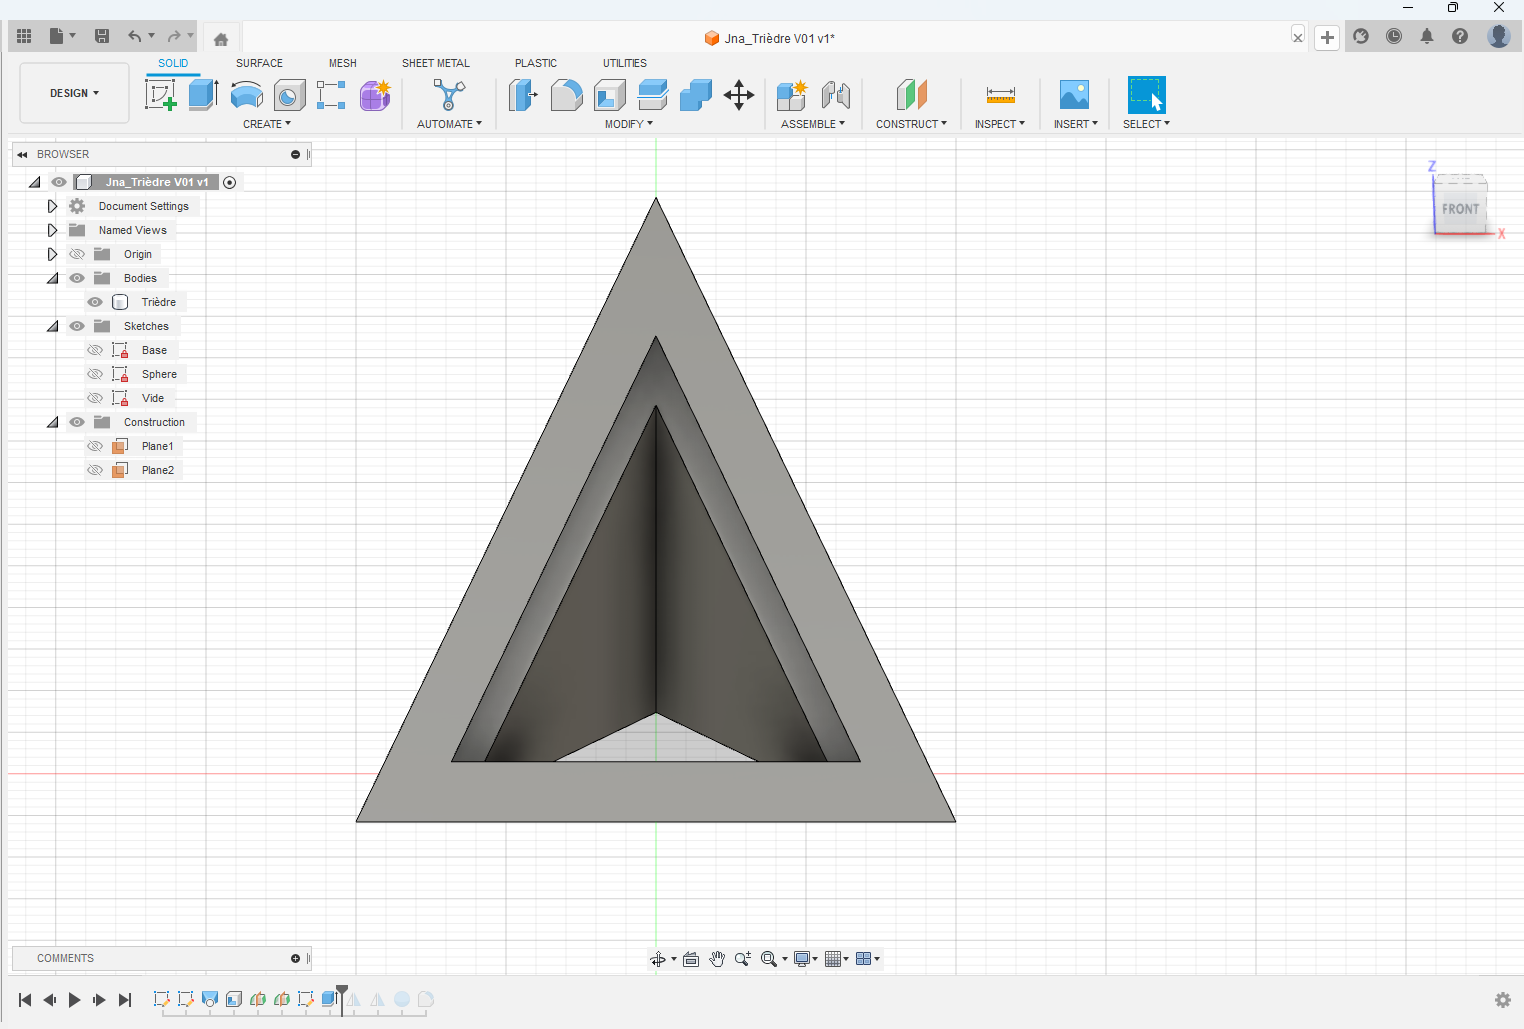
Step_09 :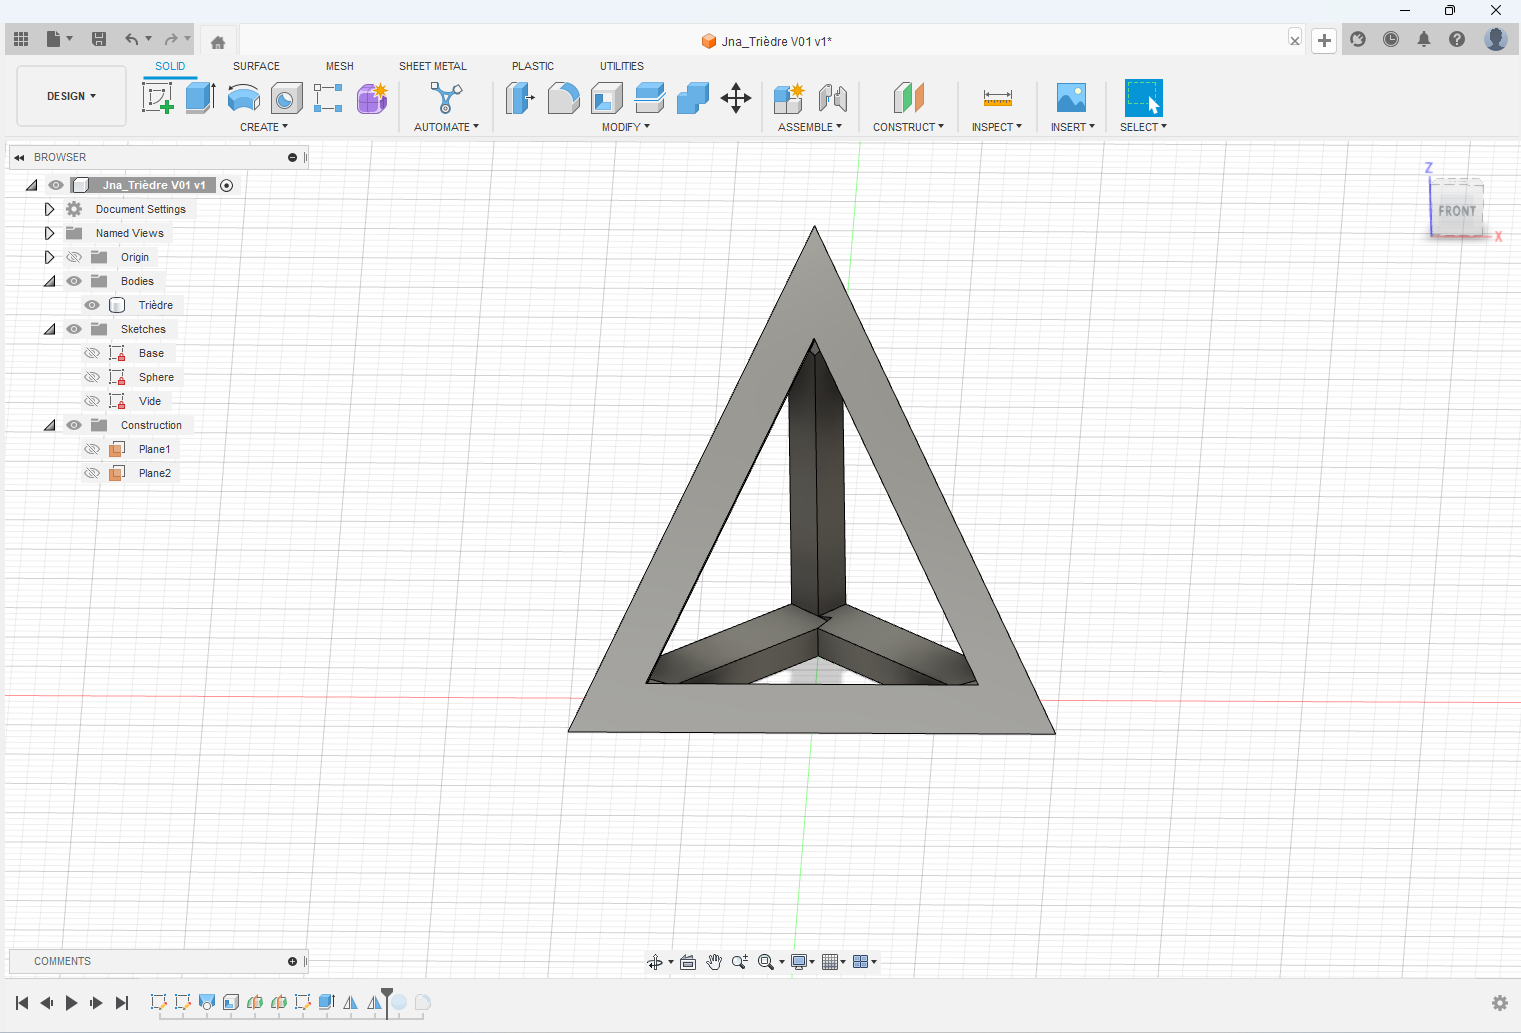
Step_10 :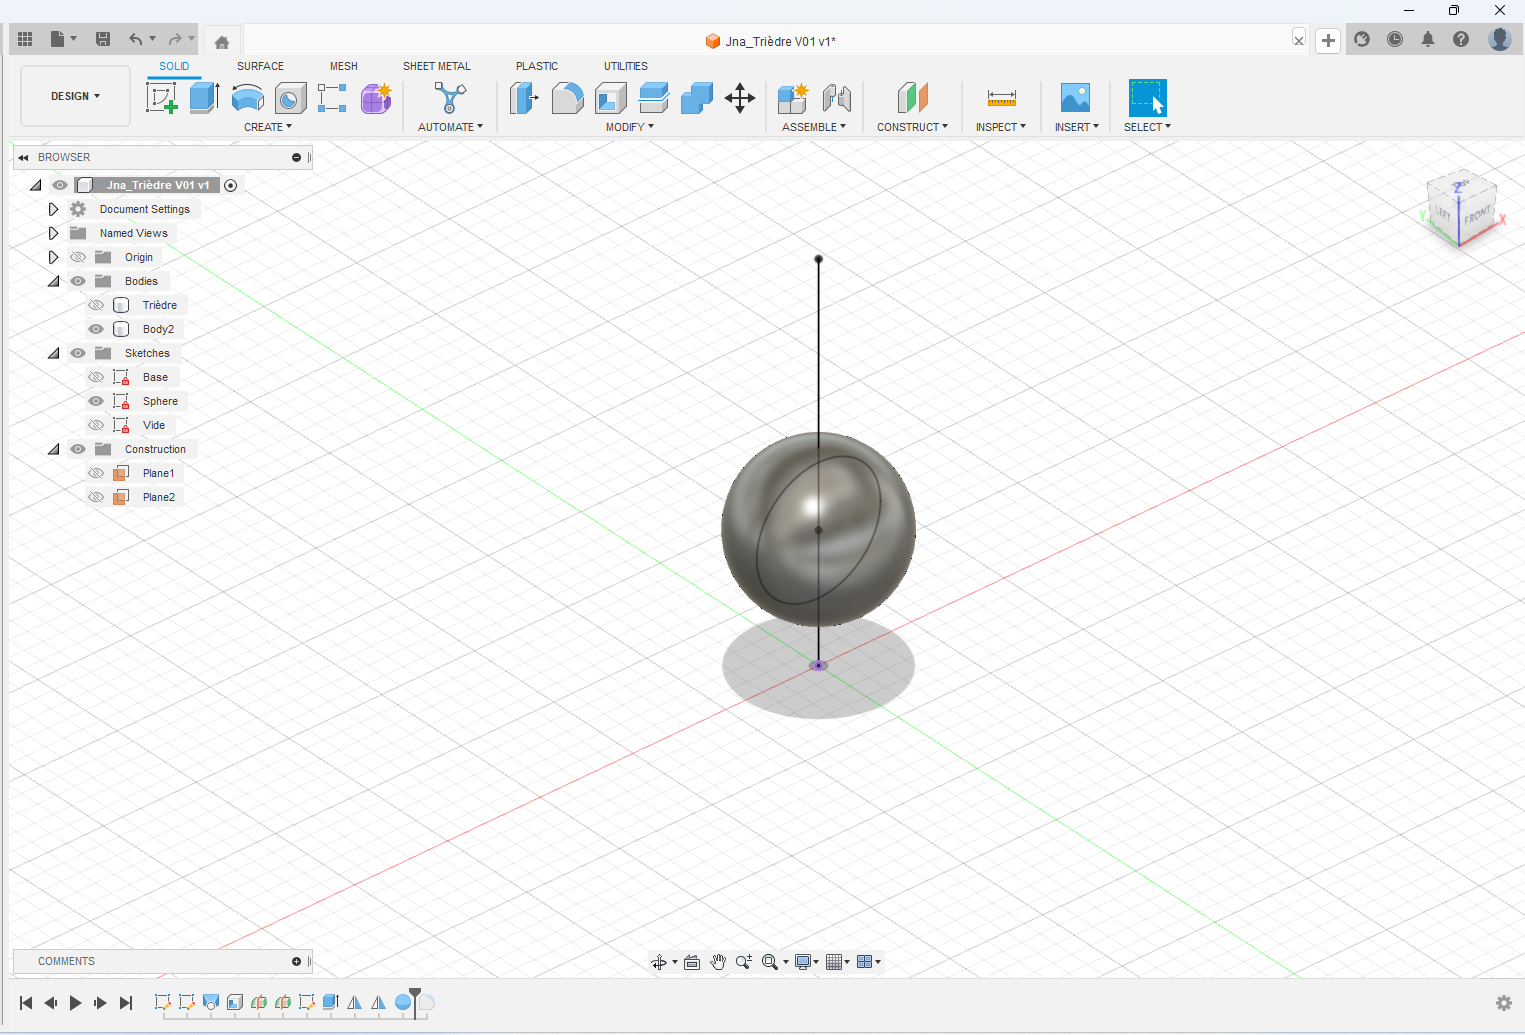
Step_11 :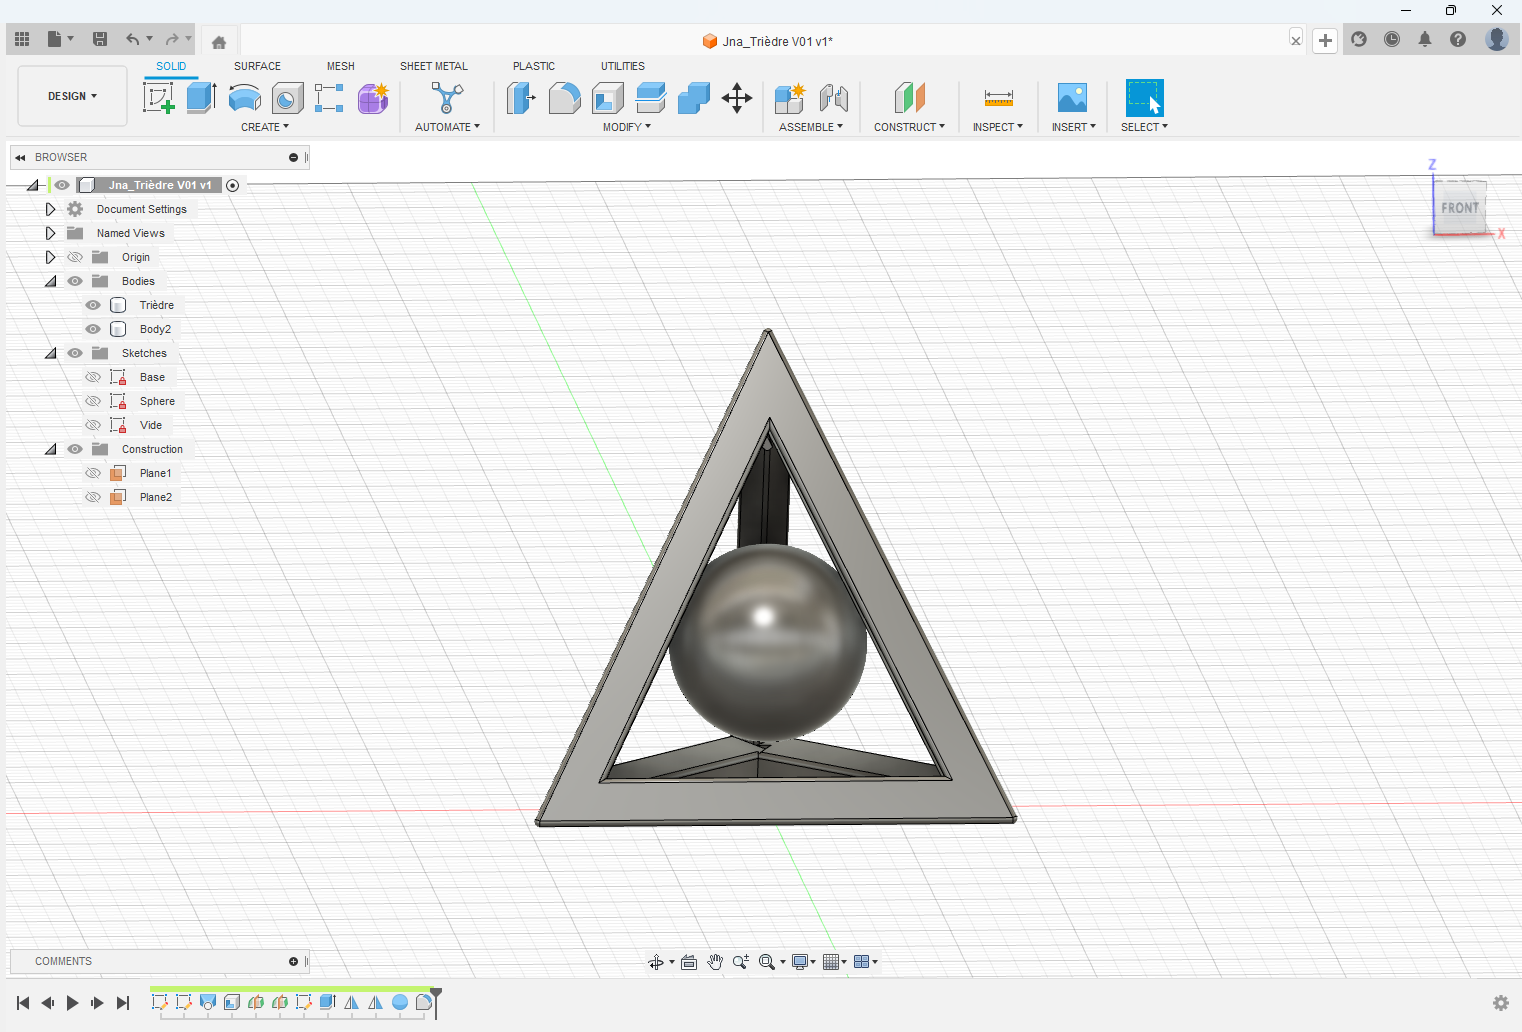
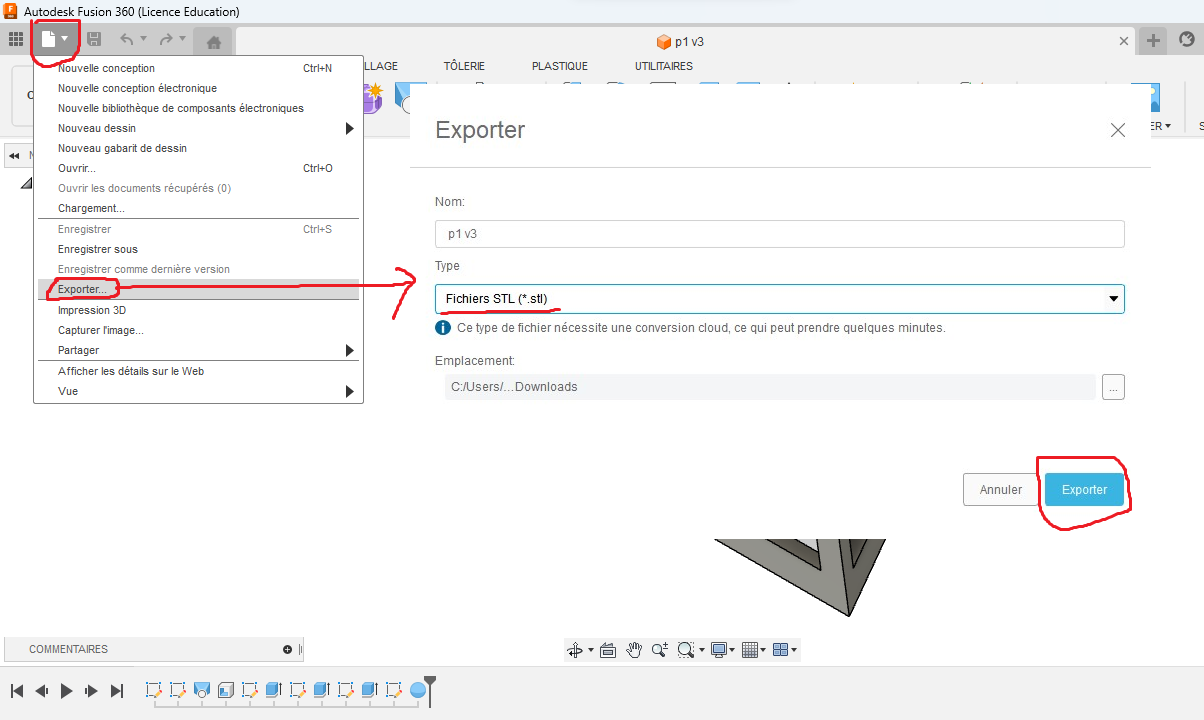
Step_12 : click on Export…, choose as file type STL Files (*.stl) and click on Export
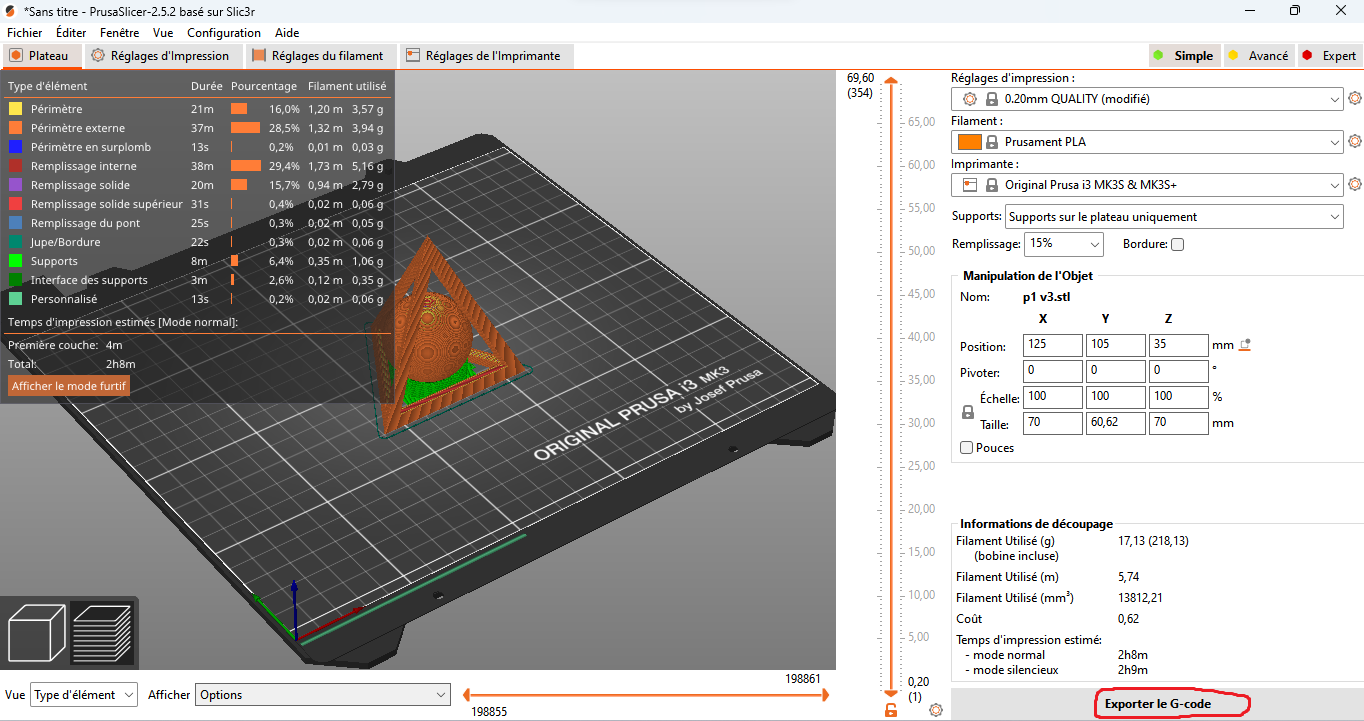
2.2. Generation of the 3D printing file (G-code)
Once the 3d design is finished we will move to the generation of the print file (G-code) for our 3D Printer. to do this we use PrusaSlicer.
- Open the STL file with PrusaSlicer, for the parameterization we used the values circled in red below. Once the parameters are filled click on Slice now .

- Click on “Export G-code” and save the file on the printer’s SD card
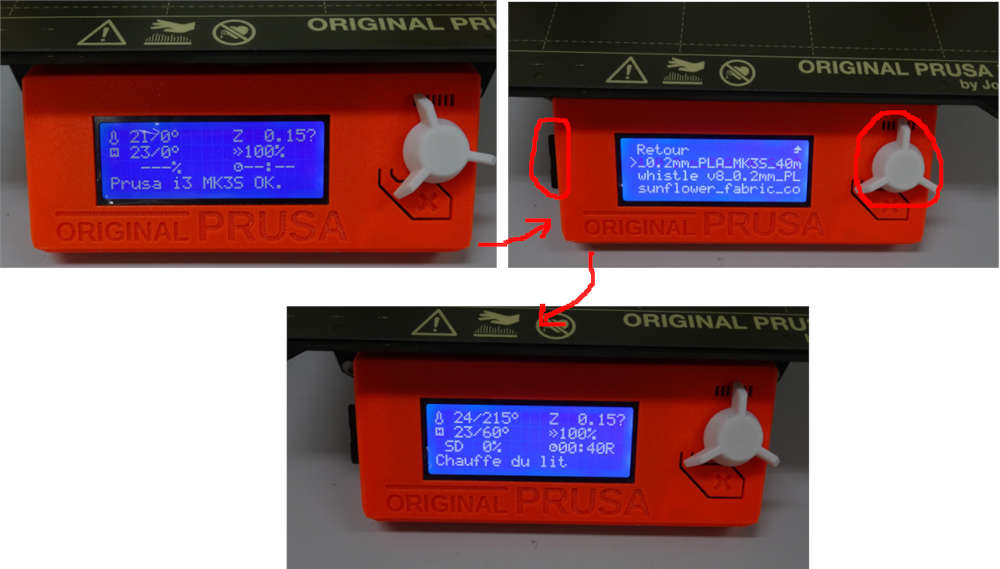
3. 3D Printing
- Turn on the 3D printer, insert the SD card and turn the white knob to select the file to be printed as shown below and click once on the knob to start printing.
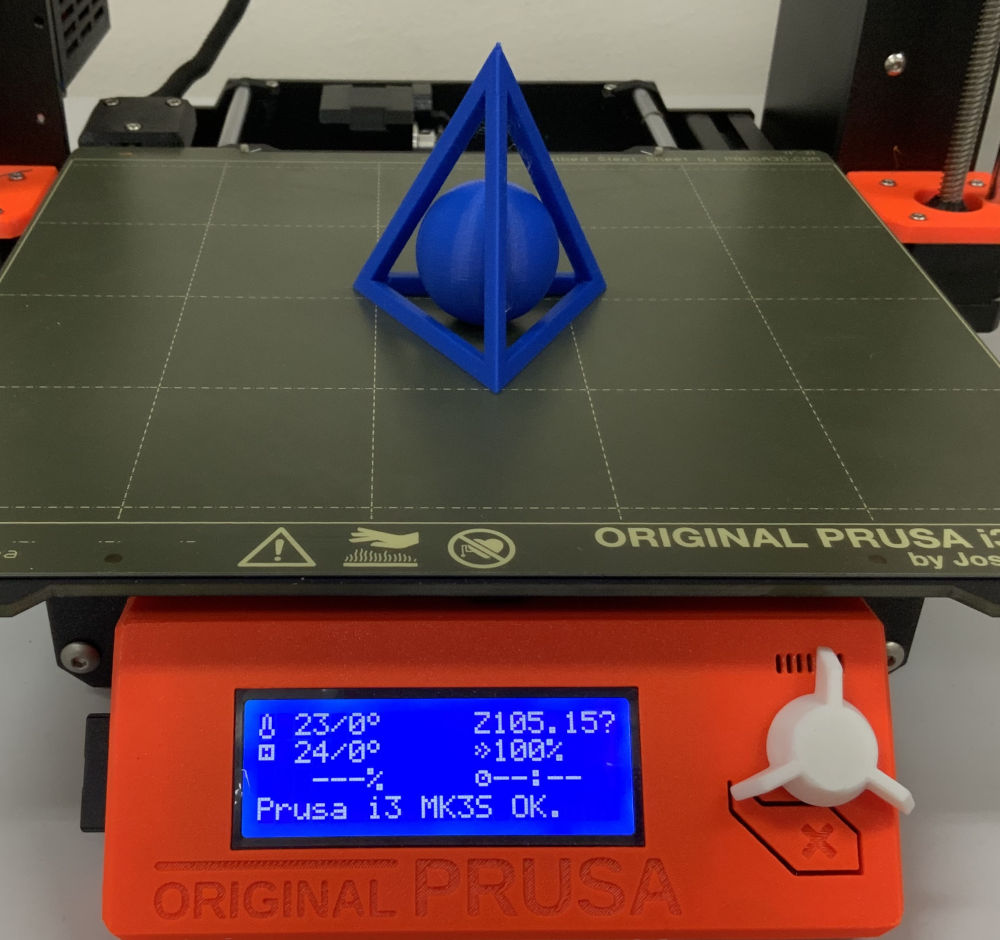
- Once the print head and plate have been heated, the 3D printer calibrates the Z axis before starting to print.

**hero photo ** 😊😊😊
3D Scan
1. overview
1.1. What is 3D scanning
A 3D scanner collects data on the surface of an object to create a three-dimensional representation.
1.2. Our 3D scanner
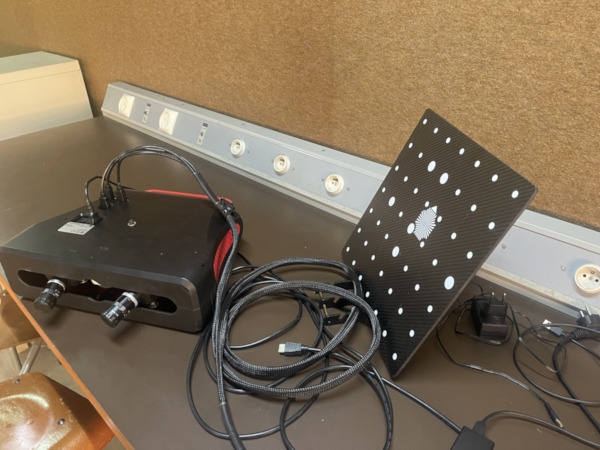
1.3. Tools for scanning
To make scan, you can use a 3D Scanner, camera, drone, phone and software. I will use our Iphone and software KIRI Engine
1.4. Hero shots

2. Scan an object with KIRI Engine app
I explained how to scan an object with a smart phone and mobile app KIRI Engine. Very easy to do it. try to follow all step below.
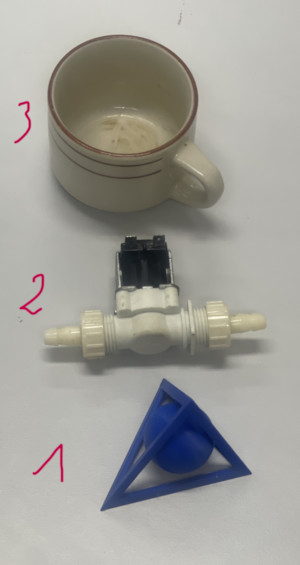
Here the objects I tried to scan
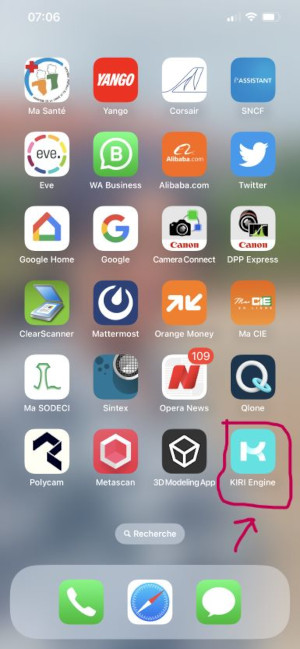
Step_01 : install software KIRI Engine in your phone
-
If you are an Iphone, open Apple Store and write KIRI Engine in your search bar. When you find the app, install it.
-
register with your e-mail address and open it.
Step_02 : Position your object
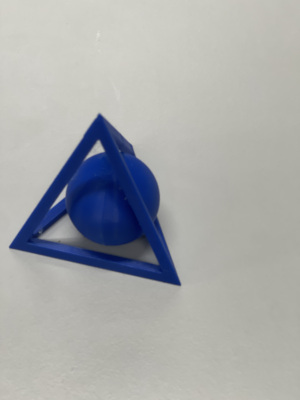
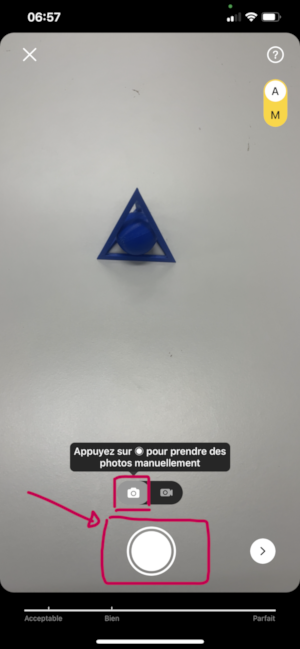
Step_03 : chose take picture
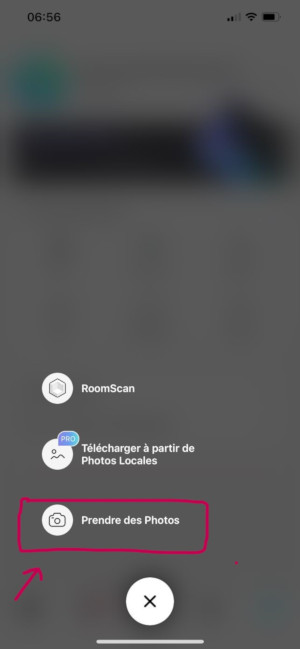
Step_04 : take a picture
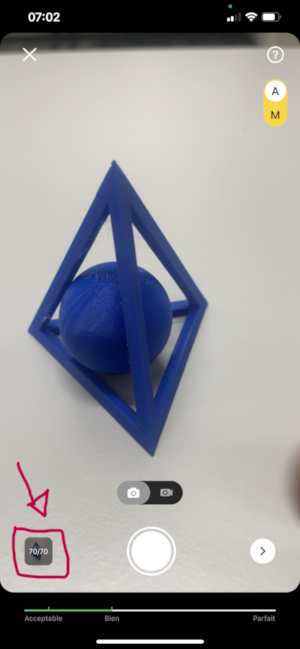
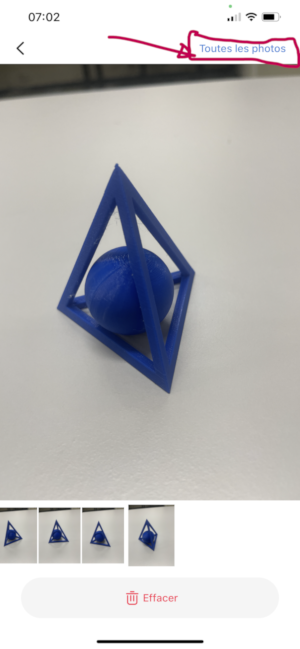
Step_05 : take 70 pictures in differents positions
Step_07 :
Step_08 :
Step_09 :
Step_10 :

Step_11 :
Step_12 :
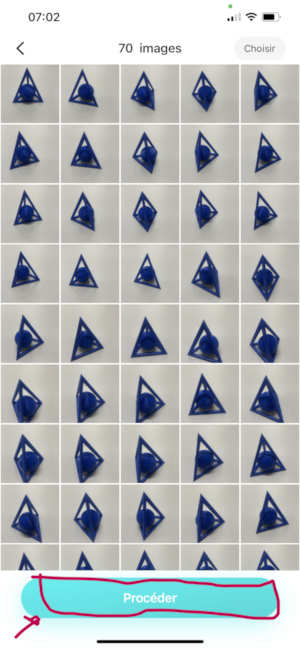
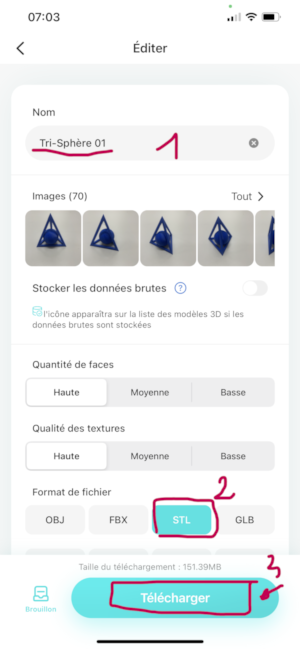
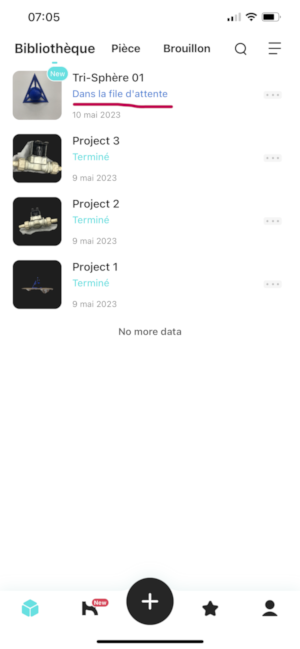
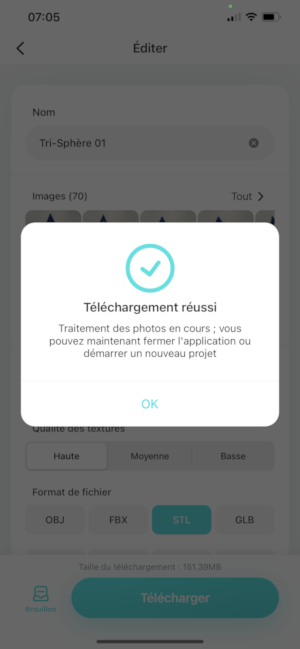
At this point, the object is scanned. We now need to download the STL file and move on to 3D printing.
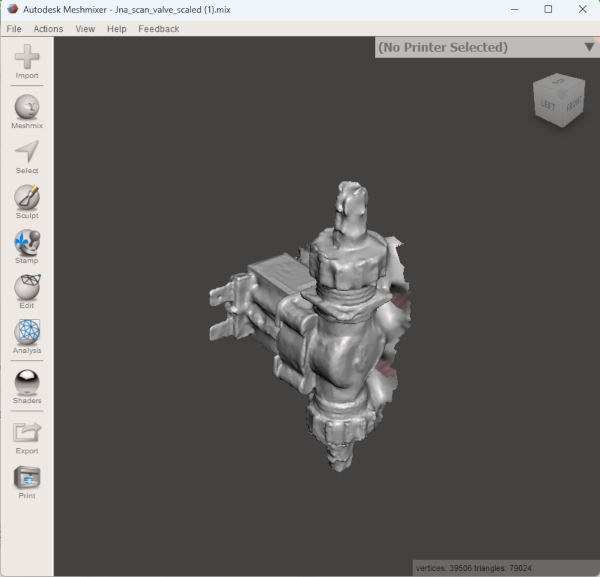
3. correct the STL file with
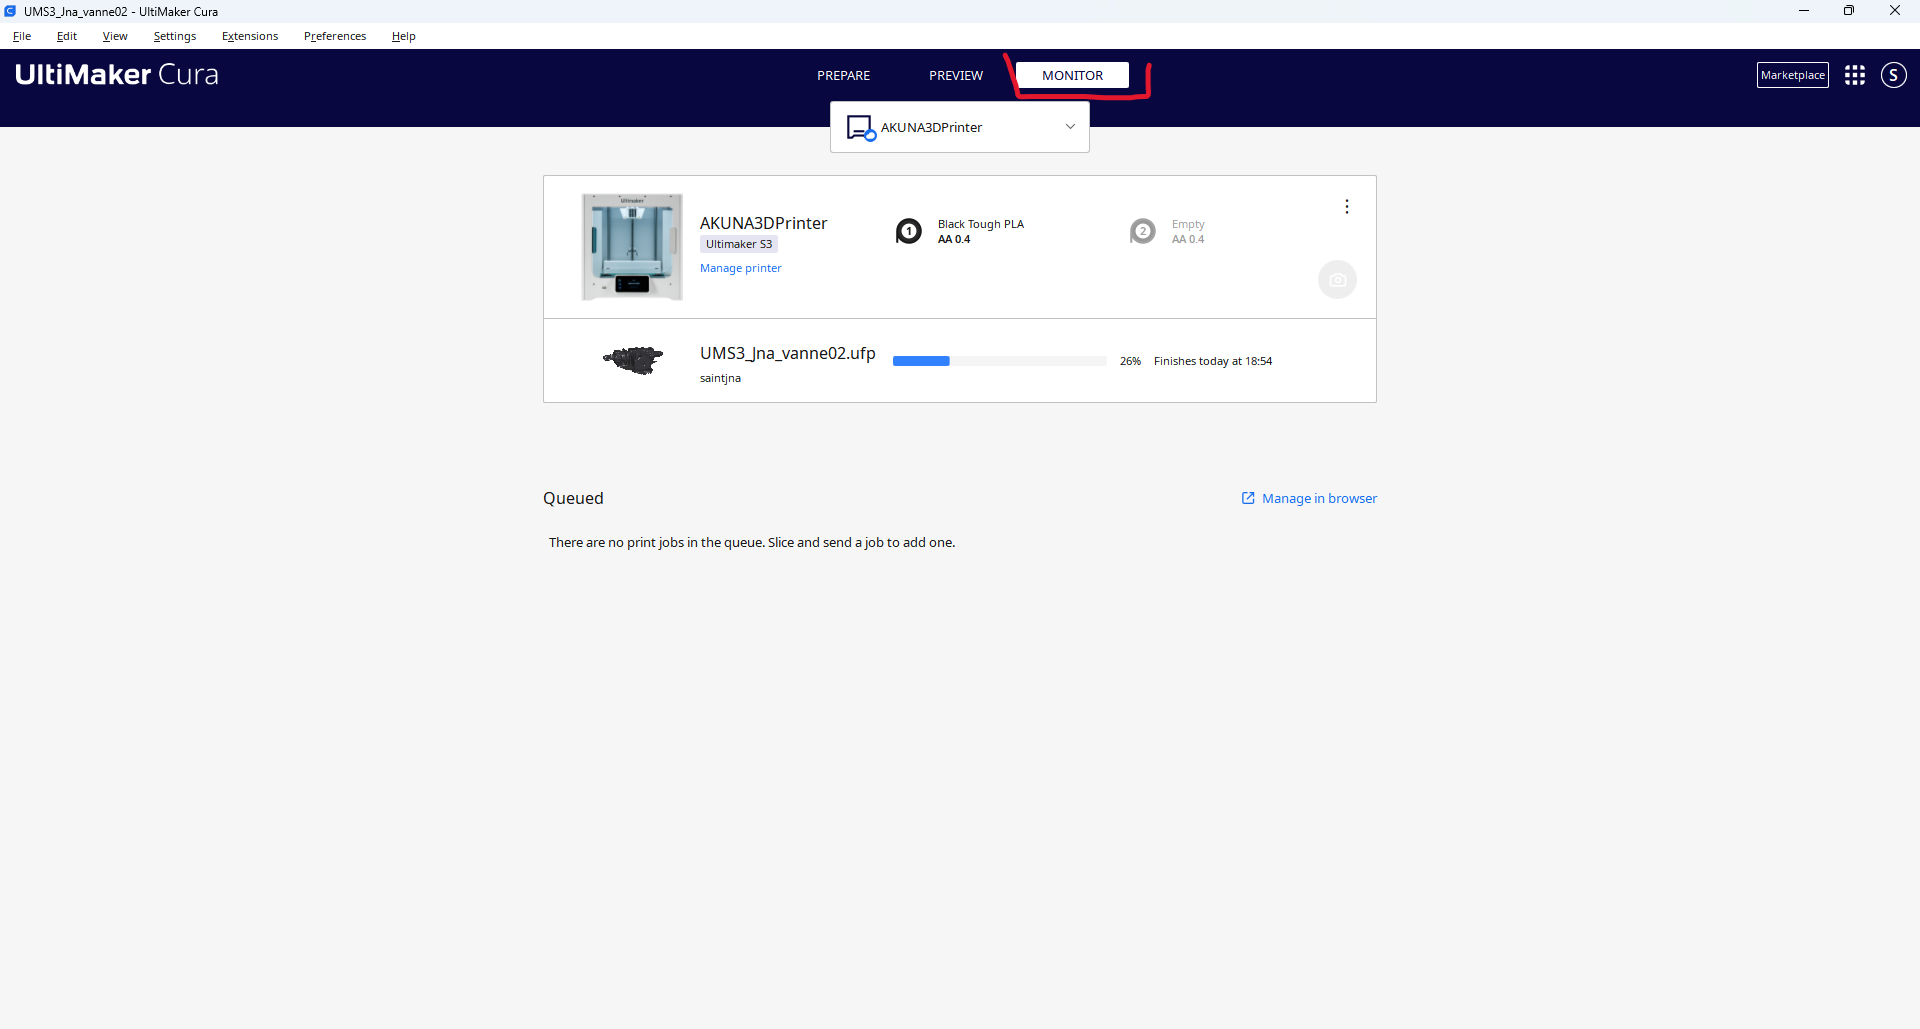
4. Print the final file using Cura
Step_01 :
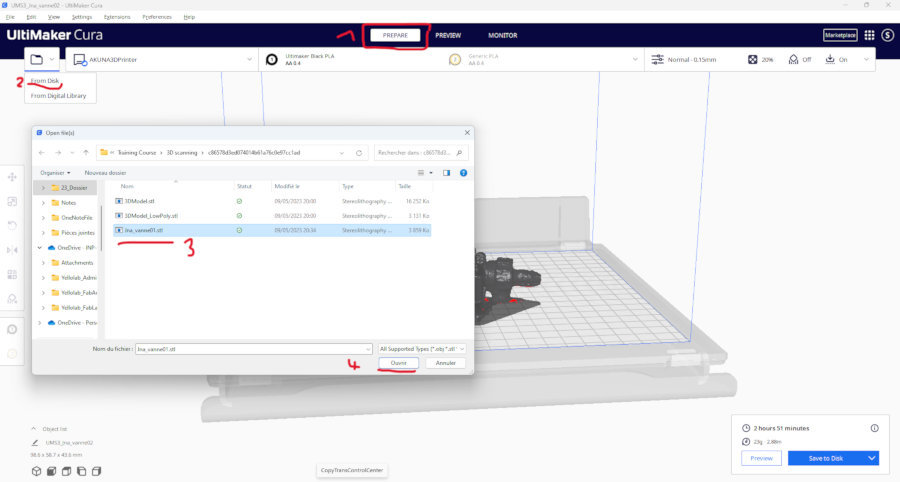
Step_02 :
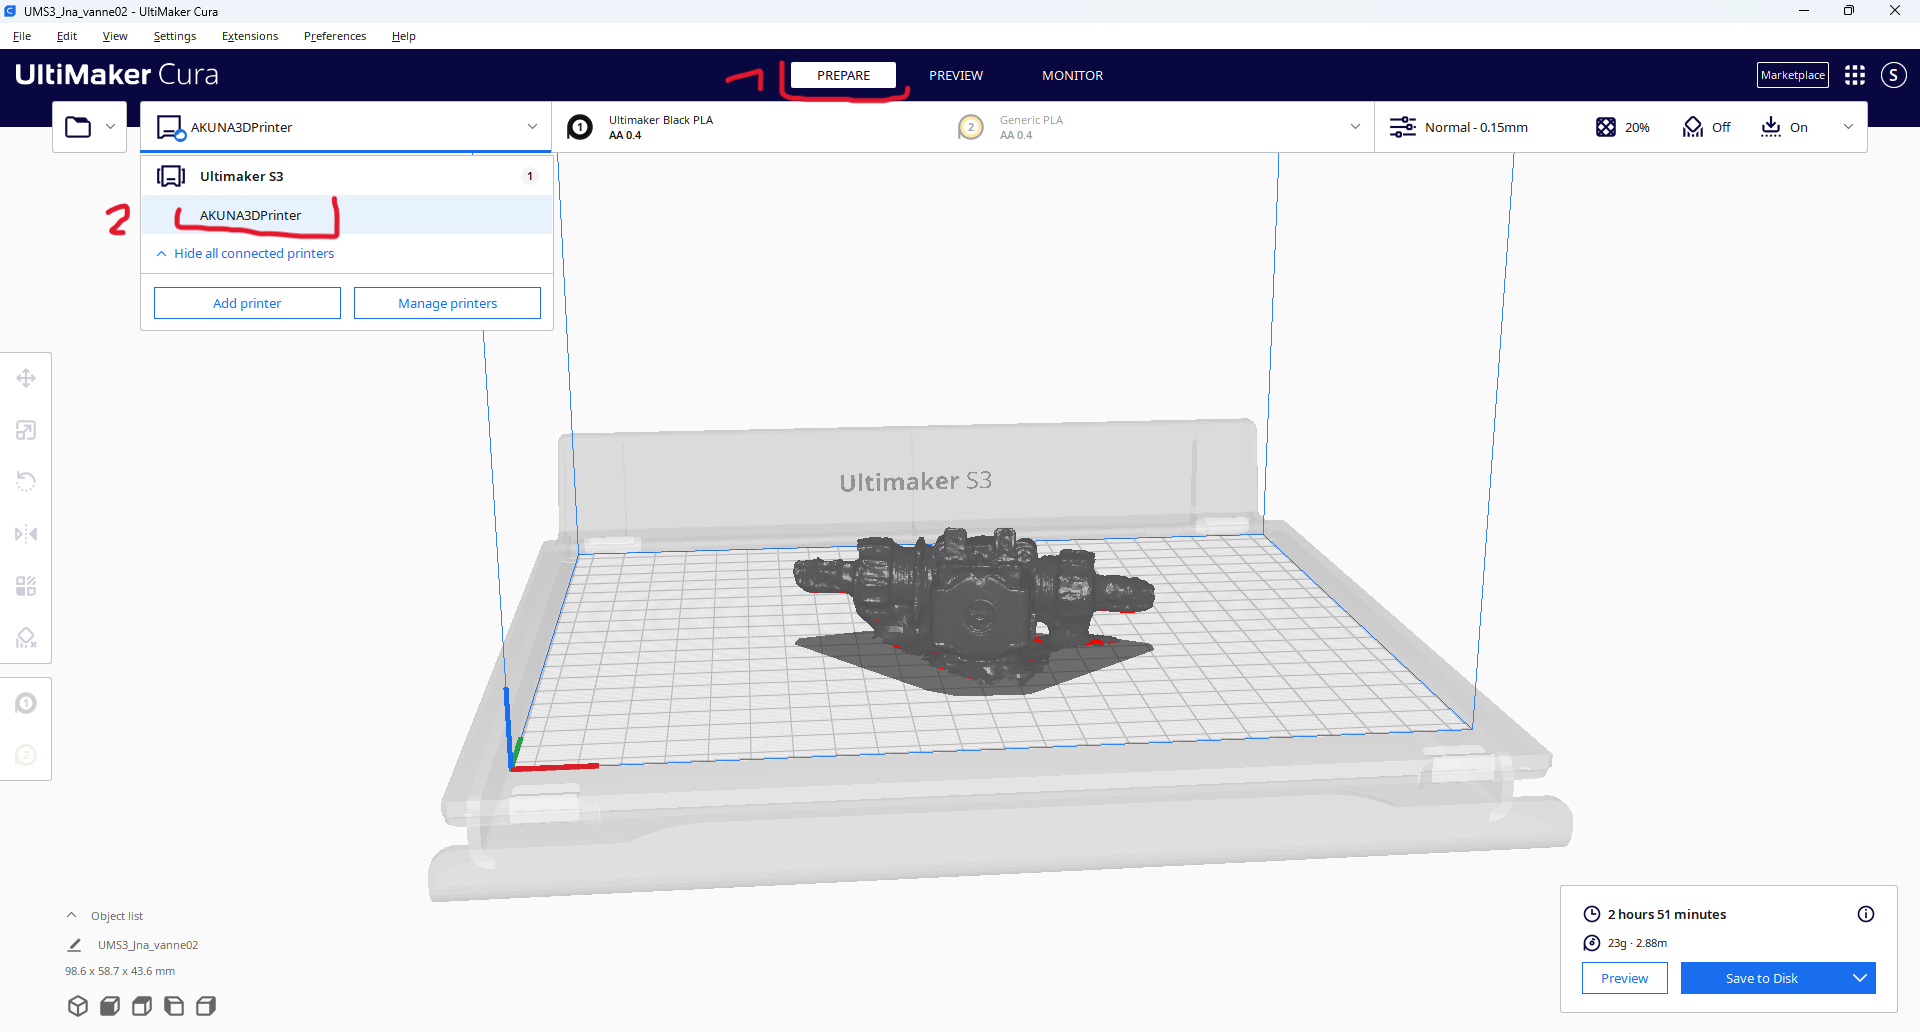
Step_03 :
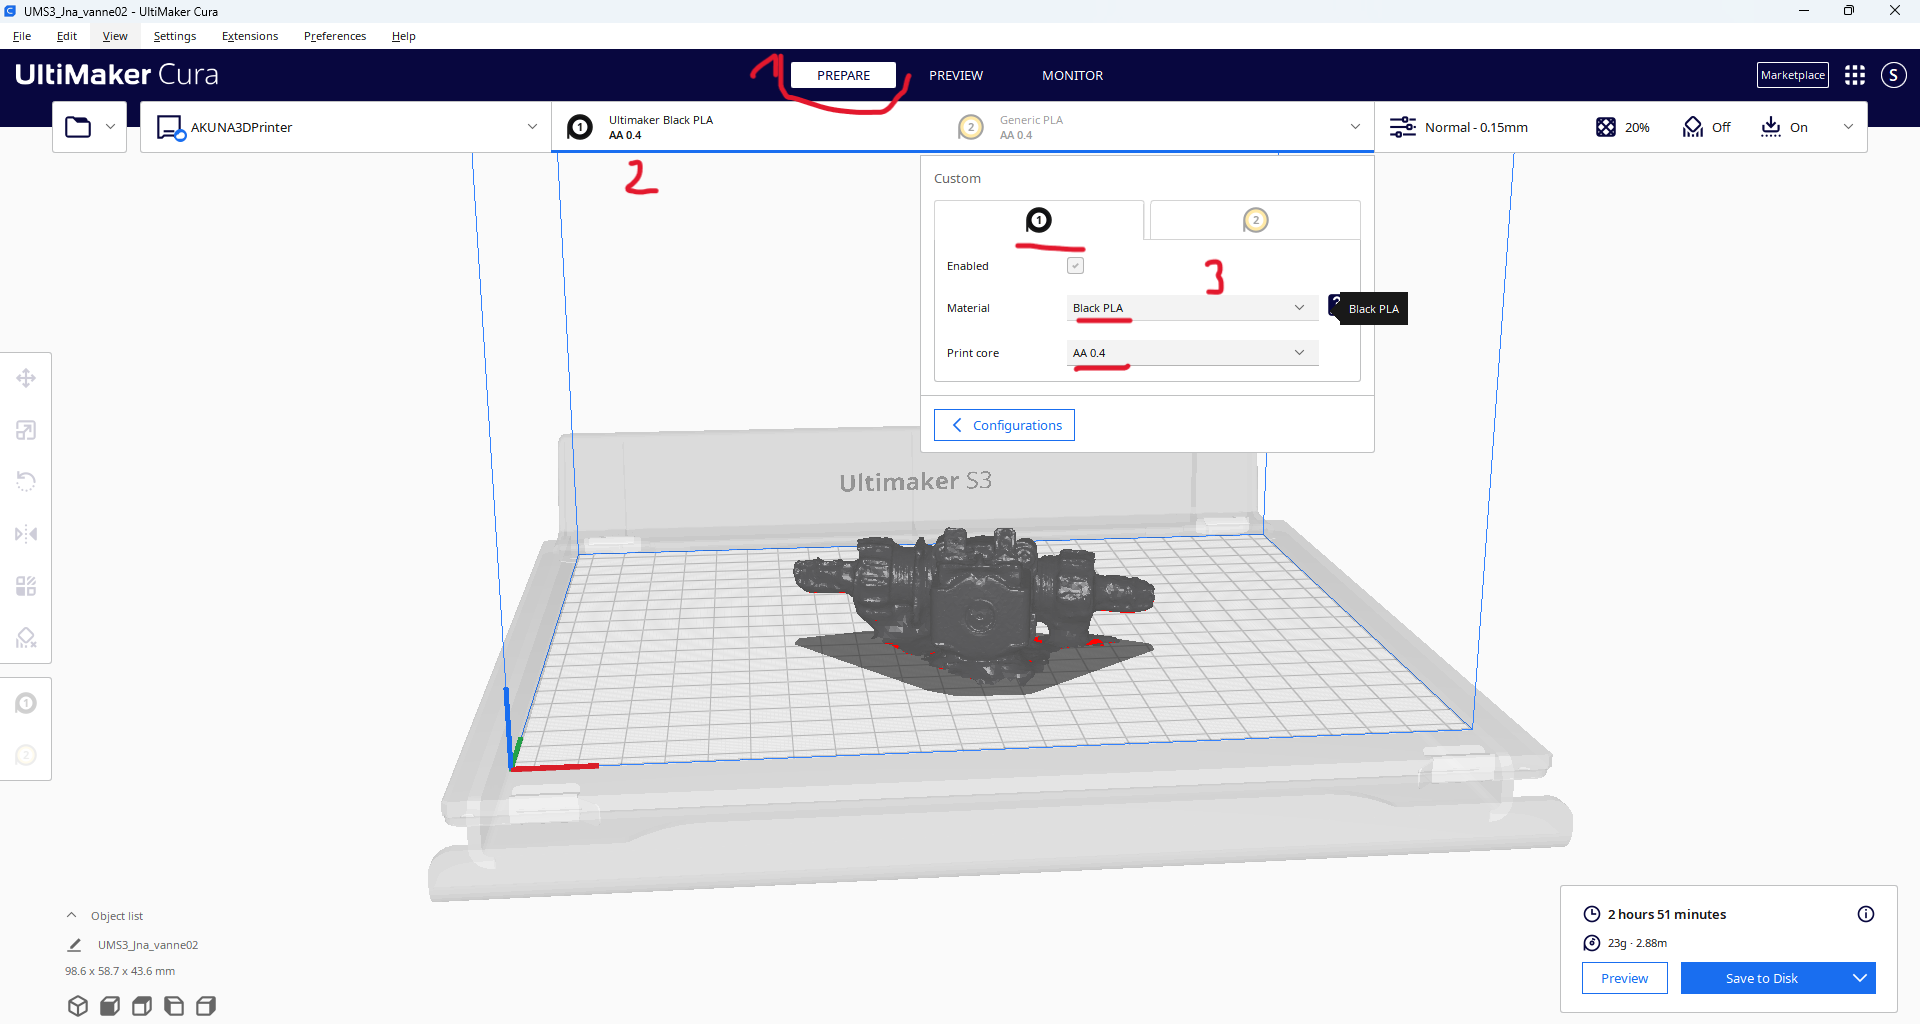
Step_04 :
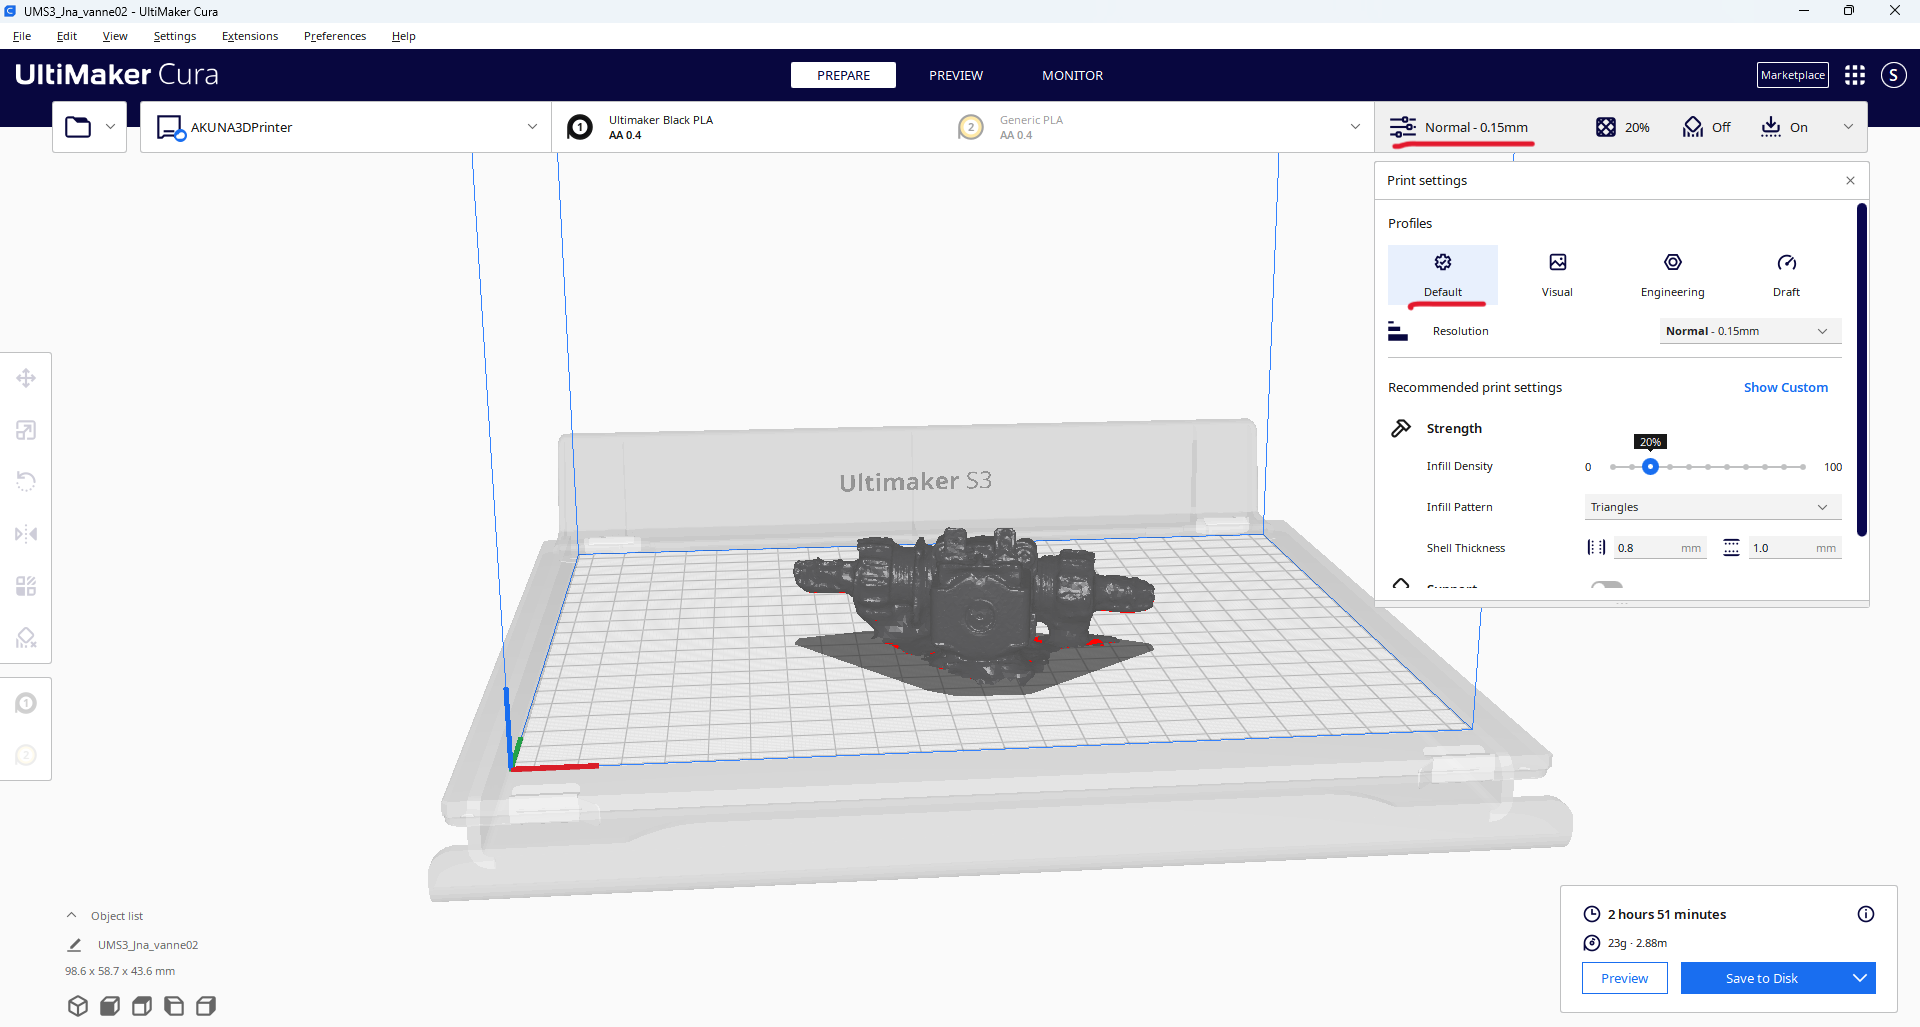
Step_05 :
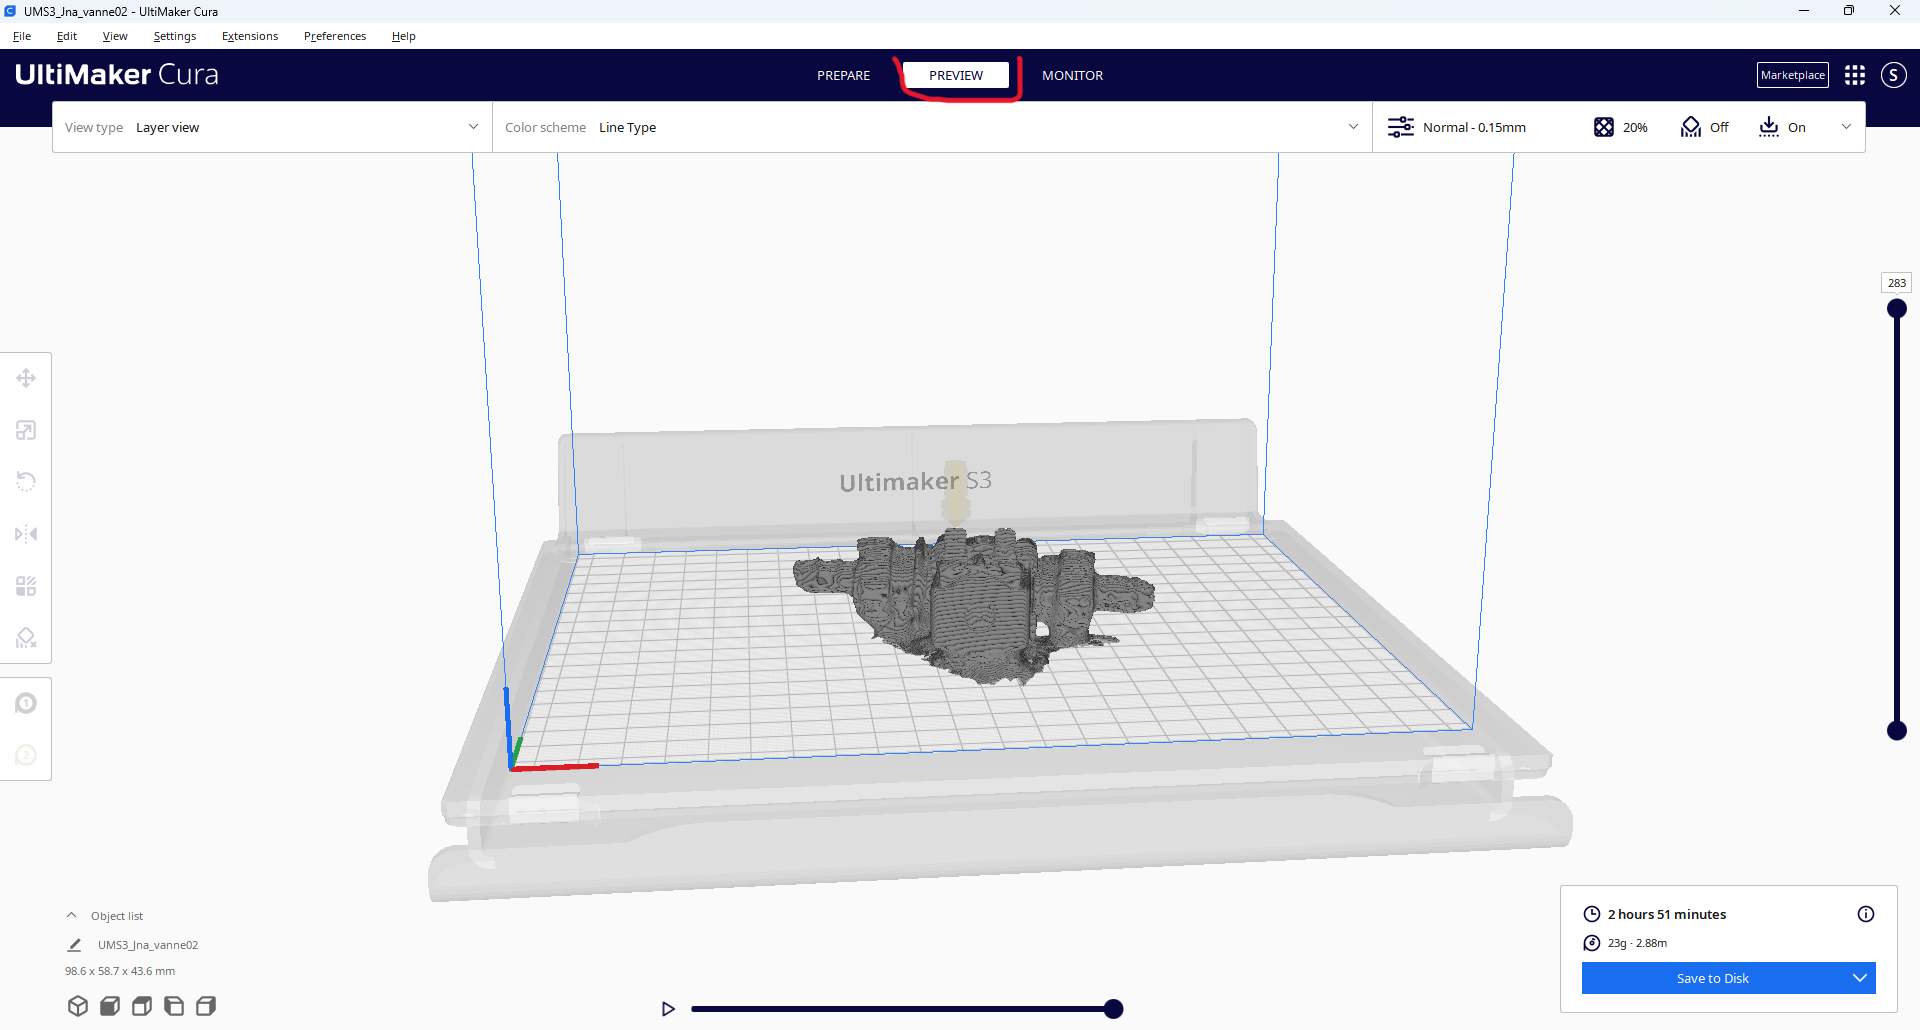
Step_06 :
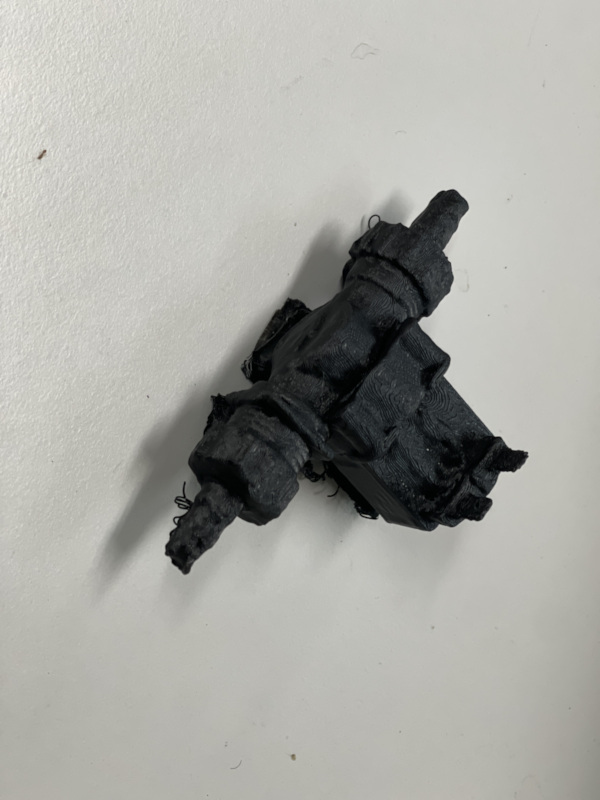
Scanned valve