WEEK3. Computer controlled cutting
Group assignment:
- Characterize your laser cutter’s focus, power, speed, rate, kerf, and joint clearance.
To see our group assignment click here
Individual assignments:
-
Design, lasercut, and document a parametric press-fit construction kit, which can be assembled in multiple ways. Account for the laser cutter kerf.
-
Cut something on the vinyl cutter.
1. Parametric design
for the parametric design of our press-fit kit solidworks this is my step
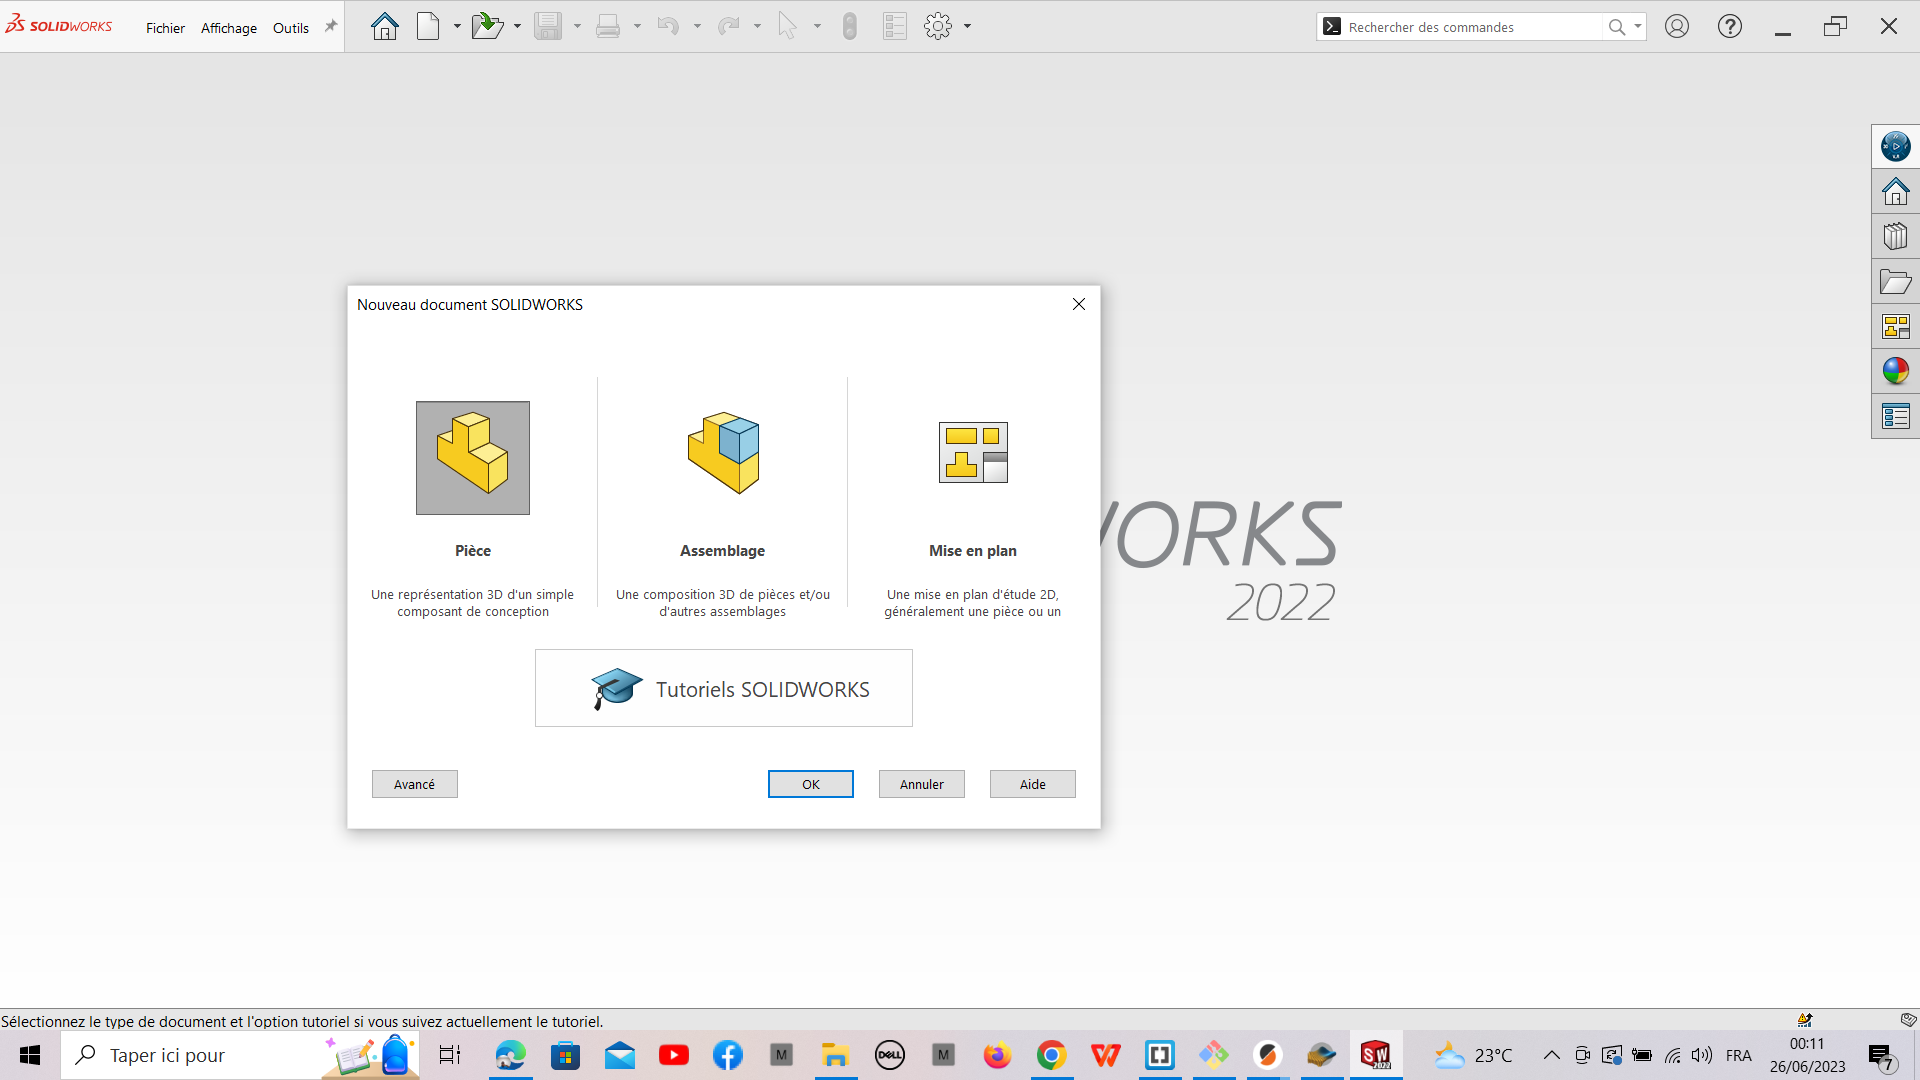
 1- open SolidWorks software
 2- chose part
 3- choice plan
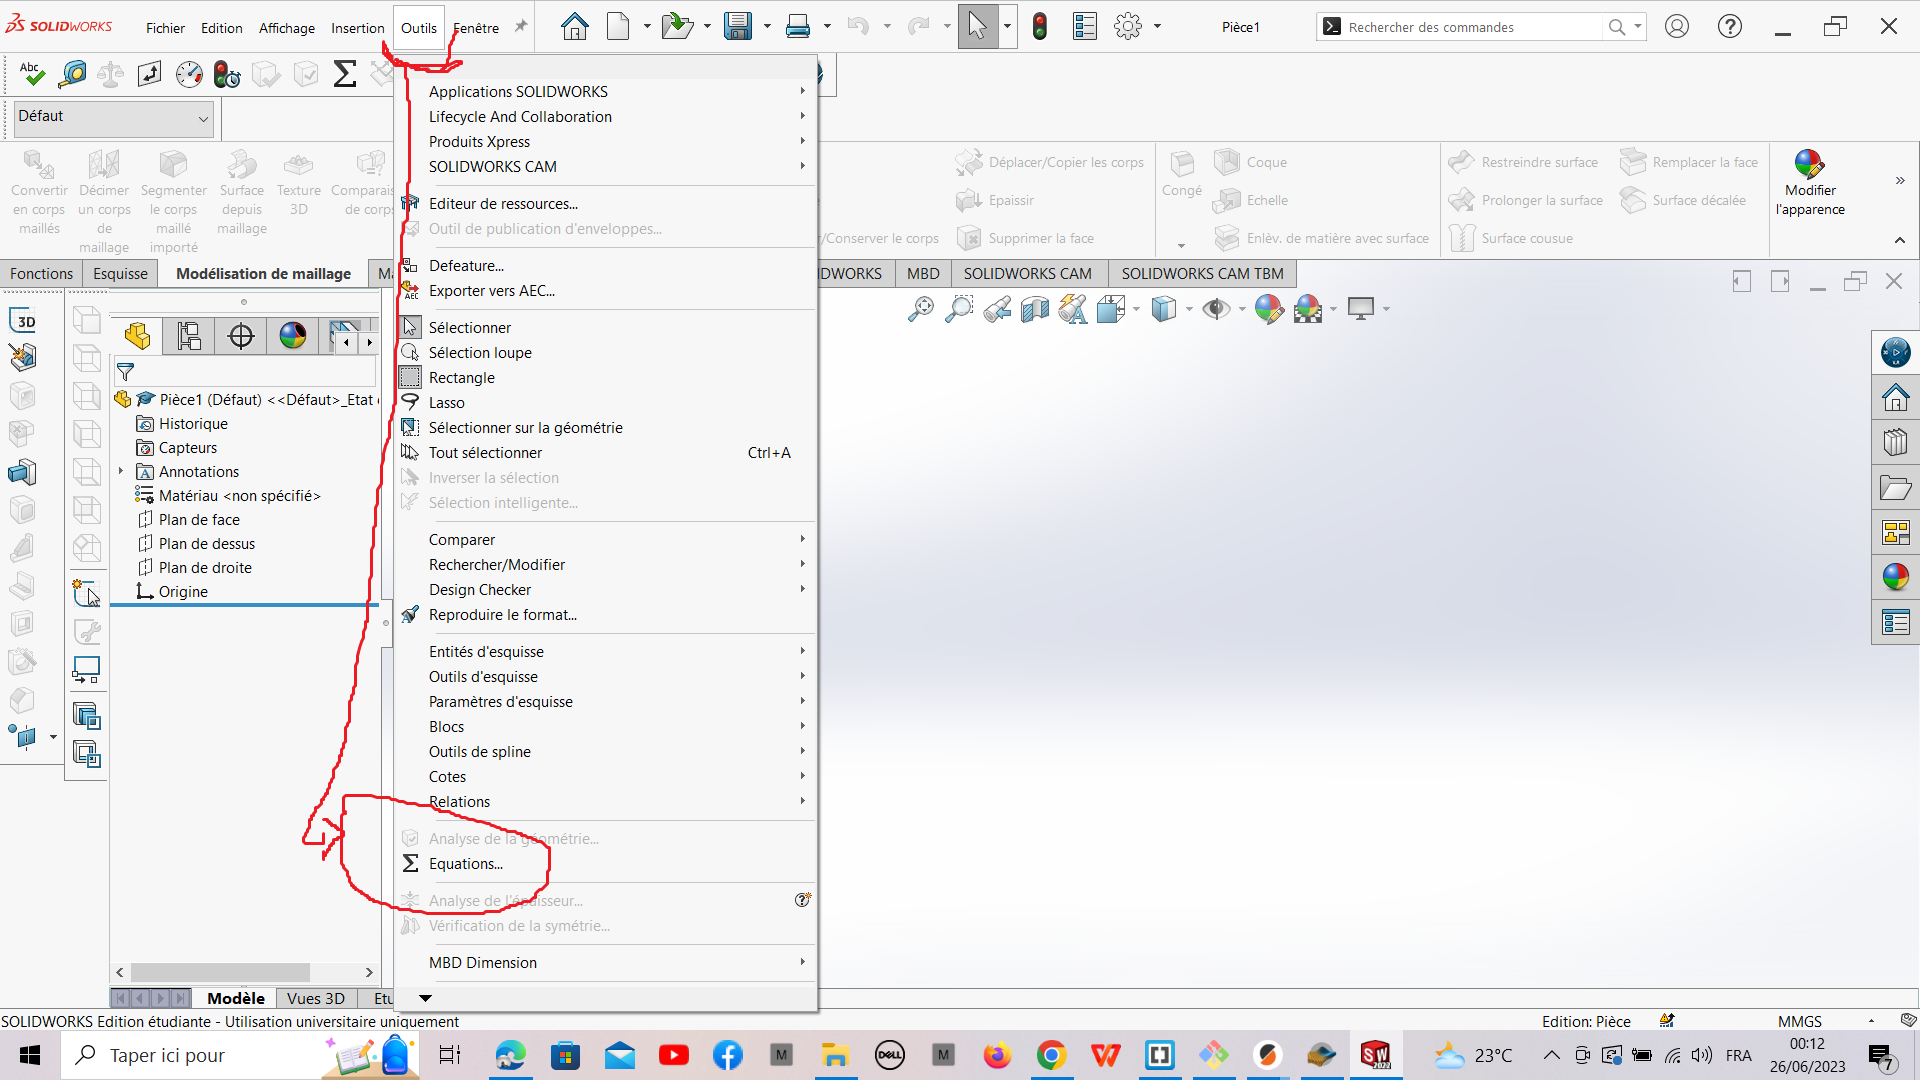
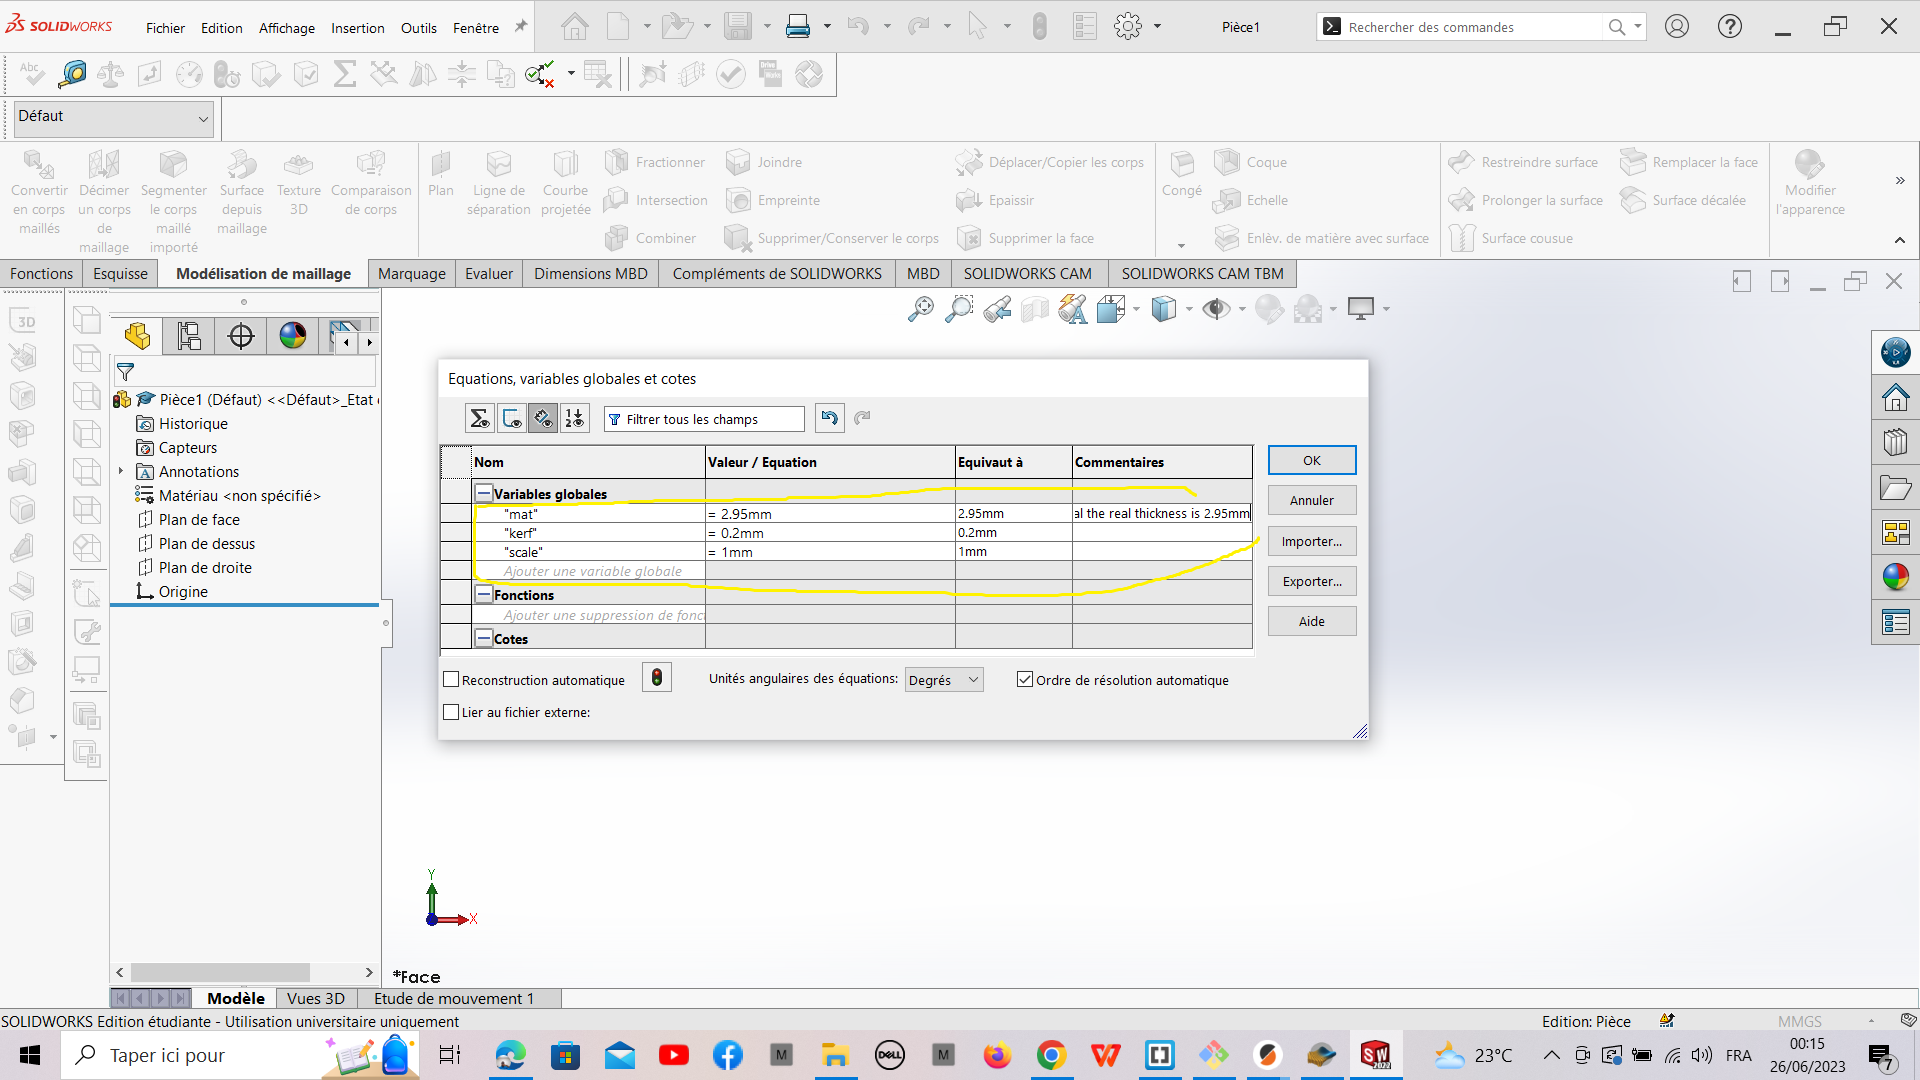
this is the main design parameters
| Parameters | Value |
|---|---|
| Materials | 3mm |
| KERF | 0.2 mm |
| cale | 1mm |
**i use this parameters in solidworks by do this.
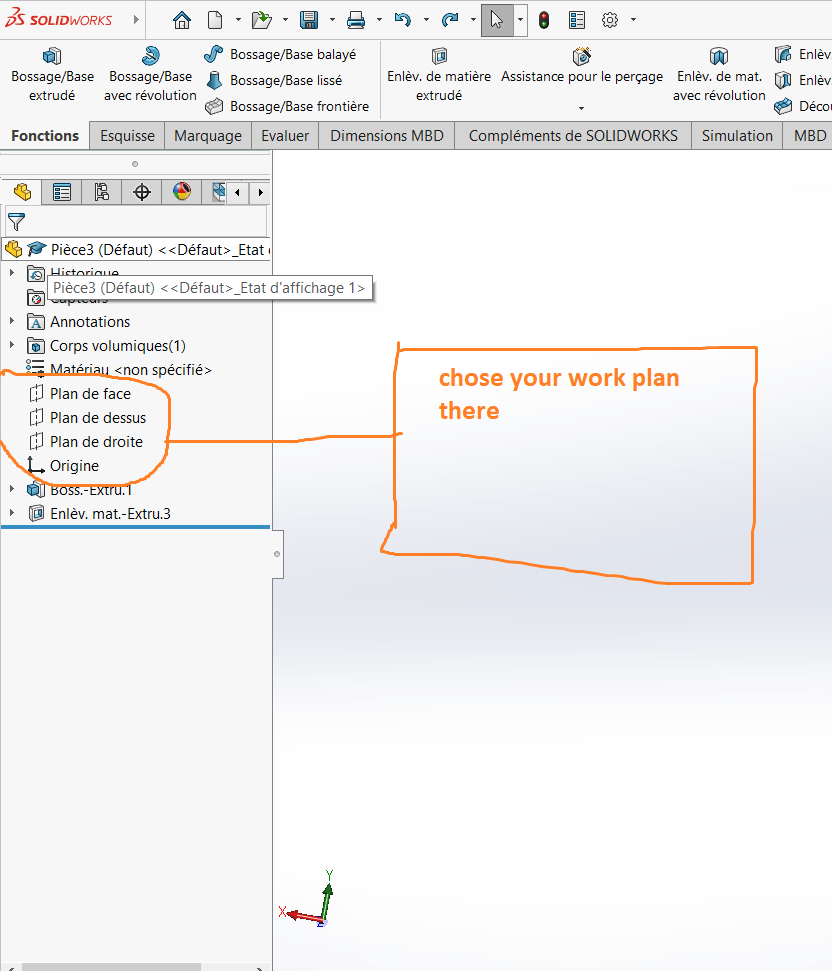
4- After the creation it is necessary to put the dimensions
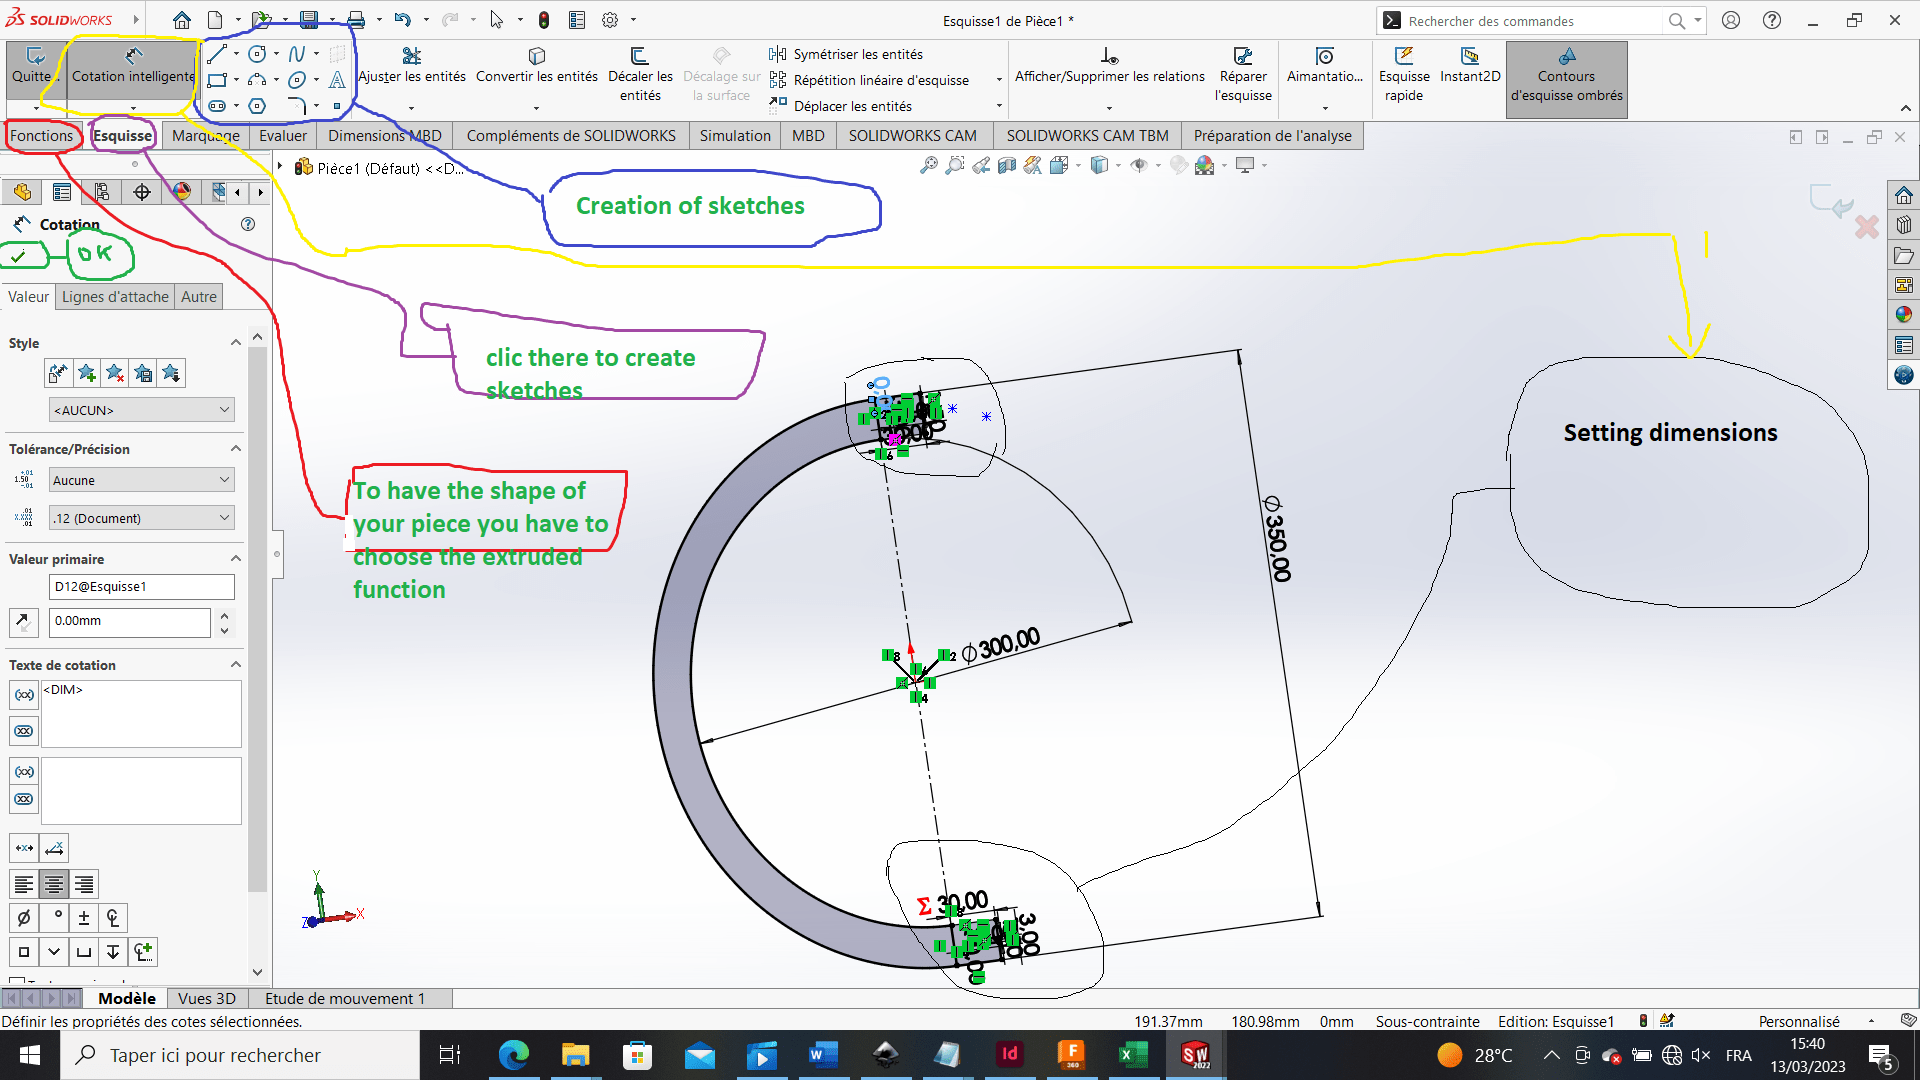
  5- It is now necessary to extrude to have the shape of the part
         Look at the image above to find out how to do it
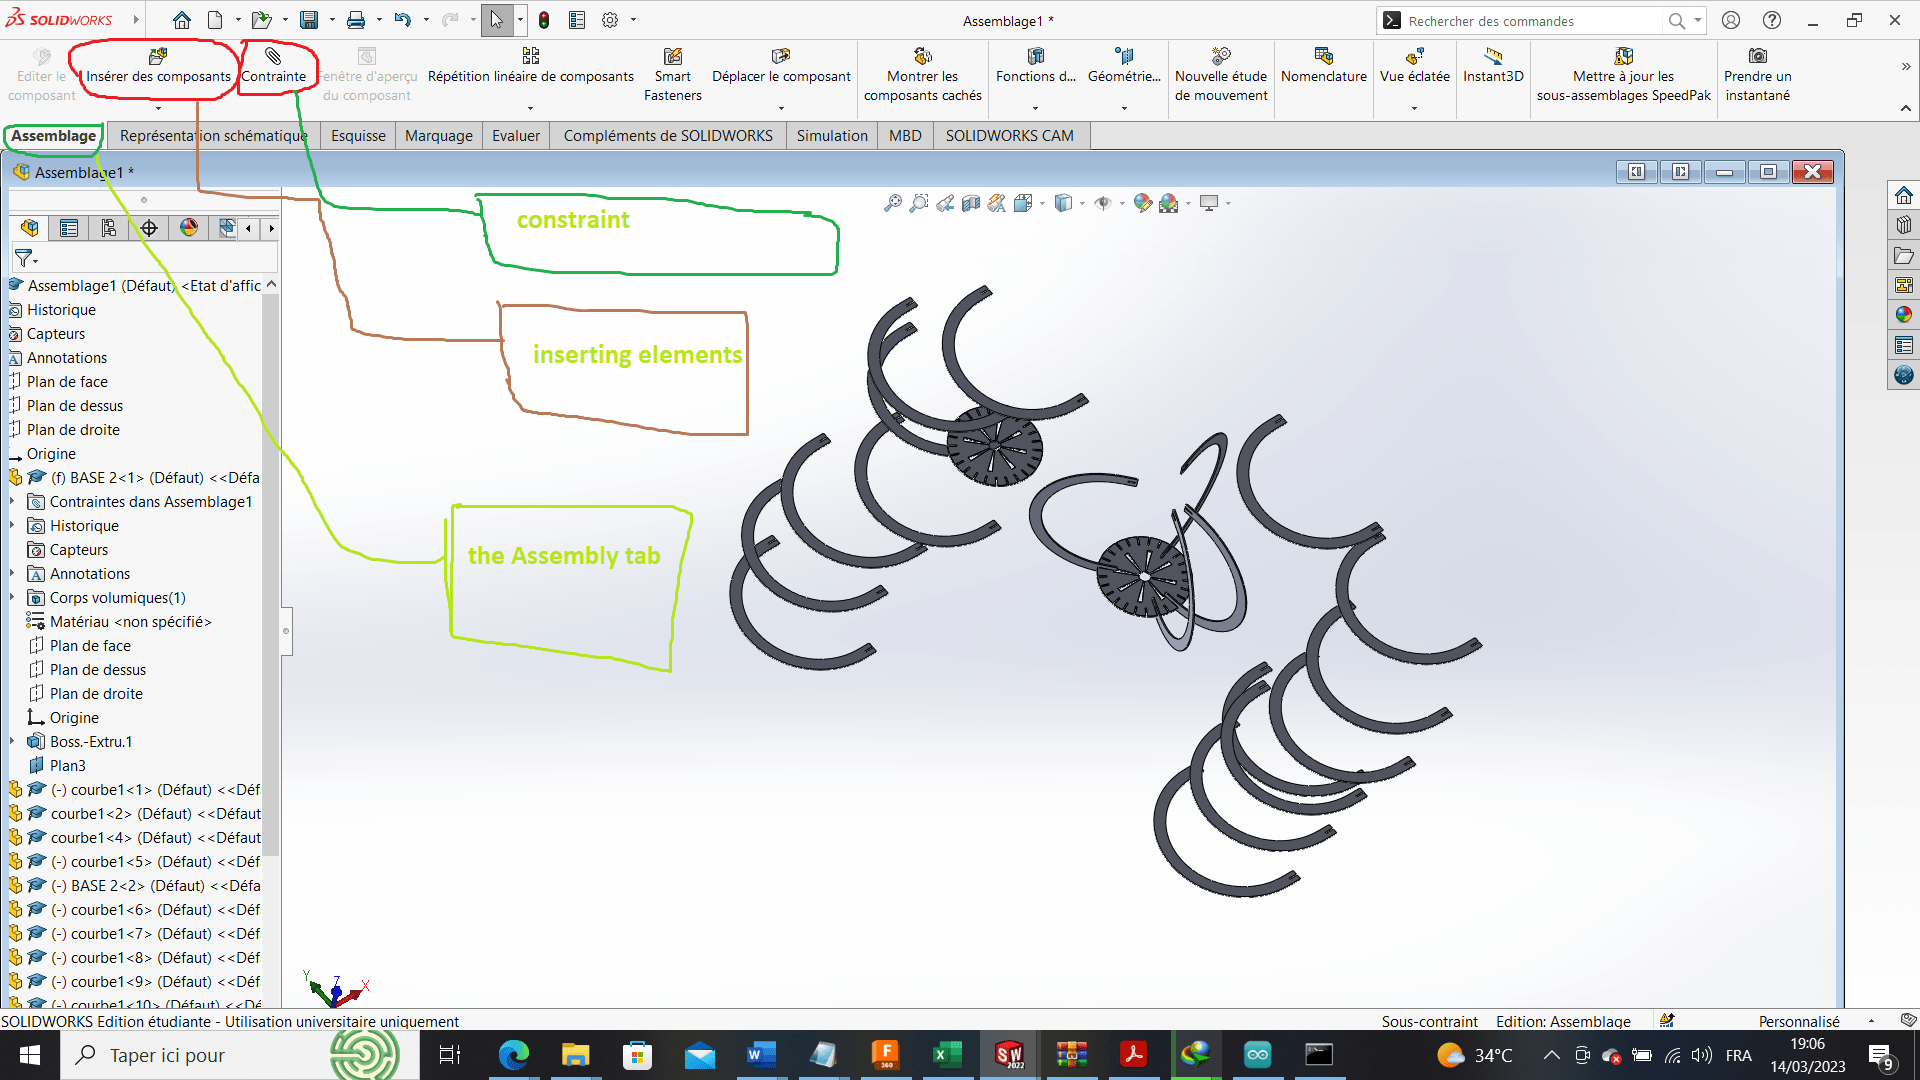
To ensure that the parts will be well assembled after cutting they must be assembled on the software. 6-In this part, we will focus on two functions on the Assembly tab - inserting elements; - constraint;
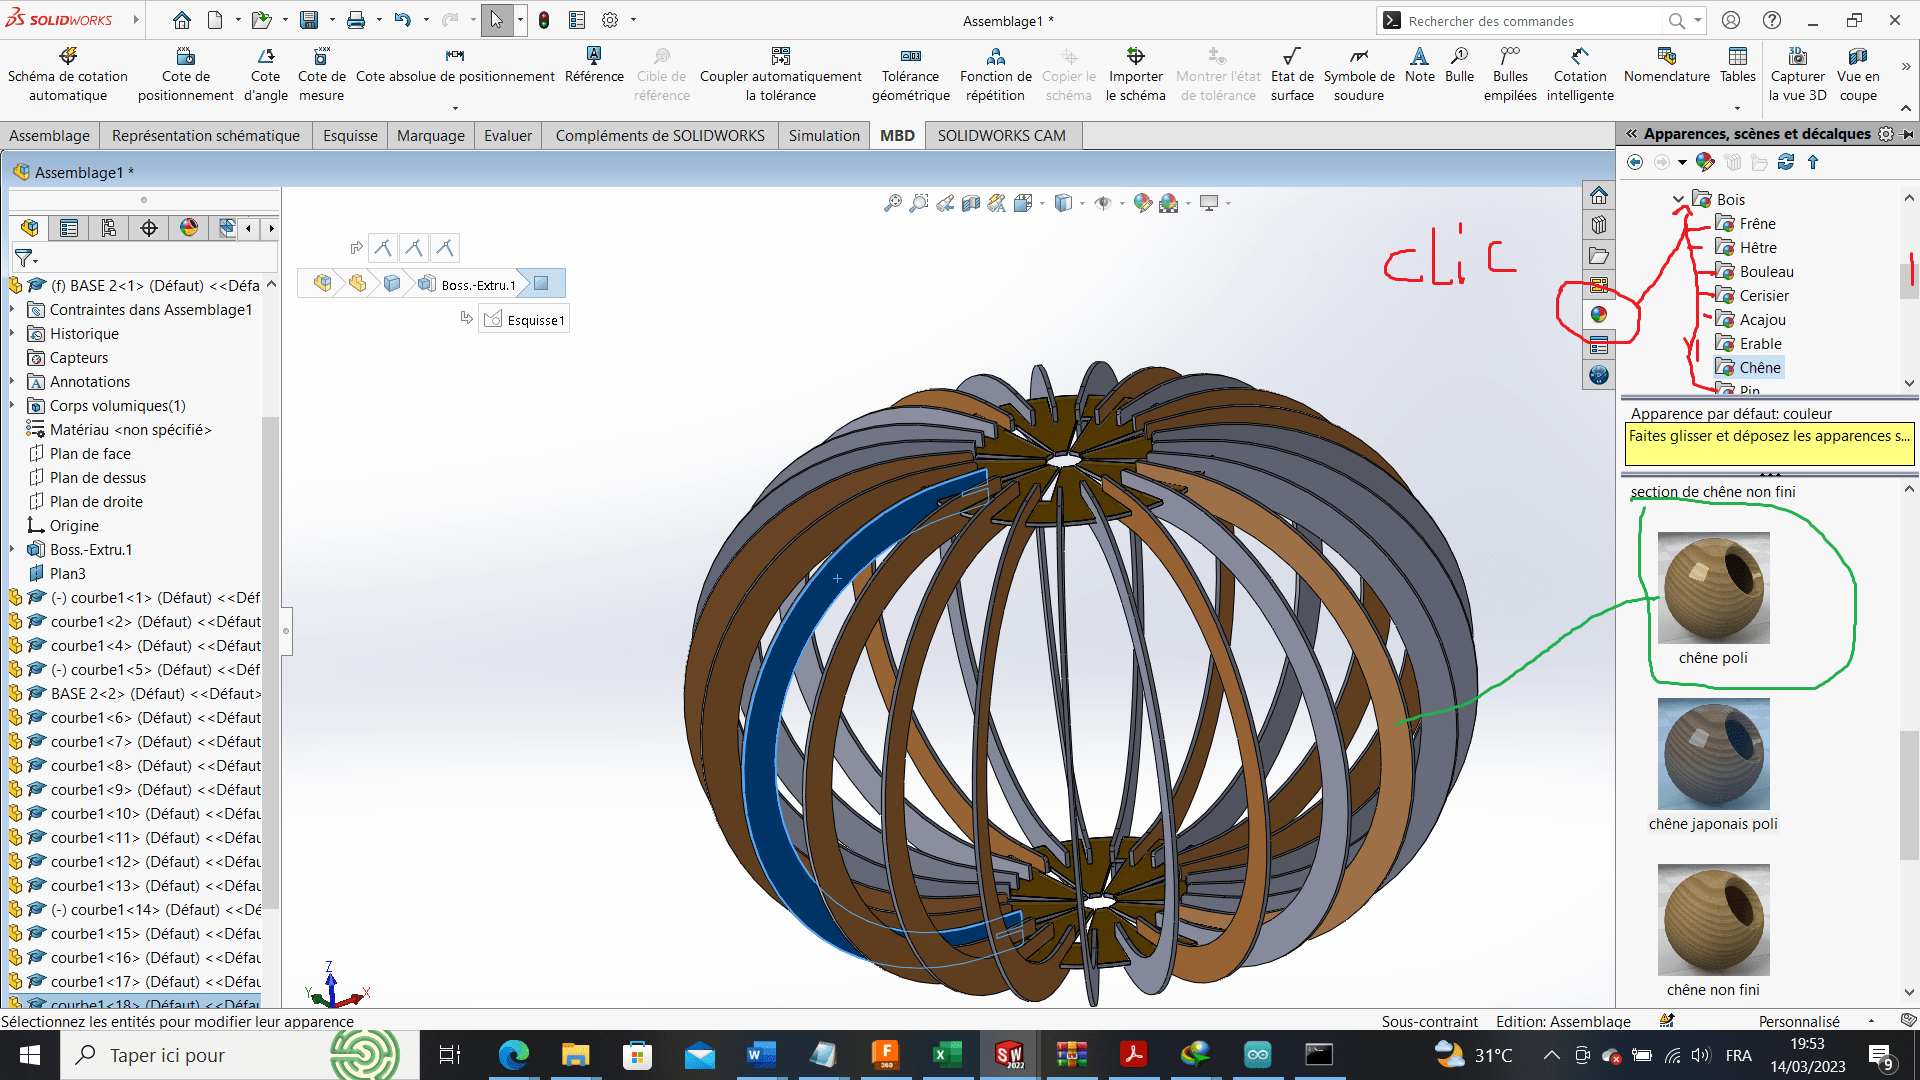
I made a rendering using the color tool
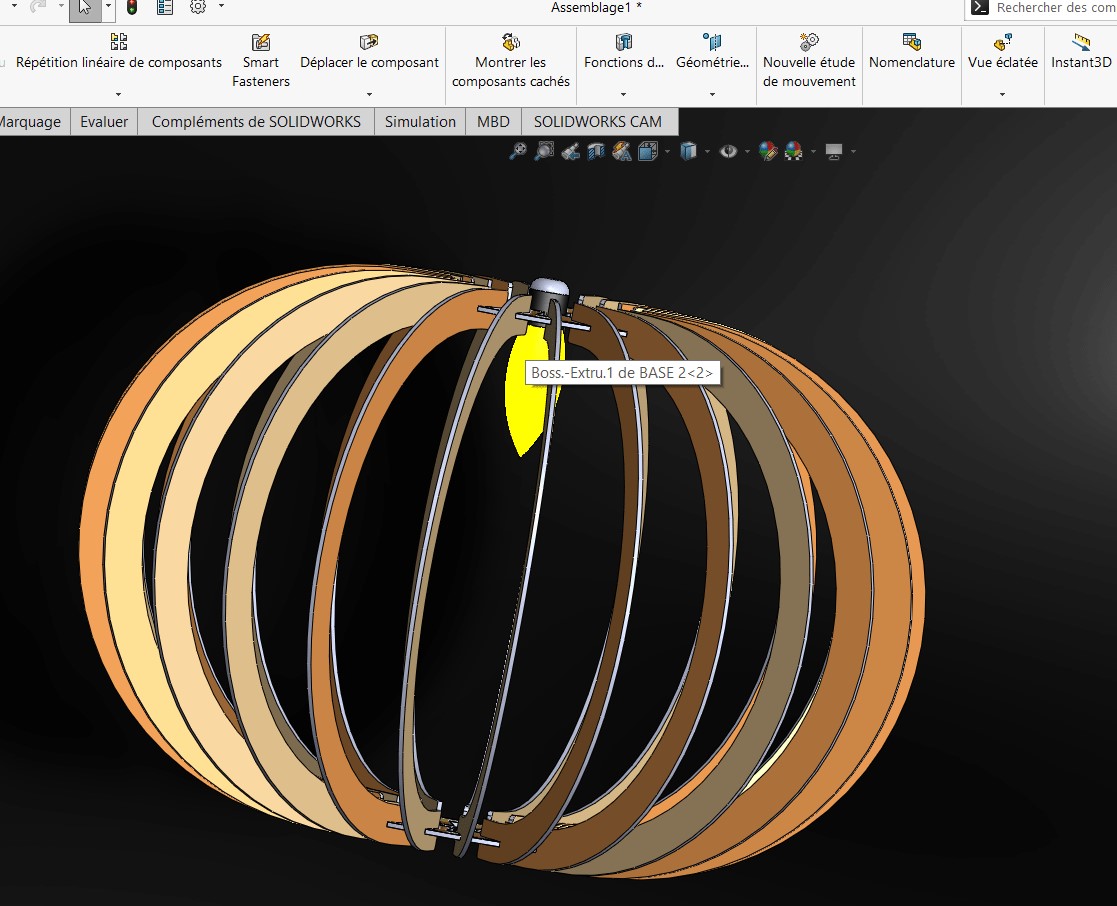
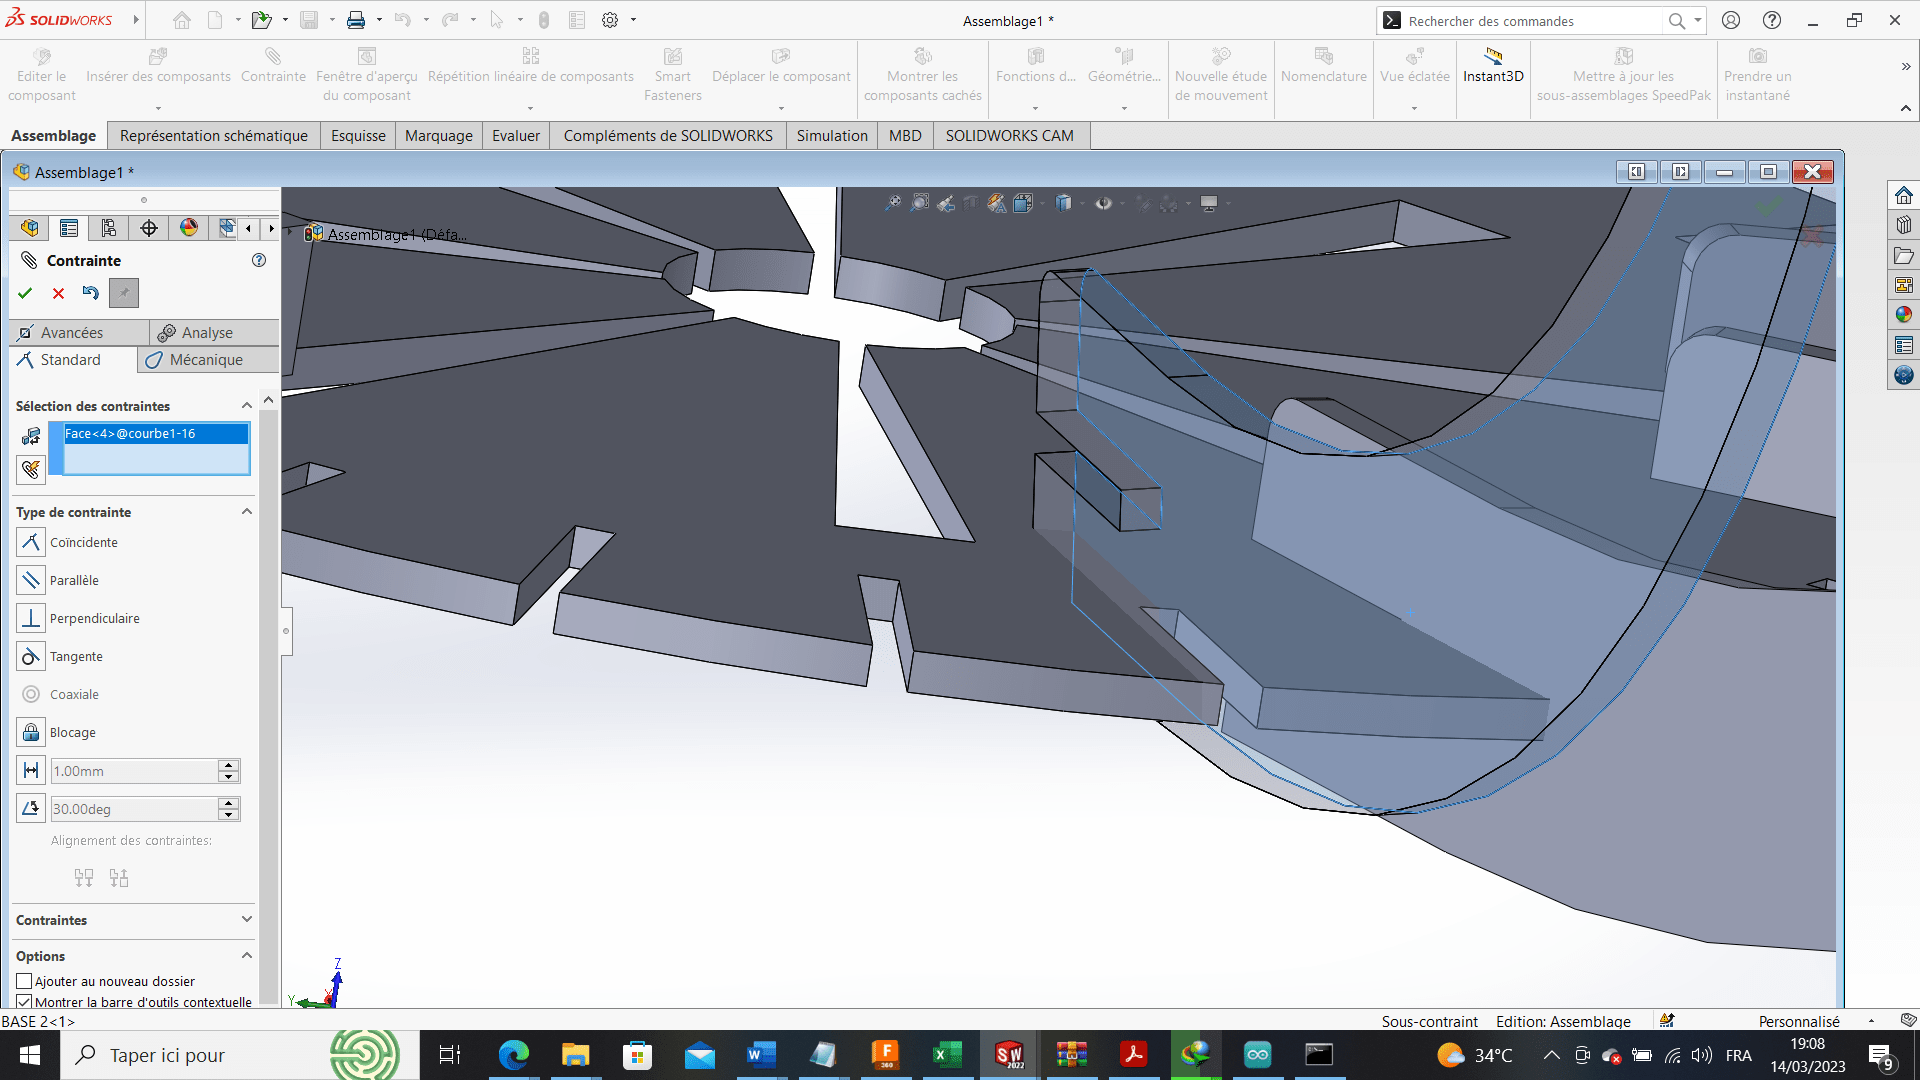
7- Once the elements are set up on the workspace we will now constrain them
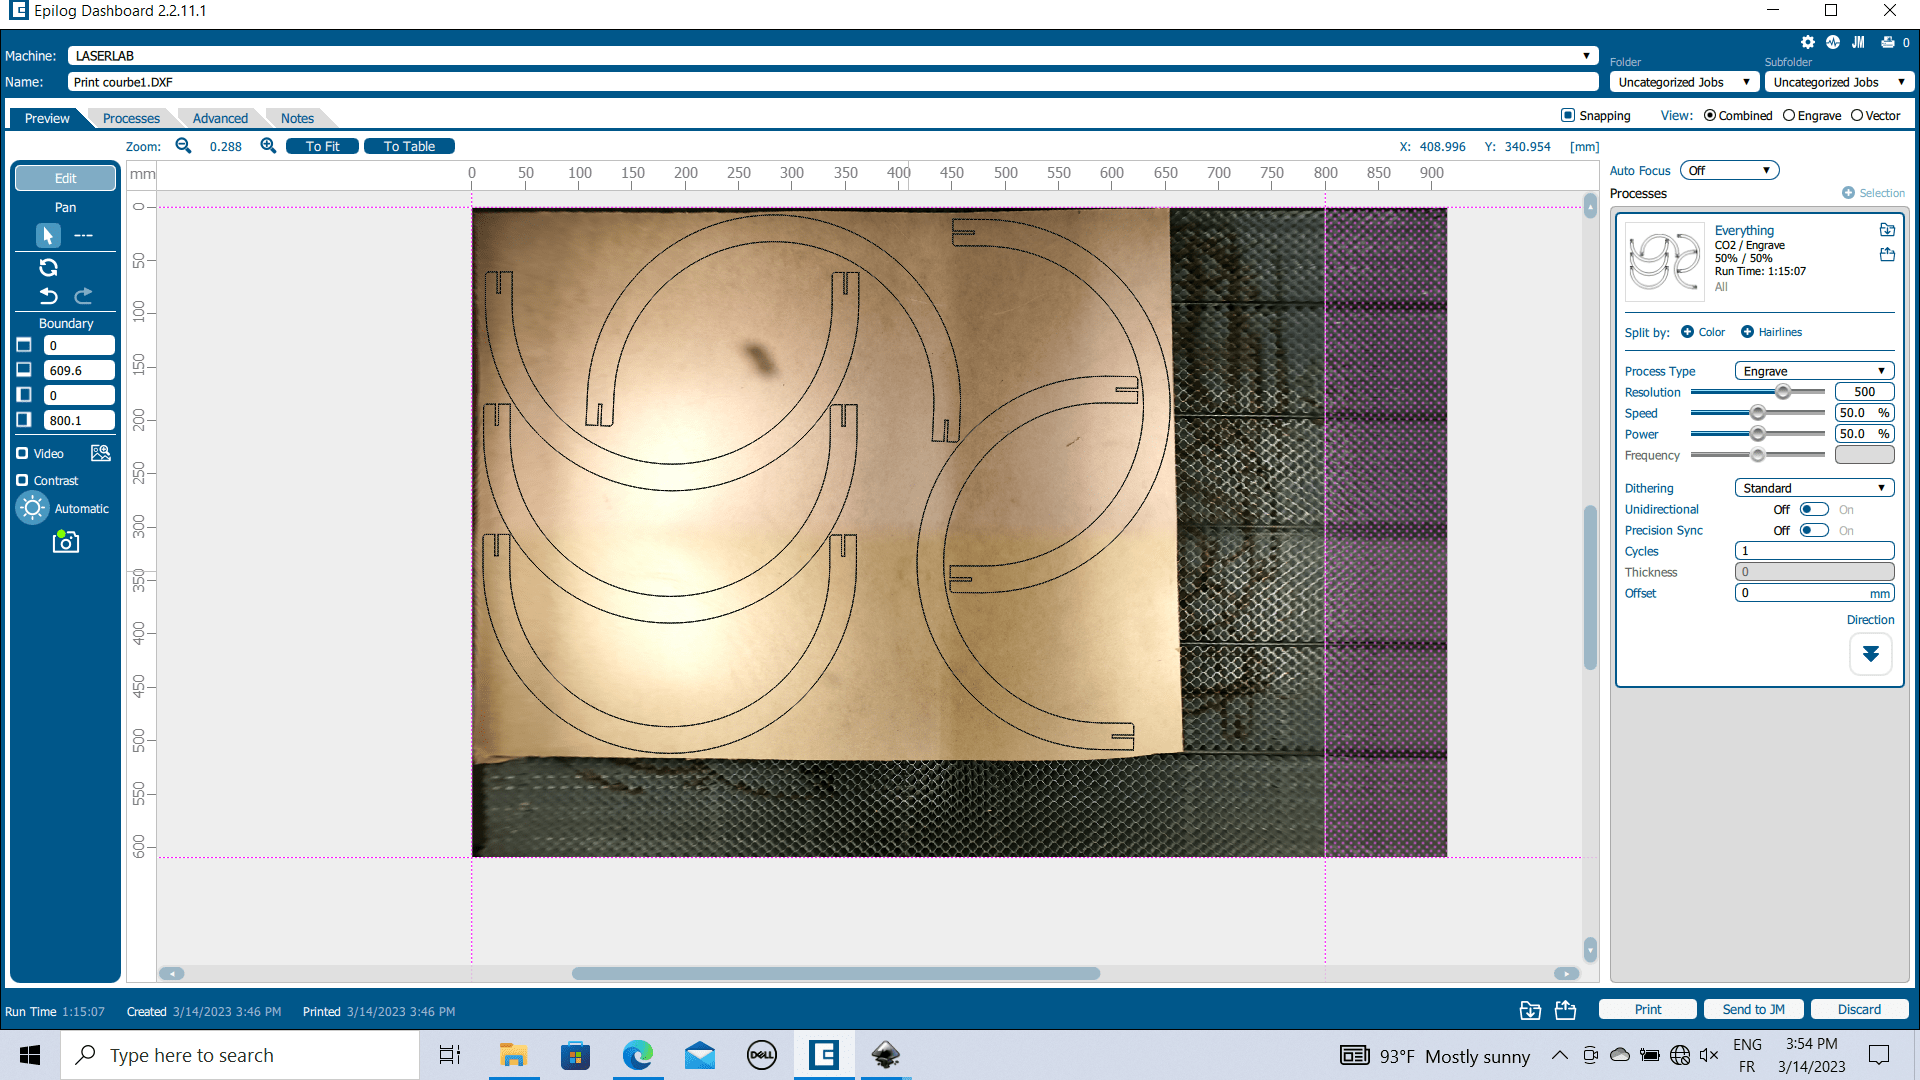
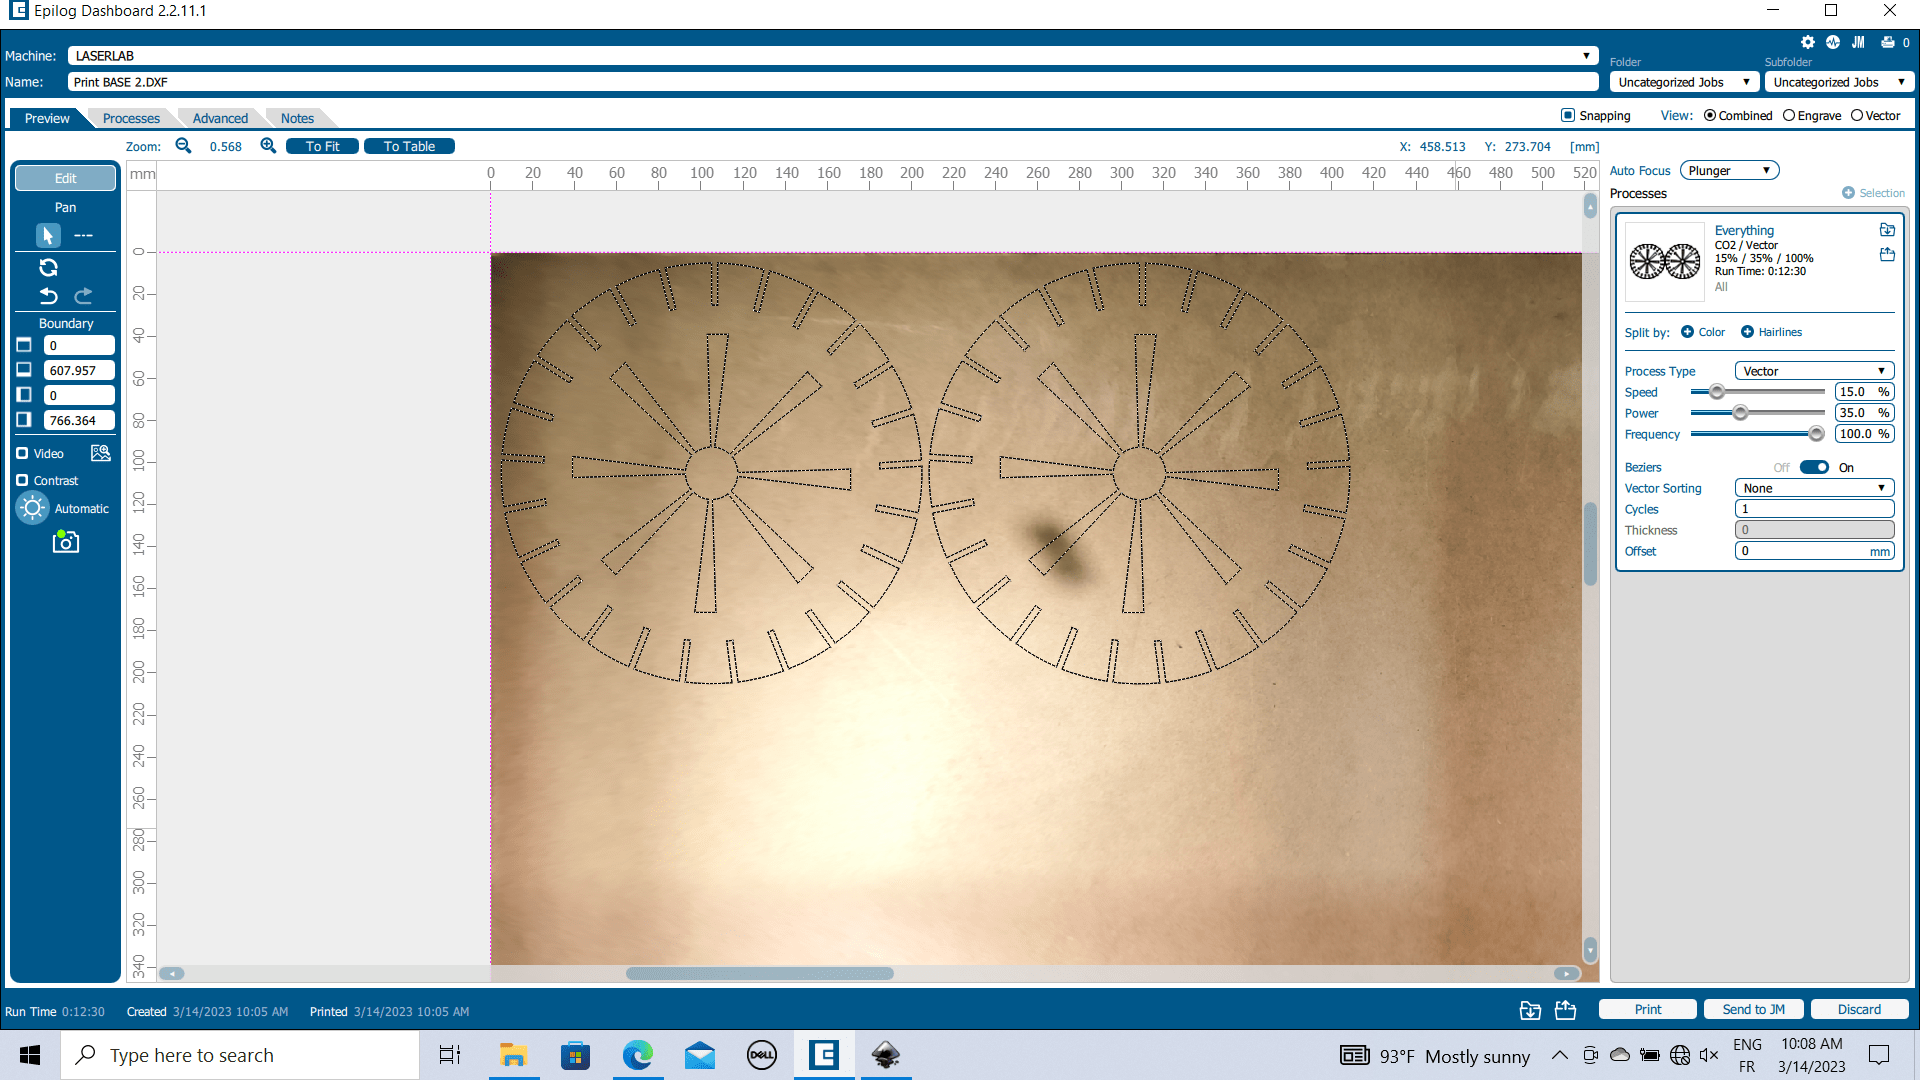
Now after saving in a DXF format we move on to cutting on the machine on machine !
Adjustment of cutting parameters
This setting may change depending on thickness and materials. in case we have a thickness of 3 mm and materials is MDF
| Parameters | Value |
|---|---|
| Materials | MDF 3mm |
| Process Type | Vector |
| Speed | 15 % |
| Power | 35 % |
| Frequency | 100 % |
| Cycles | 1 |
| Auto Focus | plunger |
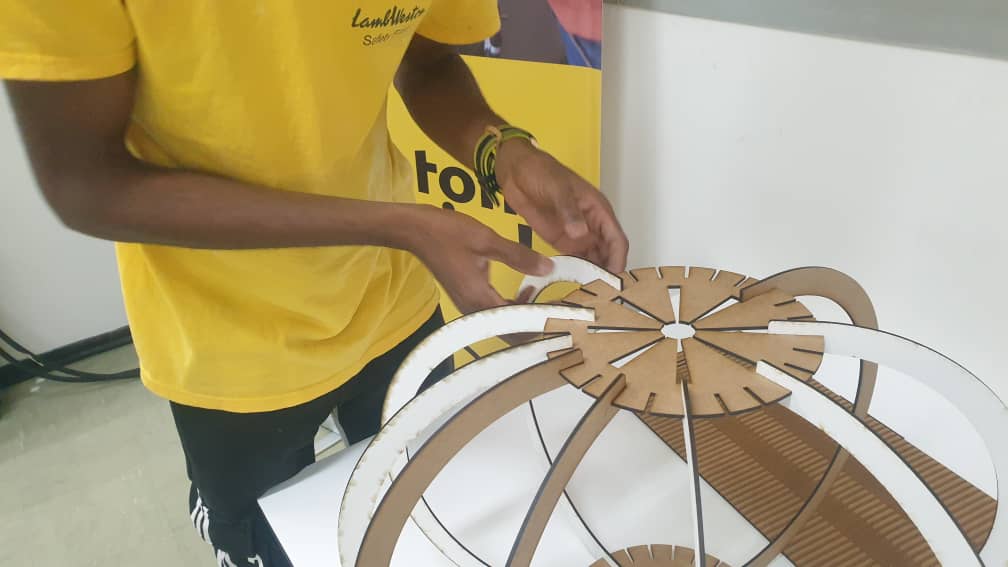
We move on to the assembly

laser cutting and solidworks files
vinyl cutting
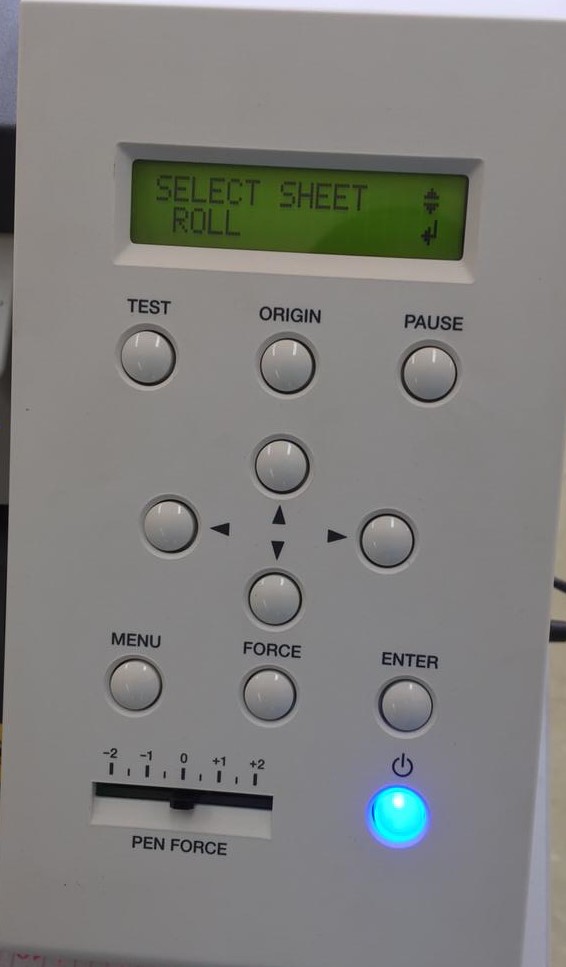
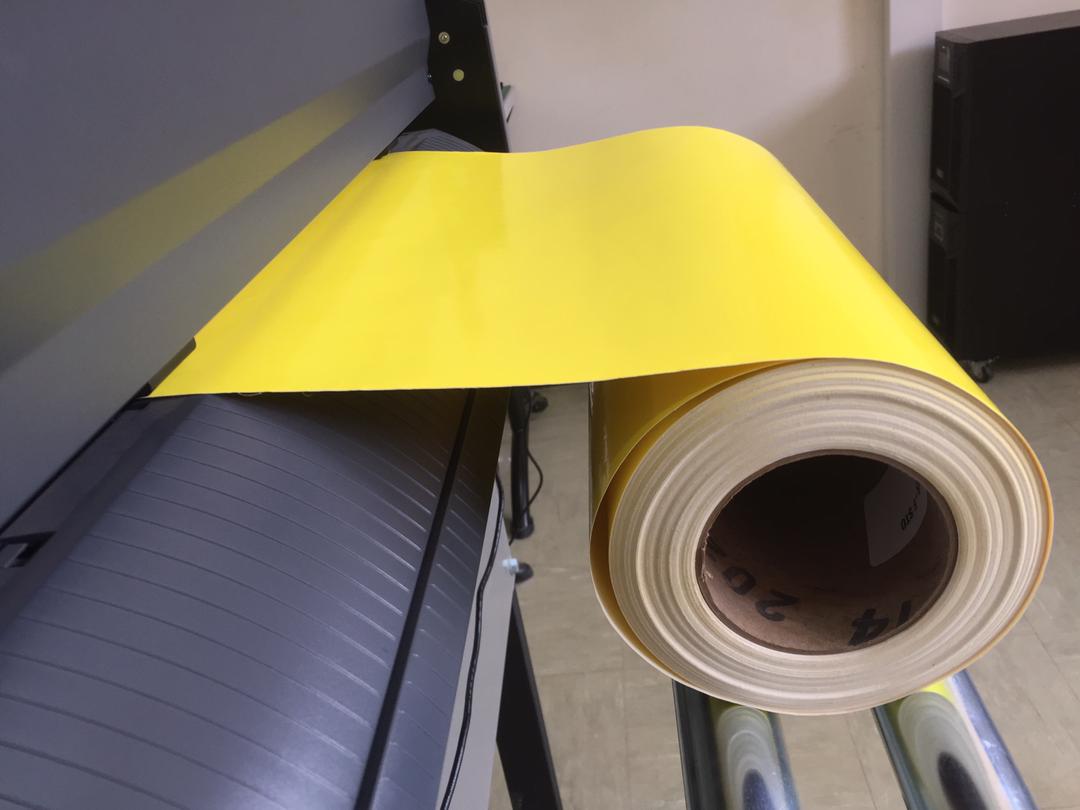
For Vynil cutting we chose roll sheet. click enter too select it.
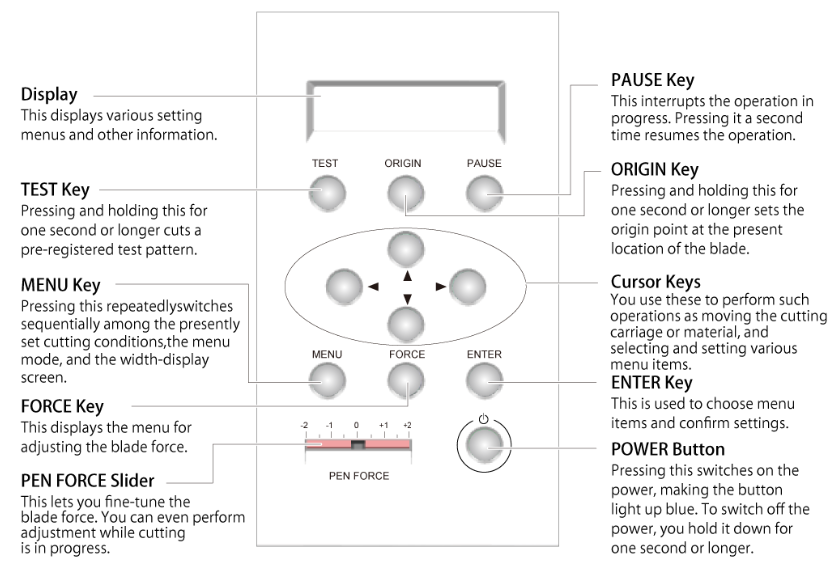
For more help to use properly Roland GS24 use this link
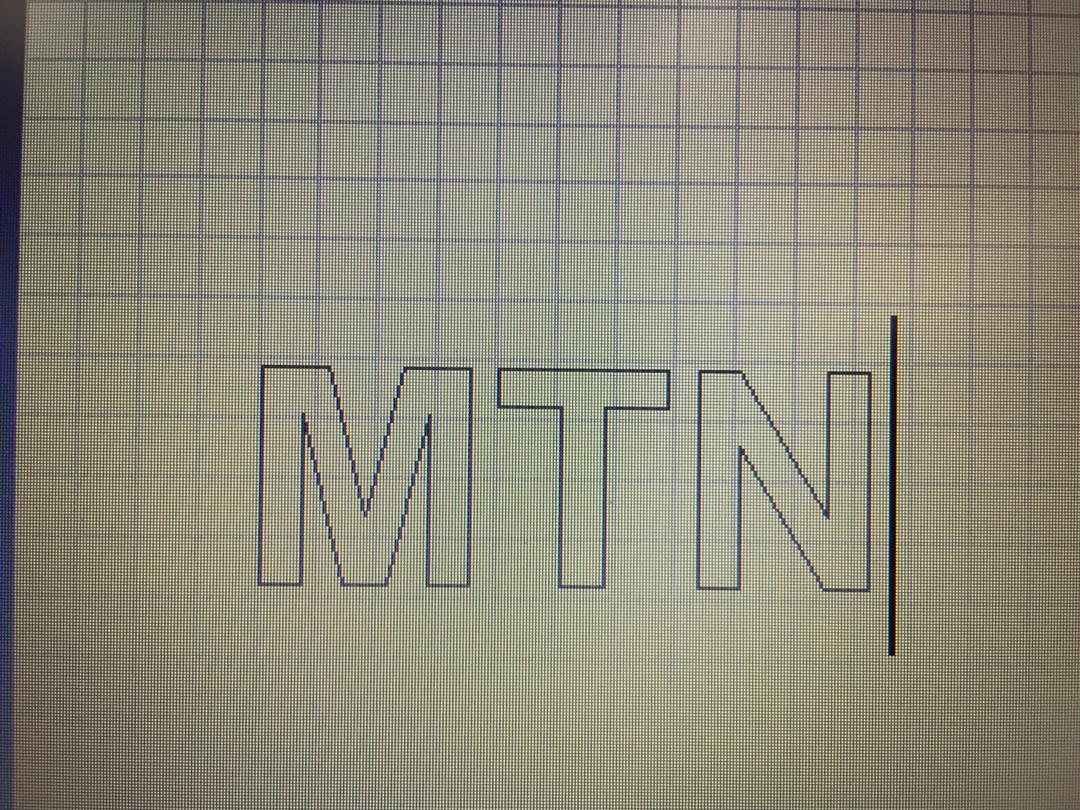
Open studioCut we used for this task. then choose text tool. Write MTN
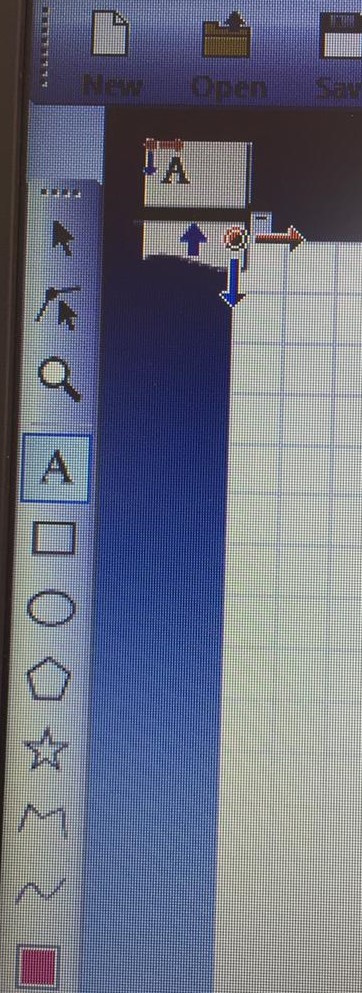
Next start cutting by printing your text.
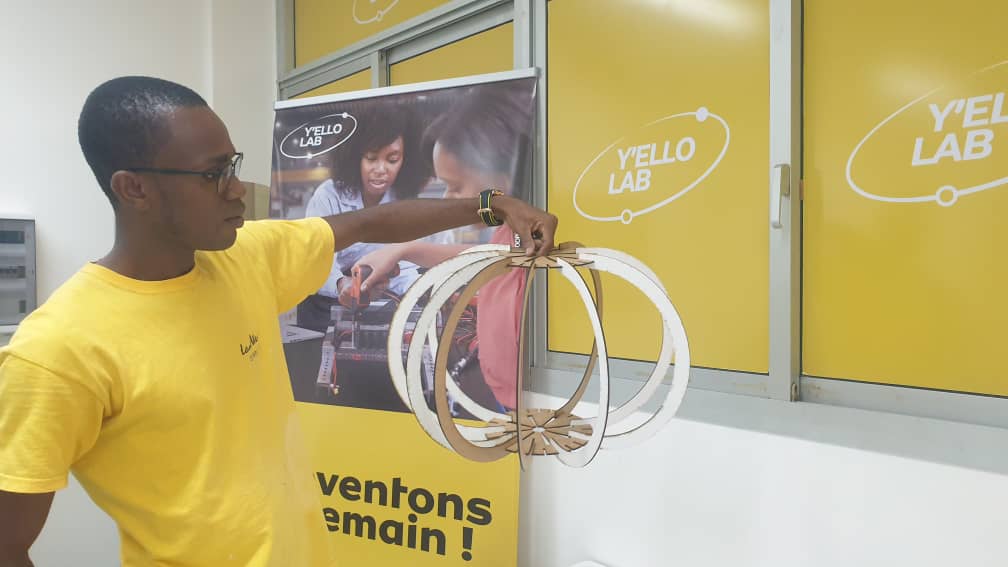
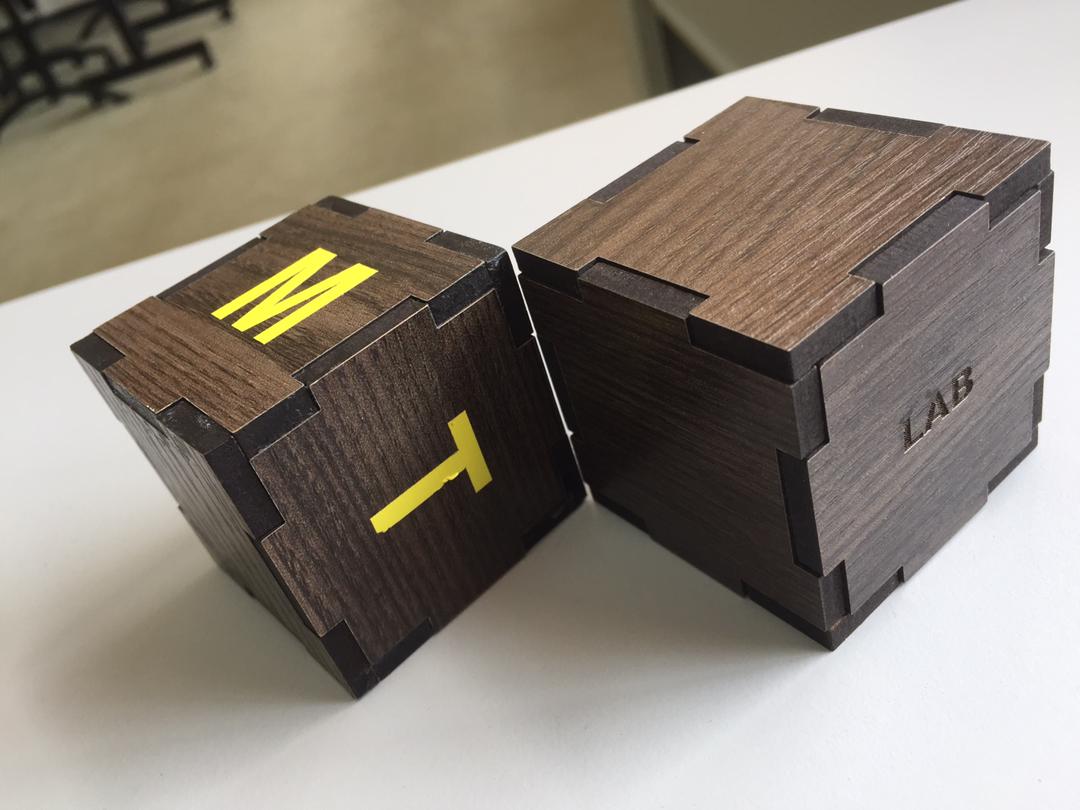
Ta da ! 😊 I’m happy for this result I obtained cause It was very hard to transfer the letter one by one on the different face of our cube. So I advise you to be careful and focus when you do it.
Vynil Step
All Steps here to use and maintain the Vynil cutter
I also engrave “LAB” on a cube we already made in our lab
this is the engraving parameters I use.
| Parameters | Value |
|---|---|
| Materials | MDF 3mm |
| Process Type | Vector |
| speed | 60 % |
| Power | 25 % |
| Resolution | 500 % |
| Cycles | 1 |
| Auto Focus | plunger |