WEEK 8. Electronics Production
assignment .group assignment:
  characterize the design rules for your in-house PCB production process
  extra credit: send a PCB out to a board house
.individual assignment:
  make and test the development board that you designed
     to interact and communicate with an embedded microcontroller
  extra credit: make it with another process
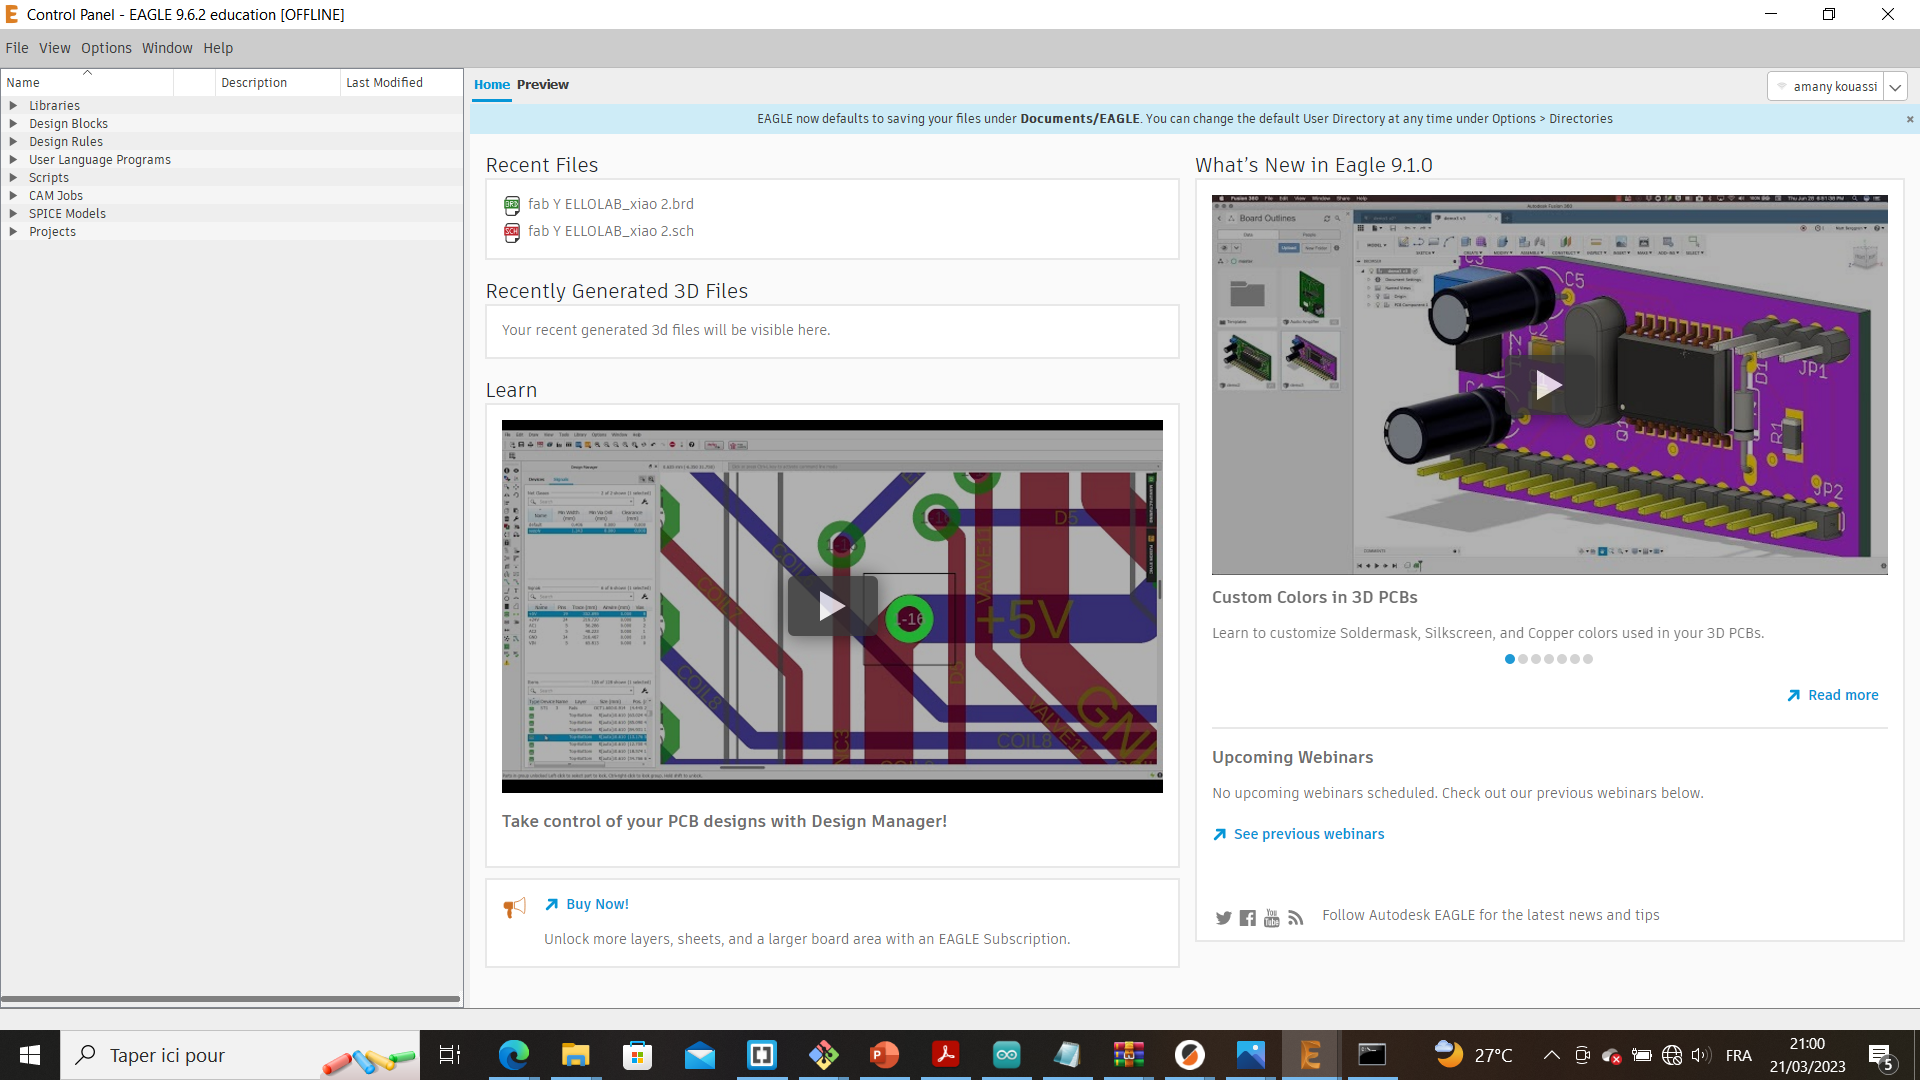
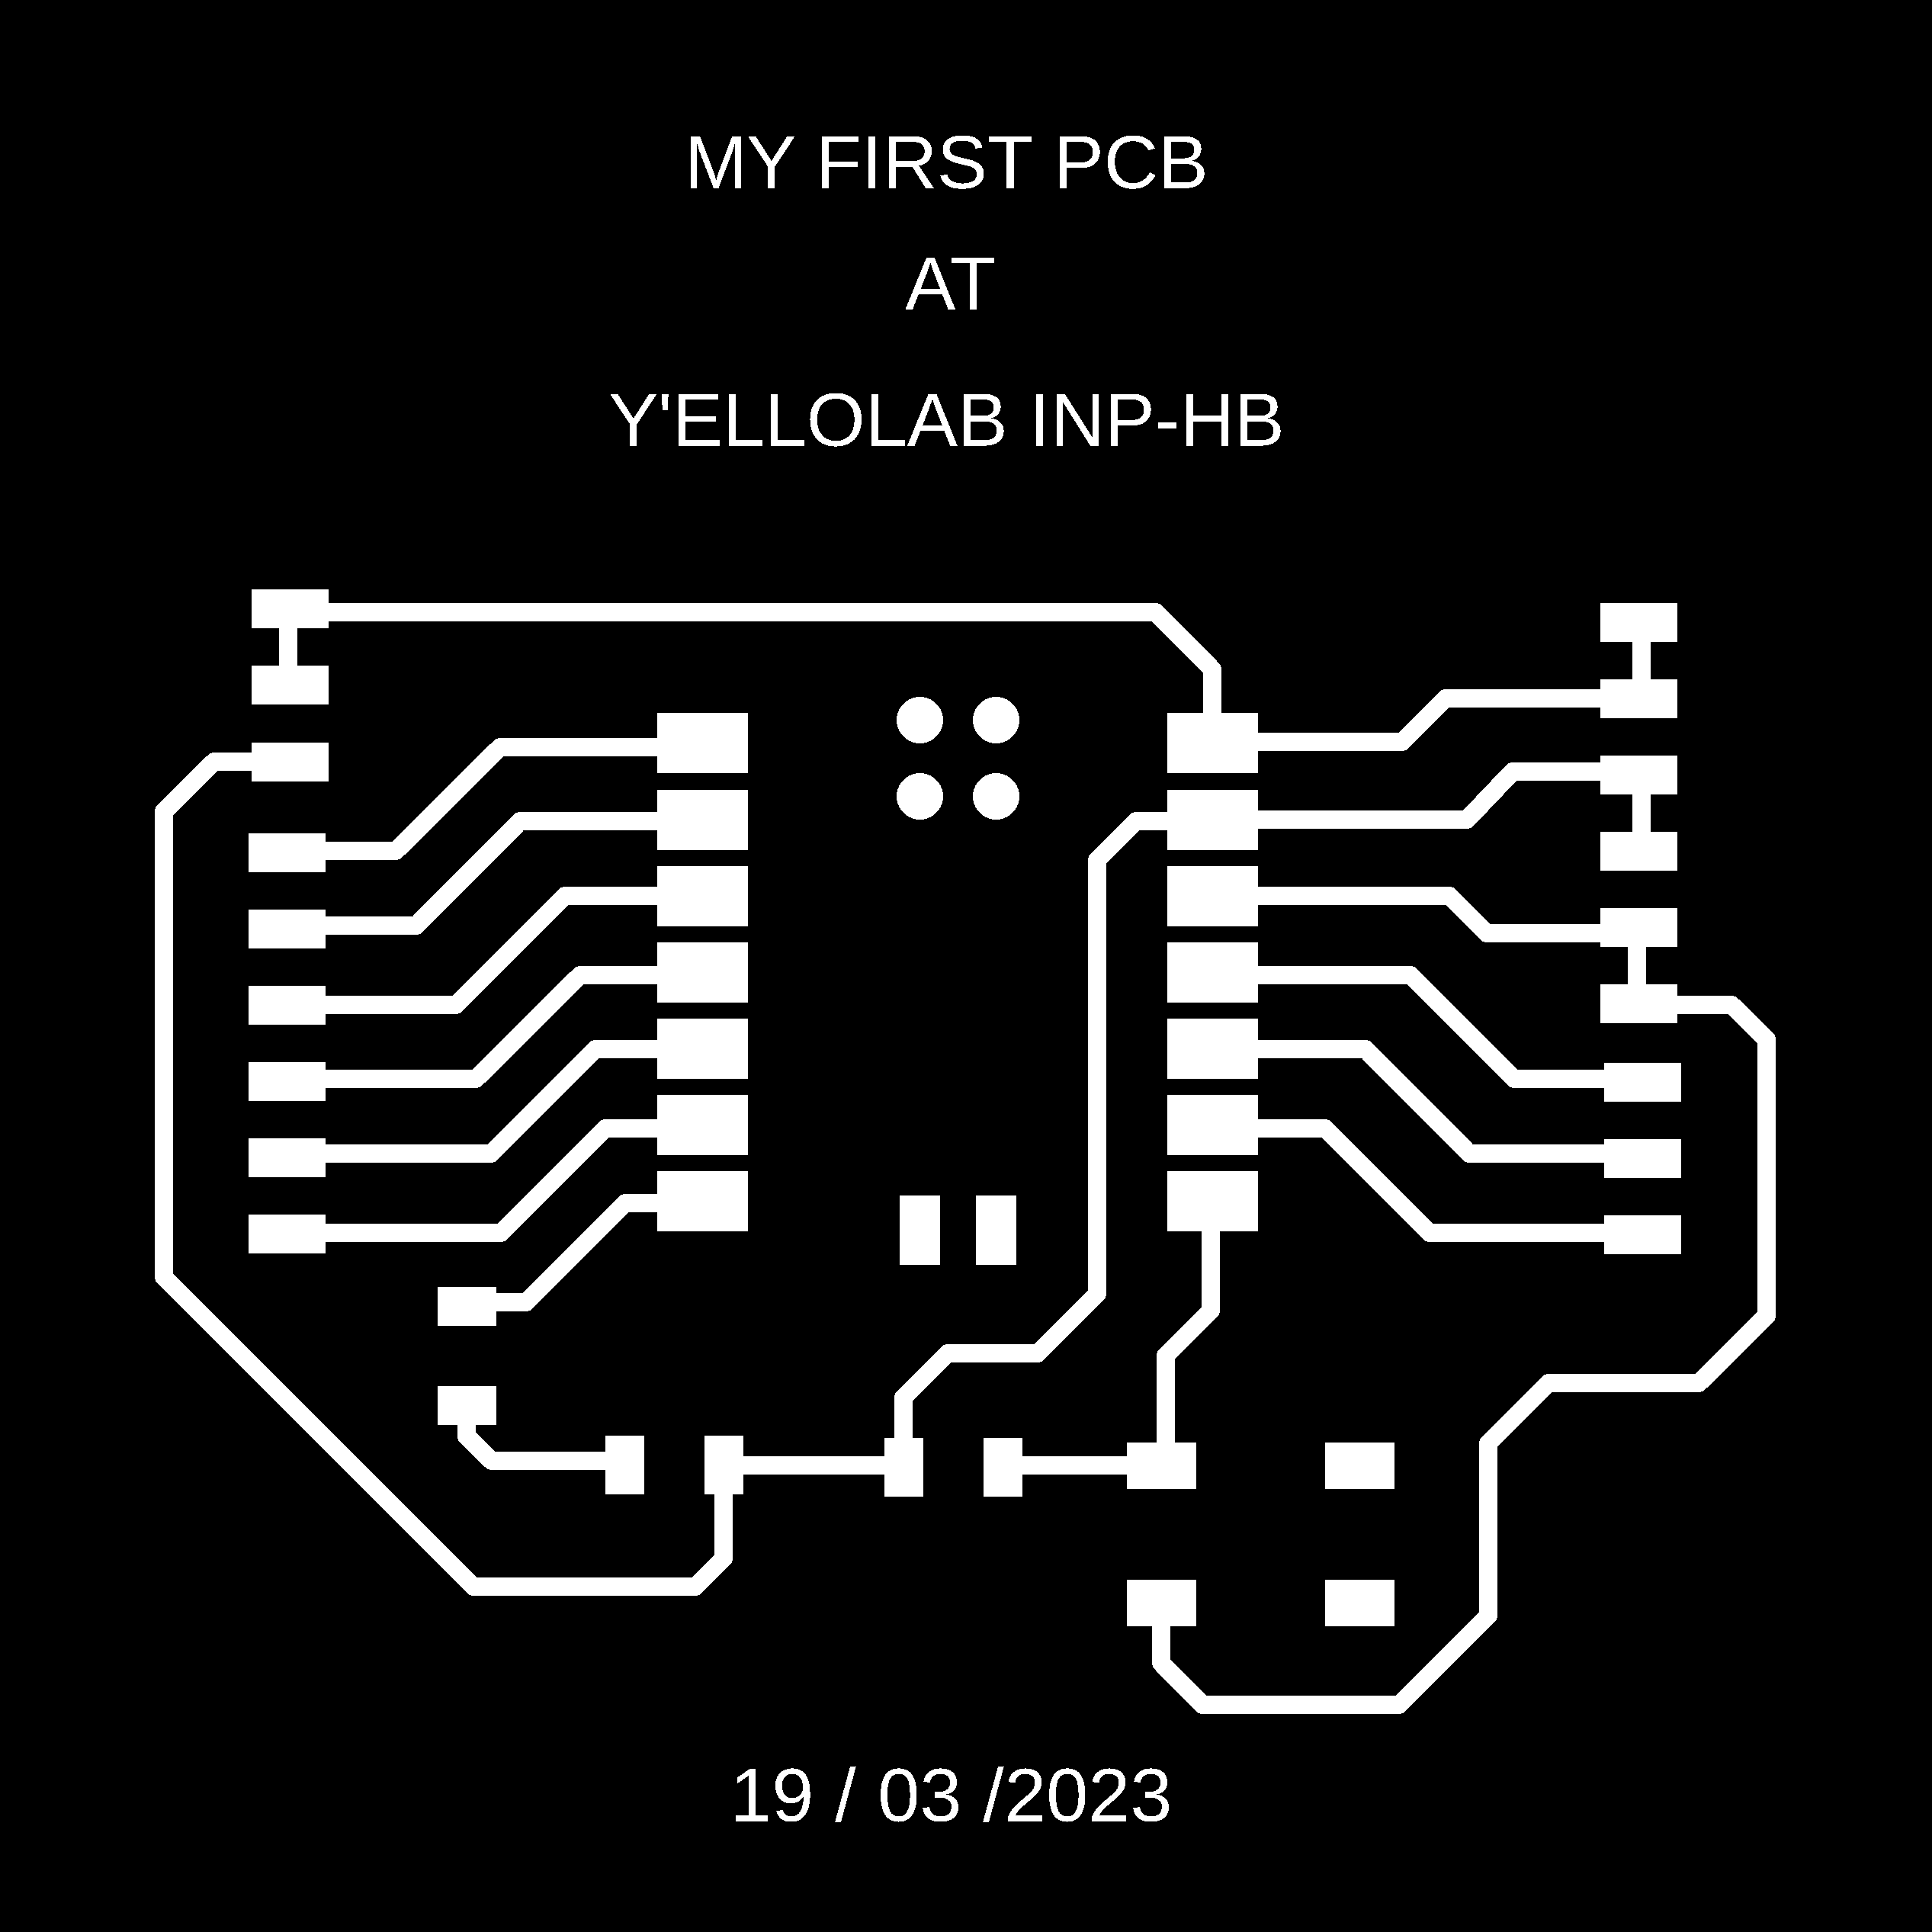
## i used Eagle to build my one circuit board
clic here to follow how did it at electronic design week
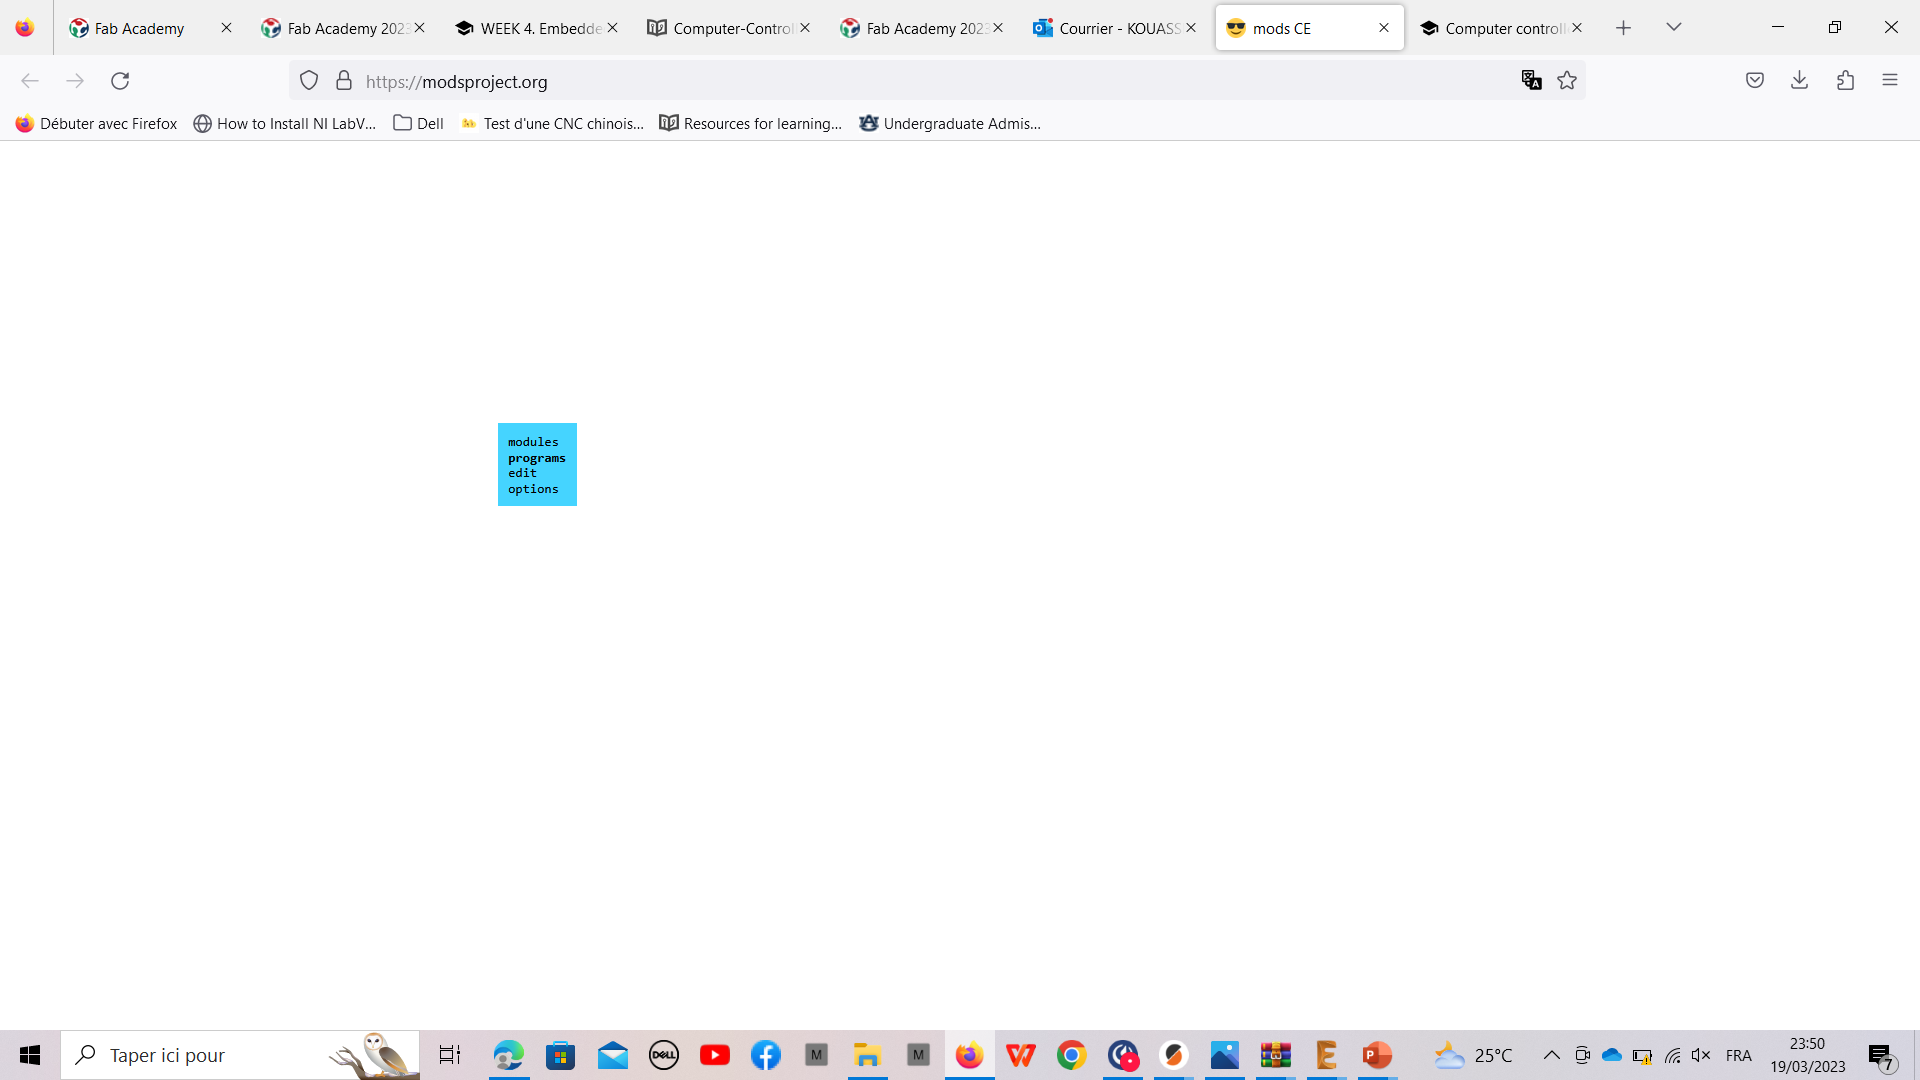
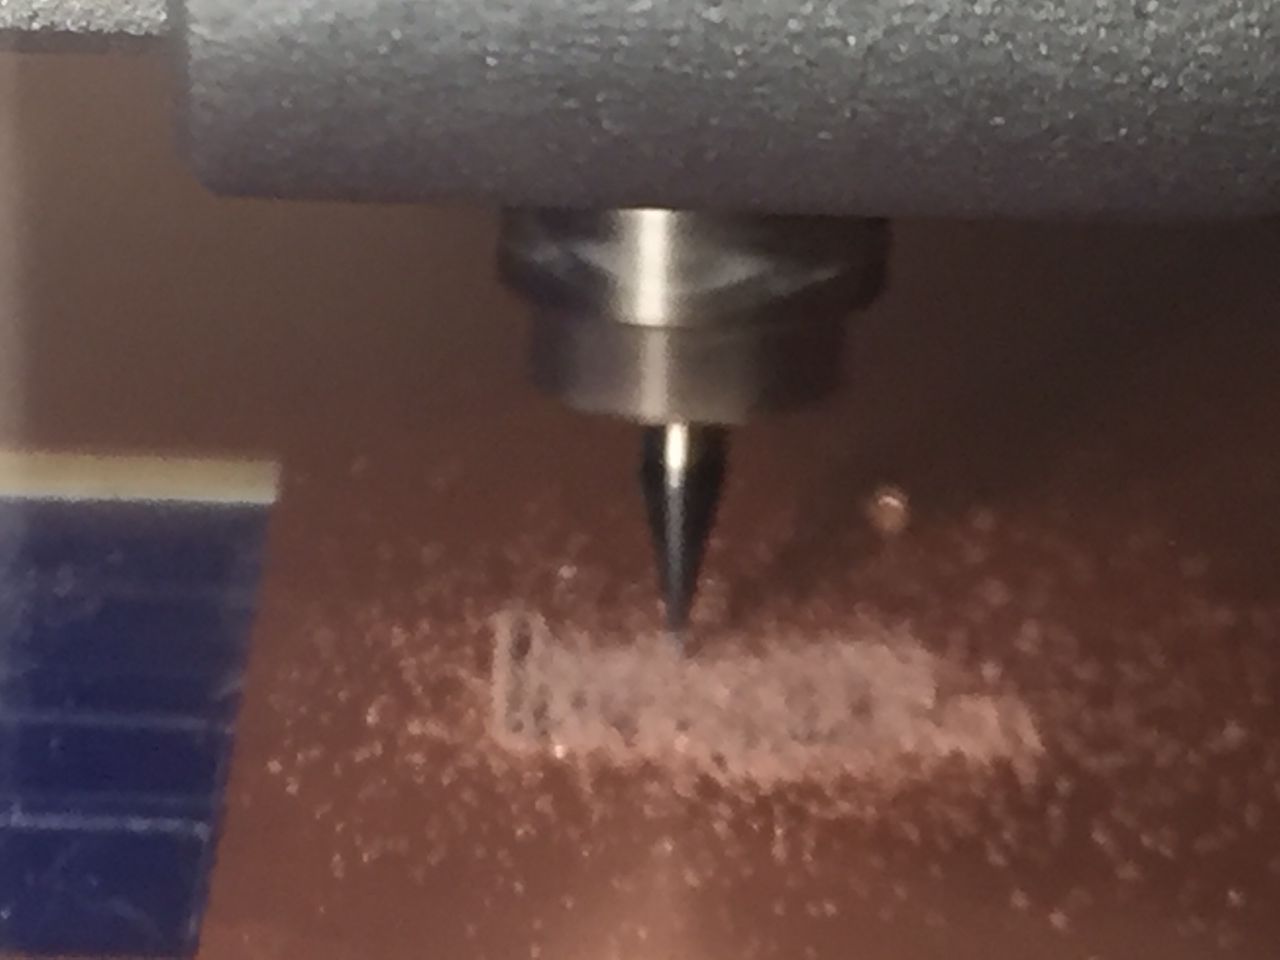
** I - productions on Mod**
- steep 1
- steep 2
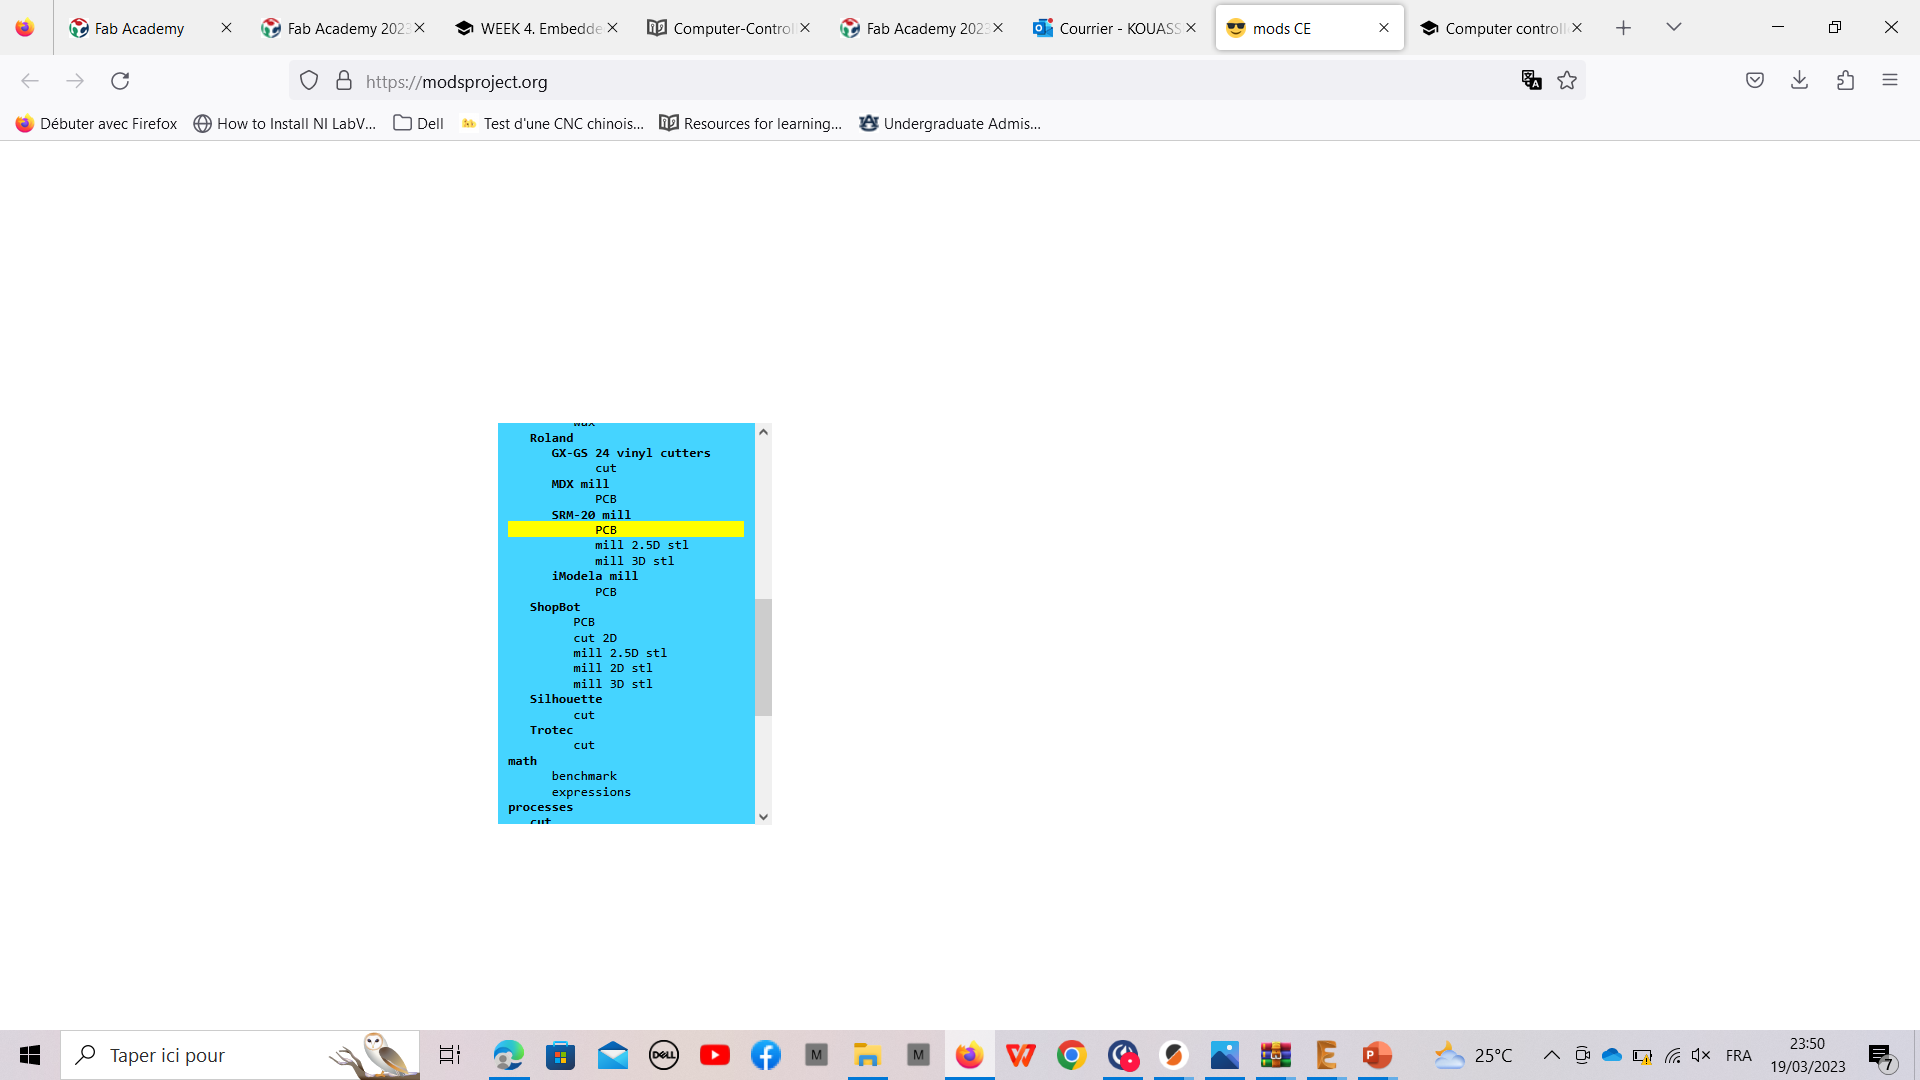
- steep 3
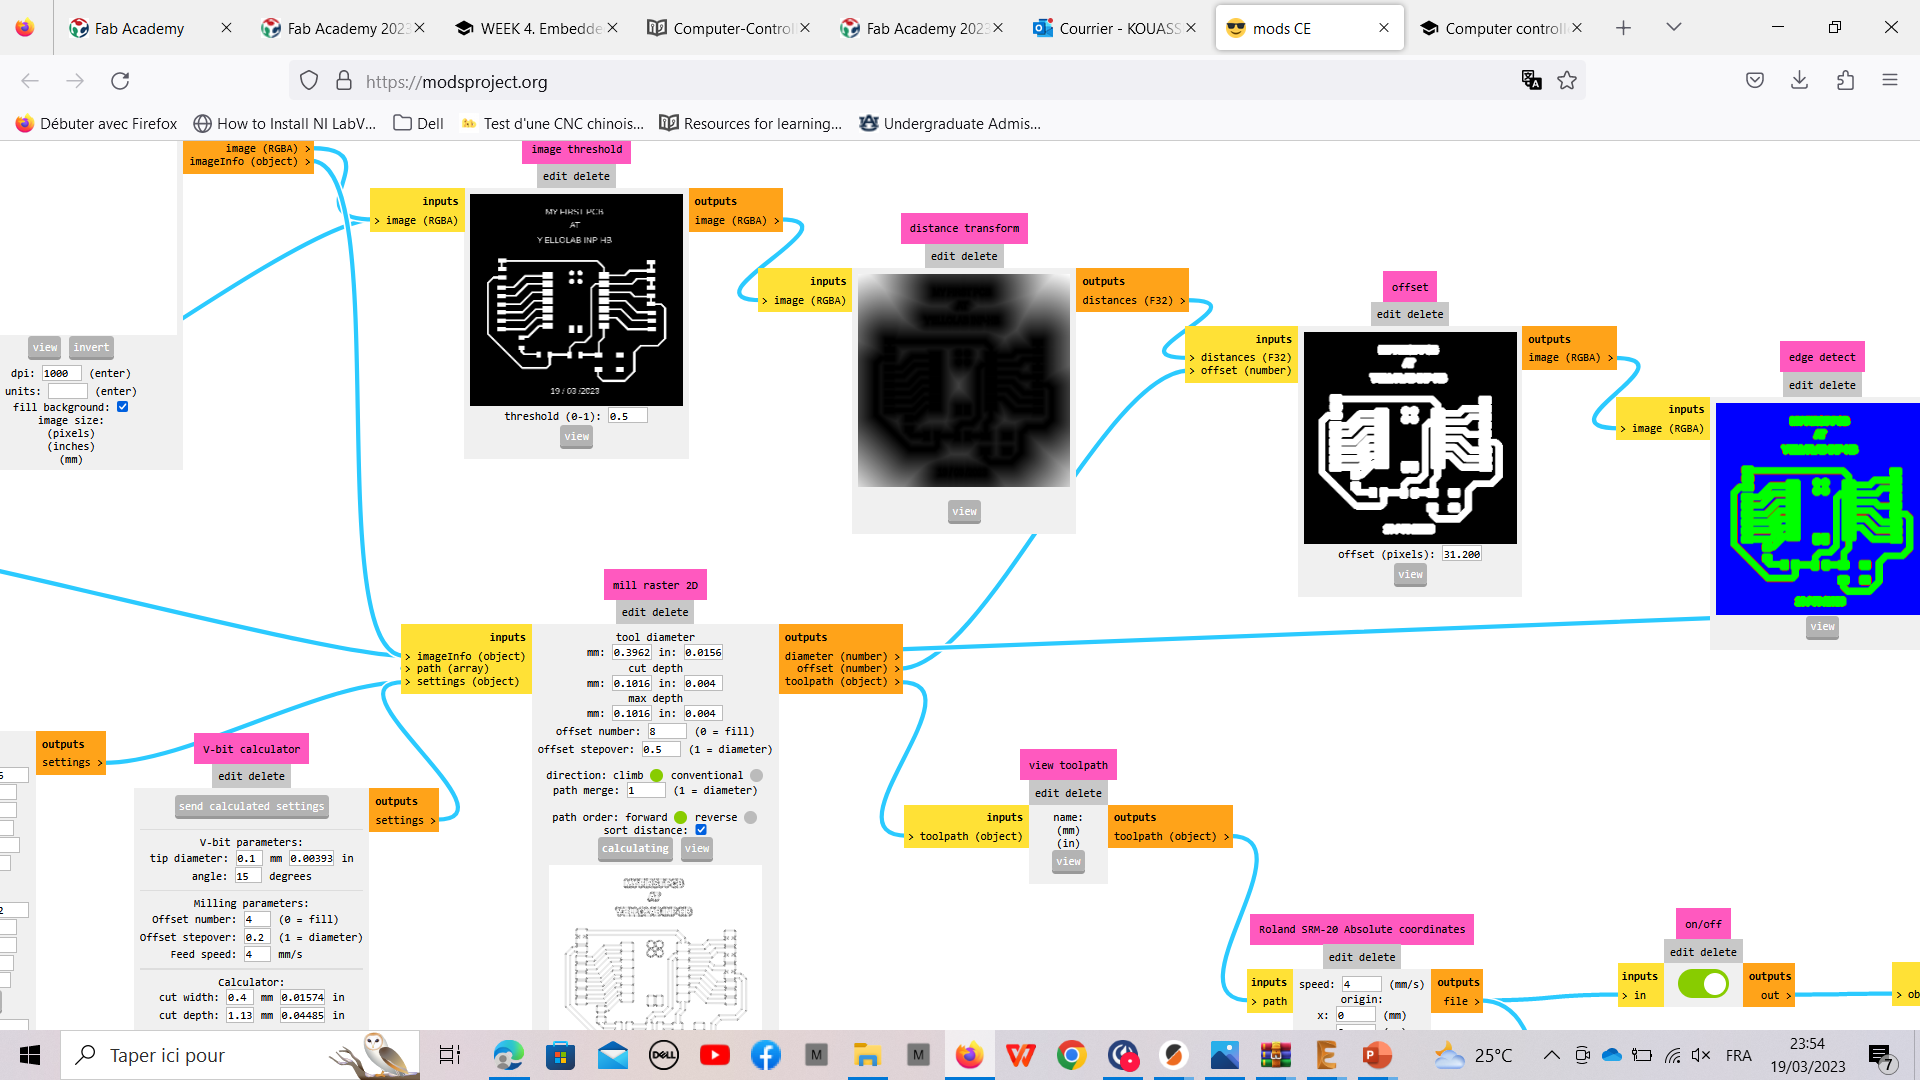
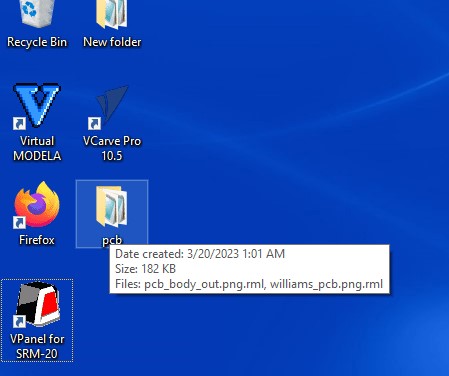
After having the RML file for machining you must savein a folder
-
1 saves the image in a folder easier to find on the desktop, I prefer
-
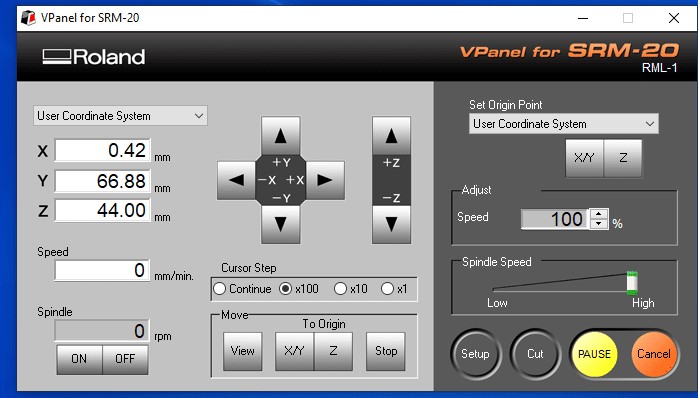
2 open the machin software

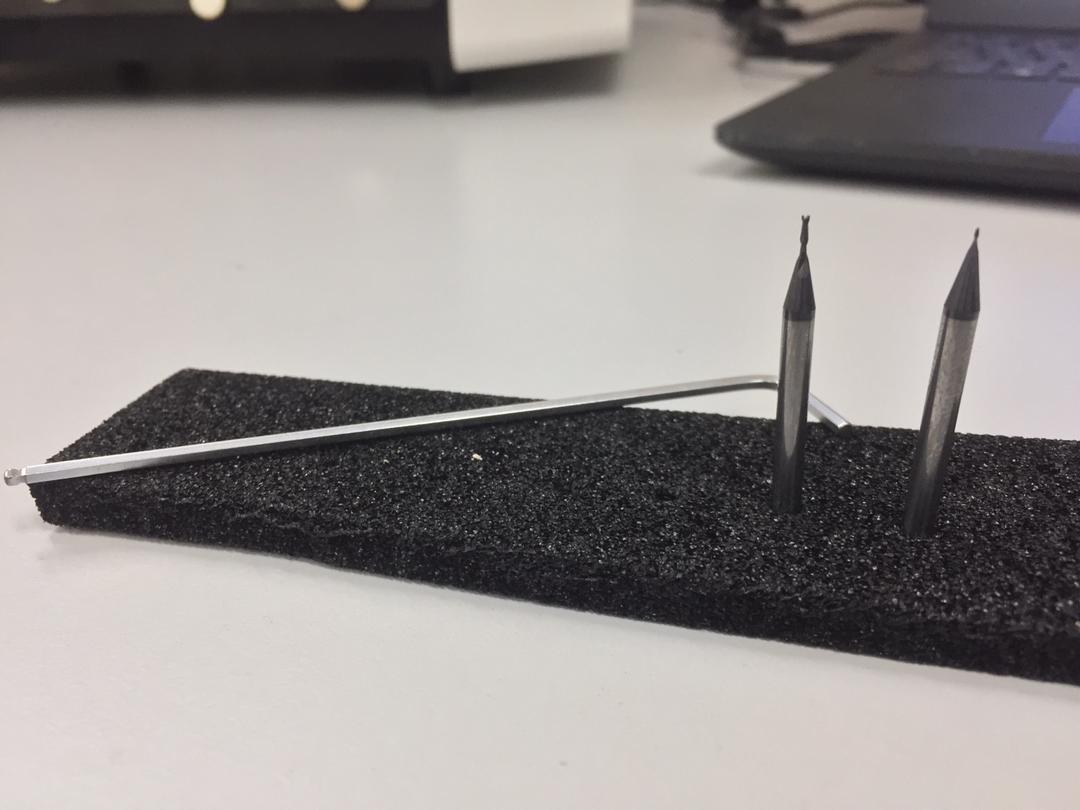
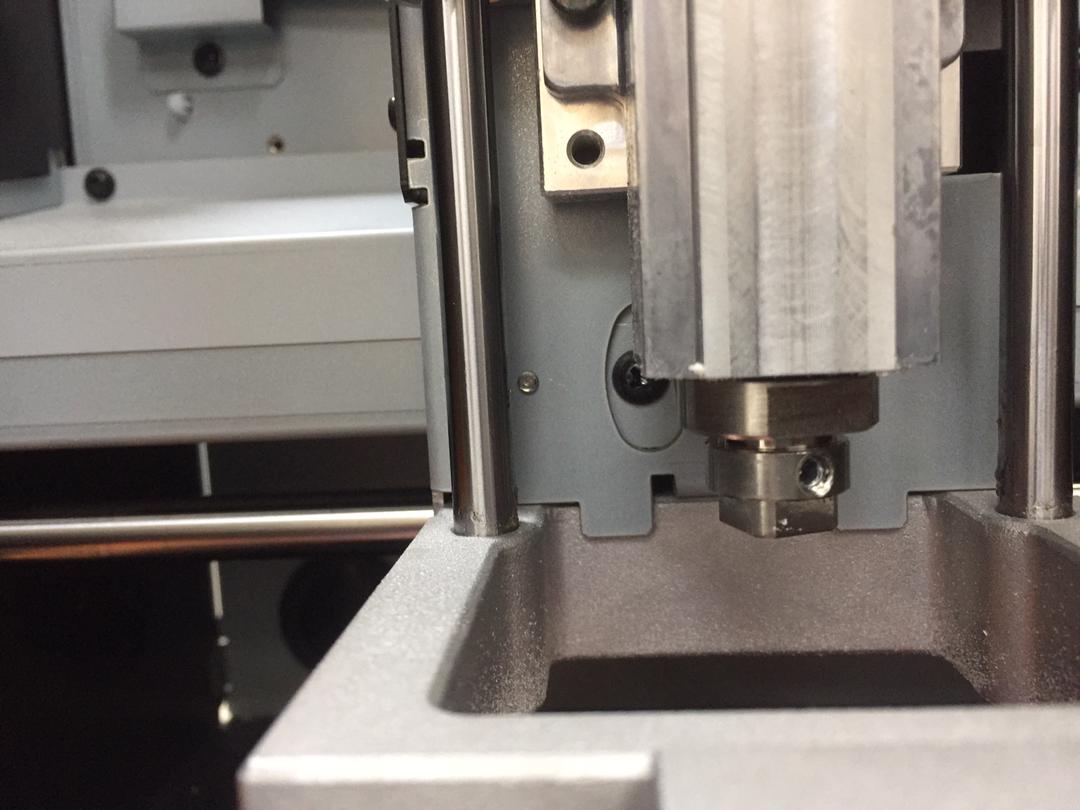
- 3 put your right tool in the spindle. the first is 1/64” for track and the at the end put the 1/32” for the outline
-
4 It is necessary to put the speed of rotation of the spindle at its medium speed for 10 min to prepare the motor
-
5 Now chose its origin on the copper plate that you had glued on the wax, you will position yourself according to the available space
-
6 then make the Z zero and clic in the move X/Y button and close the machine.
-
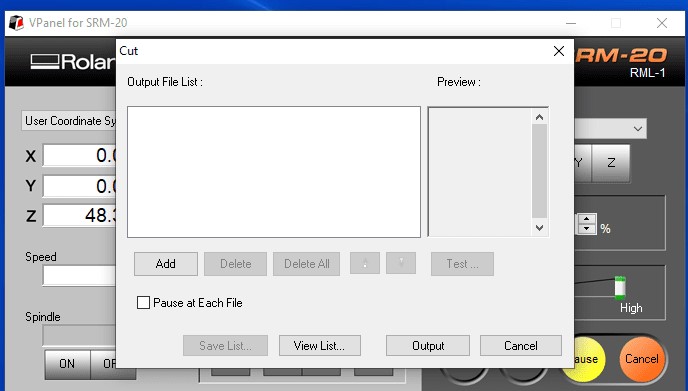
7 your can cut, clic on cut button and add you file then clic OUTPUT
- 8 clic on SETUP and pay attention
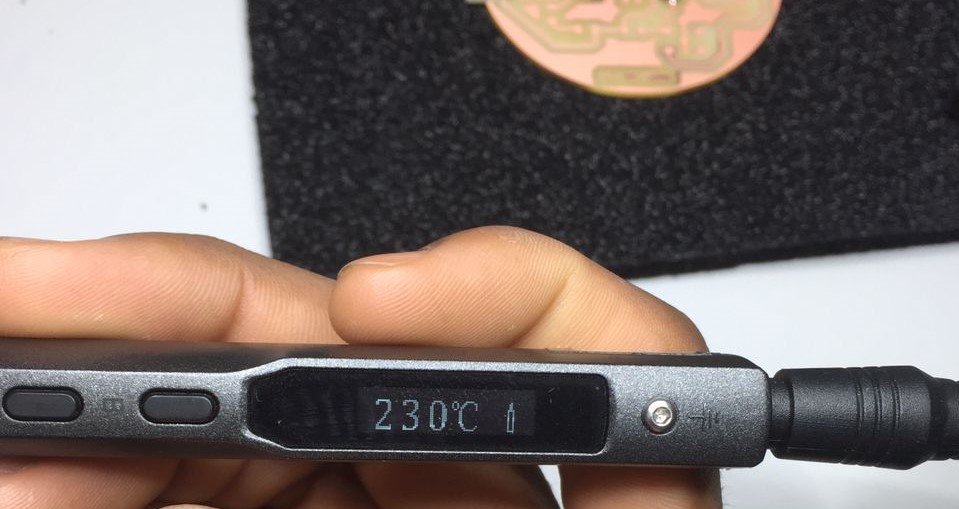
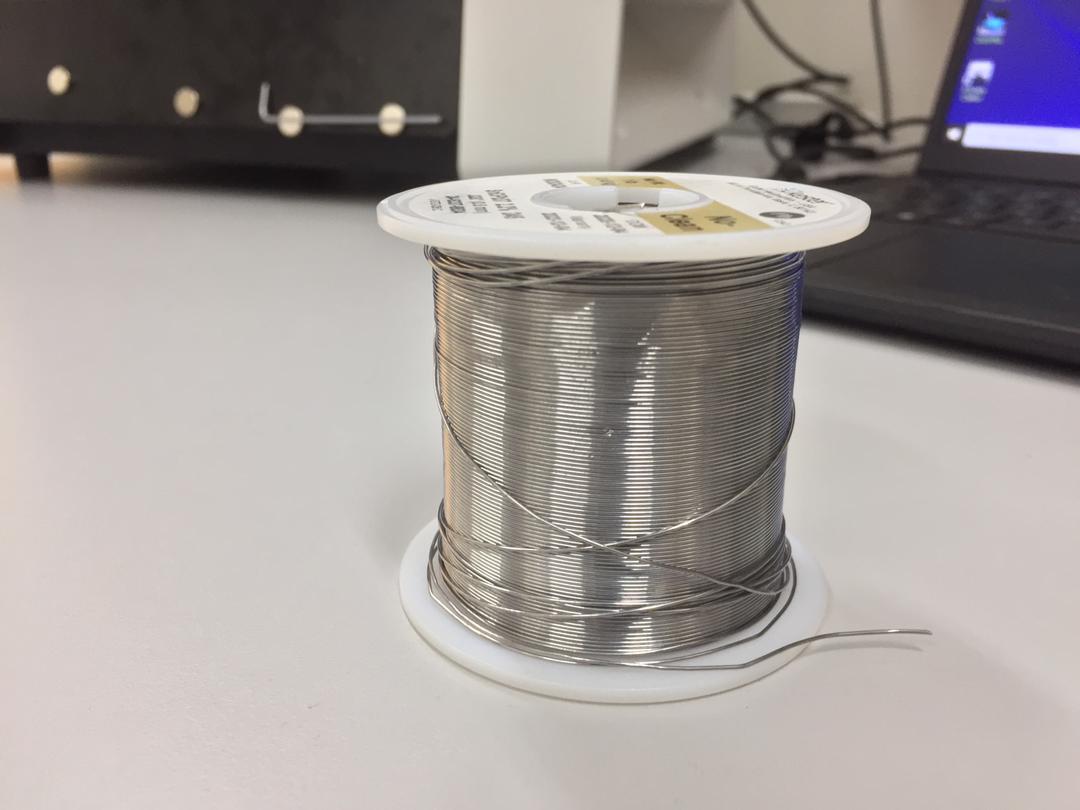
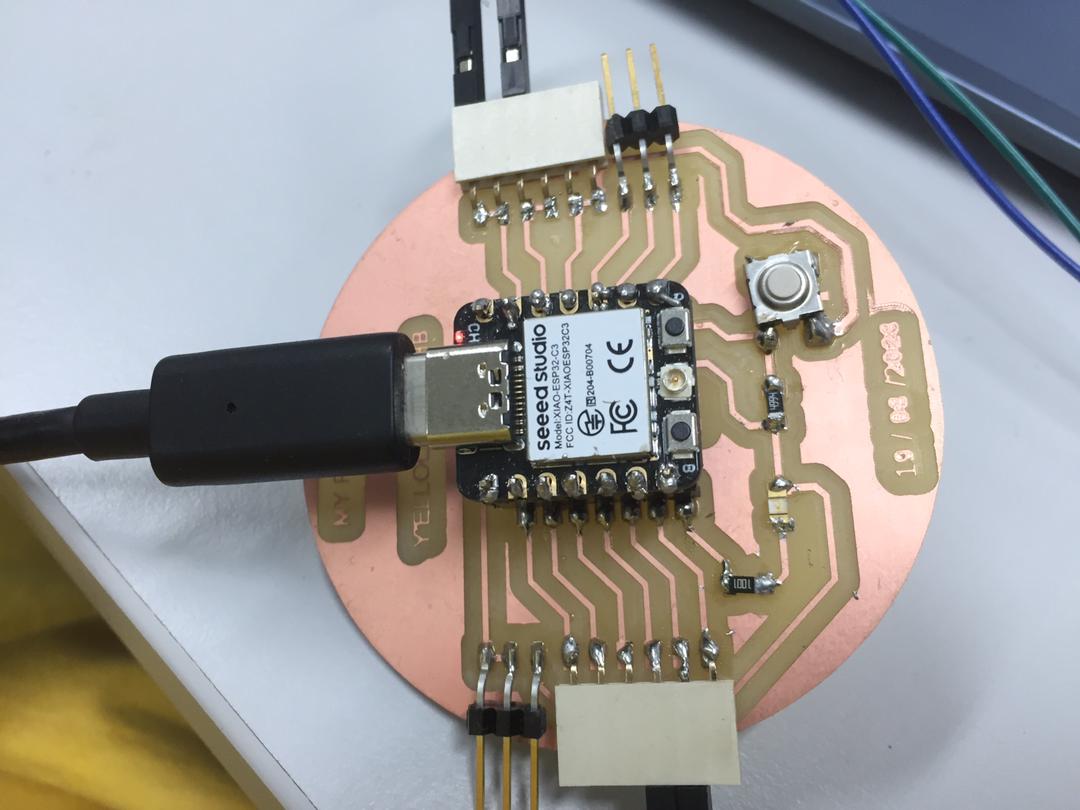
** II - components welding**

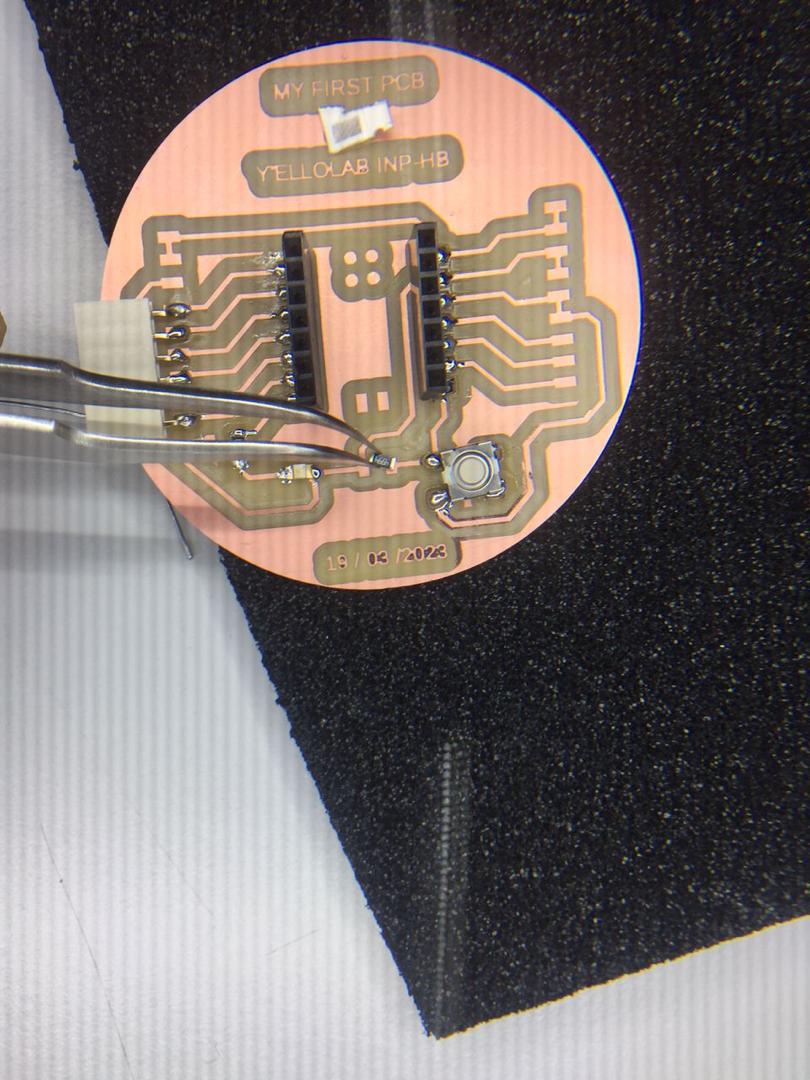
End Welding !
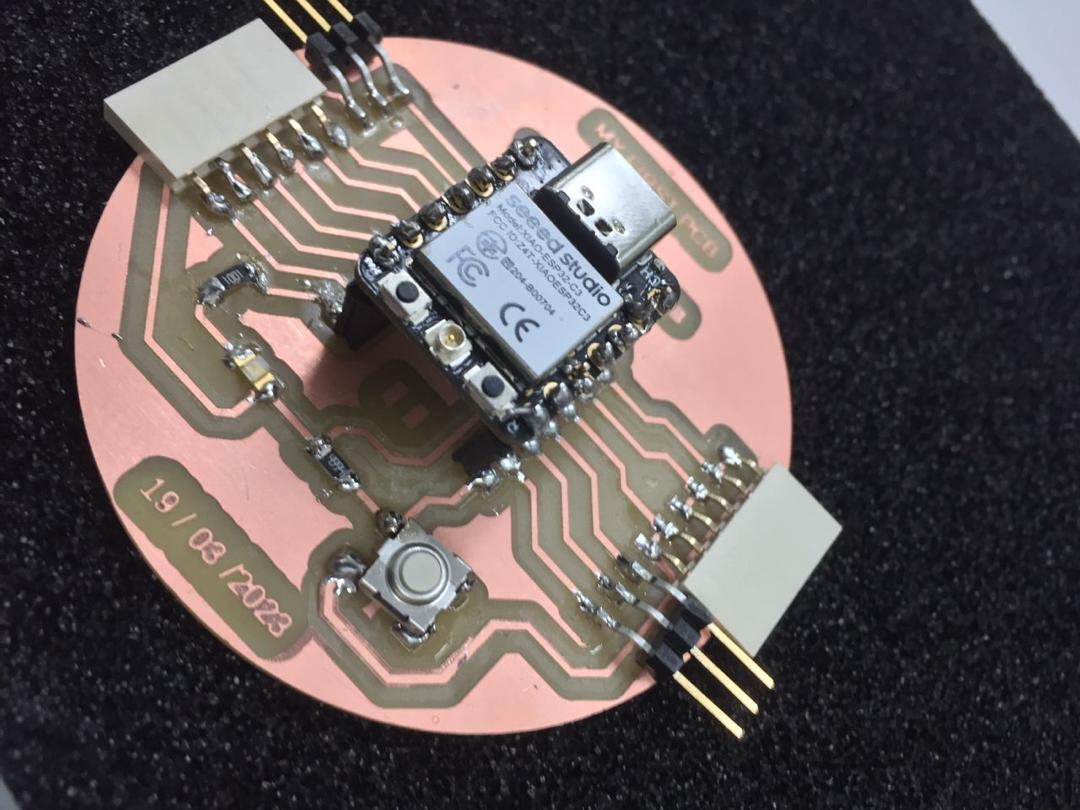
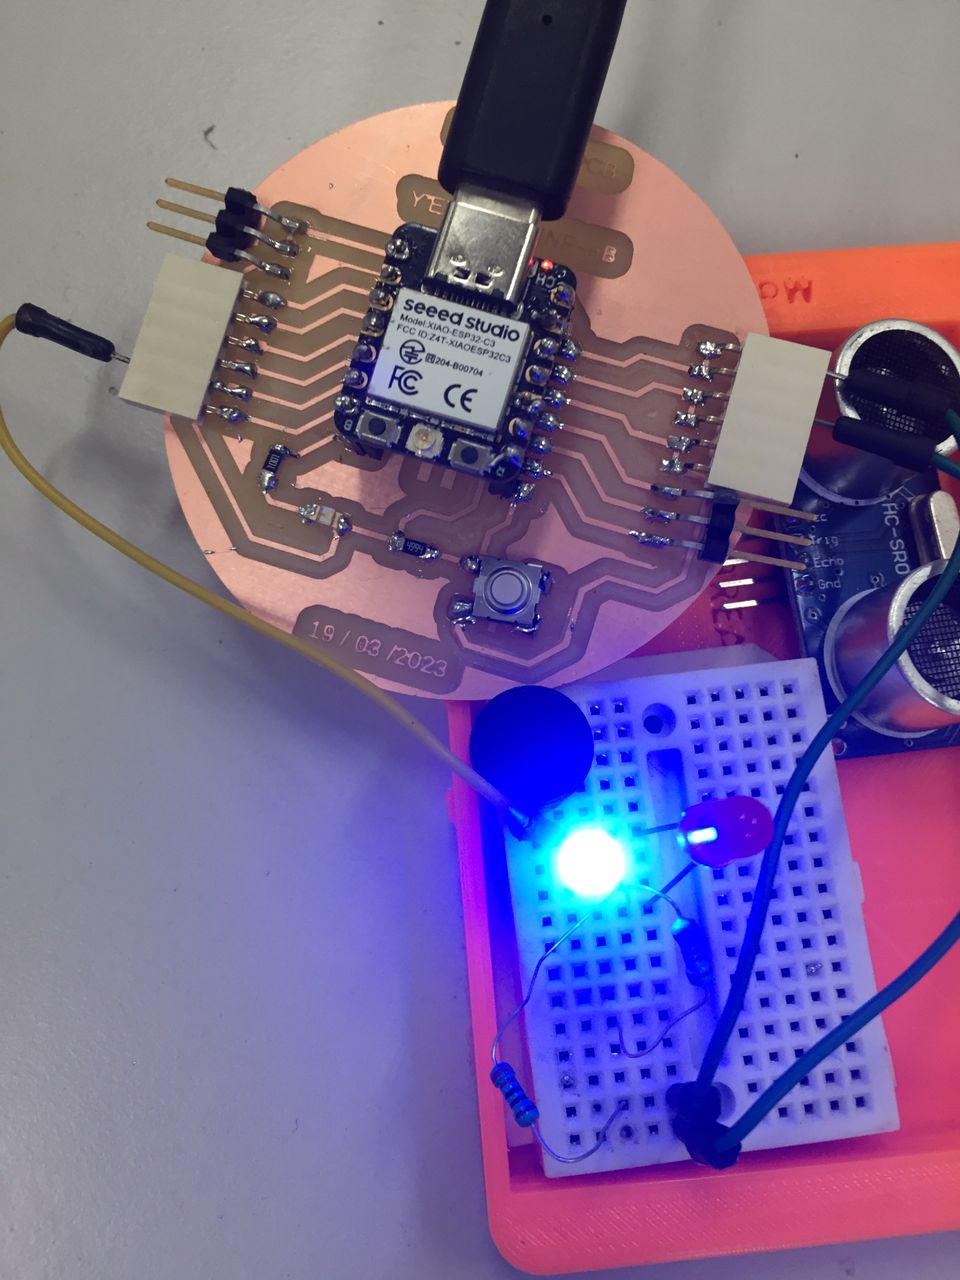
III - We now move on to the test
for the test i used the same program like the programing week
 .
.
files
- EAGLE files

- rolande files
Communication
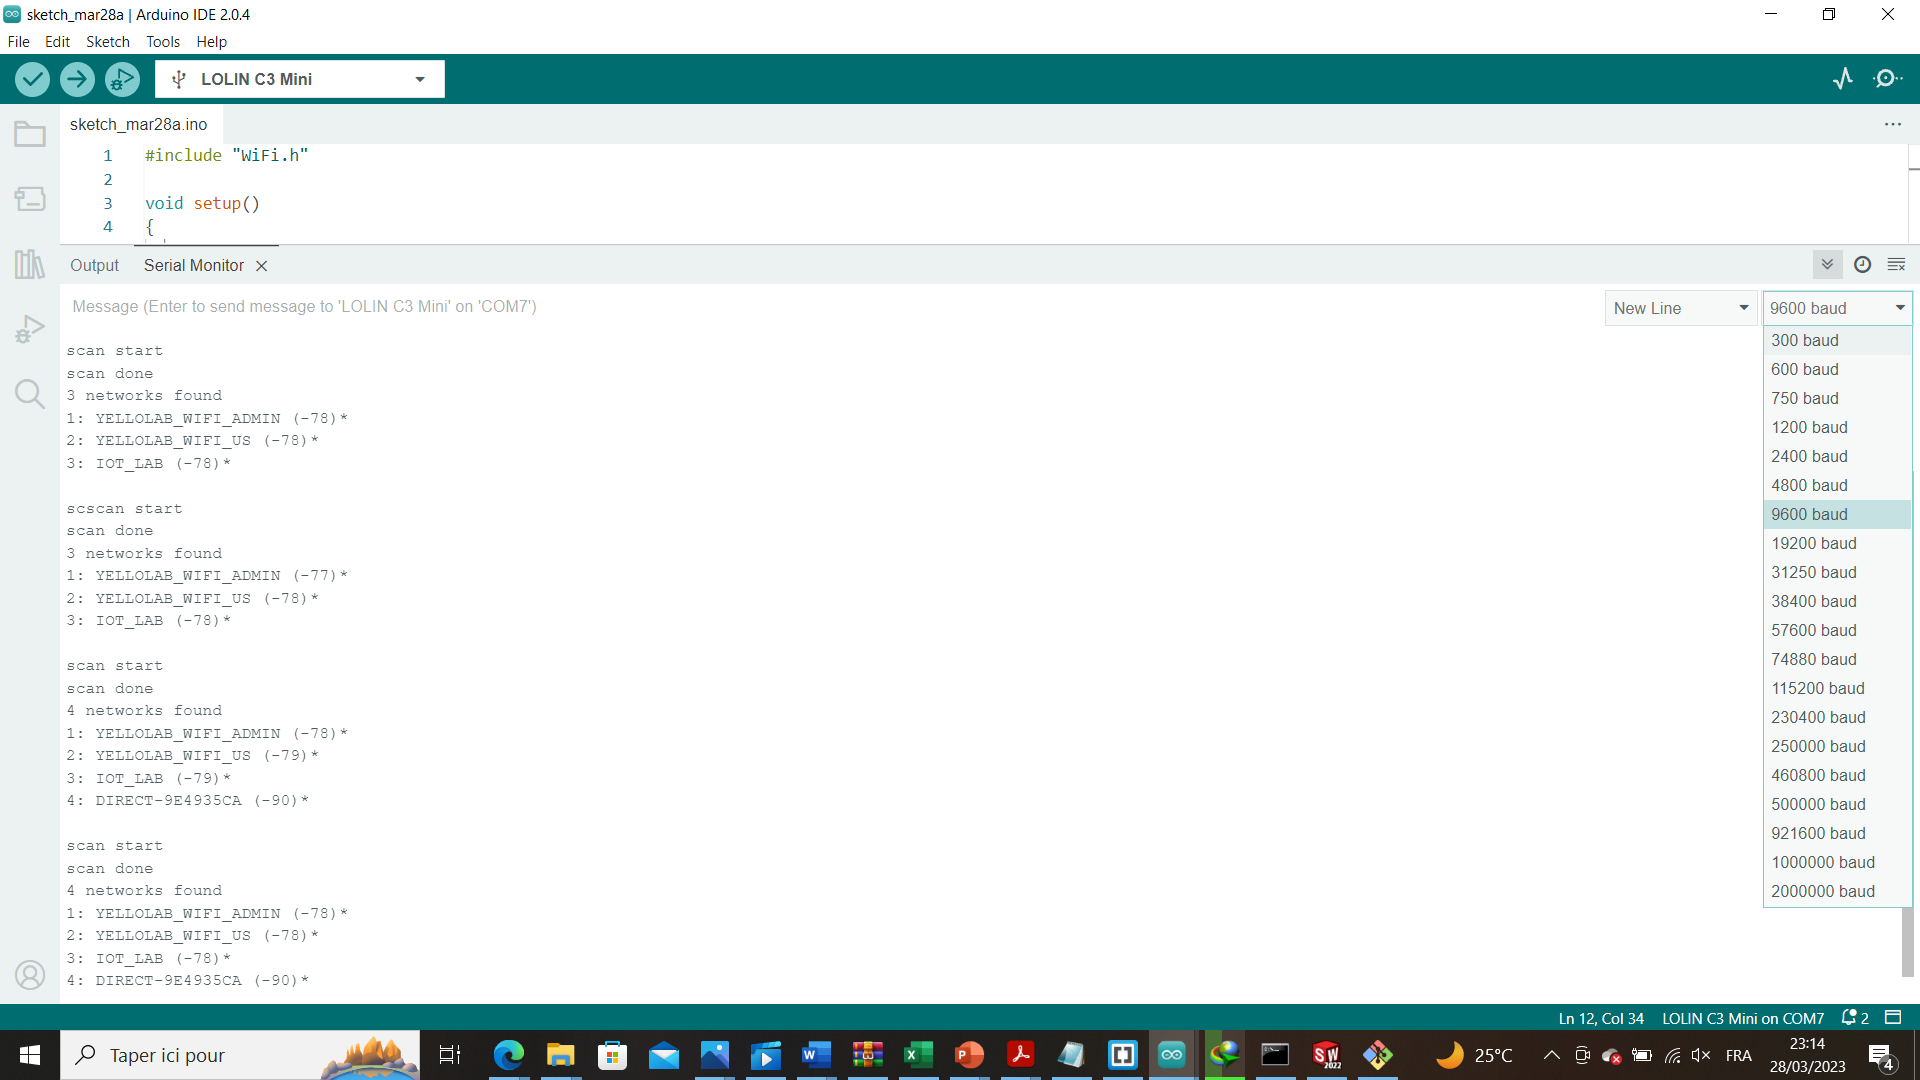
For communication I will interact my card with the outside environment by doing a wifi network scan
–Here’s the code I use
#include "WiFi.h"
void setup() { Serial.begin(115200);
// Set WiFi to station mode and disconnect from an AP if it was previously connected
WiFi.mode(WIFI_STA);
WiFi.disconnect();
delay(100);

Serial.println("Setup done");
}

 void loop()
 {
 Serial.println("scan start");

   // WiFi.scanNetworks will return the number of networks found
   int n = WiFi.scanNetworks();
   Serial.println("scan done");
   if (n == 0) {
      Serial.println("no networks found");
   } else {
       Serial.print(n);
       Serial.println(" networks found");
       for (int i = 0; i < n; ++i) {
        // Print SSID and RSSI for each network found
         Serial.print(i + 1);
         Serial.print(": ");
         Serial.print(WiFi.SSID(i));
        Serial.print(" (");
        Serial.print(WiFi.RSSI(i));
        Serial.print(")");
        Serial.println((WiFi.encryptionType(i) == WIFI_AUTH_OPEN)?" ":"*");
        delay(10);
      }
    }
    Serial.println("");

    // Wait a bit before scanning again
   delay(5000);
   }
–To do this work I am inspired by the documentation of the wiki concerning the electronic card
XIAO ESP 32 C3 getting started
1- The first step is to connect my card
 2- the second to choose my board board in the ARDUINO IDE
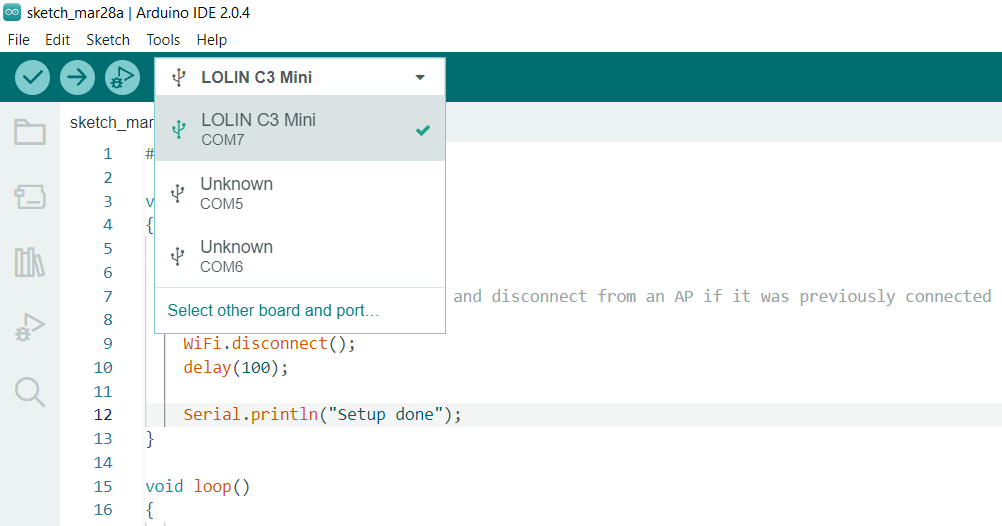 3- If it is done I go to the upload of my program
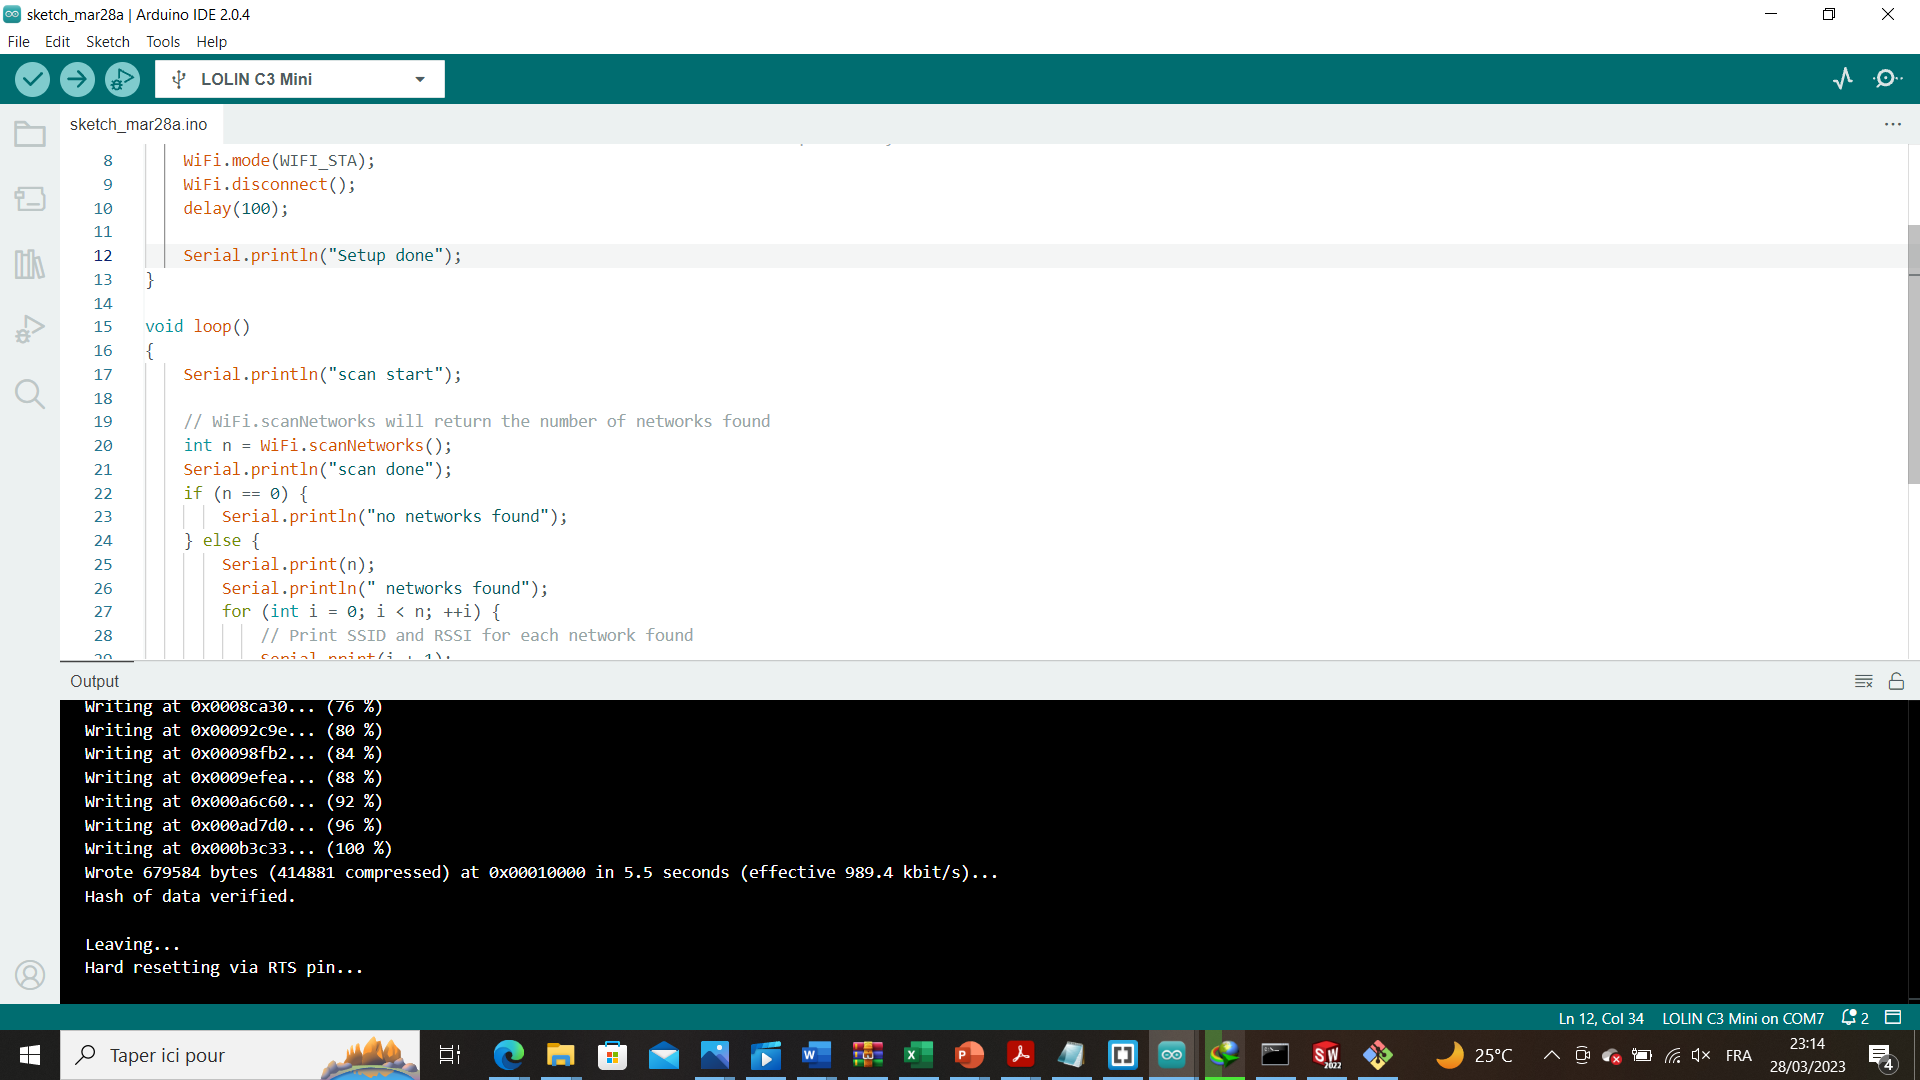 4- In the serial port display I see if communication is established
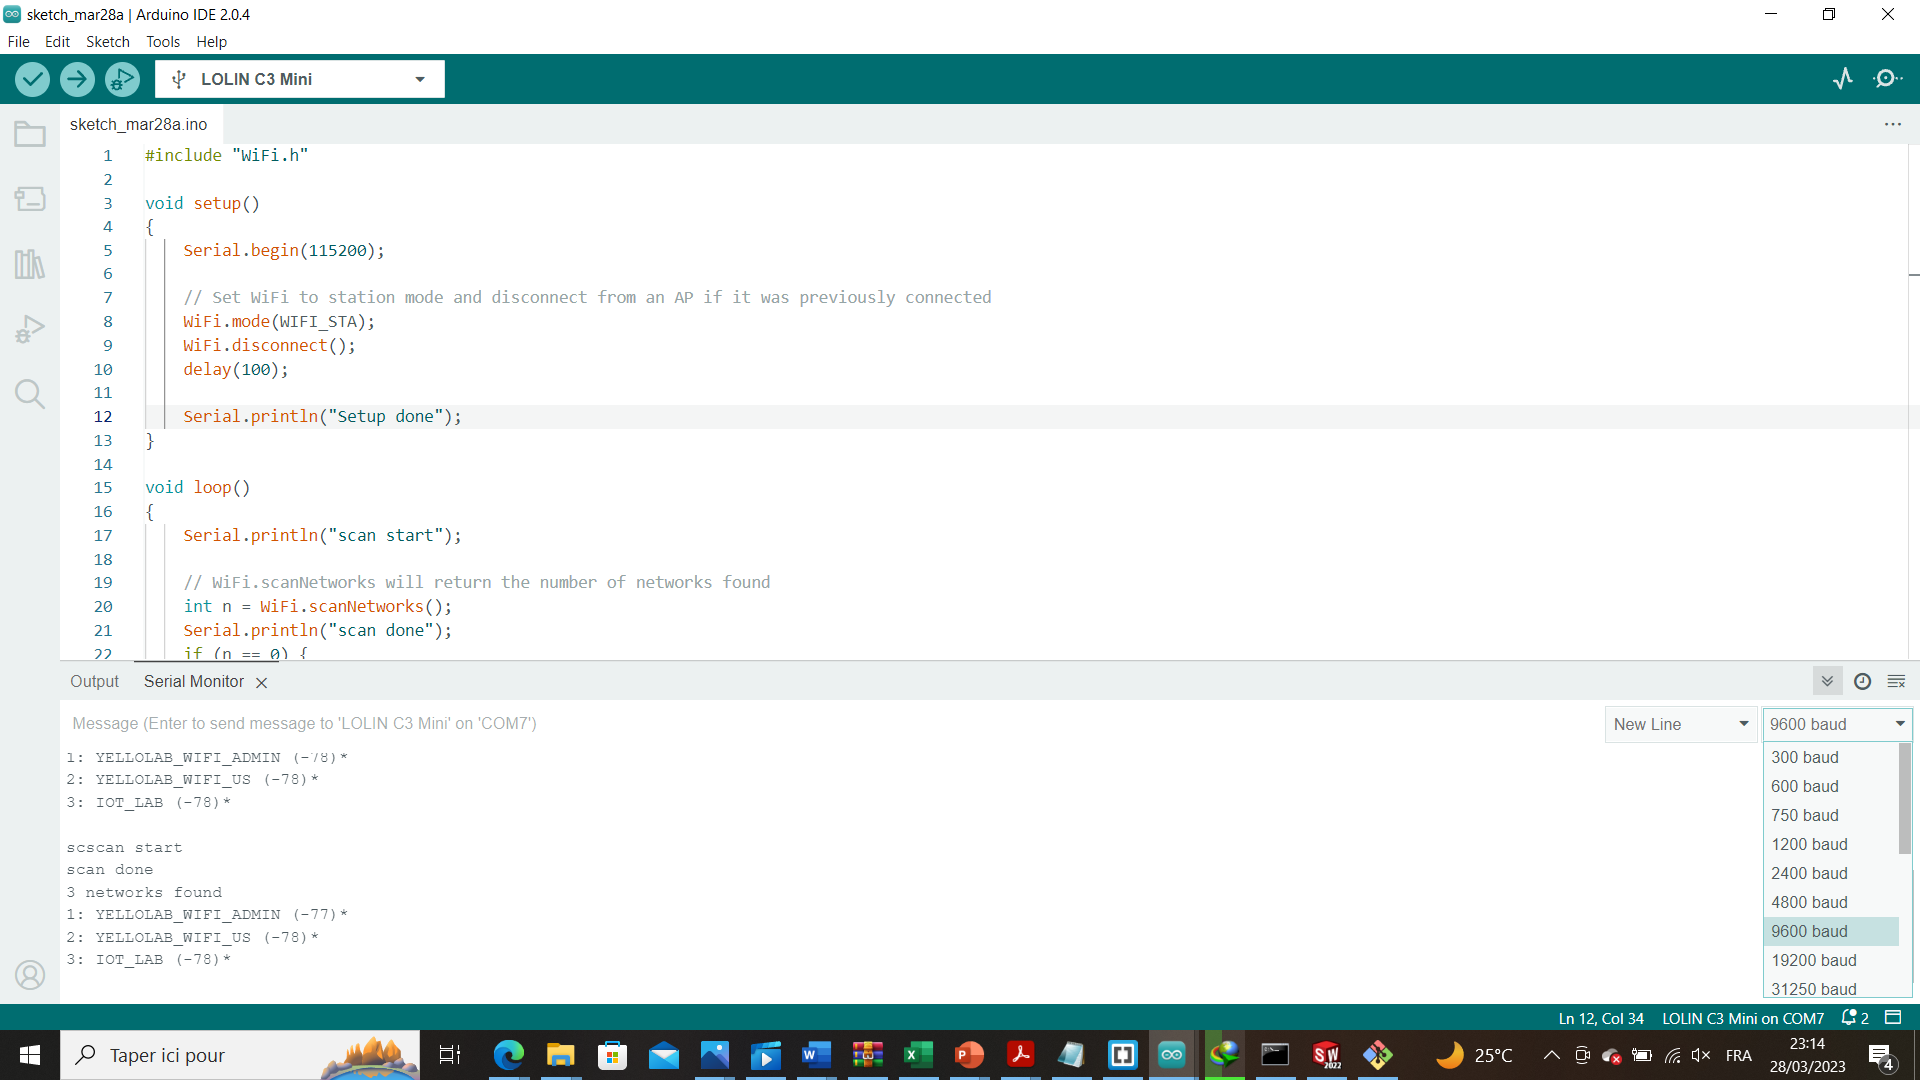 5- as we can see I have my Wifi network available on my board