WEEK 5. 3D Scanning and printing
assignment
.group assignment:
- test the design rules for your 3D printer(s)
.individual assignment:
  - design and 3D print an object (small, few cm3, limited by printer time)
     that could not be made subtractively
  - 3D scan an object (and optionally print it)
I- what is 3D printing
I will talk here about what I have learned after an investigation on 3D printing
** 1.Definition**
3D printing is an automated additive manufacturing process, where a 3D printer creates a physical model based on digital data (a 3D object). physical model based on digital data (a 3D object).
2.3D printing technologies
- FDM technologie
To form the part to be printed, this type of printer melts a filament to apply the different layers of the object. With this type of printer, you are guaranteed to get functional and good quality objects. After printing, you will hardly need to refine your work. This technology also allows you to print large objects.
- SLA technologie
The principle of this is to harden the sensitive resin layers. In fact, the main element here is the liquid resin. Therefore, a limit of print size is required. In addition, you will also need to seriously clean the part to get rid of the excess resin. You will need to think about getting an isopropyl alcohol and an ultra-sonic cleaner.
CLIC TO SSE THE SLA TECHNOLOGIE
- FFF technologie
clic here to learn more about FFF
FFF (Fused Filament Fabrication), is simple: an object is created layer by layer by melting a plastic object is created layer by layer by melting a plastic filament. The most used used among these technologies is the FFF.
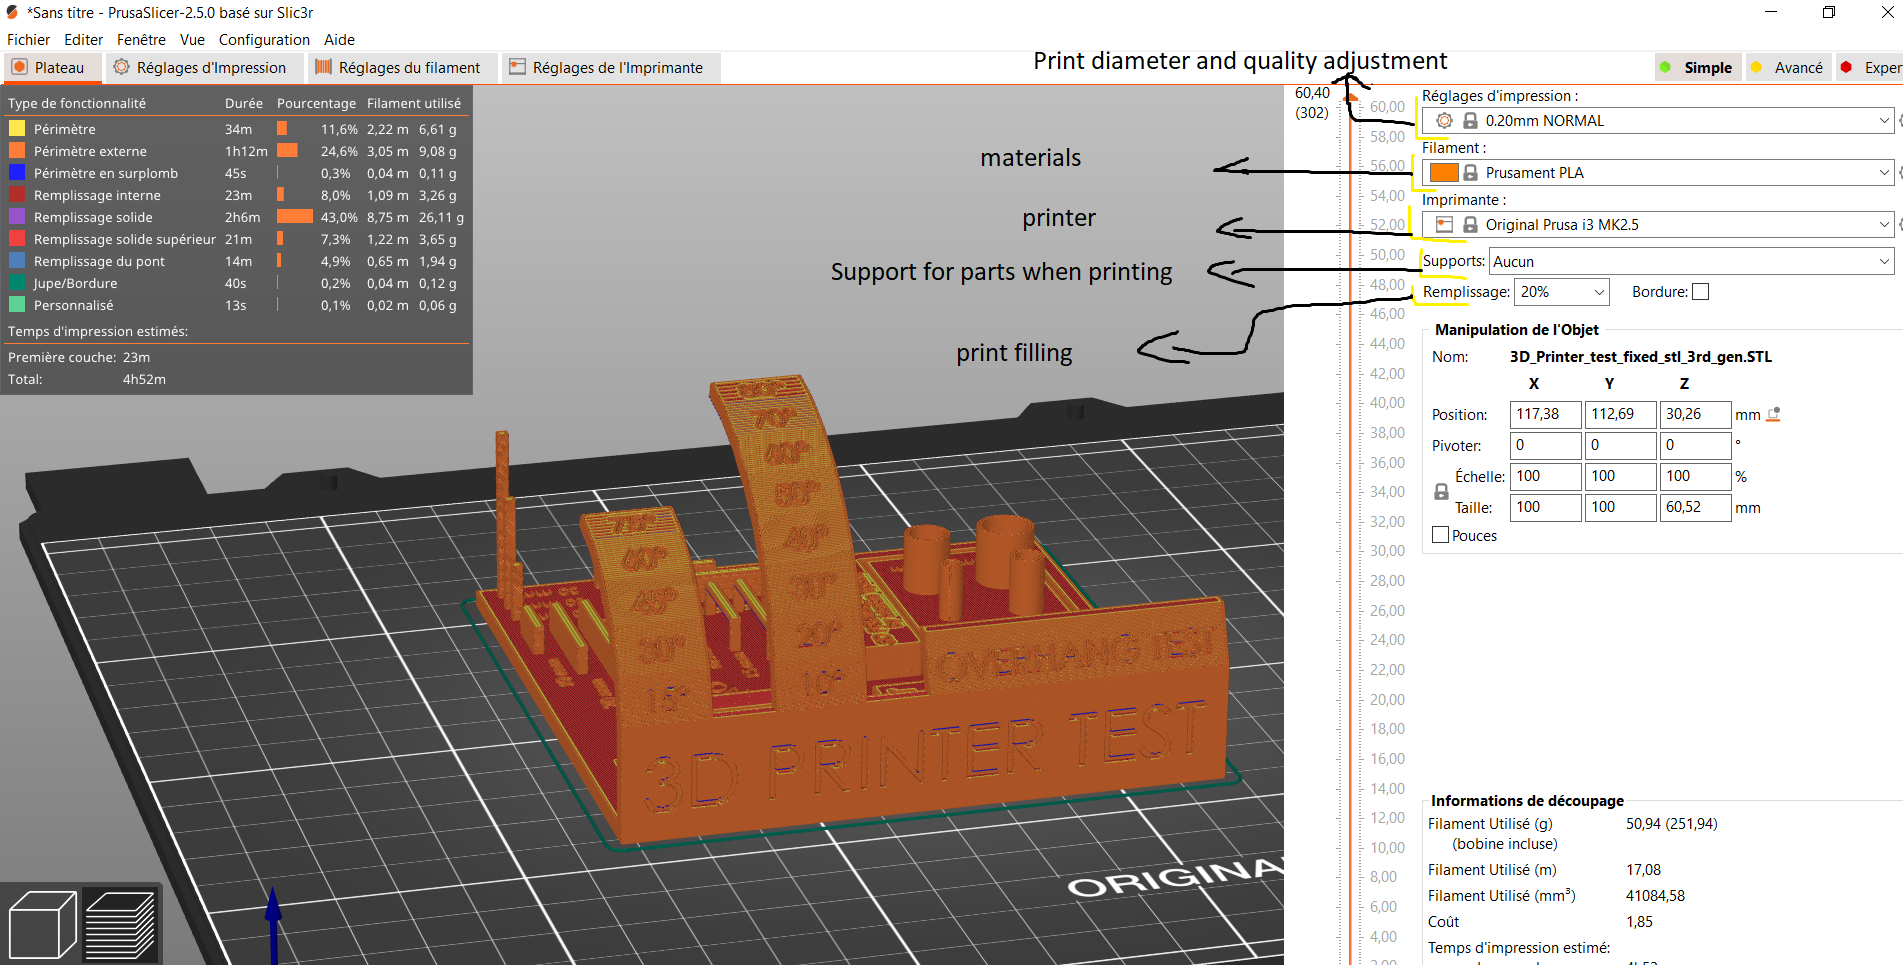
II - 3D print test
I took a part from the internet for the printer tests
III- printer presentation
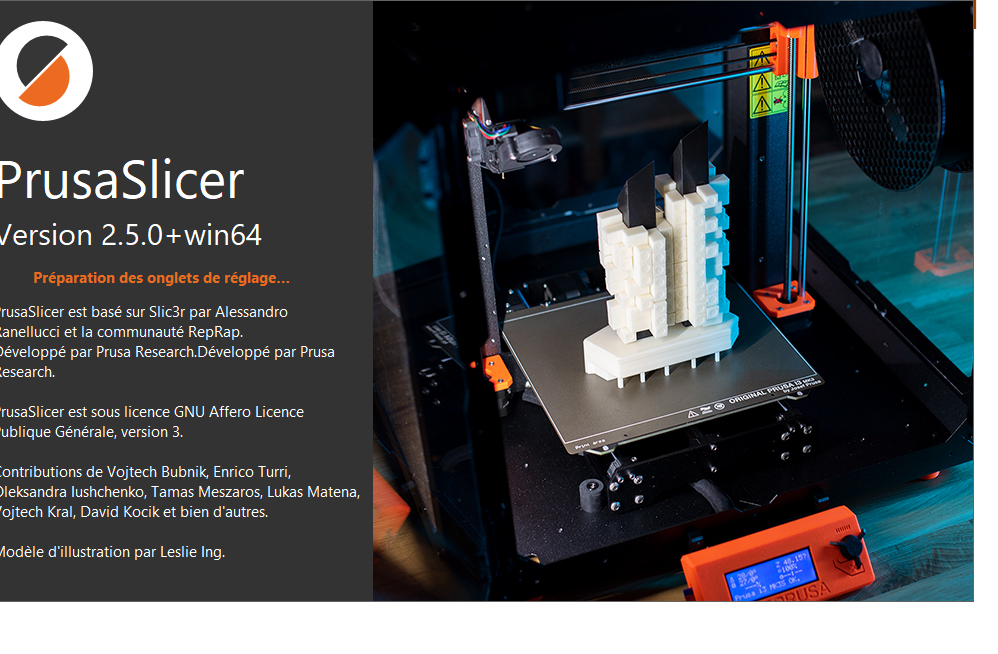
the pIrinter we use is Prusa printer that uses PUSA slicer to generate the Gcode get the slicer here
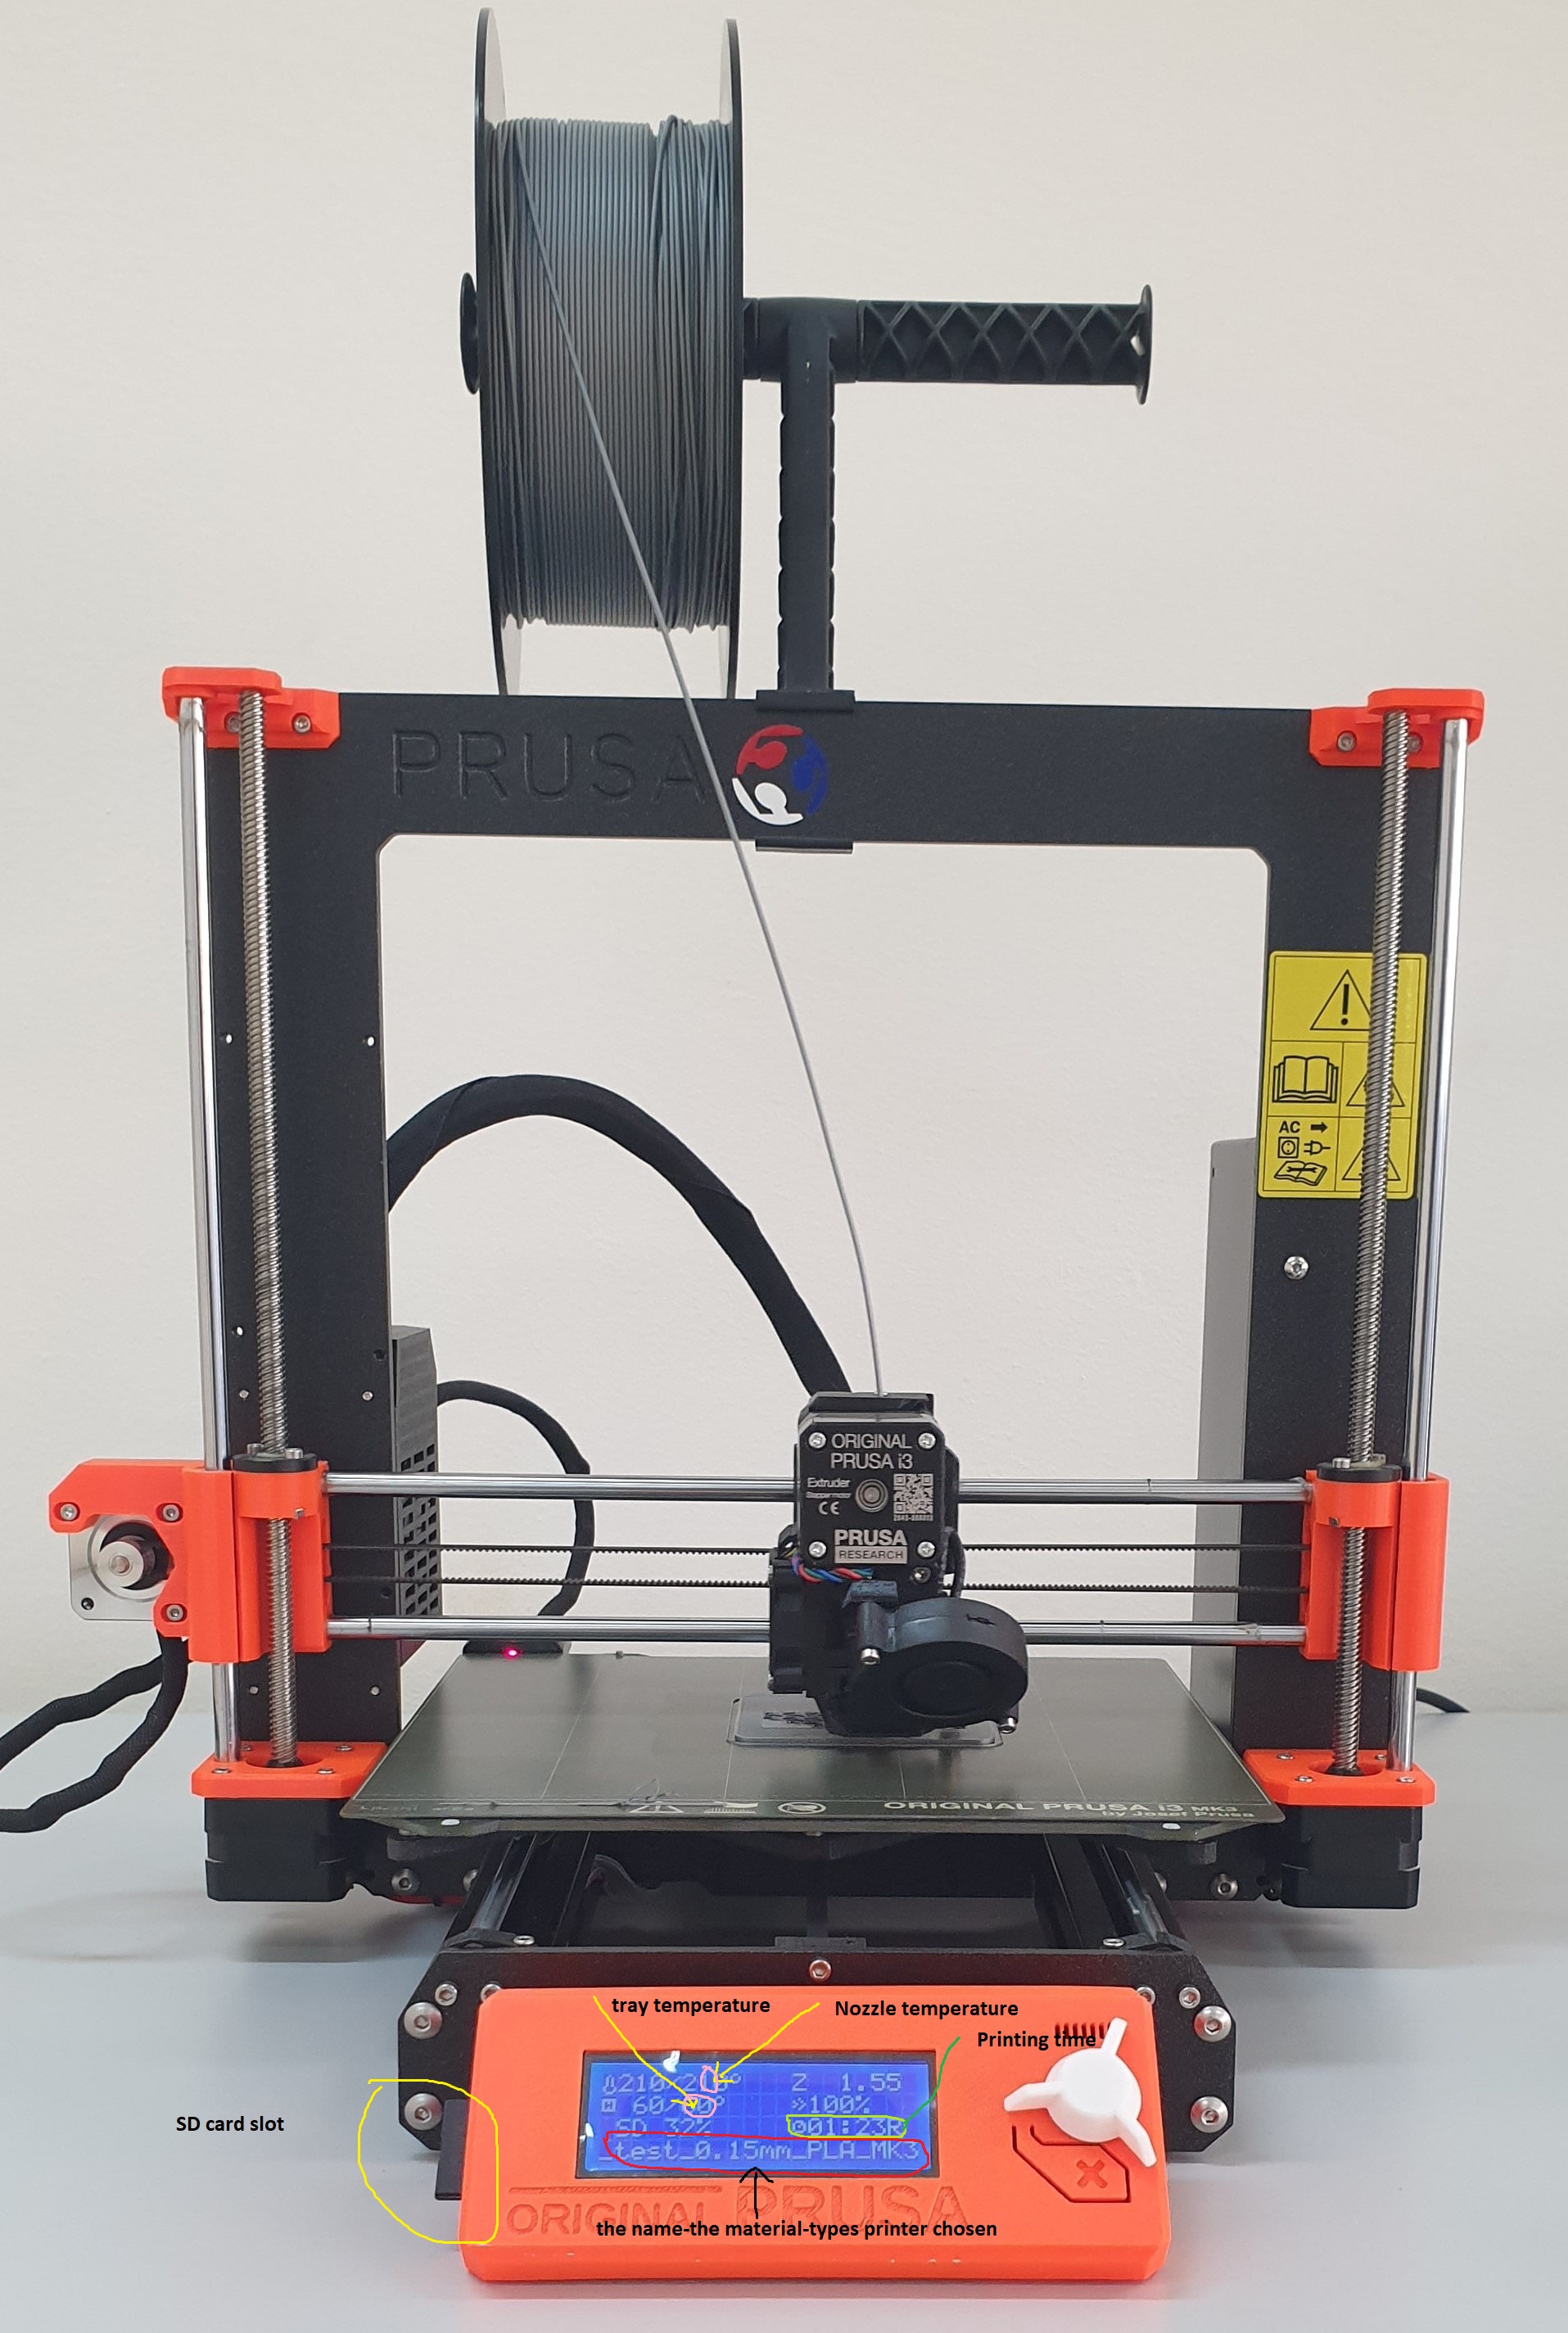
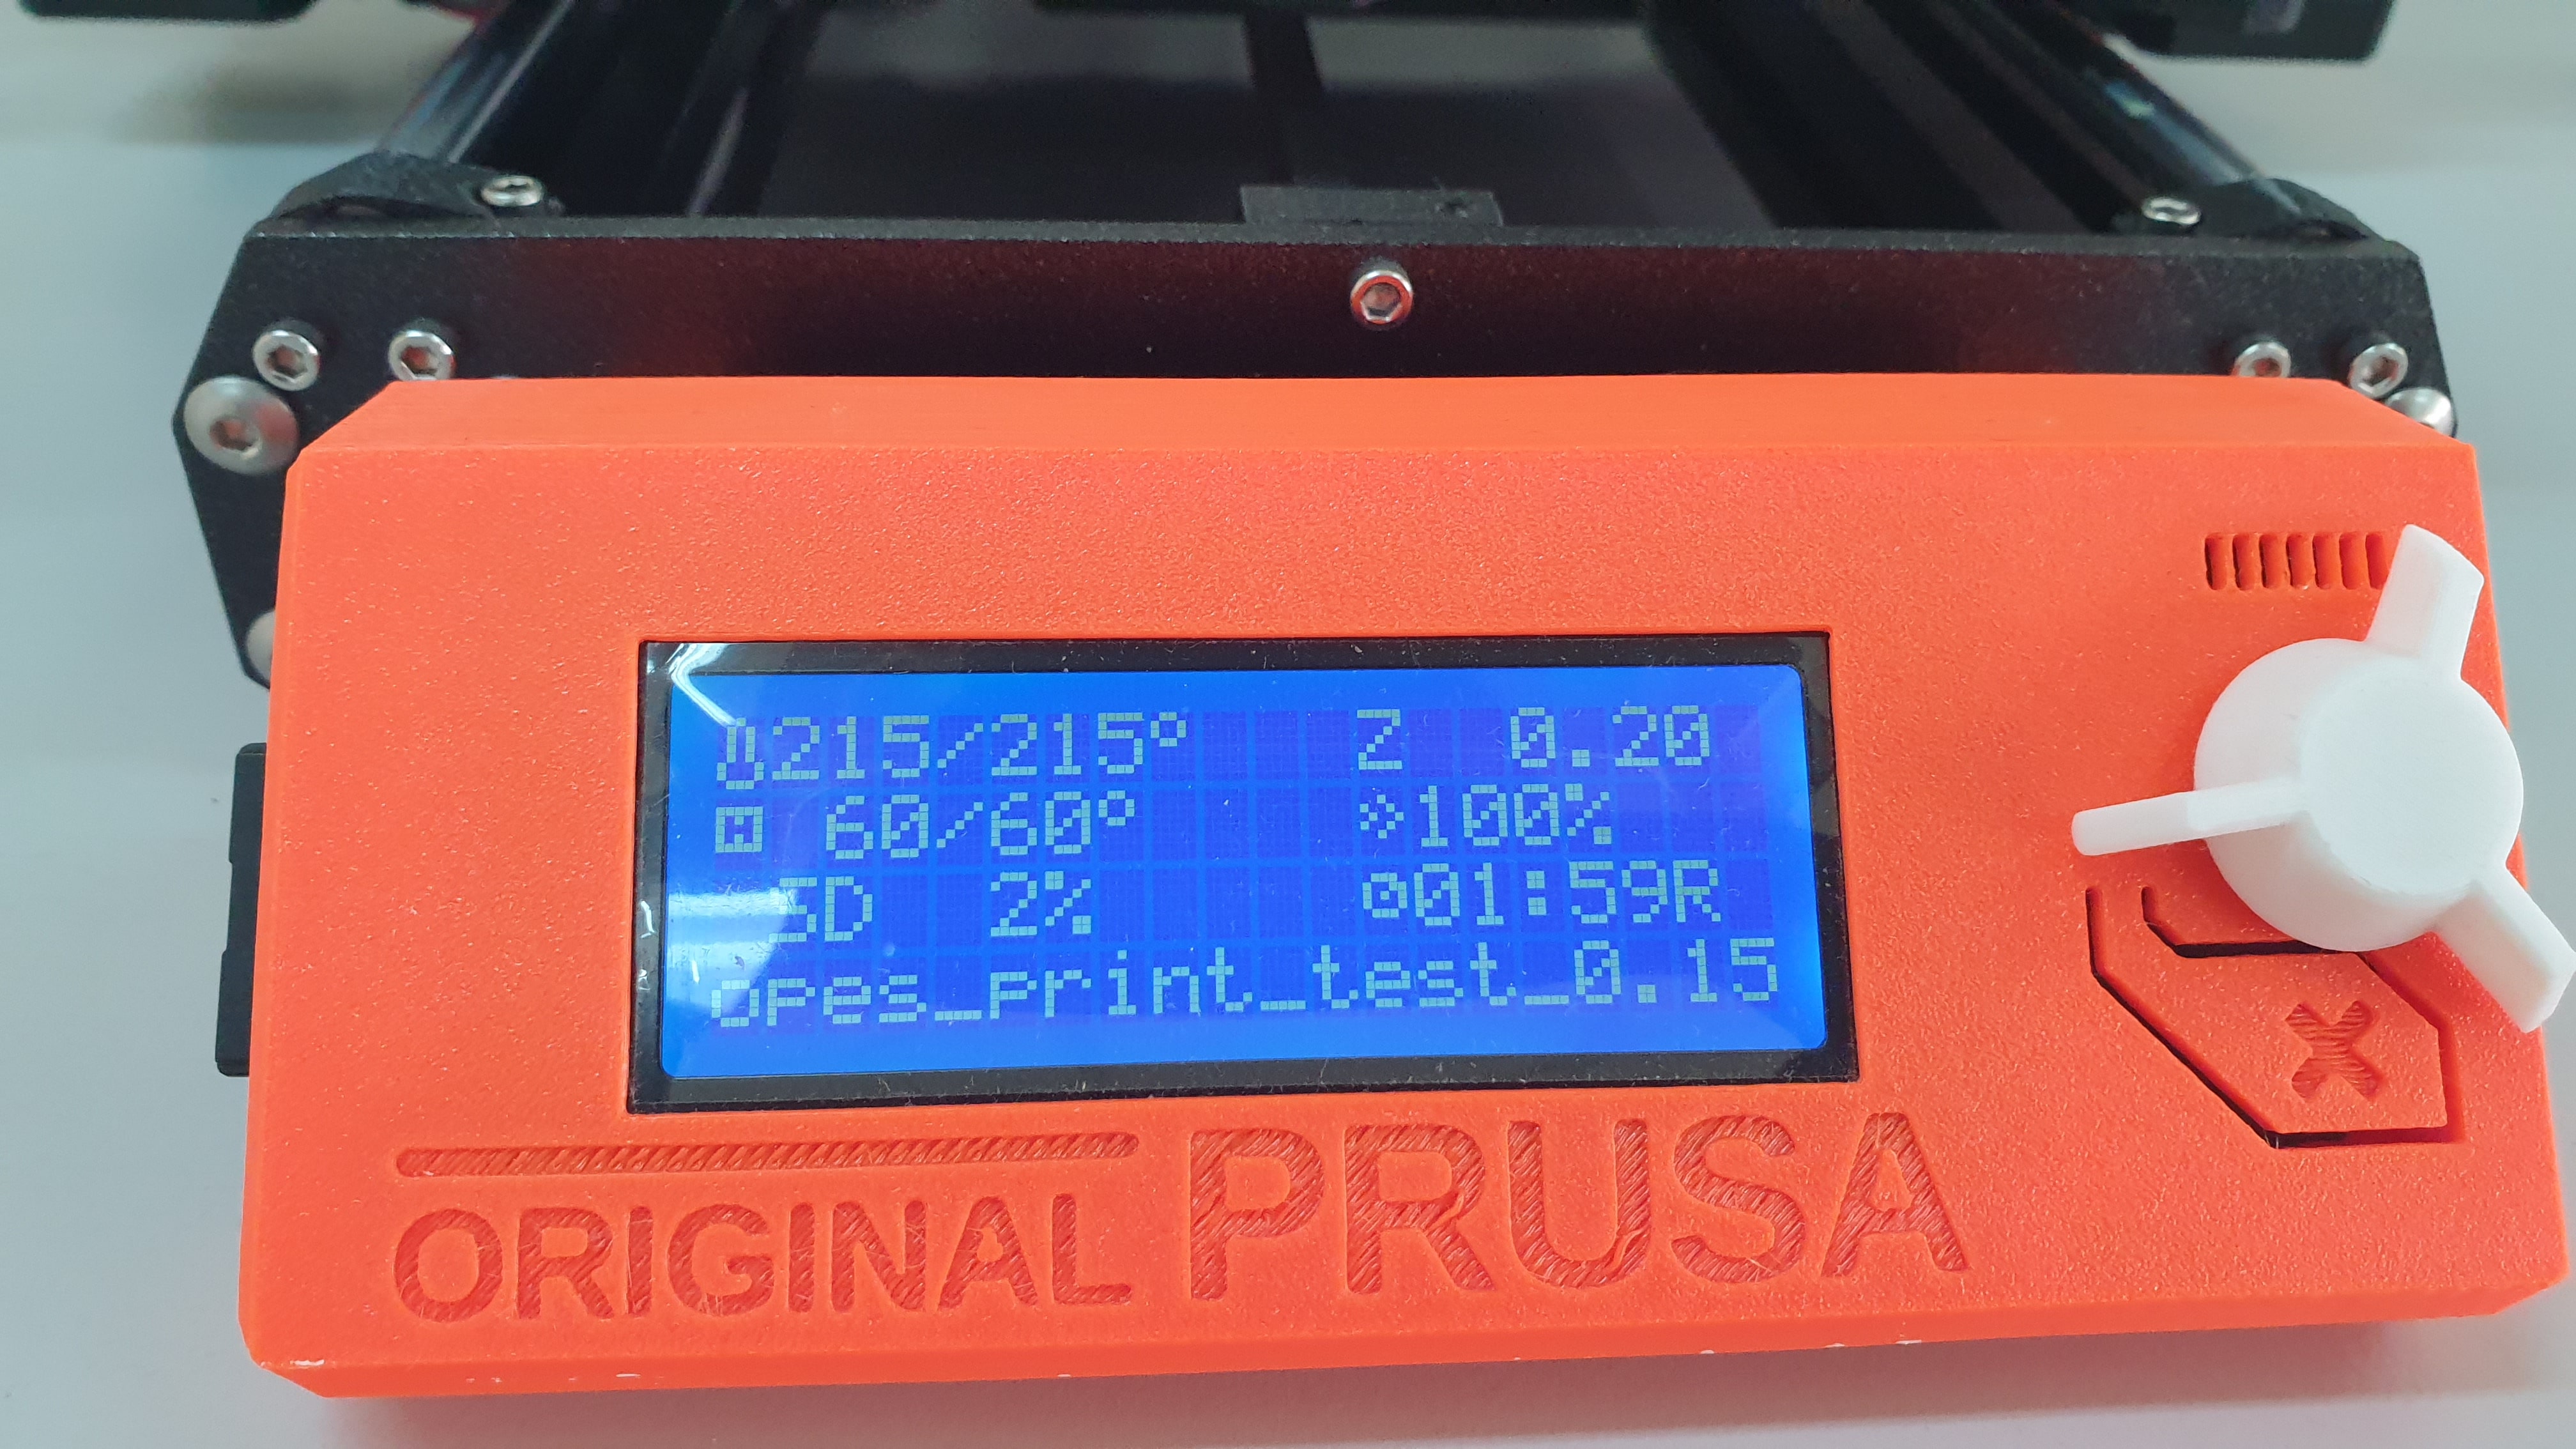
To start printing your part:
 1 insert your SD card 2 choose your room
 3 click ok until the table starts to heat up
 and off you go!
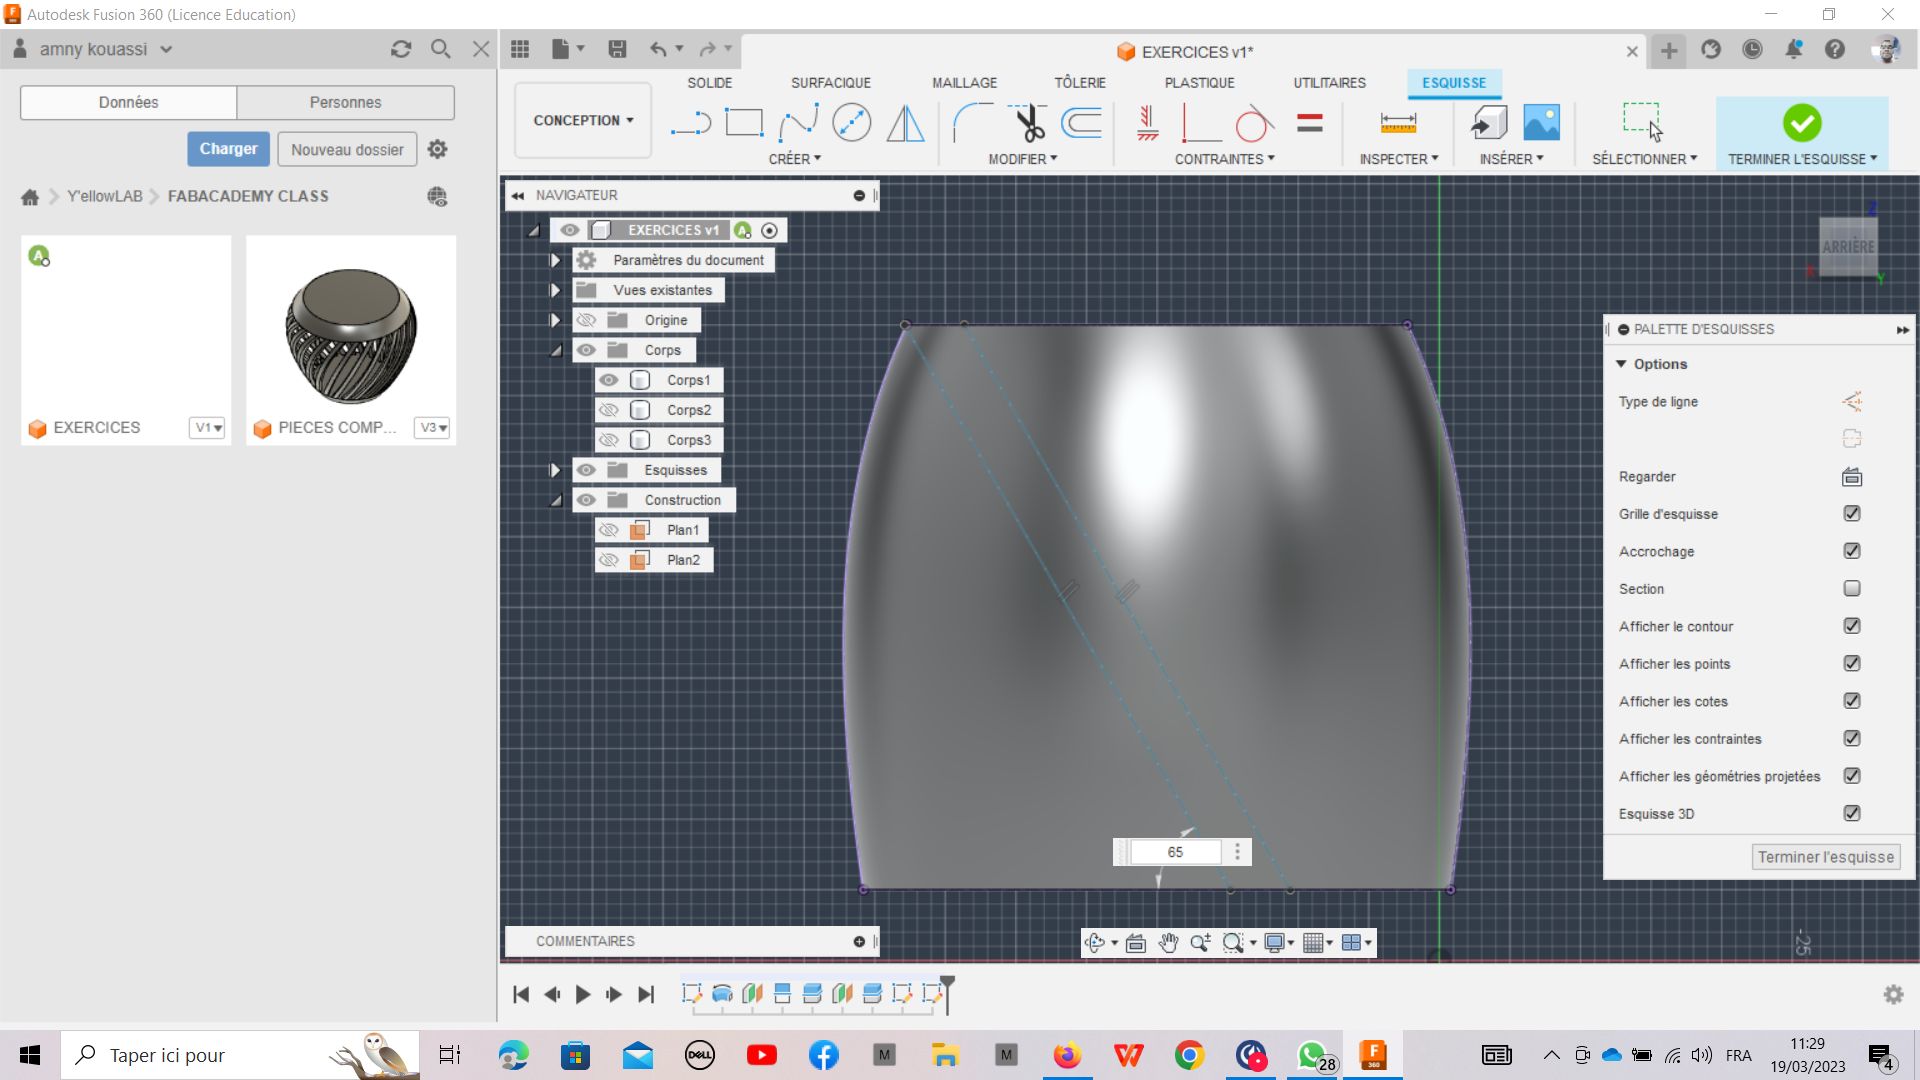
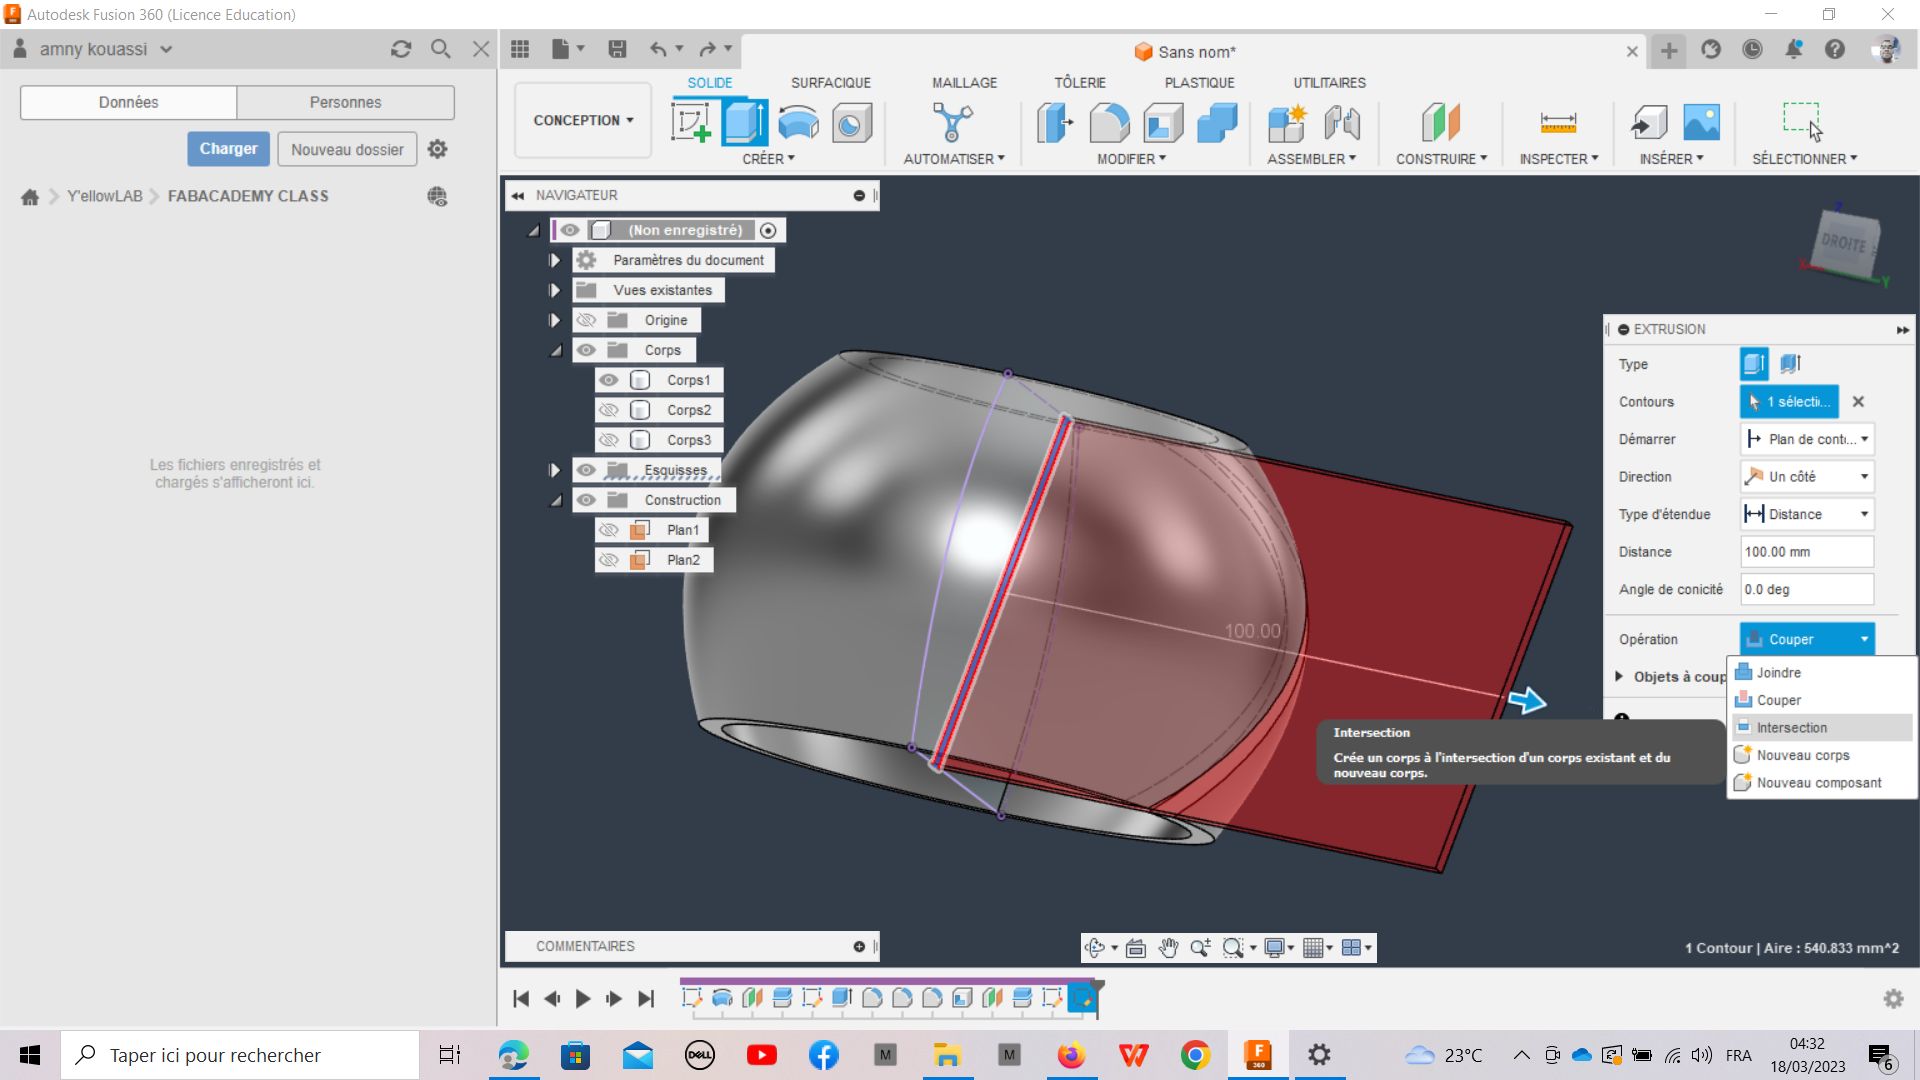
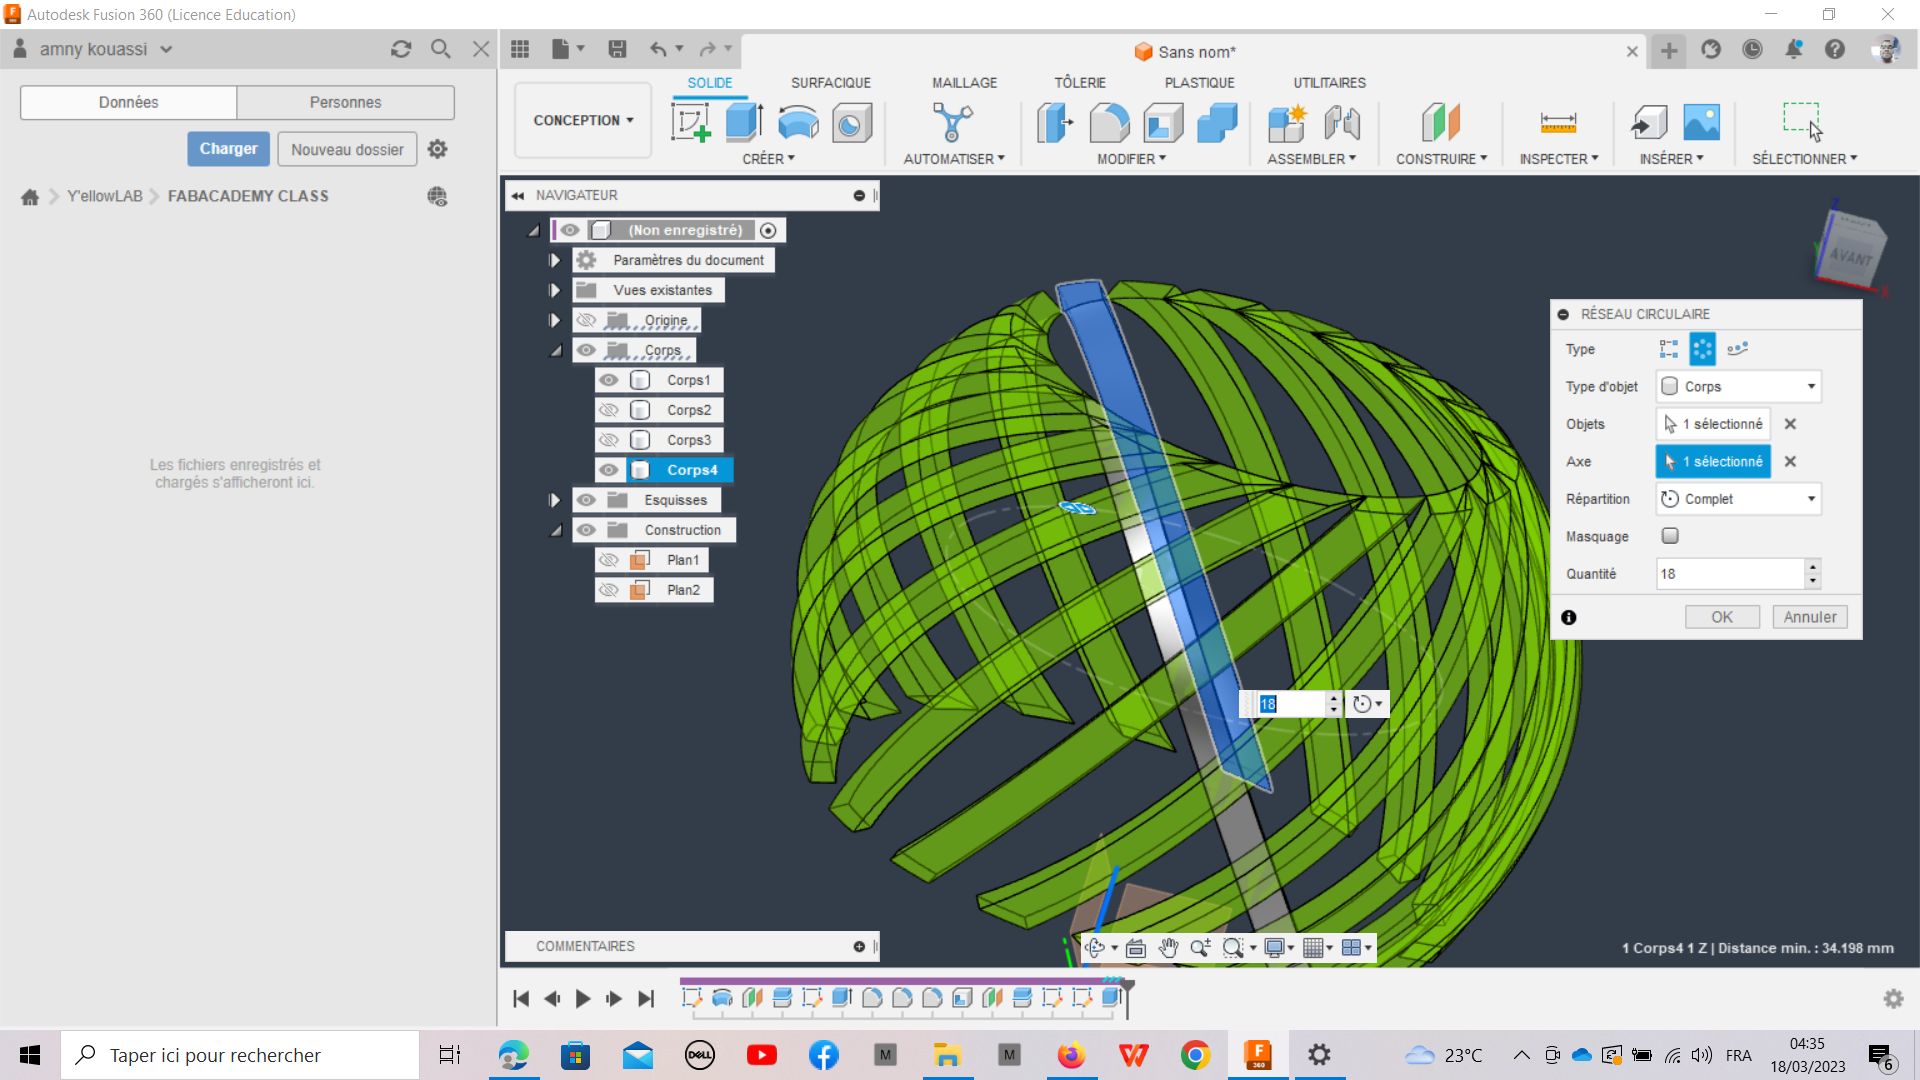
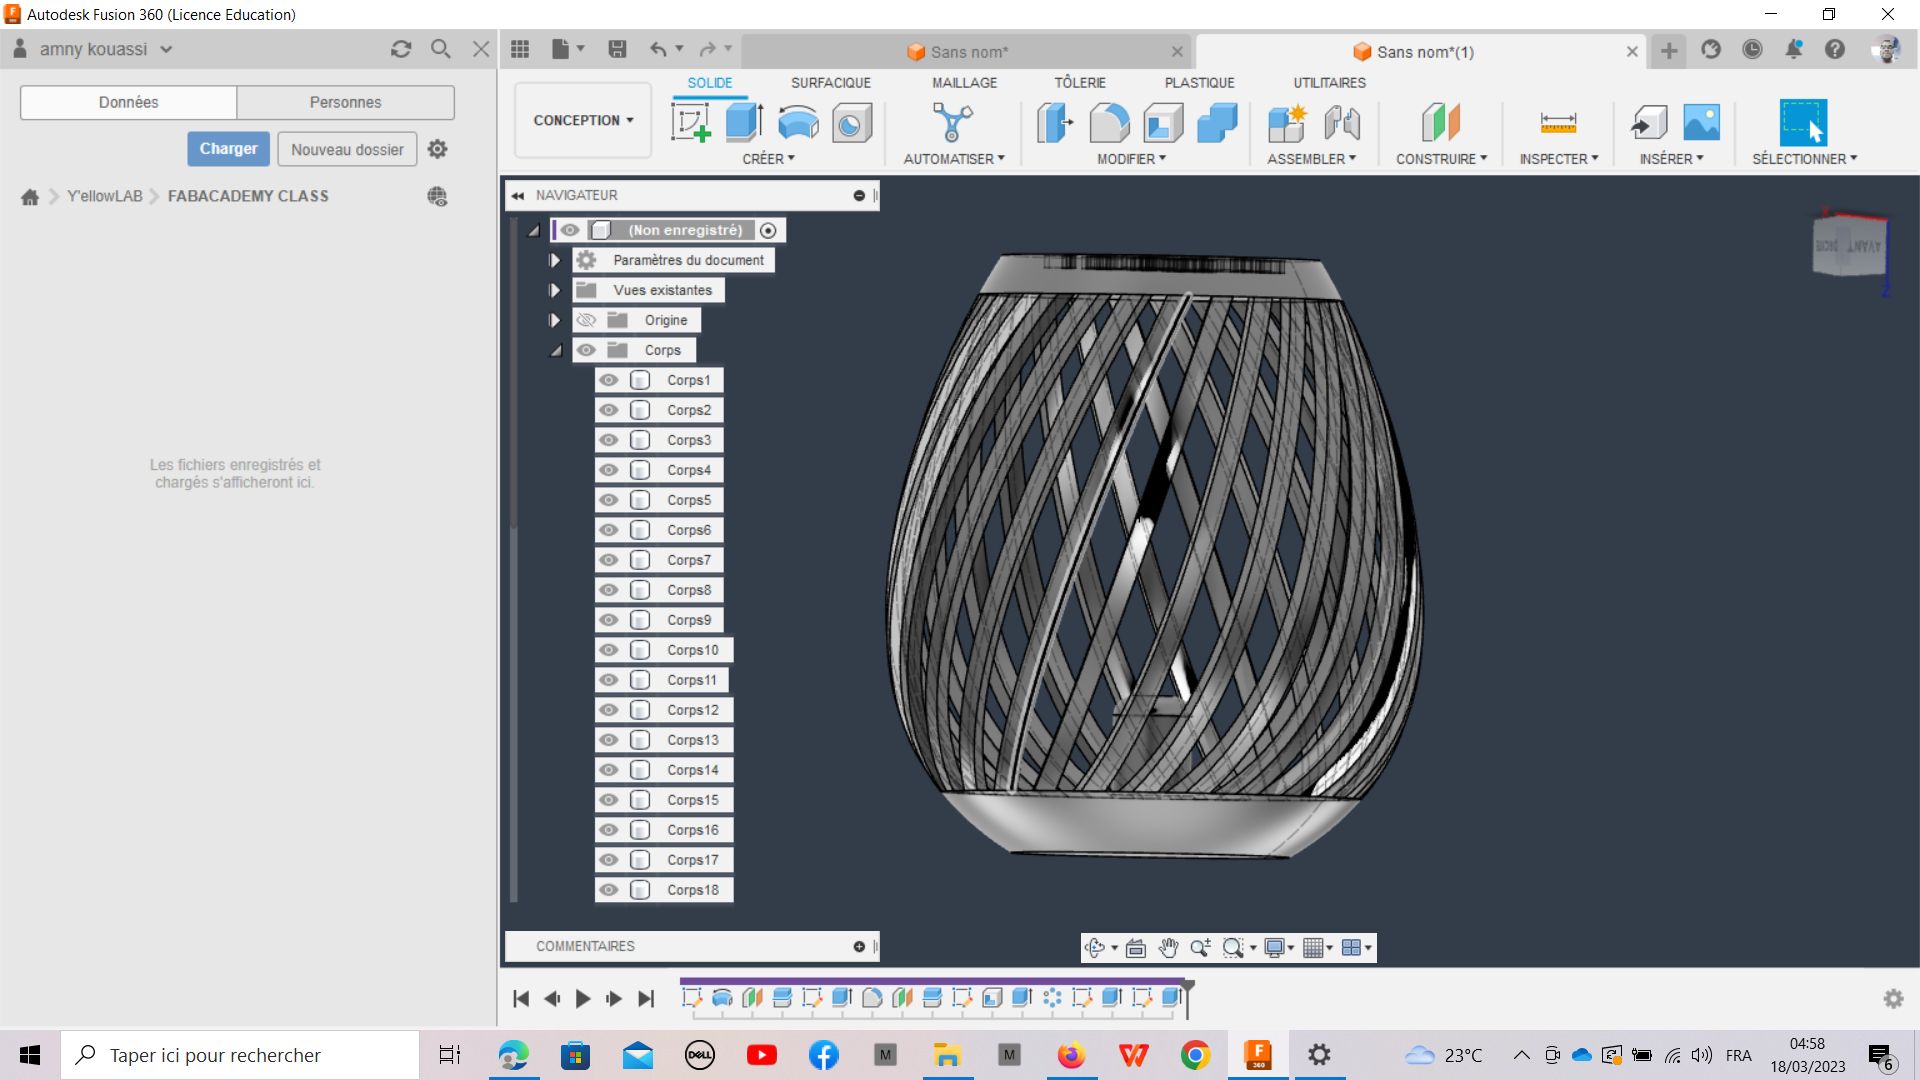
IV - 3D Design
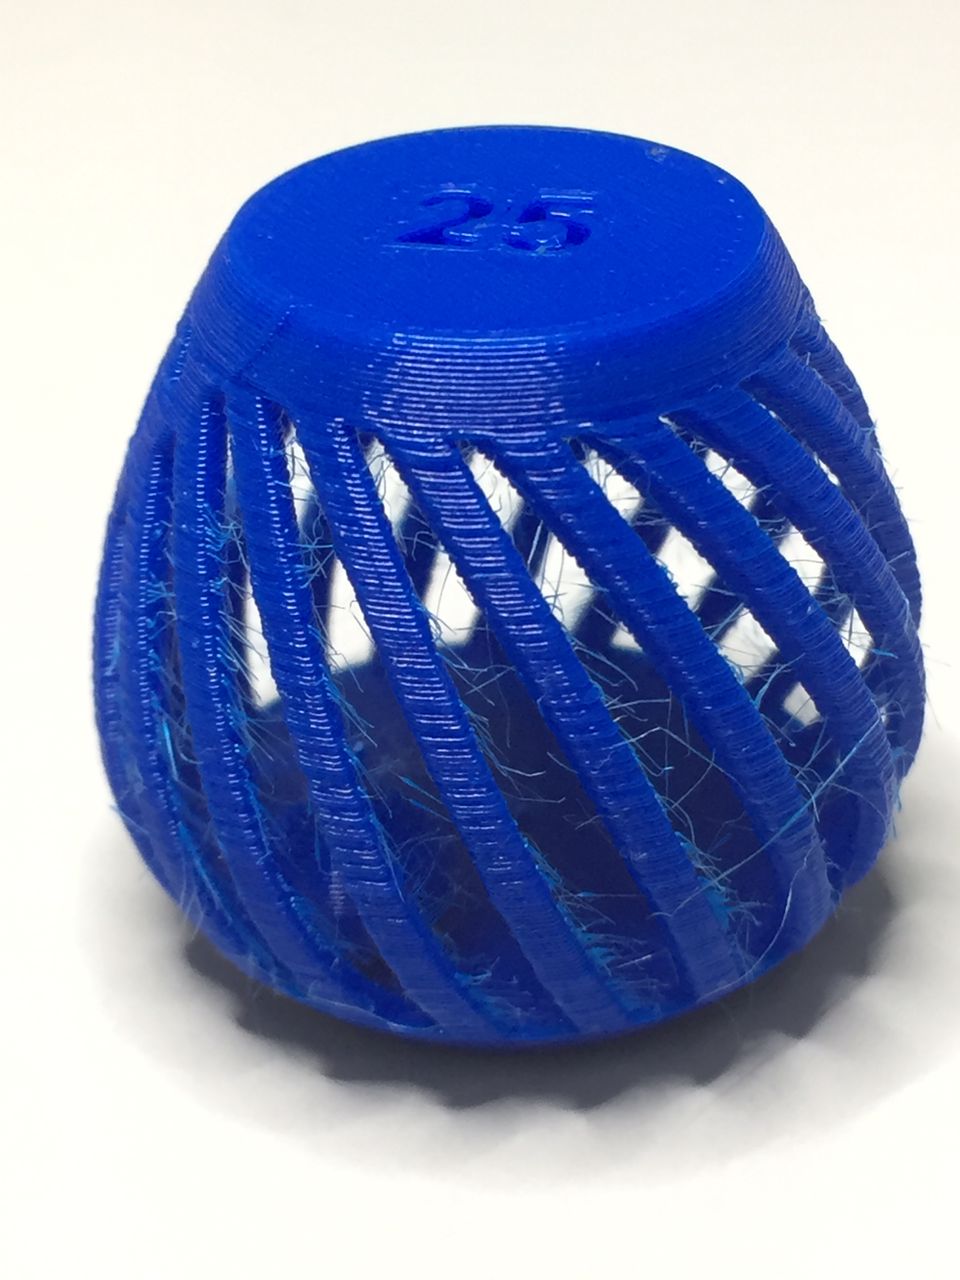
For the complex part, I give myself a challenge to design a piece that its geometric shape is in the form of a fully closed basket that contains a ball
to do it, I will use Fusion 360.
-
- step1
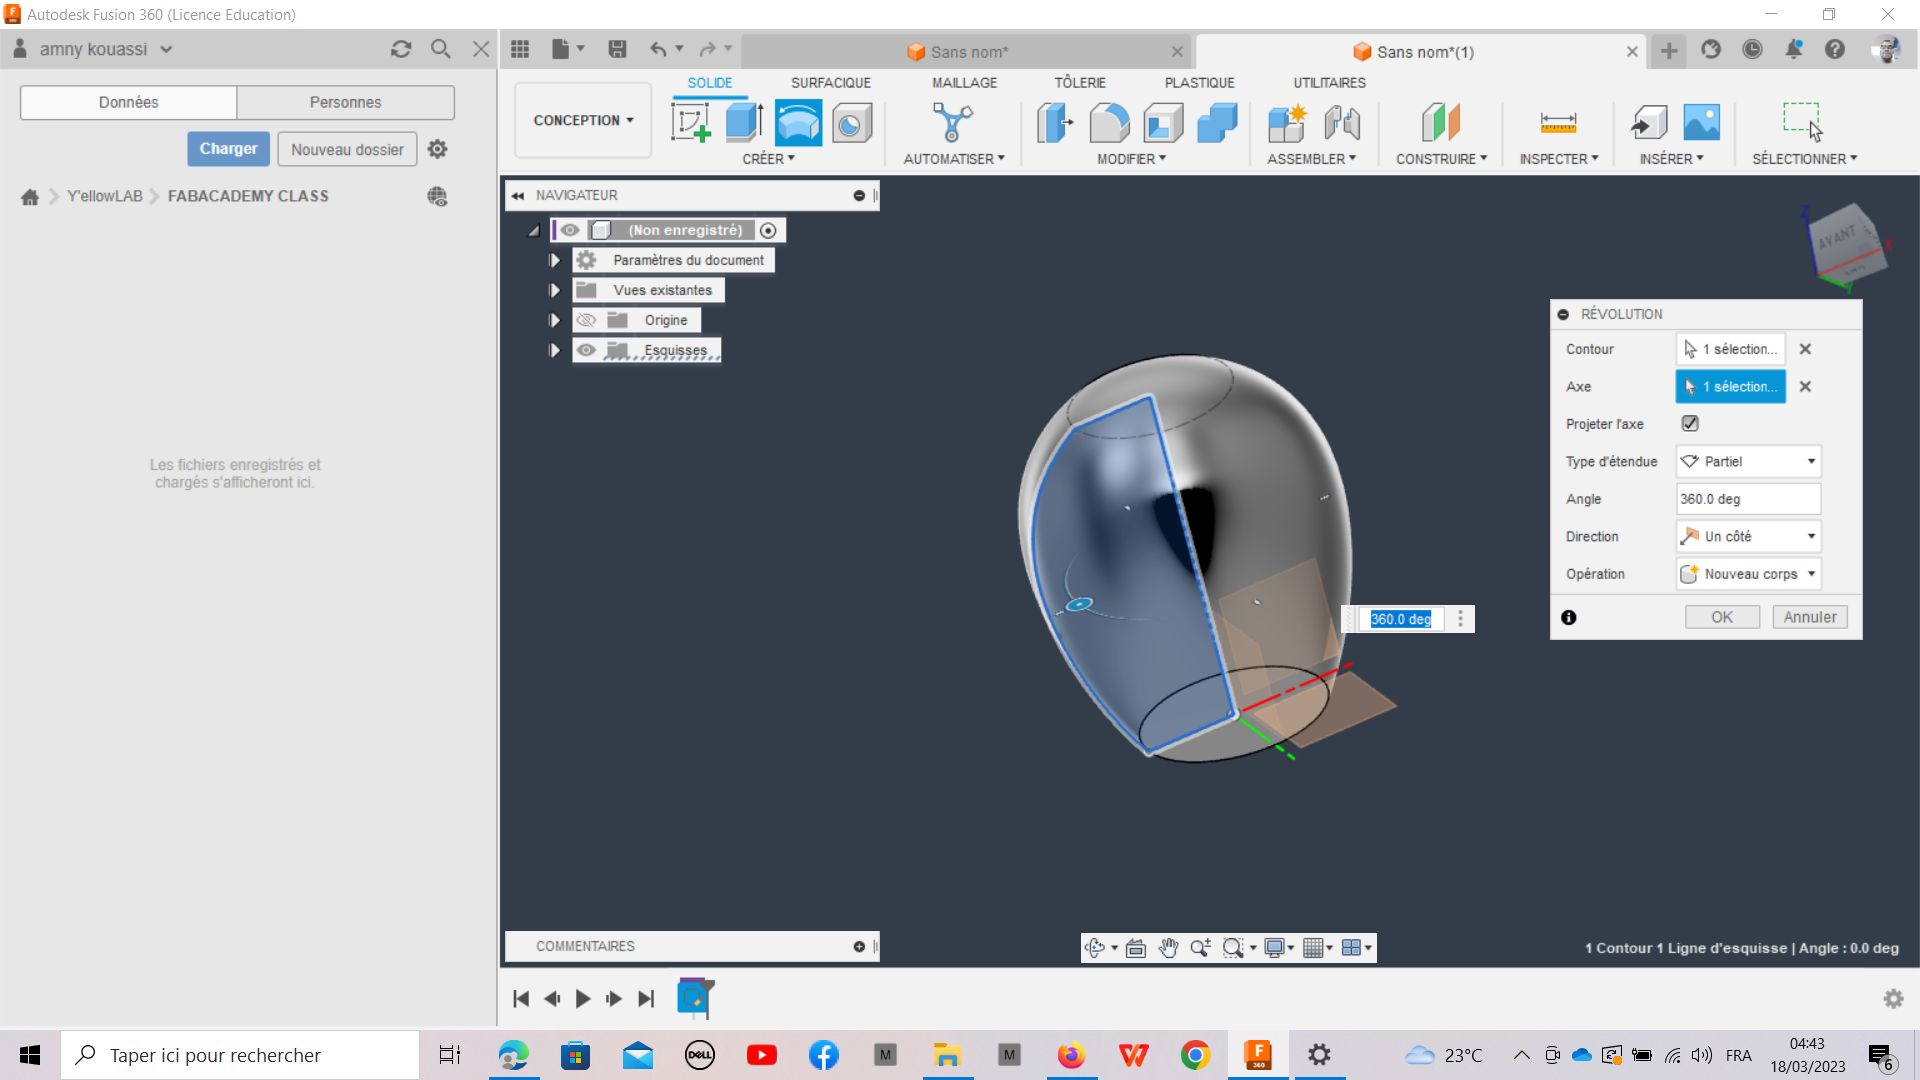
- step1
-
- step 2
-
- step 3
- step 3
-
- step 4
-
- step 5
-
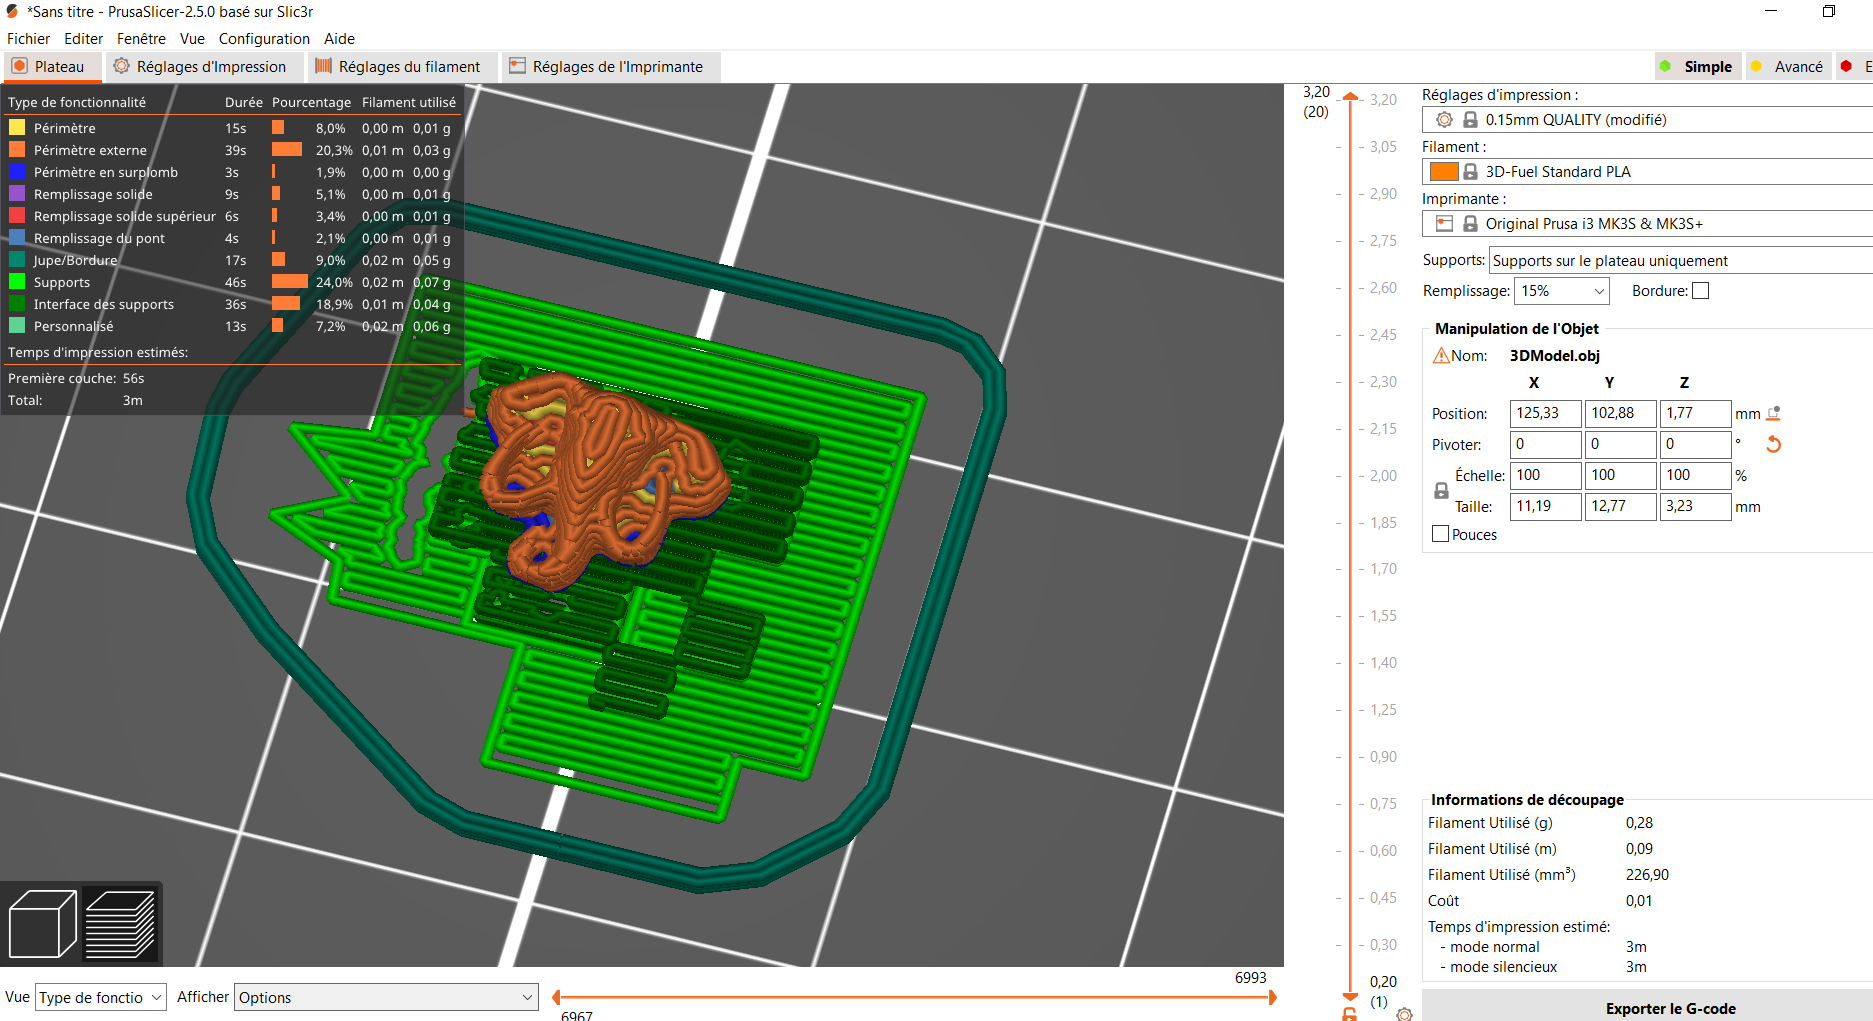
- Prepation of the file on the slicer
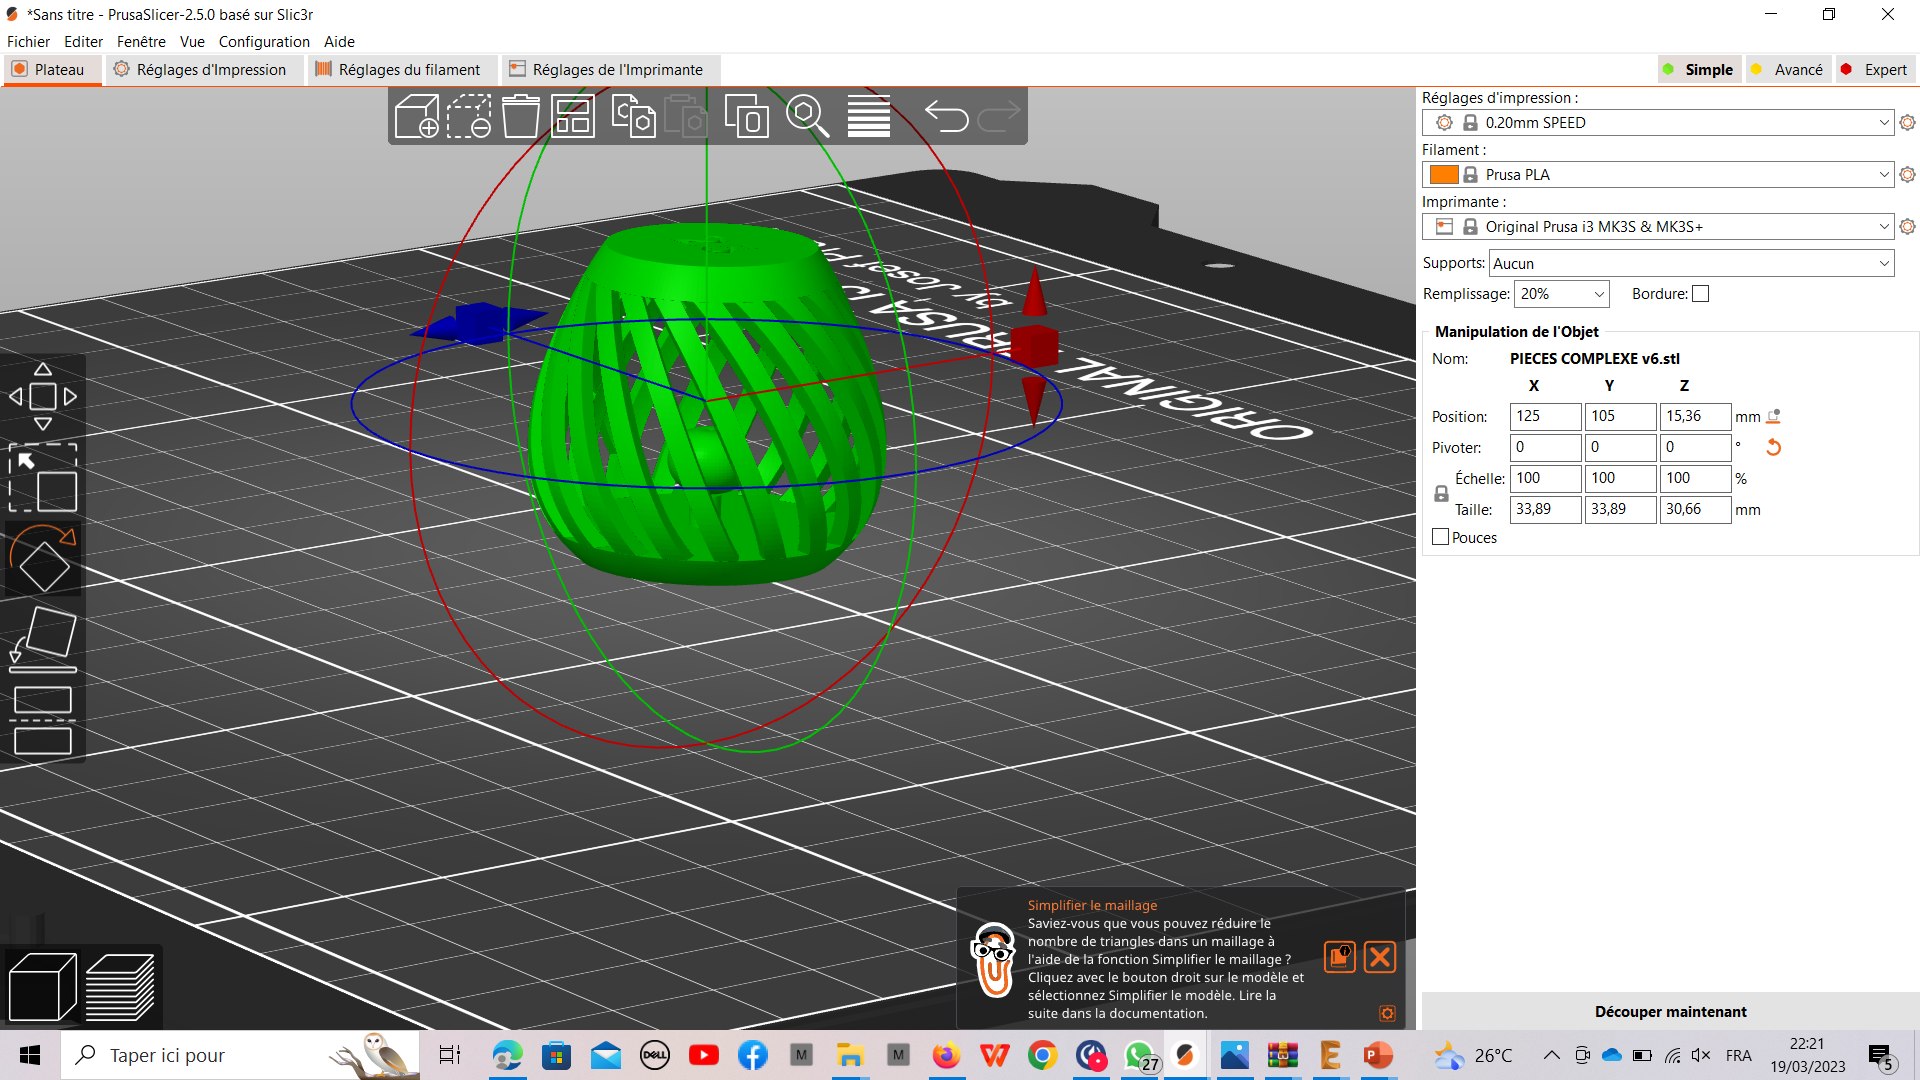
- Prepation of the file on the slicer
-clic here to get the fusion 360 file
V - 3D printing
- Prusa printer
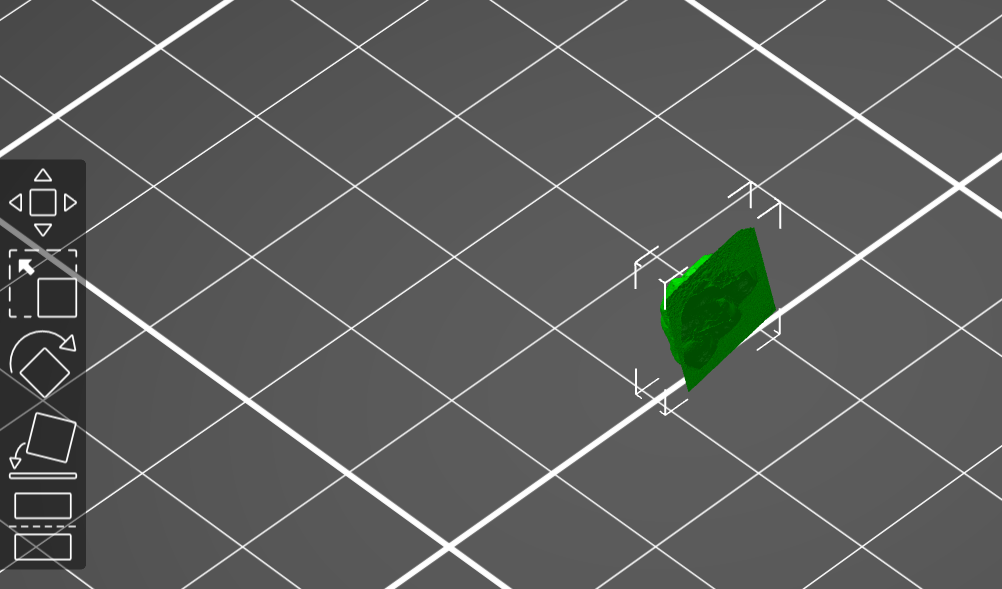
VI - 3D scaning projet
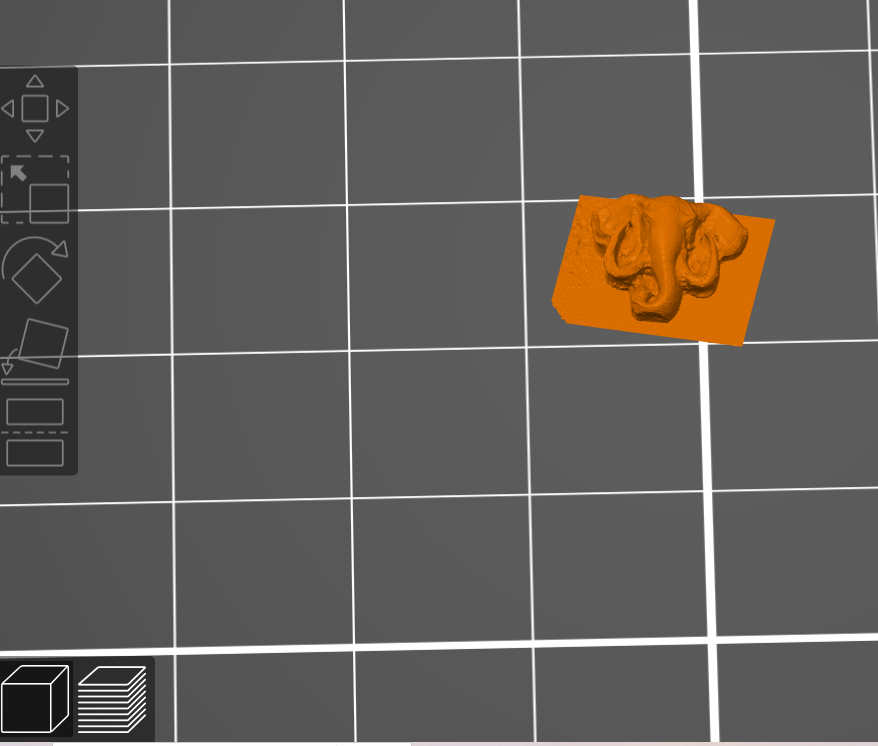
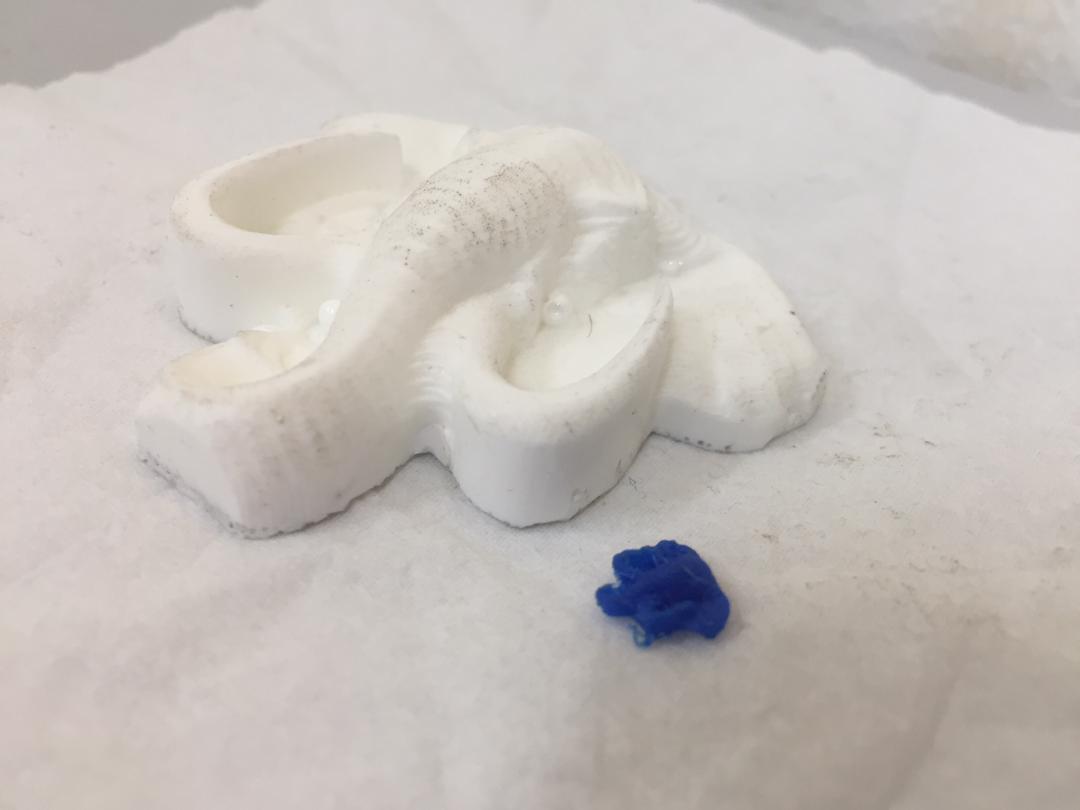
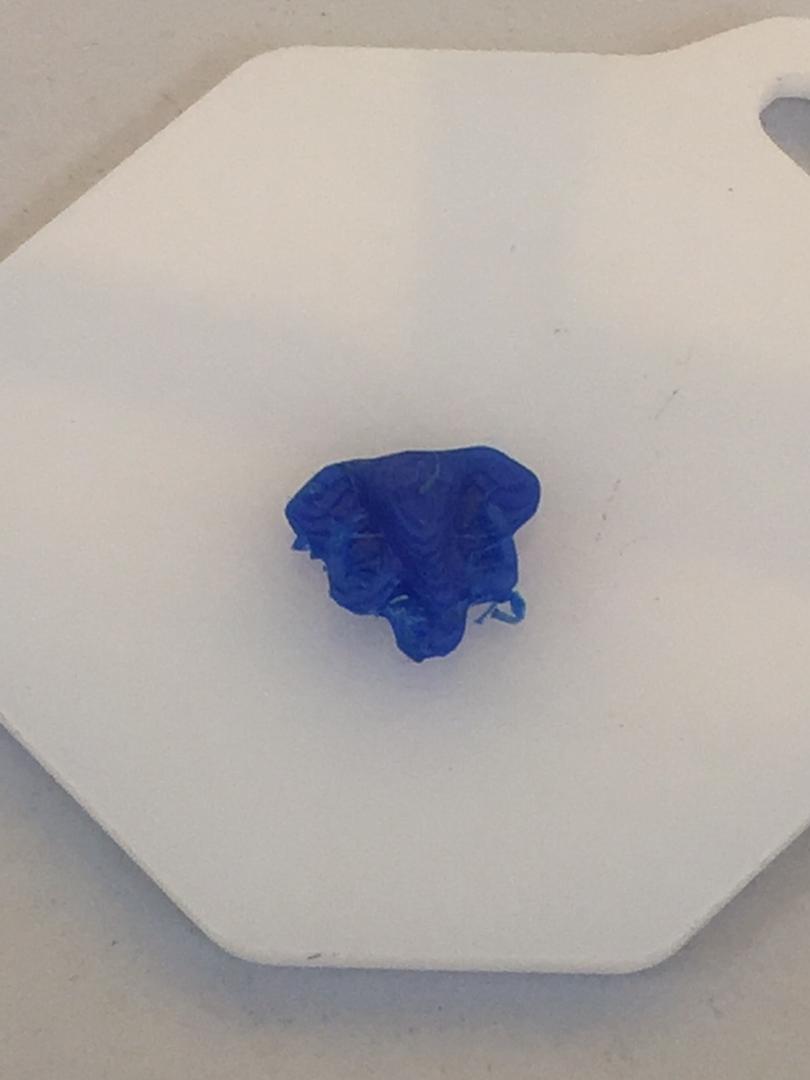
objective : I will print an elephant head made in molding
TO SCAN MY OBJECT I WILL USE #KIRENGINE # We had made a manual turntable to do the scanning
1. With Kiriengine, you have to create an account with your "email"

 2. If the account is created open the KiriEngine application and make
 sure that your account is connected.

   3. Click on the selection cross "Take Photo".
   You have the possibility to take several photos
   but I advise to make a video to be precise in the photo taking
4. with the free version you have a possibility
to take only 70 images to build your 3D object.
5. . the preparation of the Item may take several minutes
you can close the application and do something else
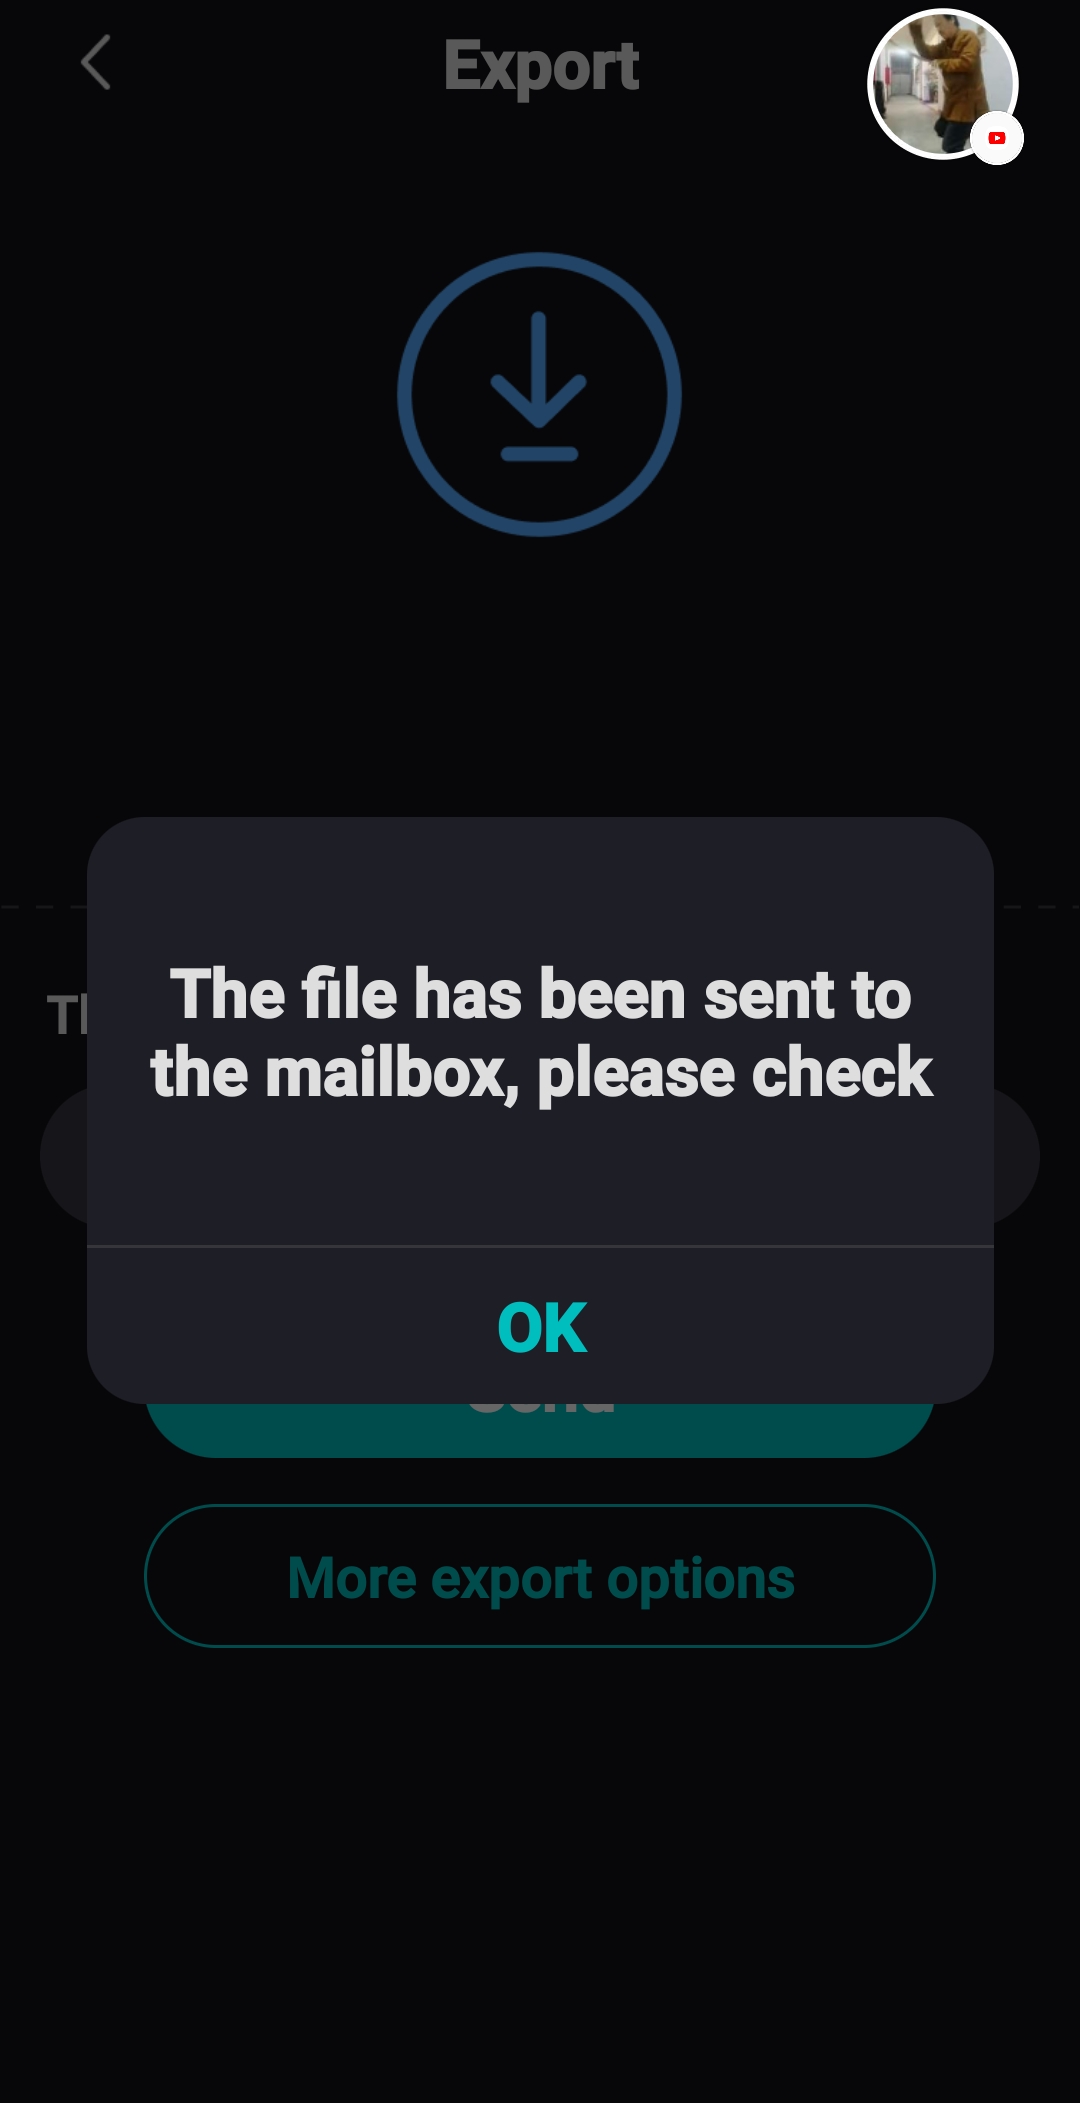
6. Once the time is up you now have the option
to crop the object before exporting it
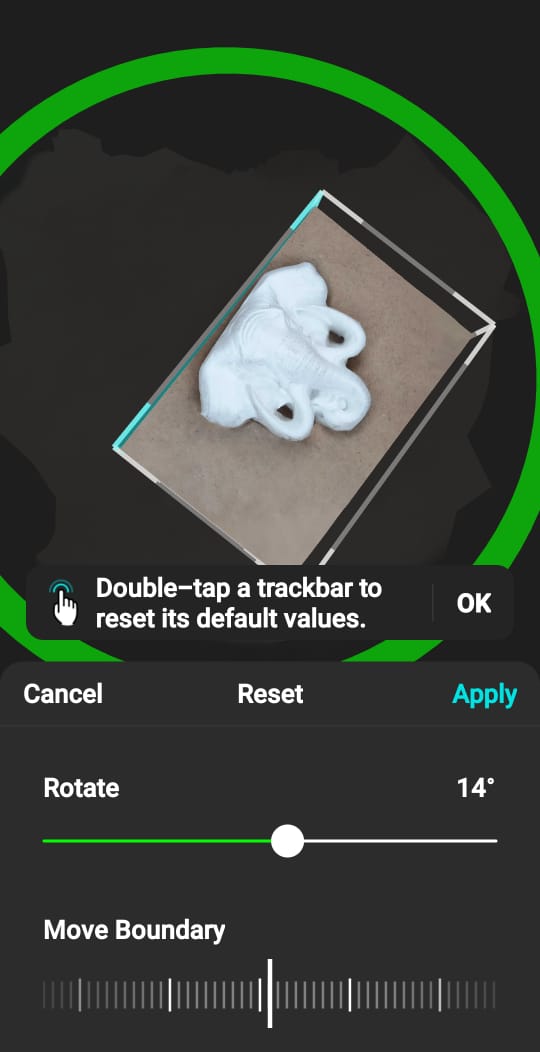
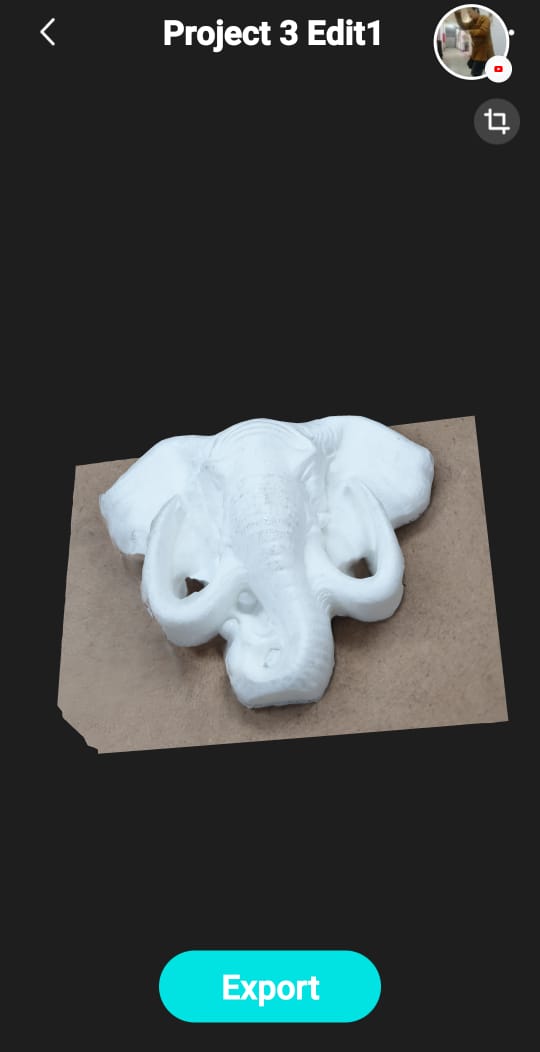
Select the boundary and drag left and right to collapse and then increase. after selected the face.
the result !
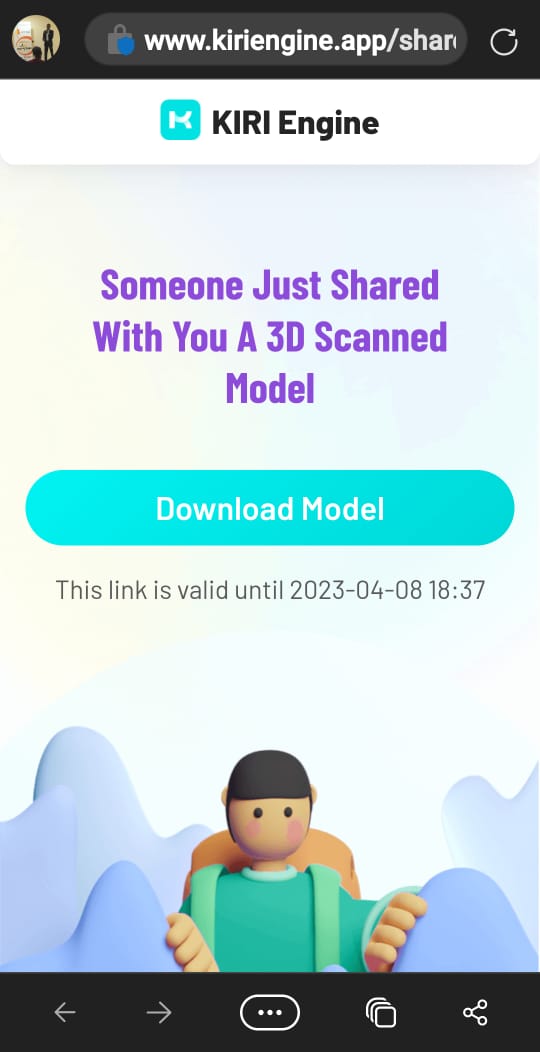
Download the file and open it with Prusa Slicer
printing step
1 .open with prusa
- put parameters
 Filling 15%
nozzle 0.15mm
printing with stand