Skip to content

WEEK 14. interface and application programming

Individual assignment:

Write an application that interfaces a user with input and/or output device(s) on a board that you made.

Group assignment:

Compare as many tool options as possible

To see our group assignment click here

Objective

For this week, I decided to design a control and data acquisition interface for our final project, the Cipi robot, using the Node Red solution.

What is Node Red

Node-RED is a programming tool for connecting hardware devices, APIs and online services in new and interesting ways.

It provides a browser-based editor that makes it easy to connect streams using the wide range of palette nodes that can be deployed in its runtime environment with a single click. For more details click here

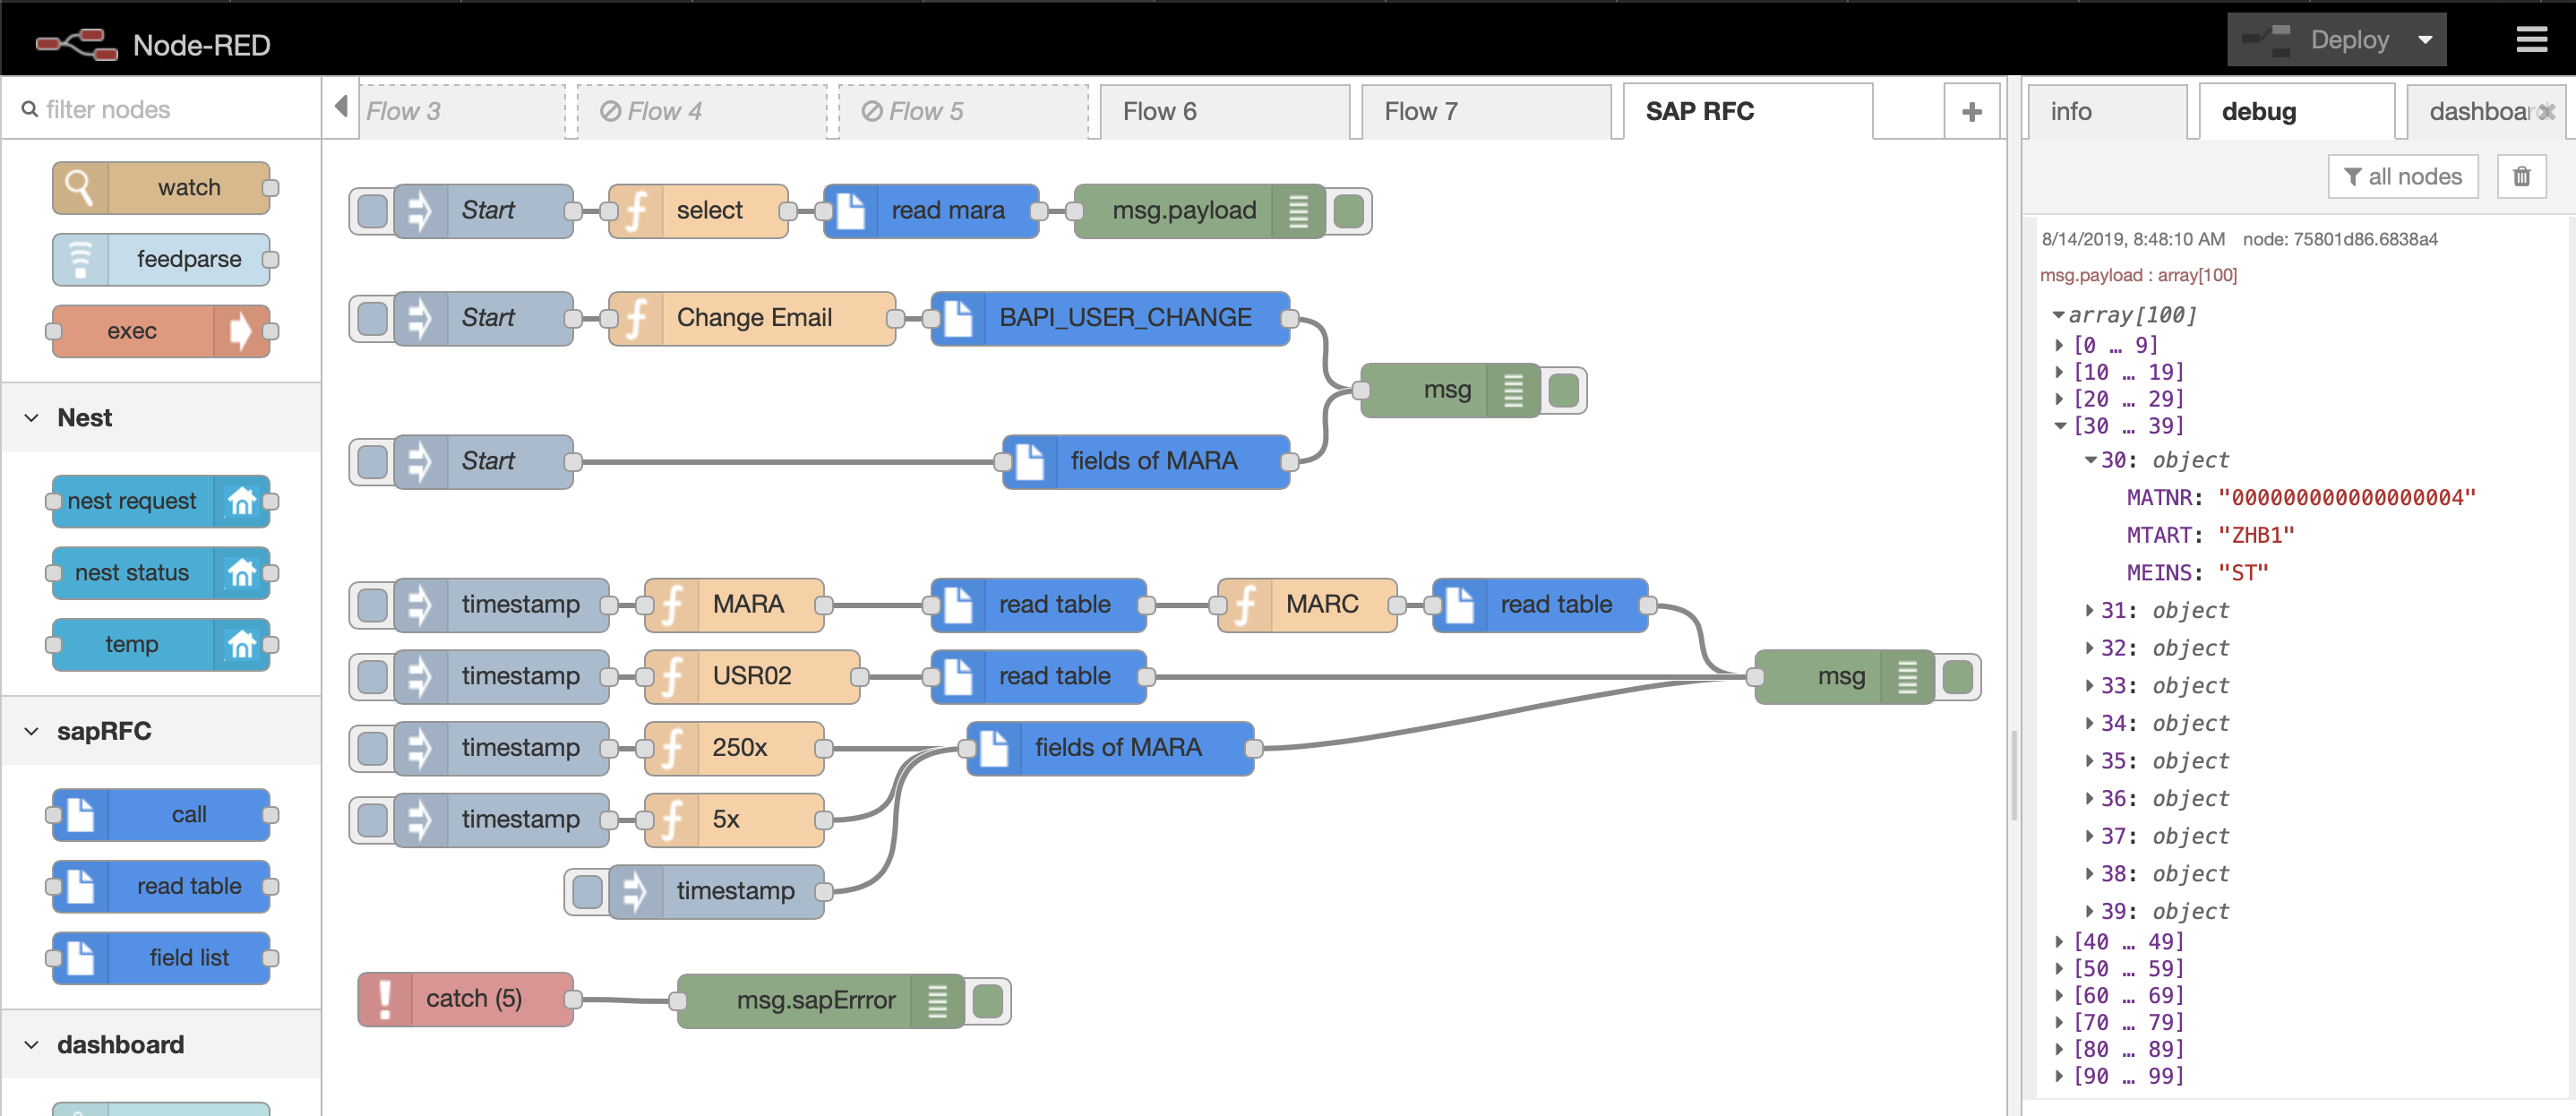
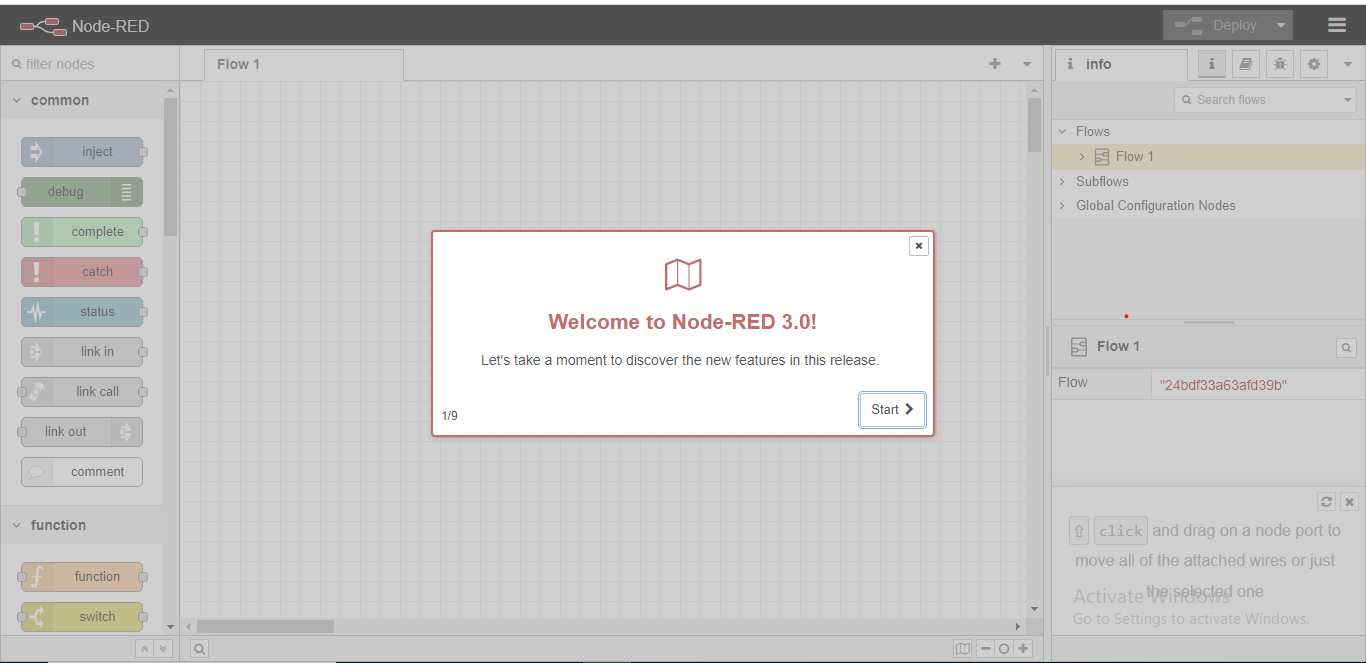
Here’s an overview of the Node Red interface

Installation of Node red

For the installation of Node Red we chose to use our Windows 10 computer. According to the Node Red installation documentation, we must first install Nodejs on our computer. To do this, we followed the procedure below:

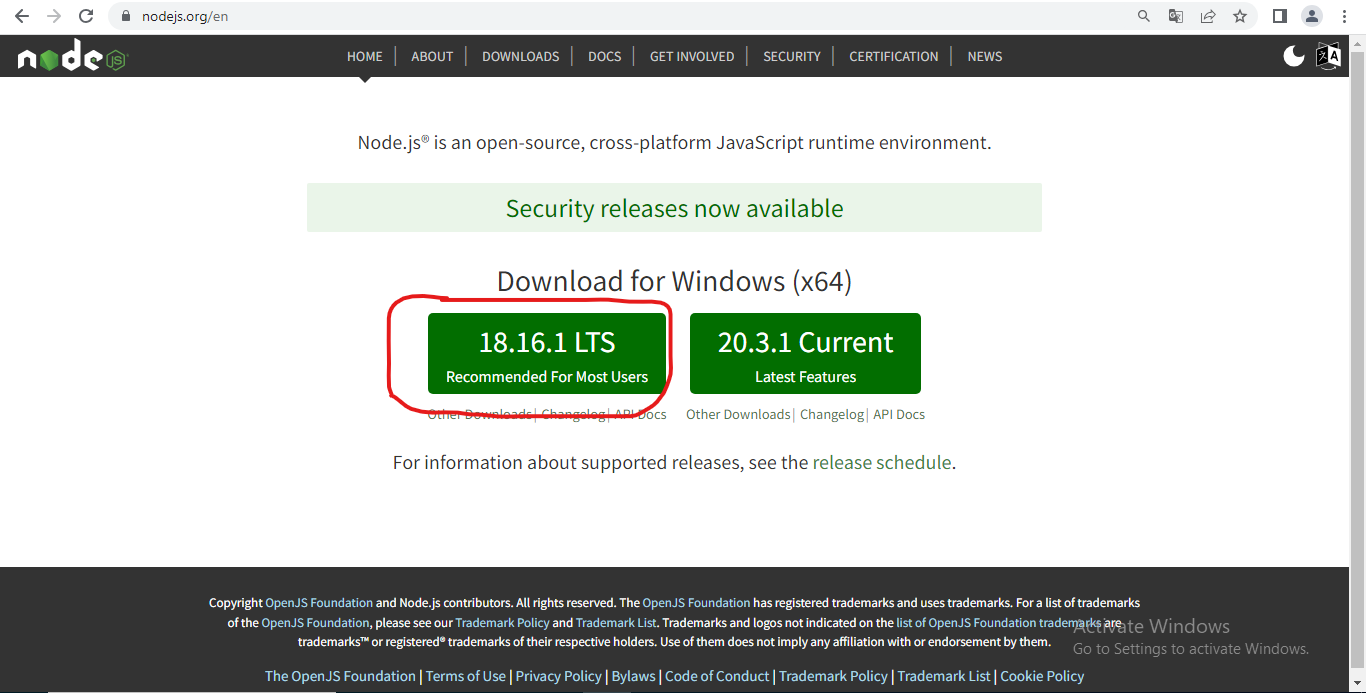
  • Download the latest LTS version of Node.js from the official Node.js home page.Run the downloaded MSI file

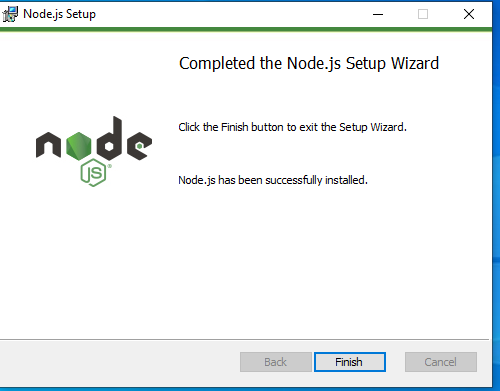
  • Click Next until installation is complete and you see the window below. Then click on finish

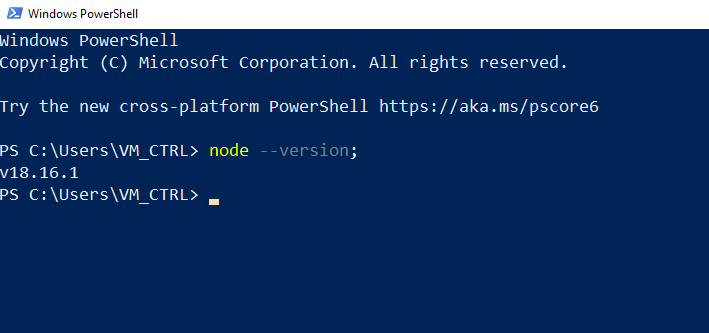
  • Once installed, open a command prompt and run the following command to ensure Node.js and npm are installed correctly.

Using cmd: node --version

  • We can now move on to installing node red enter the following command line: npm install -g --unsafe-perm node-red

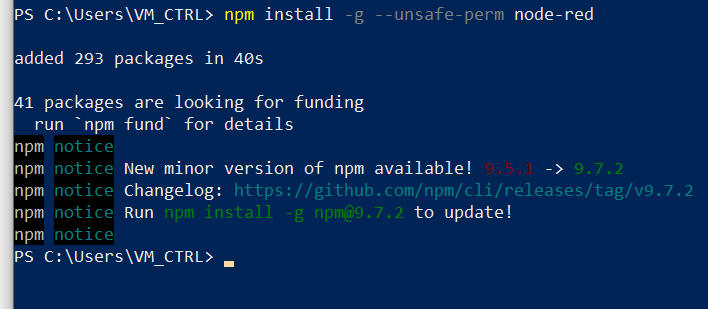
  • Once installed, the easiest way to launch Node-RED is to use the command: node-red as shown below and copy and paste the url circled in red into the browser of your choice.

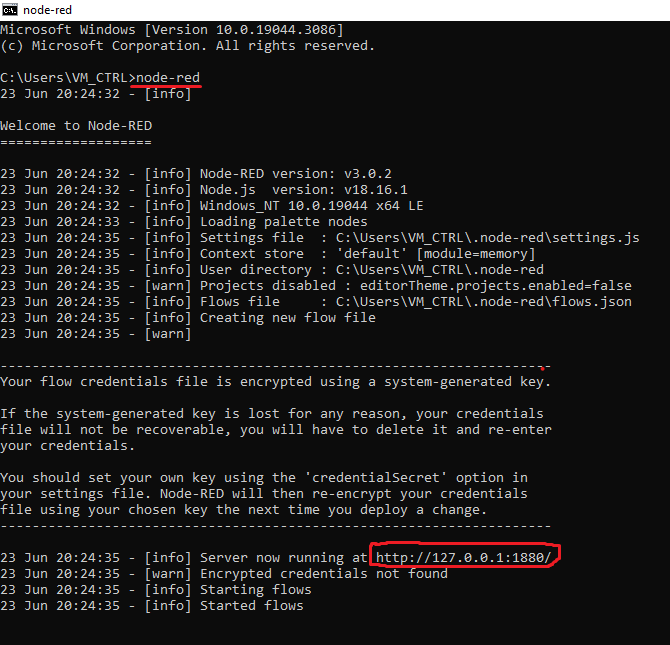
  • After entering the above url in your browser you should get the following result.

Node Red programming

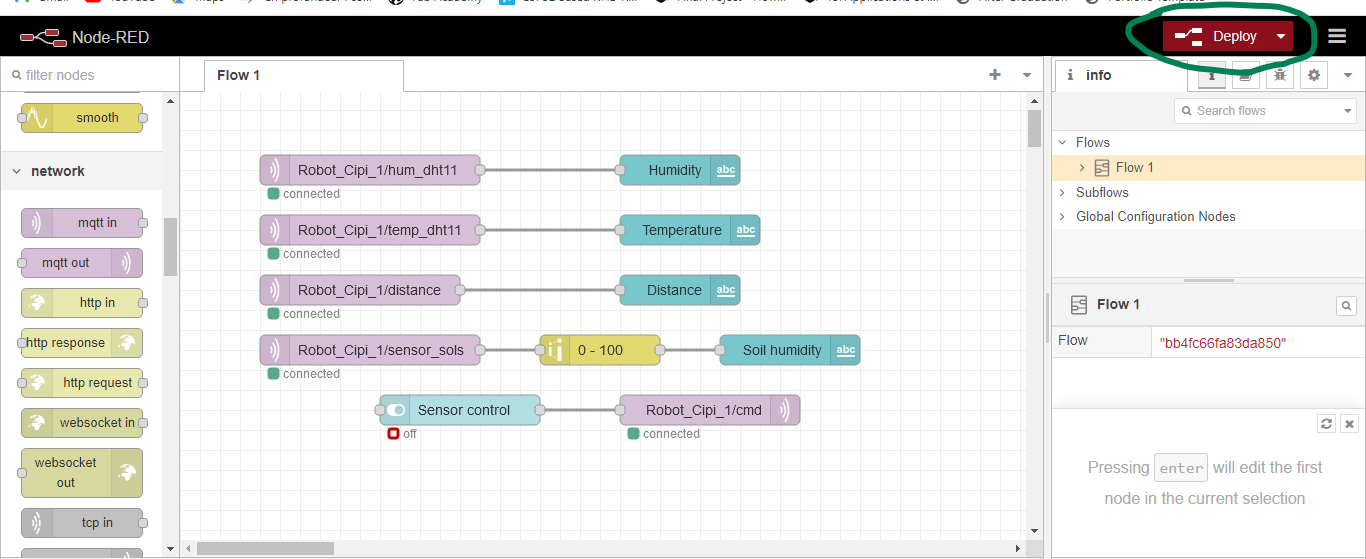
  • To program Node red, we used several Nodes as shown below. For more information, click here.

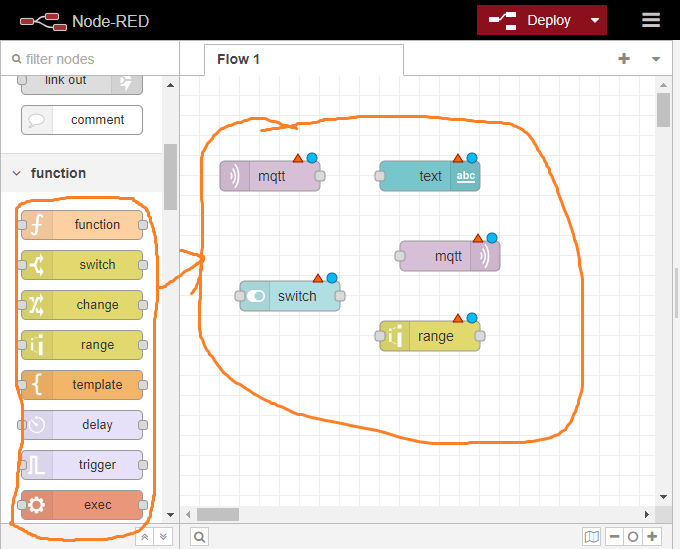
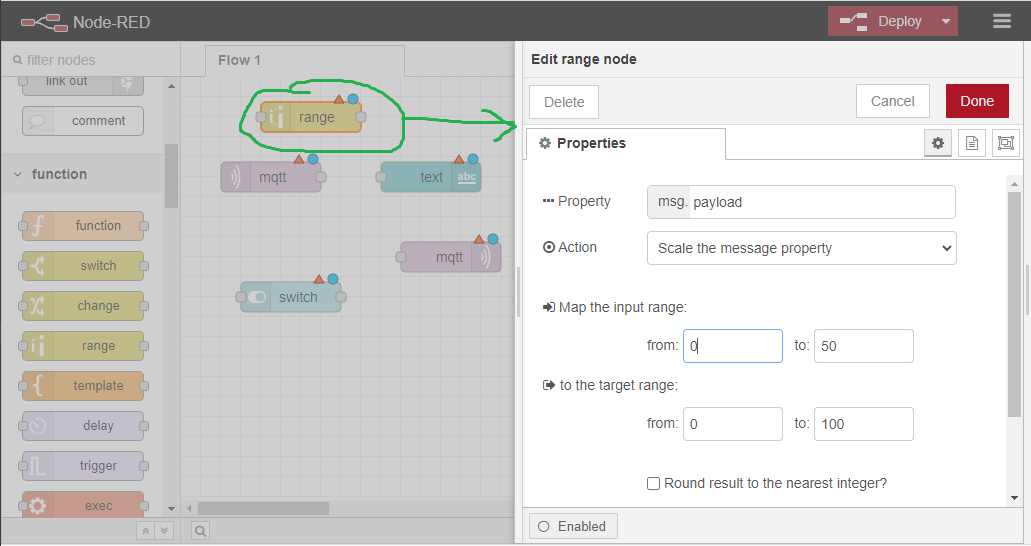
  • In order to set the different nodes, double click on them and the settings window will appear as shown below.

  • once the nodes are set up we click on Deploy and we should have the following result

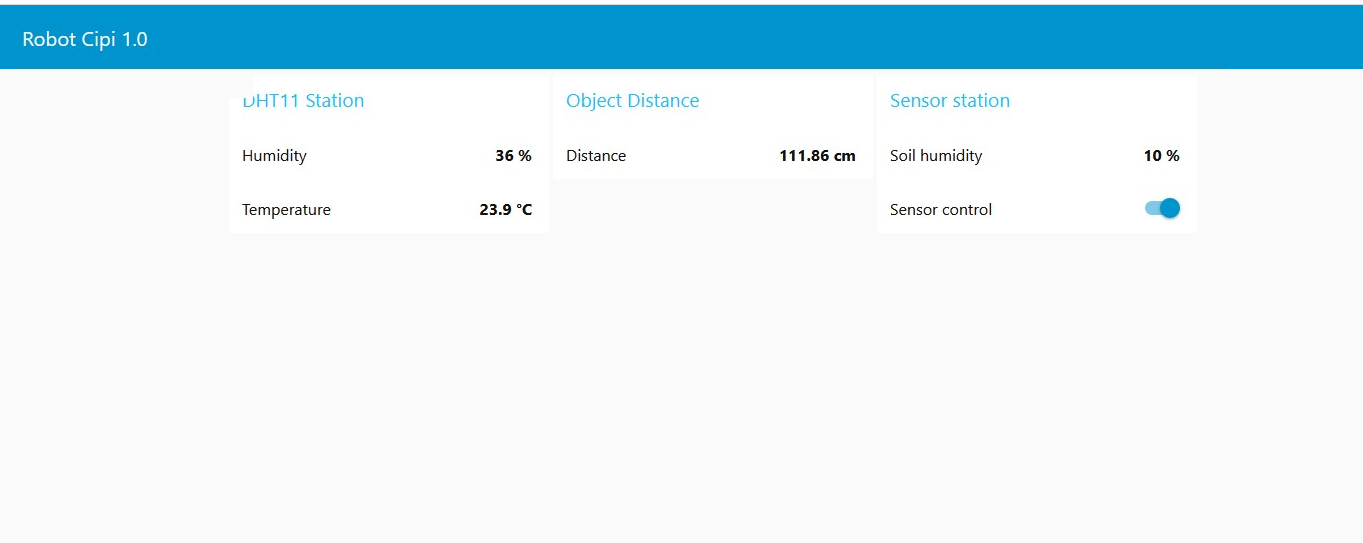
  • We can now view our interface by entering the IP address: 127.0.0.1:1880/ui. Here’s our interface.

Programming the MCU

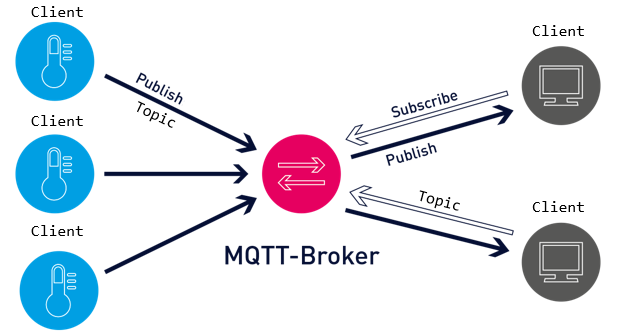
To program our MCU, we used the MQTT protocol, with WiFi as the communication medium.

MQTT is an OASIS standard messaging protocol for the Internet of Things (IoT). It is designed as an extremely lightweight publish/subscribe messaging transport, ideal for connecting remote devices with a small code footprint and minimal network bandwidth.

We will use Arduino IDE with the PubSubClient library. The PubSubClient library provides a client to perform simple publishing and subscription operations with a server that supports MQTT.

For the code, you have to modify the code with your own SSID, password and computeur IP address.

Arduino_xiao_rp2040_program_1.ino
#include <WiFi.h>
#include <PubSubClient.h>
#include <ESP32Servo.h>
#include "DHT.h"

const char* ssid = "...............";
const char* password = "..................";

// Add your MQTT Broker IP address, example:
const char* mqtt_server = ".............";

WiFiClient espClient;
PubSubClient client(espClient);

#define DHTPIN D10

#define DHTTYPE DHT11
DHT dht(DHTPIN, DHTTYPE);

#define PIN_SG90 D3
Servo sg90;

// Variables to hold sensor readings
float temp;
float hum;

const int trigPin = D2;
const int echoPin = D1;

//define sound speed in cm/uS
#define SOUND_SPEED 0.034
#define CM_TO_INCH 0.393701

long duration;
float distanceCm;

unsigned long previousMillis = 0;   // Stores last time temperature was published
const long interval = 3000;        // Interval at which to publish sensor readings

#define sensor_sols D0


void setup_wifi() {

  delay(10);
  // We start by connecting to a WiFi network
  Serial.println();
  Serial.print("Connecting to ");
  Serial.println(ssid);

  WiFi.mode(WIFI_STA);
  WiFi.begin(ssid, password);

  while (WiFi.status() != WL_CONNECTED) {
    delay(500);
    Serial.print(".");
  }

  randomSeed(micros());

  Serial.println("");
  Serial.println("WiFi connected");
  Serial.println("IP address: ");
  Serial.println(WiFi.localIP());
}

void callback(char* topic, byte* payload, unsigned int length) {
  Serial.print("Message arrived [");
  Serial.print(topic);
  Serial.print("] ");
  for (int i = 0; i < length; i++) {
    Serial.print((char)payload[i]);
  }
  Serial.println();


  if ((char)payload[0] == '1') {

    for (int pos = 160; pos >= 50; pos -= 1) {
      sg90.write(pos);
      delay(20);
    }

    delay(3000);
    int sensorValue = analogRead(sensor_sols);
    client.publish("Robot_Cipi_1/sensor_sols",String(sensorValue).c_str());

    for (int pos = 50; pos <= 160; pos += 1) {
      sg90.write(pos);
      delay(20);
    }

  } 

}

void reconnect() {
  // Loop until we're reconnected
  while (!client.connected()) {
    Serial.print("Attempting MQTT connection...");
    // Create a random client ID
    String clientId = "XIAO_ESP32_5";
    clientId += String(random(0xffff), HEX);
    // Attempt to connect
    if (client.connect("XIAO5")) {
      Serial.println("connected");
      client.subscribe("Robot_Cipi_1/cmd");
     } else {
      Serial.print("failed, rc=");
      Serial.print(client.state());
      Serial.println(" try again in 5 seconds");
      // Wait 5 seconds before retrying
      delay(5000);
    }
  }
}

void setup() {
  Serial.begin(115200);
  sg90.setPeriodHertz(50); // Fréquence PWM pour le SG90
  sg90.attach(PIN_SG90, 500, 2400); // Largeur minimale et maximale de l'impulsion (en µs) pour aller de 0° à 180°
  pinMode(trigPin, OUTPUT); // Sets the trigPin as an Output
  pinMode(echoPin, INPUT); // Sets the echoPin as an Input
  pinMode(sensor_sols,INPUT);
  setup_wifi();
  client.setServer(mqtt_server, 1883);
  client.setCallback(callback);
  dht.begin();
  sg90.write(160);


}

void loop() {
    if (!client.connected()) {
    reconnect();
  }
  client.loop();

  unsigned long currentMillis = millis();
  if (currentMillis - previousMillis >= interval) {
    // Save the last time a new reading was published
    previousMillis = currentMillis;
    // New DHT sensor readings
    hum = dht.readHumidity();
    // Read temperature as Celsius (the default)
    temp = dht.readTemperature();

    // Check if any reads failed and exit early (to try again).
    if (isnan(temp) || isnan(hum)) {
      Serial.println(F("Failed to read from DHT sensor!"));
      return;
    }

    client.publish("Robot_Cipi_1/hum_dht11",String(hum).c_str());
    client.publish("Robot_Cipi_1/temp_dht11",String(temp).c_str());

      // Clears the trigPin
    digitalWrite(trigPin, LOW);
    delayMicroseconds(2);
    // Sets the trigPin on HIGH state for 10 micro seconds
    digitalWrite(trigPin, HIGH);
    delayMicroseconds(10);
    digitalWrite(trigPin, LOW);

    // Reads the echoPin, returns the sound wave travel time in microseconds
    duration = pulseIn(echoPin, HIGH);

    // Calculate the distance
    distanceCm = duration * SOUND_SPEED/2;
    client.publish("Robot_Cipi_1/distance",String(distanceCm).c_str());
  }


}

Testing


Last update: June 24, 2023