WEEK 11. Input devices
individual assignment:
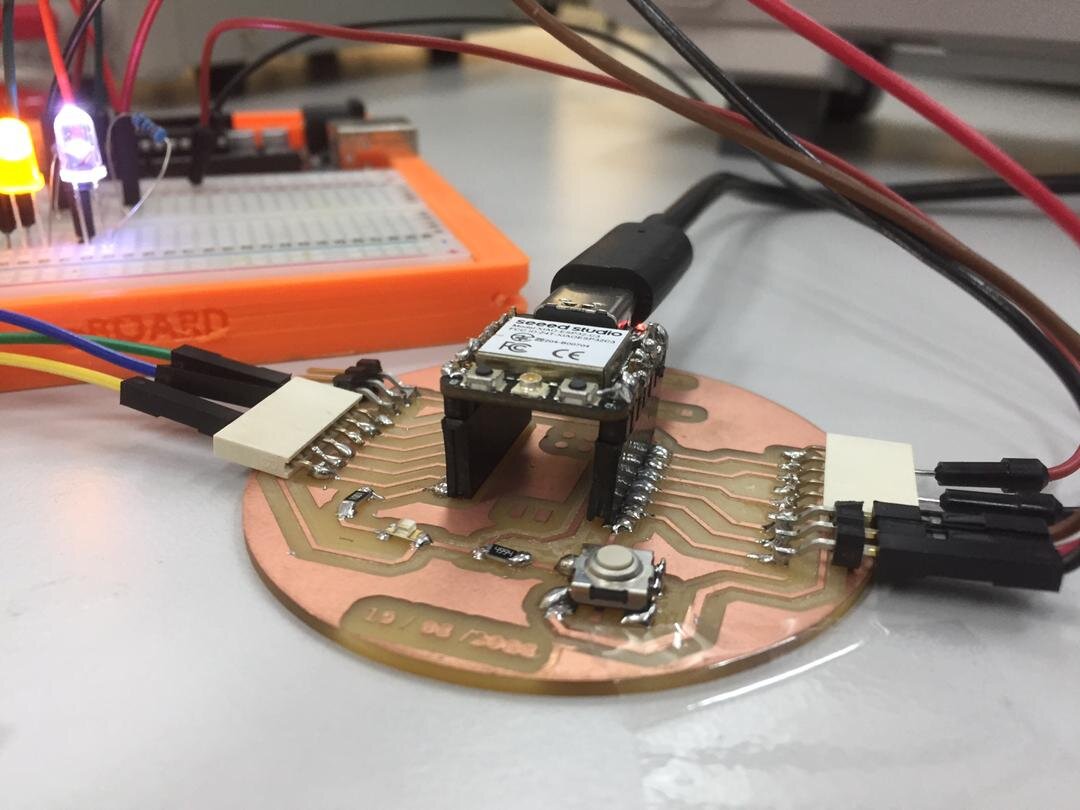
  measure something: add a sensor to a microcontroller board
  that you have designed and read it
## group assignment: probe an input device’s analog levels and digital signals
Objective
in this sequence we will learn how to vary an input value for
our XIAO esp 32 C3 microcontroller. the final goal is to control
 my cnc in its realization
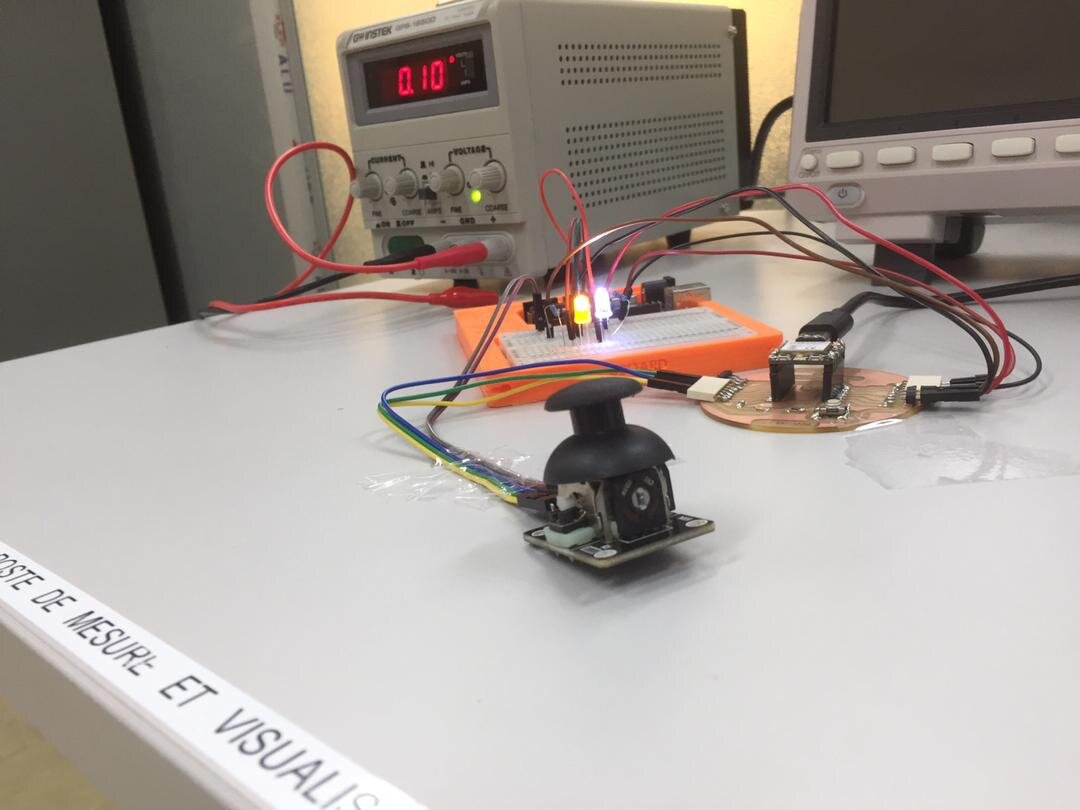
1. realization
1.1 materials
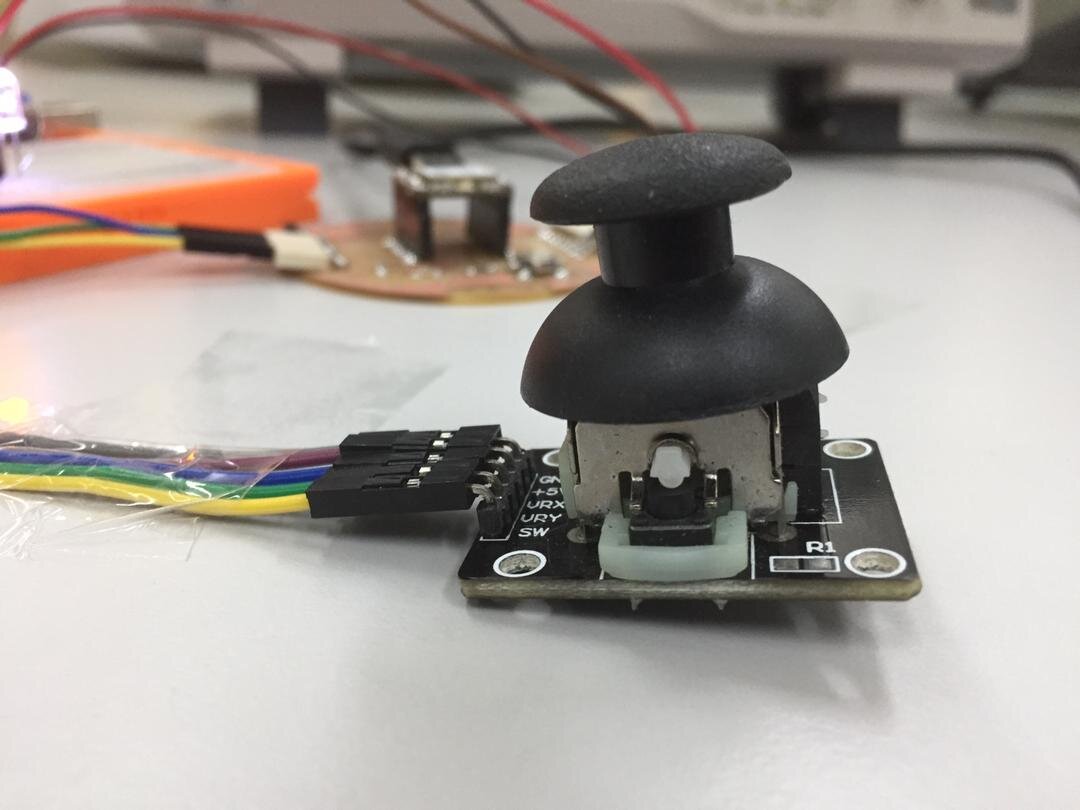
–INPUT
.1X JOYSTIK
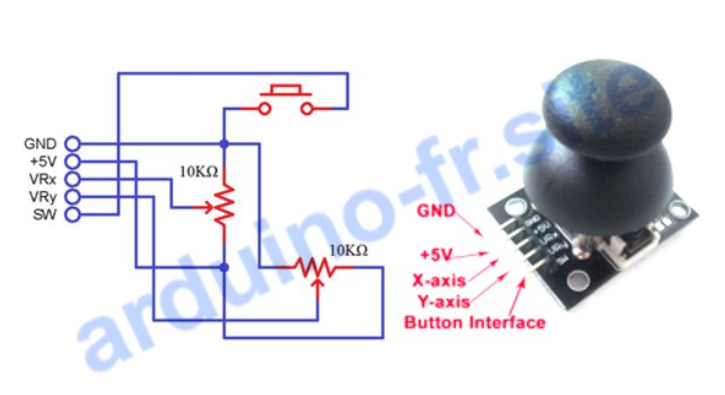
– OUTPUT
.2X LED (BLUE AND WHITE )
NOTE :
I wanted to use a servo motor but I had enough trouble with library compatibility
. this is my code for a servo
   #define pinX A1

  #include "Servo.h"
   Servo servo1;

  void setup() {
  pinMode(pinX, INPUT);

   servo1.attach(A2);
 }

   void loop() {
   int X = analogRead(pinX);

   X = map(X, 0, 1023, 0, 180);

     servo1.write(X);
   }
. this the error messages
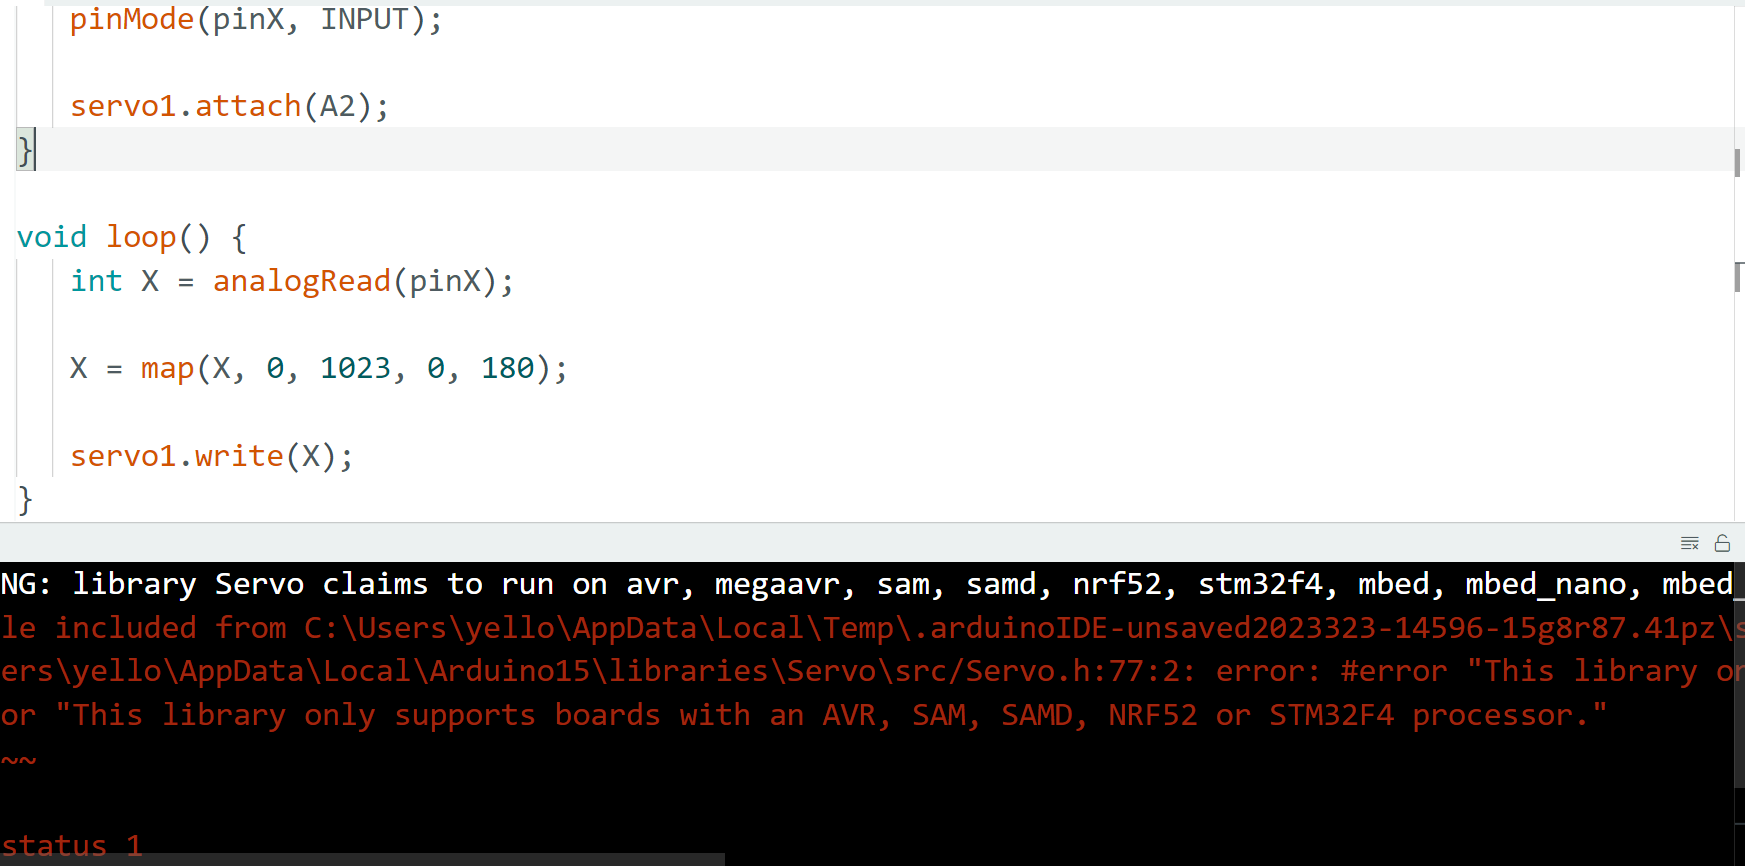
thanks!
..Let start
1.2 programing
i used arduino code and arduino IDE for this projet. because i’m more familiar with it
. Function i use “map()” function in the code. This function allows me to convert the X and Y variables from a range of numbers from 0 to 1023 to a range of numbers from 0 to 255, this new analog value will vary the brightness of the LED or a motor
1.3 Arduino code
  #define pinY    A1
  #define swPin    5

 #define ledX    9
 #define ledY    8

 void setup() {
 pinMode(ledX, OUTPUT);
 pinMode(ledY, OUTPUT);

  pinMode(ledPin, OUTPUT);
  pinMode(pinX, INPUT);
  pinMode(pinY, INPUT);

  pinMode(swPin, INPUT);
    digitalWrite(swPin, HIGH);
}

void loop() {
boolean ledState = digitalRead(swPin);
digitalWrite(ledPin, ledState);

 int X = analogRead(pinX);
int Y = analogRead(pinY);
X = map(X, 0, 1023, 0, 255); Y = map(Y, 0, 1023, 0, 255);
analogWrite(ledX, X); analogWrite(ledY, Y); }
### 1.4 working