Wildcard week
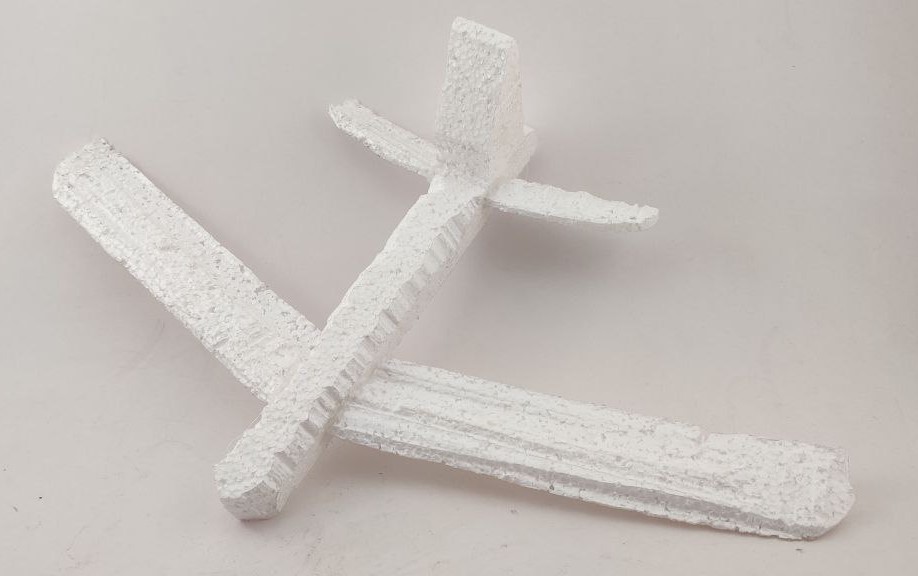
Heroshot
This week’s assignment is to Design and produce something with a digital fabrication process (incorporating computer-aided design and manufacturing) not covered in another assignment, documenting the requirements that your assignment meets, and including everything necessary to reproduce it.
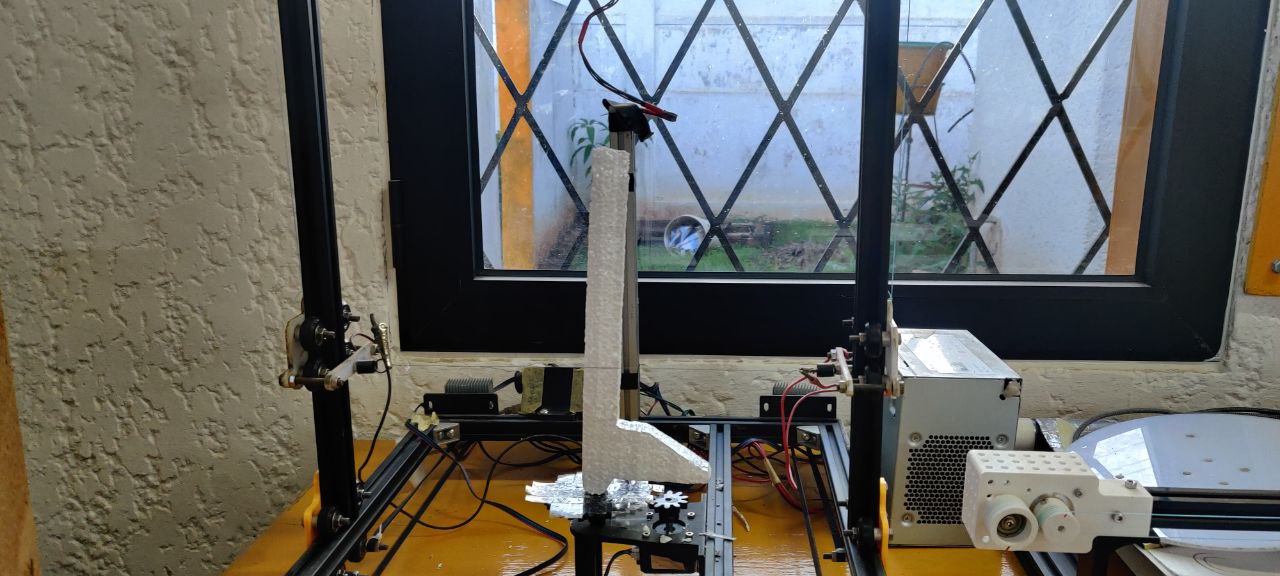
To achieve that we design a glider and use our Foam cutter “Zorro” to cut it.
Meet Zorro :
The workflow(s) and process(es) you used
First we designed the Glider and export the sketch in DXF or SVG form Fusion to our Inkscape. We open it to generate the Gcode. That Gcode is sent to the Foam cutter with USG.
Particularity of the foam wire cutting machine:
Foam Wire Cutting Process: Foam wire cutting involves using a heated wire to cut and shape foam materials, such as expanded polystyrene (EPS) or polyurethane foam. The wire heats up and melts through the foam, creating precise cuts. Efficiency: Foam wire cutting can be a highly efficient process, allowing for fast and accurate production of foam shapes and profiles. It is commonly used in industries such as packaging, insulation, signage, or set design. Cost-effectiveness: Foam wire cutting is often cost-effective for large-scale production or projects that require many identical foam parts. It can be more economical compared to other cutting methods for foam materials. Material Limitation: Foam wire cutting is specifically suitable for foam materials and may not be applicable to other types of materials like plastics, metals, or composites. Axis Configuration: or foam cutter has 2 linear and one rotational axis as opposed to 3 linear axes on 3D printer and CNCs. Design Limitations: While foam wire cutting can create precise shapes and profiles, it may have limitations in terms of intricate details and complex geometries compared to 3D printing.
The choice between 3D printing or CNC milling and foam wire cutting depends on the specific requirements of the project, including the desired material, design complexity, production volume, and cost considerations. If you need complex designs, customization, or a wider material range, 3D printing may be more suitable. On the other hand, if you require efficient production of foam parts at a larger scale, foam wire cutting can be a cost-effective solution.
Or foam cutting machine have a constant 12V power on the wire so it runs at a constant temperature. With that constant and uniform temperature along the Wire We have not found that the thickness Plays a significant role in the maximum cutting and the polystyrene size or thickness.
For the cutting the material is attached by a screw from the bottom of the plate and additionally it can be secured with double face tape or a litle bit of hot glue.
Designing
To design my glider I have made a 3d model of it and used the “arrange” tool in Fusion 360 to lay parts flat so I can export them in DXF. I could have also design then in D directly but decided to go for a 3D model.
Generating Gcode from InkScape
- First in Inkscape, we import the design we want to convert into G-code for the foam cutting. We also have to make sure that the design consists of paths or vectors rather than images or objects.
- With the design selected, we can go to the “Path” menu at the top and choose “Object to Path.” This will convert any objects or shapes into editable paths that our Foam cutter “Zorro” can follow.
- First we start by checking or size, to make sure it’s cuttable by our machine.
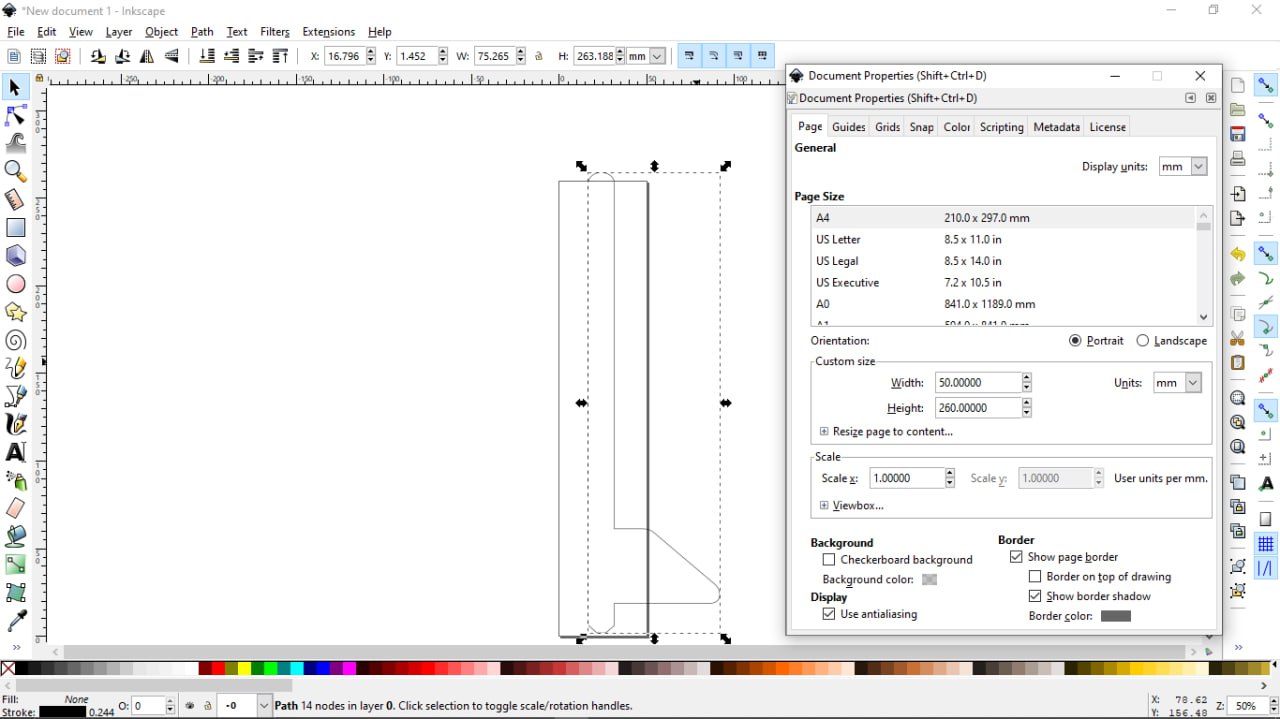
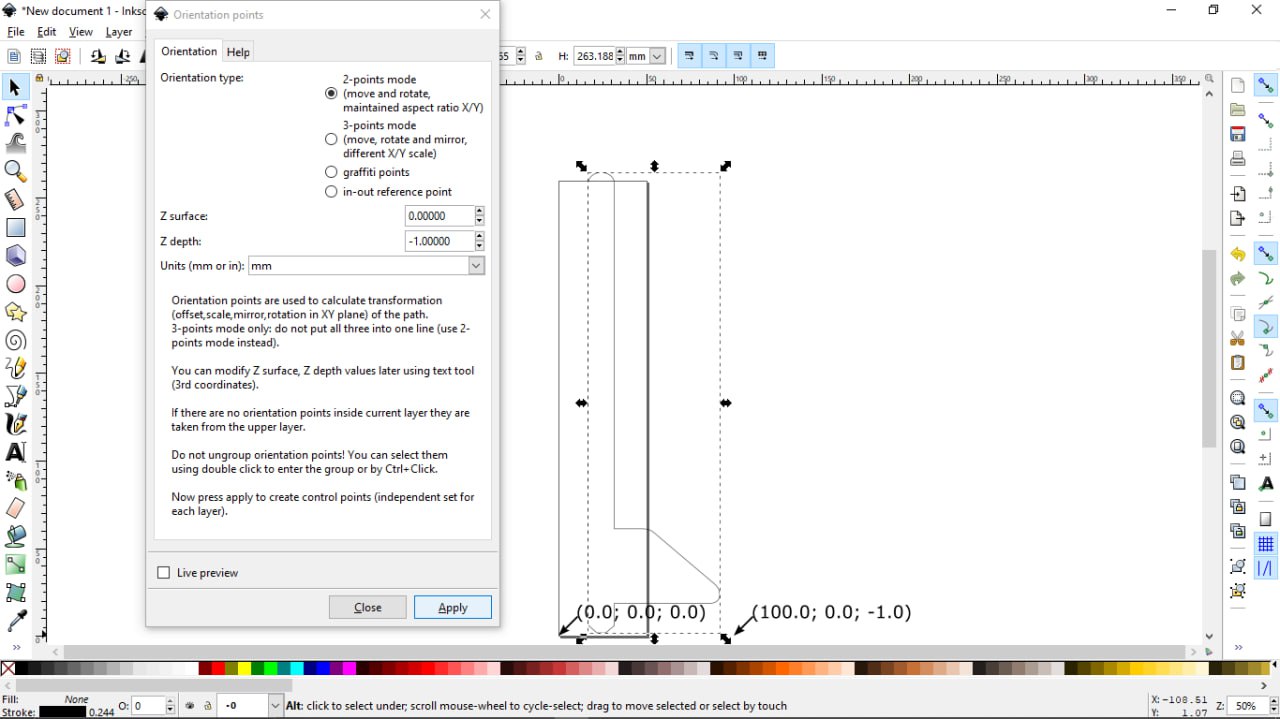
- Now we need to set the origin point of our design. “2 points mode” in this case. we also need to set the depth to -1 and make sure our working Unit is the right one.
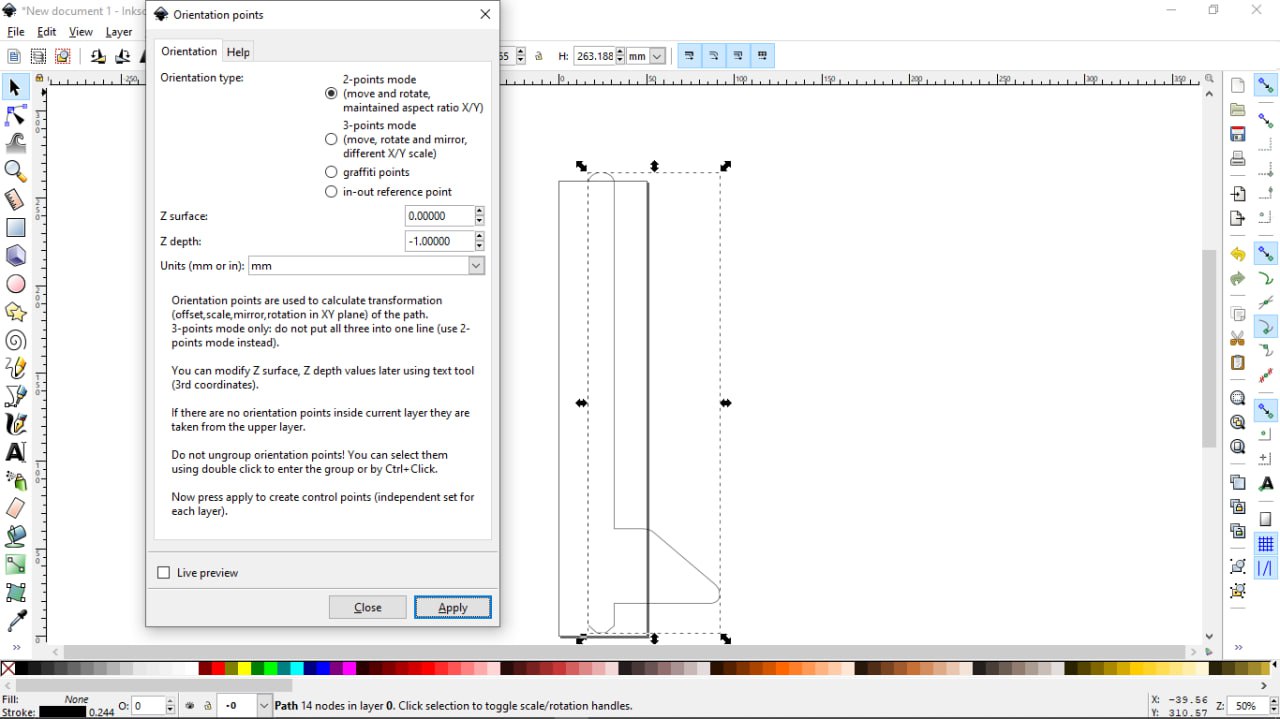 After everything is as we like it we click apply. The origin point will be added and we can move and adjust if needed.
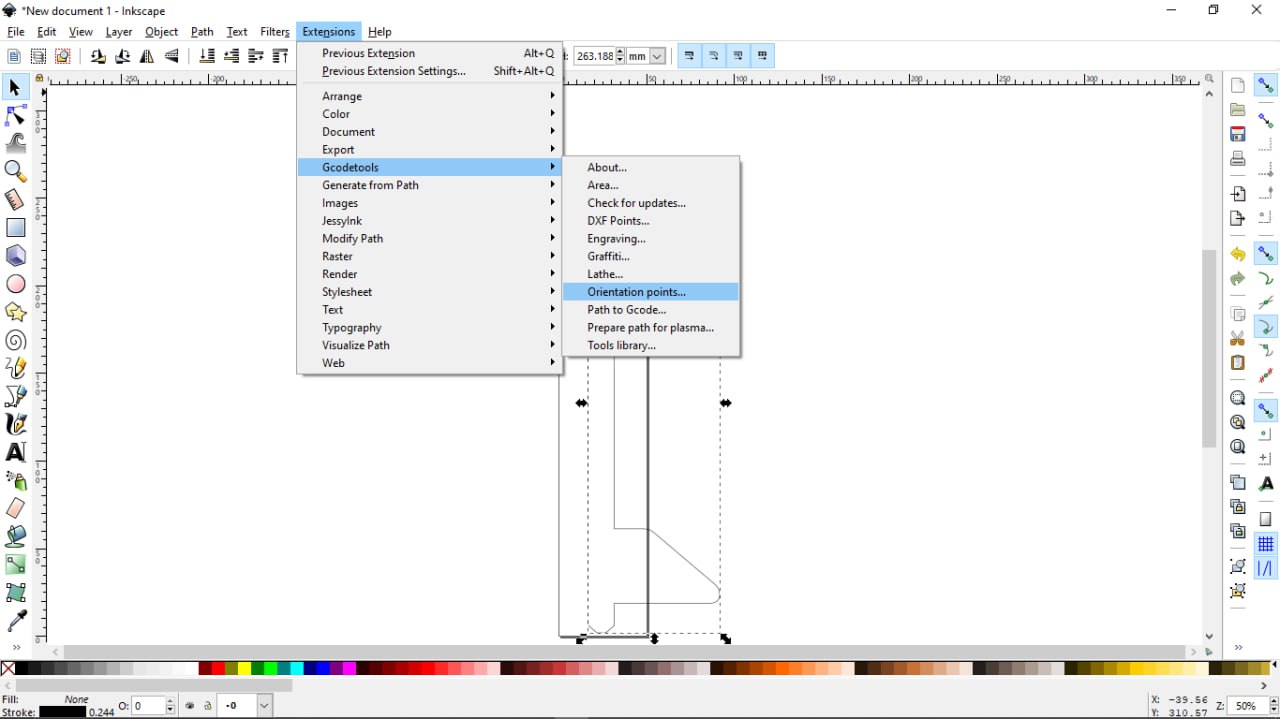
 * Now we need to select our tool. for that we will use Gcodetools extension. We go to the “Extensions” menu at the top, then select “Gcodetools” and click on “Tools Library”
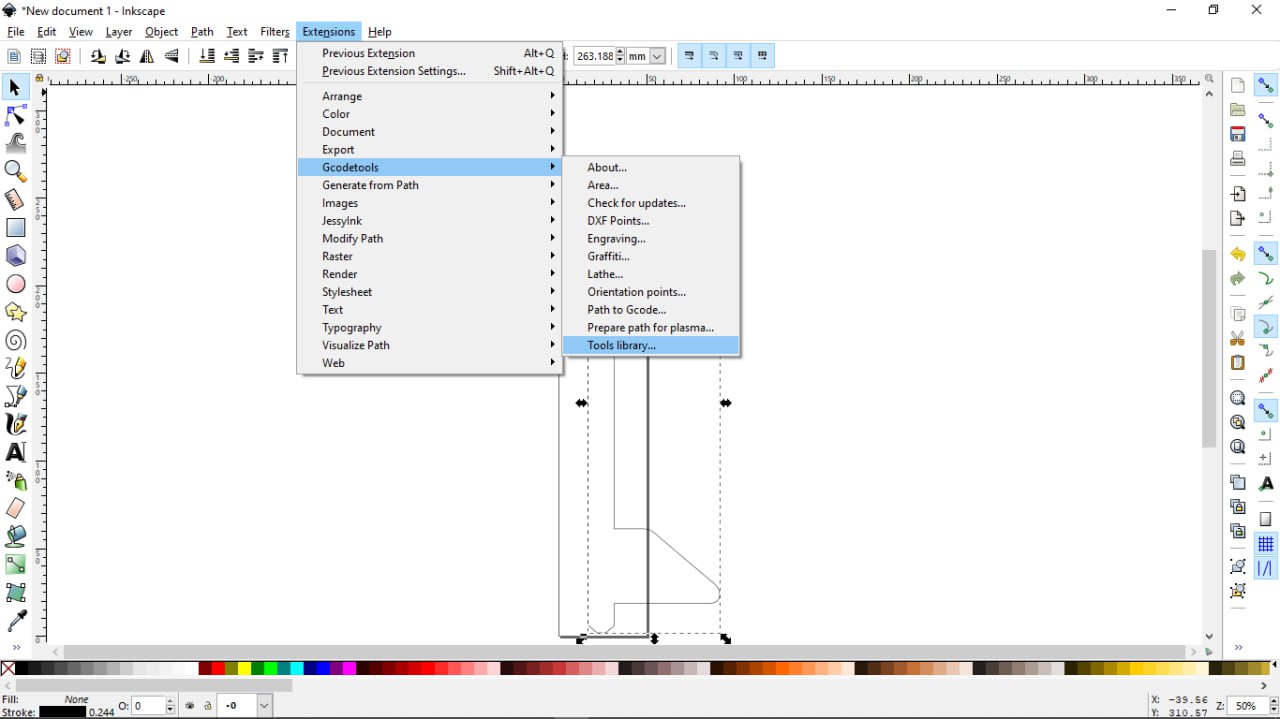
There in the Tools library options we select cylinder. That is the option we need for the type of operation our part need to be cut with due to it’s Shape.

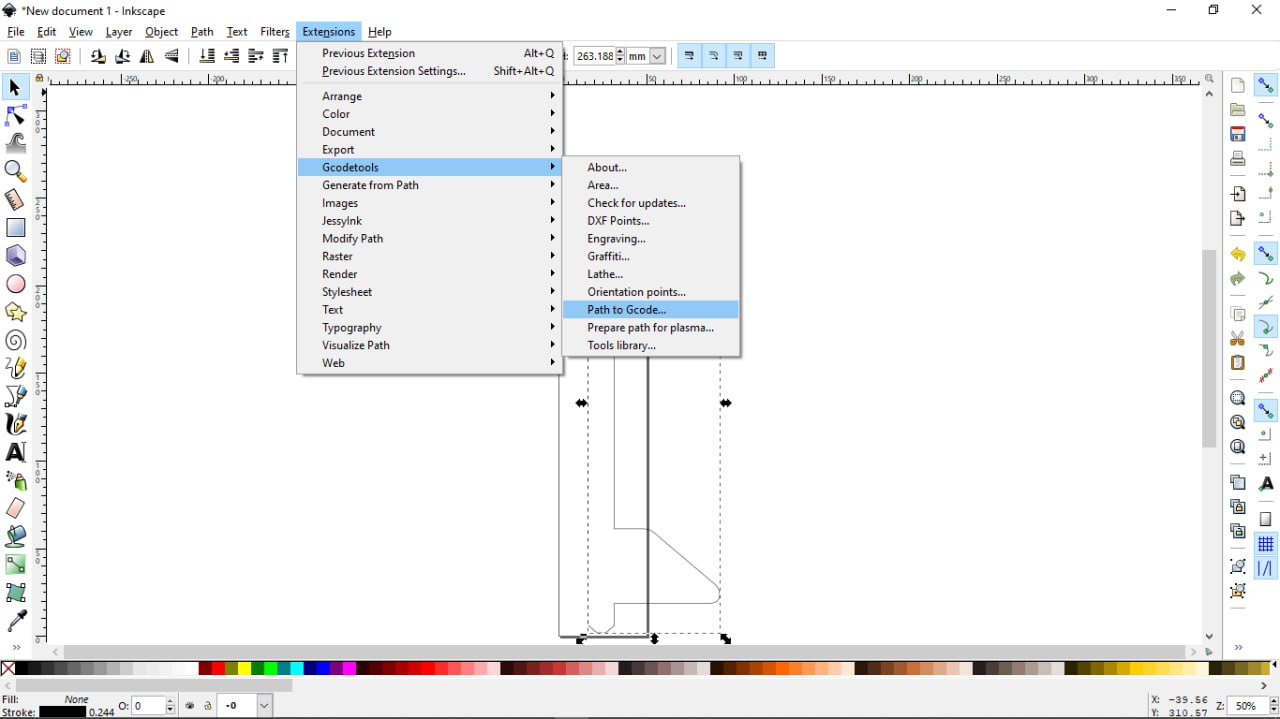
We hit apply and close and we will the tool added.

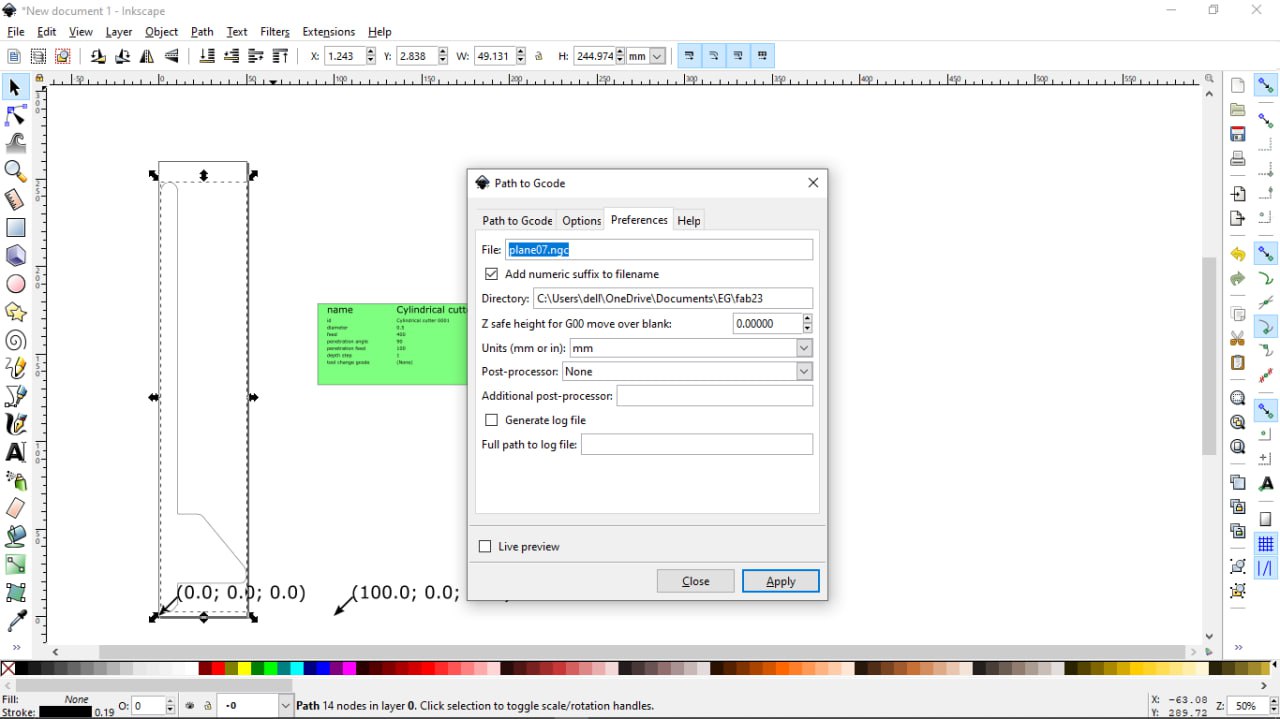
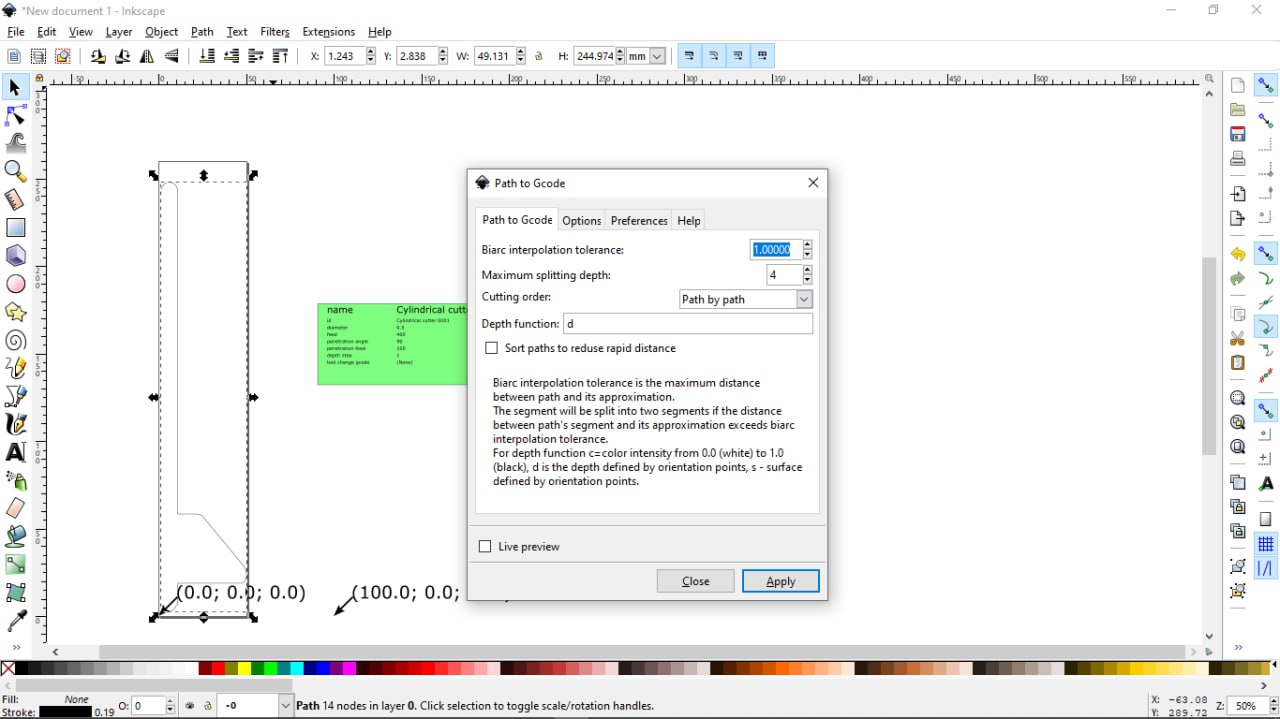
now we can proceed to the Gcode Generation * in the Gcodetools extension. (We go to the )”Extensions” menu at the top, then select “Gcodetools” and click on “Path to Gcode.” A dialog box will appear with various parameters for the G-code generation.
The settings: we used here were found by testing various speeds to see how well it cut through the polystyrene material to avoid damaging our hot wire
-
Adjust G-code settings: In the Gcodetools dialog box, we can fine-tune the settings for we foam cutting operation. These settings include:
-
Cutting speed: Specify the speed at which the foam cutter should move along the paths. This determines the rate at which the foam will be cut.
-
Cutting depth: Set the desired depth for the foam cutter. This determines how deep the cutter will penetrate into the foam material during the cutting process.
-
Tool diameter: Enter the diameter of the foam cutting tool. This helps calculate the appropriate tool path and ensures accurate cutting.
-
Output file name,....
-
Apply the G-code settings: Once we have adjusted the settings, click the “Apply” button in the Gcodetools dialog box. Inkscape will process the design and generate the G-code based on the specified parameters.
-
we can now preview and make adjustments if needed
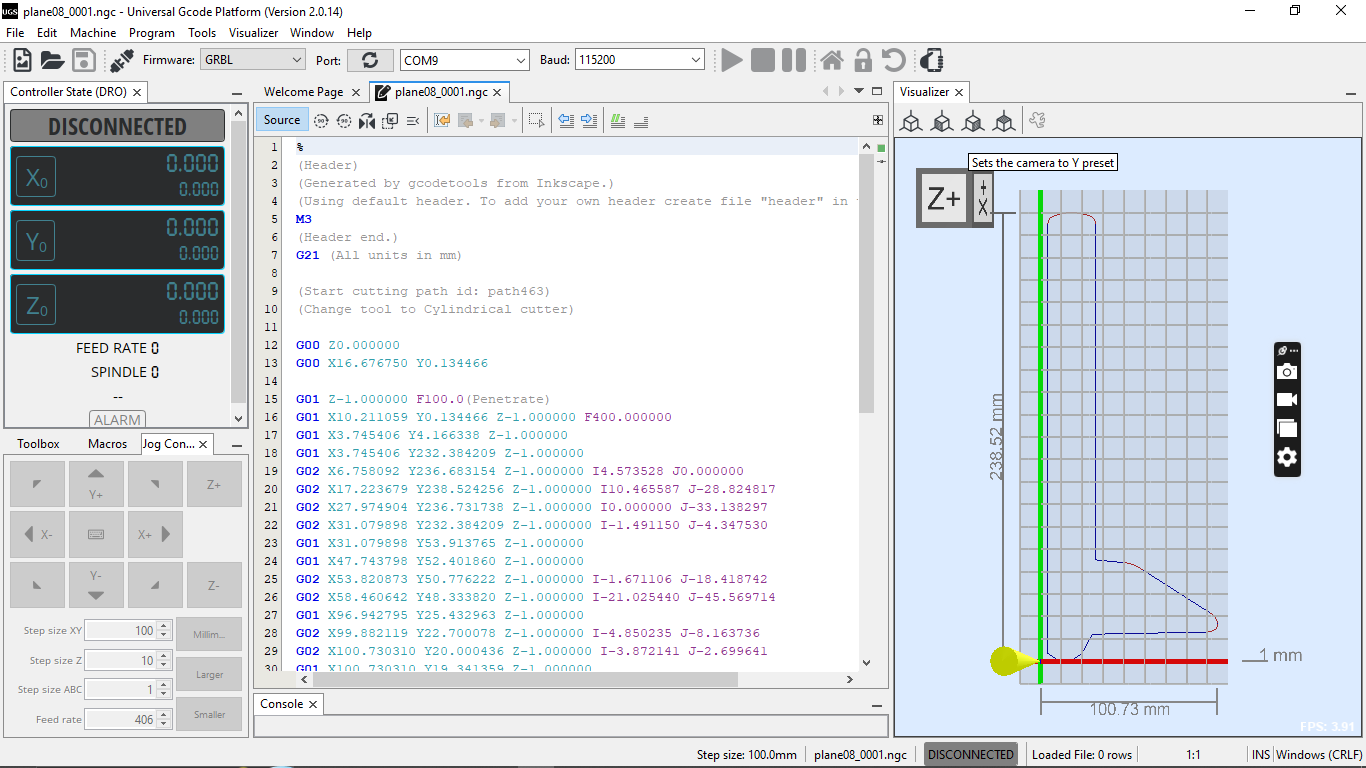
Cutting
Assembly
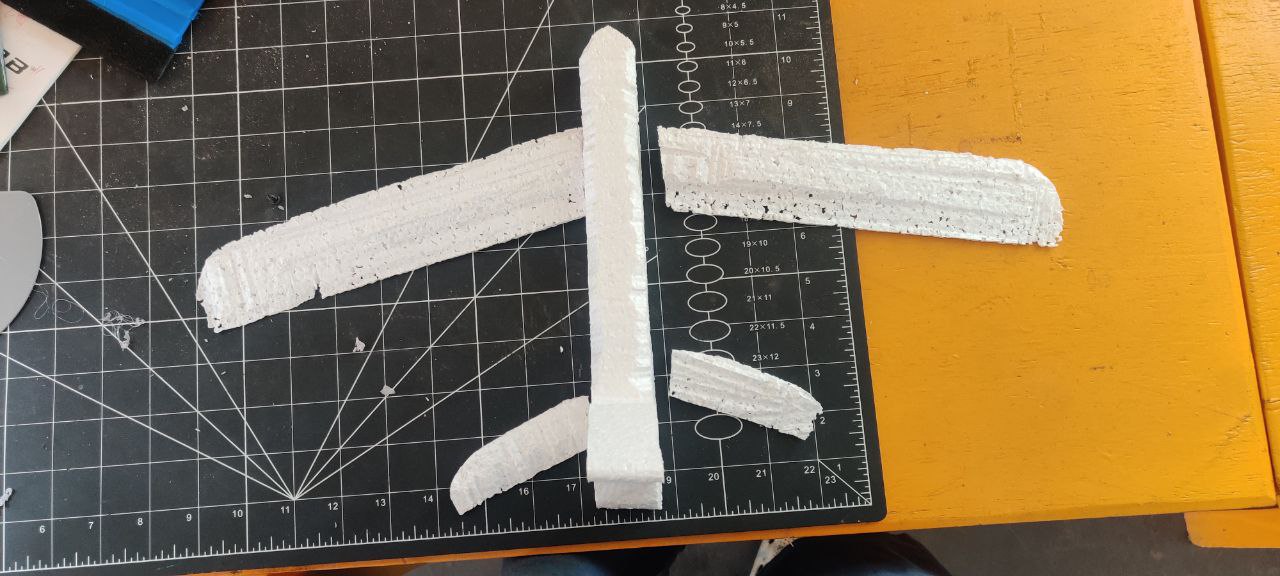
the part cutted I have used a hot glue Gun the fix parts Together.

problems encountered and how we fixed them
I wanted my wing to be angled but could do it in fusion. So after cutting I have trimmed it to obtain the angle I wanted. My design and cut surely need a redo to have a real glider but this was a great opportunity to learn how to use our Foam cutter “Zorro”.