3D Scanning and printing
Hero Shot

Video
Group Assignment:
Our group assignment for this week was to:
Test the design rules for our 3D printer and reflect on our individual page what we’ve learned about the characteristics of our printer.
Our 3d printer is an PRUSA I3 MK3S
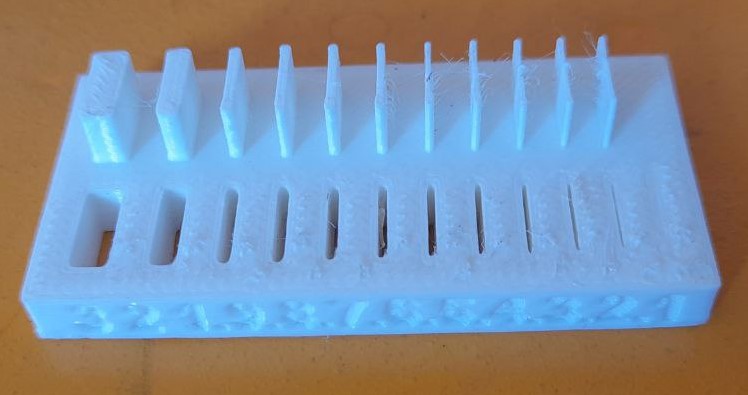
3D Printer Test series result from Group assignment :
| Test | Measurements | ||
|---|---|---|---|
| X axis | y axis | z axis | |
| Overhang | 1 | ||
| Clearance | |||
| Angle | |||
| Bridging | less than 0.4 mm | ||
| Wall thickness | Greater than 0.2 mm | ||
| Dimensions 01 -Outer | 20 | 20.1 | 20 |
| Dimensions 01 -Inner | 10.2 | 10.1 | |
| Dimensions 02 | 20.1 | 19.9 | 20.1 |
| Anisotropy-Bed | 5 | 20 | 2.6 |
| Anisotropy-Z | 5.1 | 20.1 | 2.5 |
| Surface finish | better with less layer hight |
Essential I have learned to apply to my designs
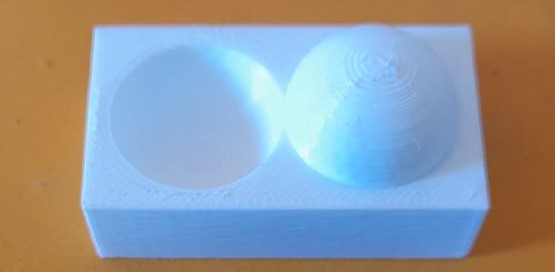
- Overhangs are perfect between 0 and 1m and tolerable quality from 1mm to 3mm. M More than 3mm overhang should be printed with support
- 0.2 mm and plus to have clearance between joints
- 30 degrees angle and plus features can be printed without support
- More than 0.4 mm bridge should printed with support
- Minimum printable wall size is 0.2 mm
- Our 3d printer can print with 0.1 mm to 0.2 mm precision tolerance
- Our 3d printer can print with 0.1 mm precision tolerance printer inner features
- Anisotropy is 0.1 mm

Minimum Wall
surface finish
Designing an object for 3D print:
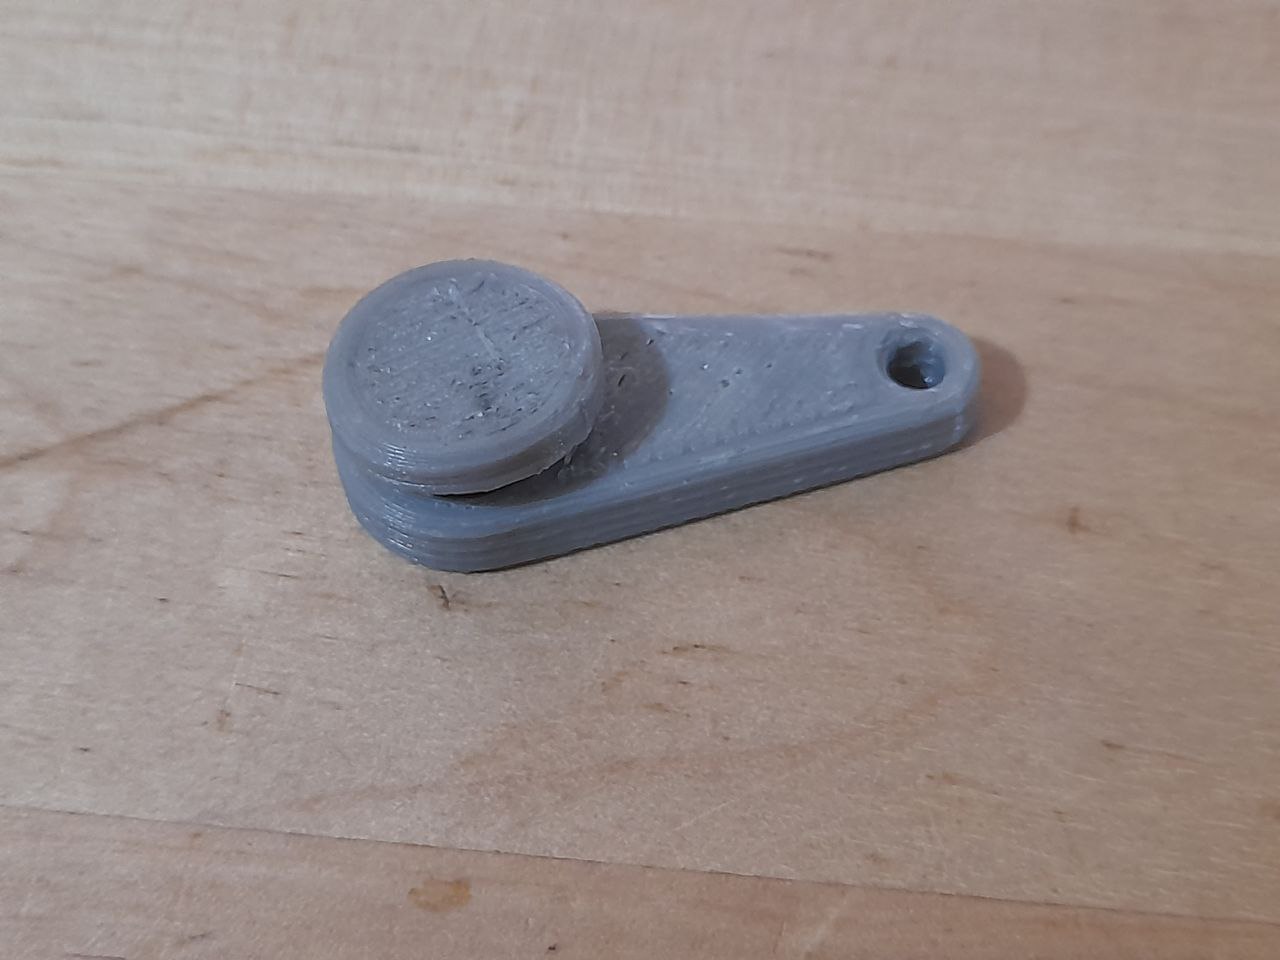
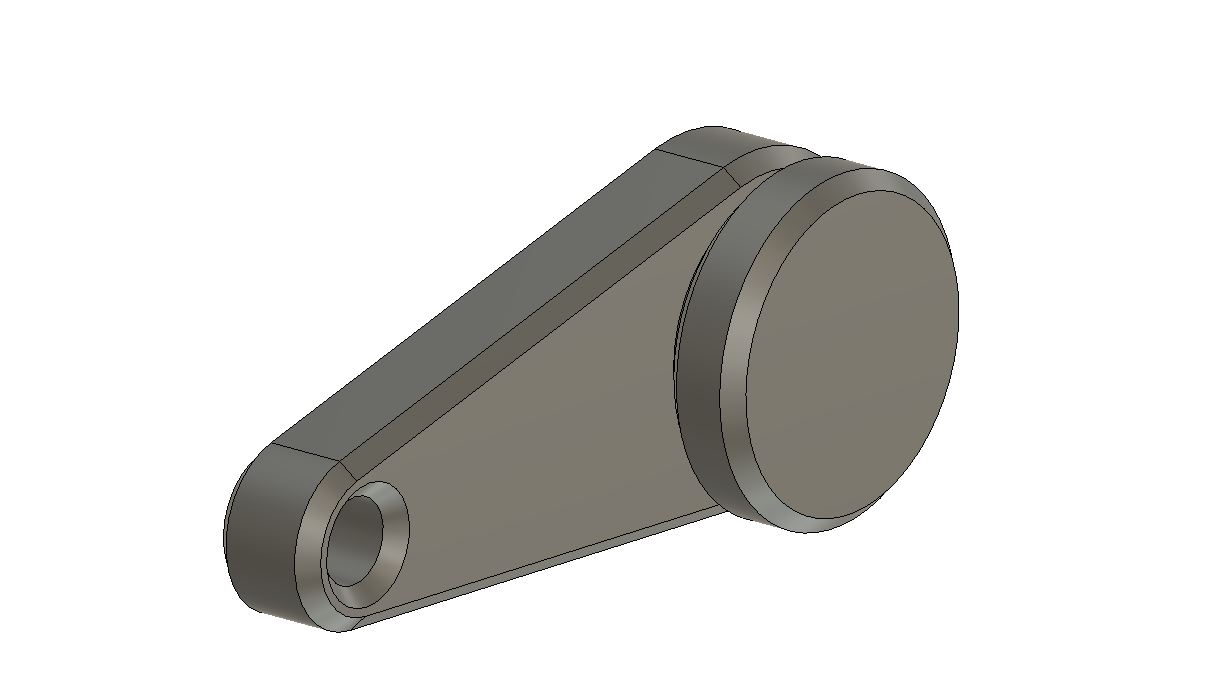
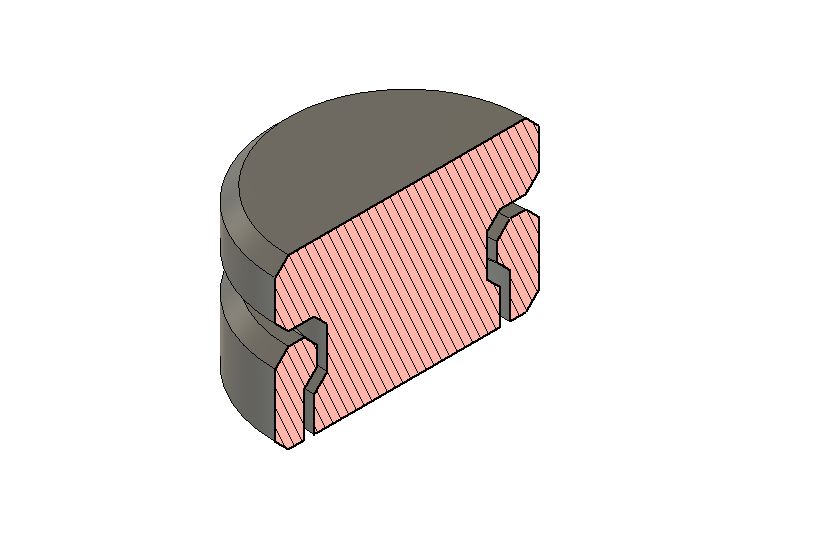
The object I have Designed
Applying the parameters found in group assignment to my design
Applying the clearance 0.2 I have made sure gaps between part that should be loose are more than 0.2mm. I have used 0.6 mm as value.
![]() To make sure my part is printed without support I have also added 45° angled features instead of straight horizontal and vertical walls.
To make sure my part is printed without support I have also added 45° angled features instead of straight horizontal and vertical walls.
![]()
Video Capture of How I have Designed it :
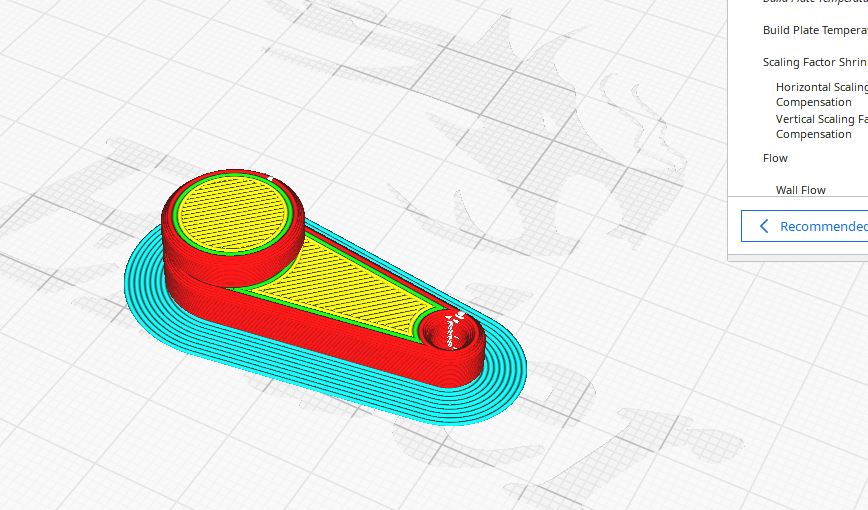
Exporting the Design for 3D print processing
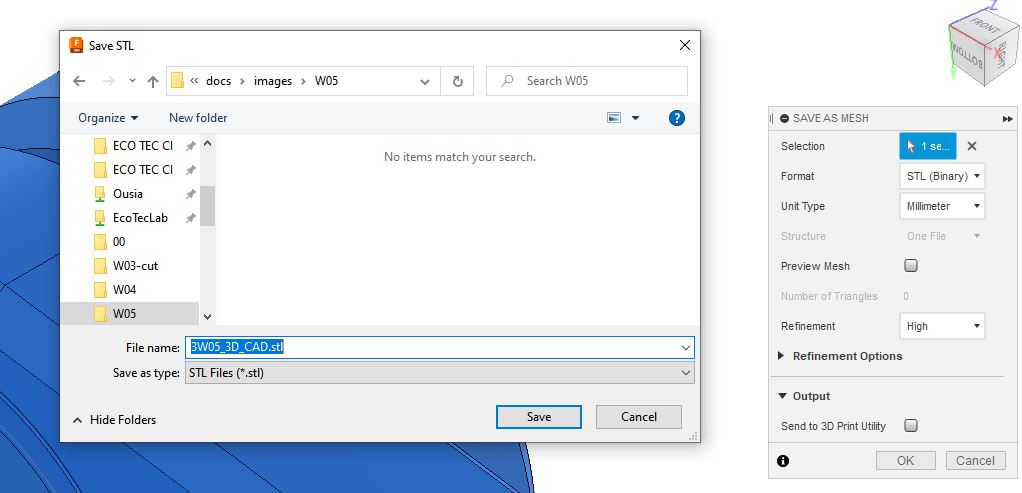
Post processing with Cura slicer to get the GCode to send to my 3D printer.
I have added Brim for bed adhesion since I will print with ABS.
This can not be made with a subtractive process (Even with a 3+ Axis machine) because it is two interlocked pieces with features inside as shown in the following picture.
Advantages and limitations of 3D printing
- With 3D printing we can embed objects in prints but not with CNC milling
- We can print complex objects that can not be done with milling,
- 3D printing just use the required material for the print and produces less waste, Disadvantages
- Consumer and cost-accessible 3D printers can not print metal parts
- CNC have bigger work area than 3D printer
- CNC milling produces batter surface than FDM 3D printing
3D Scanning:
For the 3DS scan assignment, we decided to scan ourselves. The scan was done with a 3D system Sense 2
The 3D system Sense 2
| Designation | Value |
|---|---|
| Accuracy | 1 mm |
| Manufacturer | 3D Systems |
| Manufacturer | country USA |
| Outer dimensions millimeters (xyz) | 129 × 33 x 178 mm |
| Weight kg | 0.5 kg |
| Technology | Structured light |
| Max. resolution | 0.9 mm |
| Working range | 0.2 - 1.6 m |
| Scan volume max | 2000 × 2000 mm |
| Texture / Colors | Yes |
| Scan volume | min 200 × 200 mm |
The 3D Scanning process
- The Subject stays in a fixed position
- The scanner is connected to a computer and scan processing software (we used itSeez3D) is opened.
- The person with the scanner Starts from a position checking if the actual position is scanned and moves slowly until the subject is fully scanned
- After scanning we fix (Hole stitching, smoothing, etc…) the model in the software and export to STL
Result
Video
Picture of the result