Molding and Casting
Hero shot
Group Assignment :
Individual Assignment WorkFlow:
- 3D modeling with Fusion 360
- Wax CNC machining
- Production of silicone molds
- Casting
- Casting whenever we need
3D Modeling with Fusion 360
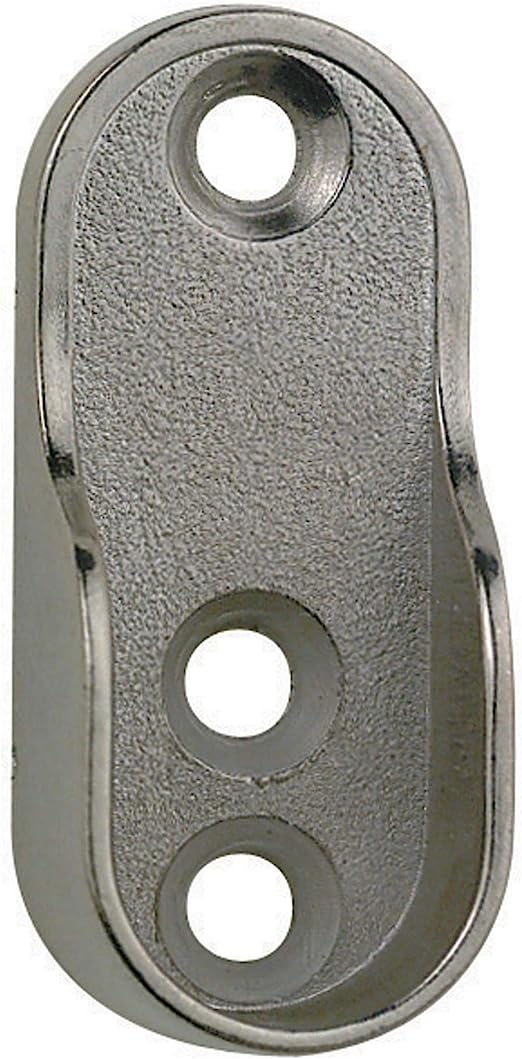
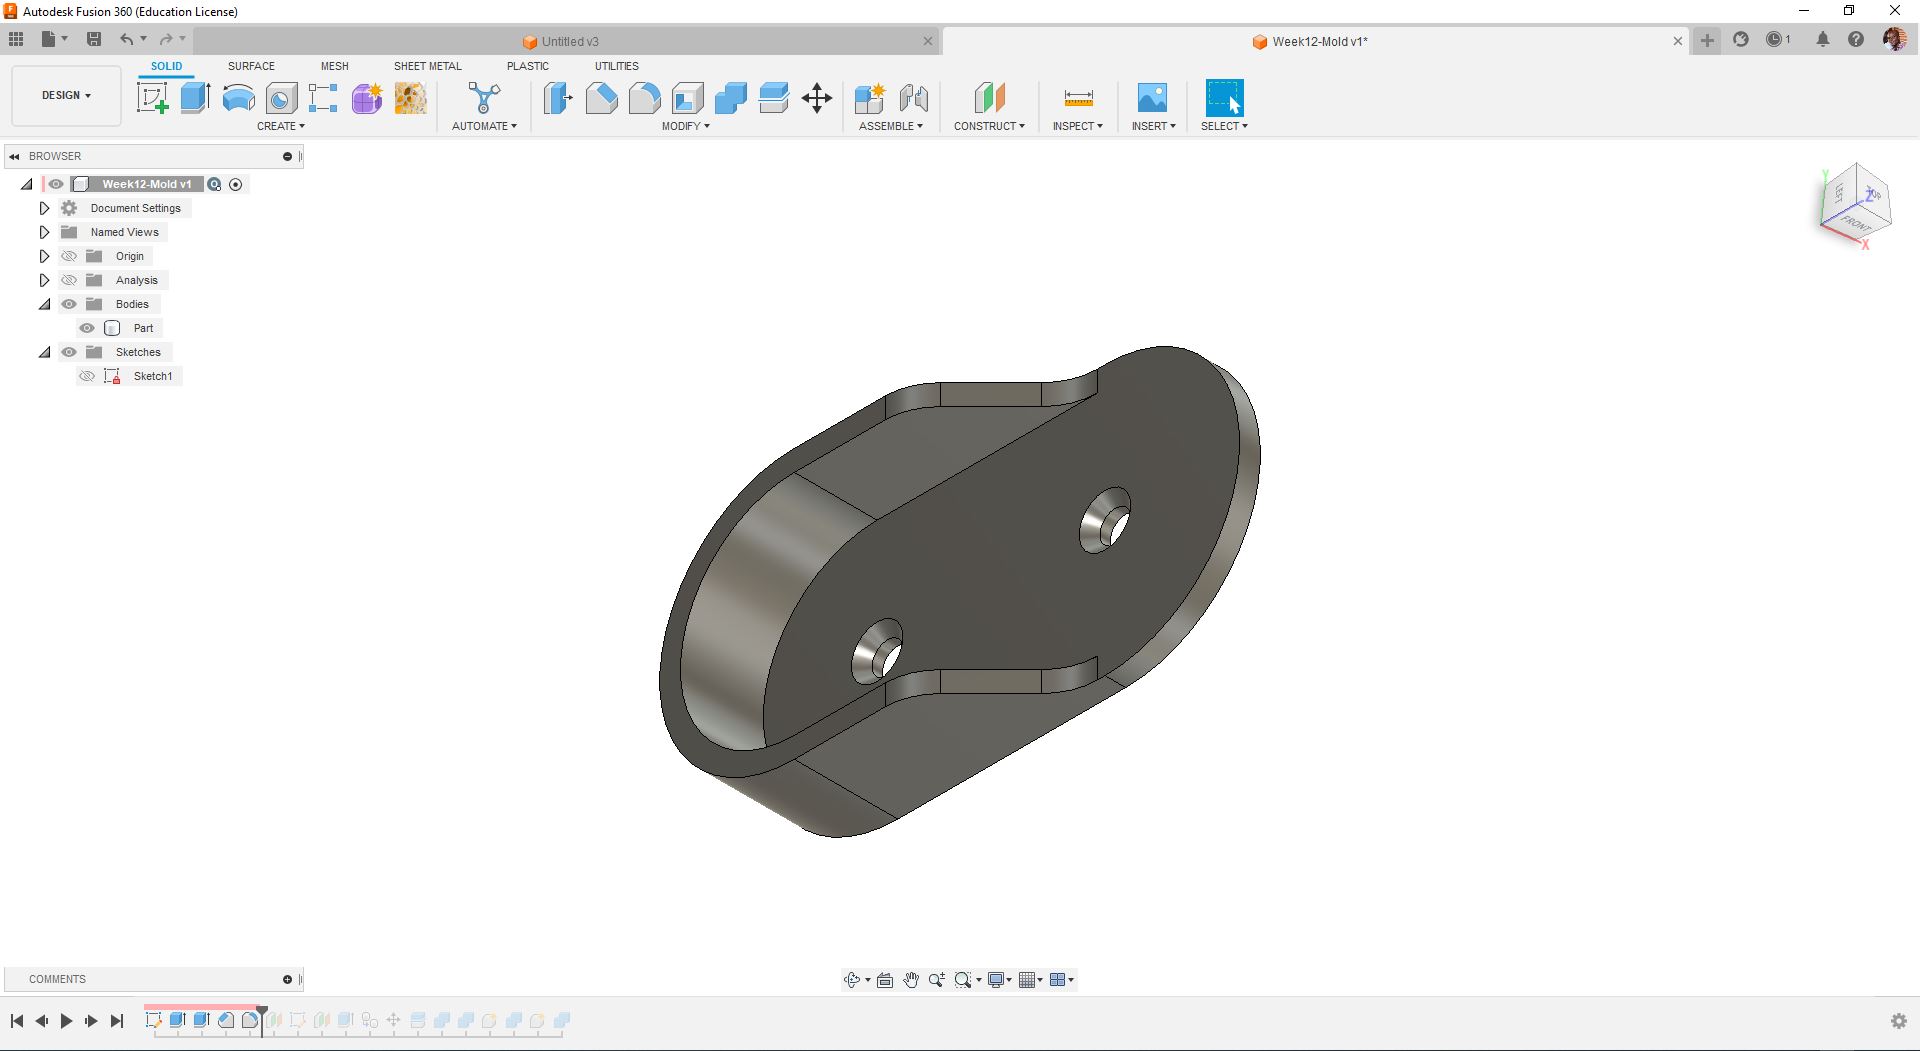
First, I use Fusion 360 to design and create my digital model. This is just a random 3D design that look like a “Wardrobe Rail Oval End Sockets”
 .
.
It’s just a random choice and have nothing to do with my project for now.
The design process capture in the video and picture bellow.
Designing the Part
Video of the process
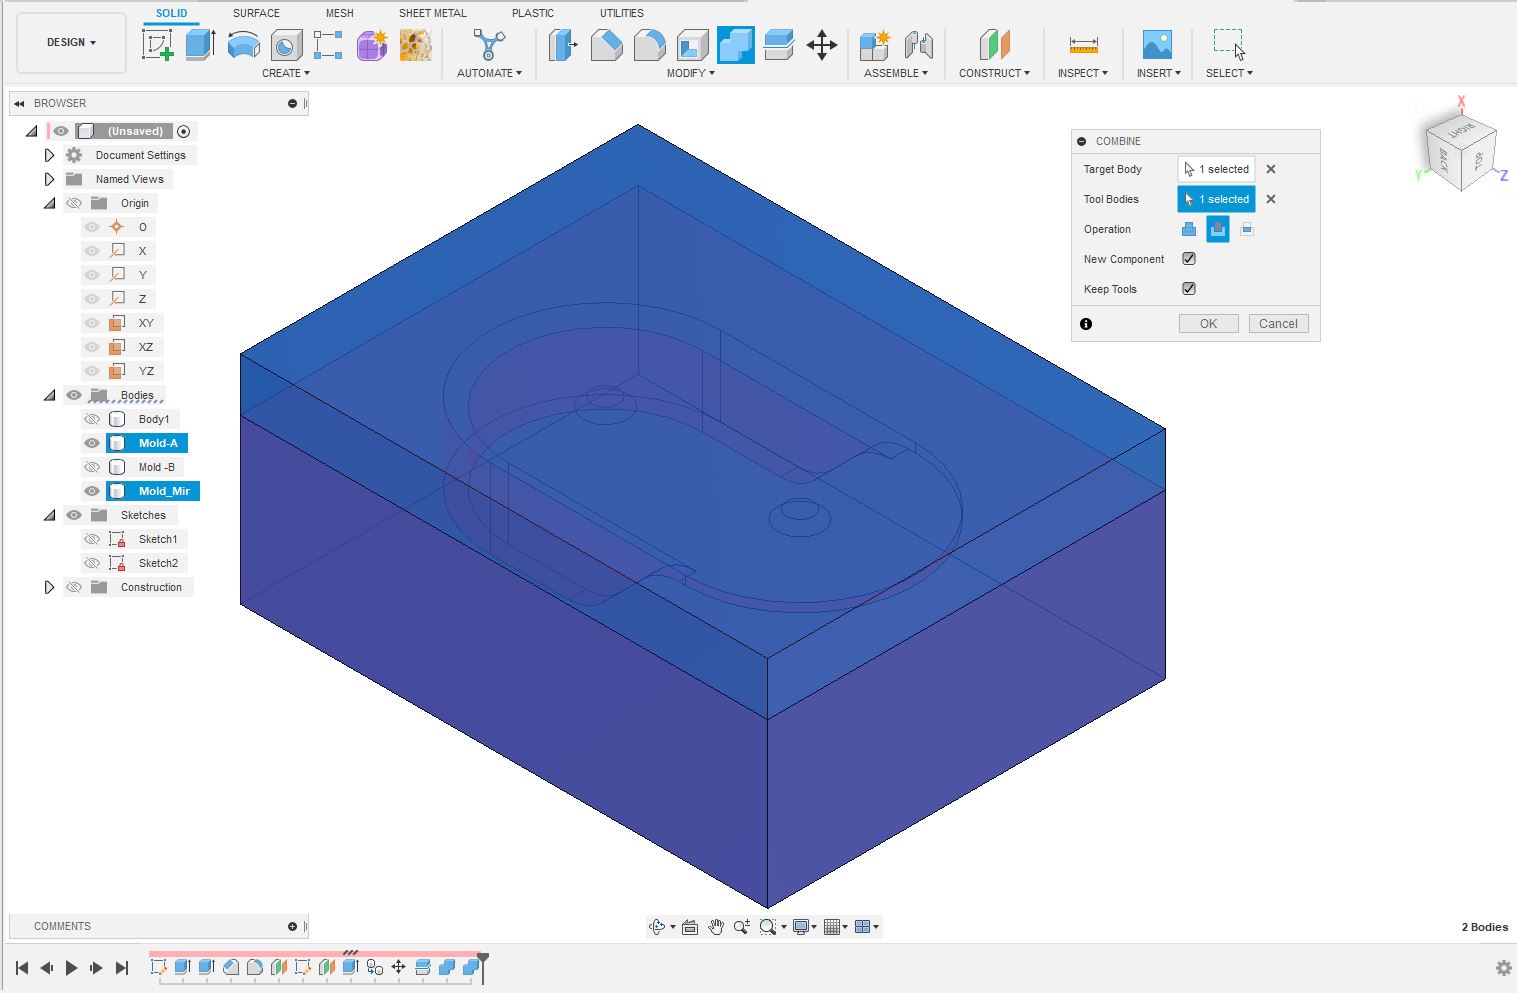
Designing Part Mold
Designing Mold of the Mold (“Mold Father”)
See trough Picture
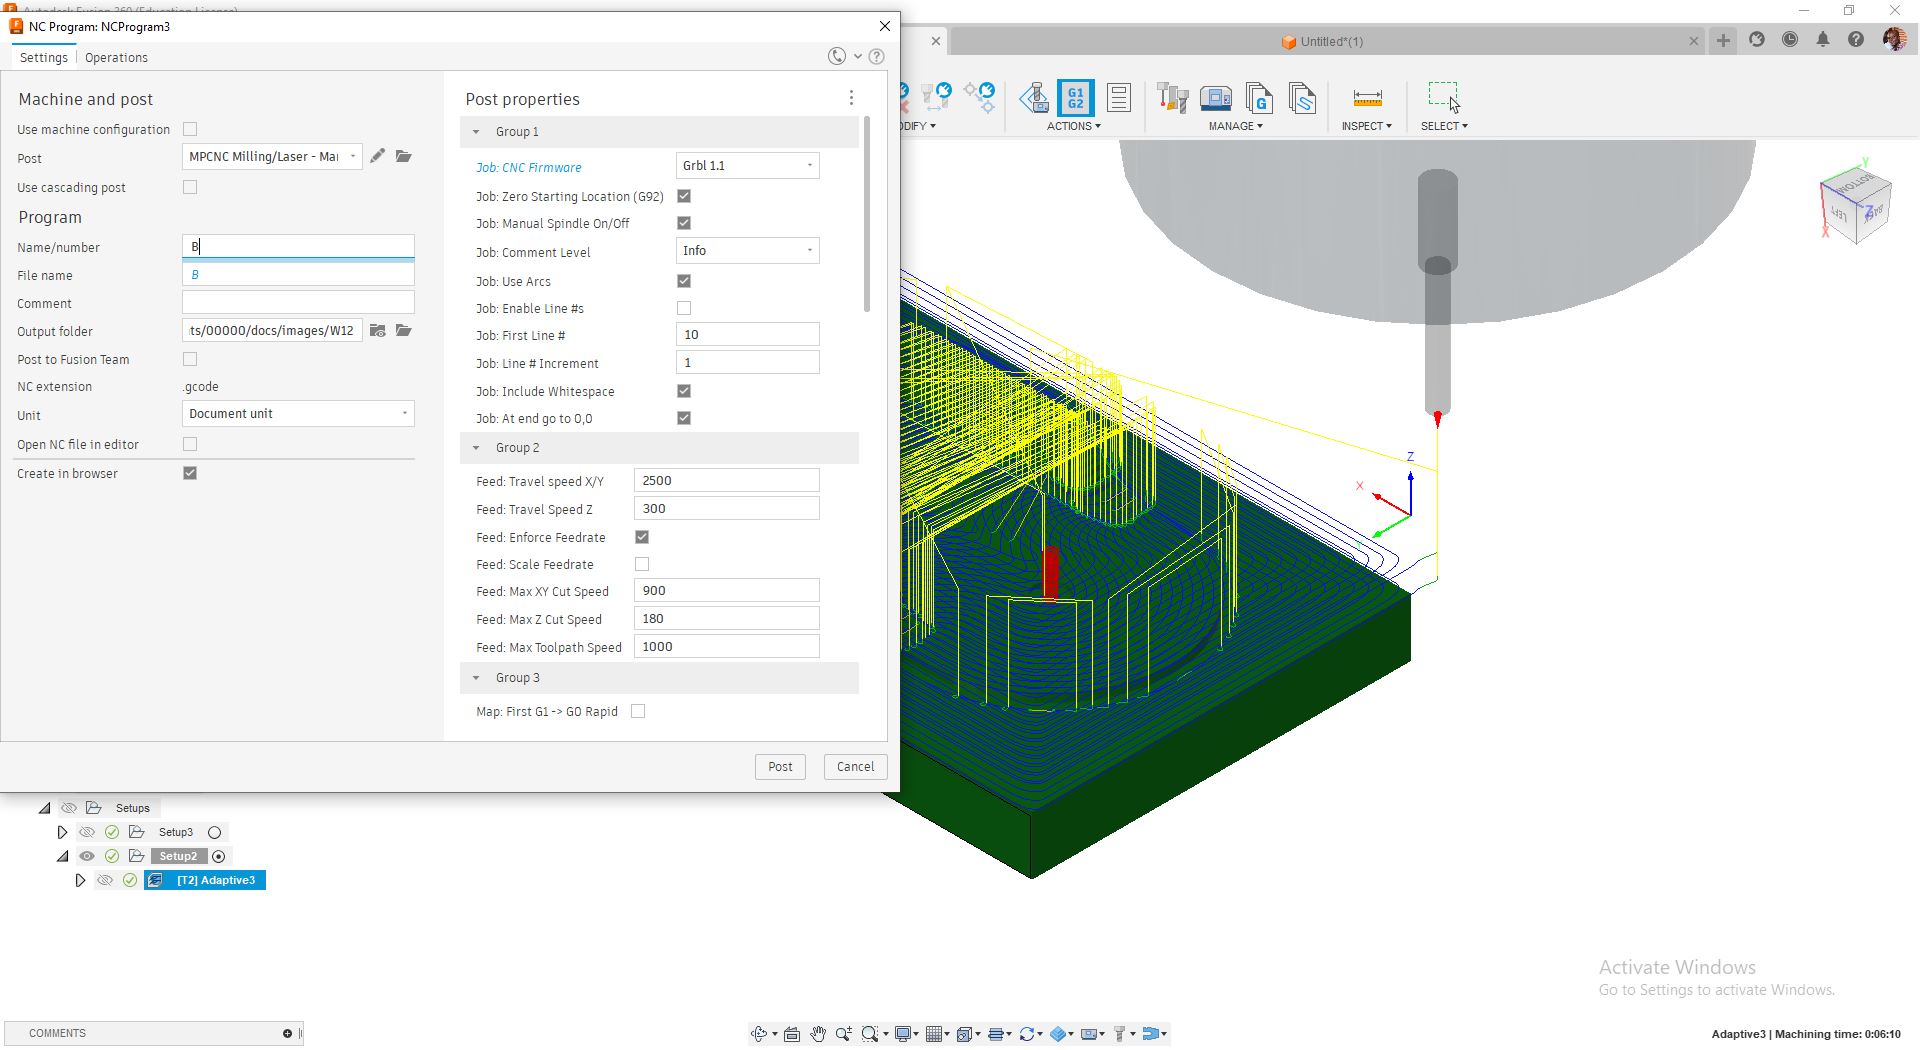
Wax CNC machining / Mold Milling / CAM
Once our 3D model is ready, I have Used Fusion360 manufacturing CAM (Computer Aided Manufacturing) function to generate the Gcode for my our CNC machine. The CNC carve the wax to the contours and details of my 3D Mold model.
Setting Milling parameters
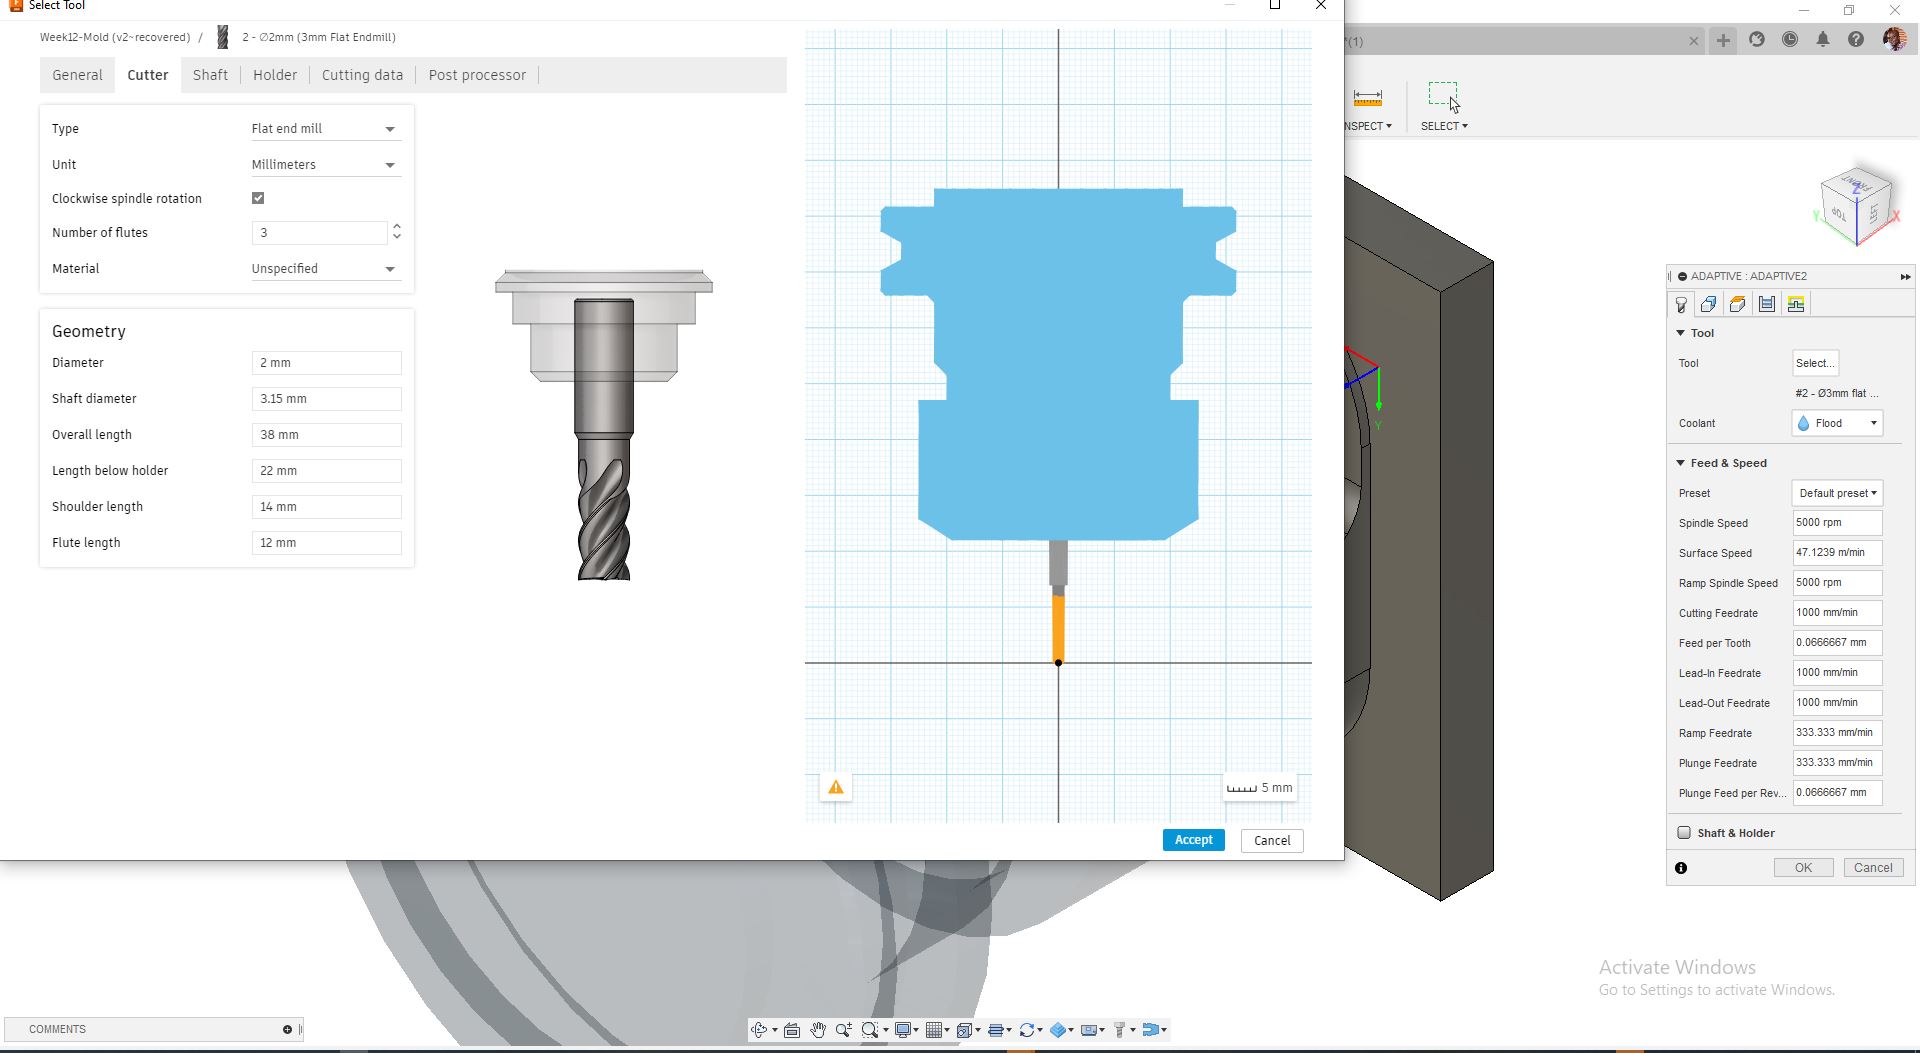
Generating Gcode
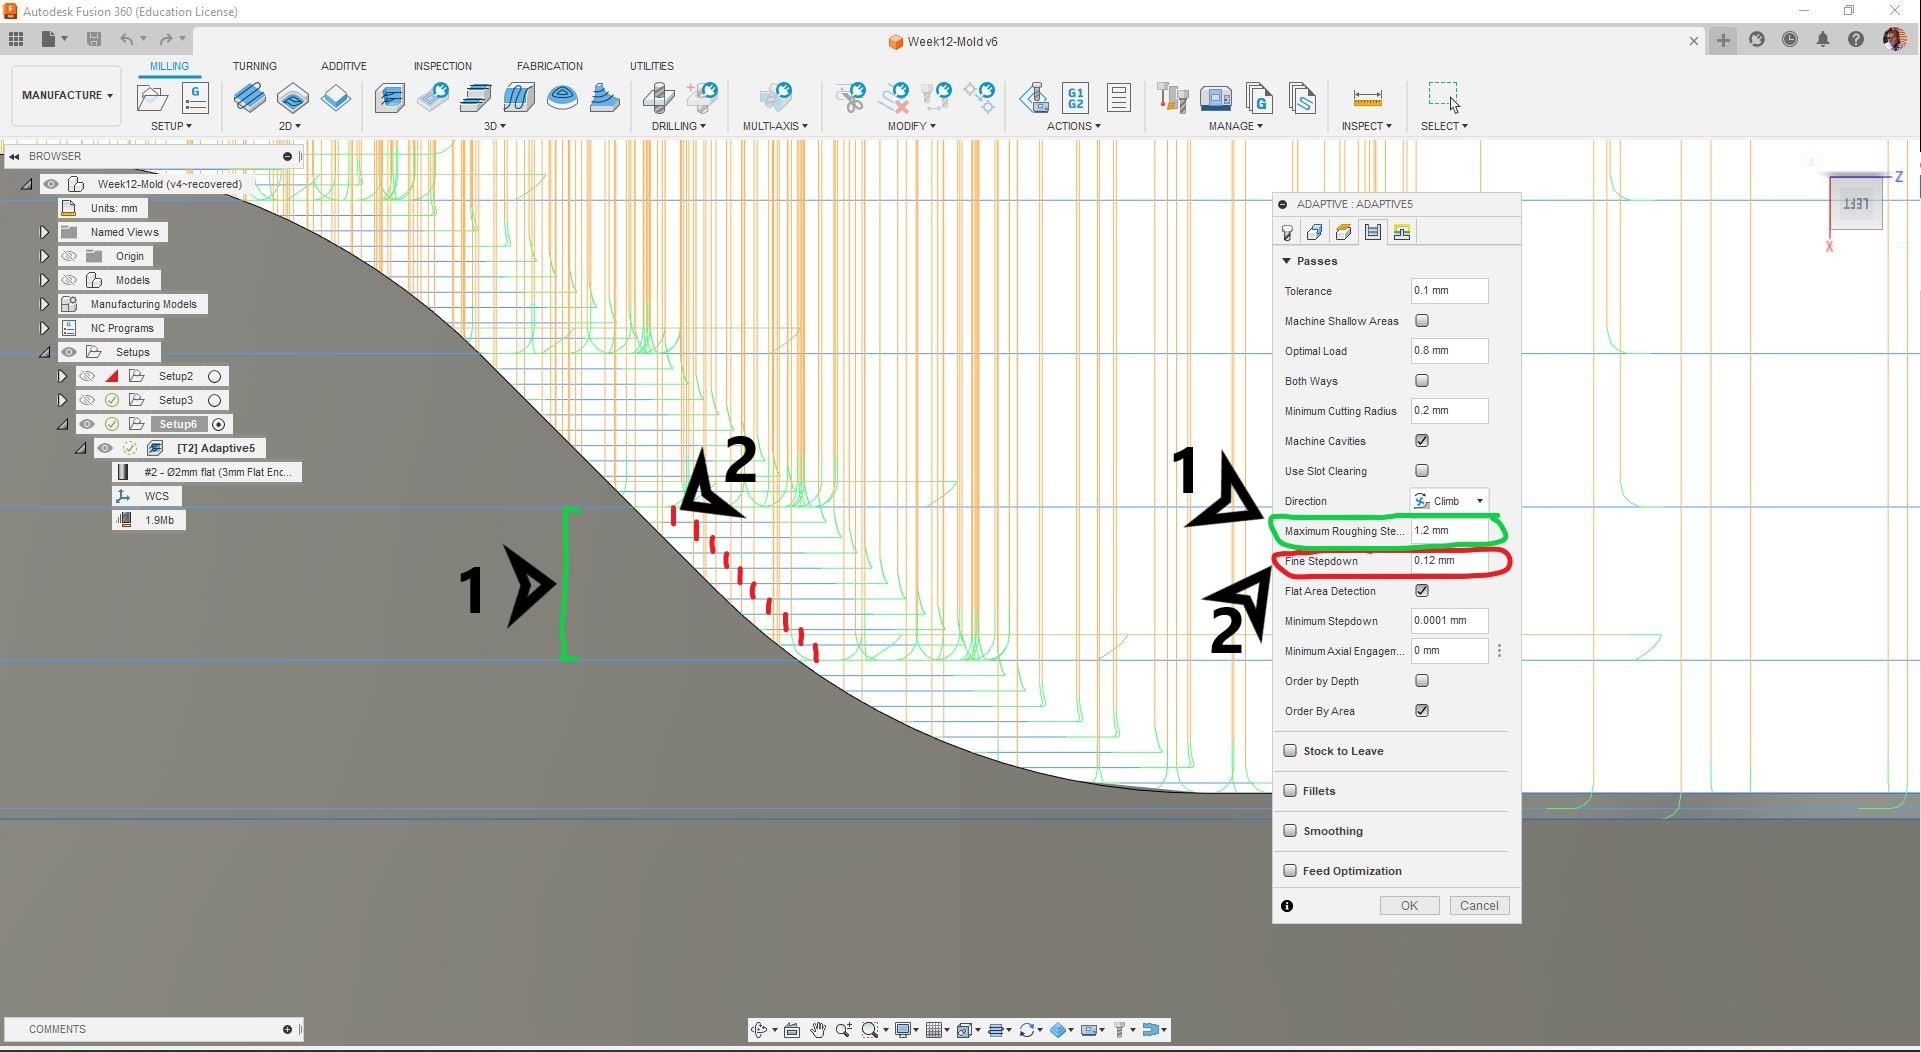
“rough cut” and “fine” milling
In CNC milling, the terms “rough cut” and “fine milling” refer to different stages of the milling process that are used to achieve the desired final shape and surface finish of a workpiece.
The Rough Cut 1.2mm step down:
The rough cutting process is the initial stage of milling where the primary goal is to remove excess material quickly. The rough cut is characterized by high material removal rates and is typically performed using a larger cutting tool with fewer flutes. The purpose is to remove as much material as possible in a shorter time, reducing the overall machining time. During rough cutting, the cutting parameters, such as cutting speed, feed rate, and depth of cut, are often set to higher values compared to the fine milling stage. This aggressive cutting strategy helps remove large amounts of material efficiently, but it may result in a rough surface finish. In my case I have set it to 1.2 mm
Fine Milling 0.12mm:
After the rough cut, the fine milling process is performed to achieve a smoother surface finish and improve dimensional accuracy. Fine milling involves using a smaller cutting tool with more flutes to achieve higher precision and finer detail on the workpiece. The fine milling process focuses on reducing the surface roughness and achieving the desired tolerances and surface quality. It involves lower cutting parameters, such as lower cutting speed, reduced feed rate, and shallower depth of cut. These adjustments allow for more controlled material removal, resulting in a better surface finish. In my case I have set it to 0.12 mm
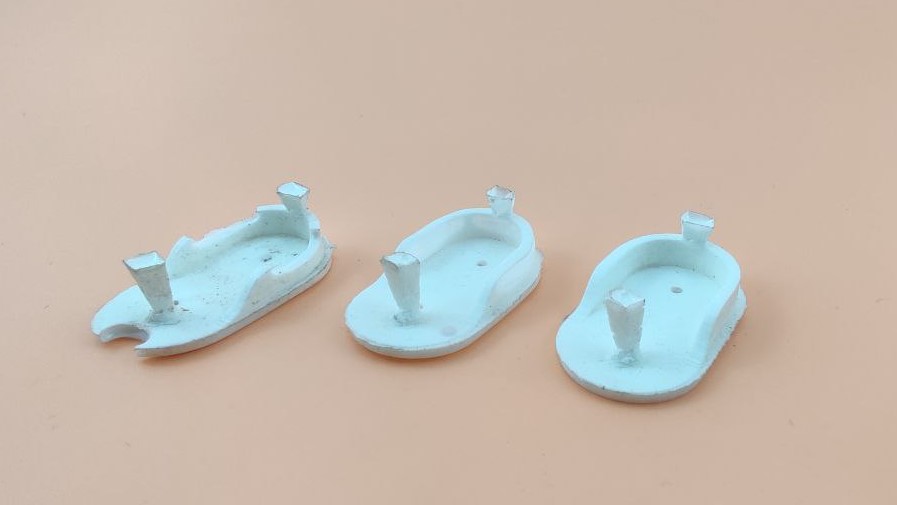
Raw milling result
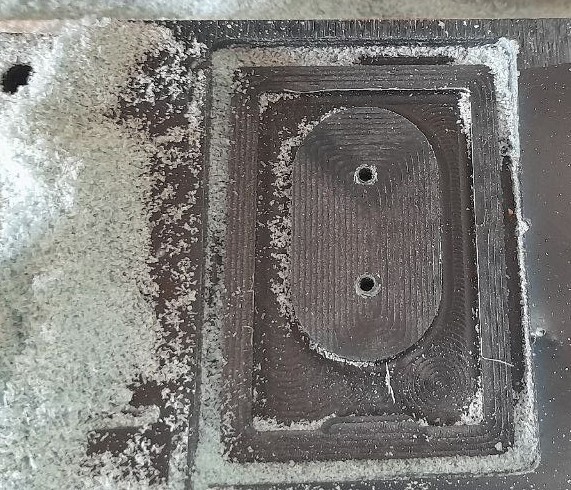
Milling Final result
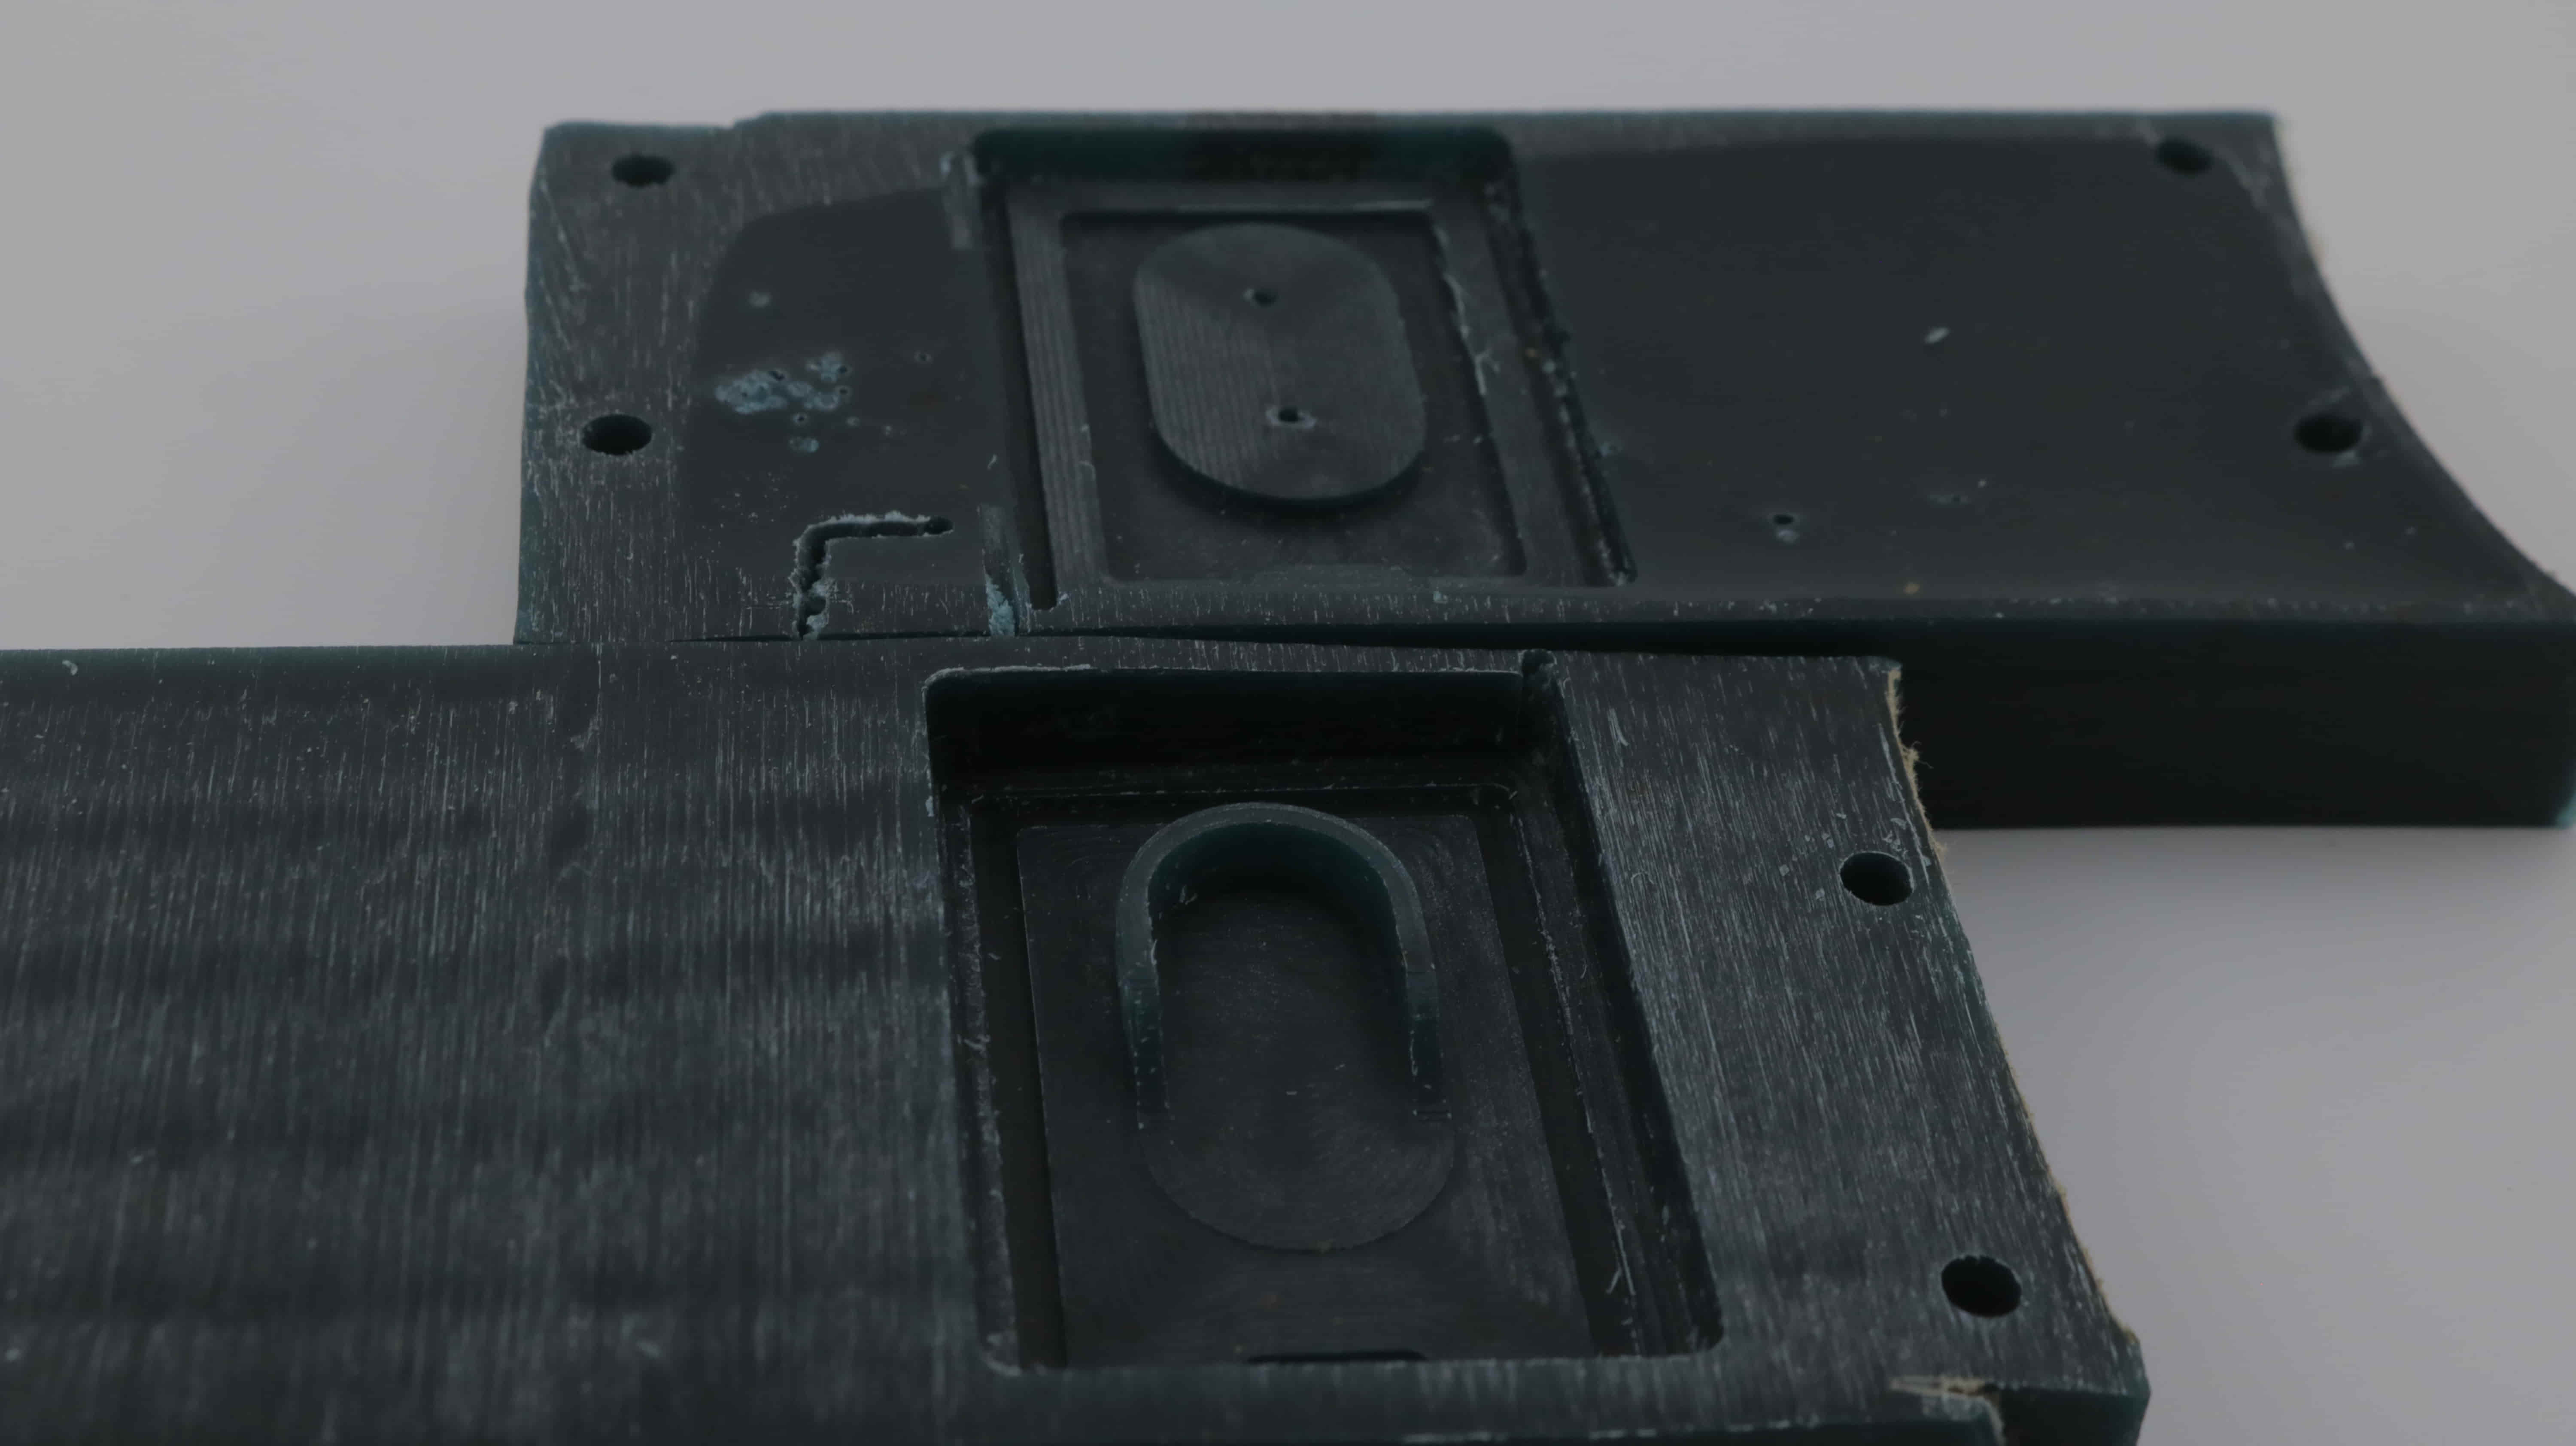
Resin Printed Mold
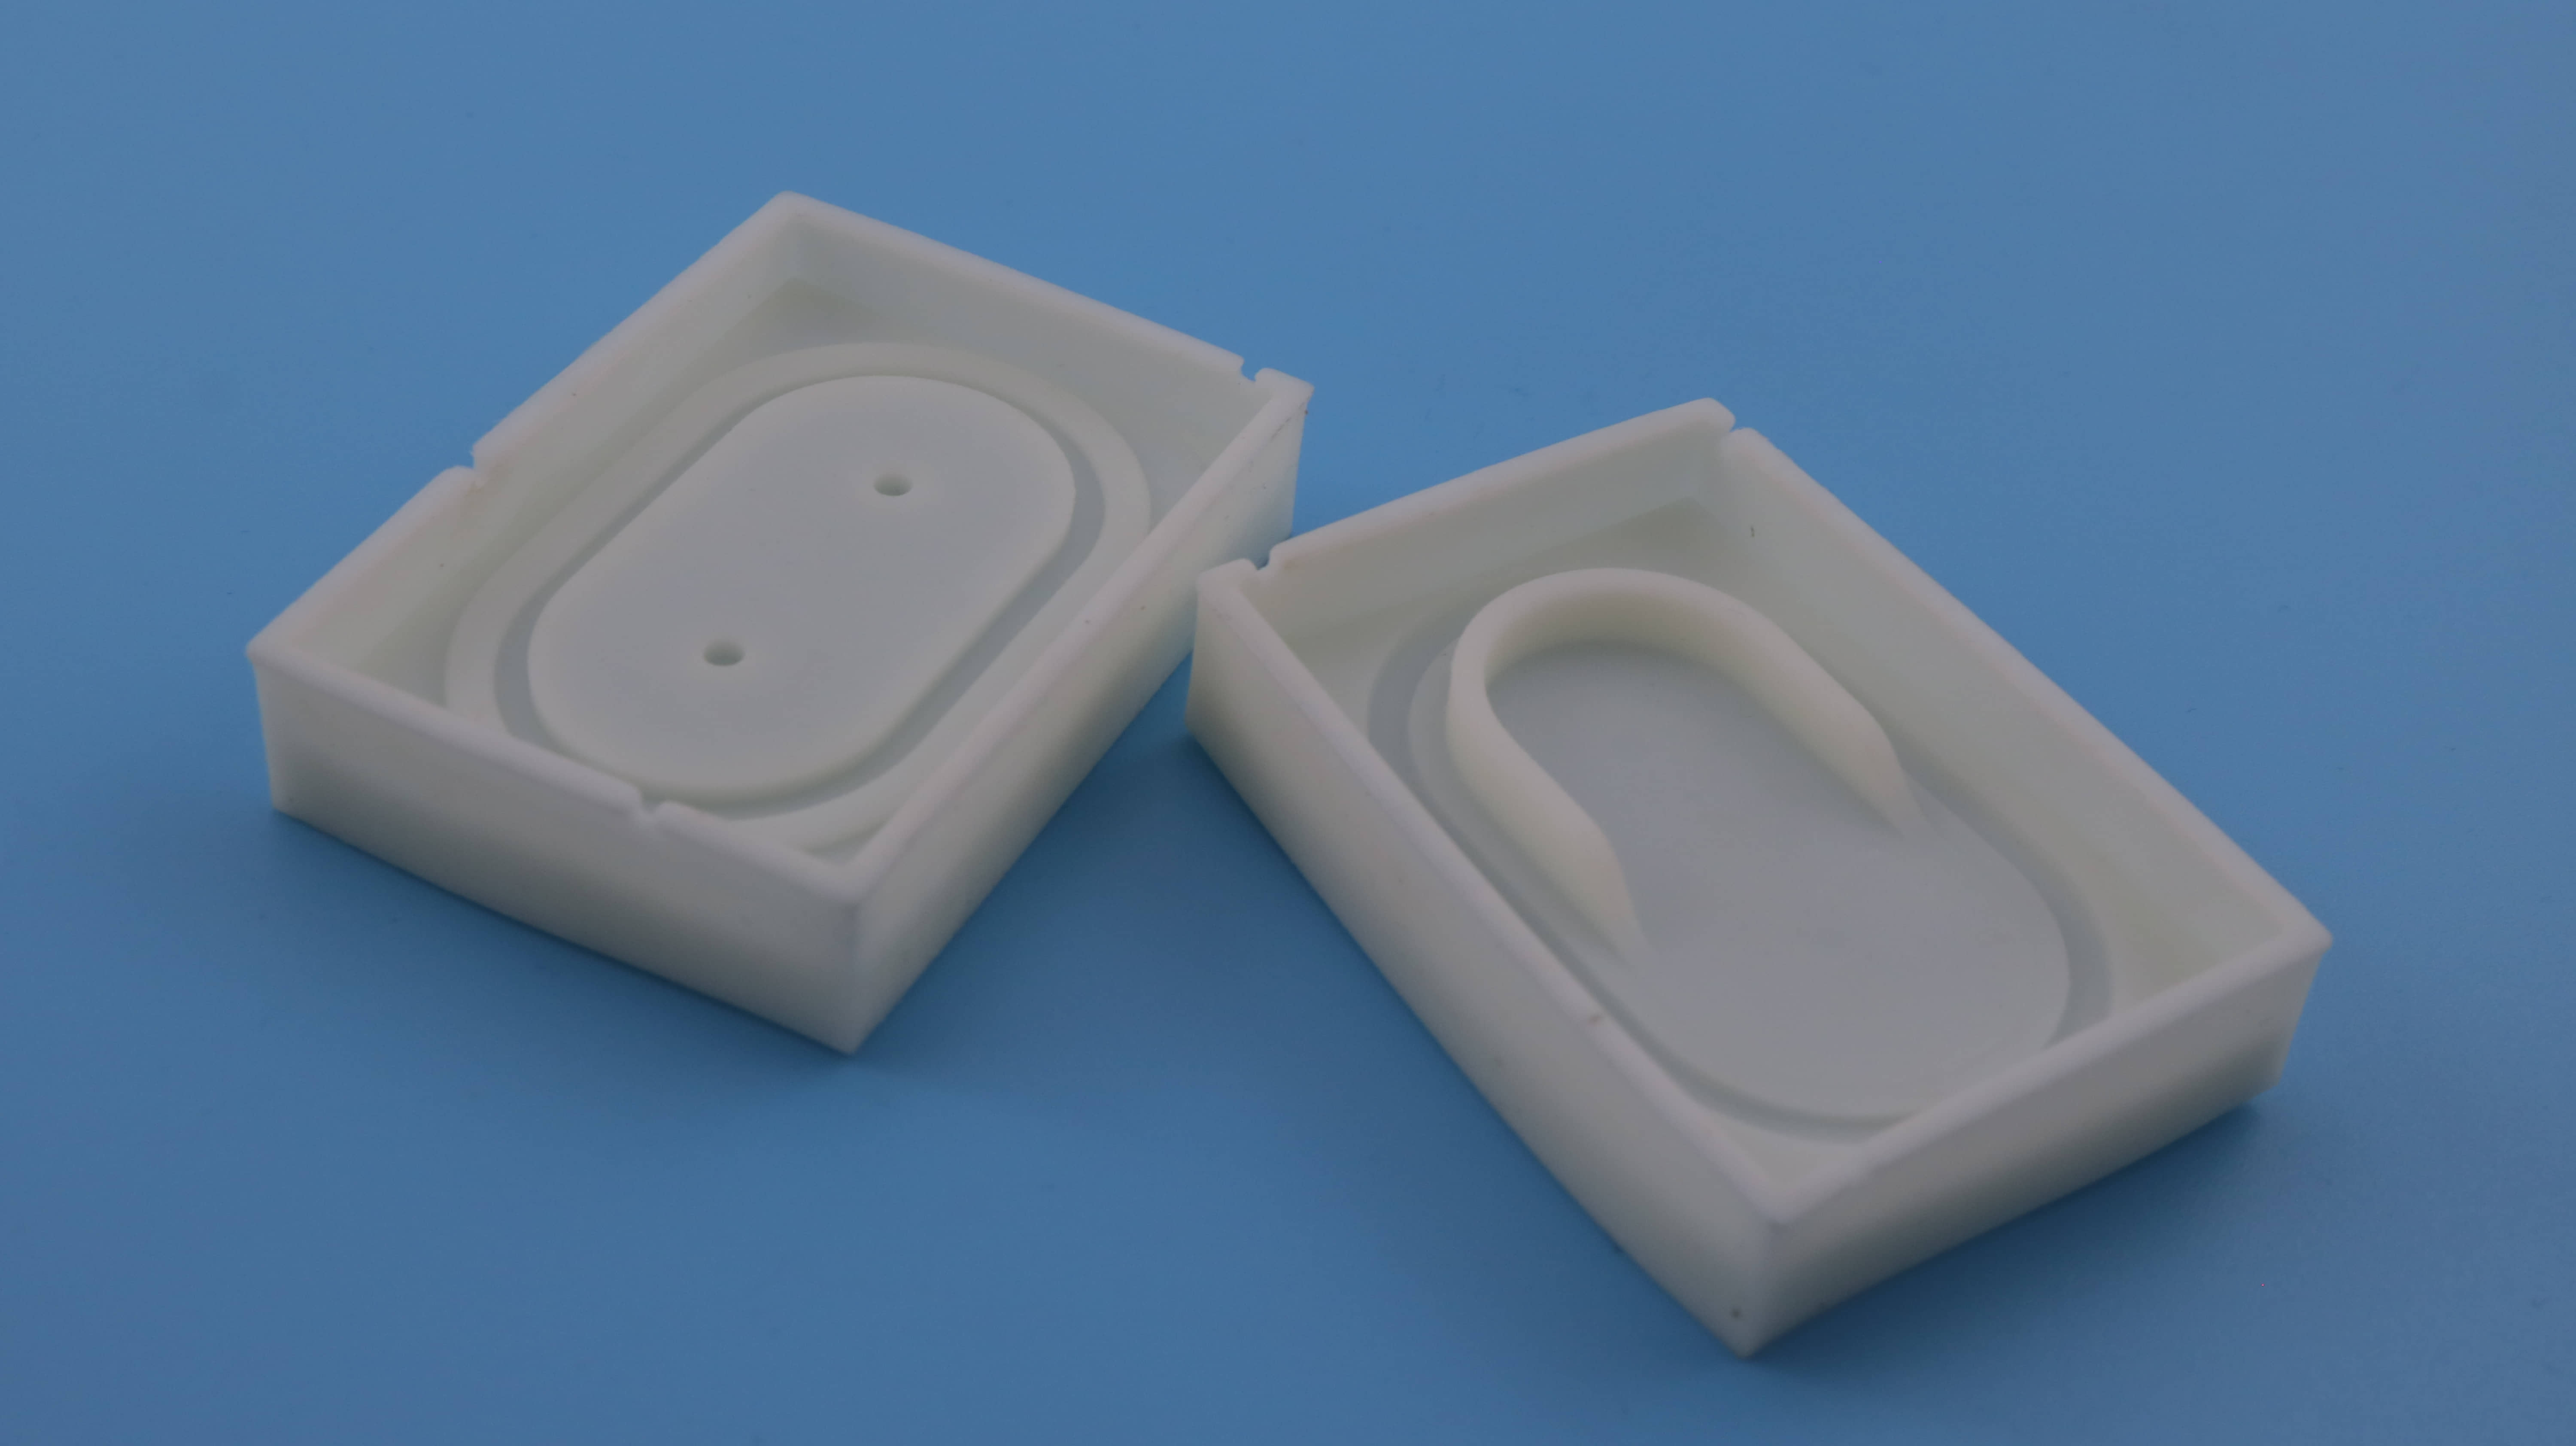
Production of silicone molds
Once we have our the wax mold, you can proceed to the production of silicone molds. For this, you use the two-part (A,B) silicone resin.
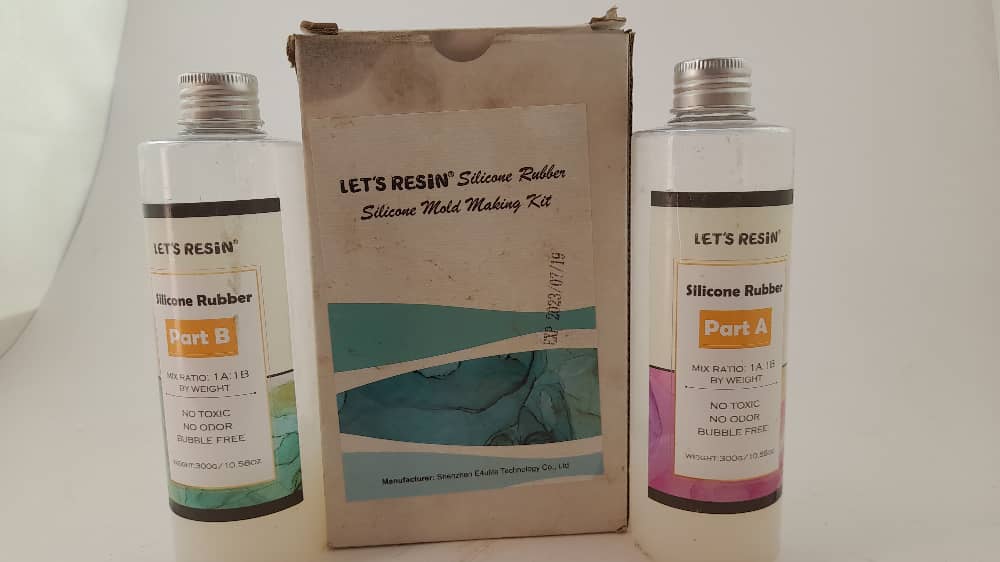 Our silicone is a “Let’s Resin Silicone Rubber”
The mixing ratio is 1:1 by weight. Pour the Part A and Part B together, then stir the mixture 5 minutes, make sure to stir the mixture thoroughly for better results. The completely cure time is about 12 hours at room temperature, it varies from your mold size and thickness.
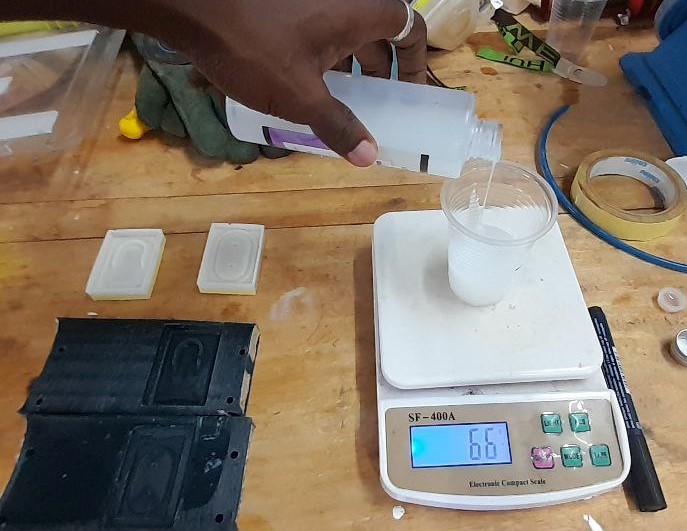
I have mixed and pour the liquid silicone in the wax mold, covering it entirely. The silicone is then left to Cure (dry and harden) for 24h.
Measuring the silicone
in this photo, I was not wearing gloves, this is not in accordance with the MSDS, and future for future use gloves should be worn. If for some reason gloves were not worn, it is important to take EXTREME CARE to not get it on your skin because it can be skin irritant. Should it come in contact with the skin the following treatment should be implemented immediately according to the MSDS: Immediately wash with water, preferably under a shower, removing contaminated clothing while washing proceeds. Obtain medical attention if irritation persists or if blistering occurs. Contaminated clothing should be washed before re-use.
Pouring
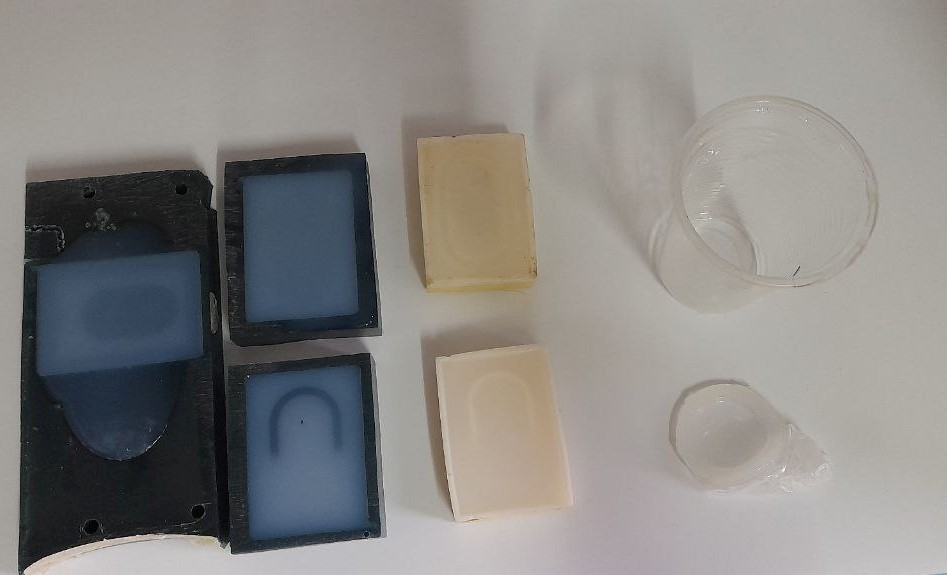
Molds
The silicone mold cured we can cast our parts any and many times we want.

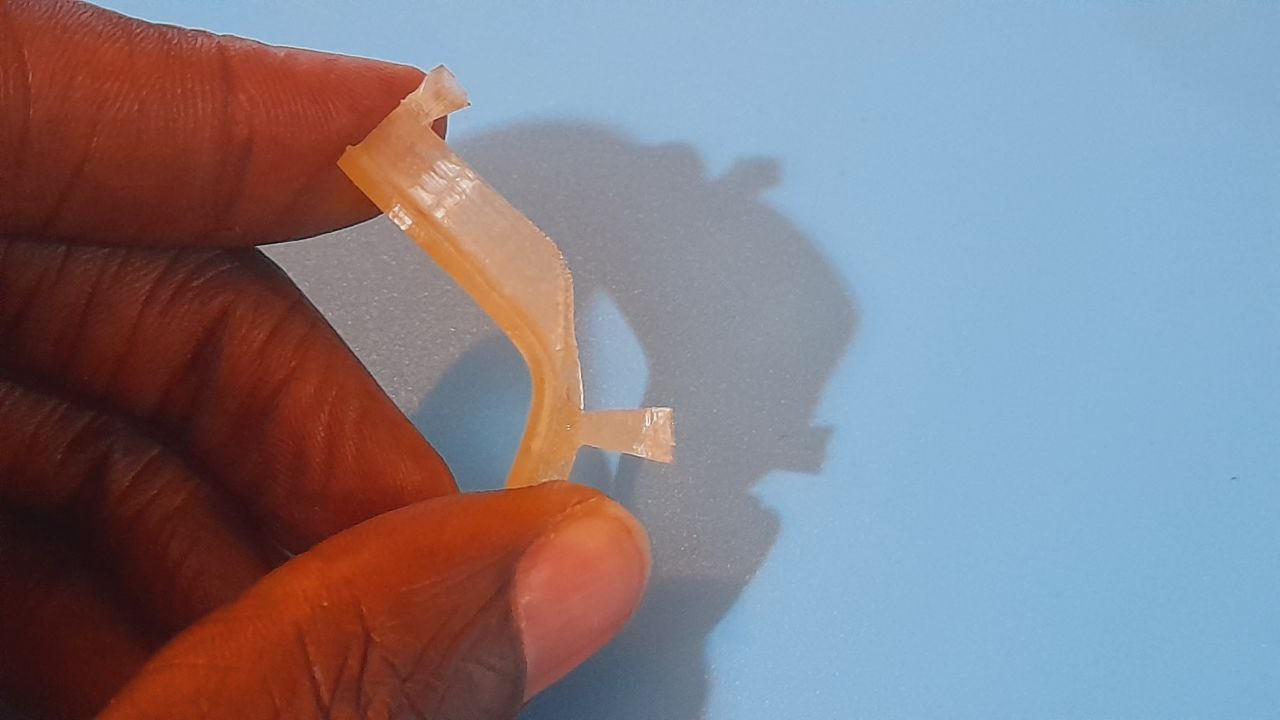
Casting
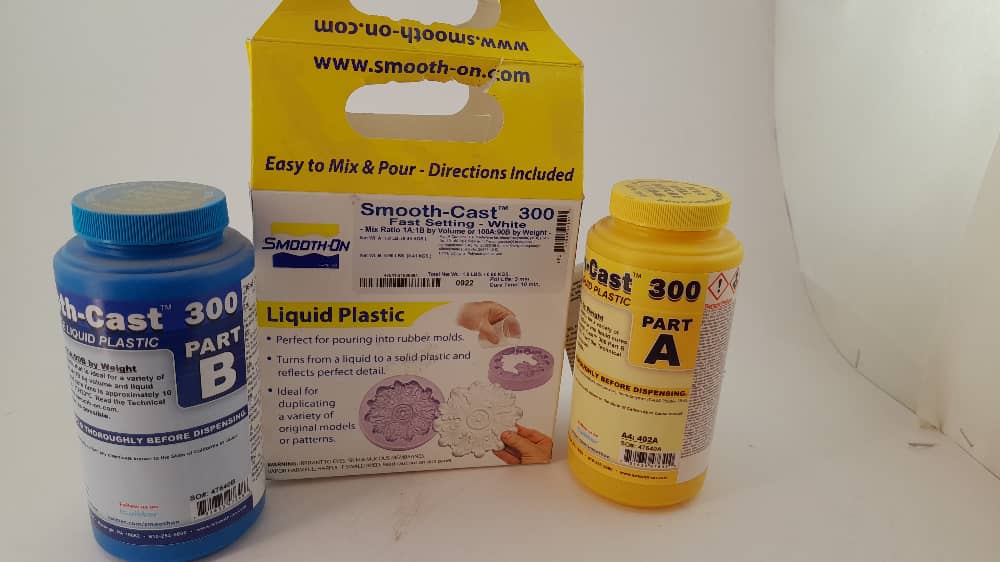
The mold done we mixed and pored a plastic smooth-cast-300 resin. We have also casted a generic resin bought on the local market. For both we had to follow the safety guidance wearing clove and respirator in a well ventilated room.
The generic resin ration is 2A for 1B it cure in 24h.
The OMMO( plastic smooth-cast-300 resin) is 1:1 mix ratio by volume. It cure in about 10 to 15 minutes maximum.
Issues and Troubleshooting / Fails and reflections
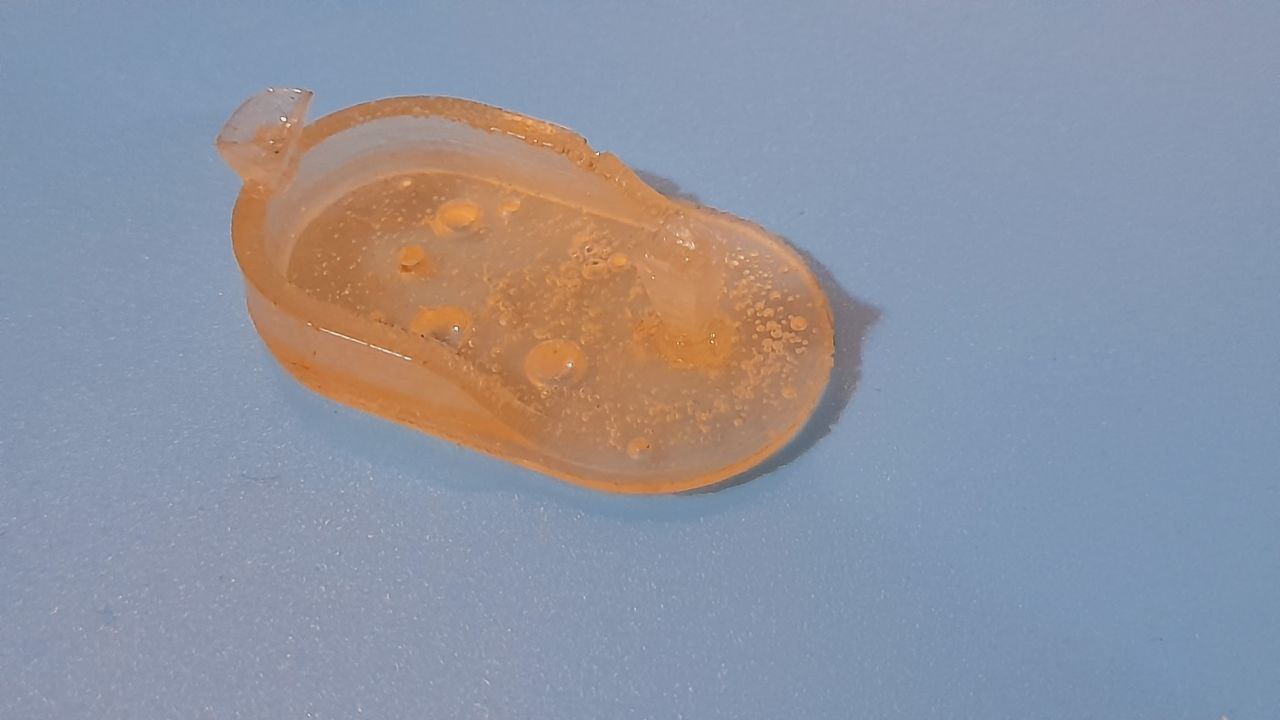
- After 48h the test cup curring some poured in the mold cured well but mostly the one in the resin printed mold did’nt and others in the wax mold also did’nt cured.
We have the concluded that the 3D printing resin was reacting chemically with the curing process of our Silicone. Render the use of a resin 3D printed mold not working with our silicone (This might not be general).
- We have also cast a flooring resin in our cured silicone mods. This worked but the resin was viscous so we have a lot of bubbles (We could have heated it the make it less viscous and easy to pour). It turned out good and the material property where very good. It had little bite of flexibility, making it resistant against mechanical stress (bending stretching…) Also since it’s a resin We taught it will also last longer for outdoor applications.