01 - Project management
This week I worked on defining my project idea and started to get used to the documentation process with MkDocs. I have also signed and committed the FabAcademy agreement to my documentation website.
1. Principles and practices
The goal here is to come up with an initial sketch and plan for the project.
Egg incubator for hatchery
My project is to make an Arduino controlled and possibly connected egg incubator. Egg incubators are machines that creates the perfect conditions ( temperature, moisture, positioning) for an egg to incubate and hatch successfully. It’s designed to regulate incubation temperature and humidity at perfect levels there for playing the role of a broody hen.
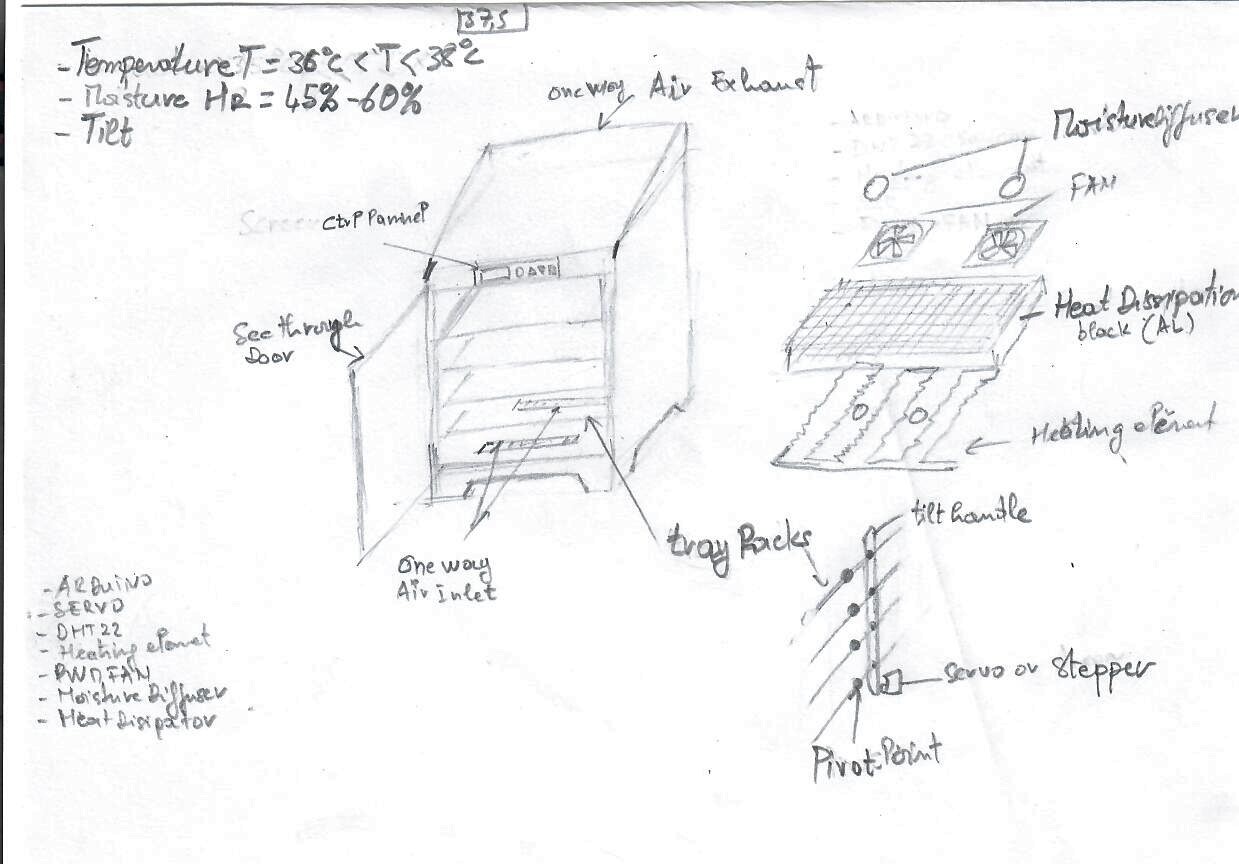
The functionalities I am thinking of:
Make an incubator that :
- is able to set and efficiently control the temperature inside the incubator;
- is able to set and efficiently control the moisture inside the incubator when required;
- is able to tilt eggs for needed period;
- Insure energy efficiency trough proper insulation and energy use;
- have programable cycle depending on the type of egg;
- is connected for live monitoring;
- Log data for later analyses and use;
Possible development steps (with a relative level of independency)
- CAD
- Box/case for Cnc or laser cuter
- 3d Printed pars for
- egg tilting system
- Electronic enclosure
- handle and hinges ?
- One way ventilation duct system
- 2d design for banding with vinyl Stickers
- Electronics
- Circuit design and production
- Circuit test and prof of concept rapid prototyping wi arduino and breadboard
- find and test sensor
- Heating control circuit
- Humidifying control
- Egg tilting system
- Data logging
- Iot connectivity and live reporting
2. Project management
I have started building my website using the Gitlab web IDE with html. I later installed git to my laptop and cloned my site repo to it through vs code. I have generated a token on Gitlab to enable my Vs code to commit to the repo. I have made few changes with vs code using html them decided to switch to MkDocs.
to install MkDocs I have followed this Adam Harris tutorial on youtube and followed this tutorial to solve mkdocs applet environment variables path issues.
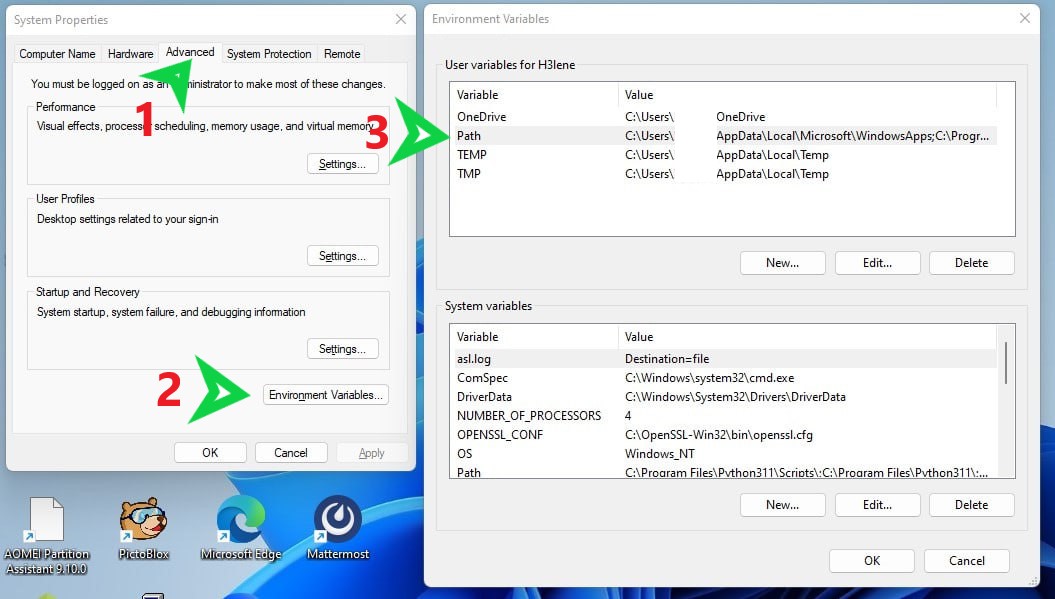
Solving applet environment variables path issues
MkDocs was installed but I couldn’t access it and start a server with the mkdocs serve “PATH” command even if the applet was installed.

To solve that I have tried to locate the applet using : pip uninstall mkdocs-material . I didn’t proceed with the uninstall but this helped me locate the applet.

i have then added the applet path to my environmental variables.

Create a token and connect git to VsCode
Here is how i have created my token and connected my git to VsCode
First install the VsCode git plugin like in Adam Harris tutorial on youtube
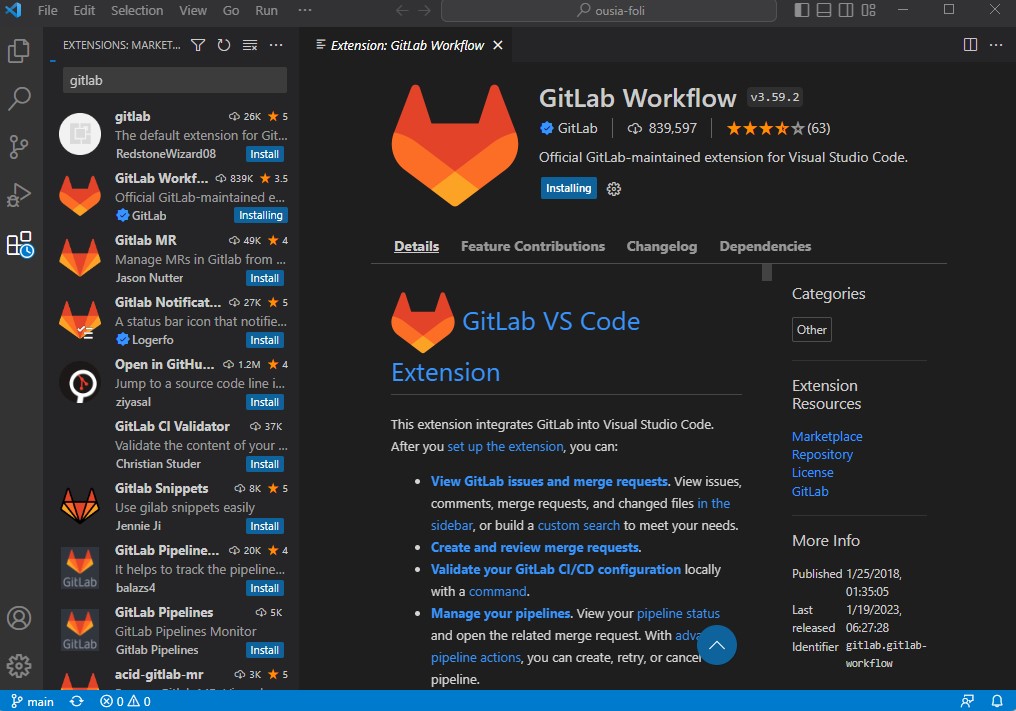
After installation, you should have something like this
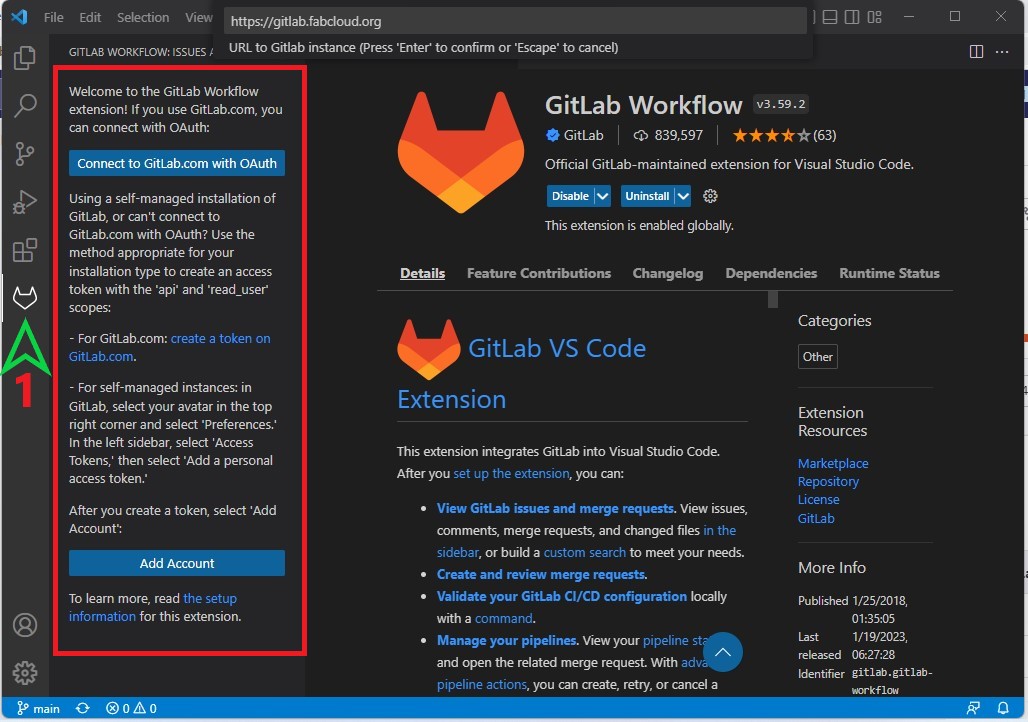
Since gitlab.fablcloud.org is a self managed instance of git (I think); we have to create a token to access it as we can not use OAuth.
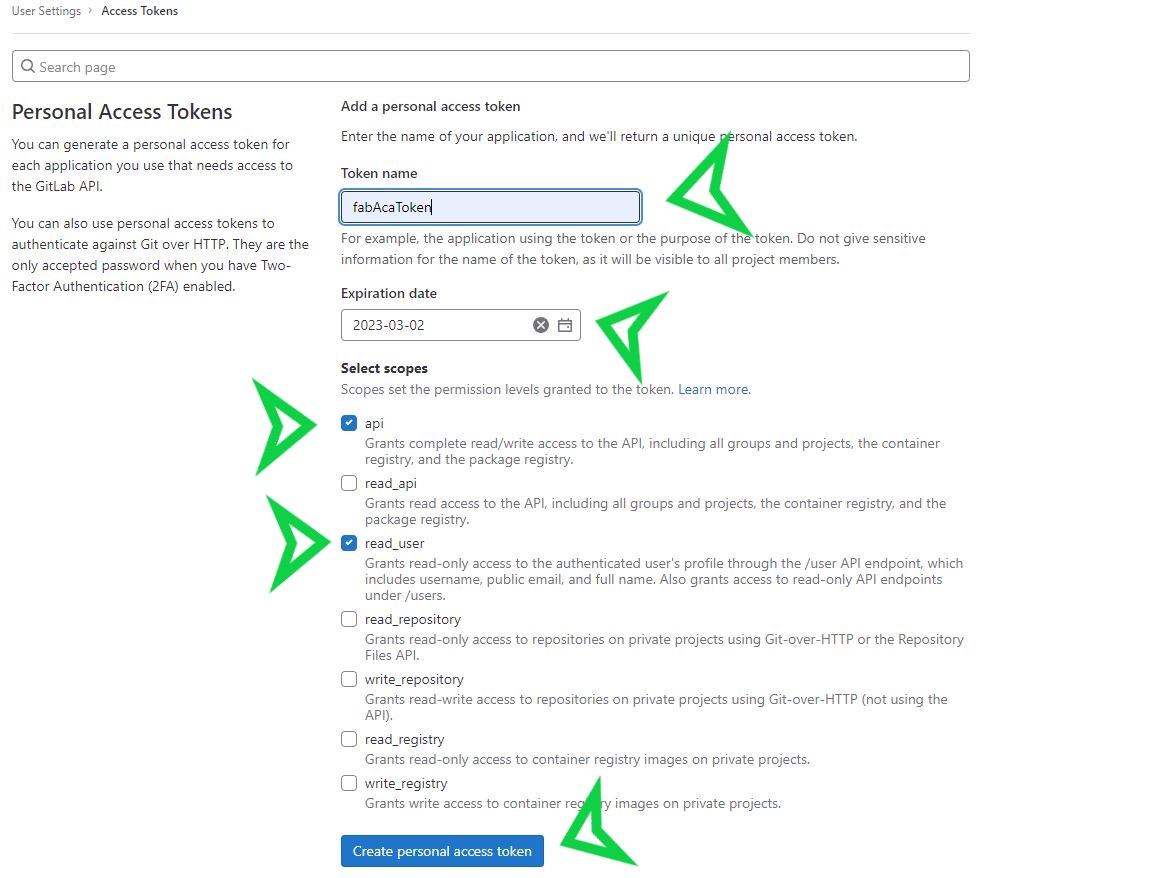
go to: https://gitlab.fabcloud.org/-/profile/personal_access_tokens
pick a “name” for the token and make sure the “expiration date” is suitable for you.
tick “api” and “read_user” as permission level.
last click on “Create personal access token“
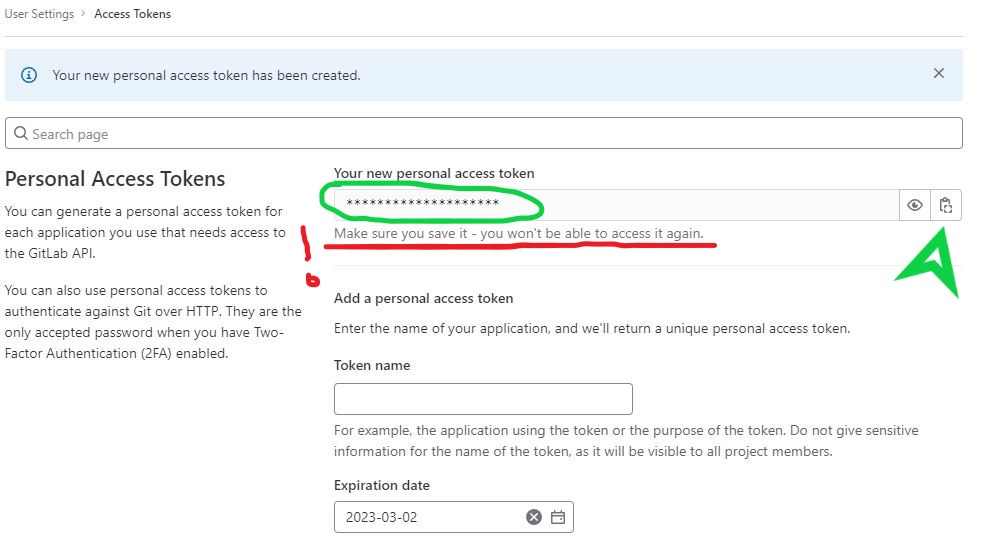
Don’t be in a rush, first copy the token and save it somewhere safe.
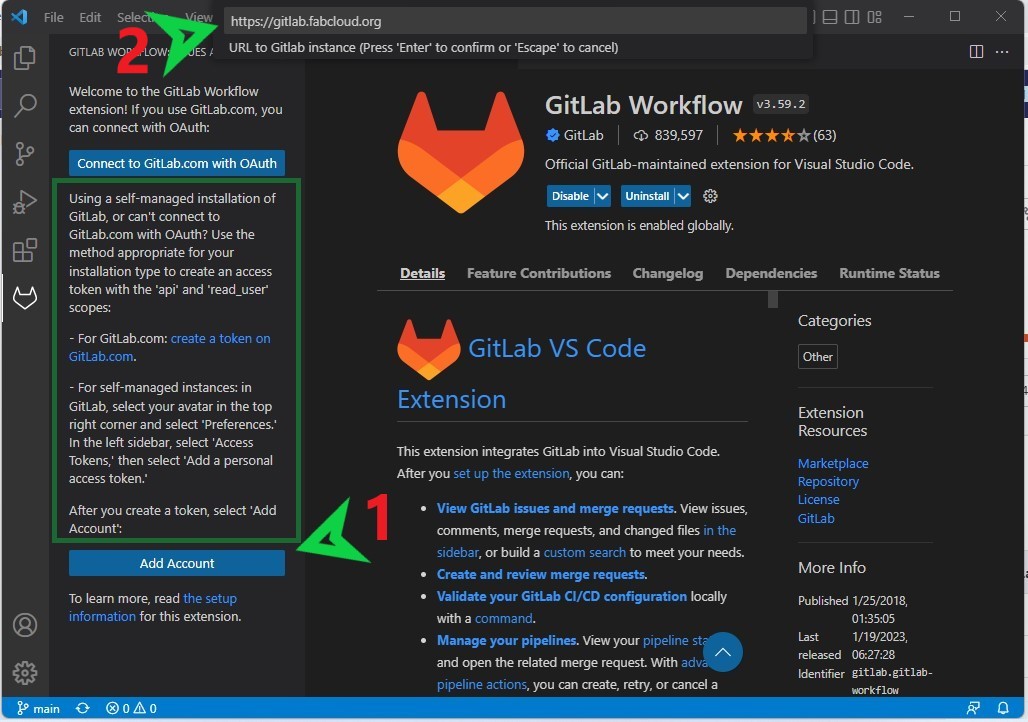
Let’s add your account by clicking on “Add account”.
Then enter https://gitlab.fabcloud.org and then paste your token.
Now let’s clone our repo and start editing locally offline.
First go to you repo on git
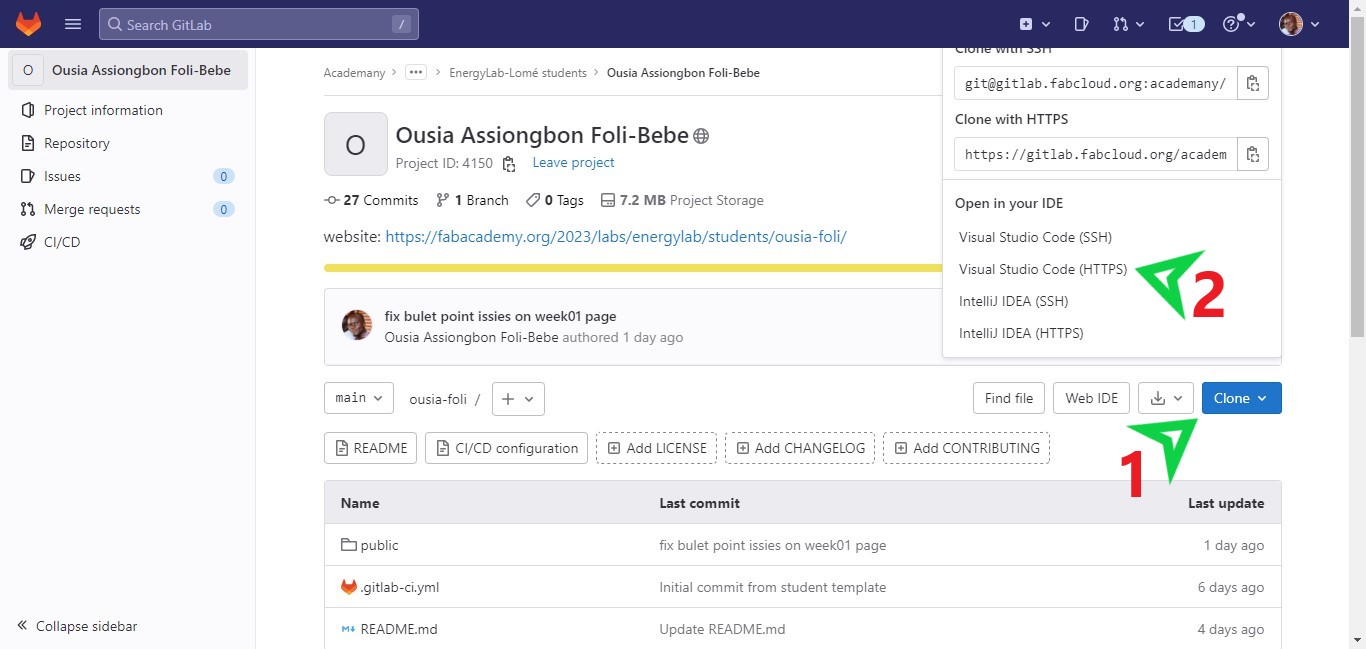
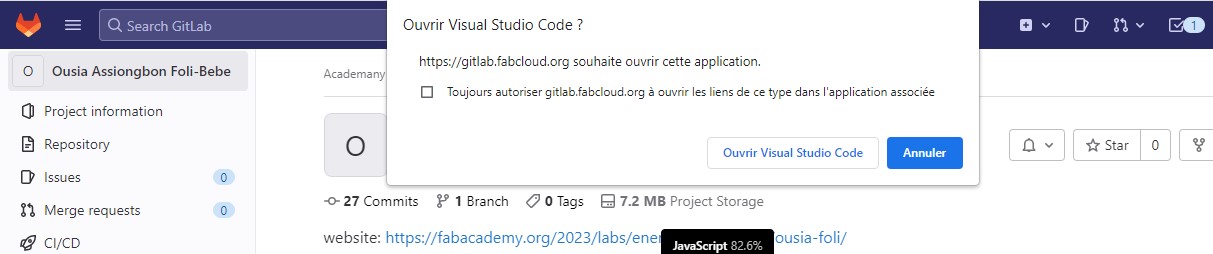
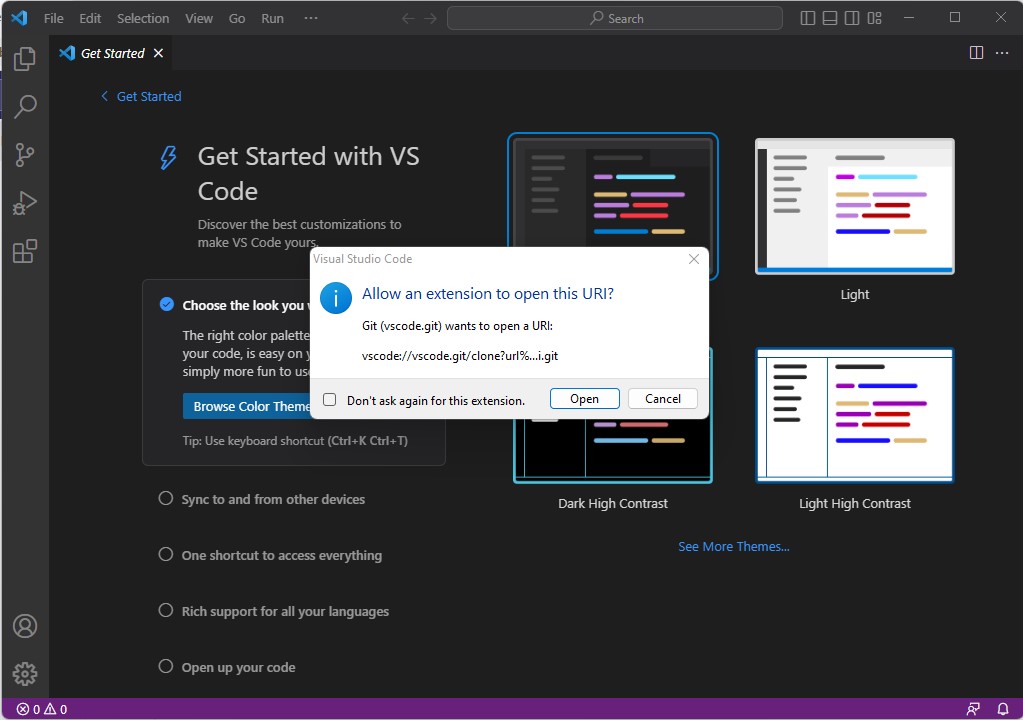
Allow browser and VsCode to open the link
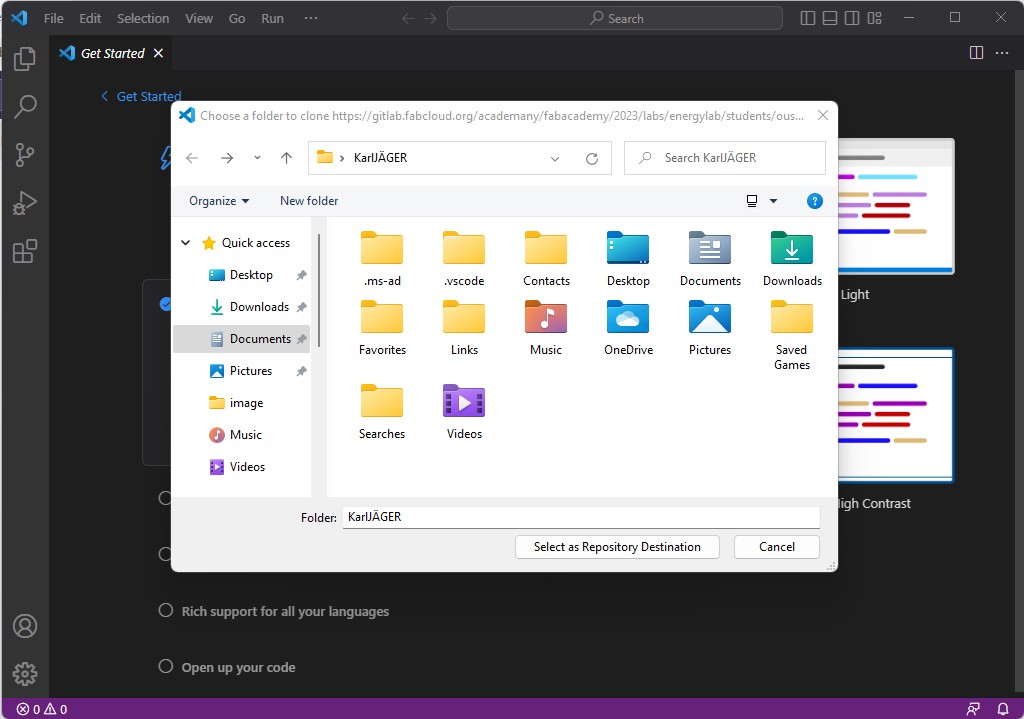
Select your folder on your computer where the repo will be saved
After cloning to the computer you will be prompted to open the cloned repository
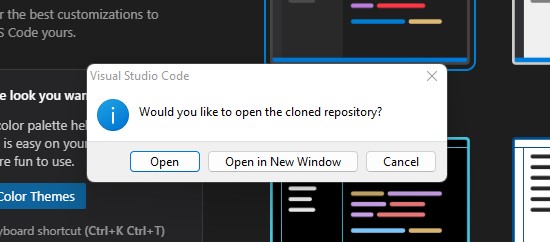
Click Yes, I trust the authors to open it. unless your repo is a booby trap or a black Hole 

This done I have then started testing the markdown language and editing the website using the MkDocs documentation in order to add functionalities and needed plugins(Table, list,…).
How I build my website from mkdocs ?
To build my website I use the “mkdocs build -d [relative path to my local repo]”. this turned the MarkDown to an html website that I can commit directly.

Building Pages with Markdown:
To build my page I used to This Markdown CheatSheet. Basically we have to use # or multiples # for Titles…
we can add images with :
markdown

We can also Use :
```markdown
```
For video I used this HTML code:
<video width="720"  controls>
  <source src="../Directory/VideoName.mp4" type="video/mp4">
</video>
Since we need to optimize the size of our Medias I have compressed both videos and picture. Tips on how i do that can be found here : For pictures : How to Capture and Compress pictures For videos : How to Capture and Compress Videos
How I push my website to Gitlab?
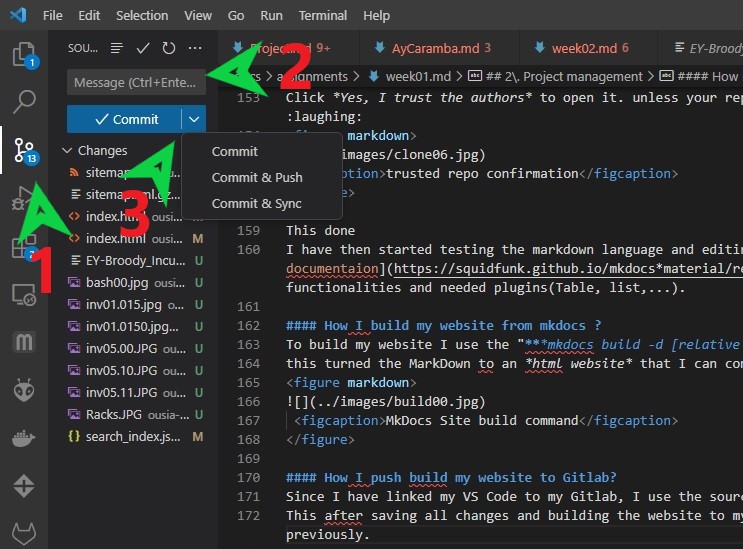
Since I have linked my VS Code to my Gitlab, I use the source control tool (Step 1 on the picture below). This after saving all changes and building the website to my repository folder as shown previously. I then enter a comment for my commit(Step 2 on the picture below).
Now I can Commit directly or commit and push or commit and sync (Step 3 on the picture below).