Week 1: Project Management
✓ plan and sketch a potential final project
✓ work through a git tutorial
✓ build a personal site in the class archive describing you and your final project
Setup of SSH and Git
I am on MacOS and since it is based on UNIX, I don’t need to download git-bash like I would need if I had Windows.
For the setup of Gitlab, I followed this GitLab documentation. First, I created an ED25519 key:
ssh-keygen -t ed25519 -C "key for gitlab fabacademy"
I accepted the default directory and didn’t add any passphrase. This key can be found in a hidden folder (.ssh/) inside my user folder:
Maximes-Air:.ssh maximerichard$ pwd
/Users/maximerichard/.ssh
Maximes-Air:.ssh maximerichard$ ls
config             github_rsa.pub     gitlab_ed25519.pub known_hosts.old
github_rsa         gitlab_ed25519     known_hosts
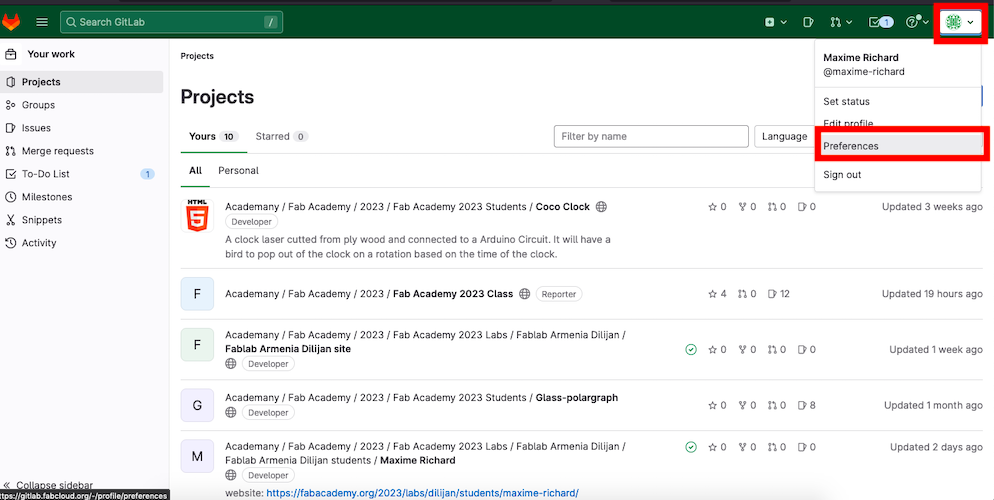
On the gitlab website, I navigated to the SSH Keys tab:
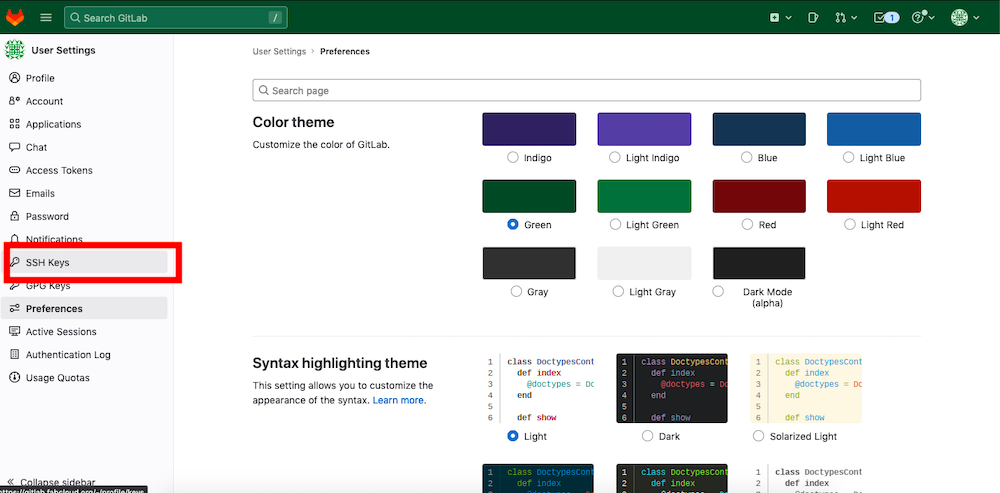
I copied the key from the .pub file present in my ~/.ssh/ folder in the following field:

I could verifiy that I was connected to the right server:
Maximes-Air:.ssh maximerichard$ ssh -T git@gitlab.fabcloud.org
Welcome to GitLab, @maxime-richard!
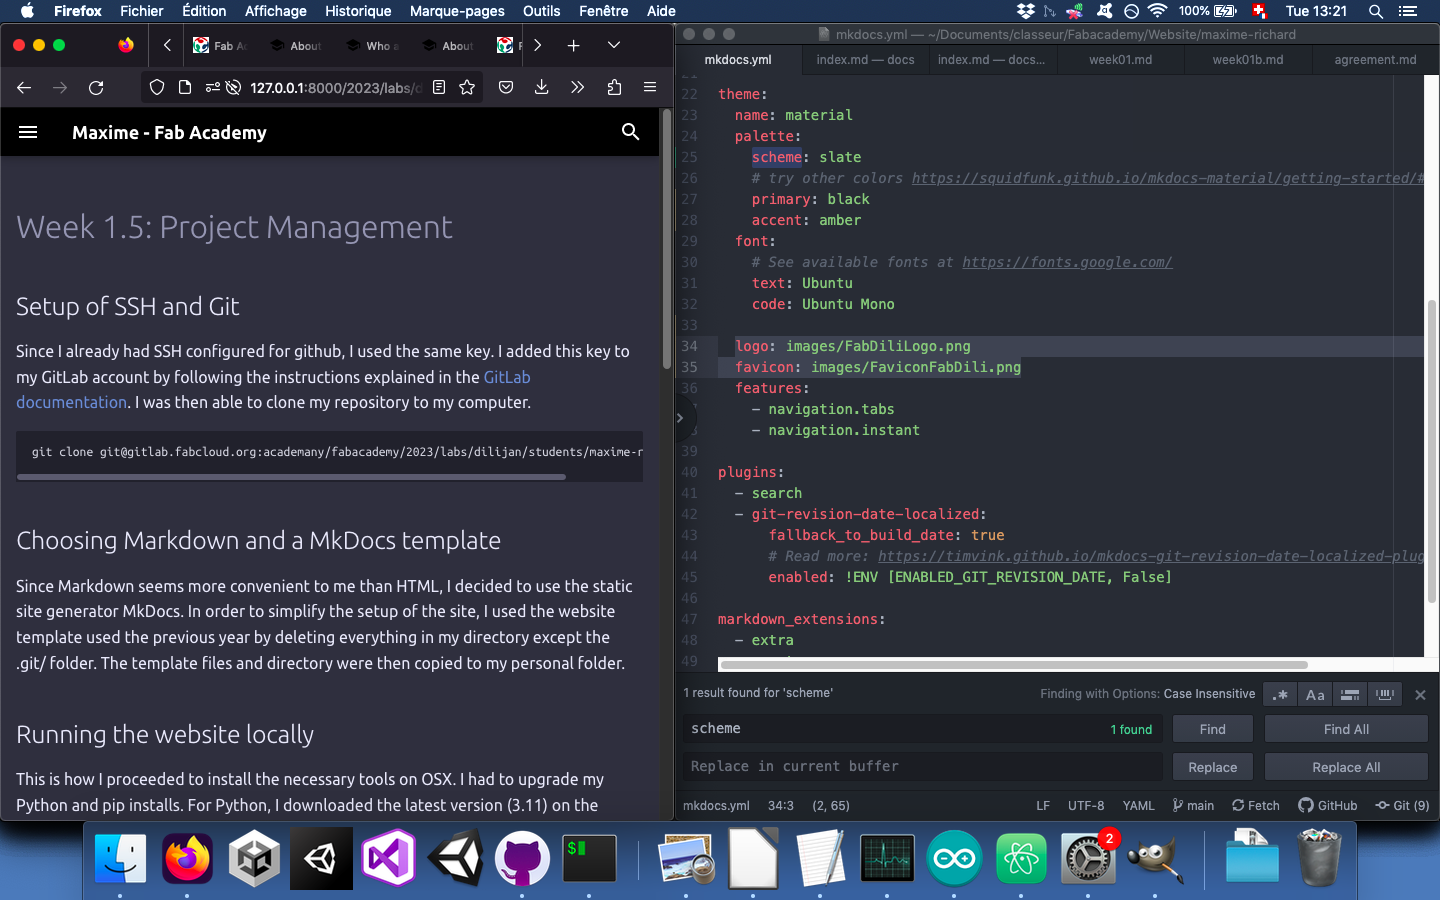
I was then able to clone my repository to my computer.
git clone git@gitlab.fabcloud.org:academany/fabacademy/2023/labs/dilijan/students/maxime-richard.git
I could then start using git with the command lines. The main commands I used were:
git status
#to check which files had been modified and needed to be added.
git add .
#to add all the files which were modified.
git commit -m "message"
#to commit the changes locally.
git push
#to push the commits to the server.
I had to pay attention to the size of the commits I wanted to push. If one push would be more than 10MB, it would give an error and the fix would be quite complicated. I was always checking the size of my directories before commiting anything, so I didn’t have any problem… yet. If it would happen, I would have to uncommit the problematic commit, which isn’t a straight forward process and could easily result in loss of data if not done carefully.
I would probably try to follow some of the instructions from this stackoverflow thread. If my last commit would be problematic, I would use this command before modifying the files that are too large:
#WARNING: I DIDN'T TEST THIS COMMAND AND IT COULD RESULT IN LOSS OF DATA!
git reset --soft HEAD^
Choosing Markdown and a MkDocs template
Since Markdown seems more convenient to me than HTML, I decided to use the static site generator MkDocs. In order to simplify the setup of the site, I used the website template used the previous year by deleting everything in my directory except the .git/ folder. The template files and directory were then copied to my personal folder.
I am pretty new to Markdown, so I am often referring to a basic syntax guide.
Running the website locally
This is how I proceeded to install the necessary tools on OSX. I had to upgrade my Python and pip installs. For Python, I downloaded the latest version (3.11) on the official website. Since I had some older versions of Python installed, I ran the following command to install pip:
pip3.11 install --upgrade pip
I then installed mkdocs with:
pip3.11 install mkdocs
pip3.11 install mkdocs-material
pip3.11 install mkdocs-Git-revision-date-localized-plugin
After adapting the mkdocs.yml file for my personal website, I could launch the local server:
python3.11 -m mkdocs serve
The website is then available locally at the following url: http://127.0.0.1:8000.
Website design
Atom
As for the tool I chose to write my website, I went with simplicity and lightweight: Atom is an open source text editor that, if not very powerful, will probably fit my need. This is how my work environment would look like:
Editing images
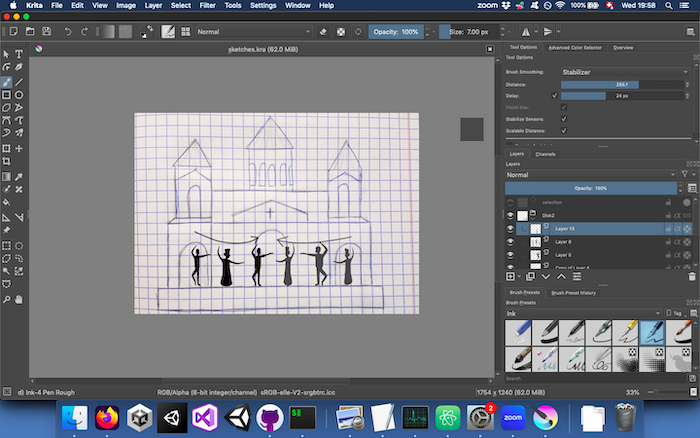
In order to crop and resize images, I am using Preview on OSX. For more advanced manipulations, like color correction or drawing and writing on an image, I am using Krita and GIMP.
If I had many images to downsize, I used the following command on MacOS:
sips -Z 900 *.jpg
It sets the maximum height or width to 900 pixels for all jpg images in the folder.
To convert png to jpg:
for i in *.png; do sips -s format jpeg -s formatOptions 70 "${i}" --out "${i%png}jpg"; done
Compressing videos
When shooting videos, the files can quickly become very large. In order to prevent going over the 10MB per week, I used ffmpeg whenever I had to insert a video in my website. The command to compress and encode a video is:
./path_to_ffmpeg/ffmpeg -i inputVideo.mp4 -vcodec libx264 -b:v 1000k -vf scale=-2:1080 -an outputVideo.mp4
Then, I added the video to my page with the following code:
<video width="400" height="800" controls autoplay>
    <source src="../../files/week4/LEDs.mp4" type="video/mp4">
</video>
Customizing the website
Global stuffs
I started by changing the color of the header and switch to dark mode. I might change this later but for now, I chose the following colors:
theme:
  name: material
  palette:
    scheme: slate
    primary: black
    accent: amber
Inspired by the excellent website made by Chloé Laurent in Fab Academy 2022, I also added rounded corners to my images by adding a css stylesheet to mkdocs.yml:
extra_css:
  - extra/style.css
and then adding corners in the corresponding css file:
img {
    border-radius: 10px;
}
Check marks
To track my progress in the weekly assignments, I listed the different tasks I needed to complete and checked them when they were done using the following code:
✓ work through a git tutorial

✗ build a personal site in the class archive describing you and your final project
Changing the icon and favicon
In order to change these icons, I modified the following lines in mkdocs.yml
theme:
  logo: images/FabDiliLogo.png
  favicon: images/FaviconFabDili.png
Text and image next to each other
For the About me page, I wanted to show the text next to an image. Unfortunately, Markdown doesn’t seem to allow this. Therefore, I used HTML and css. In the page itself, I could write HTML:
<div class="container">
    <div class="image">
      <img src="/2023/labs/dilijan/students/maxime-richard/images/about.jpg">
    </div>
    <div class="textright">
      Hi!
      ...
    </div>
</div>
In my style.css file, I added the following:
.container {
  display: flex;
  align-items: center;
  justify-content: center
}

.image {
  flex-basis: 50%
}

.textright {
  padding-left: 20px;
}
Conclusion
Since I had some experience with git, this week’s workload was bearable. It was interesting to work with another site than github. I usually use the Github Desktop GUI and hadn’t written commands for a while, so it was a good refresh of my knowledge.
For the website design, it was mostly a new thing for me. Even if I keep it very simple, it was interesting to learn some very basic css syntax.