15. Interfacing and Aplication Programming
This week used interface design softwares to create interfaces that used my computer as an output as well as an input.
Group work
This week in our group, we compared different softwares for interfacing. I wrote about
Considerations
The things that I had to consider this week are what input and output devices I want to use, what software, and what microcontroller to use. I decided to continue to use the vl53l1x distance sensor since I’m familiar with using it at this point. For my output, I decided to use the onboard LED on the Seeed Xiao RP2040. For software, on the microrontroller side, I’m going to use the Arduino IDE to upload code to the seeed. For designing my interface, I’m using processing, which is a free to use software to design interfaces in Java or Python. Downloading processing was simple, all I had to do was download the installer and follow the steps from it.
Interfacing an output
While I couldn’t find anything already done with the VL53L1X, I did find code for finding the distance using an ultrasonic sensor. First, I did it with an ultrasonic sensor by following the tutorial, the only things I changed was the wiring. I just used the SDA and SCL pins that I have headers attatched to and attatched them to the TRIG and ECHO pins on the ultrasonic sensor. I first uploaded the code into arduino to the correct port.
Here’s the Arduino Code:
#include <Mouse.h>
const int trigpin= 8;
const int echopin= 7;
long duration;
int distance;
void setup()
{
  pinMode(trigpin,OUTPUT);
  pinMode(echopin,INPUT);
  Serial.begin(9600);

}
void loop()
{
  digitalWrite(trigpin,HIGH);
  delayMicroseconds(10);
  digitalWrite(trigpin,LOW);
  duration=pulseIn(echopin,HIGH);
  distance = duration*0.034/2;
  Serial.println(distance);
}
Once I did this, added the java code into processing, and changed the “COM3” value in the myport variable to the port that I uploaded the Arduino code to.
import processing.serial.*;
Serial myPort;
String data="" ;
PFont  myFont;
void setup()
{
size(1366,900); // size of processing window
background(0);// setting background color to black
myPort = new Serial(this, "COM3", 9600);
myPort.bufferUntil('\n');
}
void draw()
{
  background(0);
  textAlign(CENTER);
  fill(255);
  text(data,820,400);
  textSize(100);
  fill(#4B5DCE);
  text("              Distance :        cm",450,400);
   noFill();
   stroke(#4B5DCE);
}
void serialEvent(Serial myPort)
{

  data=myPort.readStringUntil('\n');
}
Once I did this, all I had to do was run the processing code and I got a dialouge box that displayed distance values.
Code Breakdowns
Now that I knew there was no problems with my setup for processing or arduino, I adapted the code for the VL53l1X. To do this, I first broke down the codes to figure out what they’re doing. In the arduino code here’s what I noticed:
#include <Mouse.h>
When I looked up the Mouse.h library, the only details I got are that it allows the microcontroller to act as a mouse. I’m not sure why it would be needed for this project, but maybe it has something to do with the connection between processing and arduino.
const int trigpin= 8;
const int echopin= 7;
long duration;
int distance;
void setup()
{
  pinMode(trigpin,OUTPUT);
  pinMode(echopin,INPUT);
  Serial.begin(9600);

}
void loop()
{
  digitalWrite(trigpin,HIGH);
  delayMicroseconds(10);
  digitalWrite(trigpin,LOW);
  duration=pulseIn(echopin,HIGH);
  distance = duration*0.034/2;
  Serial.println(distance);
}
The rest of the code is just the standard ultrasonic sensor example code, which writes the data recieved from the sensor to serial monitor.
Here’s the breakdown for the processing code, which is in Java.
import processing.serial.*;
This line library allows processing to communicate with a serial port, which makes sense because it allows processing to read the distance values printed from the microcontroller in the c++ code.
Serial myPort;
String data="" ;
PFont  myFont;
These line adds some variables, like the serial port used, the font to be displayed, and the data to be displayed.
void setup()
{
size(1366,900); // size of processing window
background(0);// setting background color to black
myPort = new Serial(this, "COM3", 9600);
myPort.bufferUntil('\n');
}
These lines are the setup portions of the code. The myport value is defined with the correct com port and the baud rate of the port, it also defines the size of the processing window, the background color, and makes sure that the serial port buffers until the next part of the code.
void draw()
{
  background(0);
  textAlign(CENTER);
  fill(255);
  text(data,820,400);
  textSize(100);
  fill(#4B5DCE);
  text("              Distance :        cm",450,400);
   noFill();
   stroke(#4B5DCE);
}
This part of the code creates the text with different colors and sizes, and aligns it to the center.
  void serialEvent(Serial myPort)
{

  data=myPort.readStringUntil('\n');
}
This final part of the code creates a new event, serial event, which uses Serial at myPort, which was defined earlier. It then tells the event to read the data at myport until the next line, which is the data part.
Adapting
After understanding how the code works, I realized that the only thing I needed to do was add the <Mouse.h> library to the VL53l1X example code
/*
This example shows how to take simple range measurements with the VL53L1X. The
range readings are in units of mm.
*/

#include <Wire.h>
#include <VL53L1X.h>
#include <Mouse.h>
VL53L1X sensor;

void setup()
{
  while (!Serial) {}
  Serial.begin(115200);
  Wire.begin();
  Wire.setClock(400000); // use 400 kHz I2C

  sensor.setTimeout(500);
  if (!sensor.init())
  {
    Serial.println("Failed to detect and initialize sensor!");
    while (1);
  }

  // Use long distance mode and allow up to 50000 us (50 ms) for a measurement.
  // You can change these settings to adjust the performance of the sensor, but
  // the minimum timing budget is 20 ms for short distance mode and 33 ms for
  // medium and long distance modes. See the VL53L1X datasheet for more
  // information on range and timing limits.
  sensor.setDistanceMode(VL53L1X::Long);
  sensor.setMeasurementTimingBudget(50000);

  // Start continuous readings at a rate of one measurement every 50 ms (the
  // inter-measurement period). This period should be at least as long as the
  // timing budget.
  sensor.startContinuous(50);
}

void loop()
{
  Serial.print(sensor.read());
  if (sensor.timeoutOccurred()) { Serial.print(" TIMEOUT"); }

  Serial.println();
}
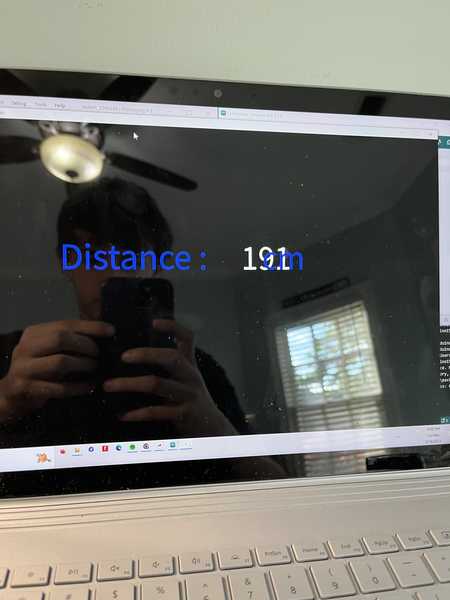
I also made a few small changes to the code in processing. I first added more spaces between Distance and cm so that the parts weren’t overlapping. I also changed the color of the text by going to a color picker, inding a color, and picking values. I also changed centimeters to milimeters because that’s the unit the vl53l1x uses.
```java
import processing.serial.*;
Serial myPort;
String data=”” ;
PFont myFont;
void setup()
{
size(1366,900); // size of processing window
background(0);// setting background color to black
myPort = new Serial(this, “COM3”, 9600);
myPort.bufferUntil(‘\n’);
}
void draw()
{
background(0);
textAlign(CENTER);
fill(255);
text(data,820,400);
textSize(100);
fill(#5B5DCE);
text(” Distance : cm”,450,400);
noFill();
stroke(#5B5DCE);
}
void serialEvent(Serial myPort)
{
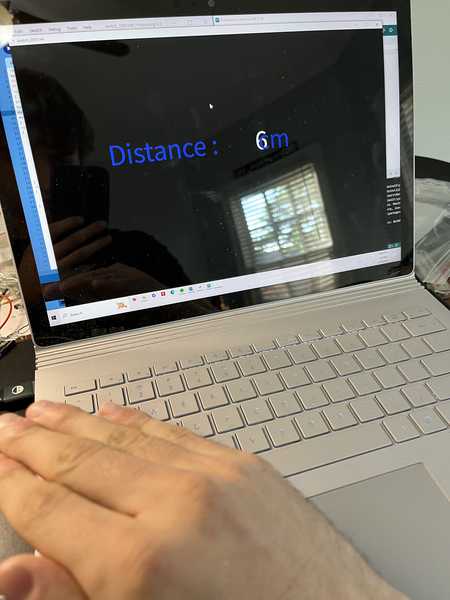
data=myPort.readStringUntil(‘\n’); } ``` After uploading the code, I got this output.
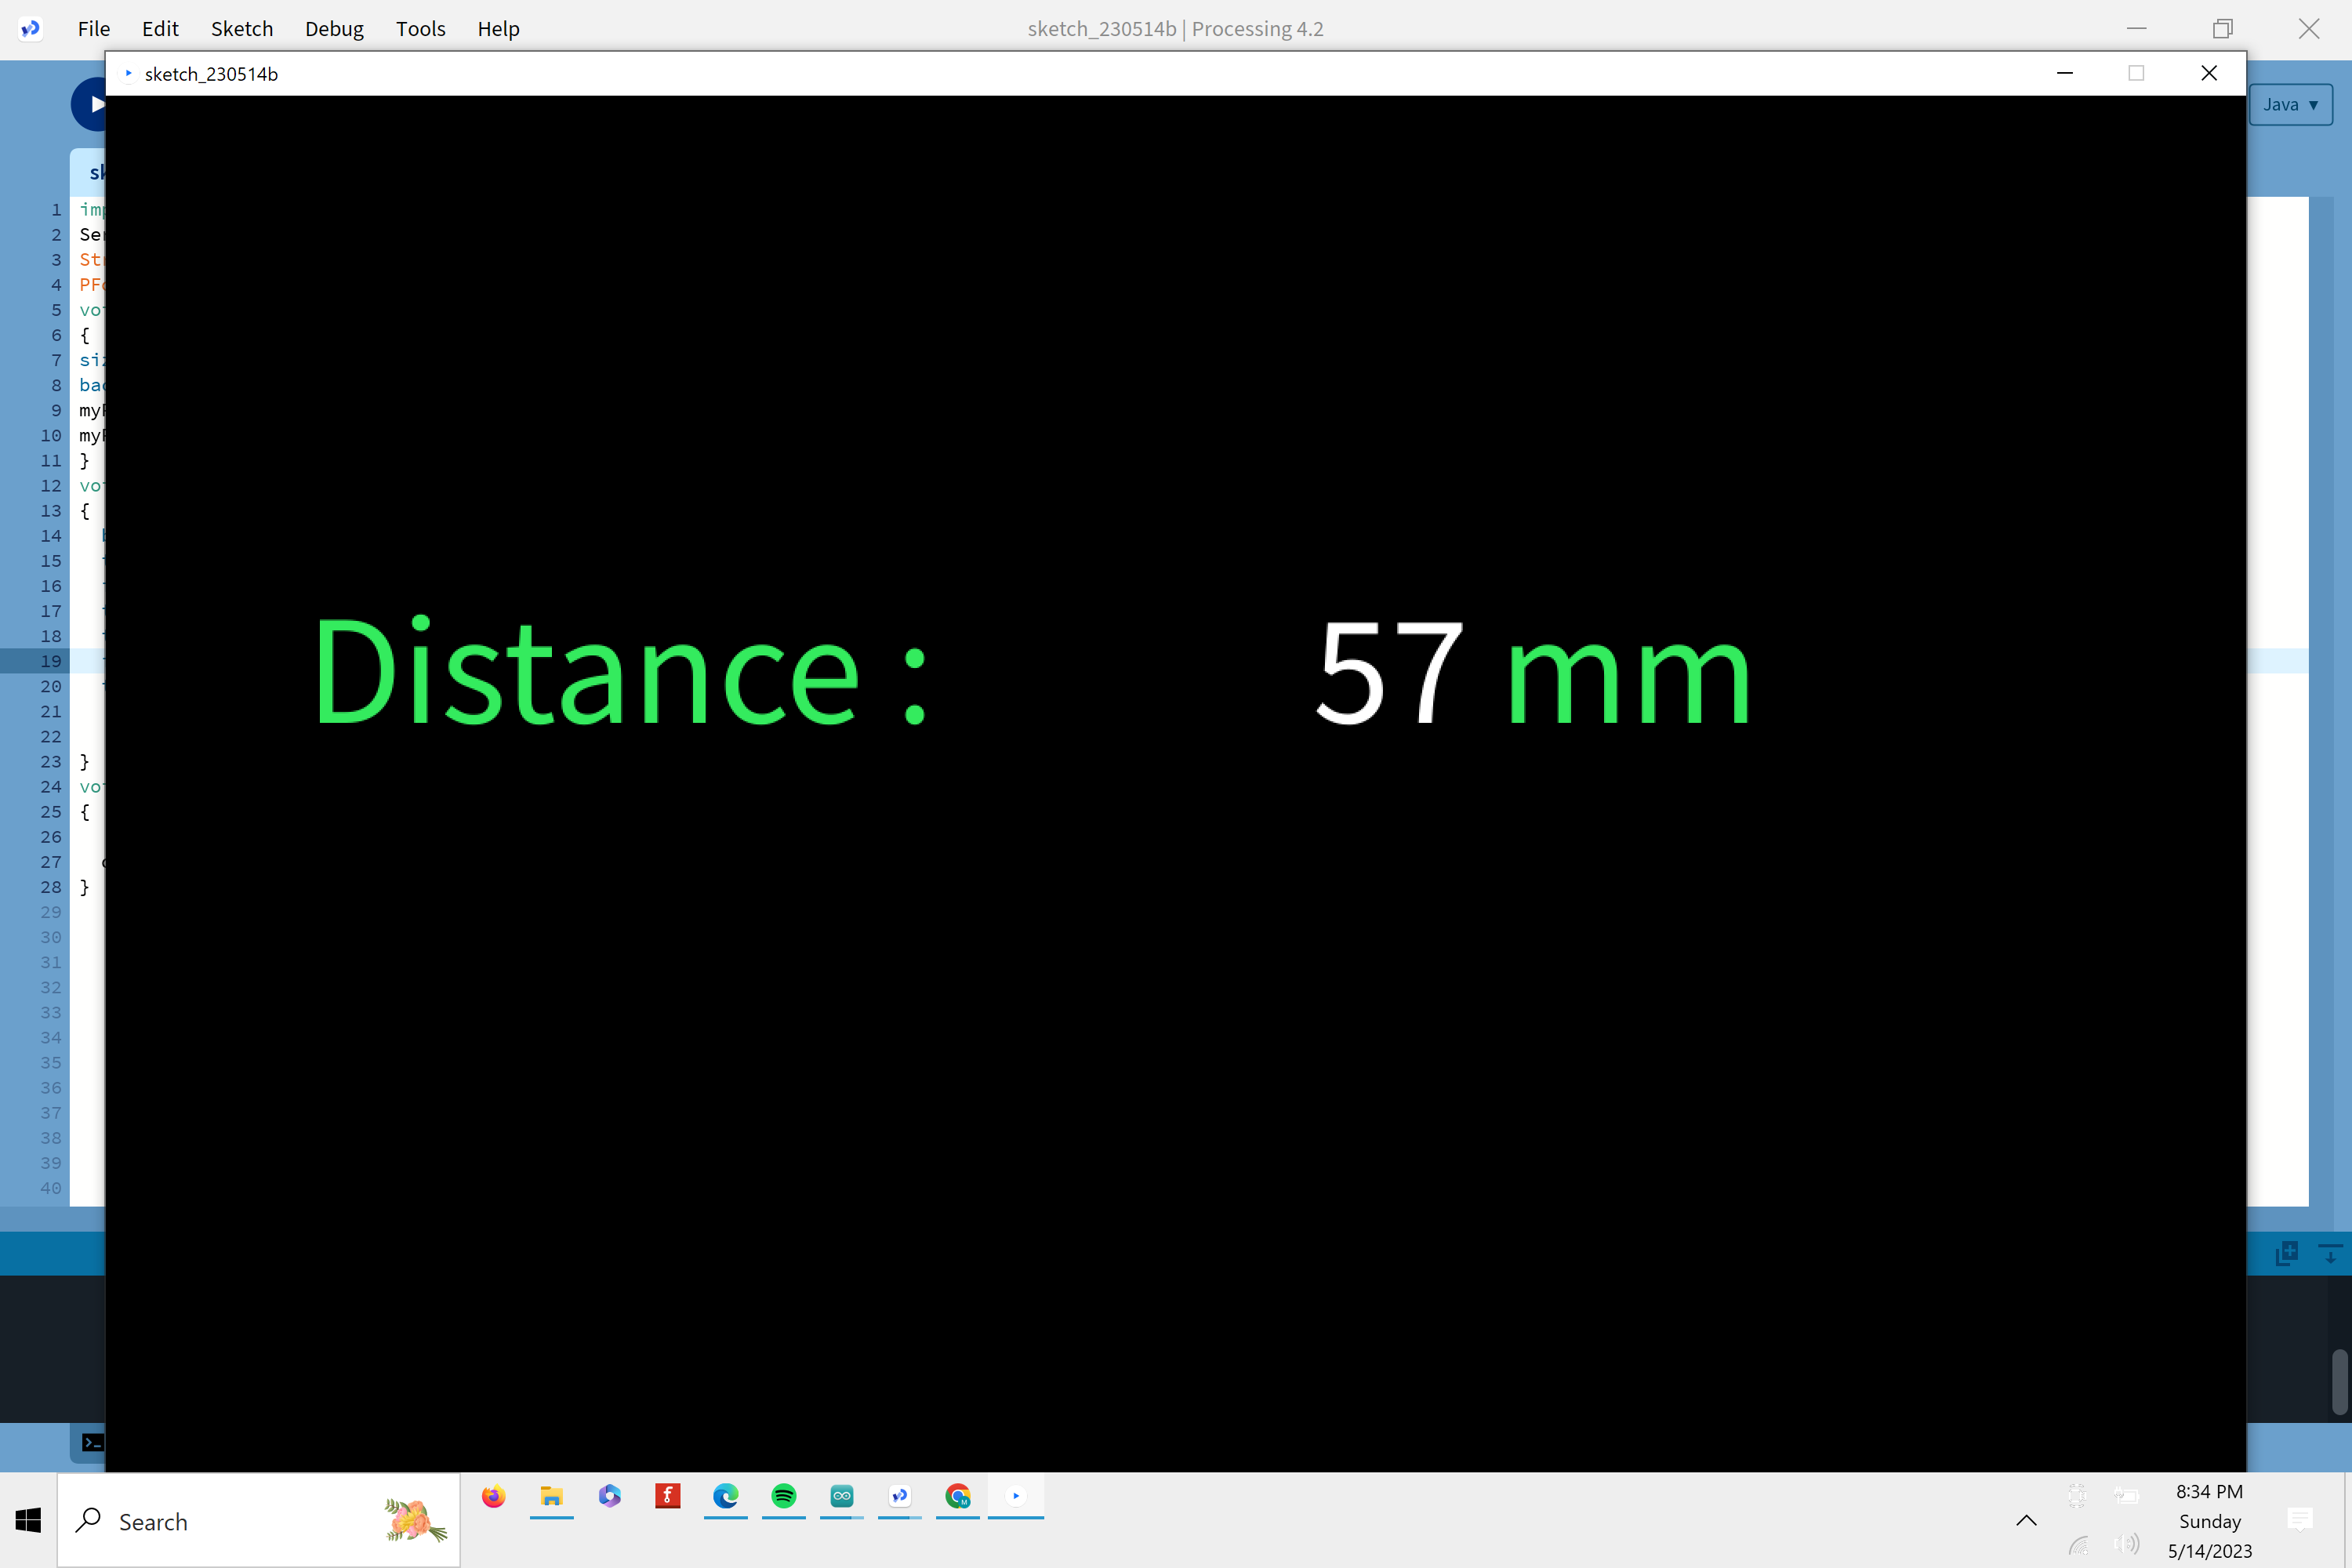
Here’s a video of the interface working
Interfacing an input
The next thing I wanted to do this week is use processing as a way to control the seeed as an input. To do this, I followed this tutorial by sparkfun that walked me through a guide on making a button object, connecting it via serial to the seeed, and then having processing interact with arduino. When I created and uploaded the codes, I was able to control the seeeds onbord LED with a button on my laptop.
Conclusion
This week I learned a lot about different interfacing softwares and how to use them to communicate with a device over serial. I also learned a lot of Java and how to create objects with code that can interact with other places.