16. Wild card
This week I learned how to use the embroidery machine because it was a manufacturing process that we haven’t gone over so far.
Considerations and setup
This week the only consideration that I had to make is what software to use, since we only have one embroidery machine, the brother se600 sewing and emroidery machine. In terms of software, I decided to use inkscape, an open source 2d vector and raster design software with the Ink/Stitch extension, which allows my designs to be exported for stitching. After downloading inkscape from a setup wizzard, all I had to do to add the ink stitch extension is download the extension from the ink/stitch website and add it to the extensions folder in inkscape.
Creating my design
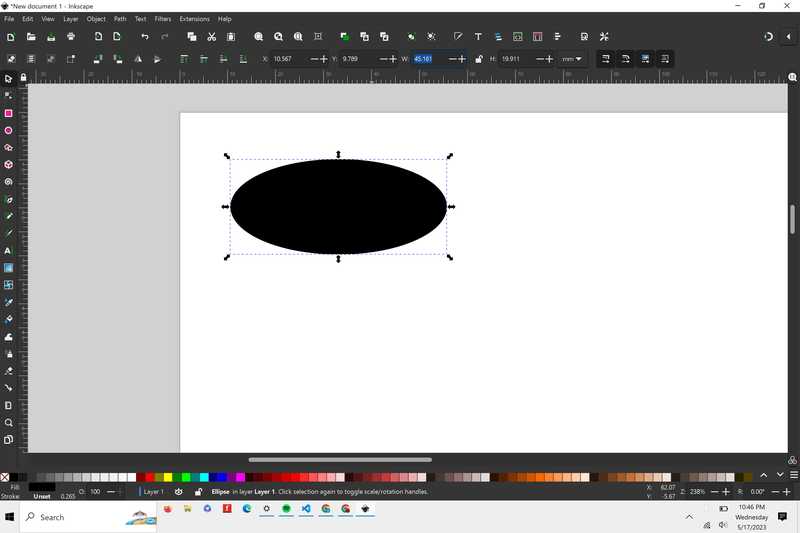
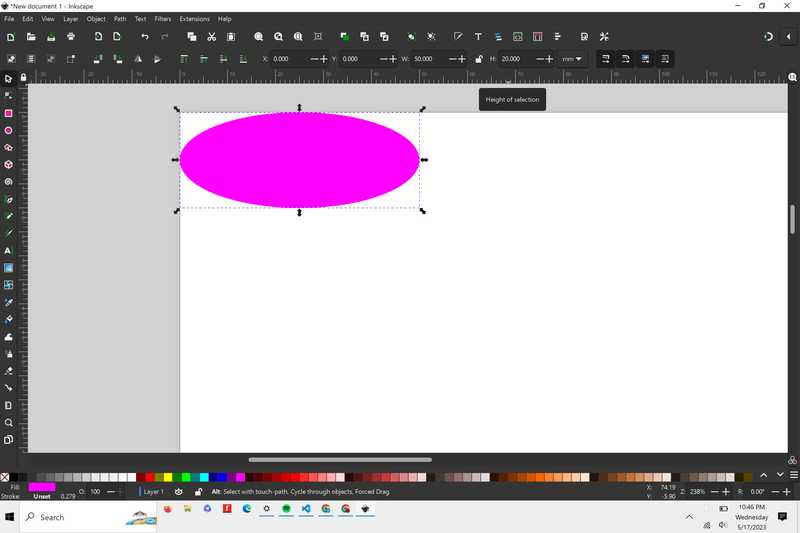
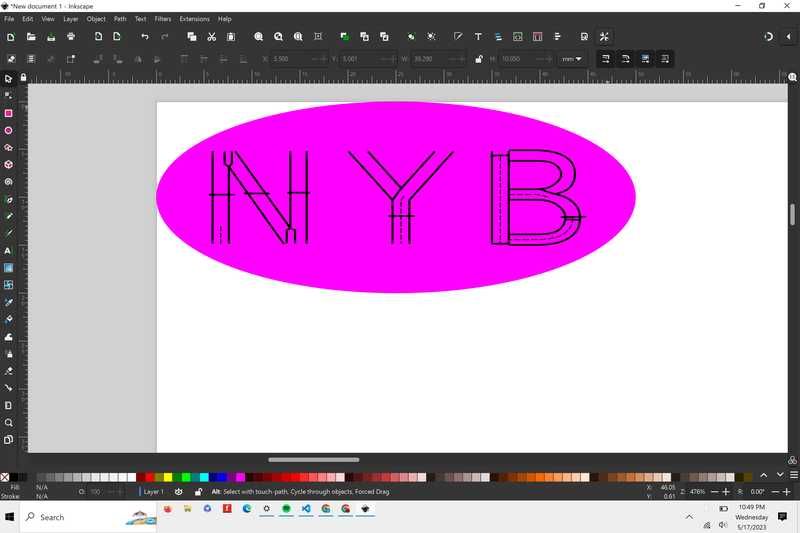
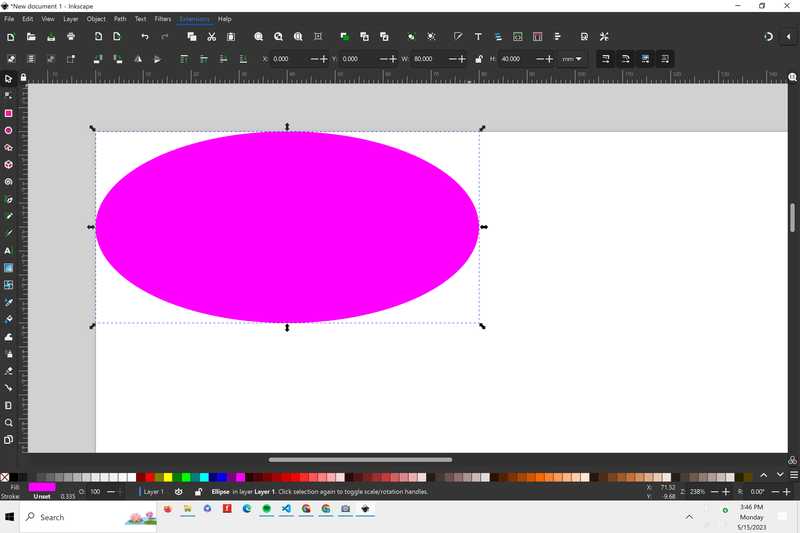
I decided to make a simple patch with my mom’s initials on it for mother’s day. I started with an elipse, and then changed the color and aligned it to the origin.
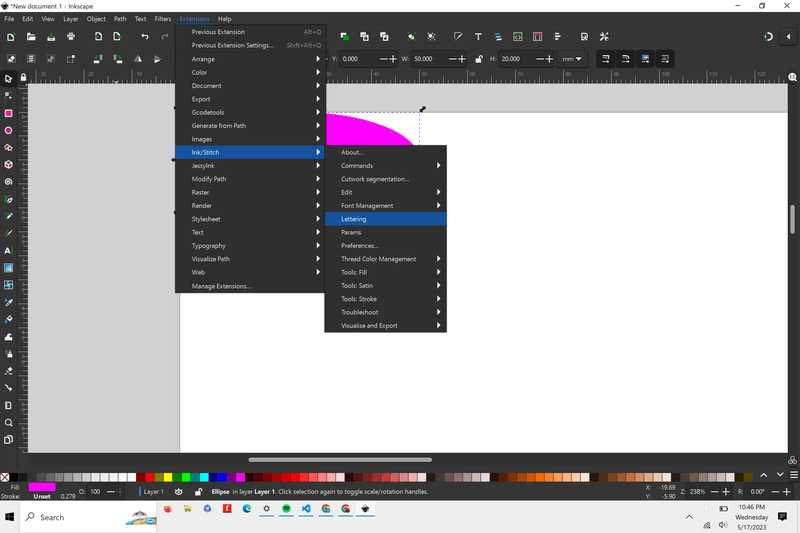
Next, I had to add the initials. Normal text in inkscape doesn’t work for stitching, so part of the Ink/Stitch extension is a lettering tool.
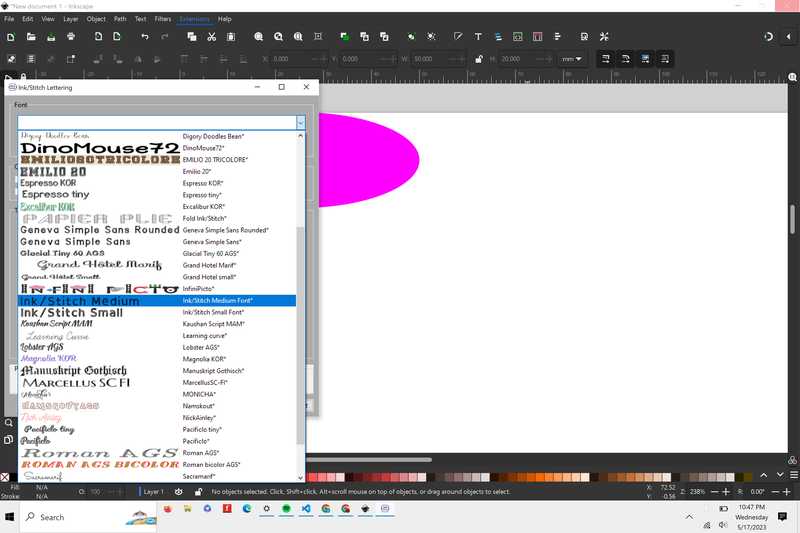
All I had to do was select the font I wanted to use, and then type in the text to be generated. The generate button also previewed what the text would look like

I then loaded the text in and centered it to the oval by using the coordinate system to move it until it looked centered enough
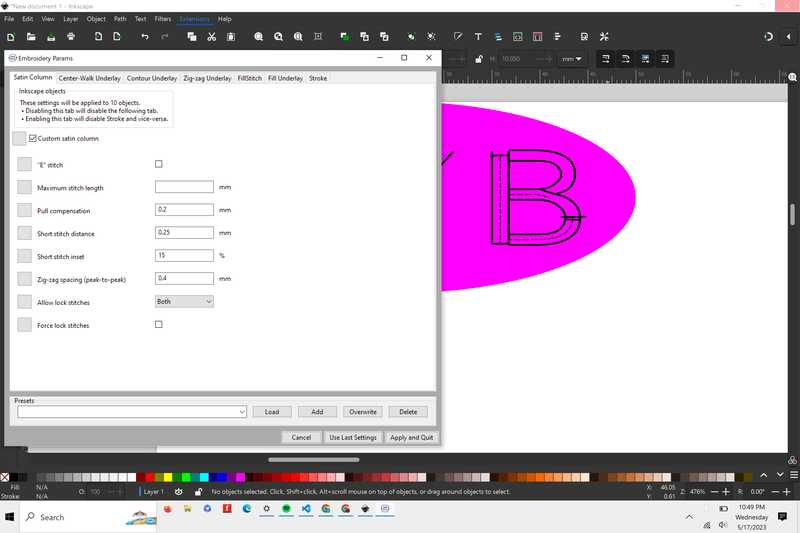
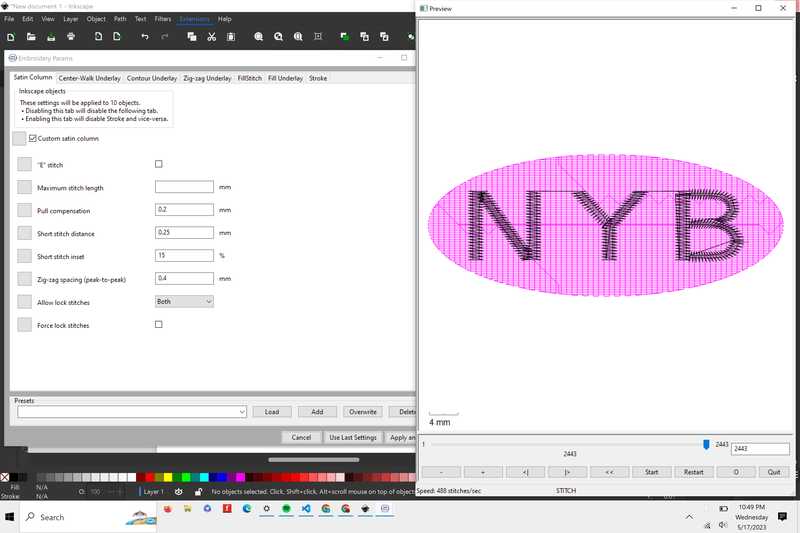
I then went to Ink/Stitch > Parameters to view my design as a stitching pattern
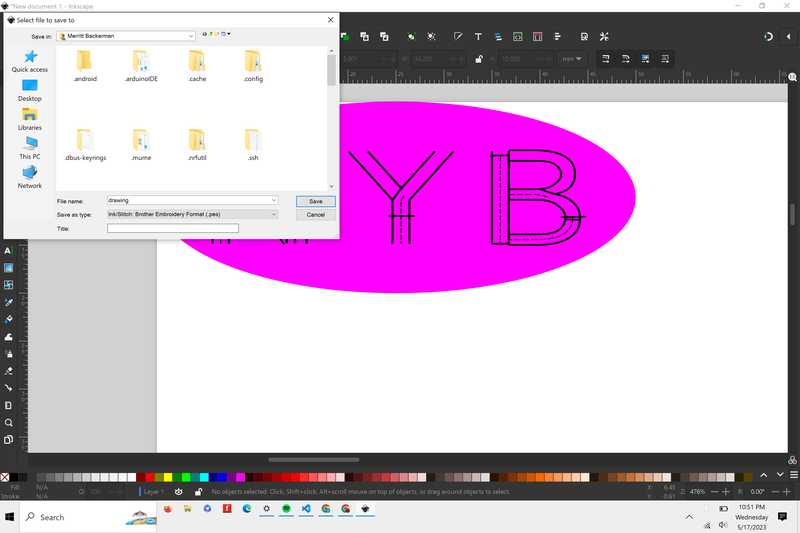
The last thing that I had to do was export my file as a .pes and put it on a thumb drive to then put into the embroidery machine
Using the embroidery machine
Before I could use the embroidery machine, I had to watch this tutorial on using the machine and this tutorial on how to wind the bobbin for the machine. I also followed this workflow made by Griffen Ossinger, Jed Smith and Adam Stone.
Brother SE600 Workflow
Griffin Orsinger, Adam Stone, and Jed Smith

Bobbin (Video 1)

Place bobbin on the right pin
Place spool on the long thing
Take the spool and hook it under the metal hook
Make sure it is under the thing well enough
Put under the white tab
Put it around the lever then around the wheel
Must be under the groove
Bring the thread around the bobbin once then in the slip (look at diagram on machine)
Touch screen after turning it on
Push the bobbin lever to the right
Press orange bobbing button and adjust speed with slider
Keep finger always by the stop button
After its winded enough, remove the bobbin and cut the thread
Take the bobbin, but it on the bobbin clamp

Video 2

Insert bobbin (can follow diagram on machine)

    Press the button) to remove bobbin cover
    Put bobbin in hole
Pull thread behind hook
Replace the bobbin cover
When threading have the pressure lever up
Link the thread down in the seam for the new thread and wrap along until it latches on a hook
Then go back down
Place the thread in the hook labled 6
Place in the hook to the left now
Lower pressure lever.
While holding the thread with one hand use the lever on the left of the machine and then let go. Pull something through the loop. CUt some of the thread off, not too short through
Lift pressure lever

The Hoop
    Take off one side then lay your material to where it covers the entire hoop
    Push your other side of the hoop down with a little bit of tension
    Get out all the wrinkles.
Now tighten the hoop.
It should have a little give
Make sure pressure lever is up
Connect hoop to the arm
    -Place the two links into the slots and push down until you hear a click

Making the design
Place memory card with the design into the machine
Touch the screen once, press OK, and press cancel to resume previous memory
Press the USB icon
Select your design
Press set
Select edit end and then you can maneuver where your thing goes.
Select OK
Put the pressure foot down
Then when you click the button it will start
When it is done with your item it will prompt you to choose the next color thread
Lift pressure lever remove the thread
Cut the thread after the first loop then pull the thread through from the bottom
Load the new thread the same way as you did before
Press the button again


InkSketch workflow

Path>Trace Bitmap and get it to look the way you want (you can always touch it up in InkScape)
Drag Click over the whole bitmap and right click and group everything
Then at the top of the file, make sure the W and H are below 99mm, if your file is bigger click the lock and then change the file size.
Extensions>Ink/Stitch>Params( you should see a preview of your toolpath it will take a minute or two)
File>Save As> pes file
Download the file to a usb drive then your done with Ink Stitch
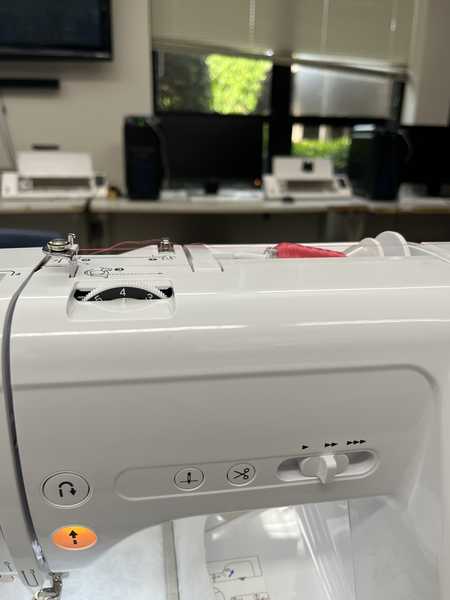
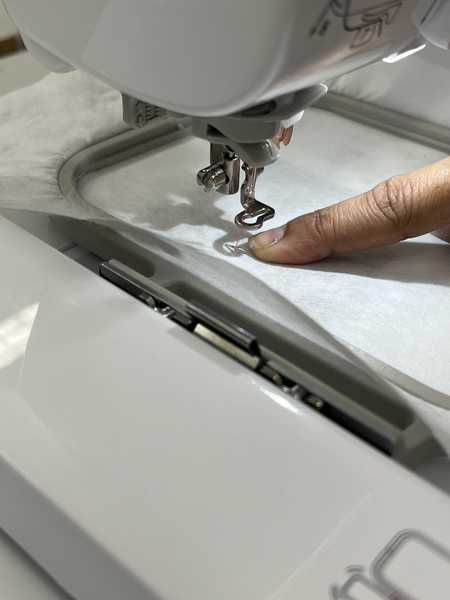
Guiding the thread through the machine
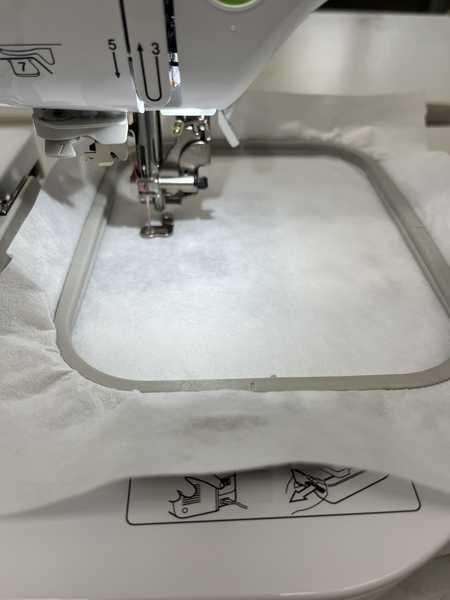
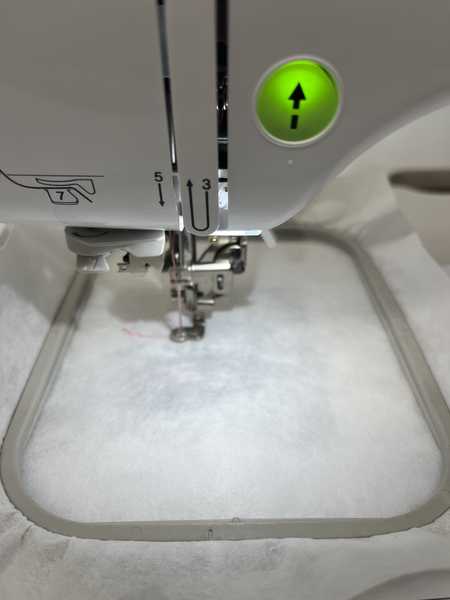
The hoop, which holds the material, and the machine with the foot down, ready to embroider
Problems I faced
I had 2 failures pretty early on during the process. The first time, there was a problem with the bobbin, it was not all in one thread and had a tangle in the middle. So, I had to rewind the bobbin. To do this, I followed the 2nd youtube video I watched and the following steps:
I first wrapped the thread around the upper part of the machine, and followed the steps to wind the thread around the bobbin, and cut it at the end
I then clicked the arrow button to wind the bobbin, and increased the speed until I got enough thread.
Once I did this, I inserted the bobbin, and continued with the workflow. When I started again, however, the needle snapped.
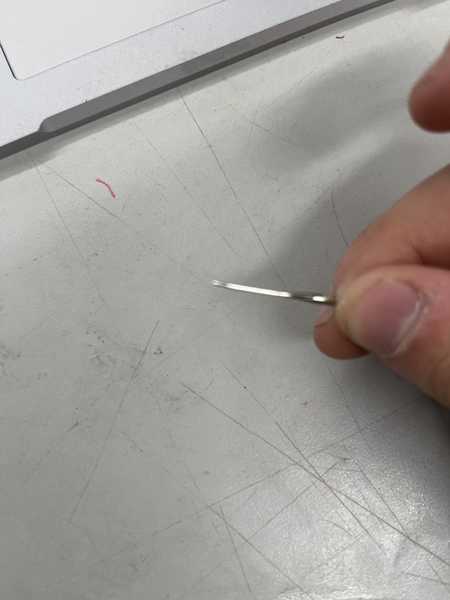
That meant that I had to replace the needle. To do this, I had to unscrew a screw on the side of the foot, which then relased the needle.
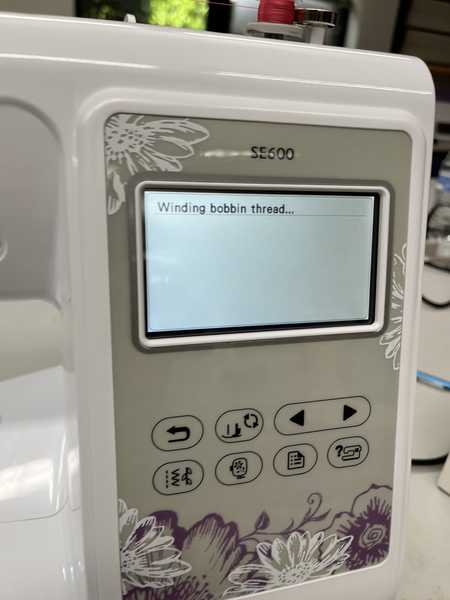
Here’s the 2 failures that I had. One of them stopped automatically when the bobbin became tangled, because the machine thought that the bobbin was low.
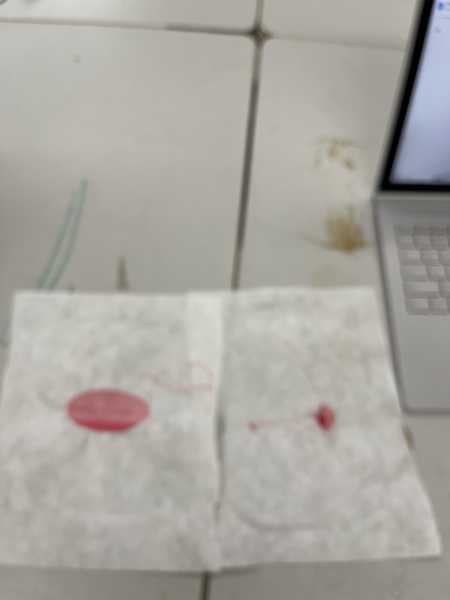
Here’s the working machine placing the first few threads down
Here’s how the patch finally came out
File
Note: this file will only work for brother embroidery machines.
Conclusion
This week I learned a lot about how to create CAD designs to be embroidered, and the workflow for using an embroidery machine. I also learned a lot about the troubleshooting process on the machine, and the main failure points that the machine is subject to.