5. 3D Scanning and printing
This week I used 3d CAD tools, 3d slicers, and a 3d printer to create a design that can’t be made subtractivly. I also worked in a group to characterize the different 3d printers we have at the lab
Group work
This week our group charcterized our SLA 3d printer, the formlabs 3b. You can find our work here.
Individual work- 3d Printing
To start off the week we had to design and print something that can’t be made subtractively. For my CAD tool I used Fusion 360, for slicing I used Prusa slicer 2.6.3, and for printing I used a Prusa mini +. I couldn’t think of any part for my final project that couldn’t be made subtractively, so I took adapted a design I’ve made many times, and added a key ring to it.
CAD- Designing the part
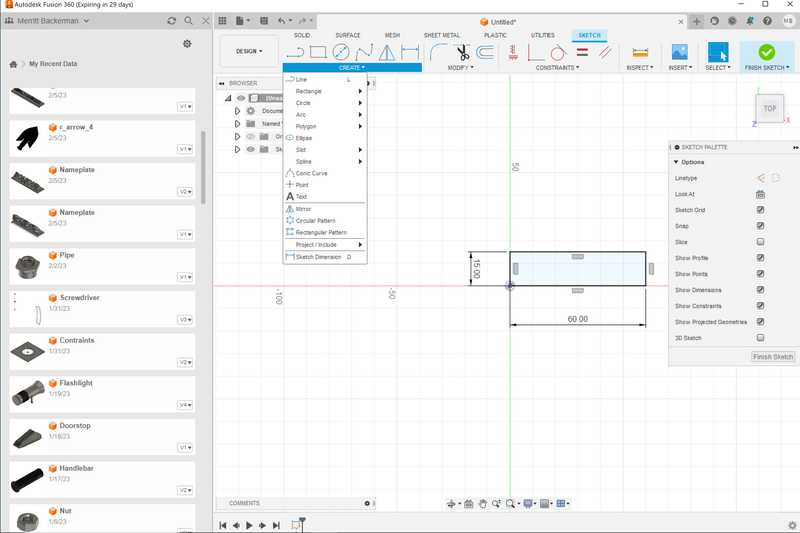
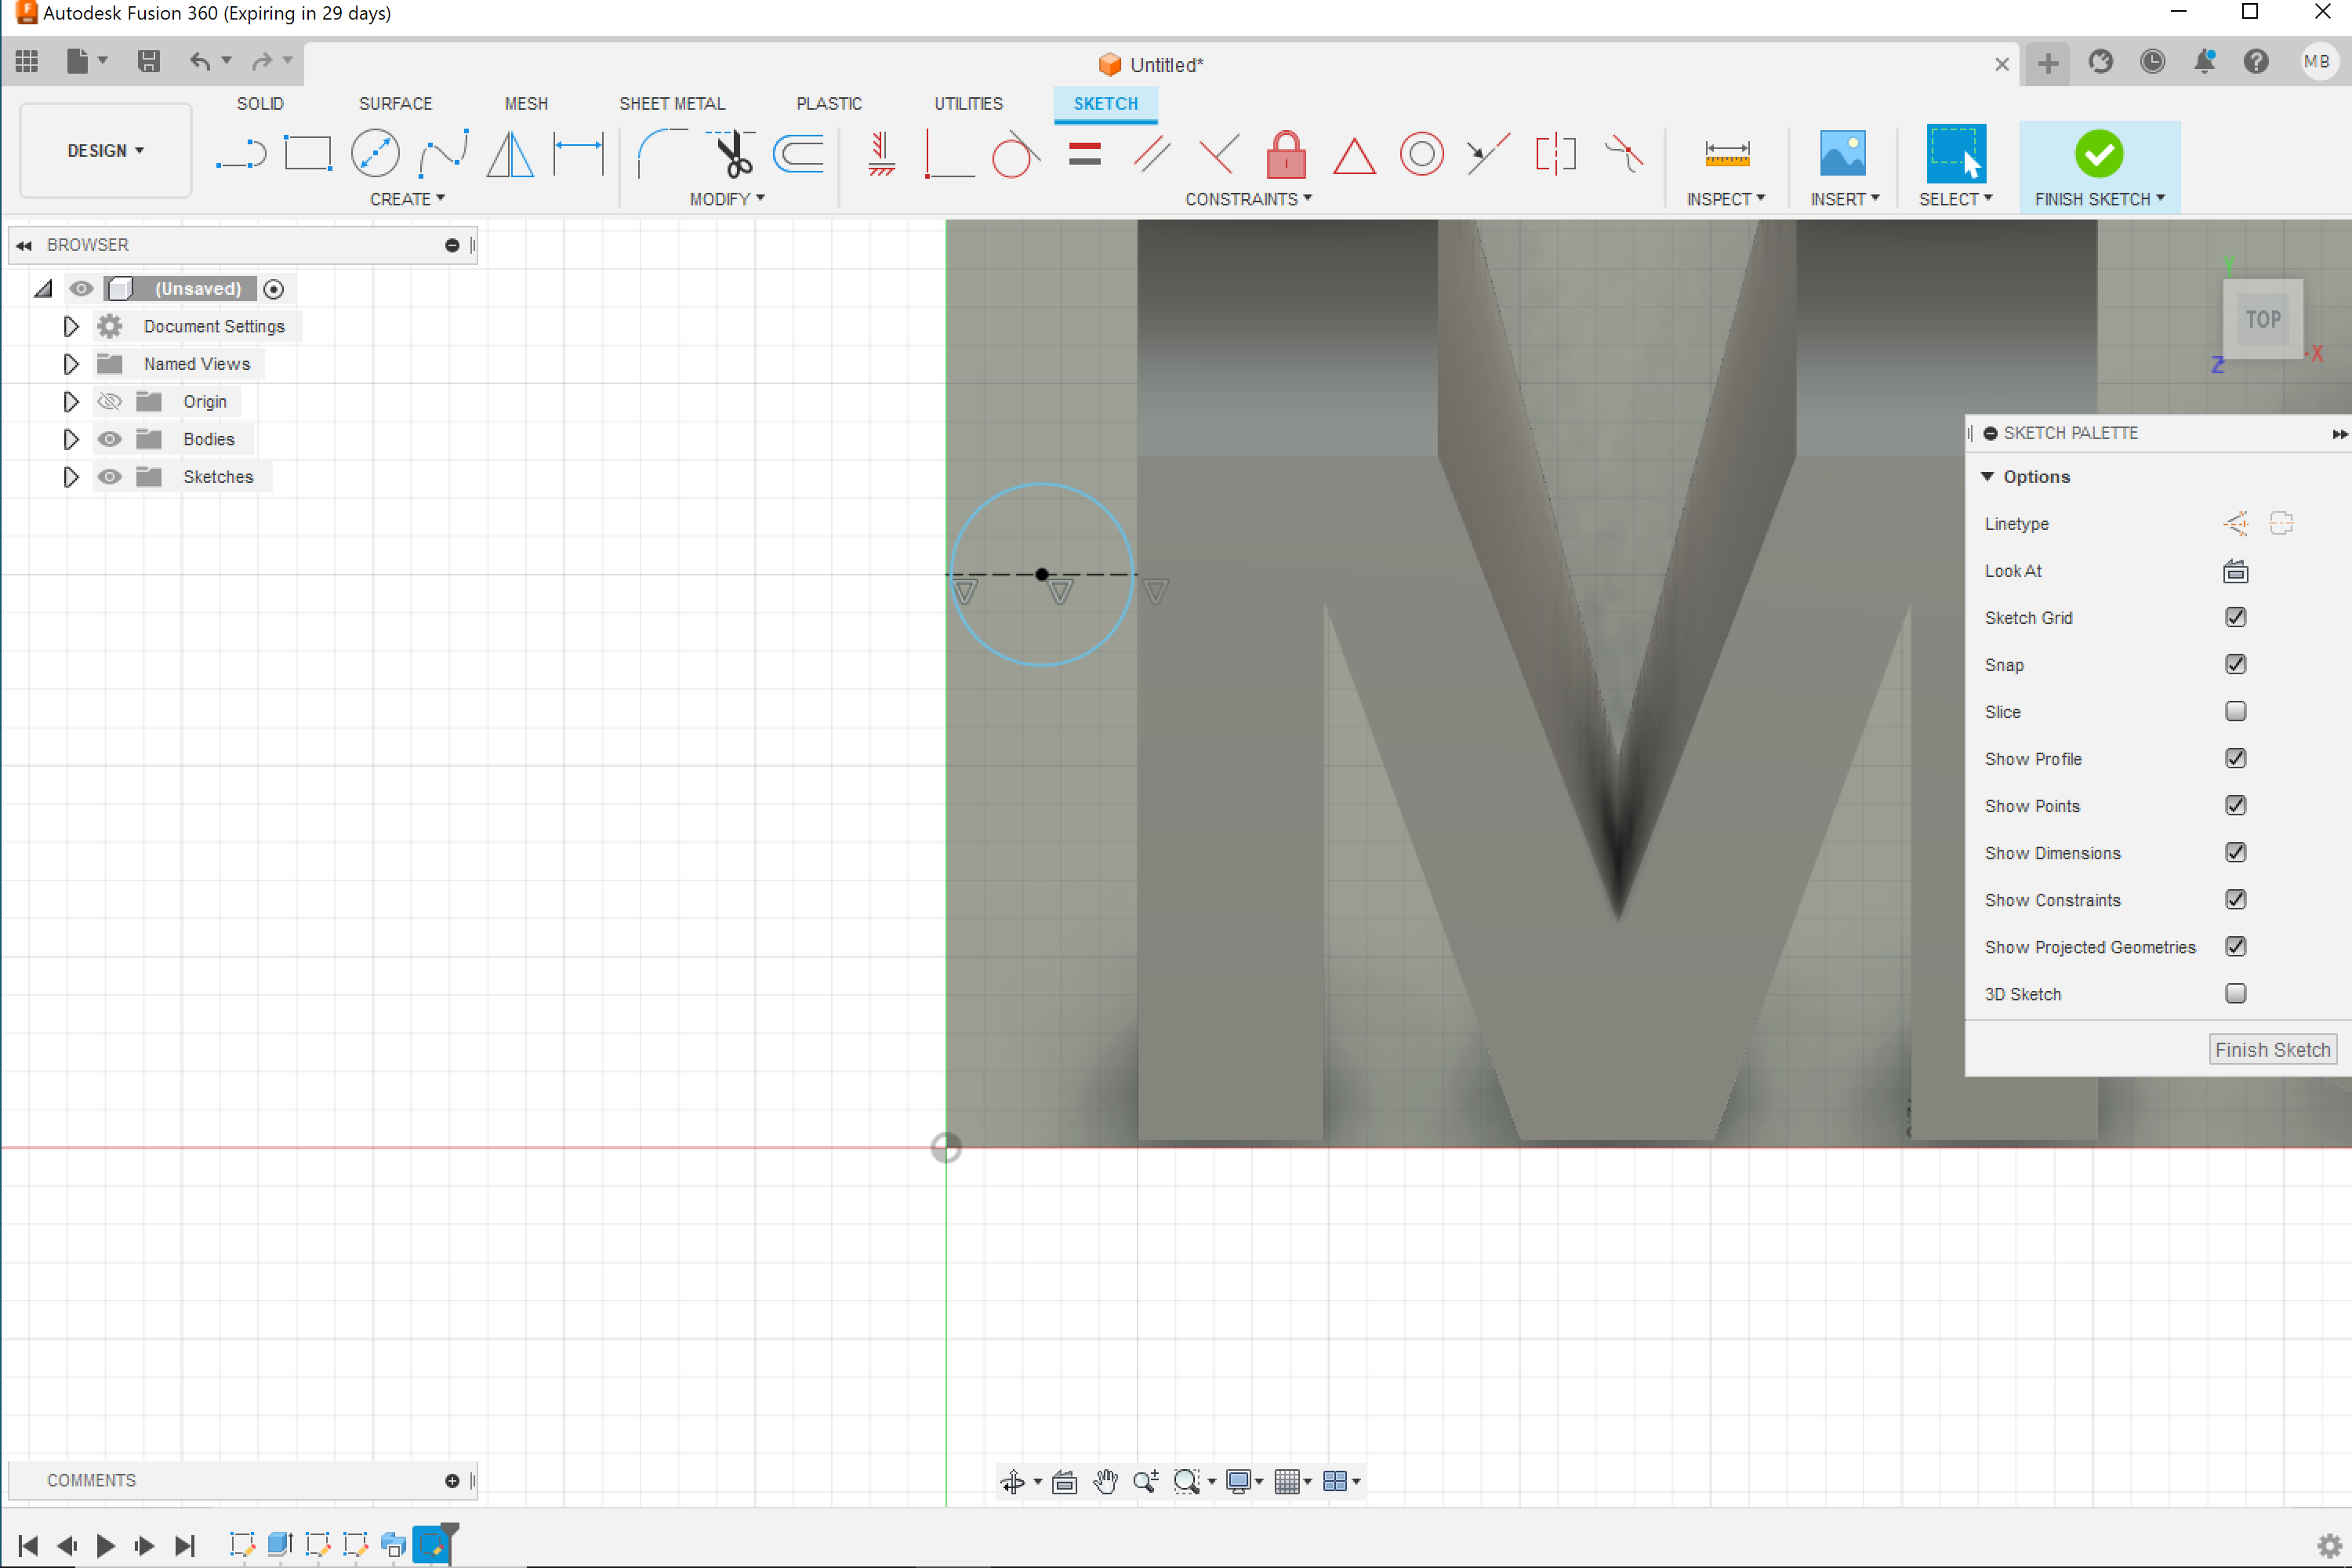
I started in the sketch pallete and created a dimensioned rectangle.
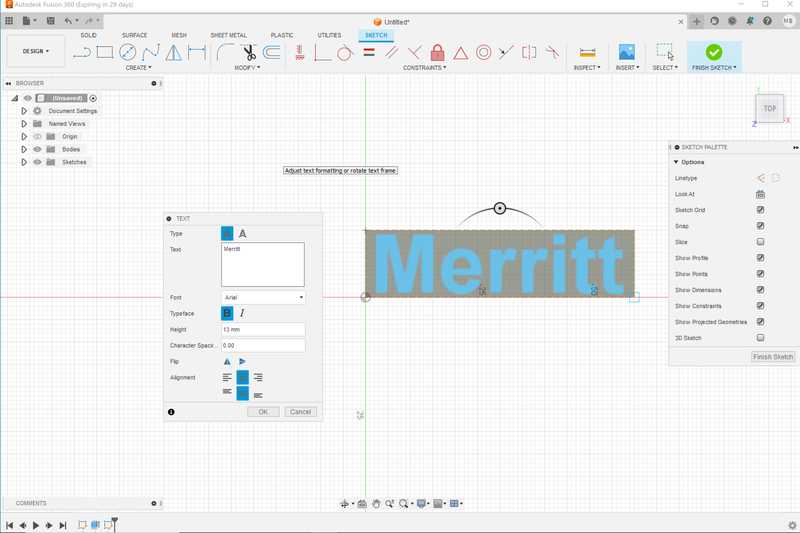
Next, I extruded the rectangle and created another sketch on top, adding my name to this sketch.
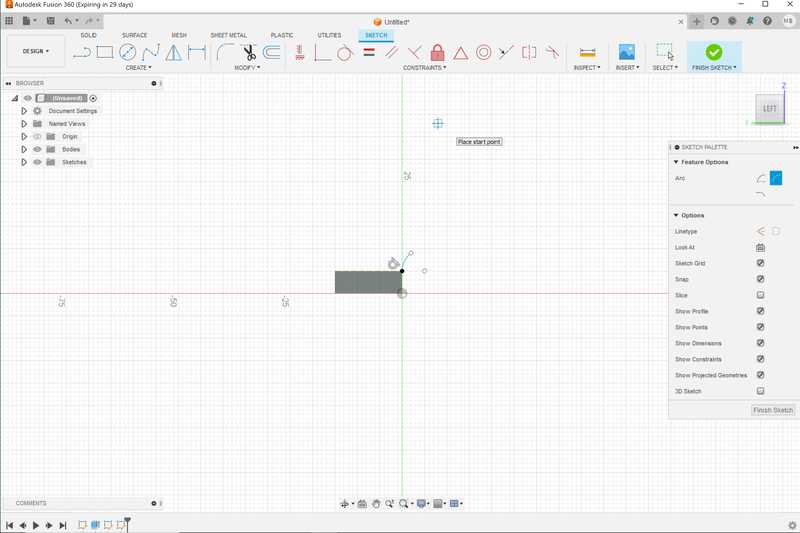
Then, I created another sketch, this time on the side of the rectangle, and added a small curve using the 3 point arc tool.
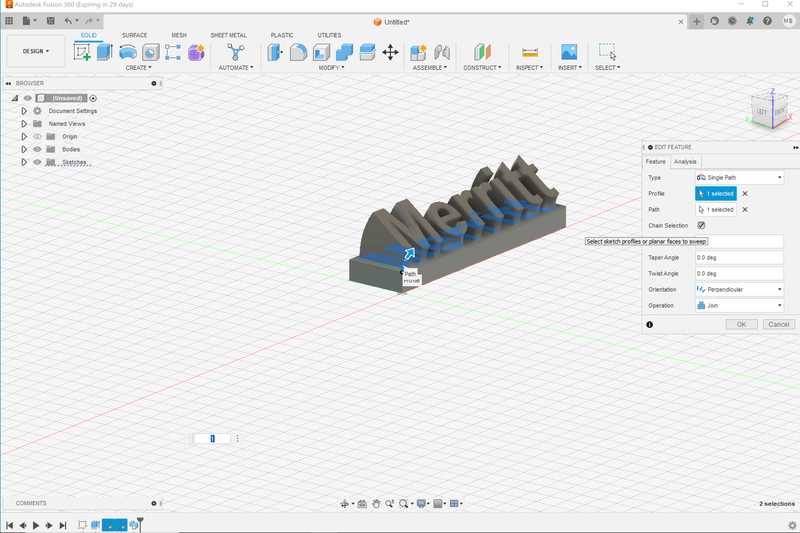
After that, I used the sweep tool, this tool extrudes text along a refrence line. First I chose the text as the body, and then the curved line I just created as the path to sweep along.
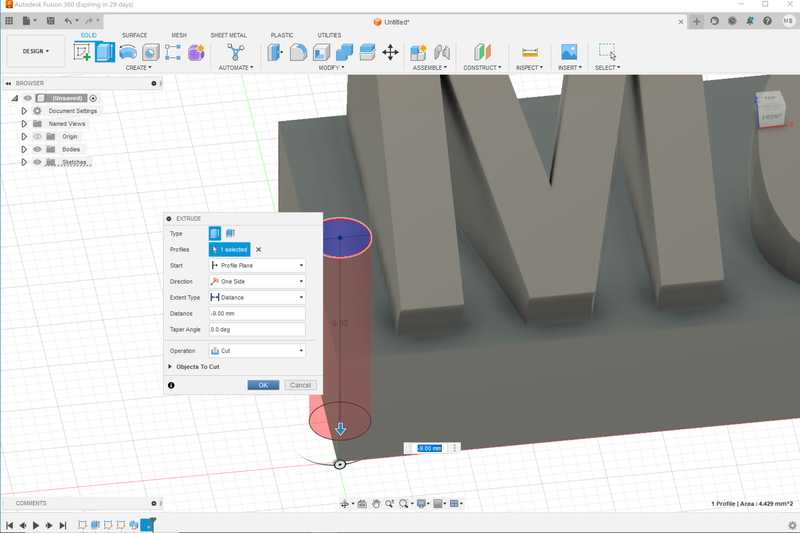
To create the hole for the keyring, I created a sketch on the top face, made a centerline for refrence, and then place the largest circle that I could without touching the text. I then negative extruded the circle to create a hole
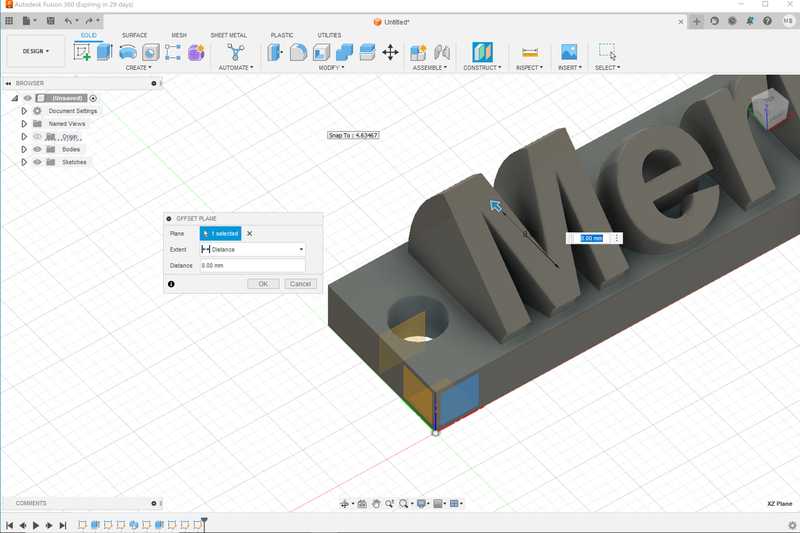
To create the keyring for the hole, I used the offset plane command to make a plane that was where I wanted the ring to be.
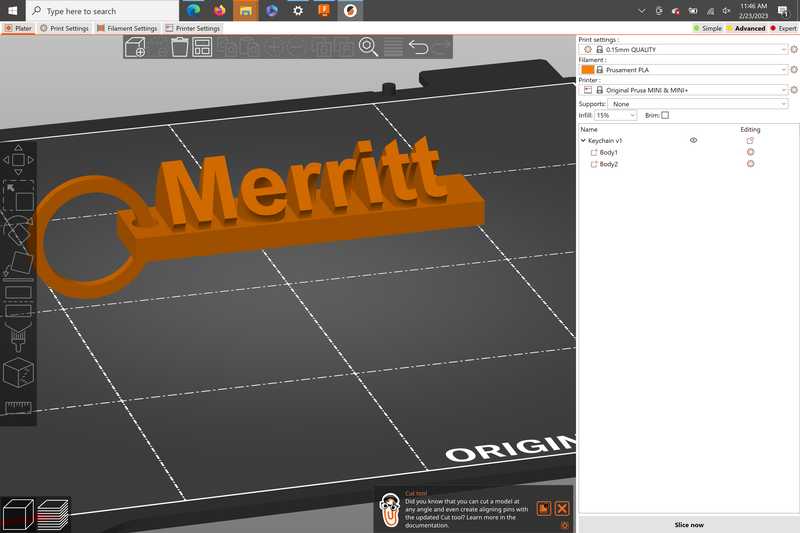
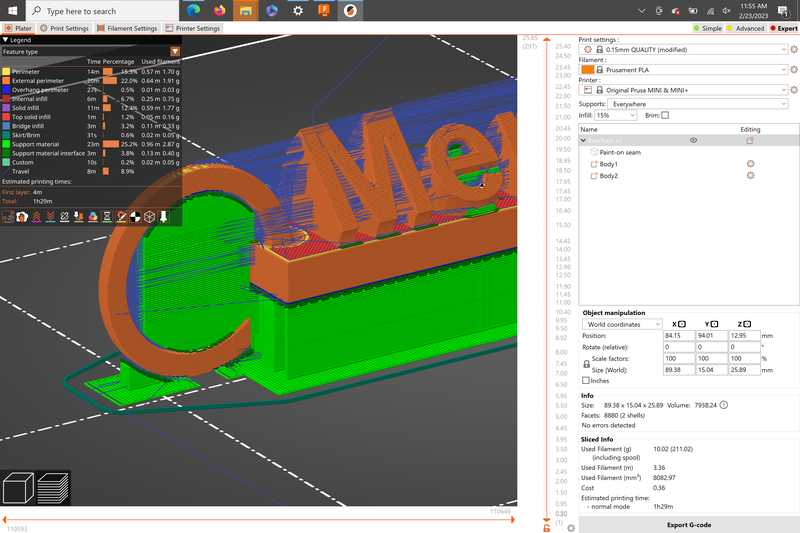
I then created 2 circles, and extruded the ring that the 2 circles made. Here’s what everything looked like in PrusaSlicer.
Slicing
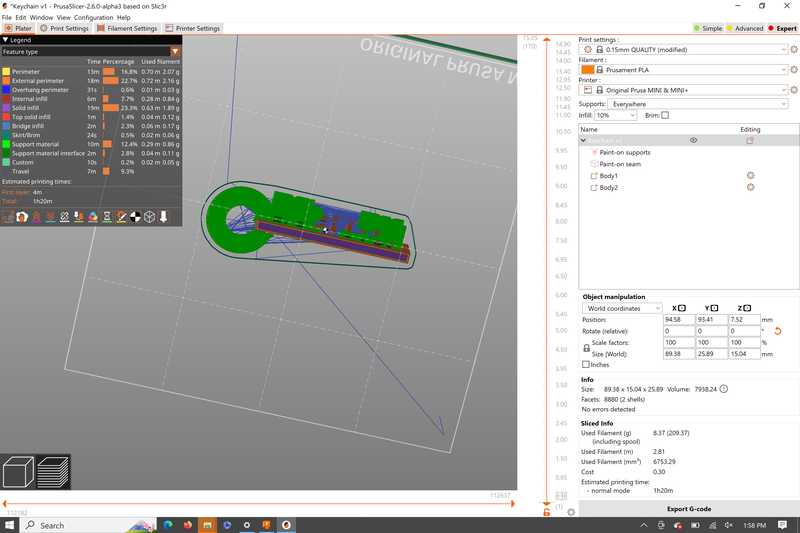
For my baseline settings, I started with Prusa’s 0.15mm quality settings, but I made some changes. The first thing I did was add supports, I did this first by selecting the supports drop-down menu and selecting everywhere. I also whent into the print settings option and changed the support type to snug. I chose snug supports because they don’t cut into the walls like normal supports, and the new organic supports would be less efficent because it would need to print so many bases. I also changed the infill to the lightning pattern, which uses much less material and changed the infill amount to 20% and removed some unecessary supports using the paint-on supports tool. The final sliced product looked like this/
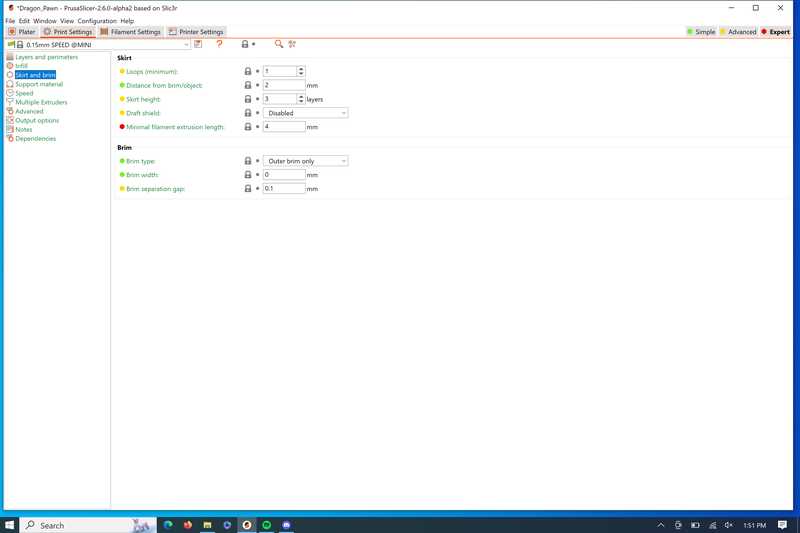
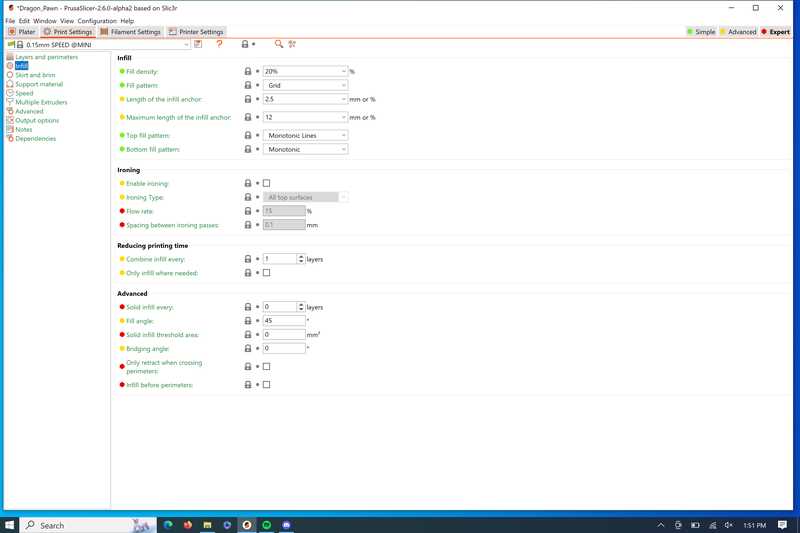
Here’s all of my settings that I changed from their default values
Now that I had my design done, I saved the Gcode file using the Export G-code button.
Printing
All of our printers in the lab are networked using OctoPrint. That means all I had to do was visit the link for the printer I wanted to use, and then upload and print my file using OctoPrints UI.
SHOW OCTOPRINT UI
Here’s what the lightning infill looked in the middle of my print
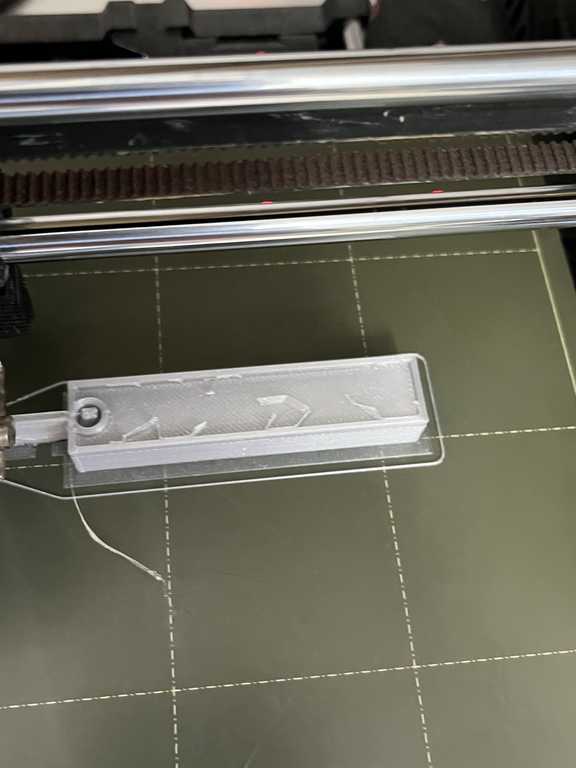
Final Product
Here’s some closeups of the different parts of my final print.
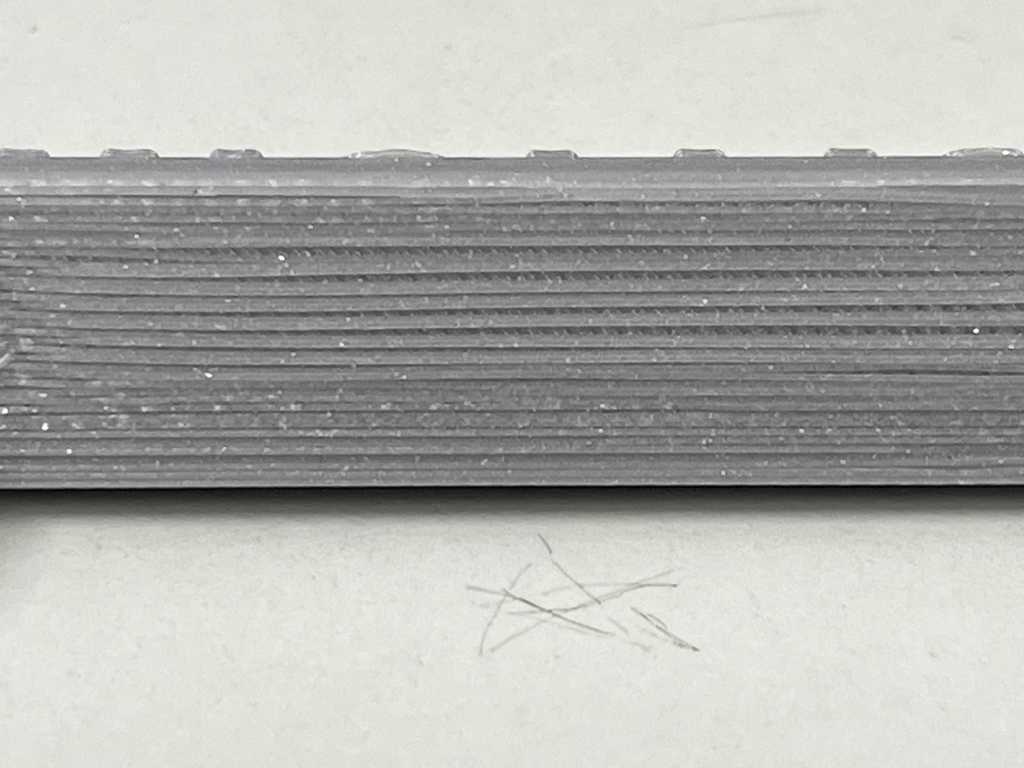
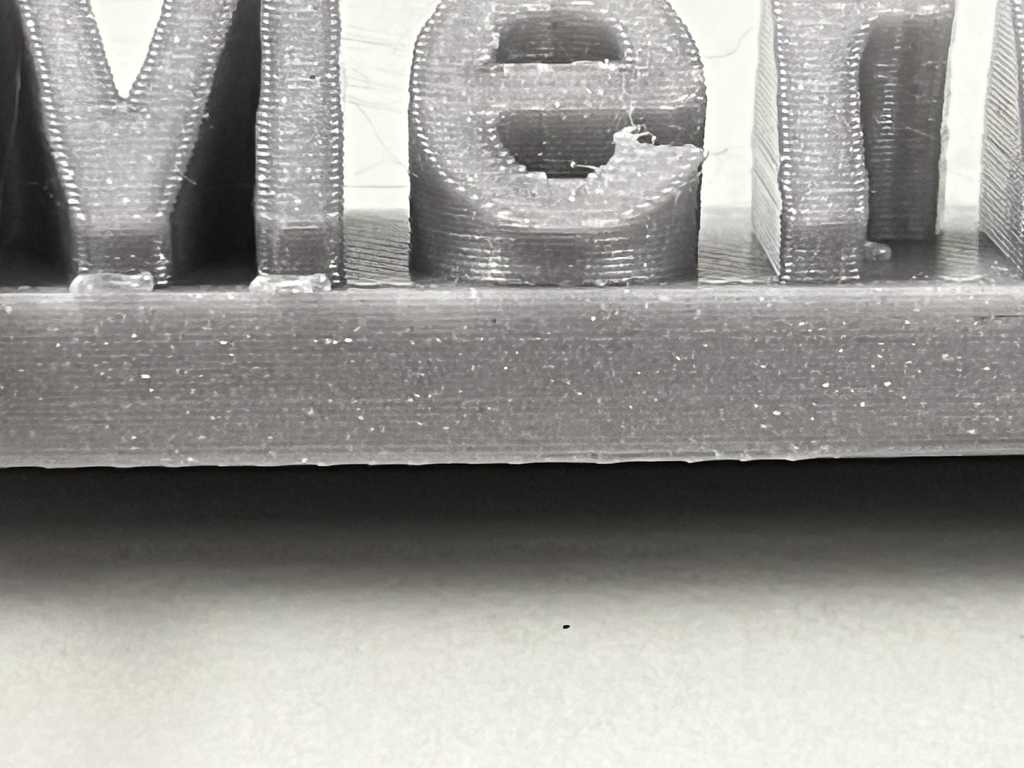
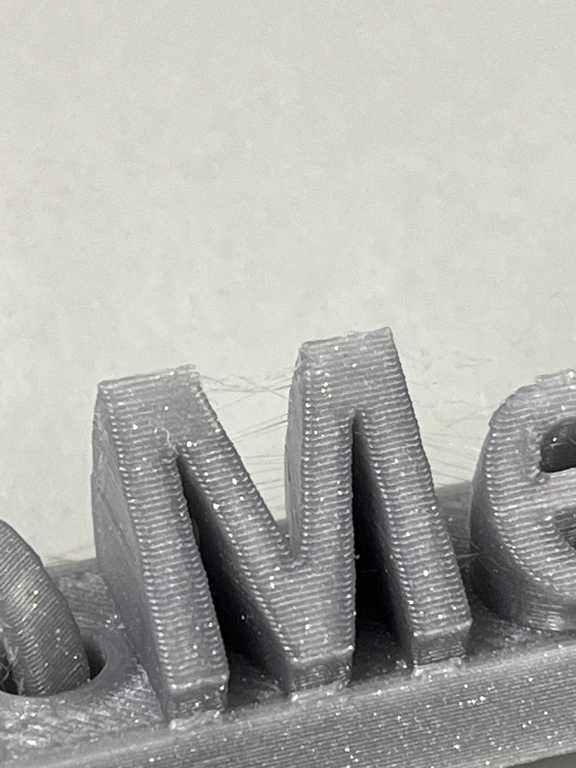
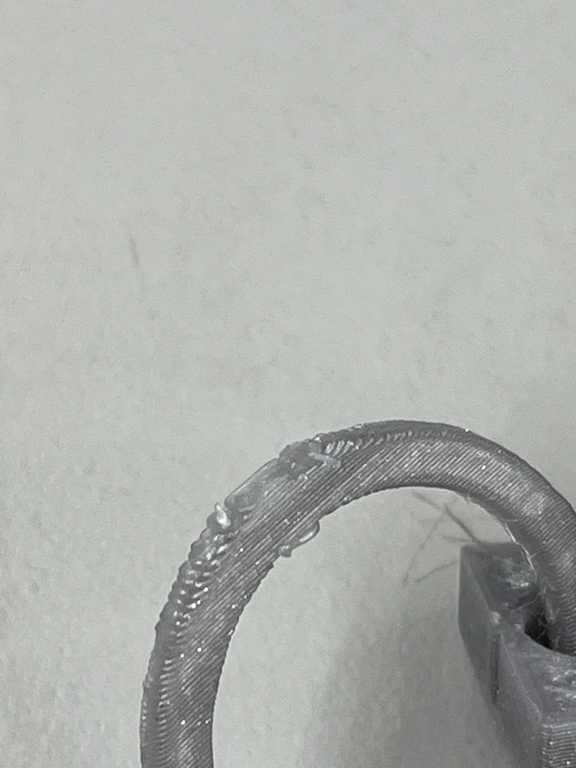
I noticed a few things from these closeup pictures. One thing that I would have changed was not using the ironing settings on the letters, because the text was angled, I didn’t know if the setting was going to work or not, but I should have tried it. I also noticed at the very top of the keyring that there’s some issues on the last layer, I should have better supported the top edge or maybe changed my last layer settings. I also noticed that on the bottom of my print there was a weird layer that ended up between the supports and my first layer, I think they were supposed to be part of the support, but didn’t come off from the rest.
3d Scanning
For the type of scanning, I decided to use my phone to take pictures of the object from multiple angles, and then computes the images and forms them into a 3d object.
Software Considereations
Before I chose a software, I did some research to find a software that I could use for and export my scans for free. I discovered an app called Kiri engine. Kiri engine allowed unlimited scans, and 3 exports per week for free.
Scanning
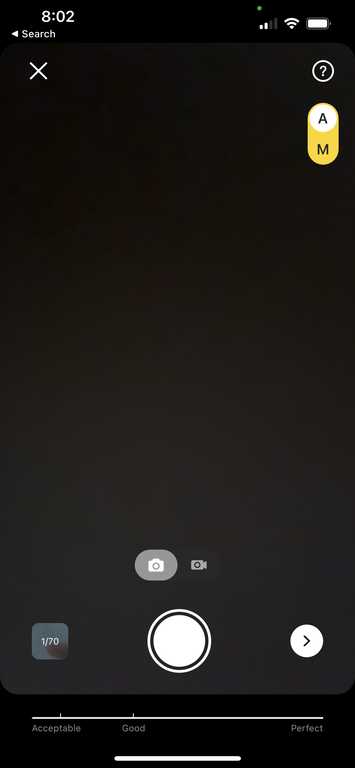
The object I decided to scan was a 3d printed baby yoda. This model looked like complex, and I was curious to see how accurate the scanner could be. All I did was place the model in a well-lit room, and took around 70 pictures of the object from different angles. I then submitted the pictures to be processed, and selected the ai image masking feature, which crops out the object in focus. Here’s what the Kira engine UI looks like.
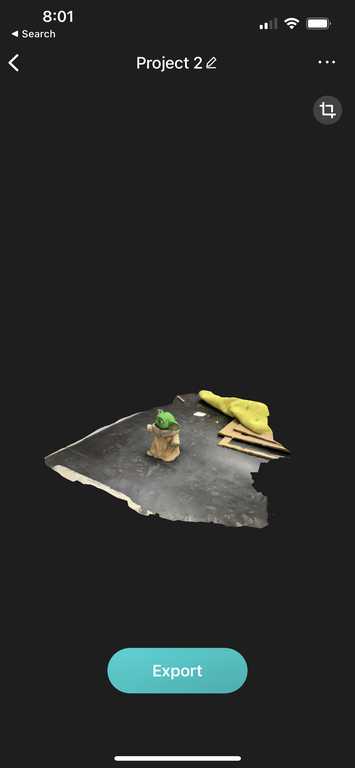
Here’s what my first scan looked like
Cropping
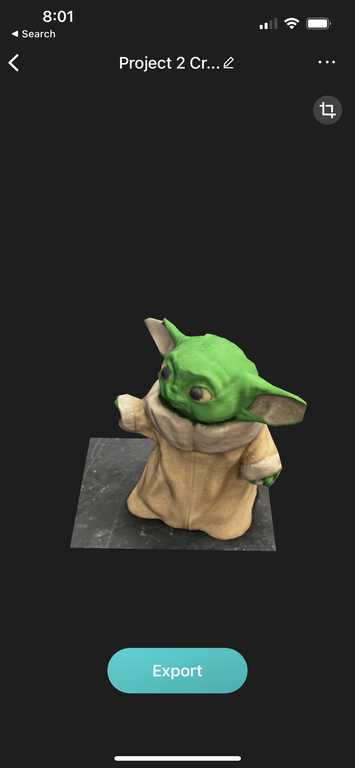
The object masking did an ok job of finding the subject, but I still did some cropping.

Slicing
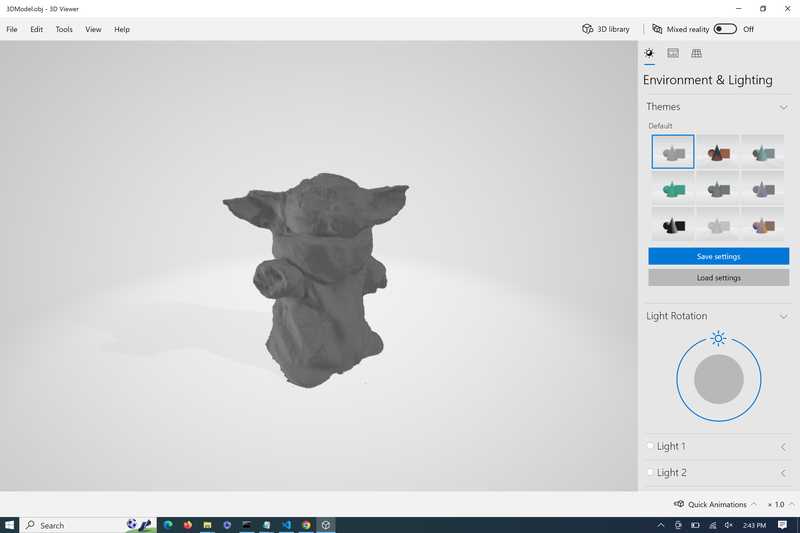
I exported my scan from Kiri as an STL file, and first just put it into my viewer to see how the model looked. The texture wasn’t perect, but the general shape of the object was the same.
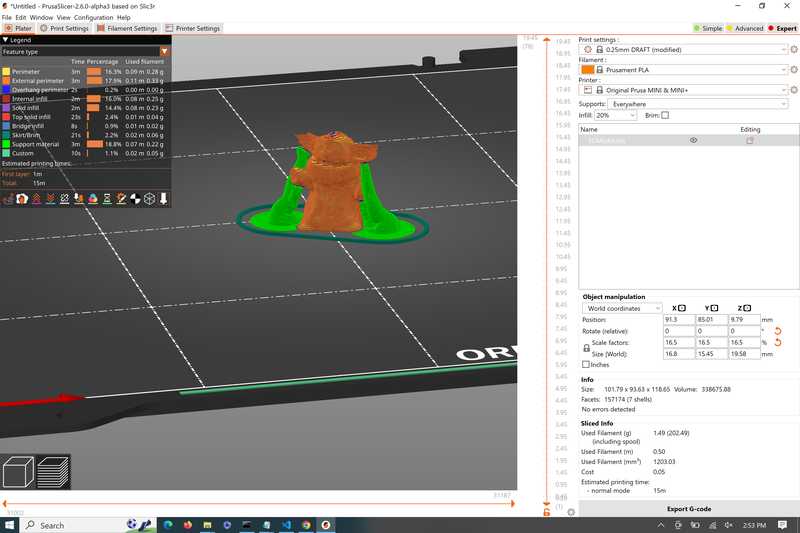
I then put my object in PrusaSlicer, I didn’t change any of my settings from my last print other than changing the support types to organic. I chose organic supports on this print because there’s only a few places where there’s overhangs. I also scaled the model down a lot, until it was about a 20m print.
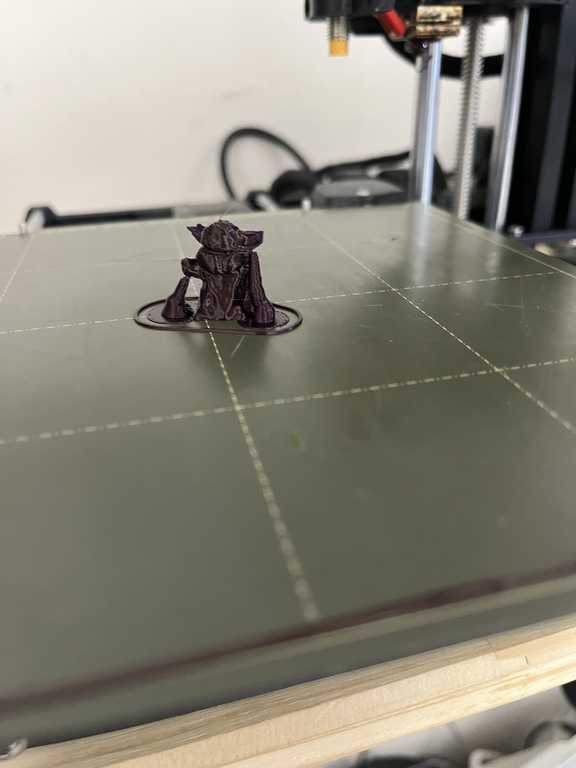
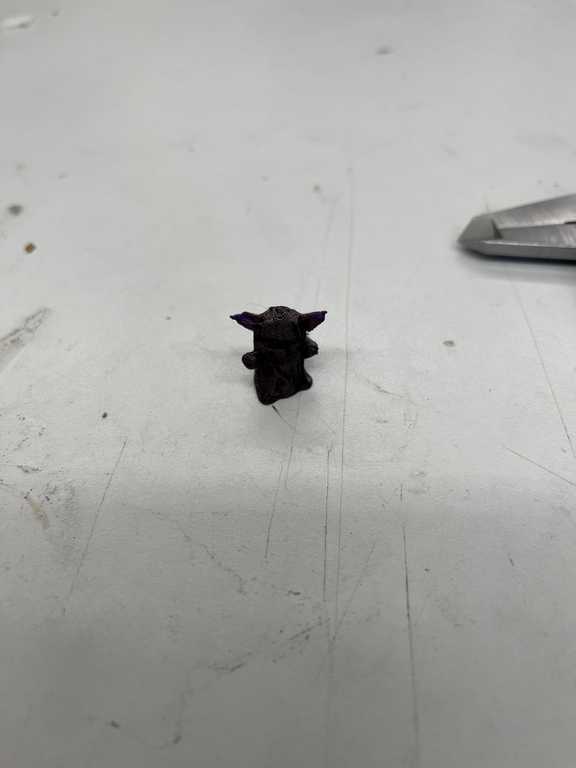
I then followed the stame steps using the OctoPrint UI to upload my Gcode to a printer. Hereis what the final print ended up looking like. I noticed that the tree supports didnt really reach far enough to where I wanted them to be, but luckily the overhangs still printed well. These supports were also easy to take off, so it took almost no time post-processing.
Files
Here are all of my files for this week