History 10 Final Project- Designing a Memorial
In my History 10 class, we were instructed to design a memorial for an historical event. Here’s the documentation on building my memorial, all the other research and writing for this project can be found here
Building my memorial- Planning and considerations
The following Plan was written up by my partner, fellow Fab Academy student, Jed Smith:
Plan: Memorial in London (Highest foot traffic), where and why exact place. How are people supposed to feel(5 senses) and what they are supposed to take away. Duck on a pedestal of symbols of the students Camo duck to represent the color of the tanks Blood(red paint) in the duck’s mouth to represent the killings Small pedestal lined with symbols of the people killed in the protests(Glasses, books, megaphone) as well as symbols of the ideas they were protesting for.
We ended up adapting and changing this plan a lot throughout the design process, which I’ll explain later on. I’ll be designing the memorial in Autodesk Fusion 360, as it’s a software I’m already familiar with.
Design Process
Because the duck contains too many organic features which would make it difficult to model, I found This mesh file online, this mesh was perfect because it is a replica of the exact duck that we based the symbol off of, and is under a CC BY 4.0 license, which means all I have to do is Attribute the creator to use it.
The orginal duck file as a mesh
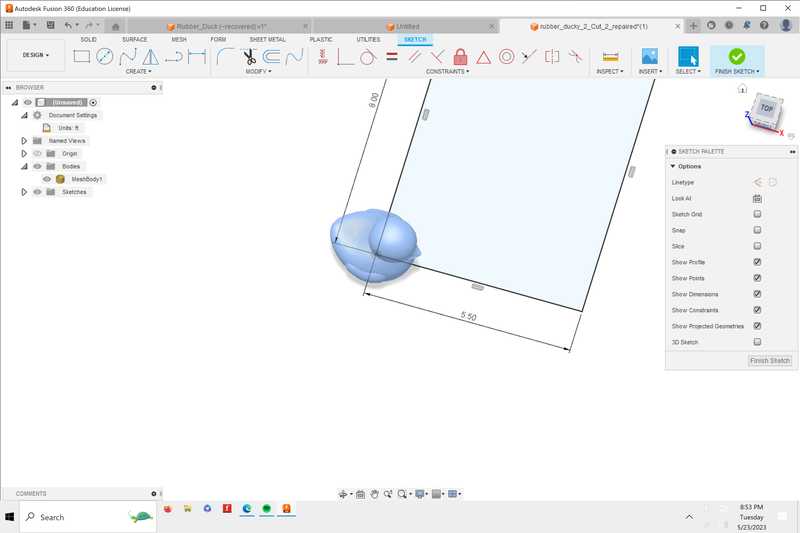
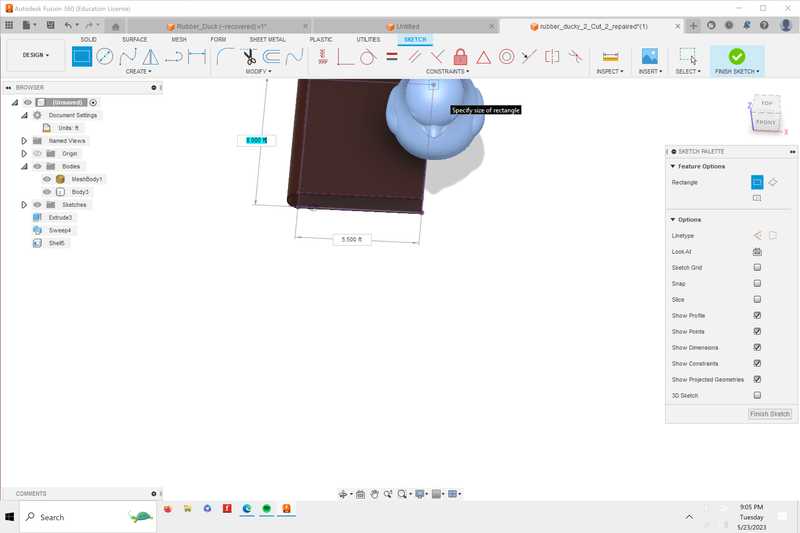
The next thing I did was create the pedestal for the duck to be placed on, by creating a sketch of a rectangle and extruding it

I then hid the duck model, and used the move and copy tool to make another rectangle. Both of these rectangles will eventually look like books.
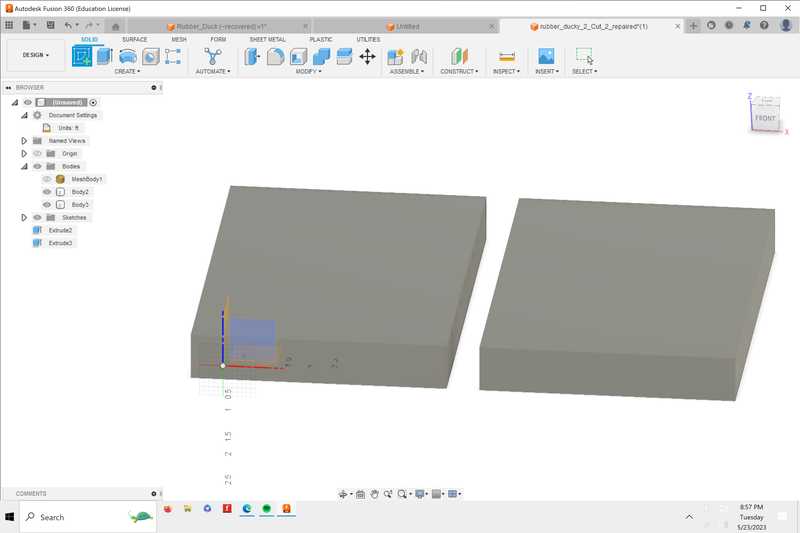
Next, I used the move and copy tool again to place the duck in the center of the 2 books

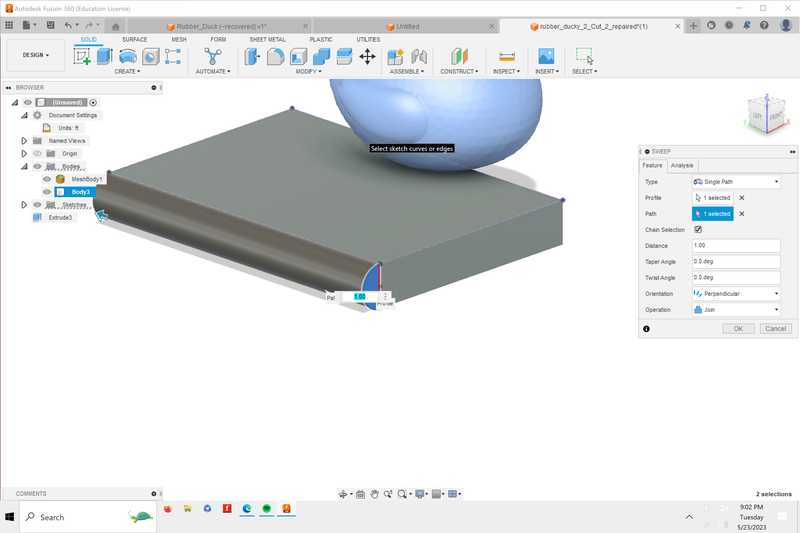
I then switched to only view one part of the pedestal, as I could copy the other. I created the spine of the book by creating an arc, and using the sweep tool to have the arc follow the path of the edge of the book.
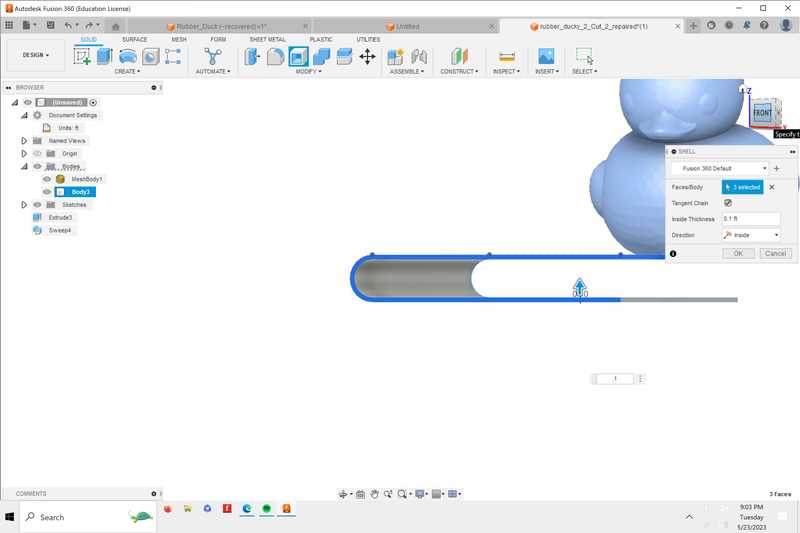
I then used the shell tool to hollow the center of the book, where I’d then create the pages
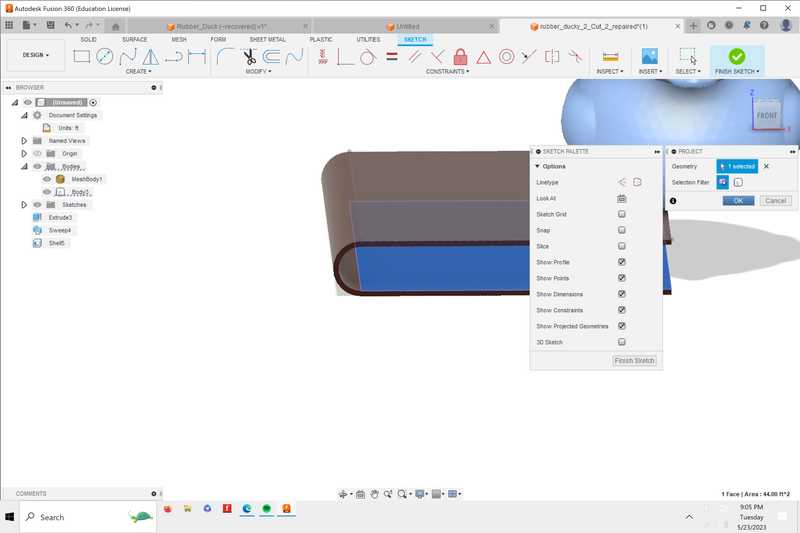
Next, I created the pages of the book, I did this by creating a rectangular sketch on the bottom of the book, and extruding it to .003 inches, which is about the width of a real piece of paper
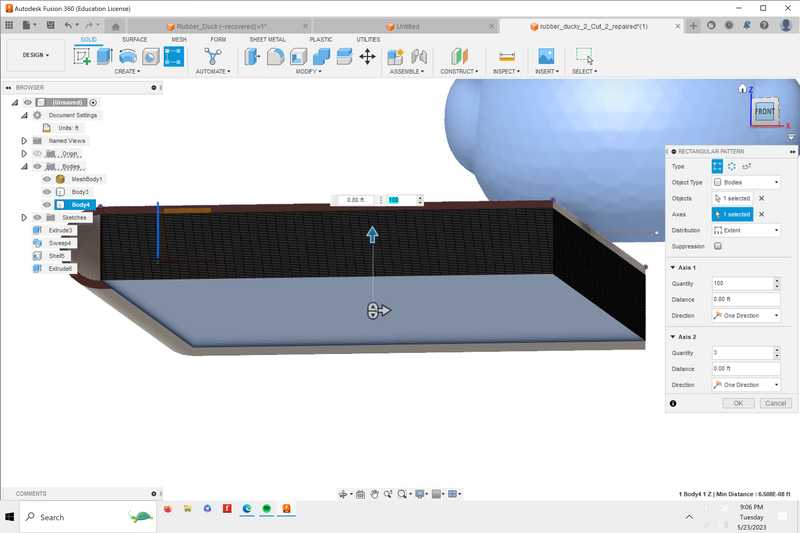
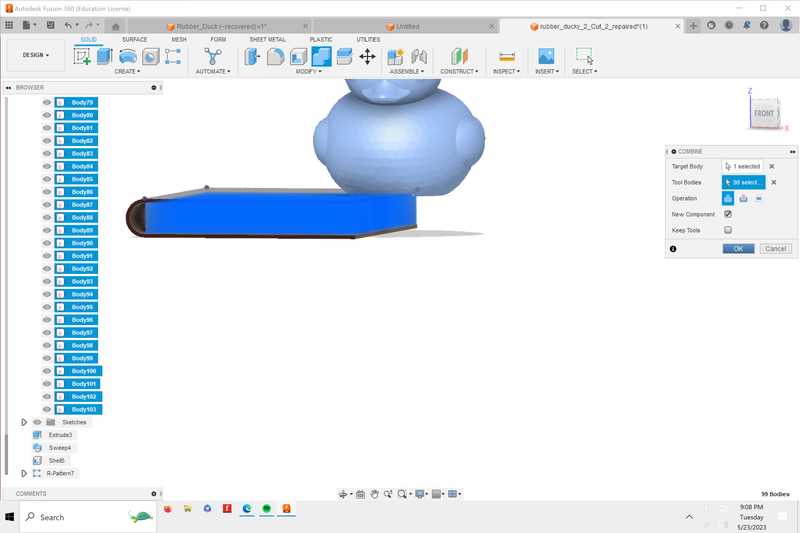
The next part is when things started to get a little tricky. To create more pages, I used the rectangular pattern tool, and repeated the paper object 100 times to fill inside of the book. This cause problems because there had to be 100 seperate objects being calculated all at the same time. To fix this, I used the combine body tool so that all of the pieces of paper would be treated as one body. This took some time to process, but it worked.
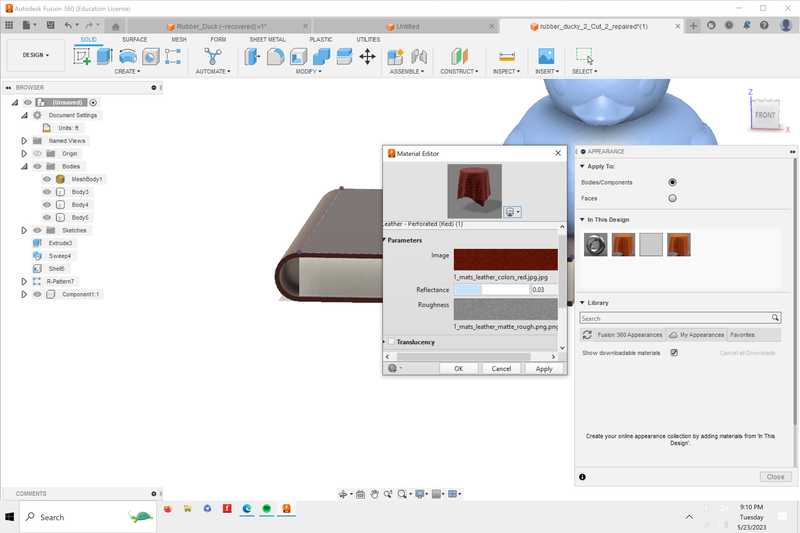
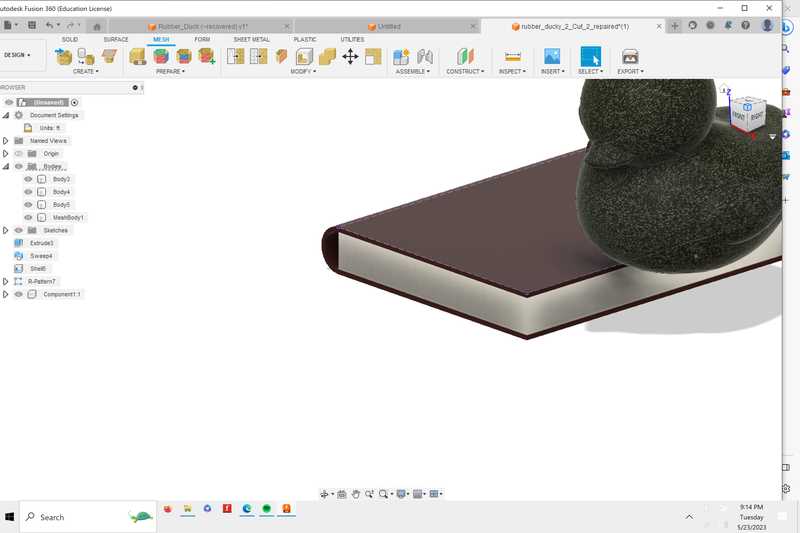
I then started to change the textures of the book to make it more realistic. I also needed to change the duck to a camaflouge color, to do this, I edited a material, and changed the material image to a camaflouge picture that I found online. I also had to convert the duck from a mesh to an object, I did this by going to the mesh menu, and selecting convert mesh. This let the duck take on the camaflouge texture.
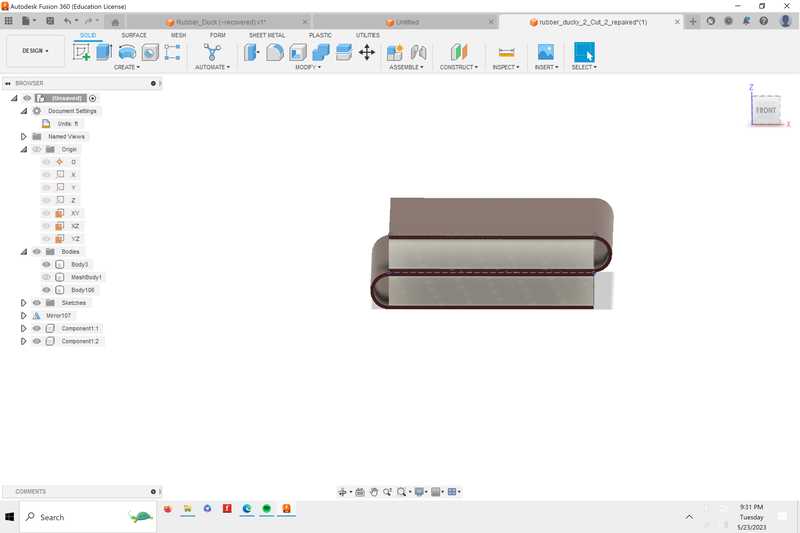
Using the move and copy tool, I created a copy of the book and stacked them on top of each other to create a platform
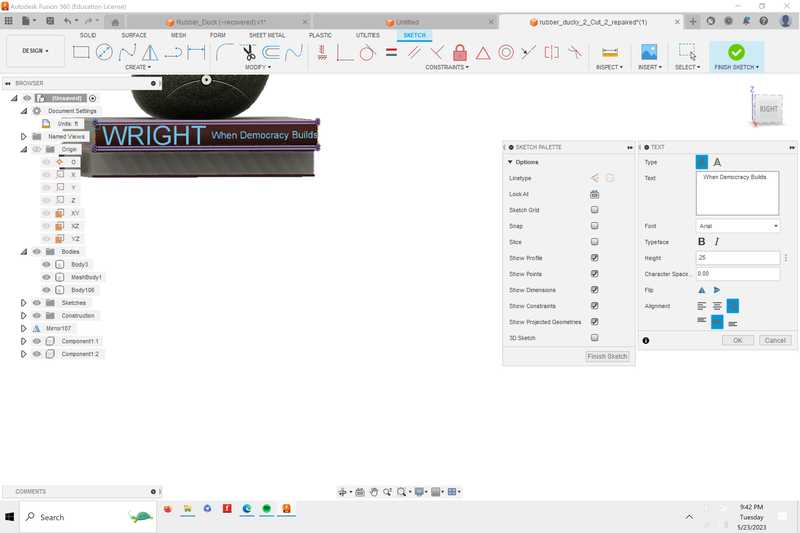
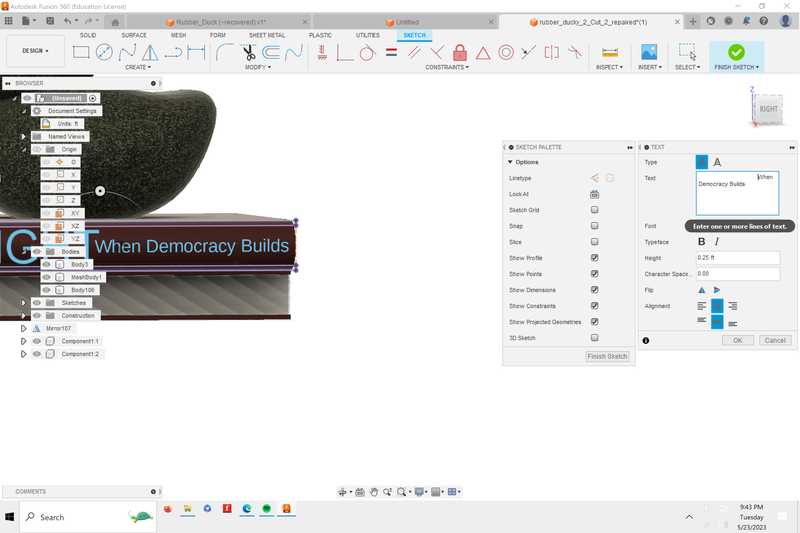
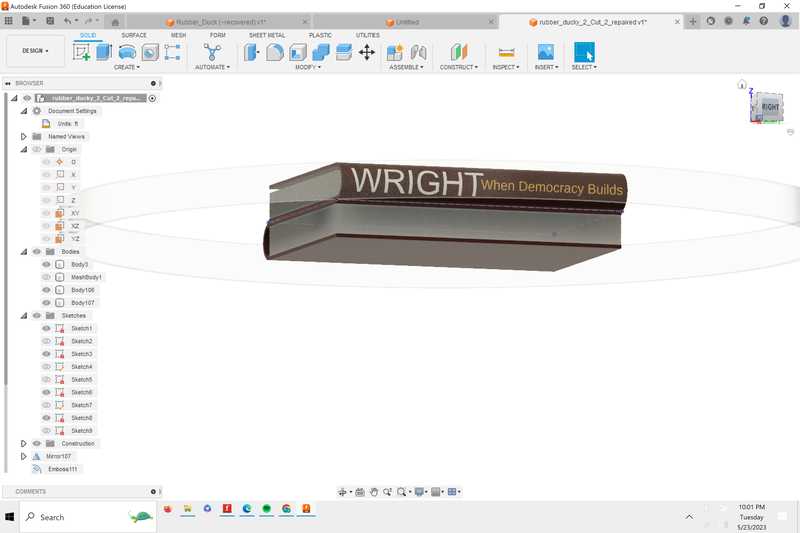
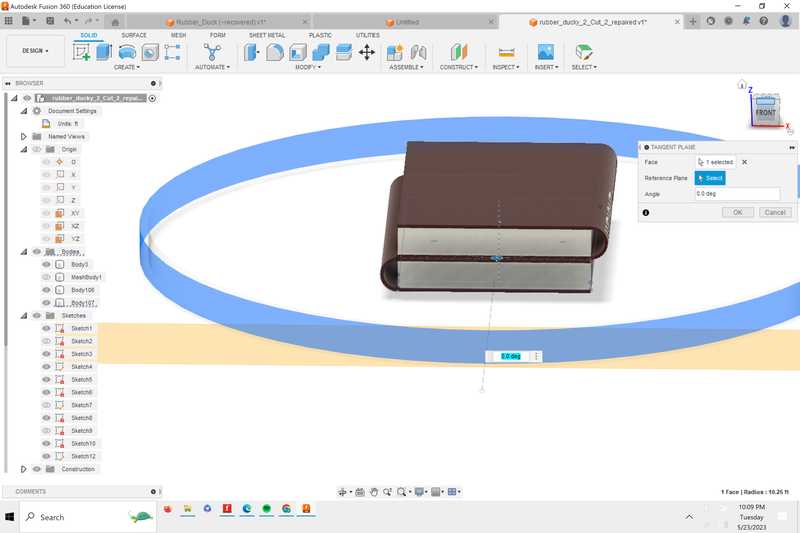
Next, I had to add text to the spine of the books. I did this by first creating a tangent plane on the spine of the book, adding text, and then using the “emboss” tool.
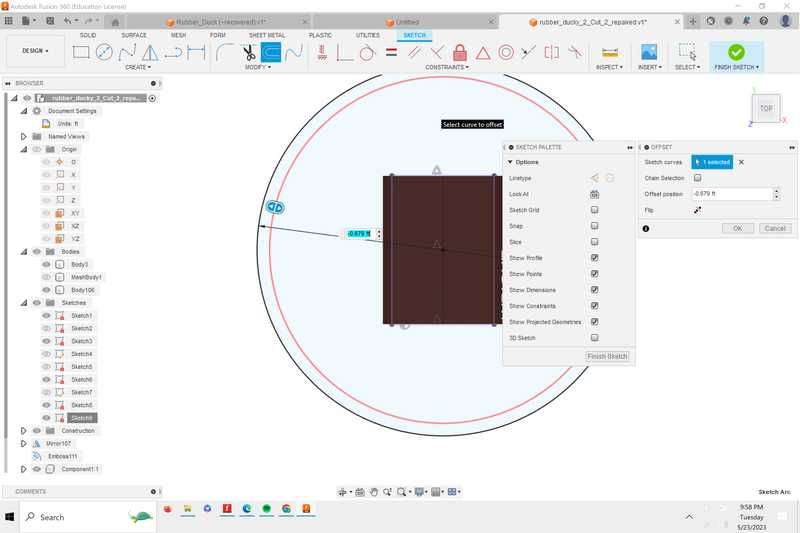
Finally, I wanted to add a glass barrier with signs on it. To do this, I created 2 circles offset from eachother and extruded them. Then, I created a tangent plane and added a rectangle sign. Finally, I used the circular pattern tool to repeat this 8 times around the circle.
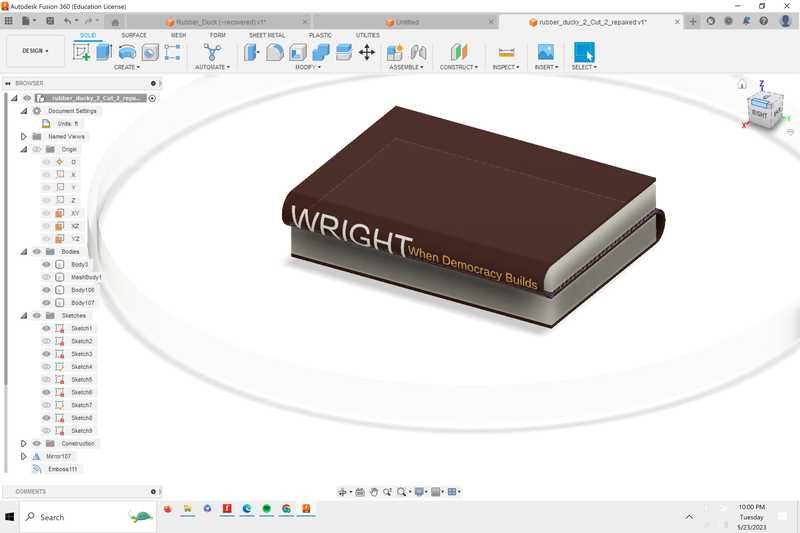
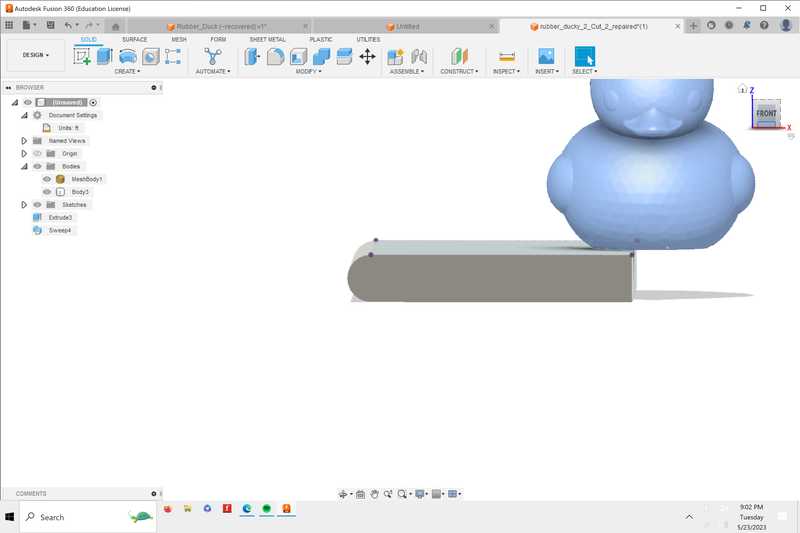
Here’s my final product.