Week 10: Machine Building, Design, and Mechanical Design
My Group for this week is Charlotte Latin Group B, find the group site here.
Initial Drafting
Our group’s first idea was a multi-axis resin mixer that would measure equal parts of part A and part B of epoxy resin and then mix it at the right time. We went away from this idea because of the complications that come with pouring and mixing such a viscous liquid. From this, we started leaning toward a soda dispensing machine. This machine would be able to dispense a soda or mix of sodas of your choosing with the push of a button. The machine was hand-drawn by one of my other group members, Stuart. The basic principle was this, the machine would be about 25 inches in length and have a bed plate that would move along an axis, stopping at pumps that would pump a soda of choice from a bottle behind the machine. This machine would also be able to choose combinations of drinks based on what buttons you press. A part of the machine that was not able to make it into the final project was the mixer at the end. This mixer would move up to get out of the way of the cup, back down to go into the cup, spin a motor with a stir rod on the end, and then move up and out of the way of the cup so it can return for collection.
Wiring Steppers
I was a big part of the wiring of the machine. I started with helping Stuart with the wiring of the stepper motors. I followed this diagram on how to wire a stepper motor.
After this, Stuart coded the stepper to mode for segments of time.
Pumps
Next, I was in charge of testing, wiring, and the use of the pumps in this machine. I started by soldering Wires onto the pumps, a black negative to the negative side, and a red power to the positive side.
Next, I plugged the pumps into a power supply with 3.3V going into the motor. It turned on! Next, I slowly increased the voltage until it reached 9 volts. I knew this was safe because the motor was rated for 14.4 volts max. Here is the product description from amazon.
Specification:
Item Type: Mini Water Pump
Material: Stainless steel
Rated Voltage: DC12.0V
Operating Voltage Range: DC9.6V~14.4V
Load Current: 350mA
No-load Flow (air): 0.5~1.5L/min
No-load Flow (water Body): 1.1~1.3L/min
Operating Temperature Range: -20 ~60
Noise: 60dB
Maximum Inflation Pressure: 60KPa
Size: Approx. 27.5mm / 1.1in
8.5mm / 0.3in
12.6mm / 0.5in
7.0mm / 0.3in
27.0mm / 1.1in
8.0mm / 0.3in
80.6mm / 3.2in
66.5mm / 2.6in
30.8mm / 1.2in
24.5mm / 1in
Then I attached the pump to a tube and put it in a cup of water. Here is a video of it working.
Cup Holder
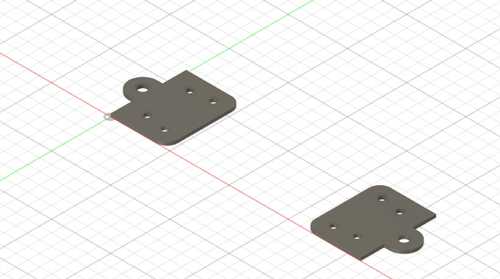
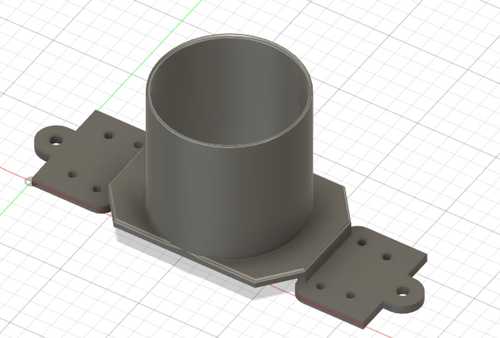
After this, I took a wheel holder design made by Ginny, one of my groupmates, and modified it to be the cup holder. I did this in Fusion 360, I first started the design by copying the wheel and mirroring it. Then I moved it until the insides were 115mm apart.

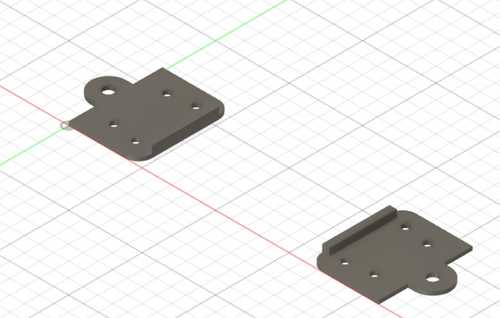
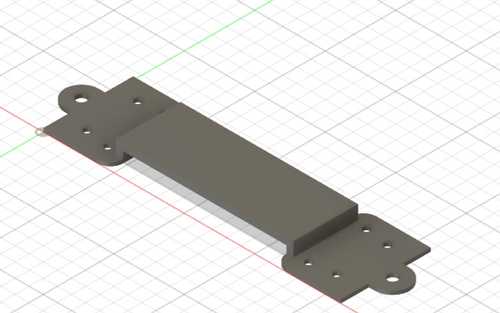
After this, I created a rectangle connecting the two wheel holders that were connected to two supports.
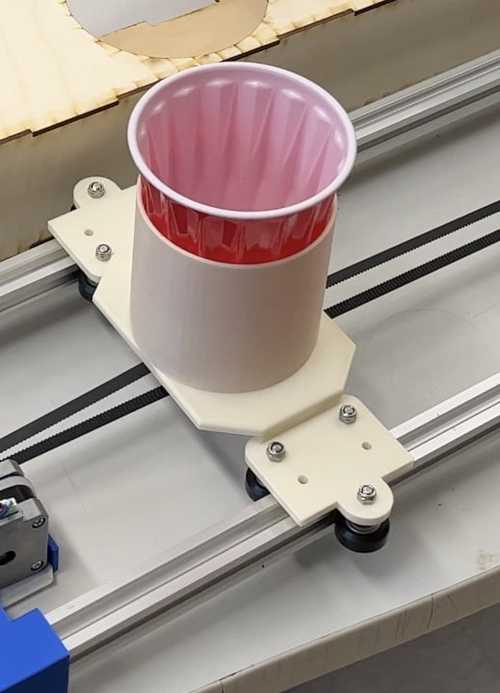
After this, I created a circle with a 2.5 mm thickness and an 85mm inside diameter. Then I extruded it 82.55 mm up, so a red solo cup would fit perfectly in the center
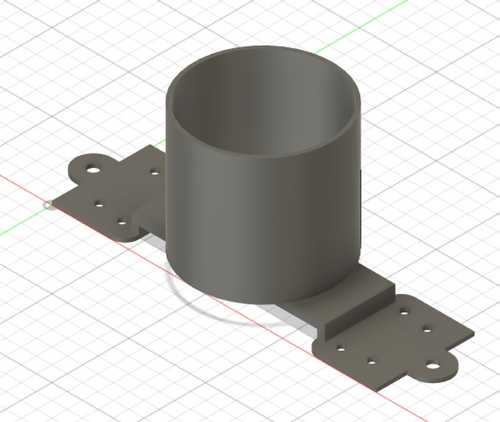
Then I fixed the rectangle by adding a 90mm square for the holder to rest evenly on.
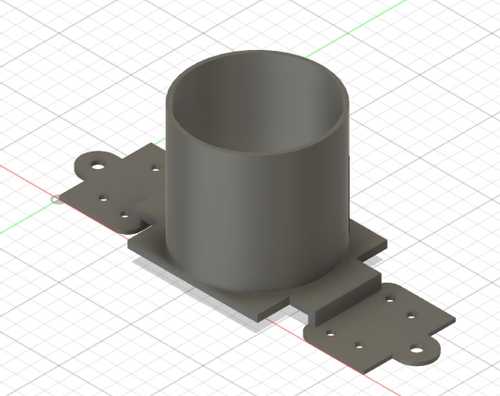
Then I connected the rectangle and square with an angled line
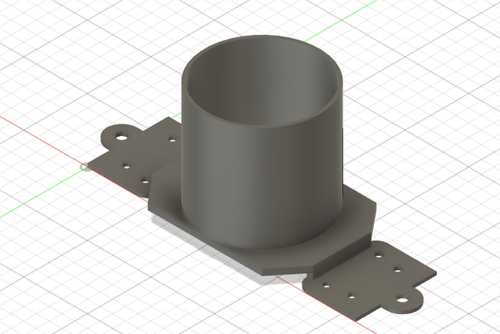
Next, I added a hole in the center of the holder so I could screw in the belt holder.
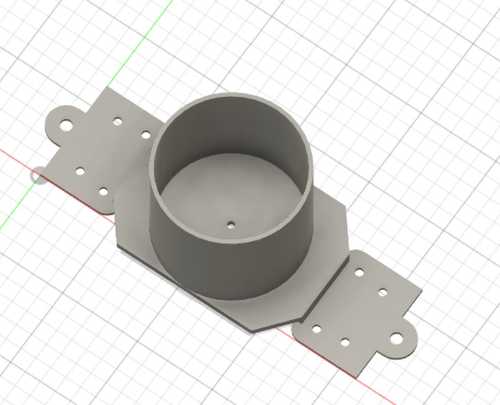
After that, I finished the design by adding a 2mm filet to all the visible edges.
After this, I exported it as a 3mf file and placed it in Prusa slicer. When I placed it in, I realized it would not fit on a Prusa mini so I cut it where the wheel holders connect to the cup holder.
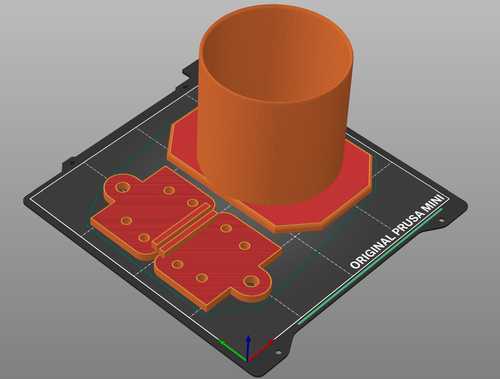
After It was done printing, I glued the plate on, screwed the wheels on, and slid it on the extrusions.