Weekly Updates
Week 2 Project Work
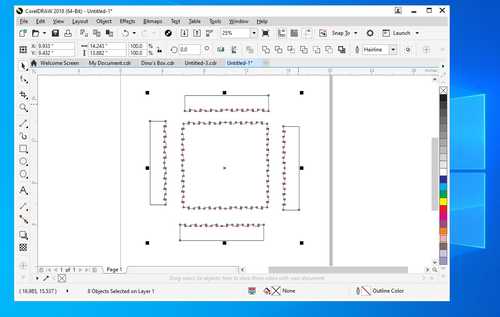
On week two I designed a basic box that would hold the bottom of my battleship game. Here is an image of the design, for more detail on how I made it and the files, go here.
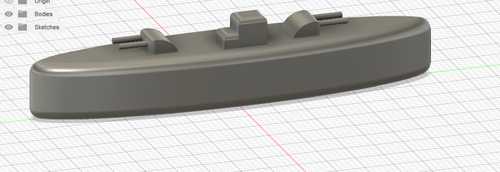
Also this week I made one of the many battleships I would have in the game. I designed it based on the approximate size from my memory of the battleship game.
Week 4
Week 4 I worked on programming one of my inputs, a joystick, to print the status of the joystick in a serial monitor. After some work and minor complications, I got the joystick to work and display either left, right, up, down, and if the button is pressed in the center. More on the joystick here.
Week 5
This week I 3D printed the boat from week 2. More on 3D printing here.
Week 6
I designed a basic board for my final project in KiCad. I designed my board for the output of my game, it features a 5-pinout for my joystick, a 3-pinout for my neopixels, and an extra 3-pinout with 2 digital outputs and a ground for other uses. After opening the PCB editor, the first step I took was updating the PCB from the schematic editor by using the update PCB from the schematic button on the top bar (it looks like the schematic thumbnail and the PCB thumbnail cut by a diagonal line). This moves the components from the schematic to the PCB. This arranges them similarly to that of the schematic. To fix this I moved the components around to the approximate location where I would want them. Then I started to make the tracks by running them to the right pinout while keeping the clearance needed. After making the tracks to the right size, I switched to the edge cuts layer and made a rectangle around the design, this would be the size of the chip. For more details on how I made the design, go here.
Week 8
This week I cut the board from week 6. I chose to use KiCad because I knew how to use it. First I plotted the toolpaths and exported the FCu layer and EdgeCuts layer as gerber files. Then I opened them in the bantam tools software for my lab’s othermill desktop pro. I chose the FCu layer as the top layer and the EdgeCuts as the outline. Then I chose my tools, I used a 1/32 flat endmill, a 1/64 flat endmill, and a 0.005 PCB engraving bit for the small parts. Here is the cut board:
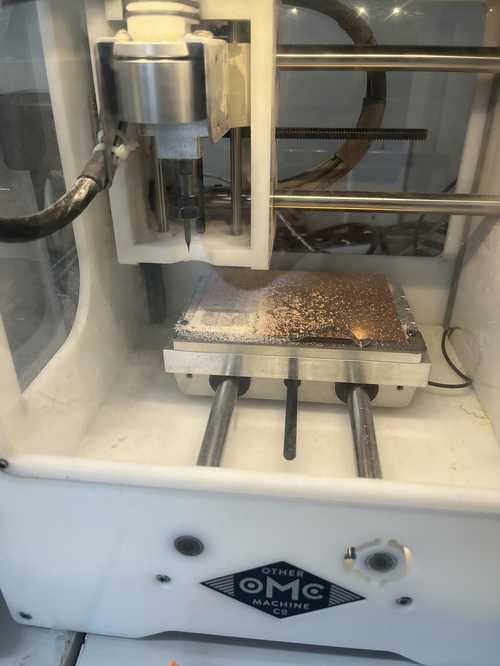
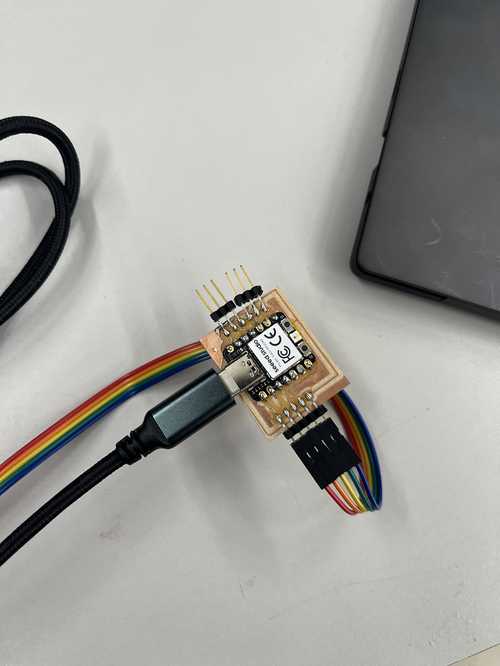
and here it is after I soldered the parts:
For the rest of my week 8 work, and more details on this work, go here.
Week 9
This week I worked on programming some outputs for my board. I did some neopixels and a speaker. First I found an old strip of neopixels in my lab. I cut the neopixels into sections of 3 then lined up the arrows. After that, I soldered some wires connecting the 3 strips of 3 neopixels. I used a black wire for the ground, a red wire for the VCC power, and a yellow wire for the data cable.
![]()
After this, I started by testing the neopixels in a code I knew worked, on an Arduino Uno with C++ code. I used the simple example that came with this neopixel library. I selected this code, plugged the data line from the neopixels into pin 6 on the Arduino, connected ground to ground, and connected power to the 5v output. Then I changed the number of pixels to 9. As per my teacher, Mr. Dubick’s, advice, I did not need to use an external power supply for 9 neopixels because of their low current demands. If you are using more than 9, you should be using a separate 5v DC power supply to make sure you are not drawing too much current from the USB port on the computer. Then I switched the neopixels over to the seeed xiao rp2040, on my milled board from week 8. The only thing I had to change was the pinout, I changed it from pin 6 on the Arduino to pin 3 on the seeed Xiao rp2040.
To learn how to use a speaker, I first decided that I would do it in Arduino IDE with a normal Arduino uno since I had never done it before. I found this tutorial on how to use the MicroSD card reader and it seemed to be compatible with any speaker. First I made a voice recording to test. The file was saved as an mp3 file and I uploaded that to my SD card. Then I began to wire the speaker according to the diagram.
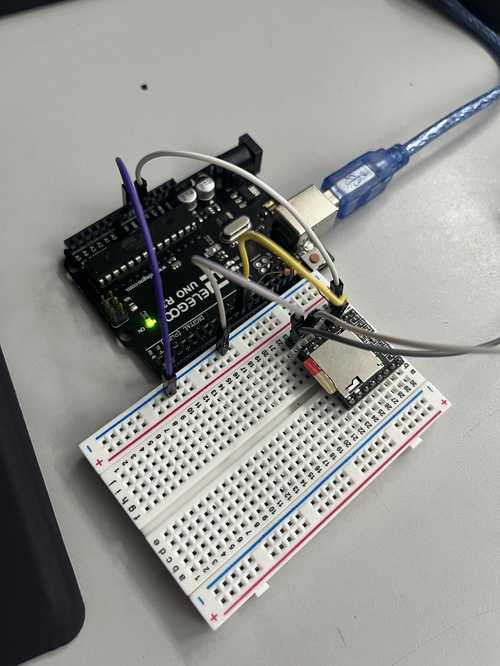
After uploading the code, it worked.
In this video, to clarify, that is the speaker’s sound, not me talking into the microphone.
For more information on how I did this and my files, go here
Battleship AI, Video Description