Week 5: 3D Printing and Scanning
This week I started by 3D printing a file I made in week 2, a boat for my final project. The printer I have is the Prusa mini+ and in the Charlotte Latin Lab we have Formlabs resin printers, Prusa minis, and a few Prusa I3s. For 3D scanning, I used the Kiri Engine app on my iPhone. To slice my 3D designs, I used Prusa Slicer.
3D Printing
Personal Project
The first step I took in printing my boat was taking the STL file importing it into Prusa slicer and placing it on the center of the print bed in the plater workplace.
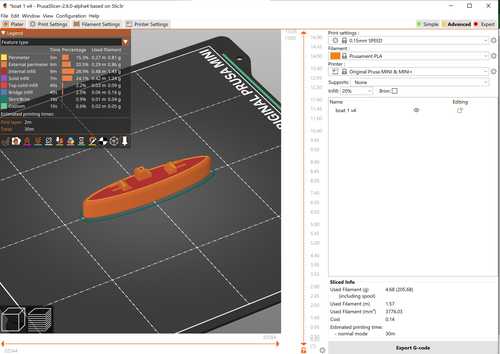
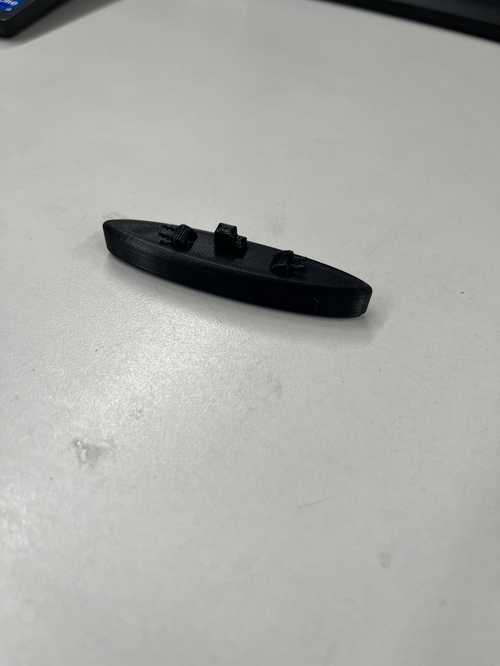
Then I exported the print as code, put it on my flash drive, plugged the flash drive into my printer, and started the print. Here it is finished:
Non-subtractive design
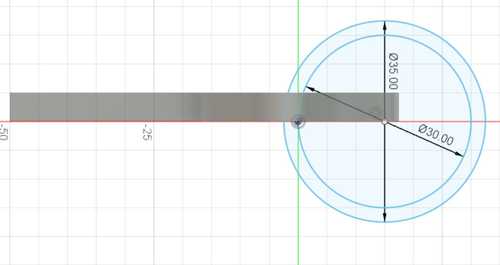
I chose to design interlocking rings that could be printed in place. I first opened Fusion 360, started a new sketch, and made two concentric circles and a rectangle as a handle.
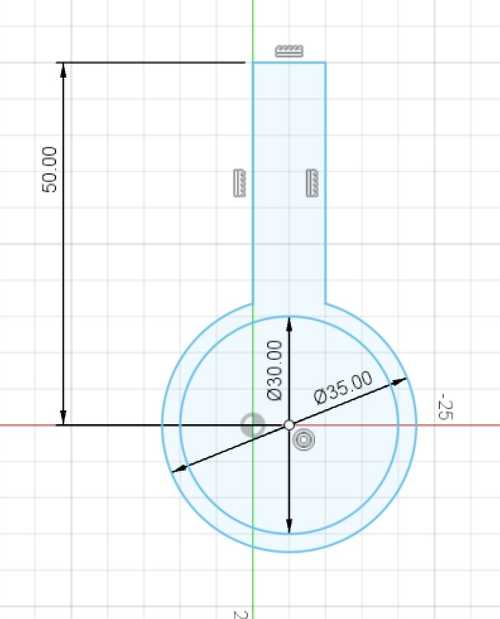
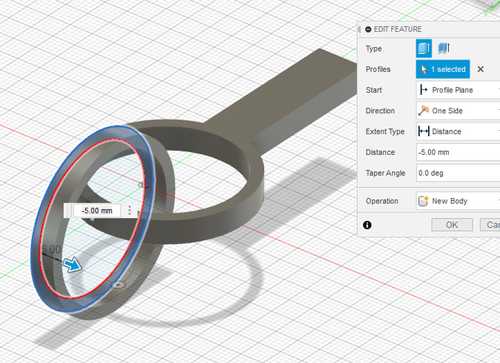
Next, I extruded that shape 5mm
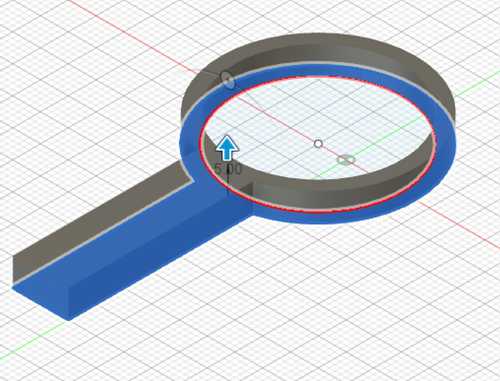
Then I started making the second ring by making a new sketch of the front plane and made two concentric circles with their center on the first ring.
Next, I extruded that ring by 5mm
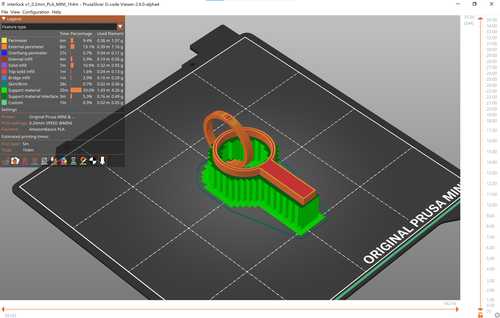
Next, I exported that file as a 3mf file, imported it into Prusa slicer, added supports where needed, and sliced the file to create the code.
Here it is printed:
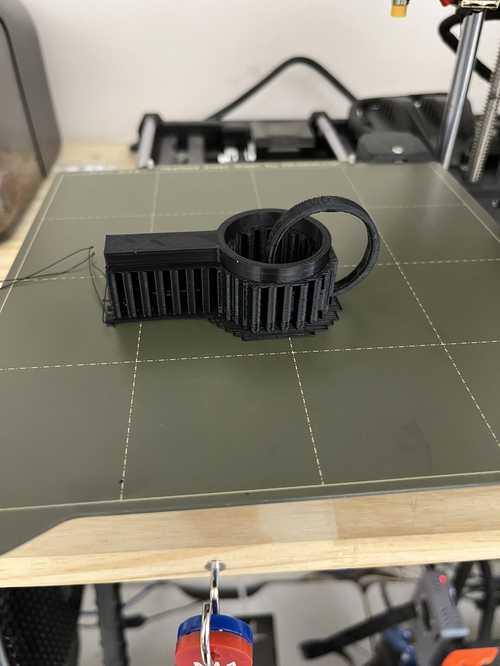
As you can see, it requires some post-processing by removing the supports. I did this by getting an exacto knife between the print and the supports to break them loose then I peeled them away.
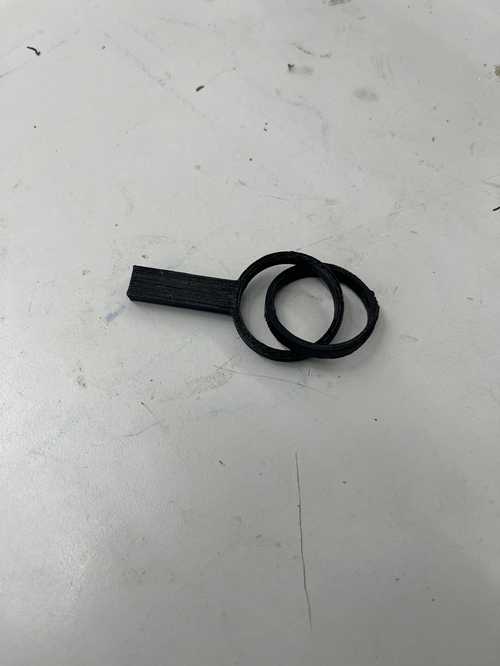
These rings can not be made using subtractive processes because of their interlocking. This interlocking would require the rings to be turned 360 degrees in all three directions and have a sideways bit, which is not possible.
3D Scanning
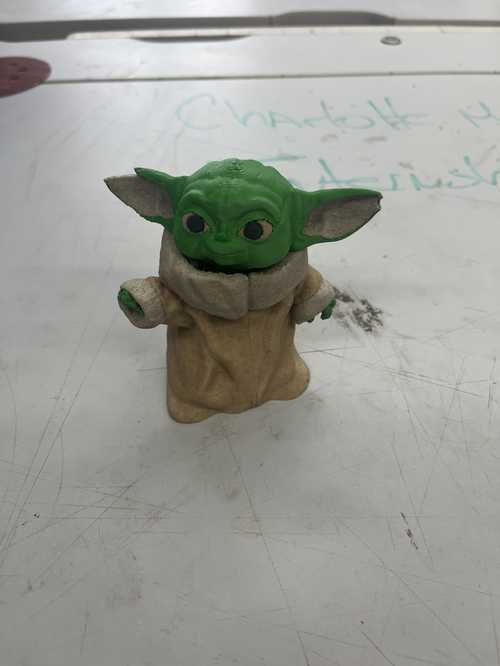
I chose to 3D scan a baby Yoda figure we have in the lab.
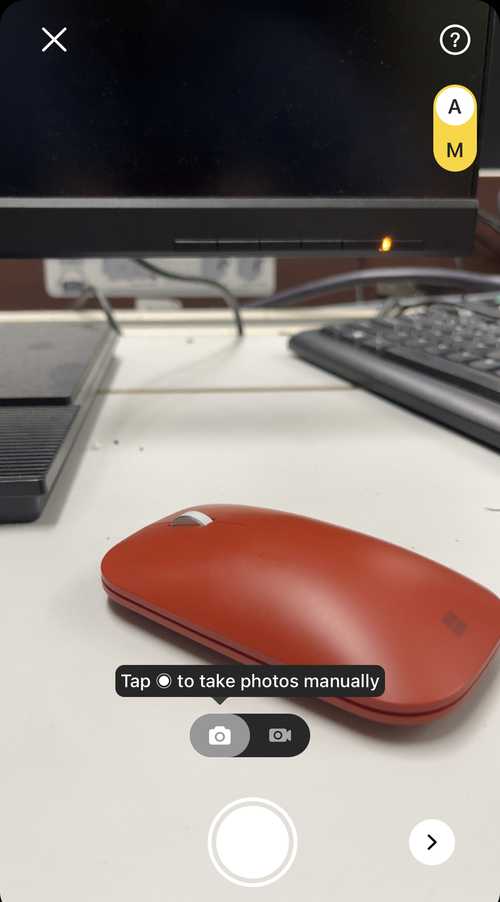
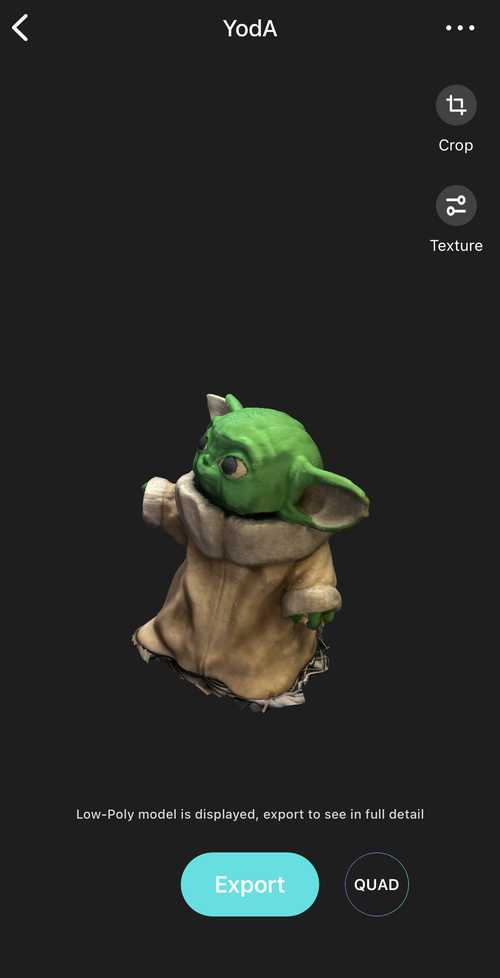
I then opened the Kiri Engine app, scanned my object by slowly rotating around it as the software took 70 pictures, and exported the file as an STL. Here is what using the app looks like:
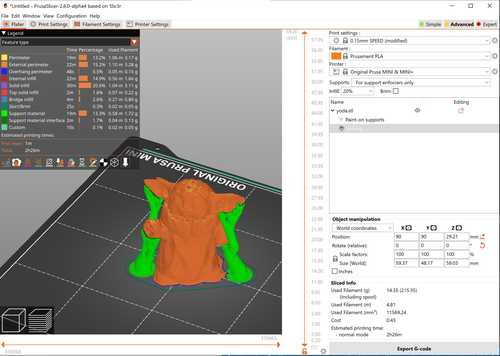
Then I imported the file into Prusa slicer. For this project, I chose to use Prusa Slicer 2.6 and the organic support feature to reduce print time and I used lighting infill to reduce material usage. Here is my sliced file:
Then I printed it on my Prusa mini.
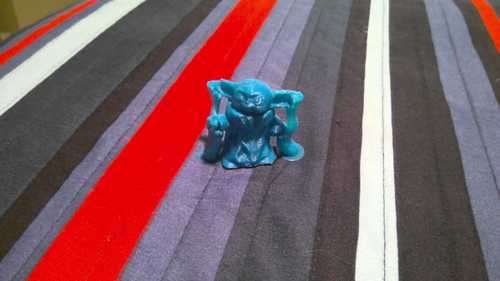
Next, I removed the supports, and here is the clean item:

Reflection
This week I learned a lot about slicing 3D prints and how scanning works. I learned from exploring the Prusa slicer on my own, the support and infill settings. I learned that organic supports create a great way to limit post-processing time and add strength to the print. I also learned the pros and cons of lighter infill. This week helped me learn more about 3D printing and will help my final project greatly.
Files
Group Work
Here is my group work this week. This week I found the file on Thingiverse, showed it to the rest of our lab to print, and then sliced and printed the file for my group, on the Prusa minis. I used Prusa Slicer to slice the prints. A slicer is a software that converts 3D files to code readable by cnc type machines, gcode. Gcode is instructions for the nozzle of the 3D printer, it tells it where and when to move. Gcode can also be interpreted as 2D instructions layered on top of each other to create 3D instructions for the printer to follow.