Week 1: Web Development
I used mkdocs, python, vscode, gitbash, and putty in unison to design my website. I used the Fab Academy pages of Barbara Morrow, Adam Stone, Teddy Warner, and a YouTube video by Adam Harris. I also used the mkdocs website as a guide; however, it was only helpful in installing mkdocs, not in linking it to GitLab.
Step 1: Python and SSH key
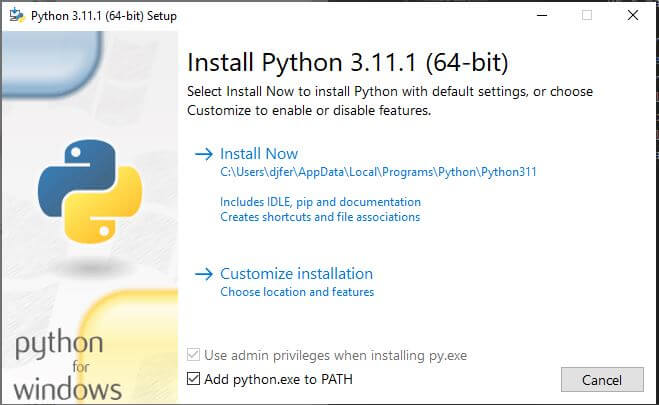
The first thing I did when setting up my website was installing python. To install I used the instructions listed from the python website and installed the most recent version. When installing Python make sure that Path and install pip are selected.
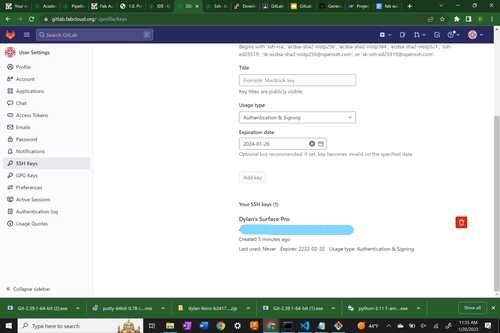
The next step I took was cloning my GitLab repo with an SSH key. For this step, I visited Barbara Morrow’s webpage for help. As per her instructions, I used the command prompt built into my Windows laptop, GitBash, and PuTTY. First I created a folder in File Explorer named “SSH” I then opened Putty. after opening Putty, I opened the subcategory Connection then ssh followed by key, and hit open. After this, I opened the command prompt and entered ssh-keygen -t ed25519 -C ““. Doing this generated an SSH key for my device. I then took the SSH key that was generated in my SSH folder (not the Microsoft publisher version), it started with ssh-ed25519 and copied it into the ssh key section of my GitLab profile.
The next step I took in creating my website was cloning my Gitlab repo to my text editor of choice. I chose VsCode as my text editor since it was already built into my GitLab. In my gitlab, I opened the main branch hovered my mouse over the arrow to the right of the clone button, and selected clone to vscode via SSH. I then opened my vscode to the folder I created when cloning my repo. The next step I took was installing and creating my site with MkDocs. I used the instructions listed on the getting started page on their webpage. The first thing I did was open the terminal and use the command pip install pip
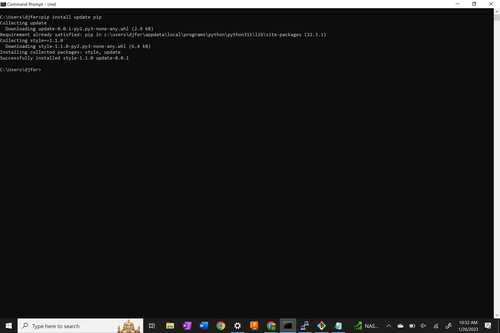
to ensure that pip was installed correctly on my device. Next, I used pip install mkdocs
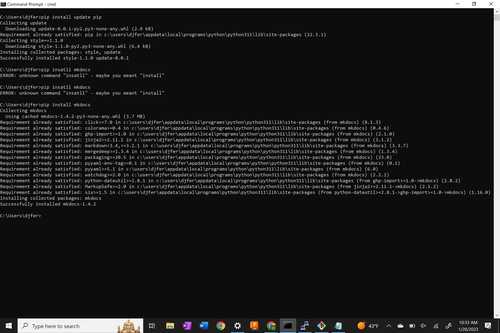
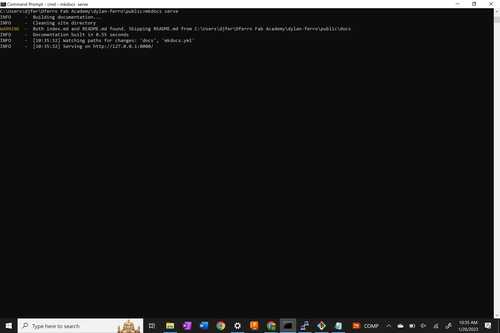
and succeeded! Mkdocs was installed. The next step I took was starting my website with mkdocs new my-project then I used the cd my-project to navigate to my newly created project (the command cd navigates within a folder to subfolders). In the new folder I made, two folders were created, mkdocs.yml and a folder labeled docs. The first test I did was serving my site locally using the command mkdocs serve. This output the URL http://127.0.0.1:8000 and I opened it in my browser.
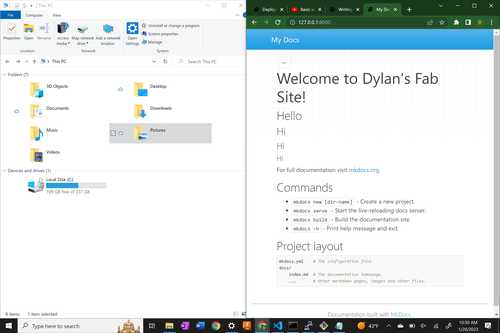
To edit my site I entered the mkdocs.yml file and changed the site_name to Dylan Ferro Fab Academy. Then I save my file with “ctrl s” and use “ctrl c” in the terminal to close the current site. I entered mkdocs serve again, reopened my site on the same URL and the then title changed!
Step 2: Linking to GitLab
To link to GitLab I got help from my classmate Adam Stone and his website here. I was having issues linking my website using the public folder and .gitlab-ci.yml file given to me by Fab Academy. I used the instructions provided on Adam’s page to fix all of my repo problems. Adam, with help from Dan Stone edited the .gitlab-ci.yml to say this:
image: python:3.11-slim


before_script:
  # install Git for the mkdocs revision plugin
  - time apt update && apt-get install -y git
  # Install mkdocs and theme
  - time pip install -r requirements.txt


test:
  stage: test
  script:
  - time mkdocs build --site-dir test
  artifacts:
    paths:
    - test
  rules:
    - if: $CI_COMMIT_BRANCH == $CI_DEFAULT_BRANCH
      when: never


pages:
  stage: deploy
  variables:
    ENABLED_GIT_REVISION_DATE: "true"
    GIT_DEPTH: 0
  script:
    - time mkdocs build --site-dir public
  artifacts:
    paths:
      - public
  rules:
    - if: $CI_COMMIT_BRANCH == $CI_DEFAULT_BRANCH
He also instructed me to create a requirements.txt file in my base repo and input this code:
jinja2>=3.0
markdown>=3.2
mkdocs>=1.4.2
mkdocs-material-extensions>=1.1
pygments>=2.14
pymdown-extensions>=9.9.1
He also instructed me to delete the public folder from my repo and put the docs folder, the mkdocs.yml file, and the .gitlab-ci.yml file. His instructions worked. To upload my website to my gitlab I used the following commands git add . to prepare my edits to commit, git commit -m "Label for commit", and git push to push the files to my repo.
Photo size issue
One issue I was having with my repo was the size of my files, especially my photos. Since some of my photos were taken with my iPhone, they were high quality and very high size. To fix this I put each photo into this photo compressor to reduce the size to a few kb. To reduce the actual size of the images (in pixels) I again used Adam Stones’s instructions and downloaded his repo directory provided in his documentation. I then opened the .cmd file and I got the Windows antivirus warning. I pressed the see more button to override the antivirus to open the command. A few dialogues ran in Python, and the program opened up.
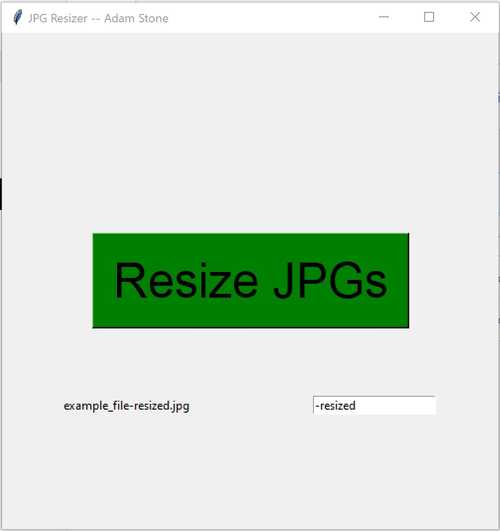
Finally, I chose my photos (in jpg), a folder where they would go, and the program worked perfectly, leaving me with smaller photos.
Project Management
For project management, press here.