Week 15: Wildcard Week
Potato Plastic
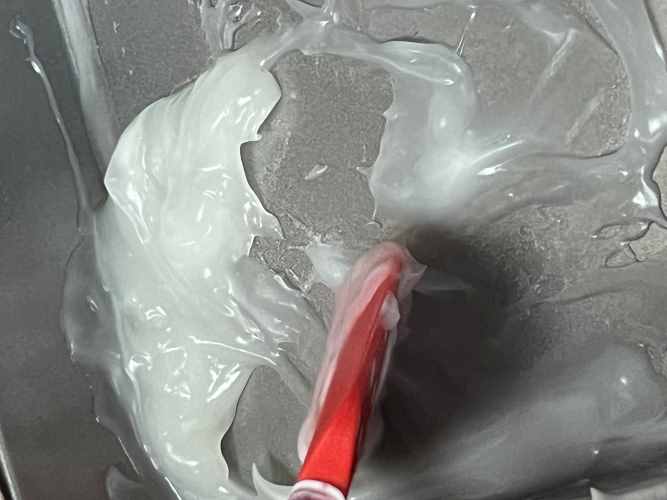
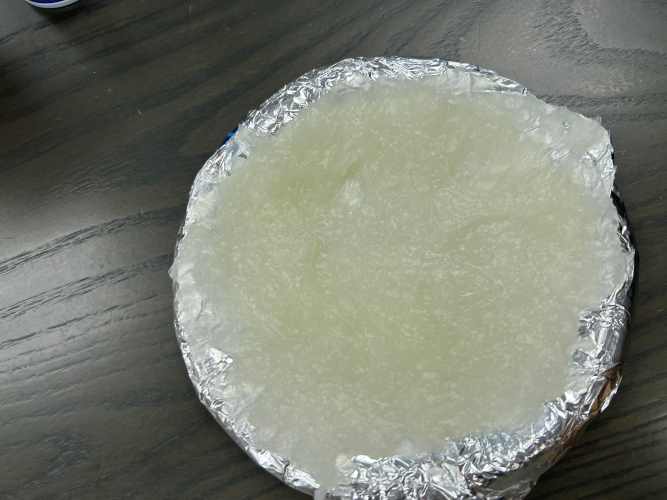
This week I decided to make an acrylic substitute using organic materials. I followed this tutorial. This material was made with starch, glycerin, water, and vinegar. Due to material availability issues, we used corn starch as our starch, corn syrup as our syrup, and white vinegar as our vinegar. The first thing we did was collect the materials. Then we headed to the kitchen to cook the plastic. We put 6 teaspoons of corn starch, 120mL of water, 2 teaspoons of corn syrup, and 2 teaspoons of vinegar in a pan. Then we turned on the heat to low and stirred the mixture together for about 2 minutes. Then we turned up the heat to medium and cooked it until it became a jello-like solid. The result was supposed to be a flexible, non-ripping plastic. Since I used substitutes, the outcome was quite different from the expected one. Then we spooned the material onto a plate covered in aluminum foil. After letting the material dry overnight, it was even more breakable. It had turned into a solid, but it was not the flexible potato plastic it was meant to be.
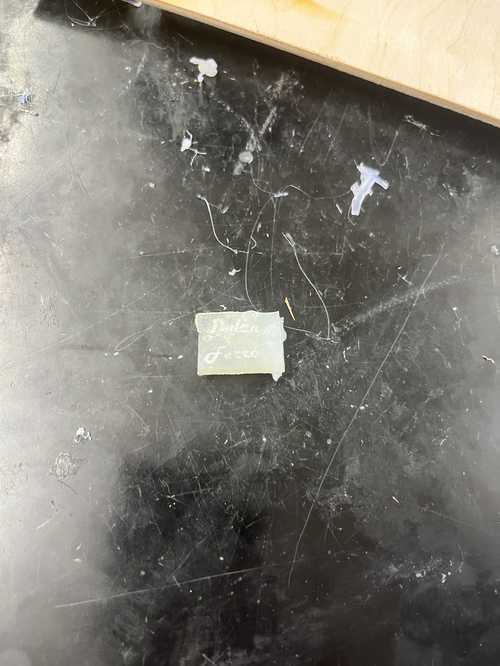
The next day we attempted to laser cut the material. We put the material on a sheet of cardboard in our Epilog Fusion Pro laser. Then I focused the laser using the plunger. I placed the plunger on the top of the material and then left that as the height. Then I created a new file with my name at .5 pt and a box outline with a hairline.
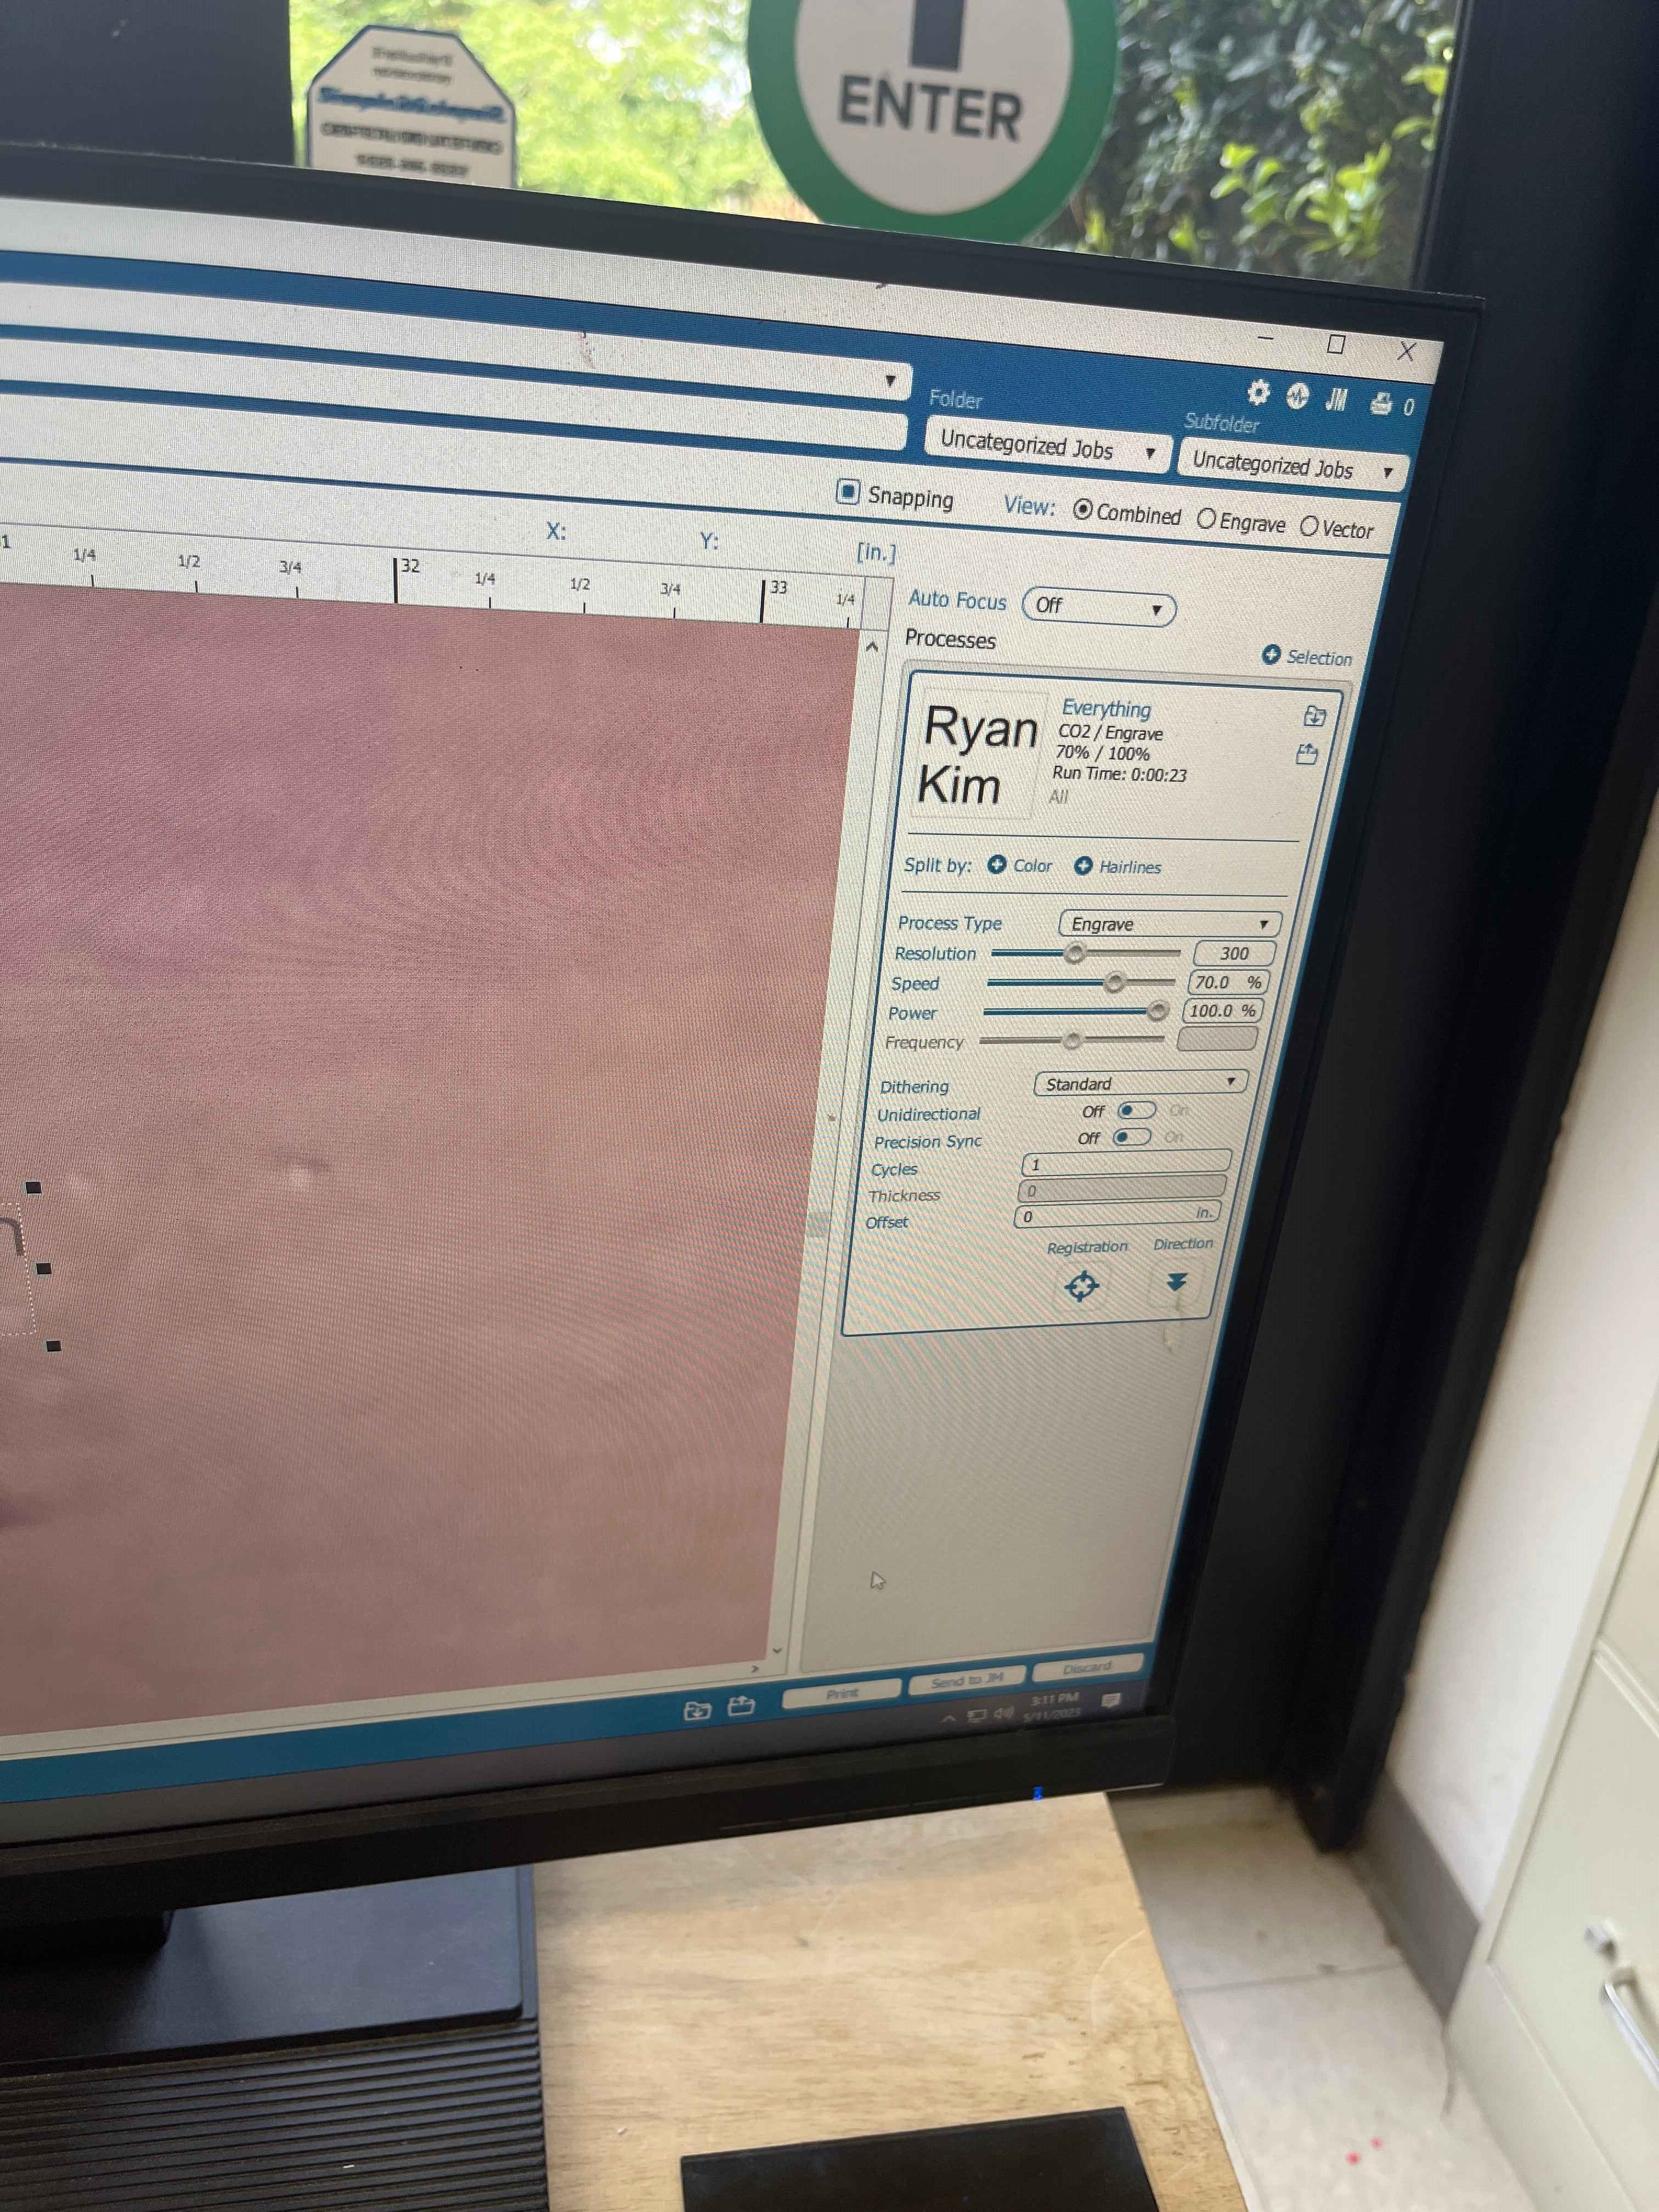
Then I sent the design to the laser. I set the vector and raster settings to comply with the rubber. Since it was most similar to the material we are working with. I set them according to this diagram. After sending the file to cut, I pressed cut and it worked!
Shop Bot Rotary Index
After making the potato plastic and laser-cutting it, I wanted to learn something new. I worked with Ryan Kim, to use the shopbot 3” indexer. to set up the device, I first plugged it into the back of the machine and screwed it onto the bed.
Here are images of the setup.
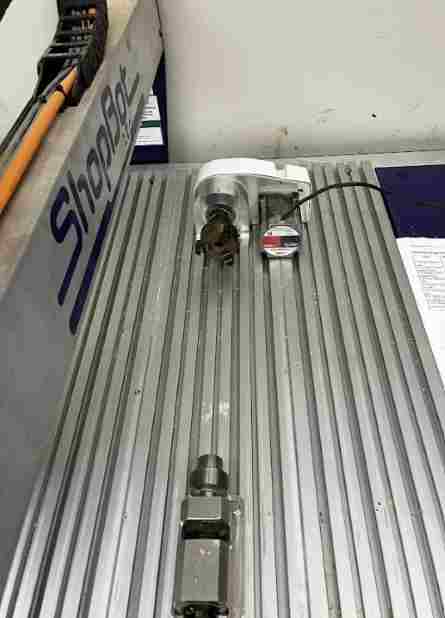
Once it was plugged in, we restarted the Shopbot software and used the command MB 90 to jog the B axis 90 degrees. It worked!
Group Attempt
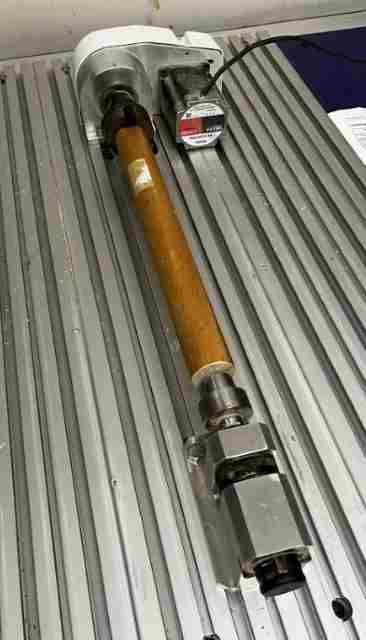
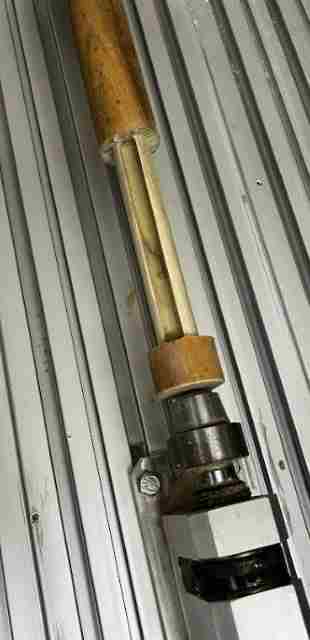
First, as a group, Stuart, Ryan, and I decided to run a test cut. Ryan and I worked on setting up the dowel and hardware aspects. Stuart set up the Aspire file, with simple pocket cuts wrapped around the rotary toolpath. Once we had everything set up, we decided to run an aircut. During the aircut, it worked, the bit moving in unison with the axis rotating. But, after running the real cut, it looked like this:
My Design
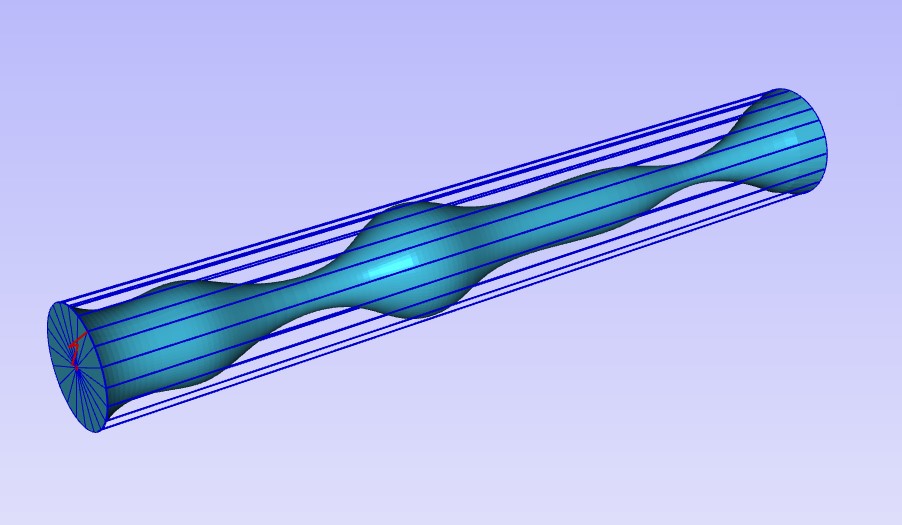
After testing the rotary and thinking it was the design that failed, both Ryan and I designed our things to put on the indexer. I designed a wavy stick to see if it would work. In Fusion I made a fit point spline that way at a maximum of .625 in width and 9 in long. Then I revolved it around the y-axis.
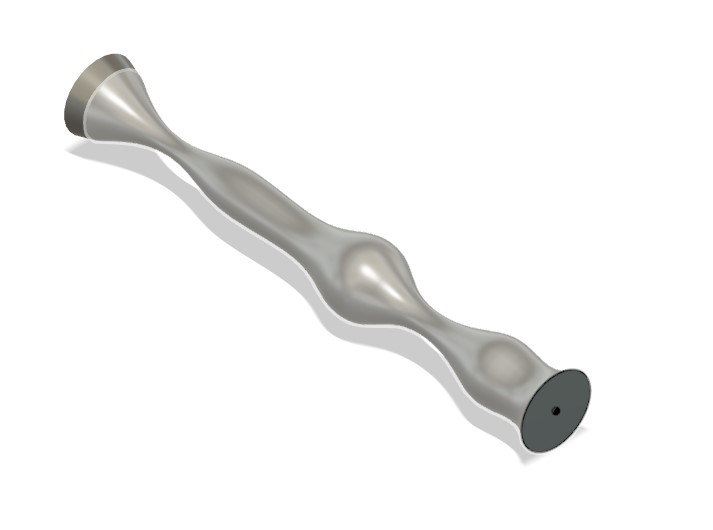
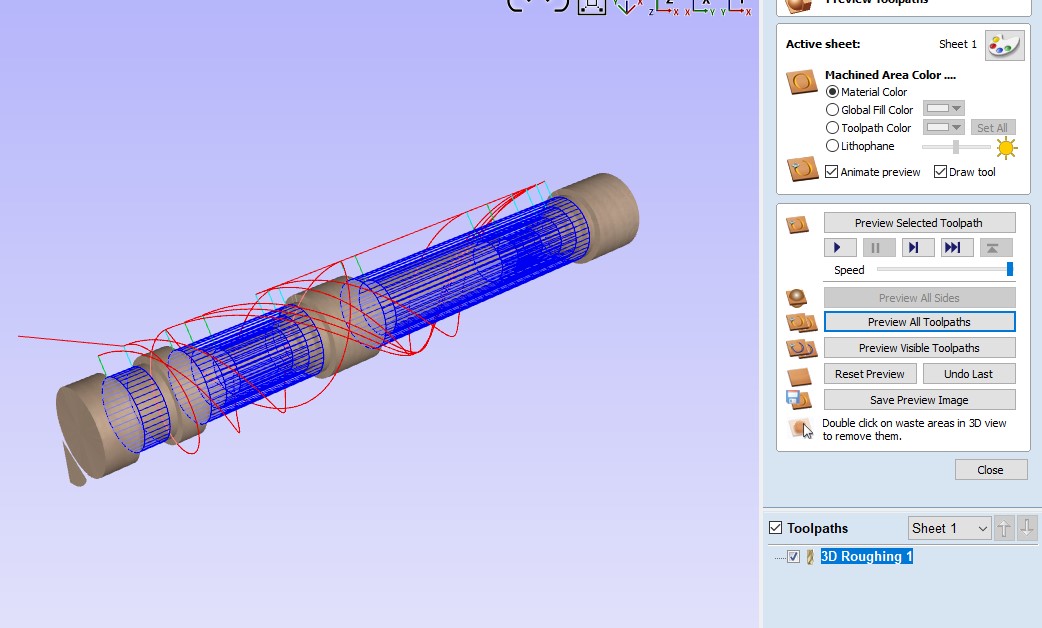
I then imported the STL file into Aspire and created the new file. I then found a dowel, measured the diameter and length, and entered it. For the length, it was around 10 inches, but I put in 9 inches since I had to be sure not to cut into the actual rotating motors. I then created a 3D roughing toolpath and this is what it looked like, I used a 1/4 in a bit.
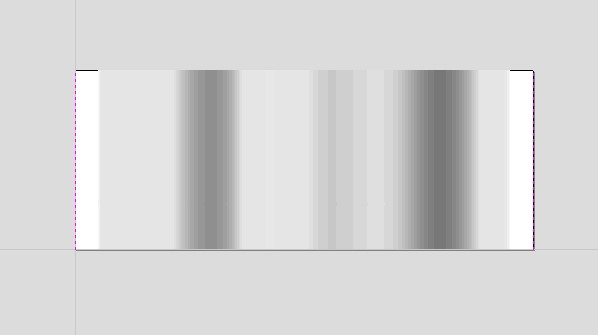
Here is the design in 2D.
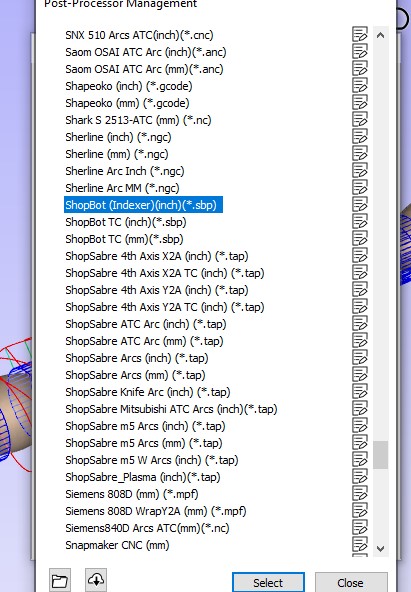
After that, I saved the toolpath using the Shopbot indexer post-processing.
After getting my design file ready, I was going to send it to the machine, but we were having some issues. Ryan’s cut would not work. The toolpath simulation was correct, but the shopbot post pros. must have been outdated. Since Ryan’s cut was not working, I decided to not cut mine and waste more wood.
From this rotary, I learned a lot about how the axis can rotate and the possibilities of a 4 axis machine. I learned a lot about Aspire and its abilities, and I hope to do more with it in the future.
Files for plastic Files for rotary