Week 8: Electronics Production
This week I cut my design that I made in week 6. I chose to do the kicad because I knew how to use it. First I plotted the toolpaths and exported the FCu layer and EdgeCuts layer as gerber files. Then I opened them in the bantam tools software for my lab’s othermill desktop pro. I chose the FCu layer as the top layer and the EdgeCuts as the outline. Then I chose my tools, I used a 1/32 flat endmill, a 1/64 flat endmill, and a 0.005 PCB engraving bit for the small parts.
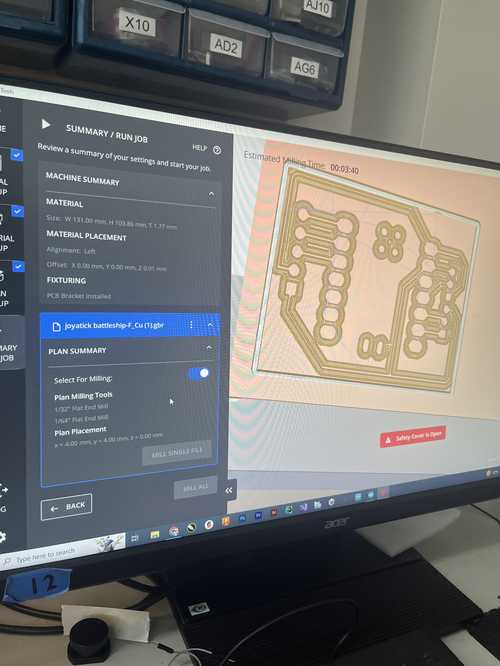
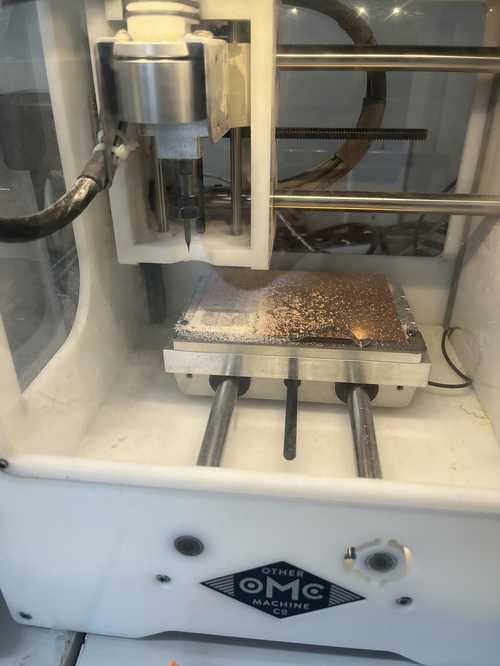
Next, I inserted the copper sheet into the bed by placing 3 strips of nitto tape and sticking it to the bed making sure to line up the bottom left edge. After attaching the copper sheet to the bed I added a .01 mm offset because of the thickness of the tape that would offset the copper from the plate of the machine.
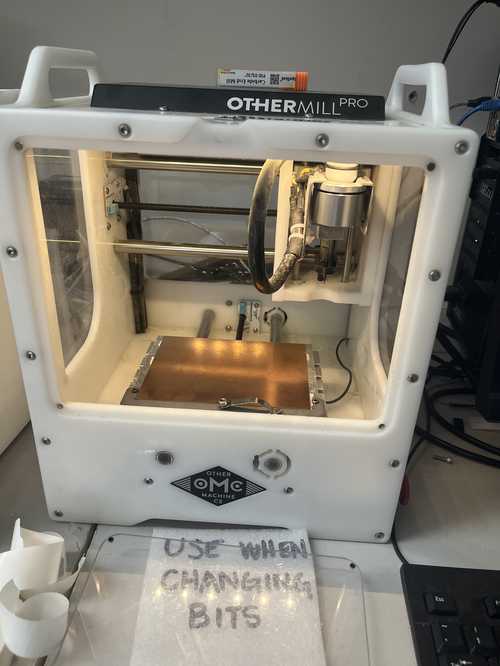
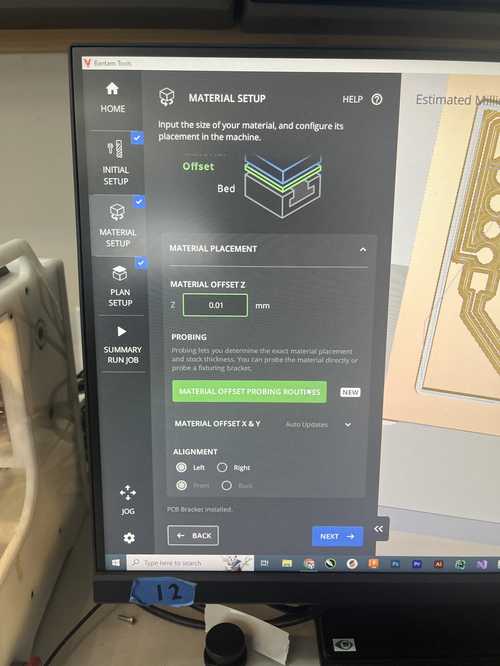
Then I attached the clip to the copper sheet to make it conductive for the z-plate probing. I then probed the height and got a 1.8 mm sheet thickness which sounded right. Then I double-checked that the design had no offset since I was milling on the bottom left corner and sent the design to the machine to be cut. Since the machine had the 1/32 end mill in the spindle, it prompted me to change it. I unscrewed the 1/32 endmill and inserted the .005 pcb engraving bit.
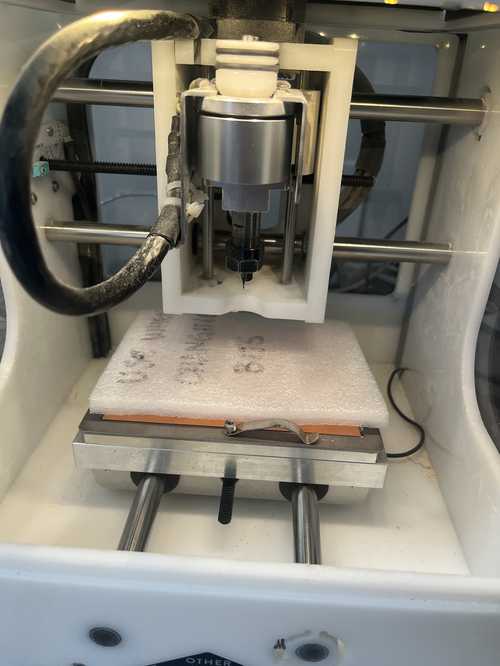
I did this two more times, switching the bit when instructed. After the cut was done, I vacuumed the extra shavings away from the board and then pulled it off the plate.
Next, I grabbed what I would need to solder it, 2, 3-pin headers, a 5-pin header, and the Seeed XIAO RP2040. Then I soldered them on with my soldering iron and plugged in the device to make sure it wasn’t shorting.
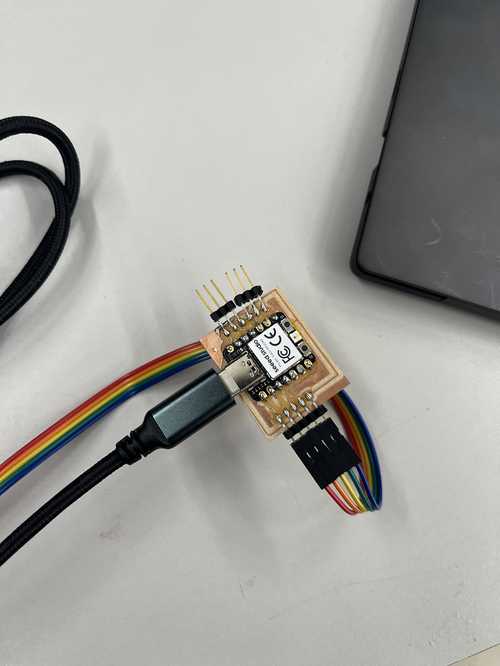
Then I plugged in the joystick and tested it here at my week 4 micropython work.
Group Work and Files
Here is my group work and here are my files. This week I imported the files to cut the test strip and milled out the 1/64 inch bit test strip. Since I did the first milling job, I helped the rest of my group by helping them choose the setting and getting them started on the milling process.