Week 12: Molding and Casting
This week I molded and cast a two-part mold of a ring. First I chose my materials, The smooth on Moldstar 16 Fast for my mold, and Task 8 for my resin. I would also be milling from our labs Bantam Tools Desktop CNC with wax. I used fusion 360 for my designing software.
Fusion
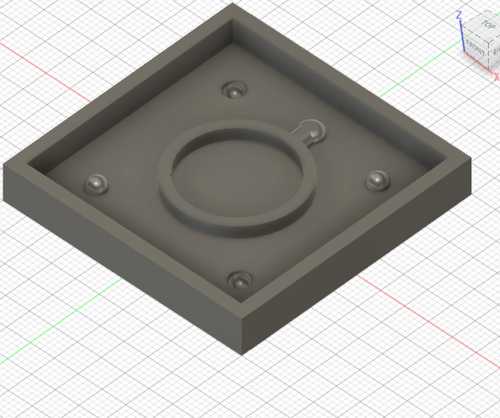
In fusion I designed my ring by creating two circles then I extruded the outline. Next, I added a small diamond-like tip for texture, this would also act as my pour spout. Then I created a box the size of my wax and used the combine feature to combine them. Then I created a sphere 4mm in diameter on the corner. Then I did a rectangular pattern to make the spheres appear in all four corners.
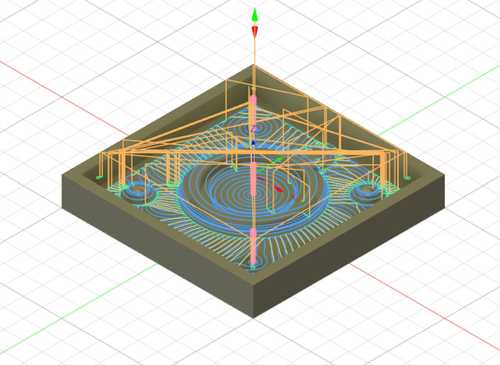
Next, I opened the manufature Workspace and selected and added a new tool library, this library has the correct bits for machining wax. I used the 1/8 in rounded bit. I created a new setup with a relative size stock with a 0mm offset. Next, I created an adaptive clearing toolpath with the 1/8 rounding bit. I used the standard settings. Here is what the toolpath looked like.
Next, I created a new NC program with the Bantam tools post-processing.
Milling
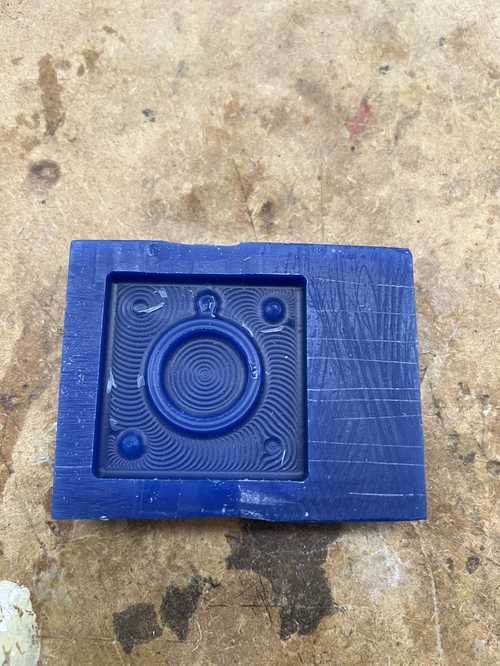
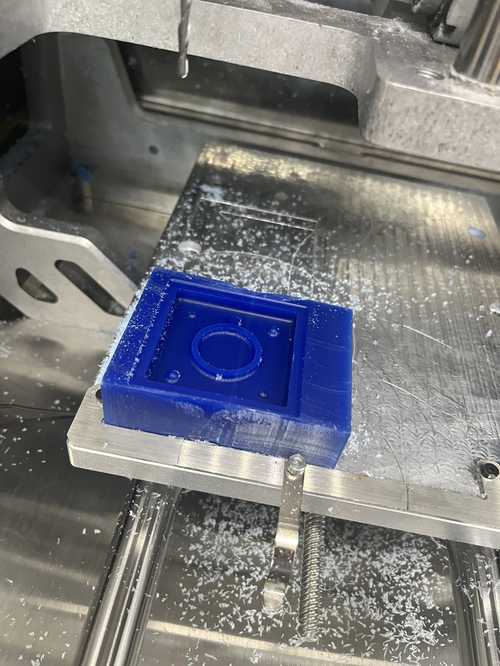
The first thing I did to mill was get a piece of wax in my lab. Next, I applied nitto double-sided tape to the bottom of the wax and stuck it on the bottom left of the mill.
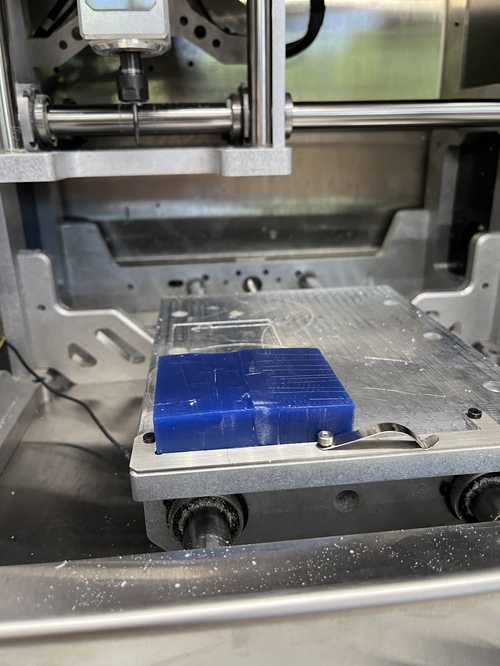
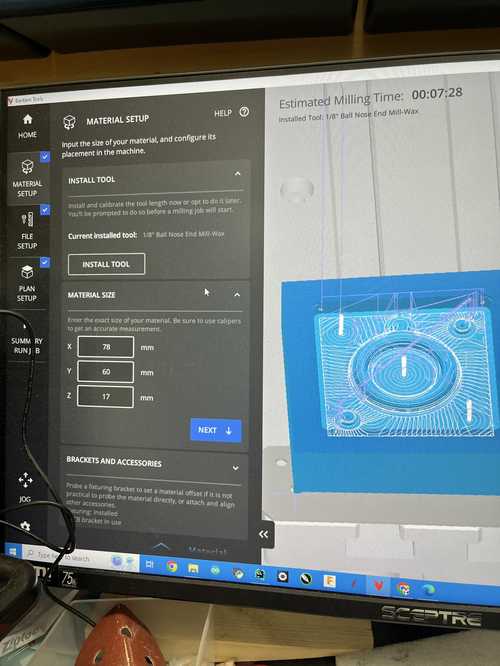
Next, I opened the bantam software and uploaded my file. Then I set up the material by measuring the block of wax with calipers. Then I selected the tool as a 1/8 in round bit and I zeroed the tool from the bed.
Next, I started the toolpath and waited for it to be done milling. Once it was done milling, I vacuumed the wax shavings.
Casting my Mold
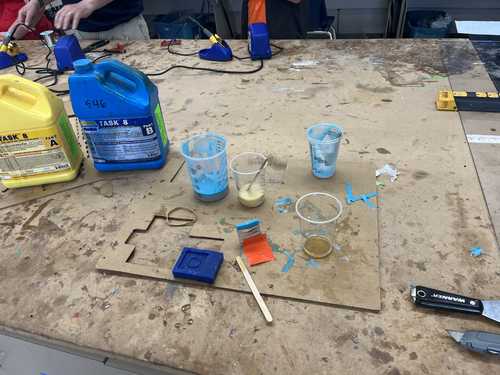
Then I cast my mold, which I used smoothly on moldstar 16 Fast.
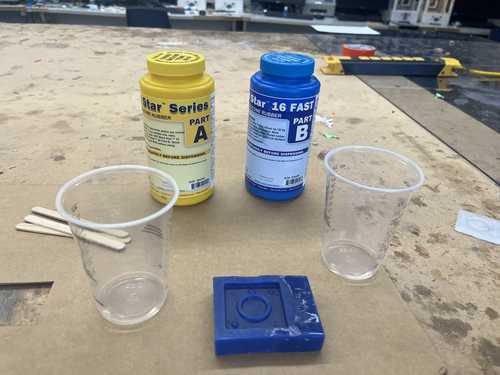
I poured 30 ml of parts A and B into separate cups. Then I added part B to part and and gently mixed for a minute, Then I let it rest for another minute for the bubbles to rise. After that, I poured it into the wax and waited 30 minutes, the cure time. Then I pulled the mold out of the wax mold and did the same process again until I had 2 molds.
Casting the Ring
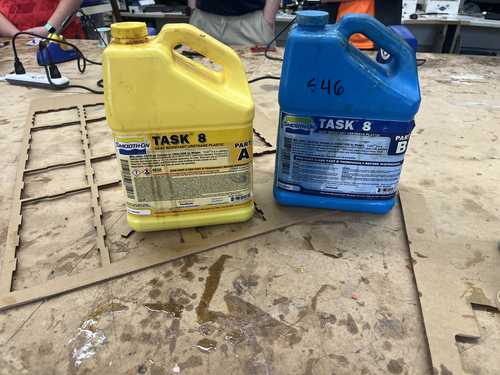
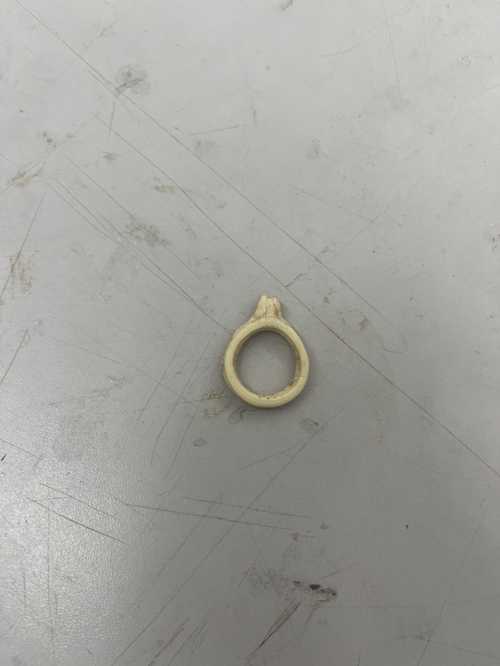
I cast the ring smoothly on task 8.
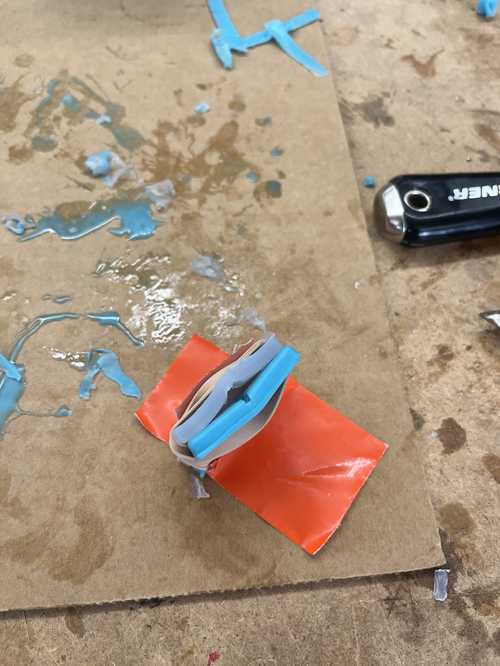
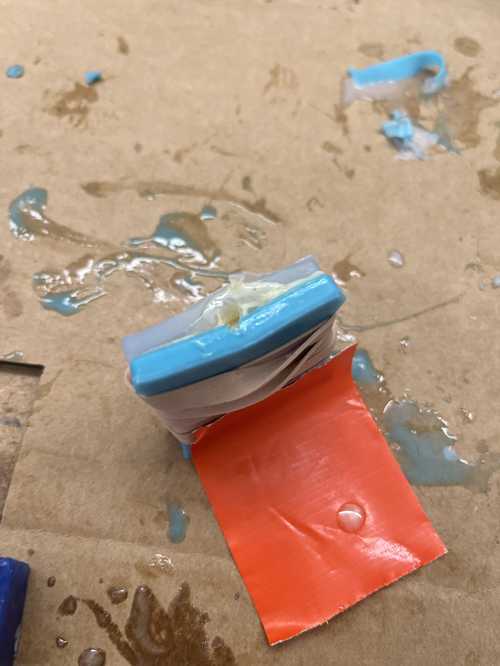
I Prepared the mold by rubber banding the two side of the molds together.
I prepared the resin by adding 30ml of part A and part B to separate cups then I poured them together and mixed gently for about a minute then I poured it into the mold.
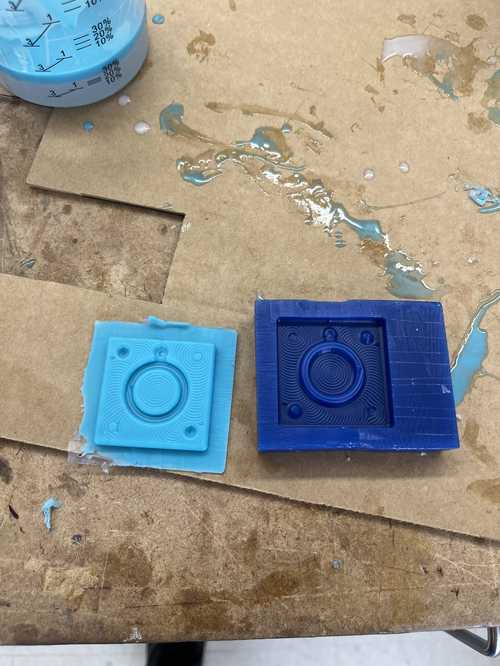
After the ring was done curing, I pulled the molds apart and pulled out the ring.
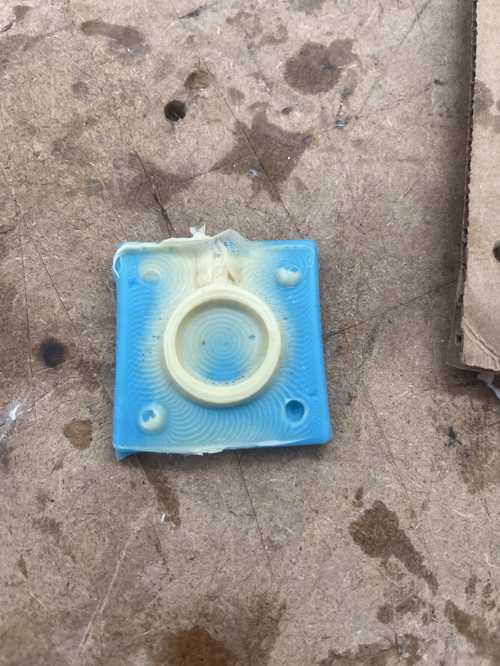
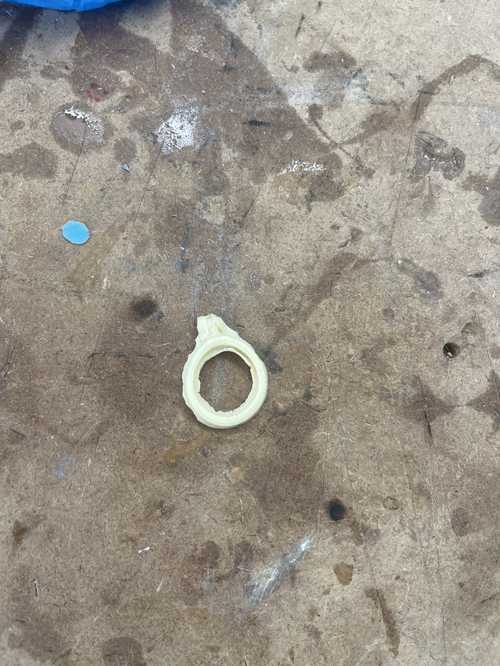
Then I sanded it since there was a small amount of spillage. This gave me a great-looking ring.
Finishing Pass
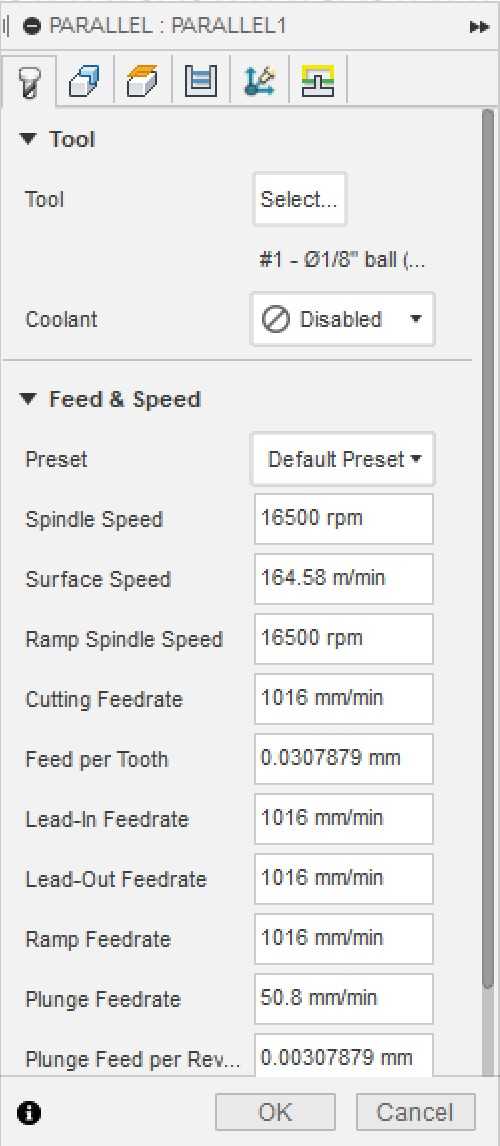
Initially, I forgot to do a roughing and a finishing pass. So I went back to my fusion design, fixed the bits, and added a second toolpath. First I fixed the first toolpath to have a 1/8 in flat end mill rather than a ball nose. Then I created a new Parallel toolpath with a 1/8 ball nose for finer details.
I then did the same process of creating a nc program to mill out the wax. Then I opened the file in bantam tools, inserted the 1/8 flat-end mill, and milled the roughing pass.
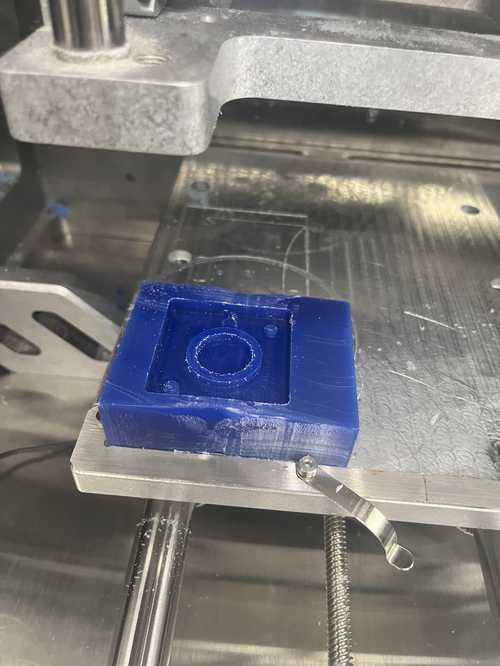
Then when directed I changed the tools to the 1/8 in ball nose and did the fishing pass. This is how it turned out.
This week’s files.
In this week’s group work, I went through the datasheet for Moldstar 31T. I found its cure time, pot life, and some of the safety warnings for it.