Individual Assignment
Design and 3D print an object (small, few cm3, limited by printer time)that could not be made subtractively.
3D scan an object (and optionally print it)
Group Assignment
Test the design rules for your 3D printer(s)
Learning outcomes
- Identify the advantages and limitations of 3D printing.
- Apply design methods and production processes to show your understanding of 3D printing.
- Demonstrate how scanning technology can be used to digitize object(s).
Design and 3D print an object that could not be made subtractively.
For this assignment I decided to make a model that could not be made subtractively and that could also be used to determine the amount of offset needed to get movement on a 3d model. This model could not be made subtractively because it has an internal axis and internal through-holes. I used Tinkercad because it is easy and fast.
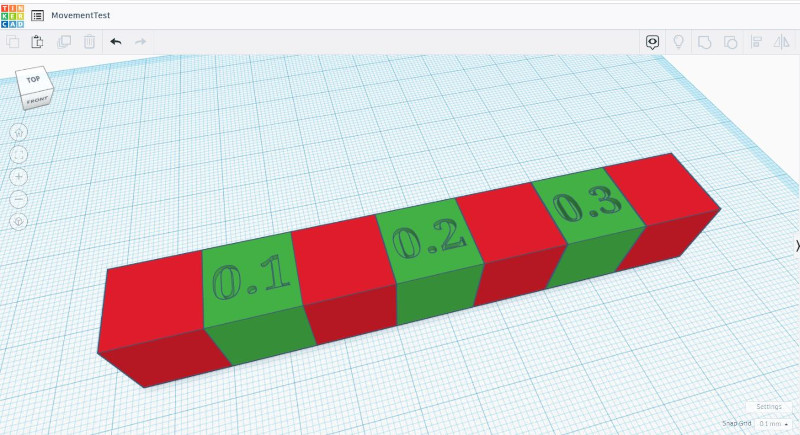
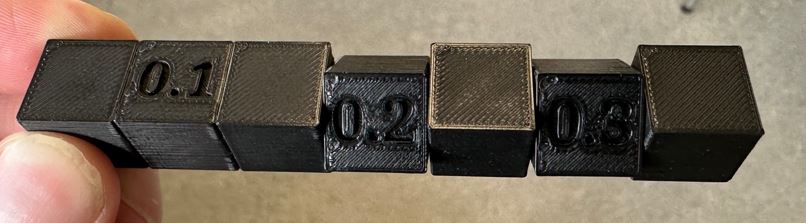
I created 7 cubes, each 15mm wide and 15mm long. I created a 0.1mm offest between the first, second and third cube, 0.2mm offset between the third, fourth and fifth cube and finally 0.3mm offset between the fifth, sixth and seventh cube. I linked the first, third, fifth and seventh cube with a 5mm cylinder going through the center of the cubes. For the second cube I made a 5.2mm hole going through the center of the cube giving it a 0.1mm offset from the cylinder. For the fourth cube I made a 5.4mm hole giving it a 0.2mm offset from the cylinder. Then finally for the sixth cube I made a 5.6mm hole giving it a 0.3mm offset from the cylinder. I then exported the model as an STL file and imported it into PrusaSlicer. I then sliced the model and printed it.
After printing the 0.1mm cube did not budge at all, the 0.2mm cube did move bit it was a bit rigid at first, the 0.3mm cube moved a bit more freely and the 0.4mm cube moved the most freely. This gives me the conclusion that at least 0.2mm offset is needed between models so they do not get fused together.
This calibration model can be used to test what tolerance is nedded between models before they get fused together and to see if 15.6mm bridging works.
This model was printed on a Prusa i3 MK3S+
3D scan an object (and optionally print it)
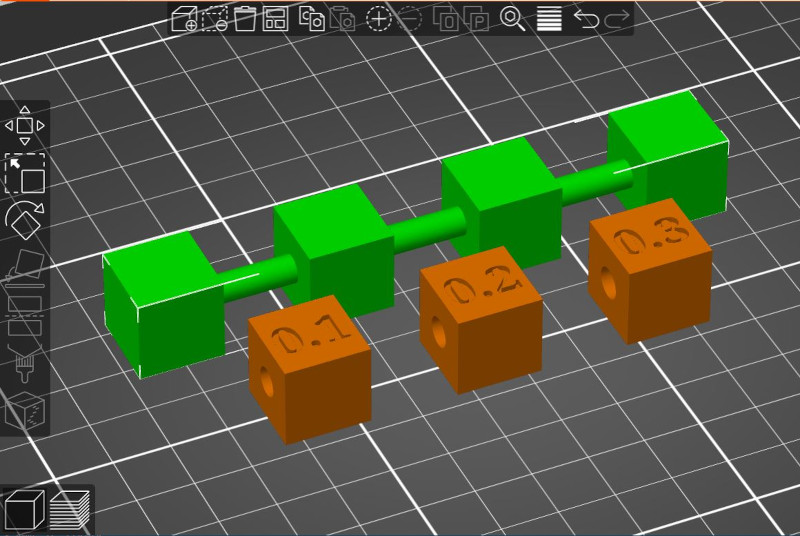
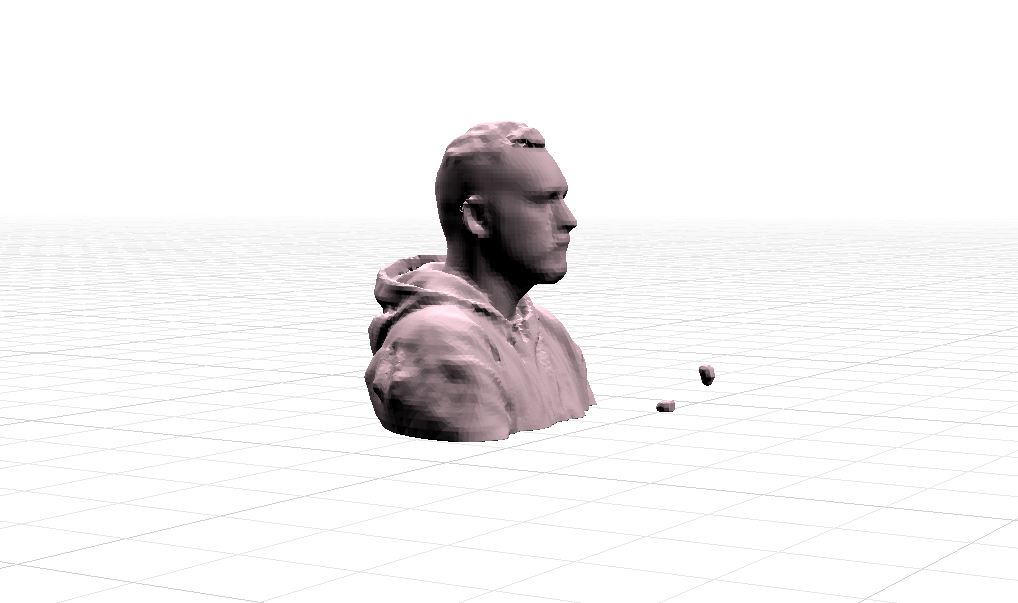
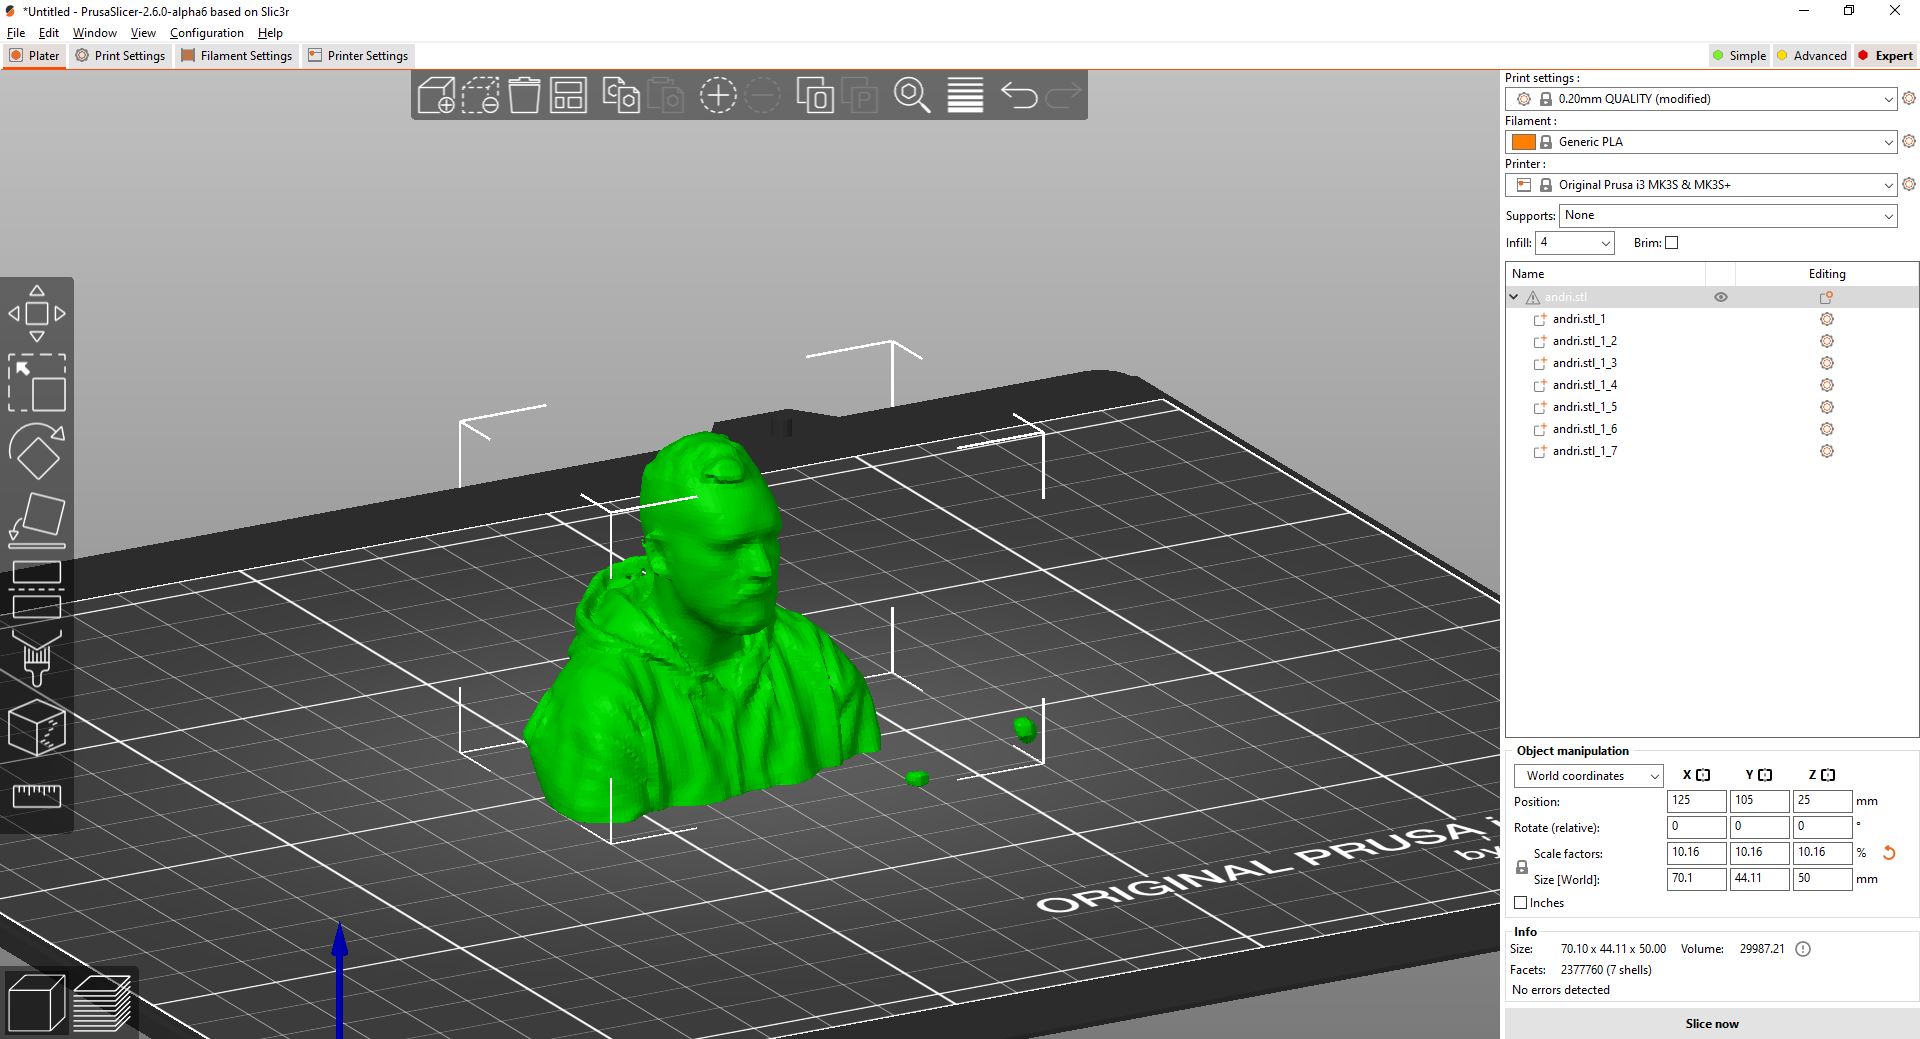
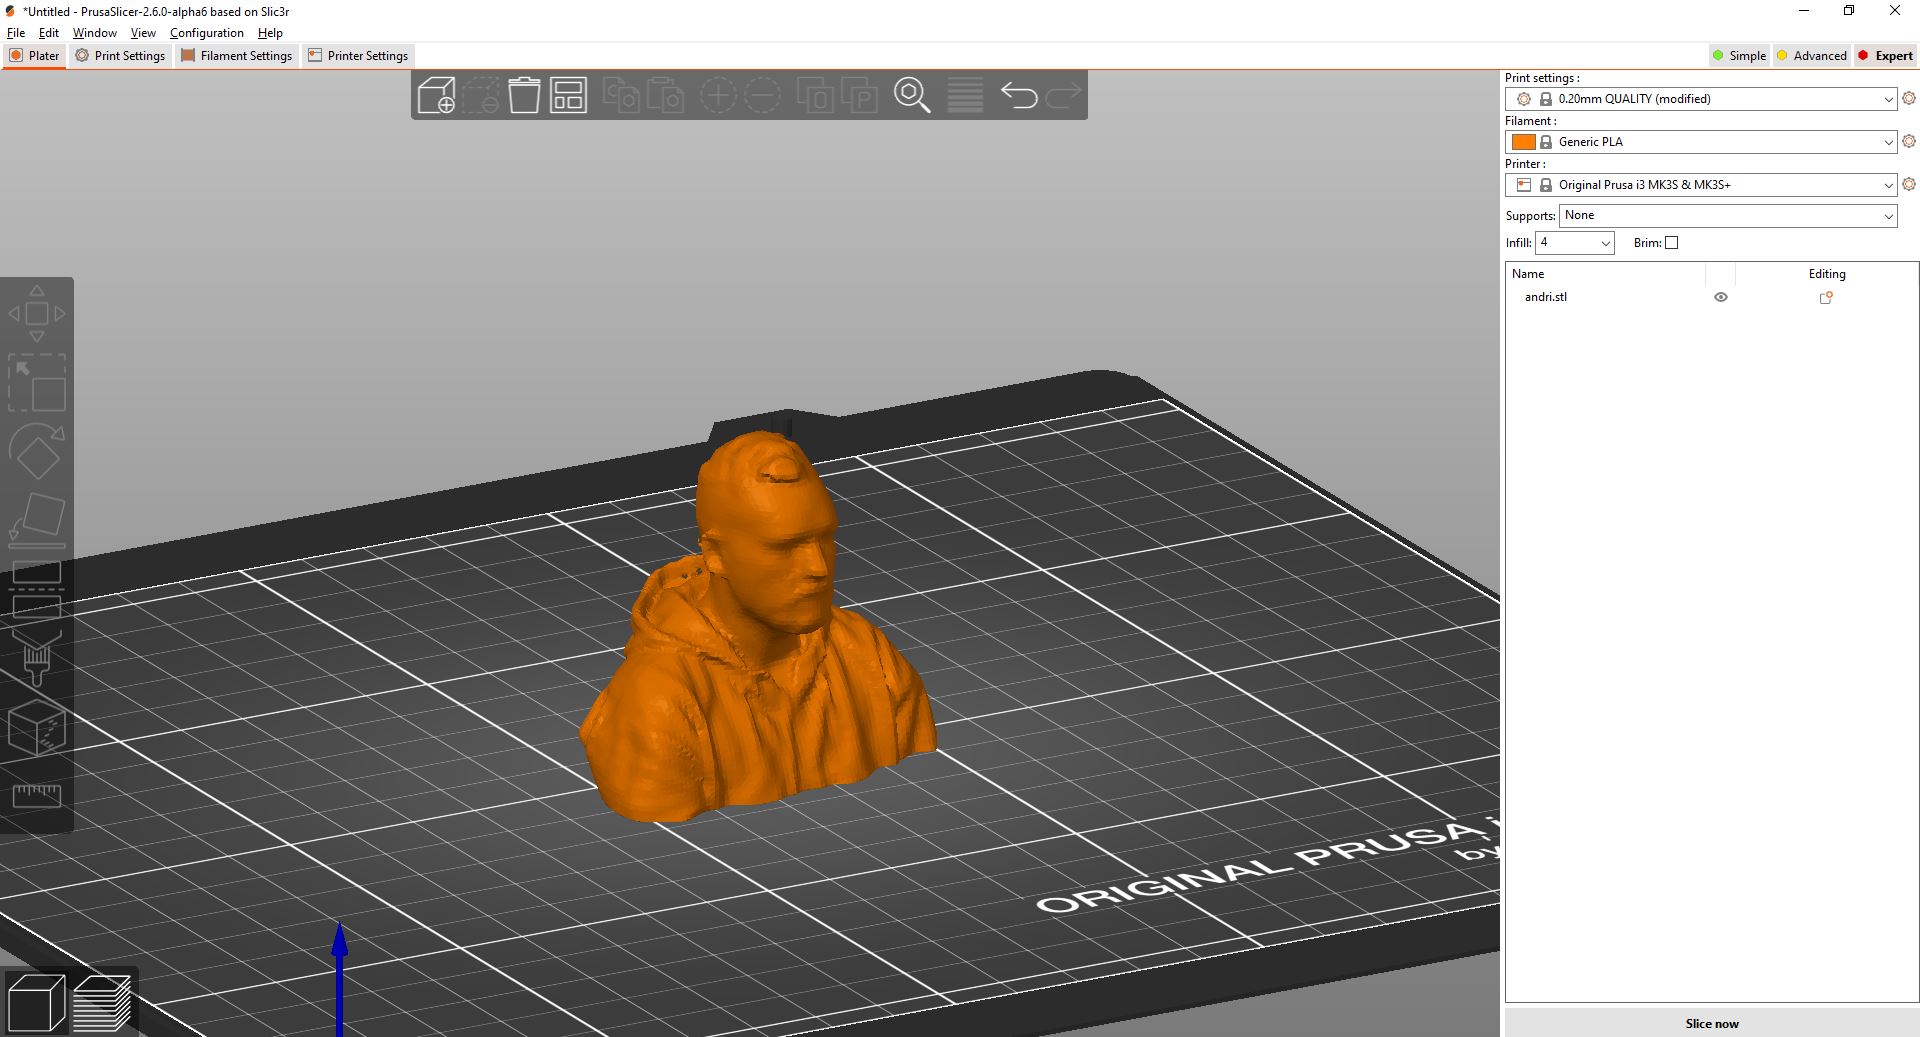
I 3D scanned myself using a XBOX 360 Kinect and ReconstructMe software. I saved the model as .STL and imported to PrusaSlicer and cleaned up the extra artifacts that were accidentally scanned in. I sliced the model but did not 3d print.
In the ReconstructMe application I used the following settings.
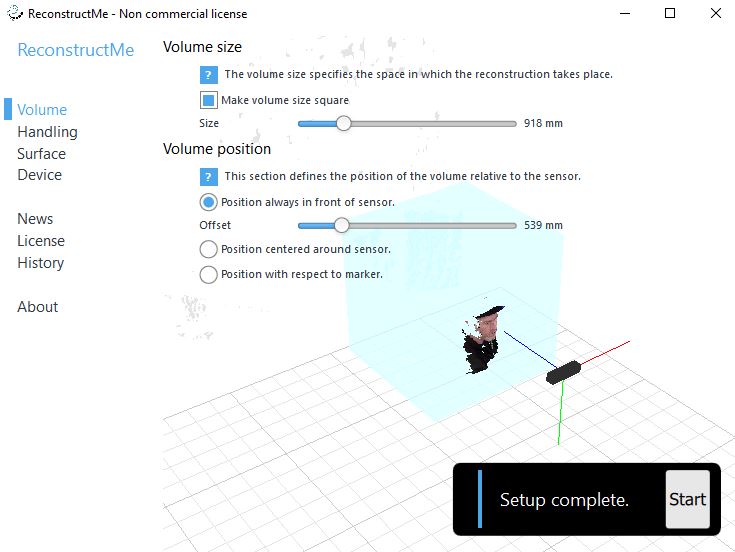
Once I was all setup I hit the Start button to begin the scanning. On a swiveling chair I turned one full rotation while the Kinect scanned.
ReconstructMe
PrusaSlicer
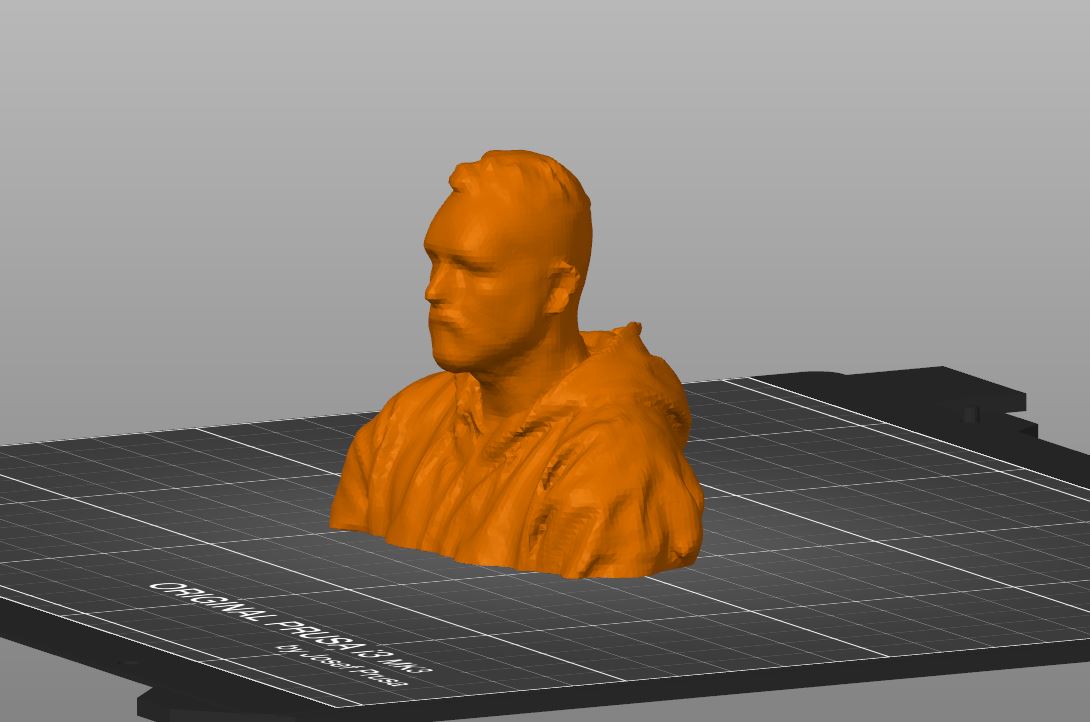
The extra artifacts that came with the 3d scanned model were removed in PrusaSlicer. In PrusaSlicer i hit the Split To Parts button and deleted all unwanted artifacts.
PrusaSlicer model with artifacts
PrusaSlicer model without artifacts
Group Assignment
Test the design rules for your 3D printer(s)
For our group project me and Hafey did a comparison of Fab Lab Reykjaviks 3D printers with different calibration models. Link to group assignment..
For my part in the group project I used the 3d project described above to figure out how close object can be to one another before fusing together
I created 7 cubes, each 15mm wide and 15mm long. I created a 0.1mm offest between the first, second and third cube, 0.2mm offset between the third, fourth and fifth cube and finally 0.3mm offset between the fifth, sixth and seventh cube. I linked the first, third, fifth and seventh cube with a 5mm cylinder going through the center of the cubes. For the second cube I made a 5.2mm hole going through the center of the cube giving it a 0.1mm offset from the cylinder. For the fourth cube I made a 5.4mm hole giving it a 0.2mm offset from the cylinder. Then finally for the sixth cube I made a 5.6mm hole giving it a 0.3mm offset from the cylinder.
The results from this test shows that it depends on what type of printer you use. The Prusa printers performed better than the Ultimaker and Creality. When objects are 0.1mm to one another they fuse together on all printers, except the Creality but we suspect the Creality is underextruding. When the gap between objects is 0.2mm they did not fuse together on the Prusa but the Ultimaker fused the cubes together. When the gap between objects was 0.3mm none of the printers fused the models together so in conclusion you need at least 0.2mm gap between objects if you are printing on a Prusa and to be safe you should have at least 0.3mm gap if printing on the Ultimaker.