Individual Assignment
Design and produce something with a digital fabrication process (incorporating computer-aided design and manufacturing) not covered in another assignment, documenting the requirements that your assignment meets, and including everything necessary to reproduce it.
Design and produce something...
Recycling Plastic
For this week I wanted to try a bunch of things. First, I wanted to try recycling plastic. In Neil´s lecture he mentioned Precious Plastic and I remember seeing Precious Plastic at the Bali Fab Fest and since then I have wanted to try melting and forming plastic for myself.
Precious Plastic is an open hardware plastic recycling project and is a type of open source digital commons project. The project was started in 2013 by Dave Hakkens and is now in its fourth iteration. It relies on a series of machines and tools which grind, melt, and inject recycled plastic, allowing for the creation of new products out of recycled plastic on a small scale.
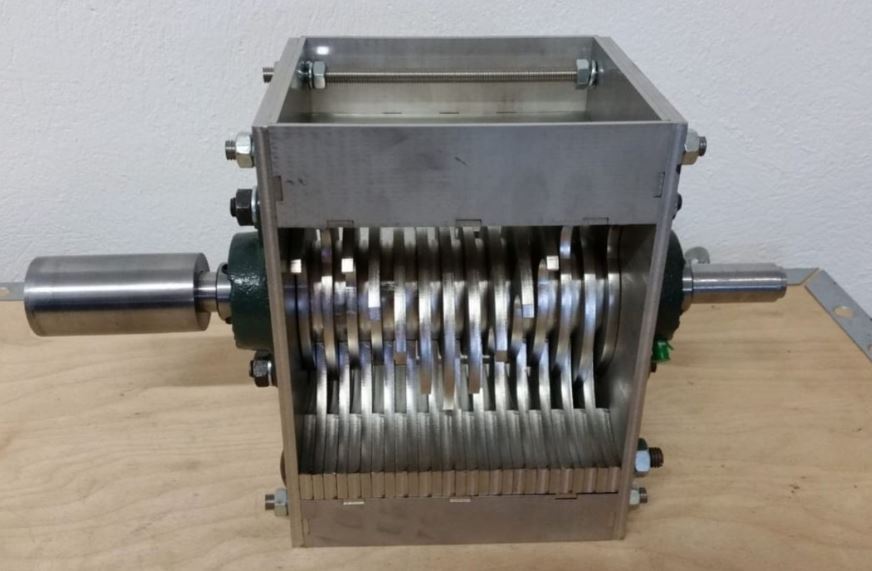
Precious Plastic Shredder
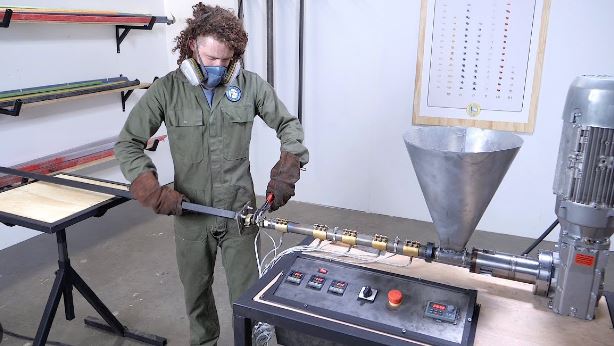
Precious Plastic Extrusion
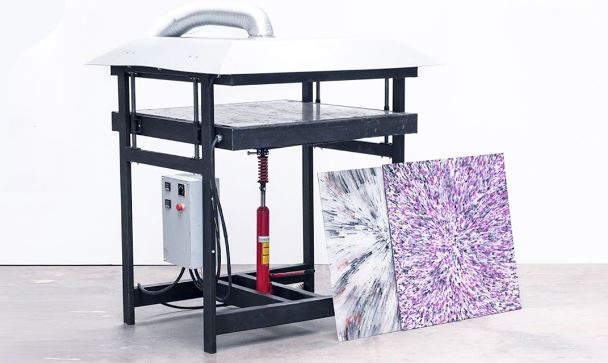
Precious Plastic Sheetpress
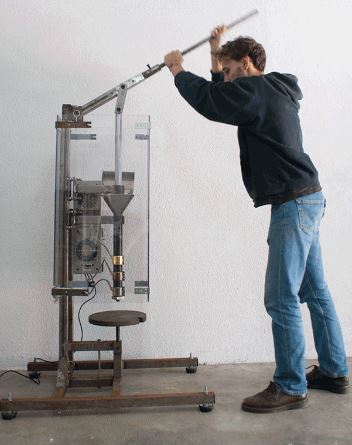
Precious Plastic Injection
If I had the time and resources I would love to build the Precious Plastic hardware such as the Shredder, Extrusion, Sheetpress, and Injection machines but for now I will focus on making a small sheet of plastic made from used plastic containers.
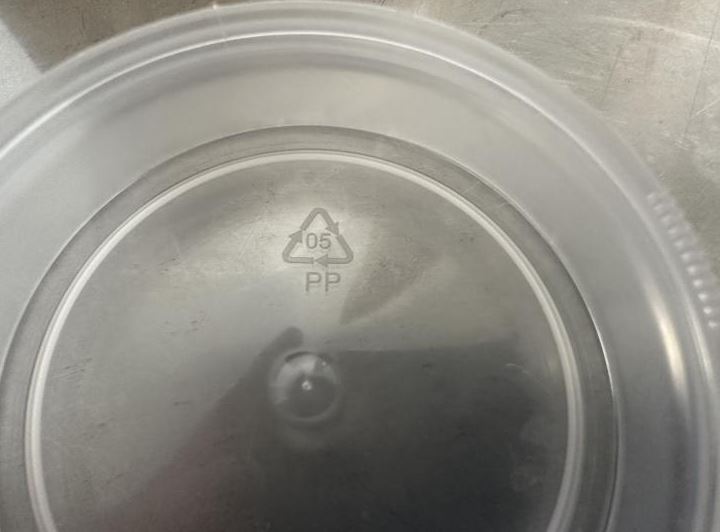
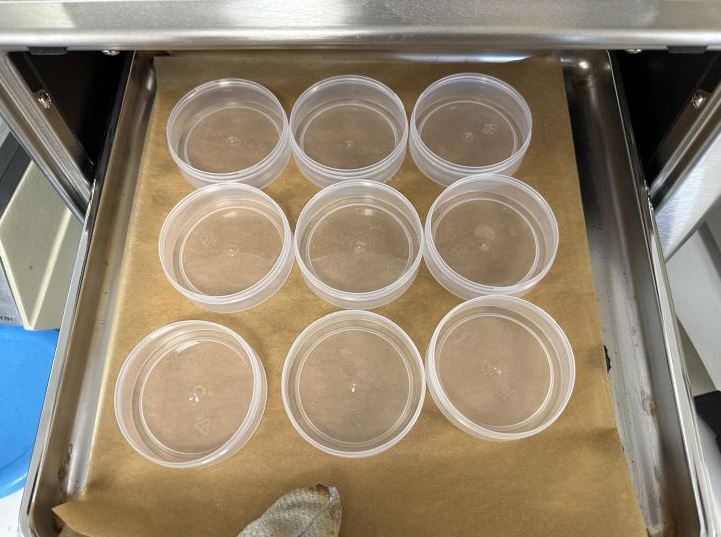
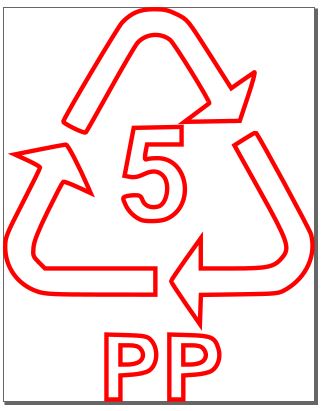
The first part was collecting plastic to recycle. I have been collecting these nicotine puch containers for a while because it is made from Polypropylene 5 (PP5) which is considered to be the safest of all plastics, this is a robust plastic that is heat resistant. Because of its high heat tolerance, Polypropylene is unlikely to leach even when exposed to warm or hot water. This plastic is approved for use with food and beverage storage.
Plastic containers
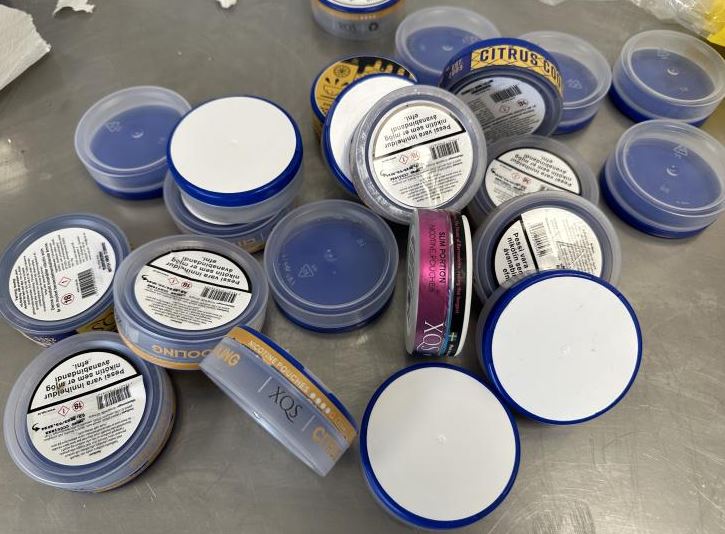
Plastic cleaned and sorted by color

PP5
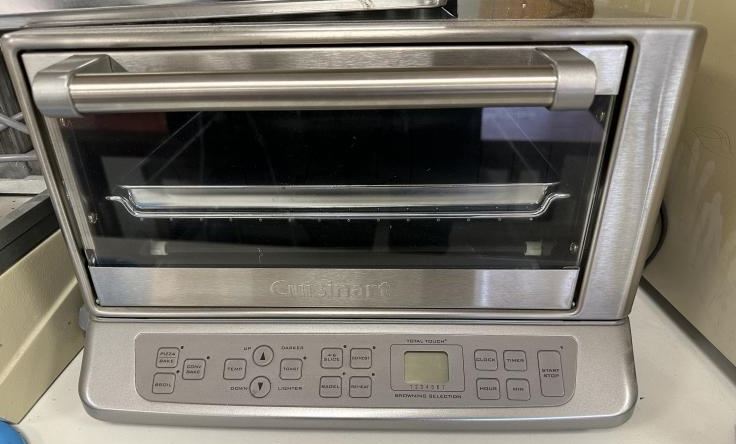
To heat up and melt the plastic I used a toaster oven. Online I found conflicting numbers on the melting point of PP5 plastic but ended on using 300°F.
I started with some tests. I took one piece of each color and melted. It took about 10 minutes to fully melt at 300°F. Once the pieces were melted I scraped everything together into a small ball, placed in-between parchment paper and hand pressed between two pieces of wood.
Plastic Hand Press
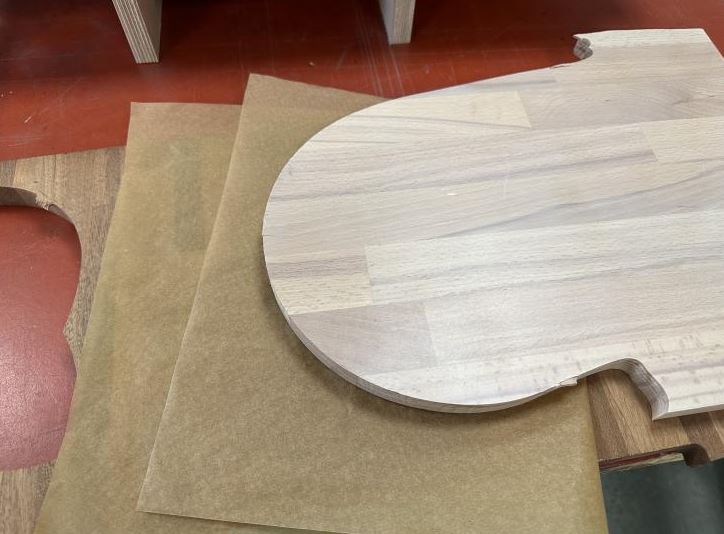
Plastic Press Test
Now that I had done some tests I needed a mold to make a bigger plastic sheet. In VCarve I made a simple rectangle design that could be milled in wood.
Plastic mold
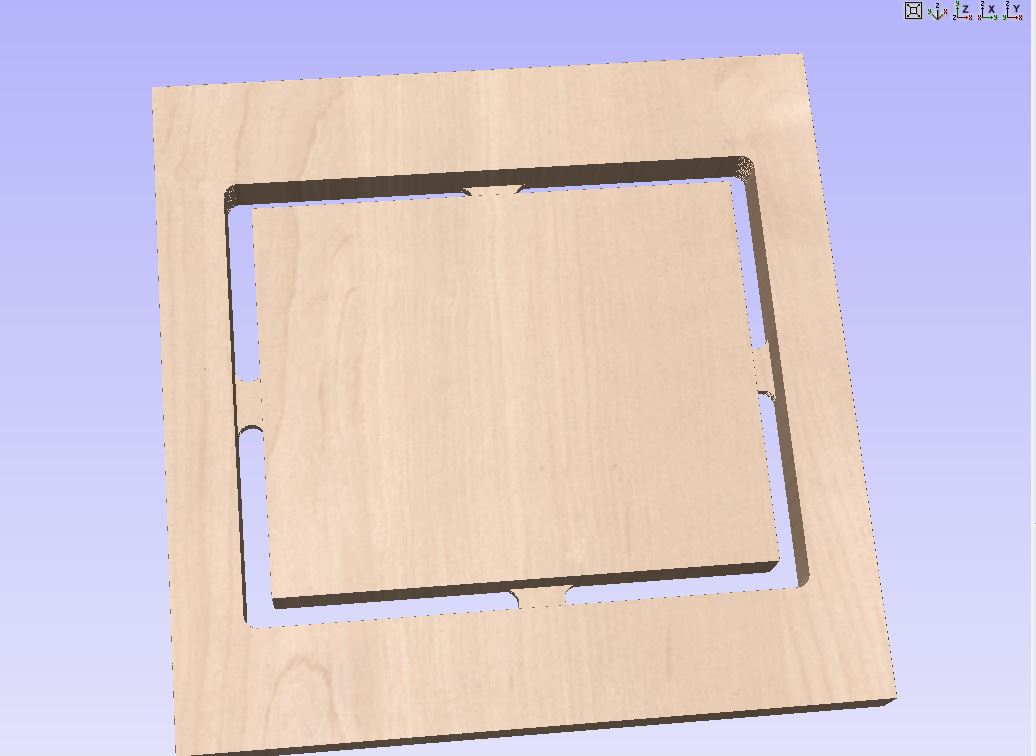
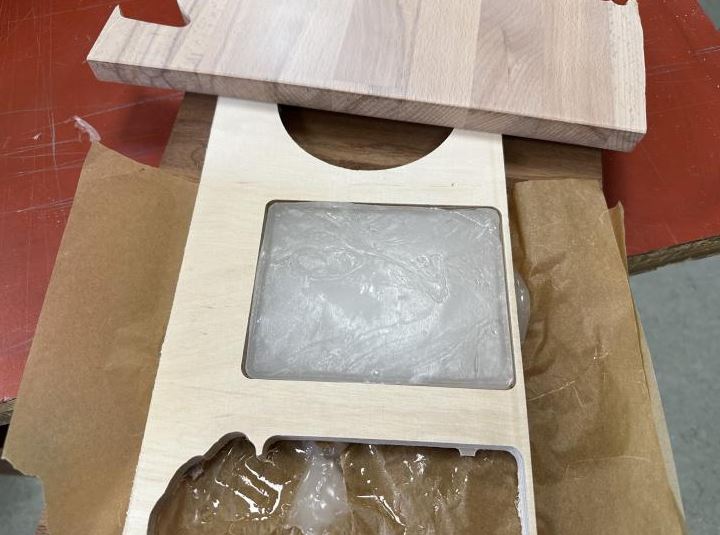
Instead of milling this mold I found a leftover piece with the perfect size cut-out so I used the leftover piece to save on inventory.
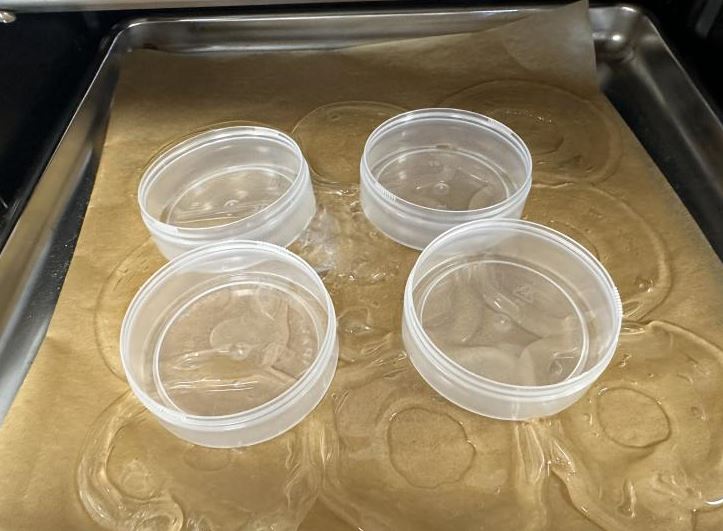
I went ahead and lined the baking sheet with the plastic pieces and started melting away. Once one layer was melted I kept adding more layers.
Unmelted plastic
One layer of melted plastic
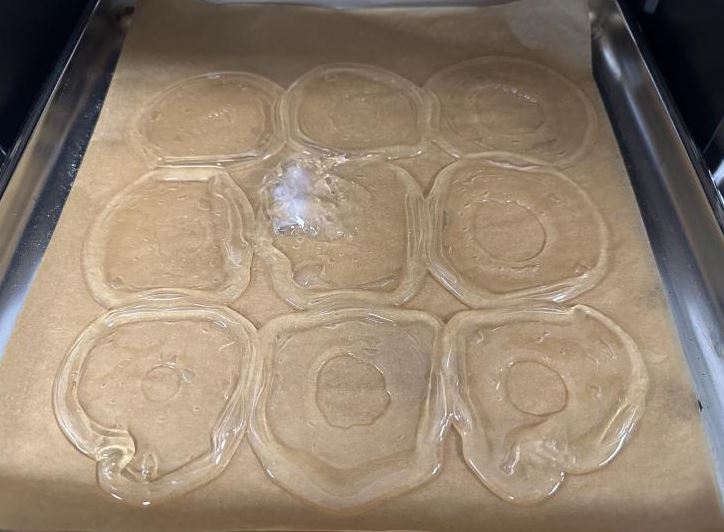
Adding more plastic to melt
Once I had melted down 20 containers worth of the clear plastic I scraped everything into a large ball and heated again for about 10 minutes. I re-heated because I noticed the plastic was starting to solidify. Once I had the large ball to a point I thought was melted enough I placed the blob into a mold and pressed between two pieces of wood.
Large blob of melted plastic
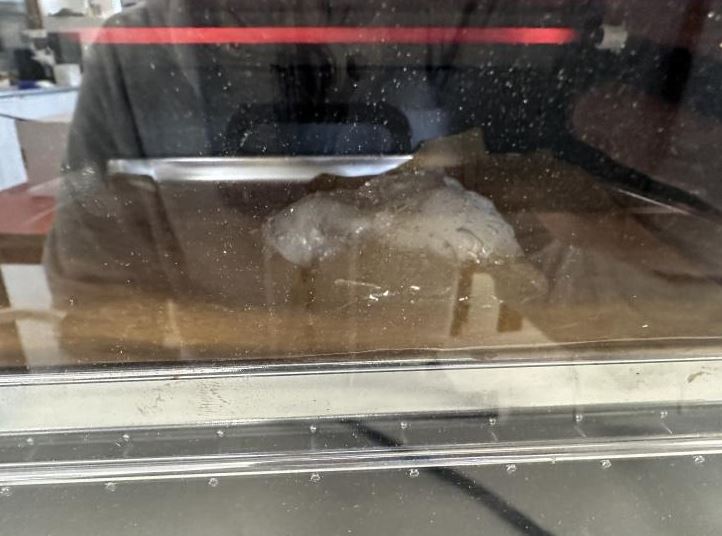
Melted plastic in mold
Pressing
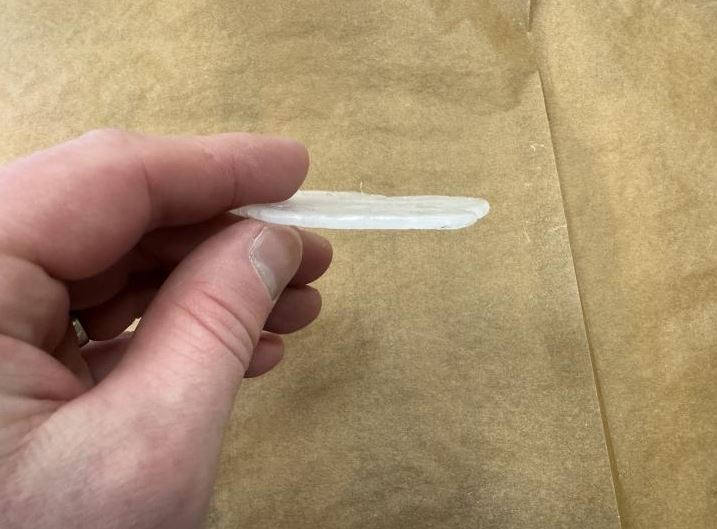
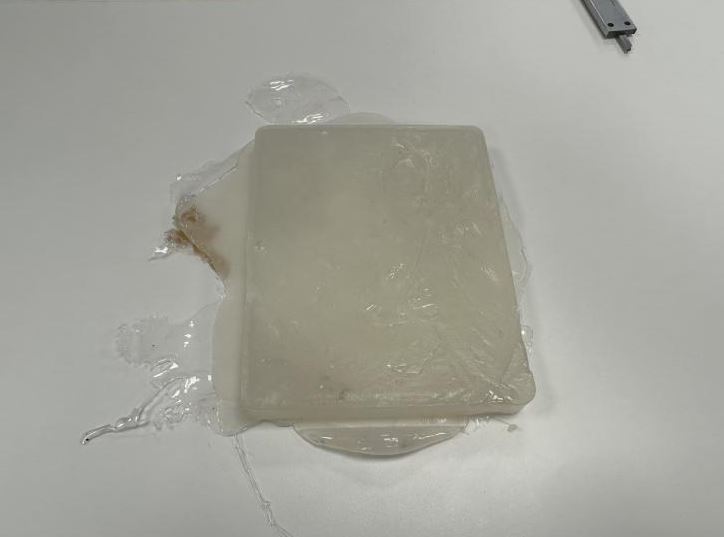
I went for lunch and when I got back I released the clamps. The plastic had molded pretty well and was a solid piece of plastic, relatively smooth on all sides.
Opening the mold
Plastic out of mold
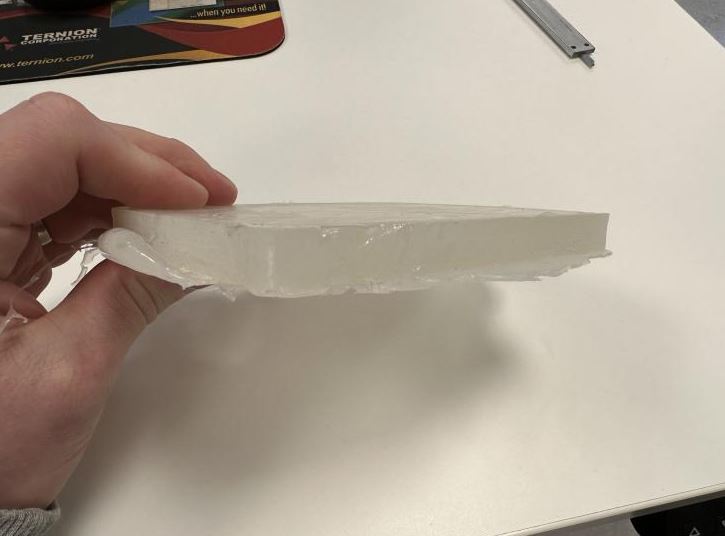
Side view
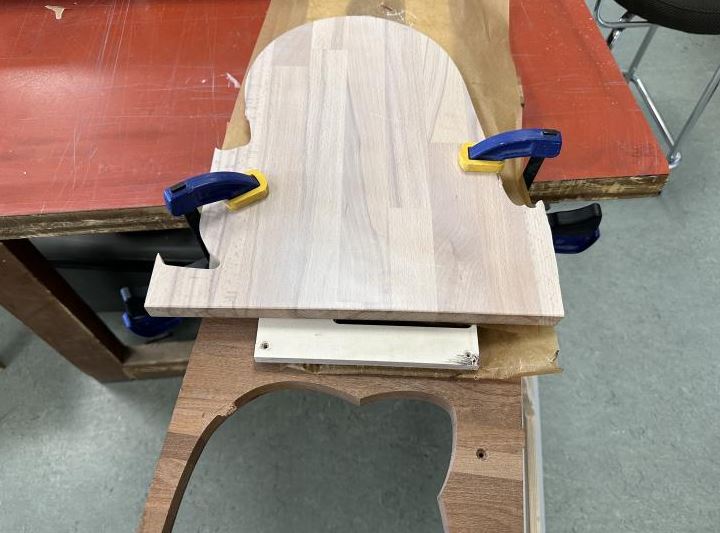
I wanted to see how it would look like if I milled the hardened plastic in the Shopbot machine so I made a simple design in VCarve and started milling.
PP5 Logo for milling
PP5 Logo in VCarve
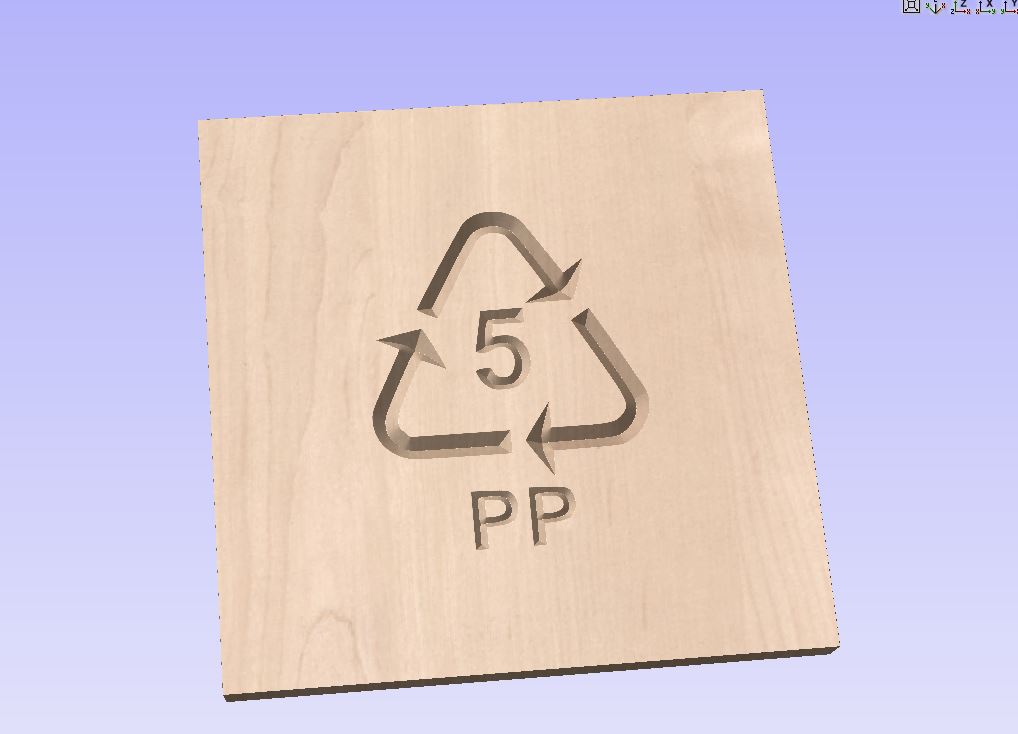
Download PP5 logo VCarve design
Milling plastic
The plastic milled like butter.
Plastic milled 1
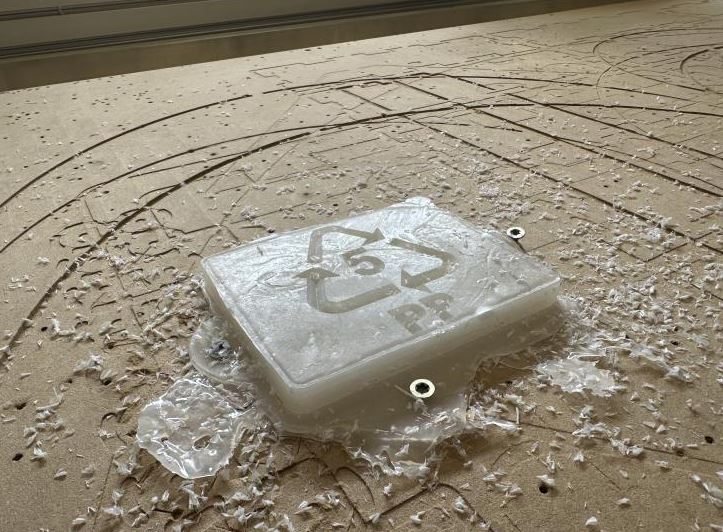
Plastic milled 2
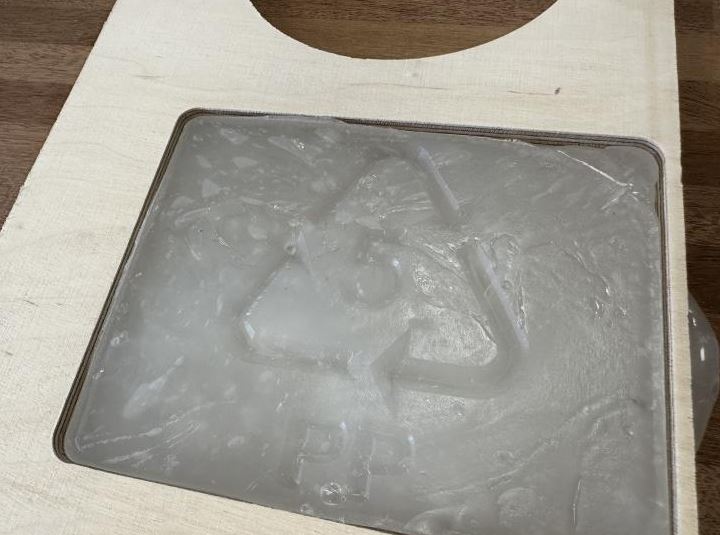
The milling went well but I couldn´t really see the engraving except at an angle so I thought I´d try melting some blue plastic, place it on top and press together, the plan was then to mill most of the blue stuff away. But after melting and pressing the blue plastic ontop of the clear plastic it did not stick.
Blue plastic ontop
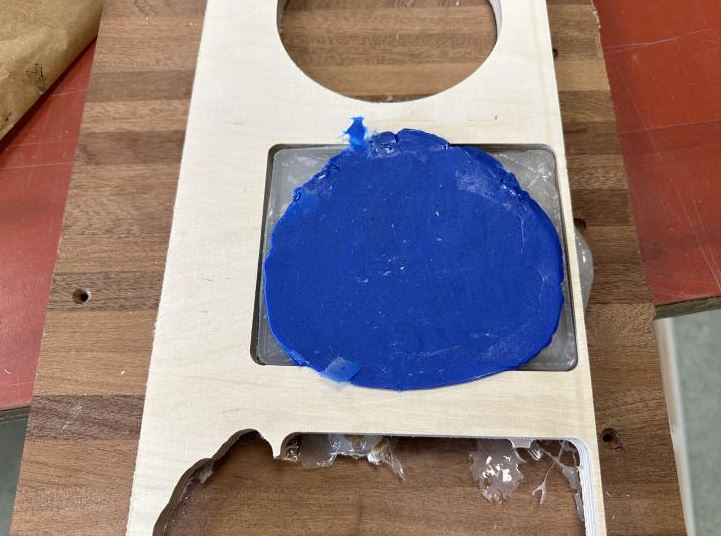
Blue plastic did not stick
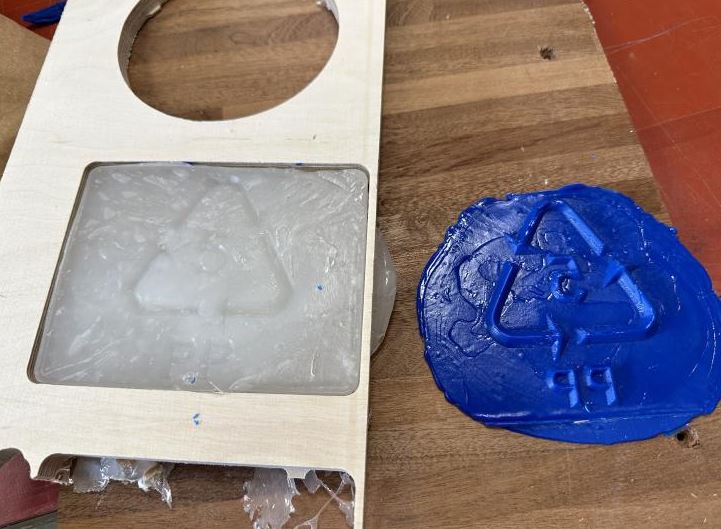
The blue plastic did not stick but I learned that plastic can be used as a mold to form other plastic.
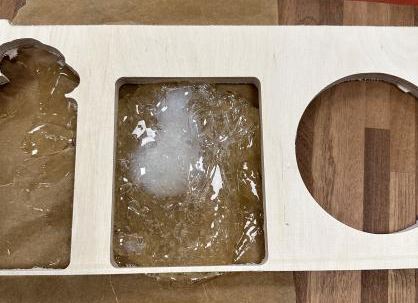
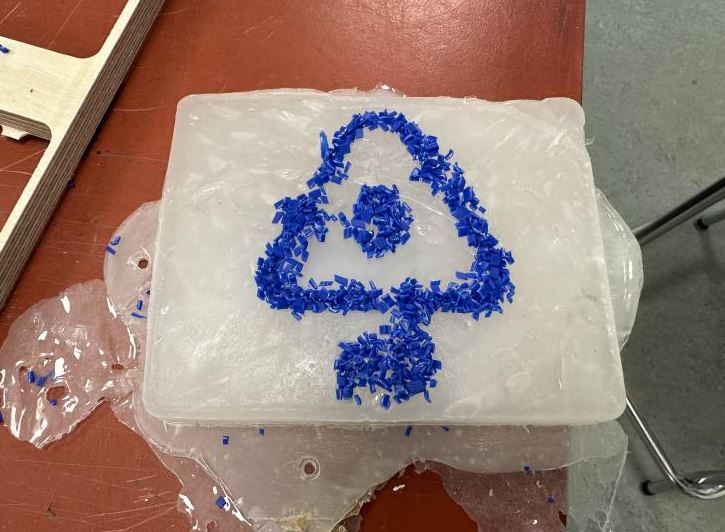
I did not give up on getting the blue plastic in the engraving so I cut up a bunch of blue plastic and placed the scraps in the engraving and tossed into the toaster oven.
After about 10 minutes in the oven I noticed that the big clear plastic brick was starting to melt at the sides and tbe blue scraps were not melting at all. I pulled it from the oven and removed the still solid blue scraps.
Blue plastic scraps
I gave up on trying to get the blue plastic in the engraving, cleaned up the excess plastic on the sides and weighed it.

I learned alot about melting and handling melted plastic with this excercise. Melted plastic is quick to solidify so you need to act quick. Plastic can be milled very easily and looks good after milling. You can not fuse two pieces of plastic together by only melting one piece and pressing to another.
I will probably not use this method again to recycle plastic but I wouldn´t necessarily tell people not to do it this way, it´s a nice learning experiment.
After going through this process I just want even more to make the Precious Plastic machines. They would really simplify the whole process.
Materiom
During the lecture Neil talked about Materiom. Materiom provides open source recipes and data on materials made from abundant sources of natural ingredients, like agricultural waste. The Materiom platform gathers the world of regenerative material solutions to optimize and match them to real-world needs.
I´ve been wanting to make materials from Materiom so I took the opportunity and started looking at recipes. Much of the recipes include ingredients that are not readily available in Iceland so I had to look for recipes that I could make with ingredients I had at home or could easily get.
Apple-pectin leather
I saw this recipe for Apple-pectin leather and was intrigued. The recipe only has three ingredient: water, glycerol and apple-pectin. I was able to get glycerol at a pharmacy but apple-pectin was nowhere to be found. However, I found a recipe online on how to make you own apple pectin.
The recipe calls for six green apples but in my case I only used two green apples. The apples are chopped up in ca. one inch cubes.
Chopped apples in a pot

Add 500 ml water
Add enough water to almost cover the apples. Bring to a boil over high heat. Then let simmer for about two hours.
Simmer for two hours
After two hours of simmering strain everything through a cheesecloth and let strain in the fridge overnight.
Strain through cheesecloth
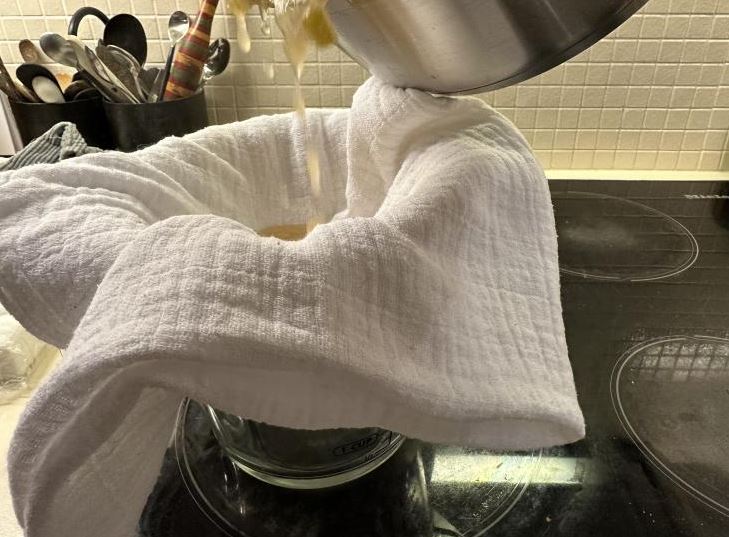
Strain in fridge overnight
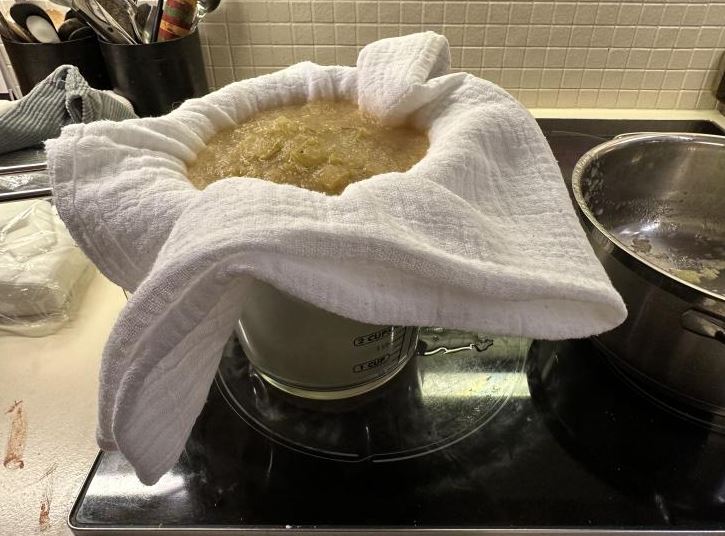
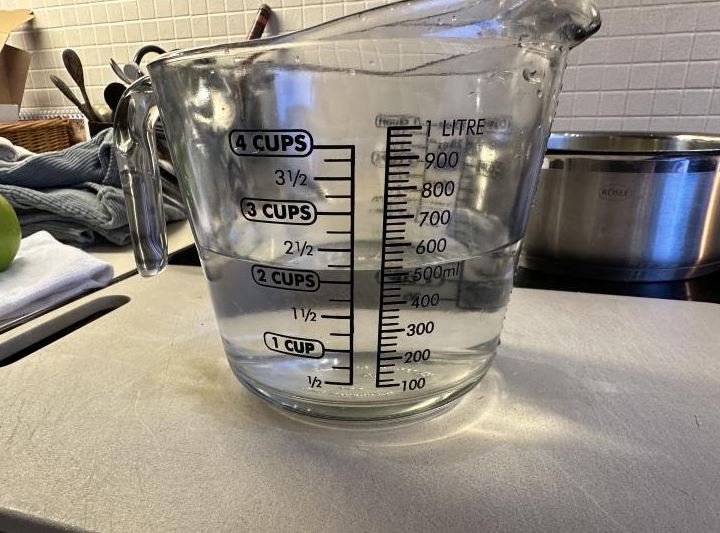
After straining in fridge for 8 hours

I got about 200ml after straining in refrigerator for 8 hours. To make sure the fluid collected actually contains pectin you can do a simple test.
To test the pectin, add 1 tablespoon of isopropyl alcohol to a small glass or jar; add 1 teaspoon of the cooled pectin. Let it stand for a few minutes then dip a fork into it. Your fork should come out with a congealed blob of pectin. If not, reduce it a bit more on the stovetop and try again.
Testing pectin in Isopropyl Alcohol
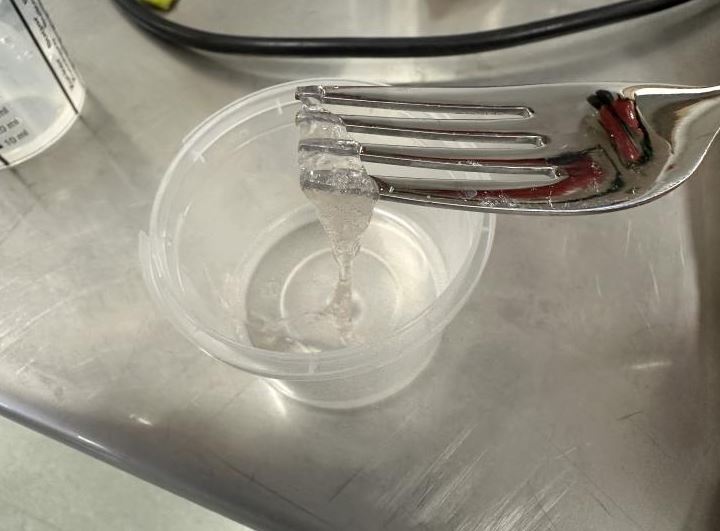
This let me know I actually have apple-pectin and can begin working on the apple-pectin leather recipe. But before I start cooking I need a mold to pour the solution in where it will sit for a few days while drying.
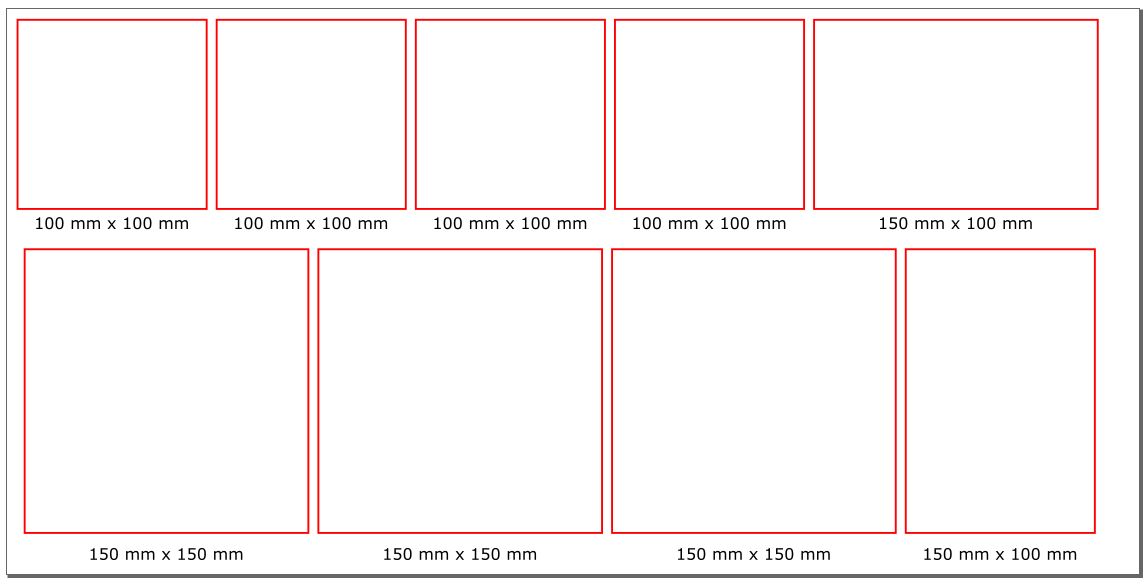
I made a design for a laser cut plexi-glass mold. The design has four 10 cm x 10 cm squares, three 15 cm x 15 cm squares and two 15 cm x 10 cm rectangles.
Mold design
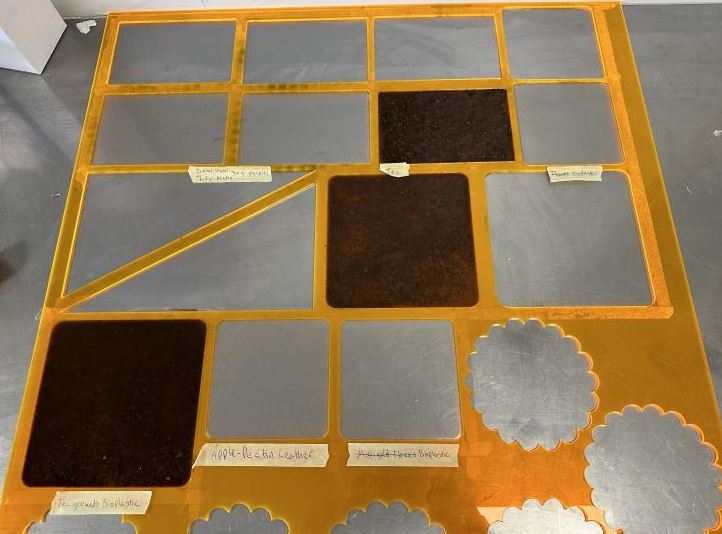
Looking through our plexi-glass leftovers I found this perfect piece with multiple cutouts that I can use as a mold instead of wasting inventory.
Plexi-glass leftover used as molds.
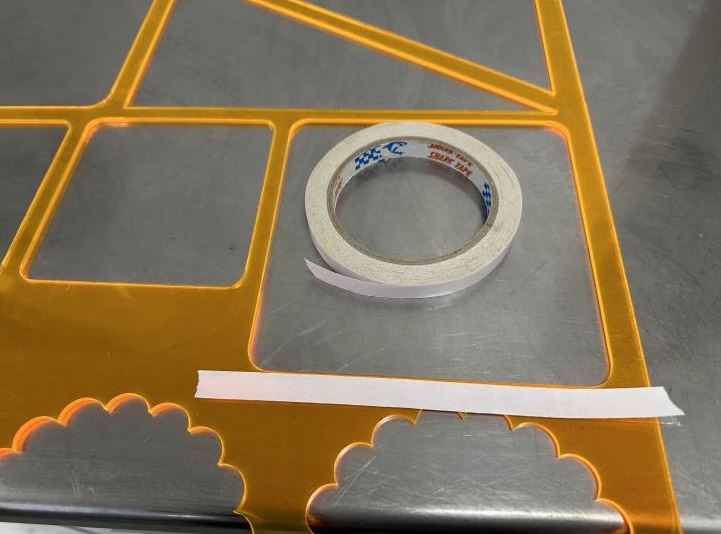
I taped the plexi to a smooth surface using double-sided tape. The double sided tape not only keeps tha plexi from moving but also makes the molds leak-proof.
Now I can start cooking. I used the apple-pectin leather recipe from Materiom.
- 220 ml water
- 20-30 grams glycerol (more glycerol makes the material more flexible.)
- 15 grams apple-pectin
- Step 1: Put water and glycerol in a pot.
- Step 2: Heat the Pot and slowly add the 15g of Apple Pectin step by step. Cook until the mixture is boiling. Keep cooking for another 10 mins.
- Step 3: Stir the mixture while cooking.
- Step 4: Let the mixture cool down for another 10-15 mins before pouring it into a mold. The material will need (depending on weather and room temperature conditions) approximately 4-5 days to dry out completely.
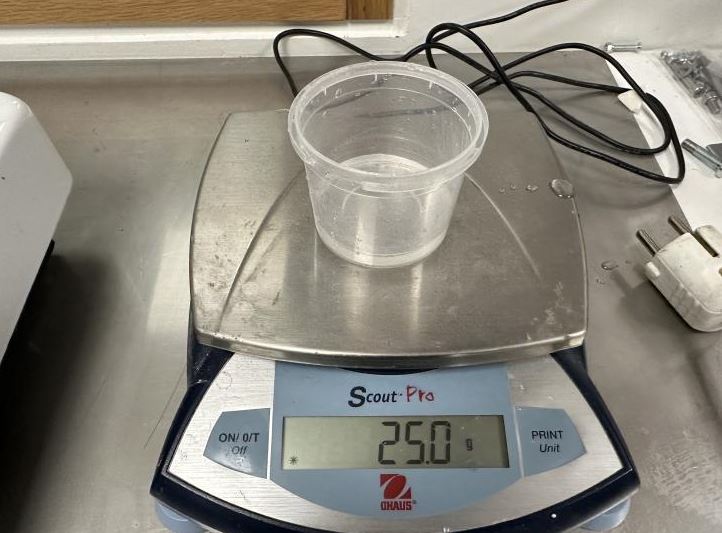
220 ml(gr) Water

25 gr glycerol
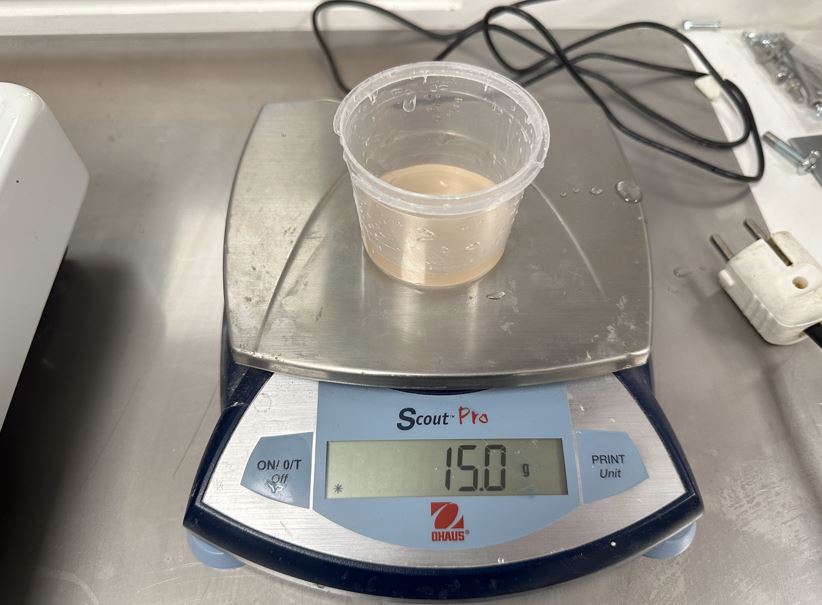
15 gr apple-pectin
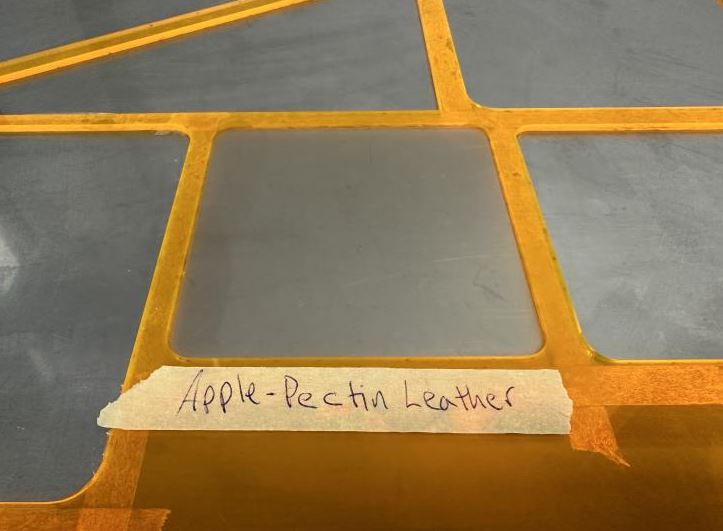
Apple-pectin leather in mold
Then let air-dry for 4-5 days.
After 3 days I checked the material and it was still wet to the touch so I decided to wait for one more day.
On the fourth day the material was still too we to remove from the mold.
After 5 days I tried to remove the mold eventhough it was still pretty wet.
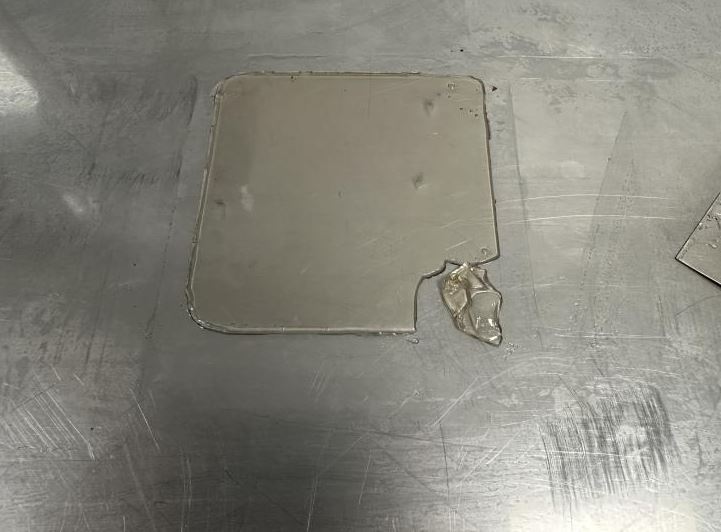
Removing Apple-pectin Leather from mold
The Apple-pectin Leather was very fragile and while removing it from the mold it ripped.
I left the material to fully dry before attempting again. Will provide updates when the material is ready to be removed.
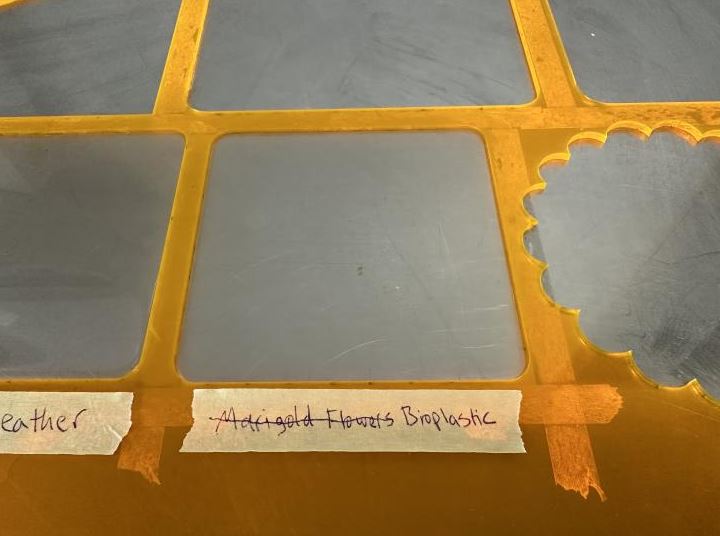
Marigold Flowers Bioplastic
I used the Marigold Flowers Bioplastic recipe from Materiom as reference.
- 150 ml water
- 20 gr Marigold flowers. (I did not have Marigold flowers and as I understood the recipe it is only used as a coloring agent.
- 20 grams glycerol
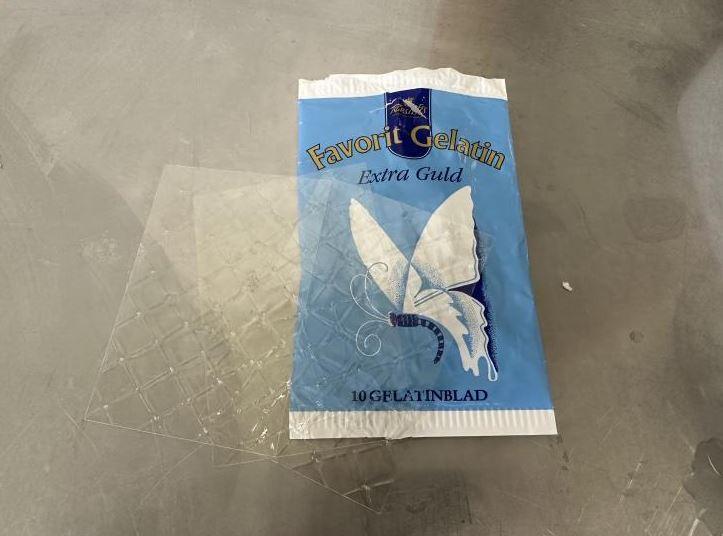
- 40 grams gelatin (I did not have gelatin powder but I had gelatin sheets. One sheet should equal about 12 grams of powder.)
Gelatin sheets
- Step 1: First prepare the dye from marigold flowers. (I skipped this step)
- Step 2: Dissolve the gelatin in warm water.
- Step 3: Mix all ingredients and bring to a boil while stirring.
- Step 4: Remove from heat and keep stirring. If froth has formed remove froth with a spoon.
- Step 5: Pour solution in a mold and let dry.
Marigold Flowers Bioplastic in mold
After 3 days I removed the material from the mold.
I cut around the edges of the mold and peeled the material off. It was a bit sticky but removed easily. The material was more elastic than I would have thought.
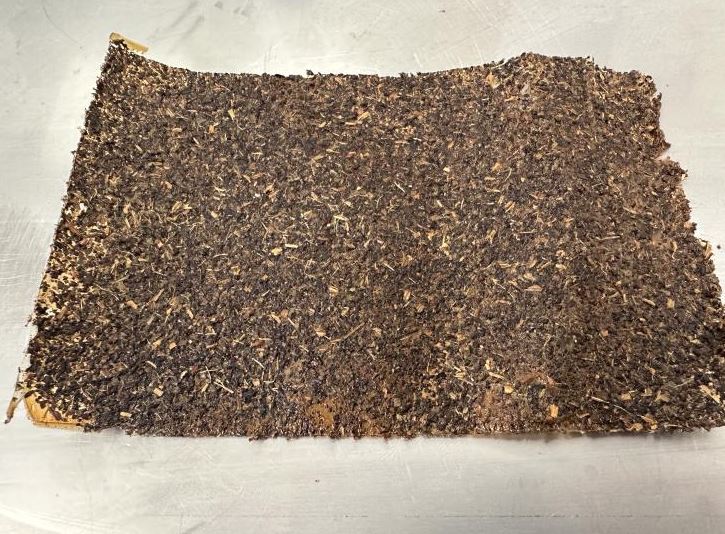
Tea Grounds Bioplastic
I used the Tea Grounds Bioplastic recipe from Materiom
- 180 ml water
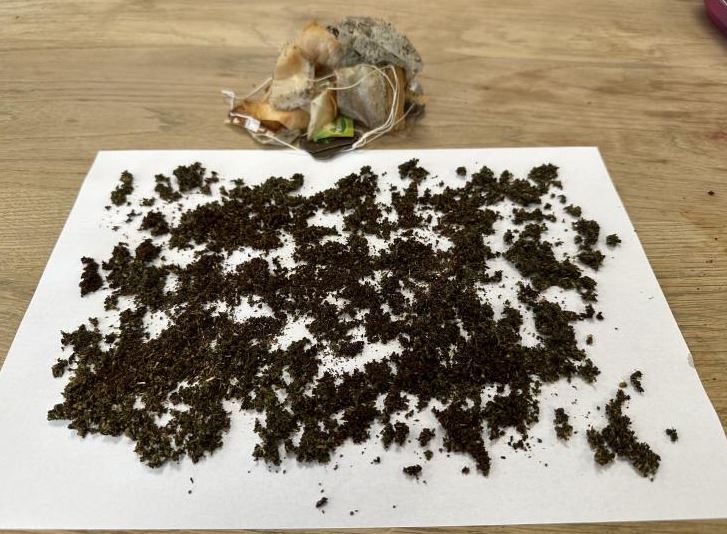
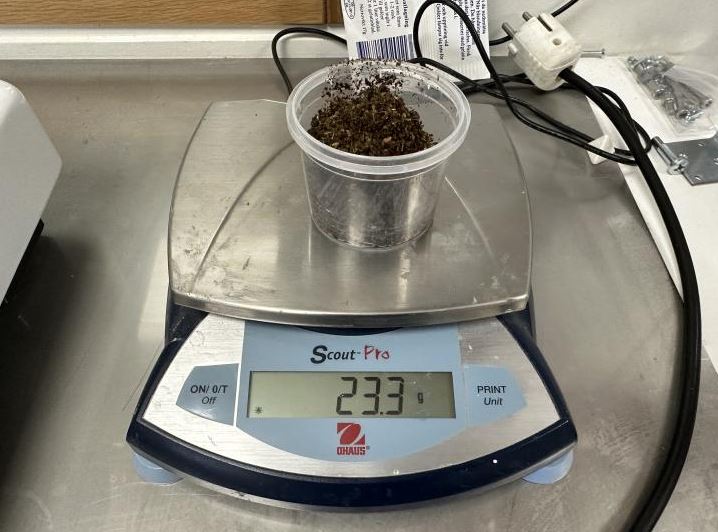
- 30 gr Tea grounds (wasted). (I wasn´t sure if the tea grounds should be dried or if they could be a little moist. I used about 23 grams of semi- dry tea grounds)
- 6 grams glycerol
- 36 grams gelatin (I did not have gelatin powder but I had gelatin sheets. One sheet should equal about 12 grams of powder.)
Tea grounds drying
23 grams tea grounds
- Step 1: Dissolve gelatin in warm water then mix all ingredients in a pot
- Step 2: Heat at a medium temperature, stirring continuously.
- Step 3: Mix until there are no clumps. Then heat the mixture to 95C or to when the solution starts to froth (whichever comes first). Once it reaches this point, remove from the heat and continue to stir.
- Step 4: Remove from heat and keep stirring. If froth has formed remove froth with a spoon.
- Step 5: The amount of time it takes the material to dry strongly depends on the thickness of the final product as well as the temperature and humidity in the room. It might take several hours until the sheet has fully dried. Once it is ready the sheet can be removed from the mold.
Tea grounds Bioplastic in mold
Using this recipe I was able to fill three molds, each mold is different because they hava various amounts of tea grounds.
After 3 days I removed the material from the mold.
The material was really stuck to the surface and plexi so I cut around the edges to un-stick the material. I also had to carefully scrape the material from the table surface to keep it from tearing.
Cutting Edges
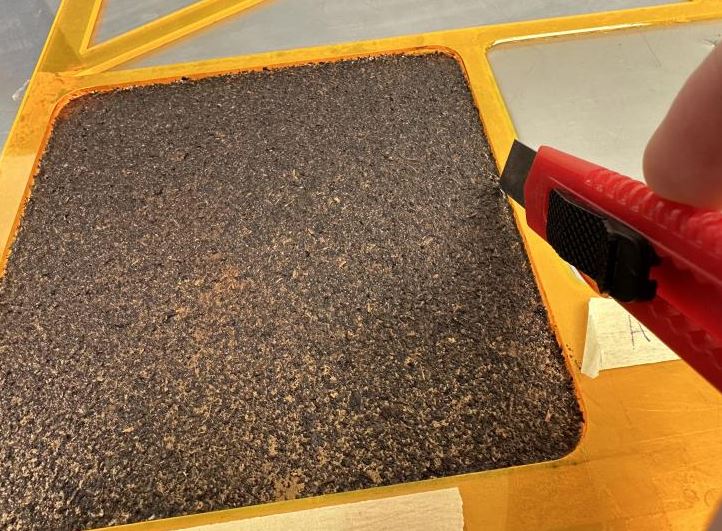
Peeling (scraping) material from surface

The material stuck way more than I expected and it took a while to get everything un-stuck. Next time I would use parchment paper under the material to help with removing from the mold.
The three Tea-ground bioplastic examples I made were each different, each had various amounts of actual tea grounds. The example with the least amount of tea grounds was most difficult to peel off the surface, and the one with the most tea grounds was the easiest to remove.
Tea grounds low
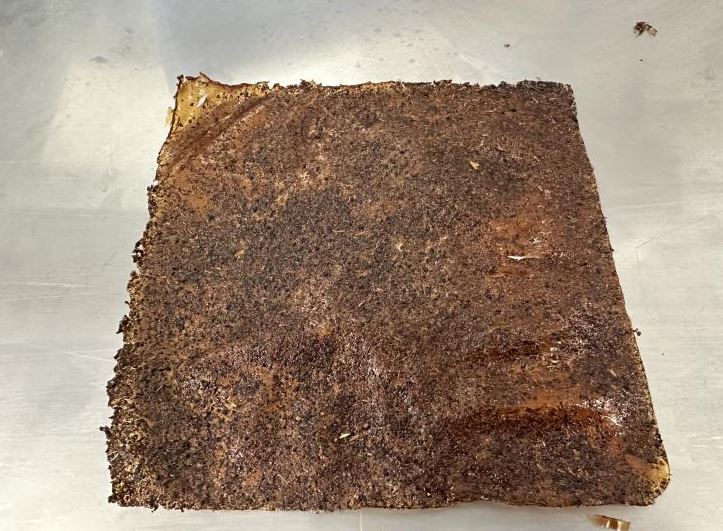
Tea grounds medium
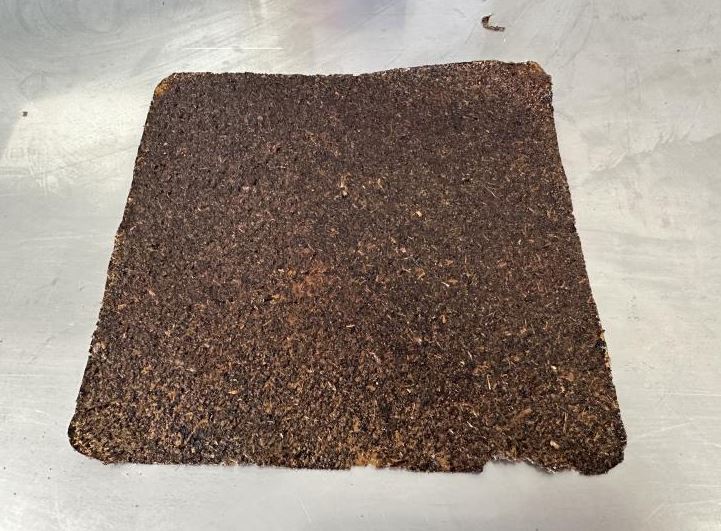
Tea grounds high
The example with the medium amount of tea grounds came out the best in my oppinion, it was flexible but still stiff. None of the examples were elastic.
Pectin leather experiment
Looking through the recipes on Materiom for Bioplastics and leather I noticed similarities, always water and glycerol, either pectin or gelatin, then finally some filler or coloring. I wanted to try to make my own recipe.
I used the apple-pectin leather recipe from Materiom as reference.
I had bought some pectin powder in case the apple-pectin didn´t work.
- 200 ml water
- 30 grams glycerol
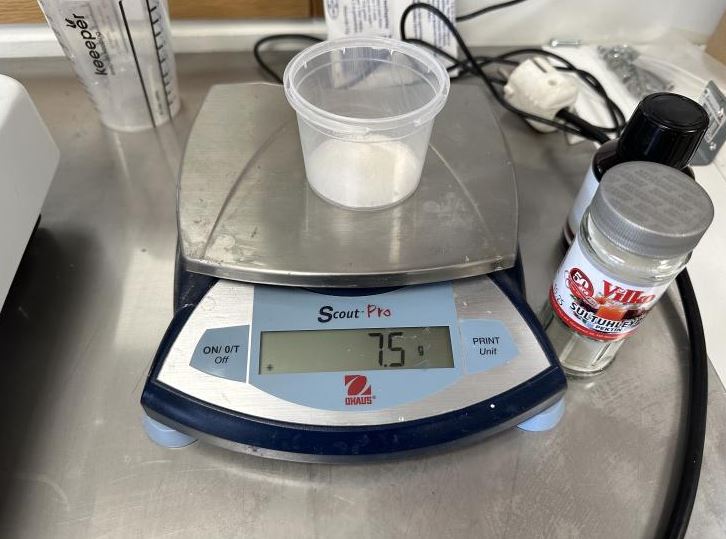
- 7.5 grams pectin powder
7.5 grams pectin powder
- Step 1: Add water and pectin powder to a pot, dissolve pectin.
- Step 2: Add glycerol, bring to a boil, stirring continuously.
- Step 3: Boil for 10 minutes, stirring continuously.
- Step 4: Remove from heat and keep stirring. If froth has formed remove froth with a spoon.
- Step 5: Pour into a mold and let air-dry.
- step 6: Once dry, remove from mold
After 3 days I removed the material from the mold.
I cut around the edges of the mold and peeled the material off. It was a not as sticky as the Marigold flowers bioplastic material. The material was elastic but not as elastic as the Marigold flowers bioplastic material.
Laser cutting bioplastic
Just out of curiosity I wanted to see how the bioplastics would react to laser rastering and cutting.
Pectin Leather
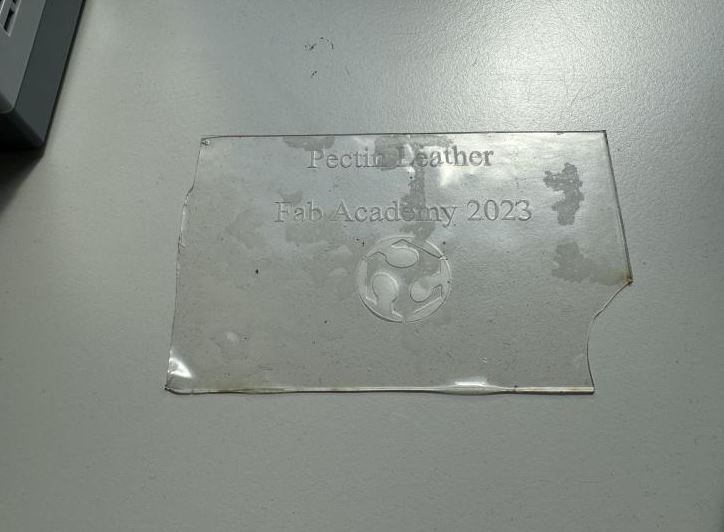
The Pectin leather reacted well to the laser. It rastered and cut through the material without problems.
Marigold Flower Bioplastic
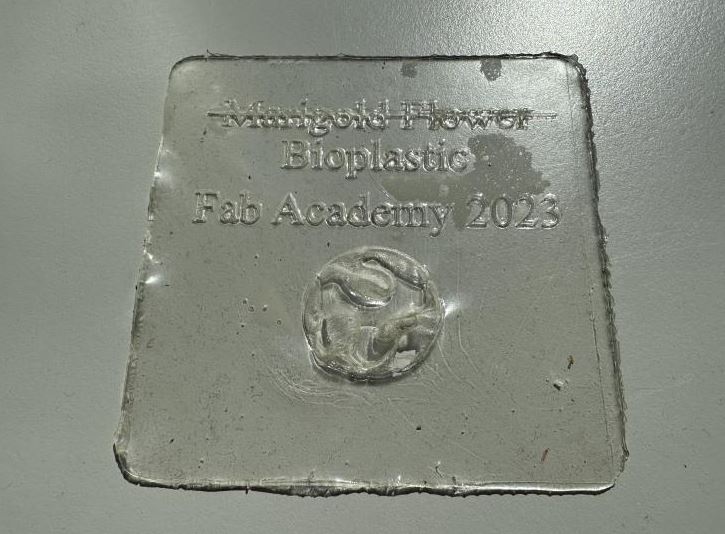
The Bioplastic did not reacted as well to the laser. It rastered but the material stuck to the bed, especially where the fab lab logo was.
Tea grounds Bioplastic
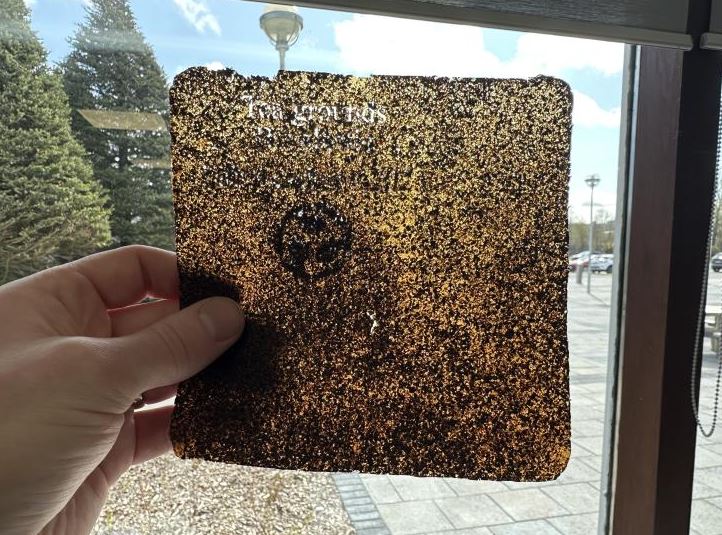
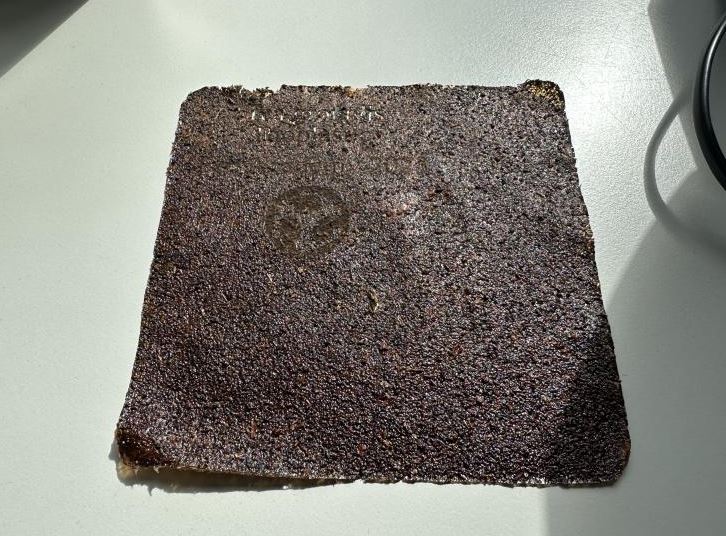
The Tea grounds Bioplastic did not react well to the laser. You can hardly see the rastered parts and in some places it actually rastered through the material. It also left a strong burning tea smell.