Assignment Part 2
1. Work through a git tutorial
2. Build a personal site in the class archive describing you and your final project
Learning outcomes
- Identify and utilise version control protocol(s)
- Explore and use website development tool(s)
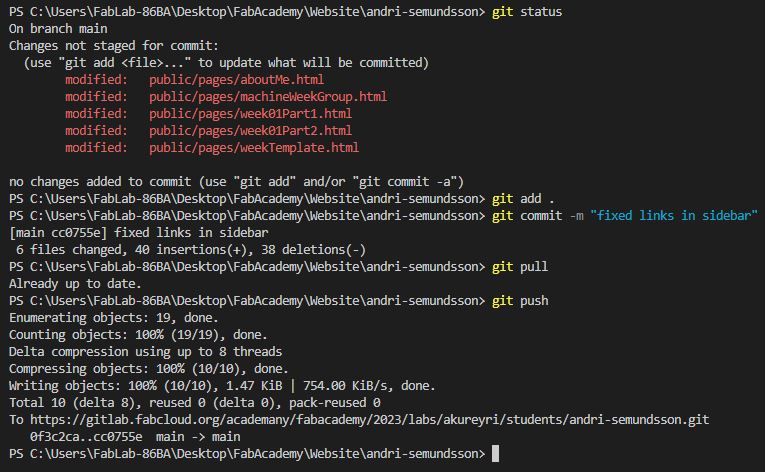
git clone [link to a git project]Used to clone a project from git.
git statusUsed to check the status of the project, see which files have changes.
git add [file]Used to add a file to the staging area.
git commit -m "message"Used to commit the changes to the local repository.
git pullUsed to pull the project from git in case there have been changes to the repo.
git pushUsed to push the changes to the remote repository.
git branch [branch name]Used to create a new branch.
git checkout [branch name]Used to switch between branches.
git merge [branch name]Used to merge a branch into the current branch.
1. Work through a git tutorial
Git tutorial
I have used Github for a few years now so I am pretty used to using Git. I have never used GitLab but it seems to work exactly the same as Github.
I´ve found that I only use a few commands when using Git on personal projects:
When I use git with collaborators I use more commands such as:
When working with collaborators each member should make a branch to work on. Branches make it useful for multiple people to work on a project simultaneously, sort of works like splitting the main branch into two projects. One member can work on one aspect of the project and another member can work on a different aspect. Then the branches can be merged into the main branch to combine the work. Image borrowed from https://www.nobledesktop.com/image/gitresources/git-branches-merge.png
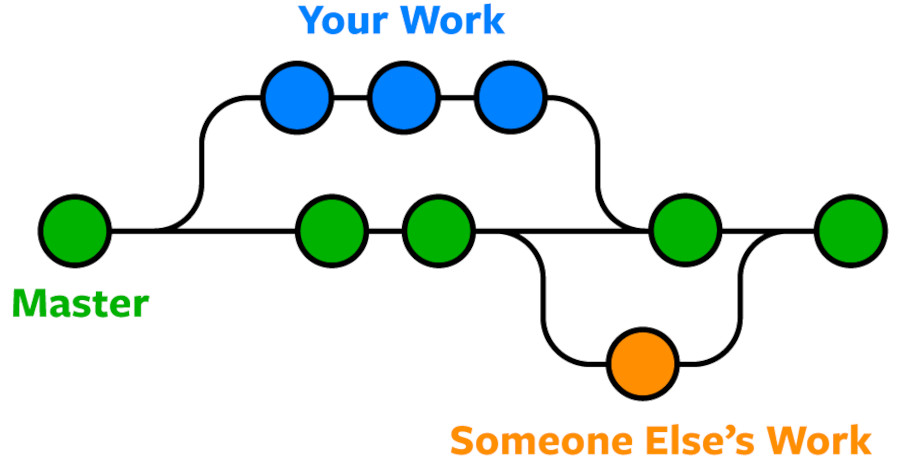
Sometimes there are merge conflicts, meaning two branches have made changes to the same file and git does not know which change you want to keep. Then you need to go through the code and decide which branch you want to use for each conflict.
I have not used git with collaborators for some time now so to brush up on my skills I went through a tutorial on gitlab
https://docs.gitlab.com/ee/gitlab-basics/start-using-git.html
2. Build a personal site in the class archive describing you and your final project
I started by getting the pre-built website template provided by Fab Academy into VS Code. I started by configuring git to my credentials
git config --global user.name "My User Name"
git config --global user.email my@email.com
Then I cloned the repository to my computer
git clone https://gitlab.fabcloud.org/fabacademy/fabacademy2023/andrisaemundsson.git
I made a minor change to the site and tried to commit and push the changes and a pop-up appeared in VS Code asking me to login.
I needed to get an access token to be able to push changes so I went to my Gitlab page and under Preferences-Access Tokens I created a Personal Access Token.
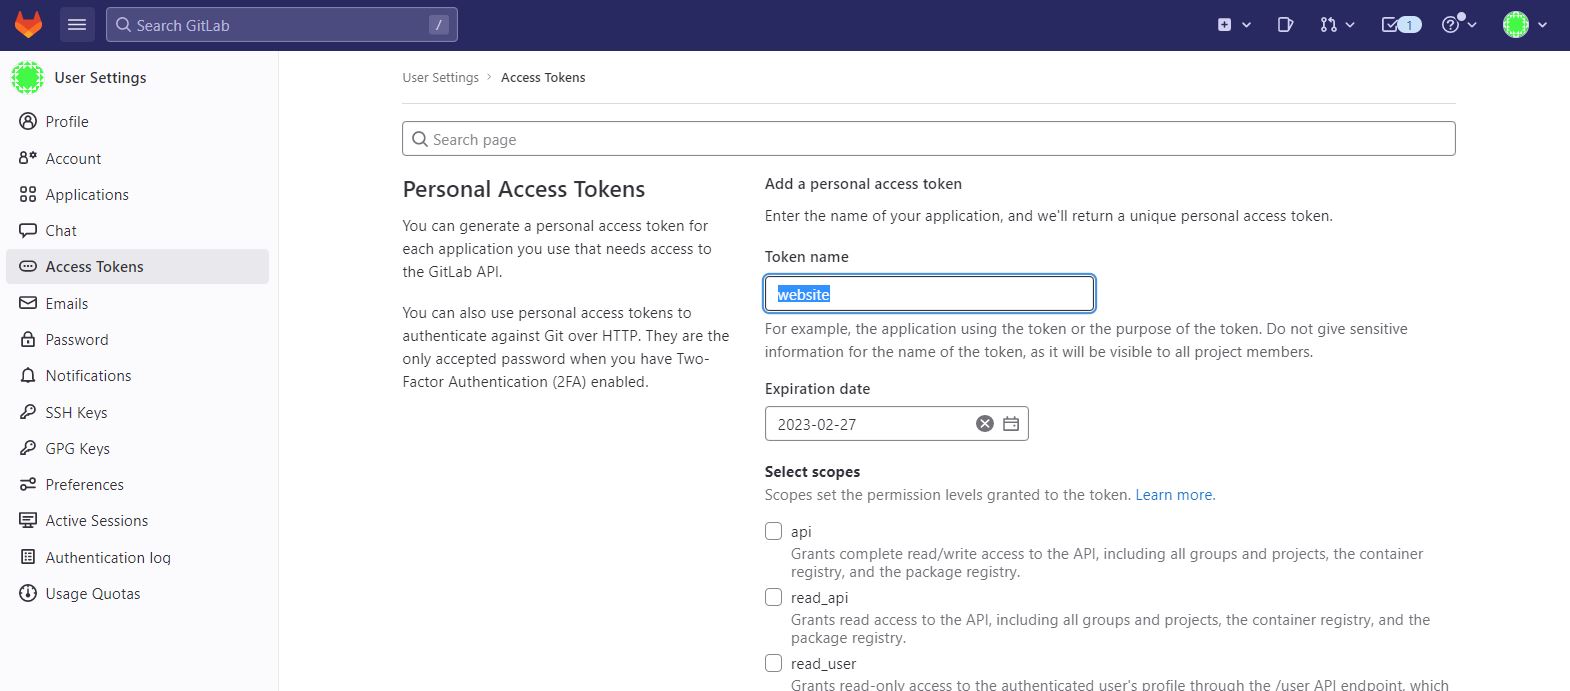
After that I made some minor changes and did a few test commits and pushes to make sure the website and changes were live.
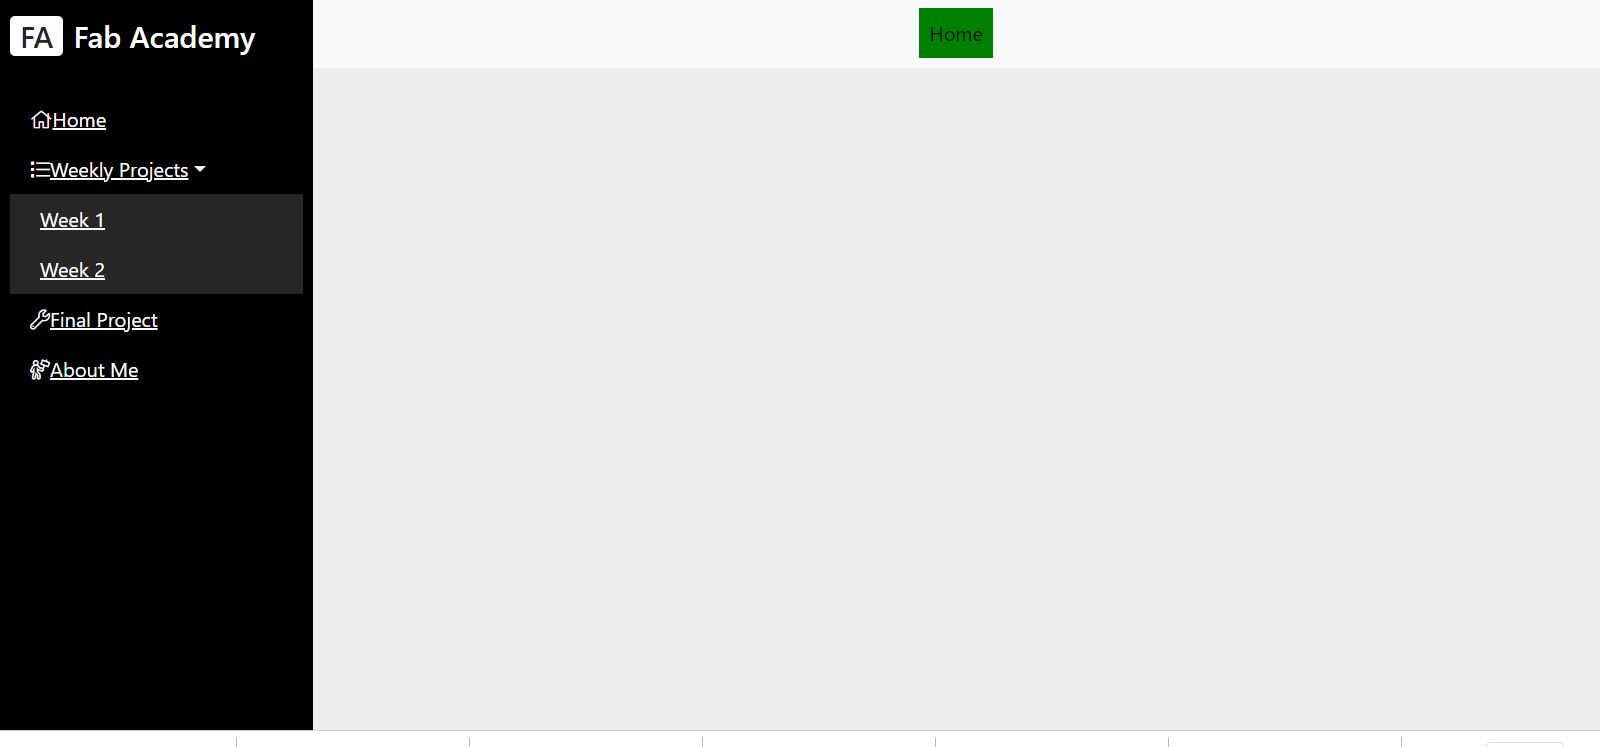
I looked through a bunch of Fab Academy student sites from previous years to see what I wanted to include in my site. At first I wanted to use the template provided and add some elements such as a sidebar. I got the sidebar to work but I found I was spending more time than I wanted and I was not thrilled with how the website was looking.
First version of my website
Going forward
I decided to find a template to work with to save some time. I went online and found a lot of places with website templates but finally decided on the following template from https://html5up.net/
Website template
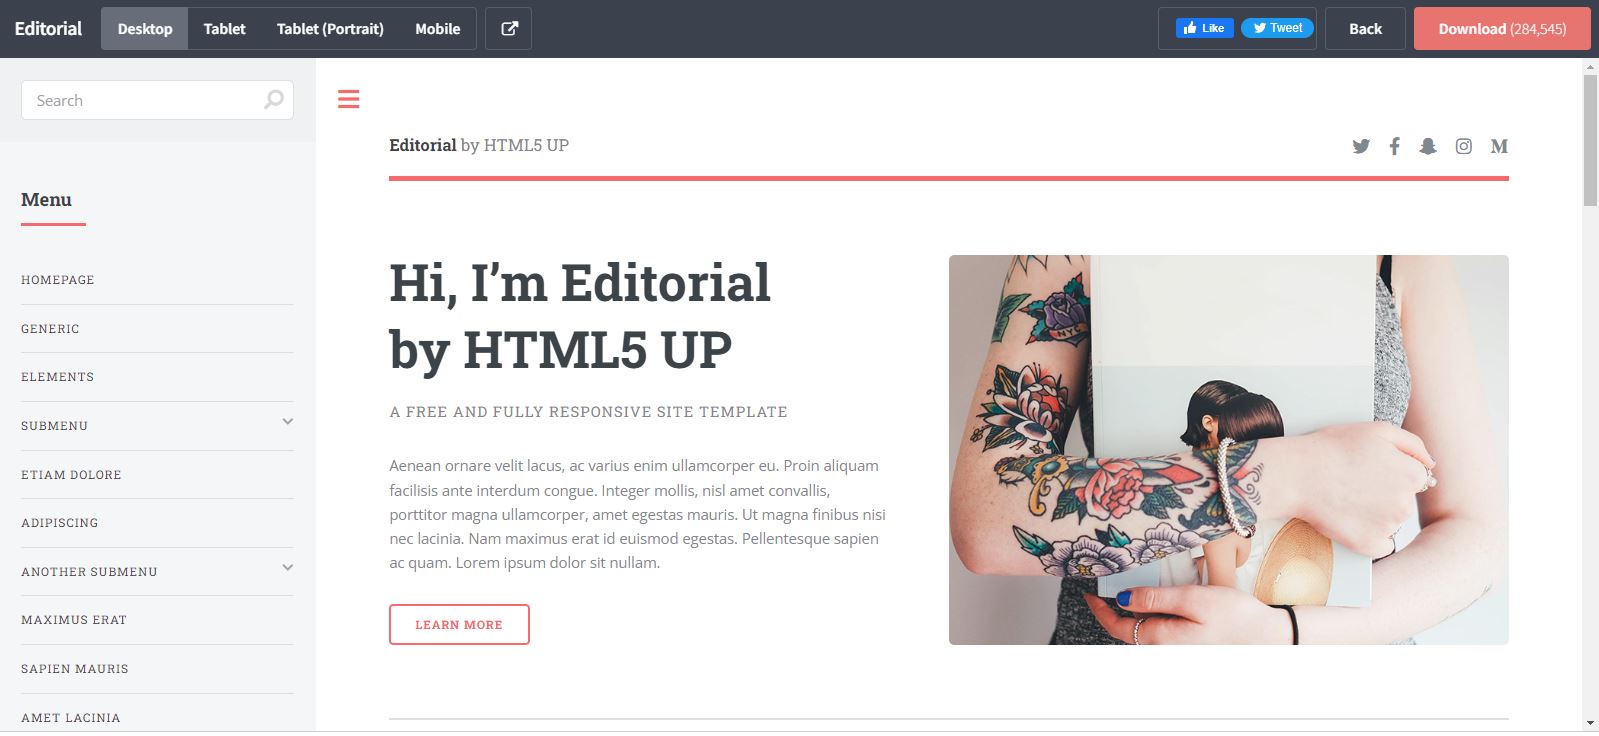
Adjusting the template
I went through the template and deleted a bunch of elements I did not want in my site. I then started to create new pages such as week01.html and aboutMe.html. I spent an afternoon getting the site to my liking.
I am pleased with how the website looks but I realize I will be working on the site through out the Fab Academy and there may be some minor changes as I move forward.
Size management
To manage the size of my site I will need to compress all images. ALWAYS USE .JPG! IMAGE FORMAT. To compress videos I will be using FFmpeg. Here you can see instructions on how to install FFmpeg. And here you can see a cheat sheet with some FFmpeg common commands for FFmpeg to convert video, remove audio etc.