Individual Assignment
Design a mold around the stock and tooling that you’ll be using, mill it (rough cut + (at least) three-axis finish cut), and use it to cast parts.
Group Assignment
Review the safety data sheets for each of your molding and casting materials
Make and compare test casts with each of them
Learning outcomes
- Design appropriate objects within the limitations of at least 3-axis machining
- Demonstrate workflows used in mold design, construction and casting
Design a mold around the stock and tooling that you’ll be using, mill it (rough cut + (at least) three-axis finish cut), and use it to cast parts.
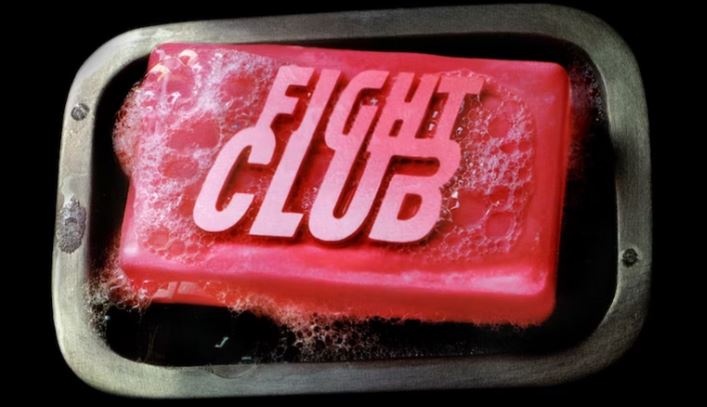
I do not see a need for molding and casting in my final project so I decided to make something totally unrelated. I decied to make a soap inspired by the Fight Club Soap.
Inspiration, Fight Club soap
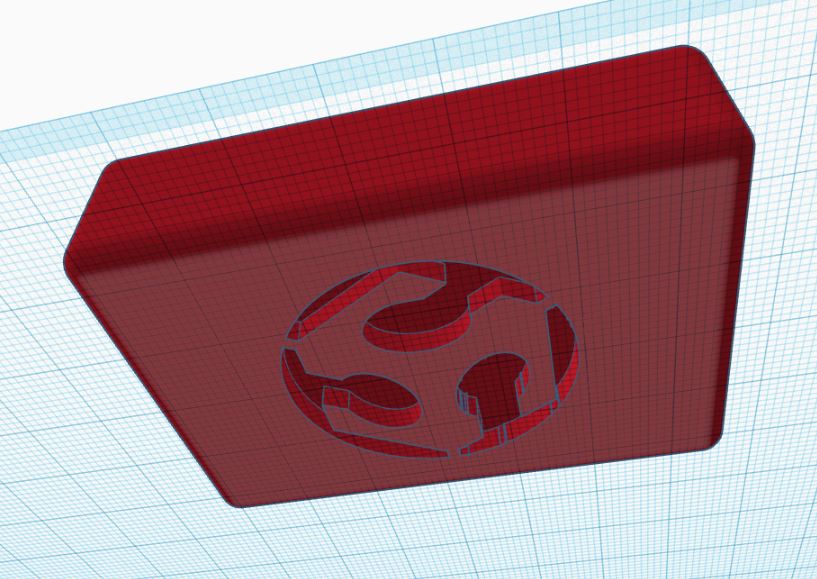
I started by modeling the bar of soap in Tinkercad. The dimensions of the soap is 7cm x 5cm x 2cm. I wanted to use the same font as used in the fight club soap so following this tutorial(the video at the bottom of the page) I imported the figthclub font I found online. When I first used the font I thought something was wrong, something didn´t look right. Then I noticed that the letter C is different from the Fight Club Soap. So I jumped into Inkscape and created a vector drawing using the fightclub font and a modified C. I then imported the .svg file into Tinkercad, extruded the text and placed on the soap. I then imported the Fab Lab logo as an .svg and placed it on the bottom of the soap but indented.
.svg from Inkscape

Tinkercad, Fab Club Soap top

Tinkercad, Fab Club Soap bottom
Modeling the soap was a quick process but then I brought the model into Fusion 360 to make the mold.
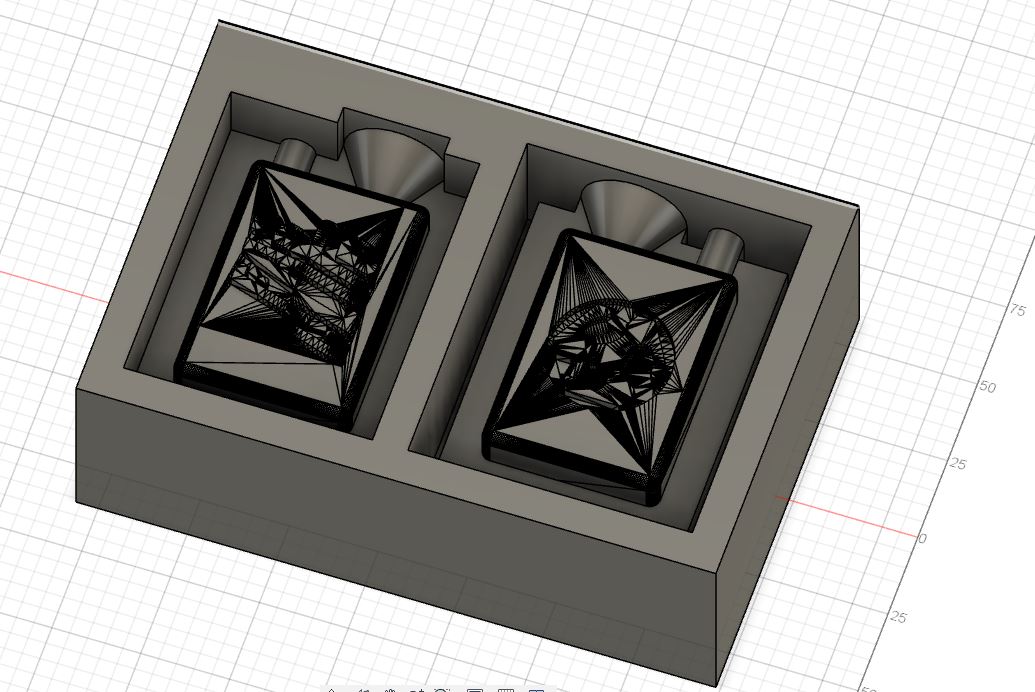
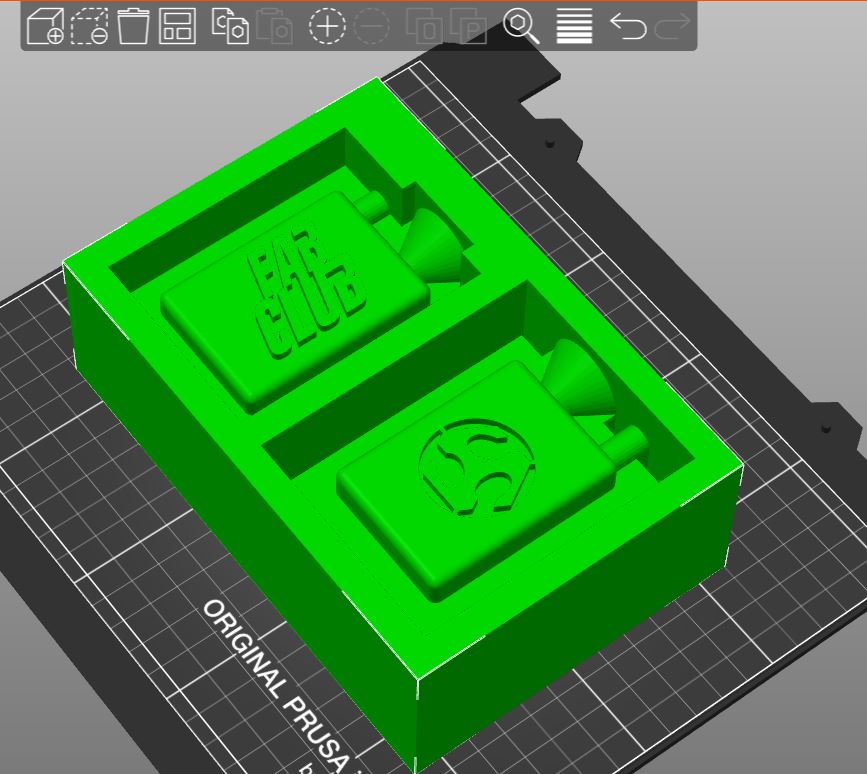
I started by making two boxes, each box encompassing half of the model. Then I made the funnel and air-escape pipe and combined to the soap. Then I made a negative mold in each of the two boxes using the soap to make the mold. Finally I took the two negative molds and made a cut-out into a bigger block to get the positive mold.
Fusion 360, Fab Club Soap
Fusion 360, Fab Club Soap
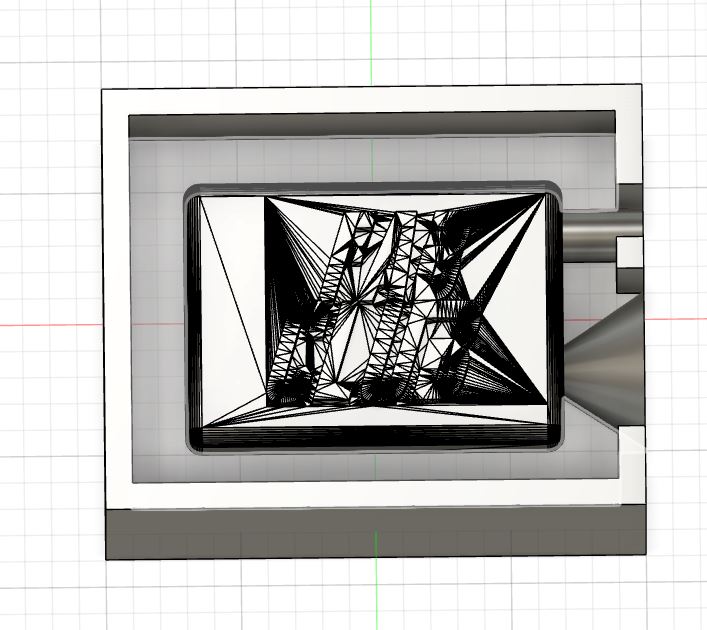
Box used to make negative mold
Both negative molds created positive molds in one block
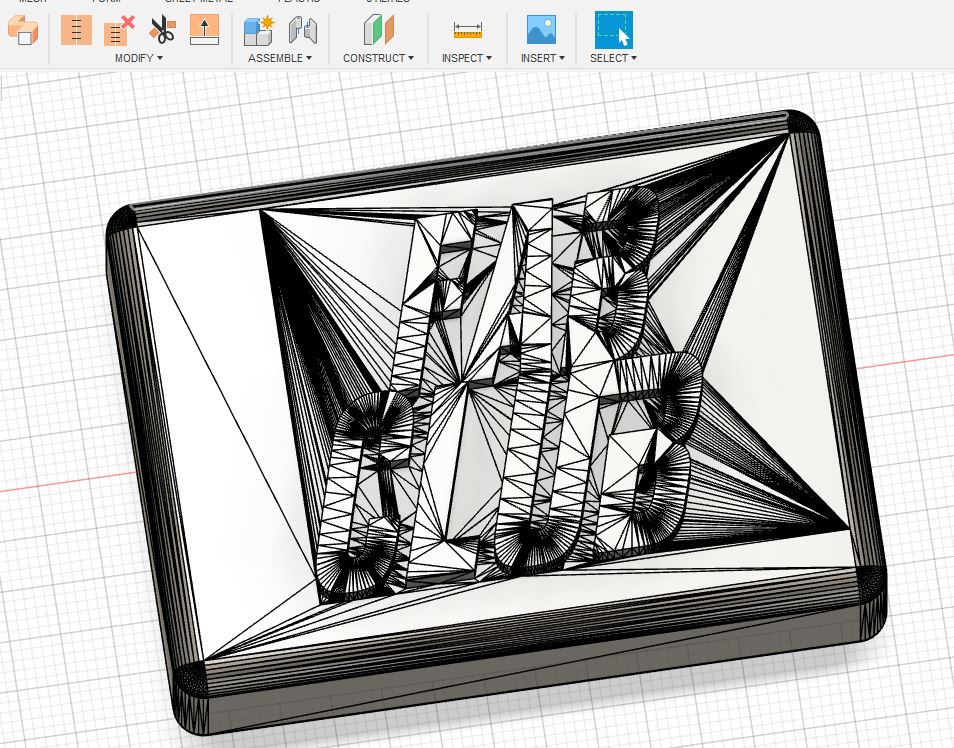
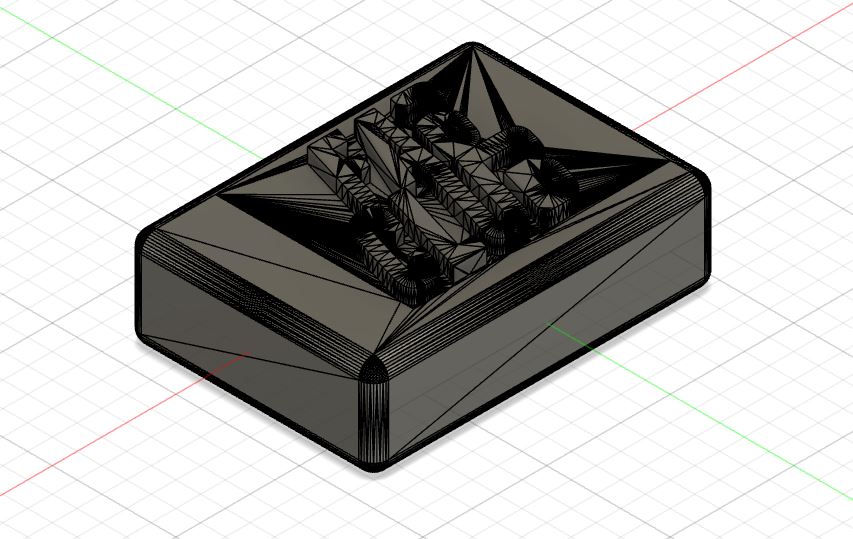
Before going forward I saved the mesh as an .stl and brought into PrusaSlicer, just for fun... see how it looked.
I was happy with the model and started working out the toolpaths for the milling process. I started working out the toolpaths in Fusion but when I tried calculating toolpaths it failed. So, another way to make toolpaths is VCarve and since I have experience in VCarve I gave it a try. I imported the .stl into VCarve and started working out the toolpaths. I´ve never tried milling a 3d model using VCarve but it was pretty straight forward.
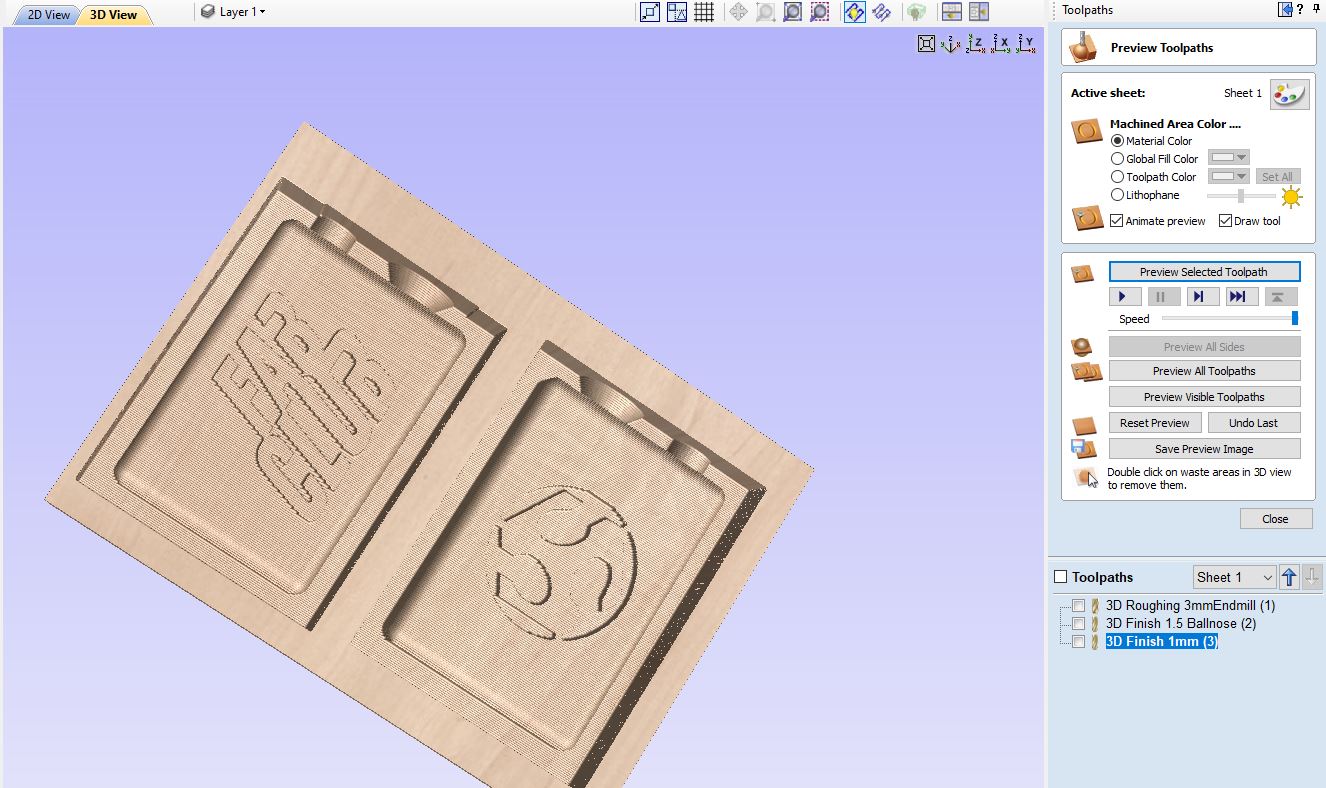
I started with the roughing toolpaths using a 3mm endmill. For the second pass I made a 3d Finish toolpath using a 1.5mm ballnose milling bit. The final toolpath was a 3d finish toolpath using a 1mm ballnose bit. To figure out the right settings for each milling bit I used the Fab Lab Speed and Feeds Calculator. Before adjusting the settings the overall time for milling the three passes would have been about four hours. After adjusting the settings the overall time to mill everything was about two hours from start to finish, including time it took to warm up the spindle and tool changes..
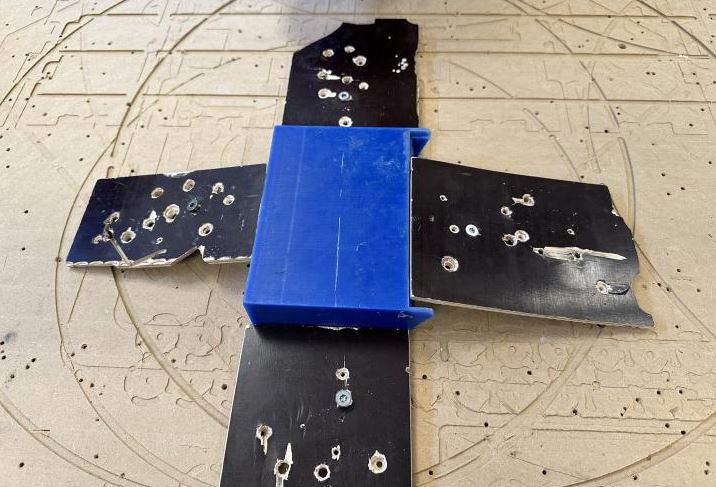
I fastened the wax block to the bed of the shopbot and put in the 3mm endmill.
Wax block locked in place on the shopbot bed
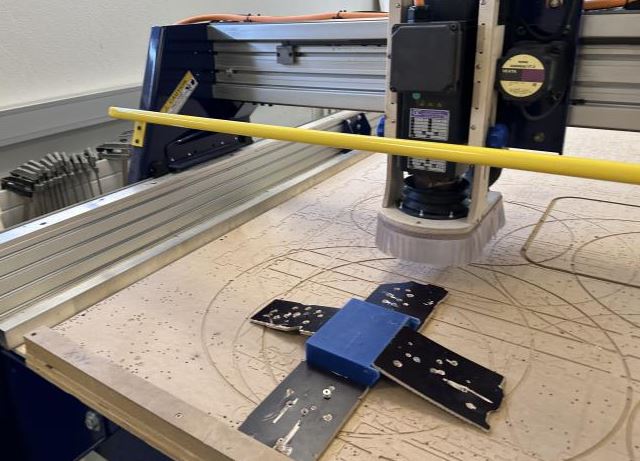
Wax block locked in place on the shopbot bed 2
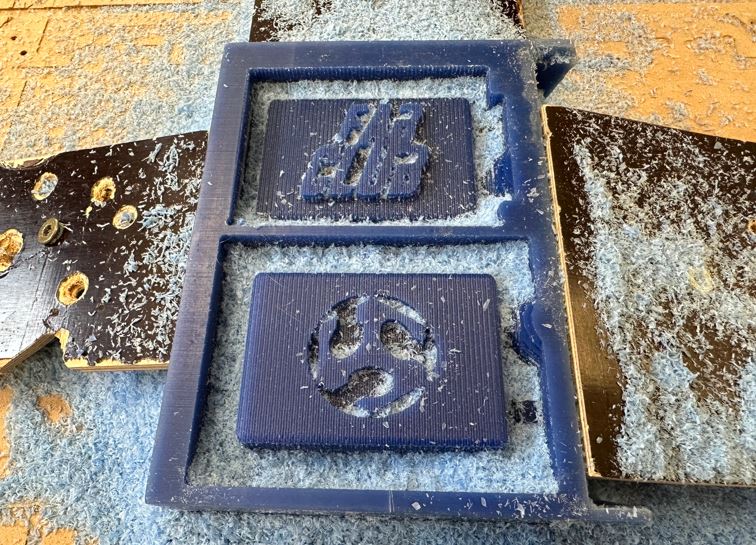
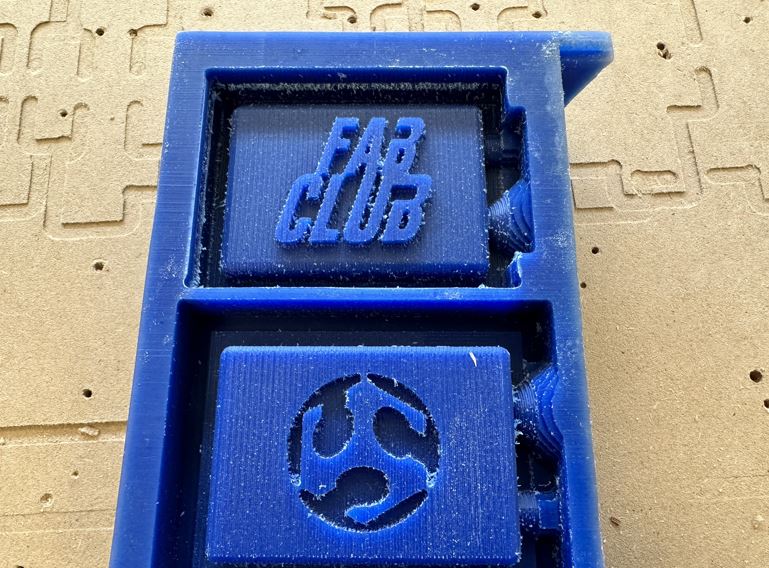
After three passes, with a 3mm a 1.5mm and a 1mm milling bits I was happy with the results. I could have used a 0.6mm milling bit for the fourth pass but I thought it wasn´t necessary.
Fab Club Soap bar milled
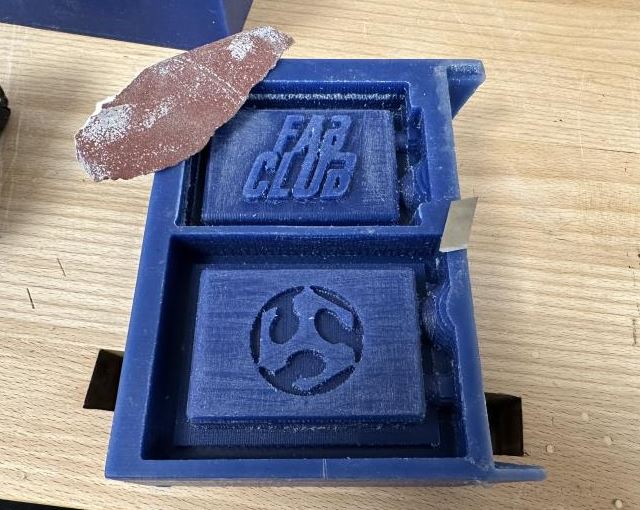
Instead of going for the fourth pass with the 0.6mm milling bit I decided to sand the surface to smooth it out. I also used a small blade to scrape some of the rough edges. Before pouring the silicone into the mold I ever so slightly ran a soldering air heat across the mold to get rid of wax dust particles and for extra smoothing.
Mold before processing
Mold after sanding and scraping, (before air heat)
The silicone I used is from Zhermack industrial and product number is ZA13. See the Material Safety Data sheet here
The following table shows the characteristics of the silicone.
| Zhermack ZA13 Silicone | Unit |
| Mix Ratio By Weight | 1A : 1B |
| Density | 1.07 g/cc |
| Viscosity Of Pre-Catalysed Mix | 4500 ± 500 cP |
| Mixing Time @ 23°C | 1 min |
| Working Time @ 23°C | 40 - 50 mins |
| Setting Time @ 23°C | 2.5 - 3 hrs |
| Shore A Hardness | A13 |
| Tensile Strength | 3.0 ± 0.2 N/mm² |
| Elongation At Break | 450 ± 20% |
| Tear Resistance Die B | 14 ± 1 N/mm |
| Tear Resistance Die C | 9 ± 1 N/mm |
| Cure Colour | Translucent |
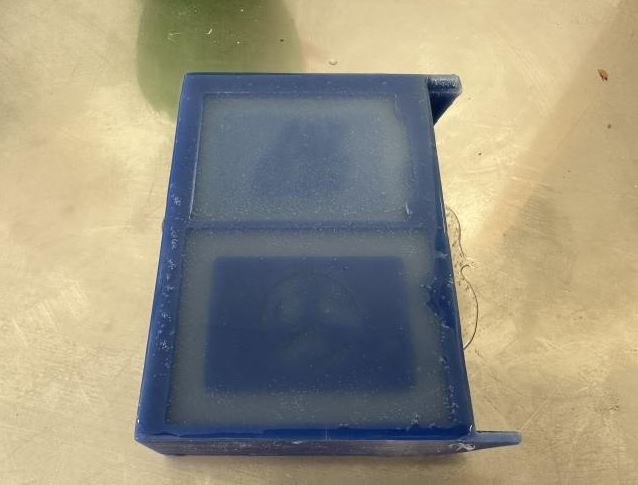
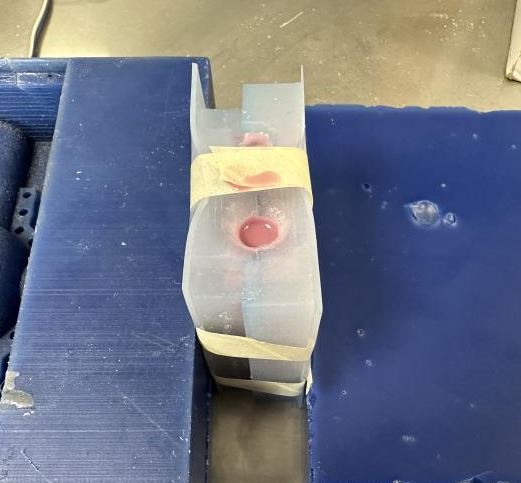
I poured the silicone into the mold using a 1:1 ratio of a base and hardener.
Mold with fresh silicone
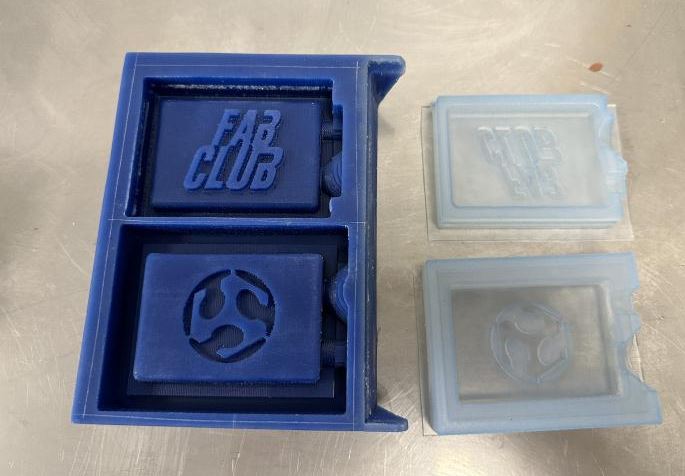
I let the silicone harden overnight before removing it from the mold. I had excess silicone around the mold which I cut off.
Cutting excess silicone
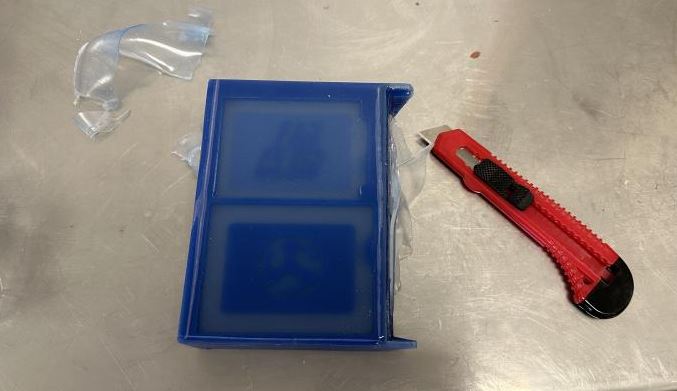
Silicone removed from mold
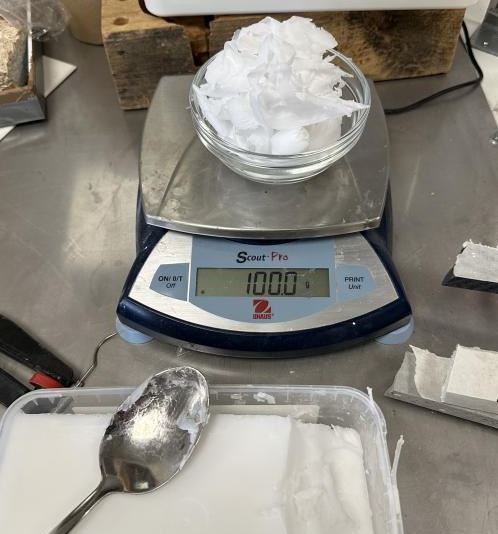
I estimated the amount of soap I needed for the mold but made sure to use more than I thought so I wouldn´t need to make an extra batch mid-pour. The melted soap hardens pretty quickly and I didn´t want to risk it. Plus, any extra soap could just be melted again for the next bar. I used a microwave to melt the soap and added a few drops of coloring.
Weighing soap
Soap added to silicone mold
Removing soap from silicone mold
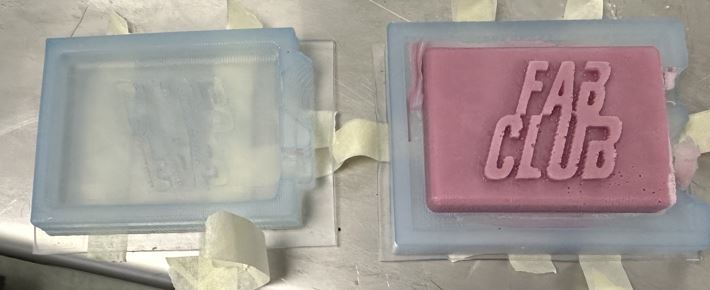
The first soap removed from the mold was not perfect, the material had shrunk a bit so the side where the soap was poured in was not fully formed. There were also a few bubbles.
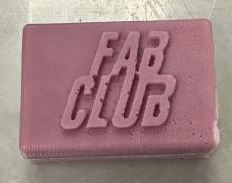
But overall I am very pleased with the outcome.
Fab Club Soap top
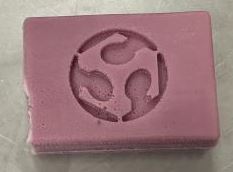
Fab Club Soap bottom
Group Assignment
Review the safety data sheets for each of your molding and casting materials
Me and Hafey performed the group assignment together.
We started by going over our inventory. We had some epoxy but that was pretty old so we weren´t sure if we should use it. So the only materials we had were Dry-Stone Casting Media and construction cement, besides the soap and chocolate we used in our individual projects. We did however go over the safety warnings for using epoxy. The chemicals in epoxy resin systems can affect your health when they come in contact with your skin, or if they evaporate or form a mist or dust in the air you breathe. The main effects of overexposure are irritation of the eyes, nose, throat, and skin, skin allergies, and asthma, so using personal protective equipment is a must.
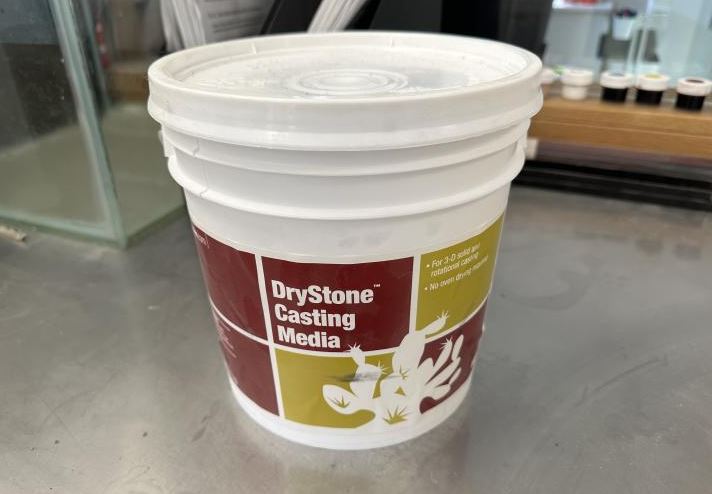
The safety data for the hydro-stone were printed on the bucket. When the dry-stone hardens it becomes very hot and can cause severe burns if left to harden on bare skin, so let´s avoid that. The dry-stone is very fine powder and can cause irritation to eyes, skin, nose, throat and upper respiratory tract, so using eye protection and a dust respirator is recommended. Keep away from children. DO NOT INGEST.
Dry-Stone Casting Media
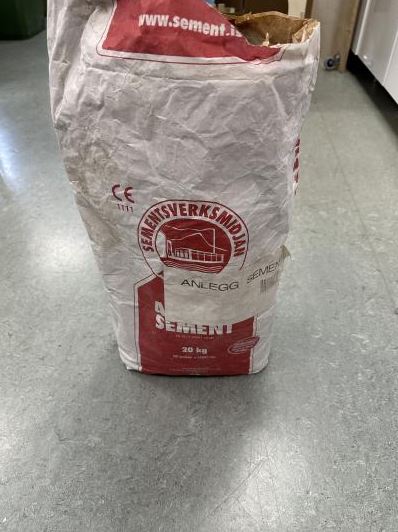
The safety data for the cement was printed on the bag. The warnings are similar to the Dry-stone, the cements heats when hardening, it´s a fine powder and can cause irritation to eyes, skin, nose, throat and upper respiratory tract, so using eye protection and a dust respirator is recommended. Keep away from children. DO NOT INGEST.
Cement
Cement bag front
Cement instructions

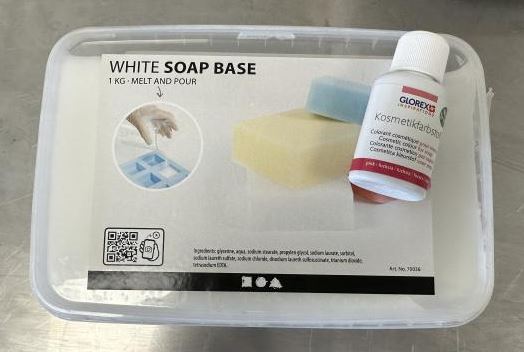
There wasn´t a safety sheet included with the soap base but it needs to be heated to at least 80°C so be careful when handling the melted soap.
Soap base and coloring
Group Assignment
Make and compare test casts with each of them
We made tests with (epoxy), Dry-Stone, cement, soap base and chocolate
Following the instructions for the Dry-stone we mixed 50 grams of the Dry-Stone powder with 10 grams of water. Always mix the powder into the water, not the other way around. The two were mixed together for a minute before being poured into a container.
Dry-Stone test
The Dry-Stone was hard within an hour and was smooth to the touch but still had some water that hadn´t evaporated.
Following the instructions for the construction cement we mixed 150 grams of water with 250 grams of cement. Always mix the powder into the water, not the other way around. The mixture was then poured into a container.
Cement test
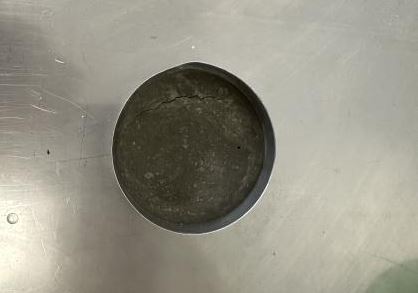
The cement was hard to the touch within an hour but was not as smooth as the Dry-Stone. It was also obvious that the cement needs more time for the water to evaporate. A noticable crack had also formed.
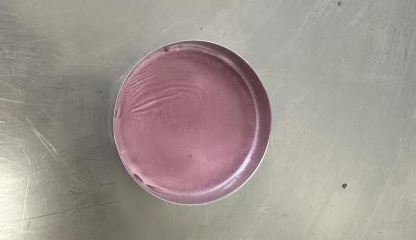
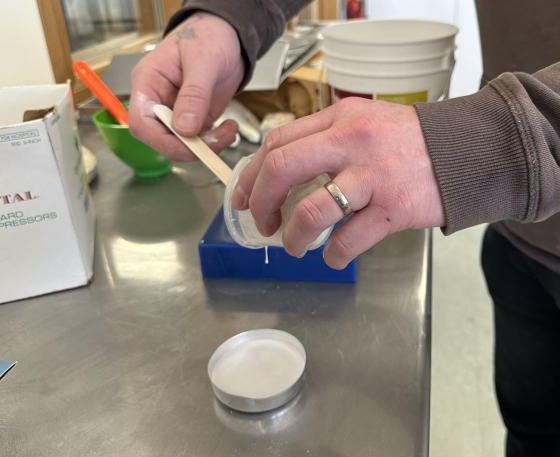
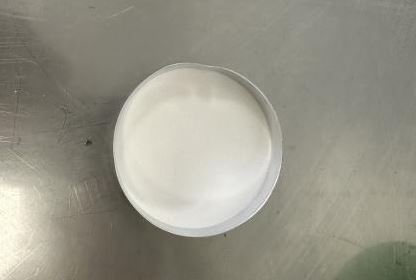
The soap base did not have elaborate instructions, either heat in a microwave or in a double boiler. We scraped 25 grams of the soap base into a small bowl and heated in a microwave for about 25 seconds. The soap was fully melted and not viscous at all, almost watery. We added two drops of coloring to the melted soap, stirred and poured into a container. The soap immediately started to harden and formed small waves on the surface as it was being put down on the table. So, you need to work fast when working with melted soap.
Soap test