Week 5
Feb 22: 3D scanning and printing

List of task this week
Group assignment
To see the group assignment go here.
My thoughts on this week’s group assignment test the design rules for your 3D printers: I have known since we got it that the Prusa is my favorite, but it was good to see a comparison of the Prusa and the Ultimaker none the less.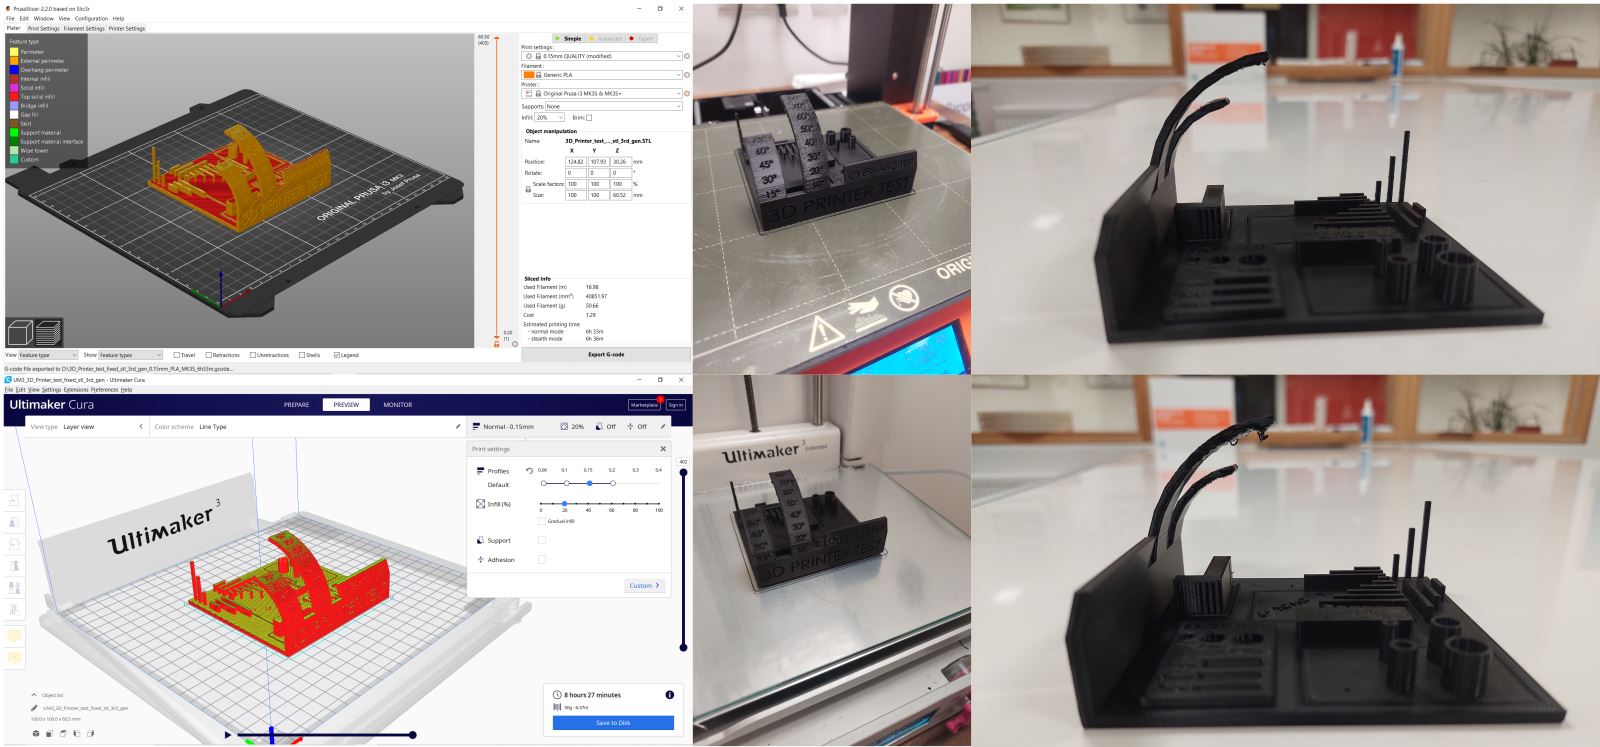
Design and 3D print an object (small, few cm3, limited by printer time) that could not be made subtractively
When I think of things that can not be made subtractively I think of things inside other things.
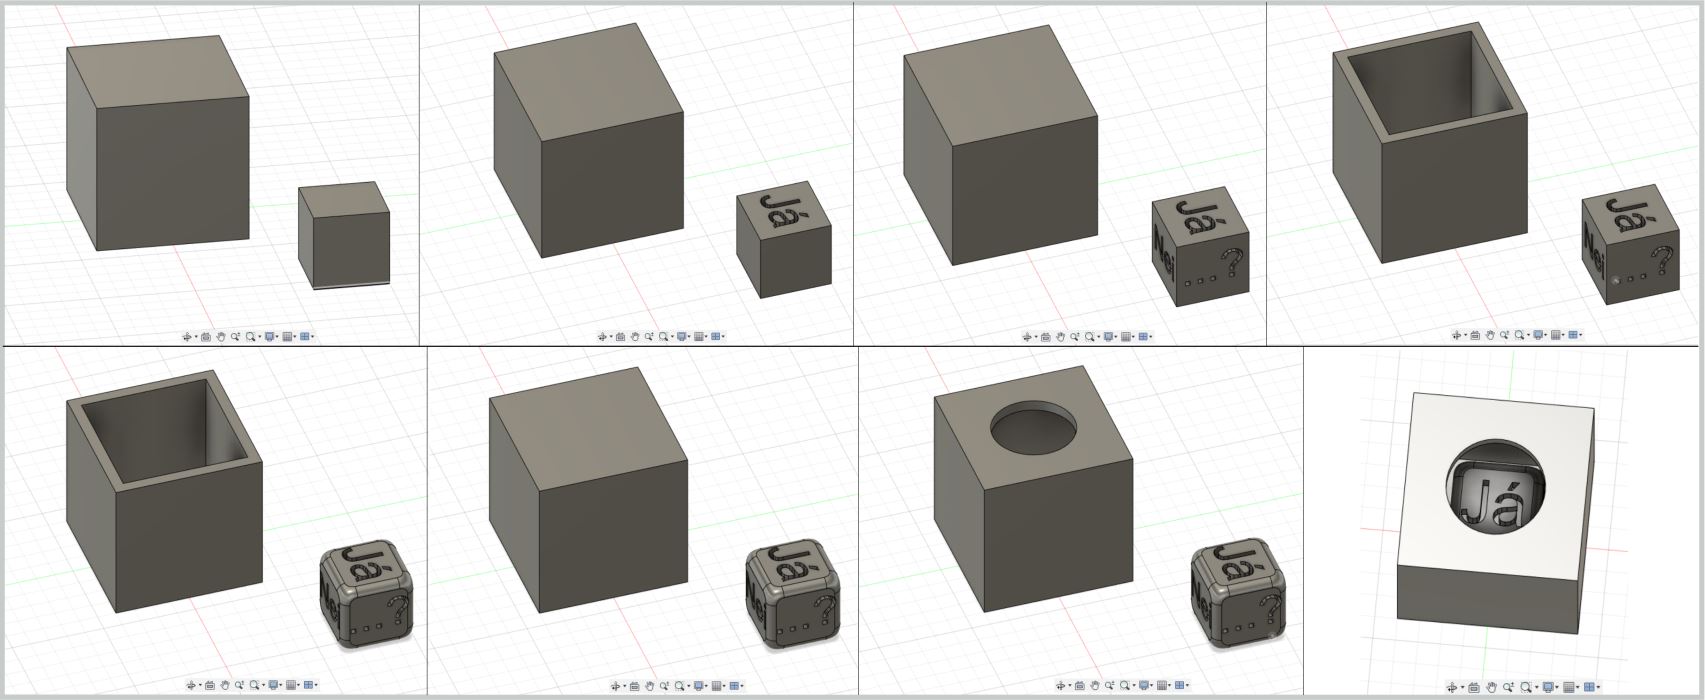
So I made a simple answer cube with yes, no and …? Just in Icelandic. I made the cube in Fusion 360.
To make the cubes I used the Create Sketch tool and picked the “floor” phase, I used the Central rectangle
and made it 2x2cm. I right clicked on the rectangle and selected push/pull and pulled it up 2cm. I did the
same prosses for the bigger cube, only made that one 4x4x4cm. To put on the letters, I clicked Create sketch
but instead of selecting the “floor” I selected a phase of the cube I wanted to write on, selected Text and
clicked and dragged the text frame on the phase of the cube, then in the text window wrote the word and pressed
OK. I right clicked on the word and selected push/pull and pulled the word down 4mm, I did this to all the phases
so there was a word on all sides. To make the smaller cube more like a die I used the fillet command and selected
all the edges and pushed in a little. To make the big cube hollow I created a sketch on the top phase of the cube
and made a rectangle 6mm smaller than the original sketch so the walls would be 3mm thick, right clicked and selected
push/pull and pulled the rectangle down by 37mm so the bottom would be 3mm thick as well. To close it I made another
sketch on top of the cube, this one the same size as the cube and pulled it down 3mm and made sure that in the push/pull
window that it was on join and not cut. I made another sketch on the top phase of the cube this time a circle and made it 22mm.
I pulled that down to make a hole. Lastly, I right clicked on the die and selected move/copy and moved it into the cube and up
5mm so it would hower 2mm over the floor of the cube and exported to .stl.
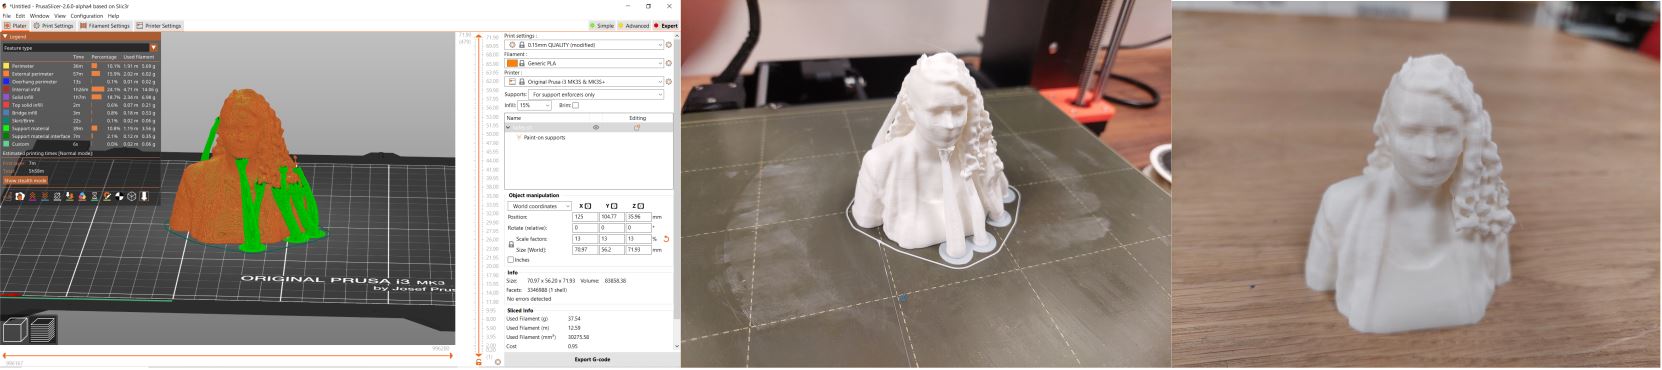
3D scan an object
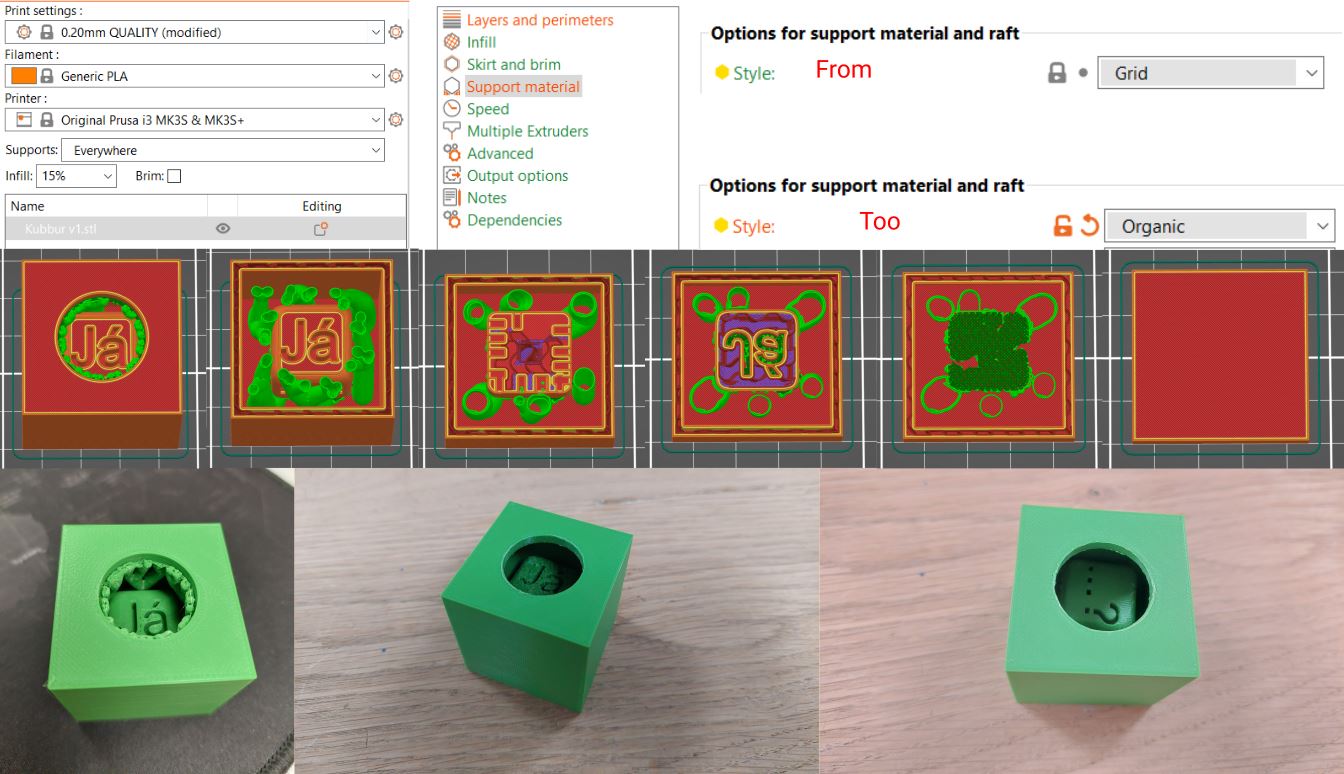
I started by just scanning me in Reconstruct me with an old xbox camera. I sliced the file in Prusa slicer and since it is 3D printing week I decided to try out that tree support I have heard so much about. It came out well, I printed it out in PLA and was happy with the outcome.
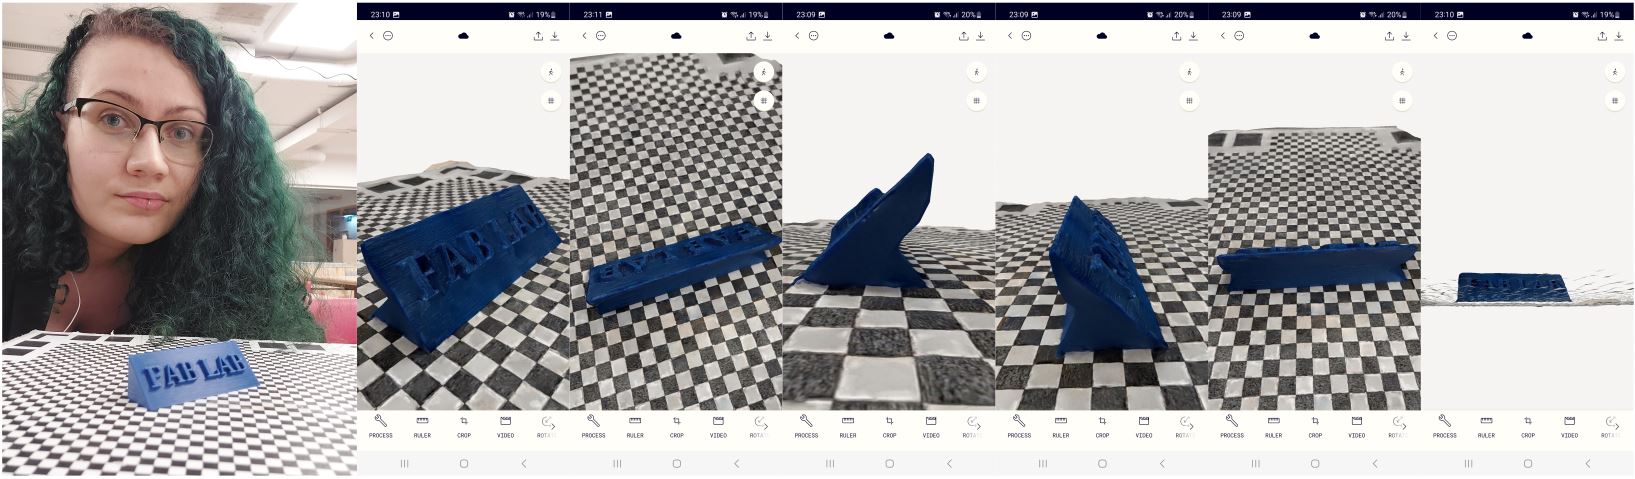
I also wanted to try scanning with my phone, I have tried Qlone before so I wanted to try something else so I tried Polycam. I did not realize there was a progress bar so you could see how many more pictures you can take, so I did one try that failed and in the secund one I saw I could add more pictures so I added more and that time it came out all right. If I wanted to export it I would have to pay so I did not do that.