6. 3D Scanning and printing
This week I worked on designing and 3D print an object and 3D scan an object.
Group assignment
This week of group assignment, We test the design rules for ours 3D printer. Click HERE to see more detail of the group assignment.
Individual assignment
Heroshot
mini game machine shell
coffee cup

mini ring-ring
3D print
One of the 3D printing machine in our lab is RAISE3D N2 Plus, and I going to use that for my assignments.
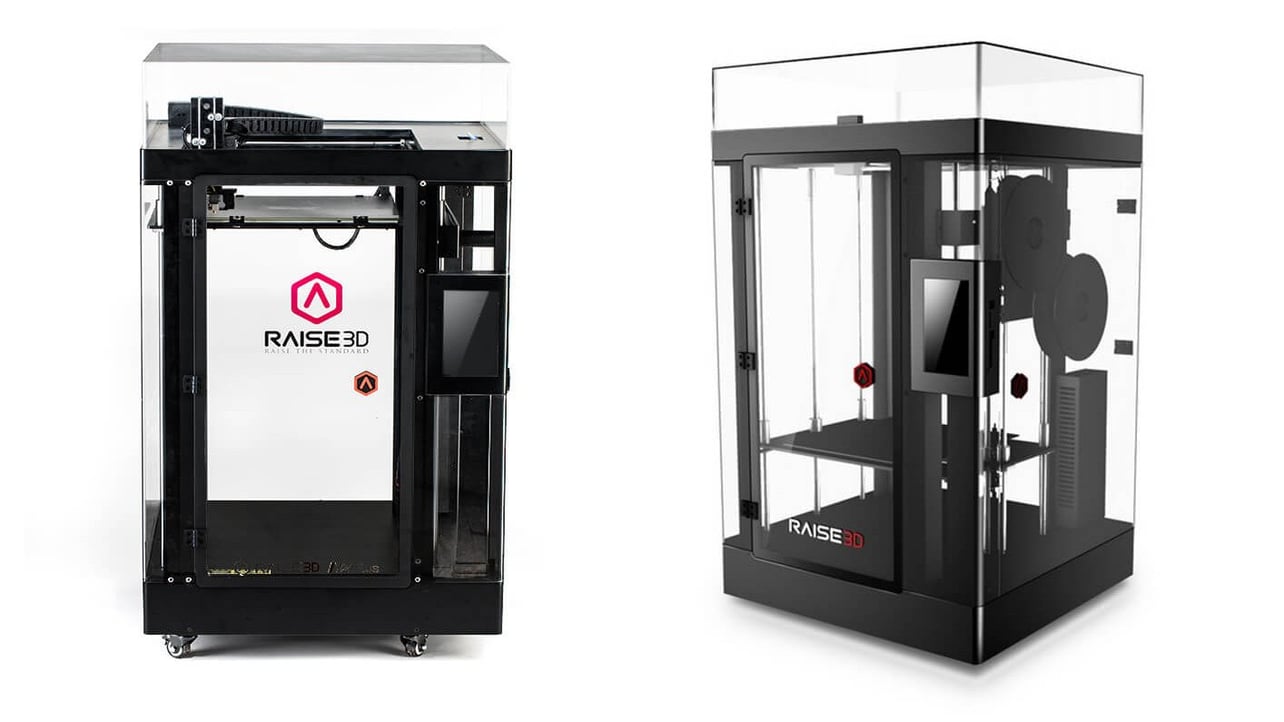
| Specification | |
|---|---|
| Work Area | 305 x 305 x 610mm |
| Layer Resolution | 0.01~0.25mm |
| Filament Size | 1.75mm |
| Nozzle Diameter | 0.4 mm / 0.6 mm |
| Nozzle Working Temperature | 170-300 ℃ |
| Number of Nozzles | 1 / 2 |
| Printing Speed | 10 ~ 150 mm/s |
| Moving Speed | 150 ~ 300 mm/s |
| Source |
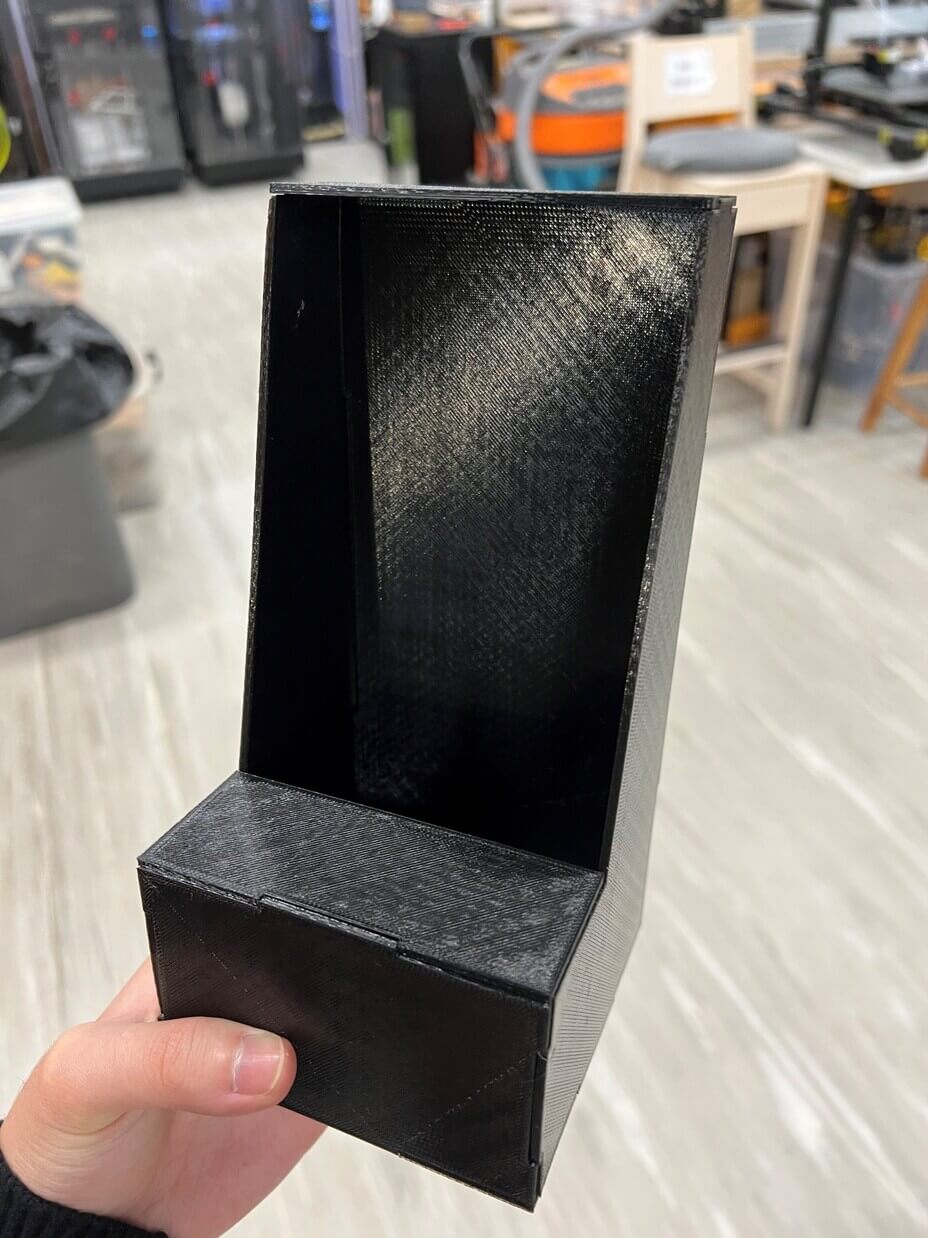
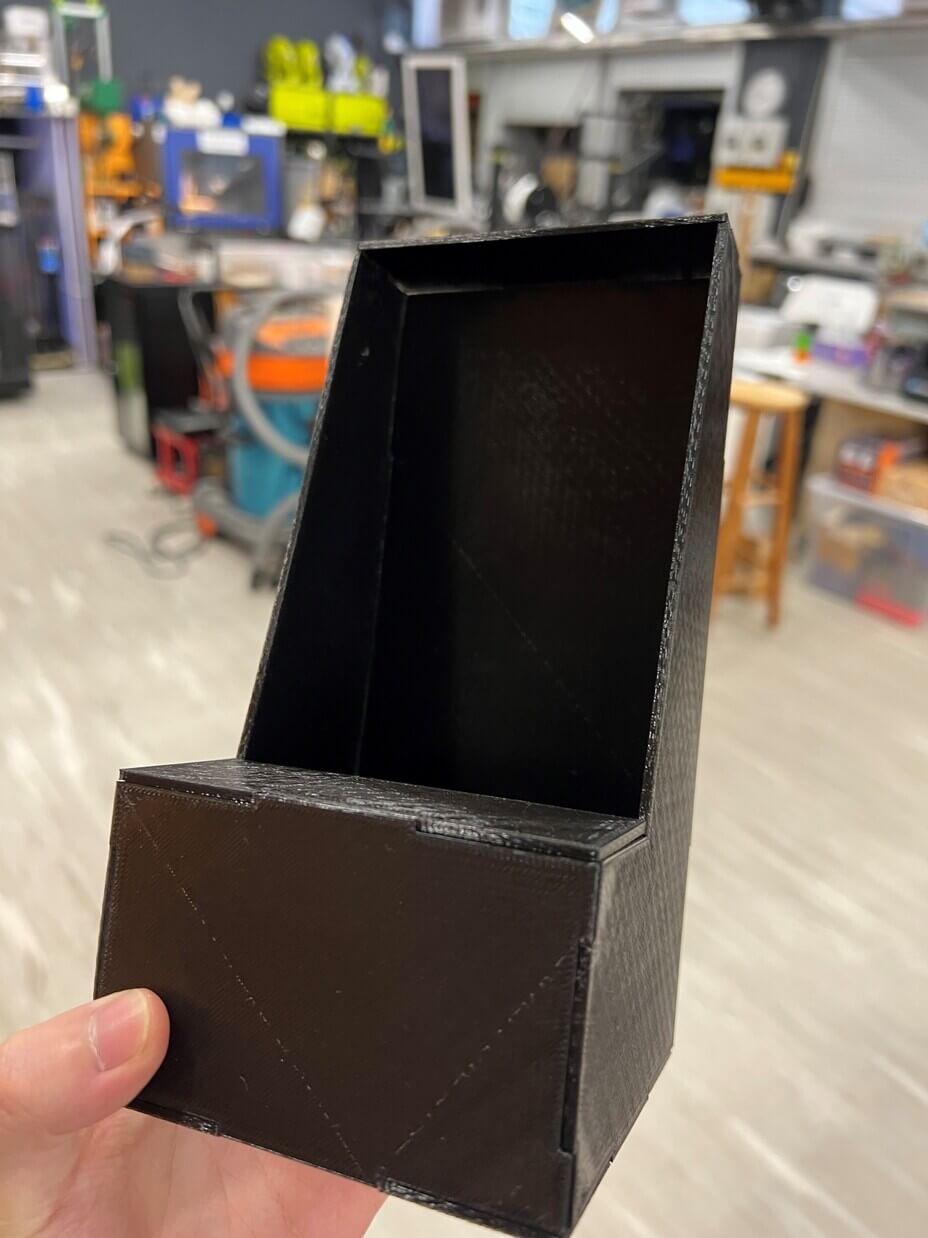
mini game machine shell
For my final project, I’ve designed during week 4 assignment, a mini game machine shell using Fusion 360.
And I decided to 3D print it. Here is the process of printing it out:
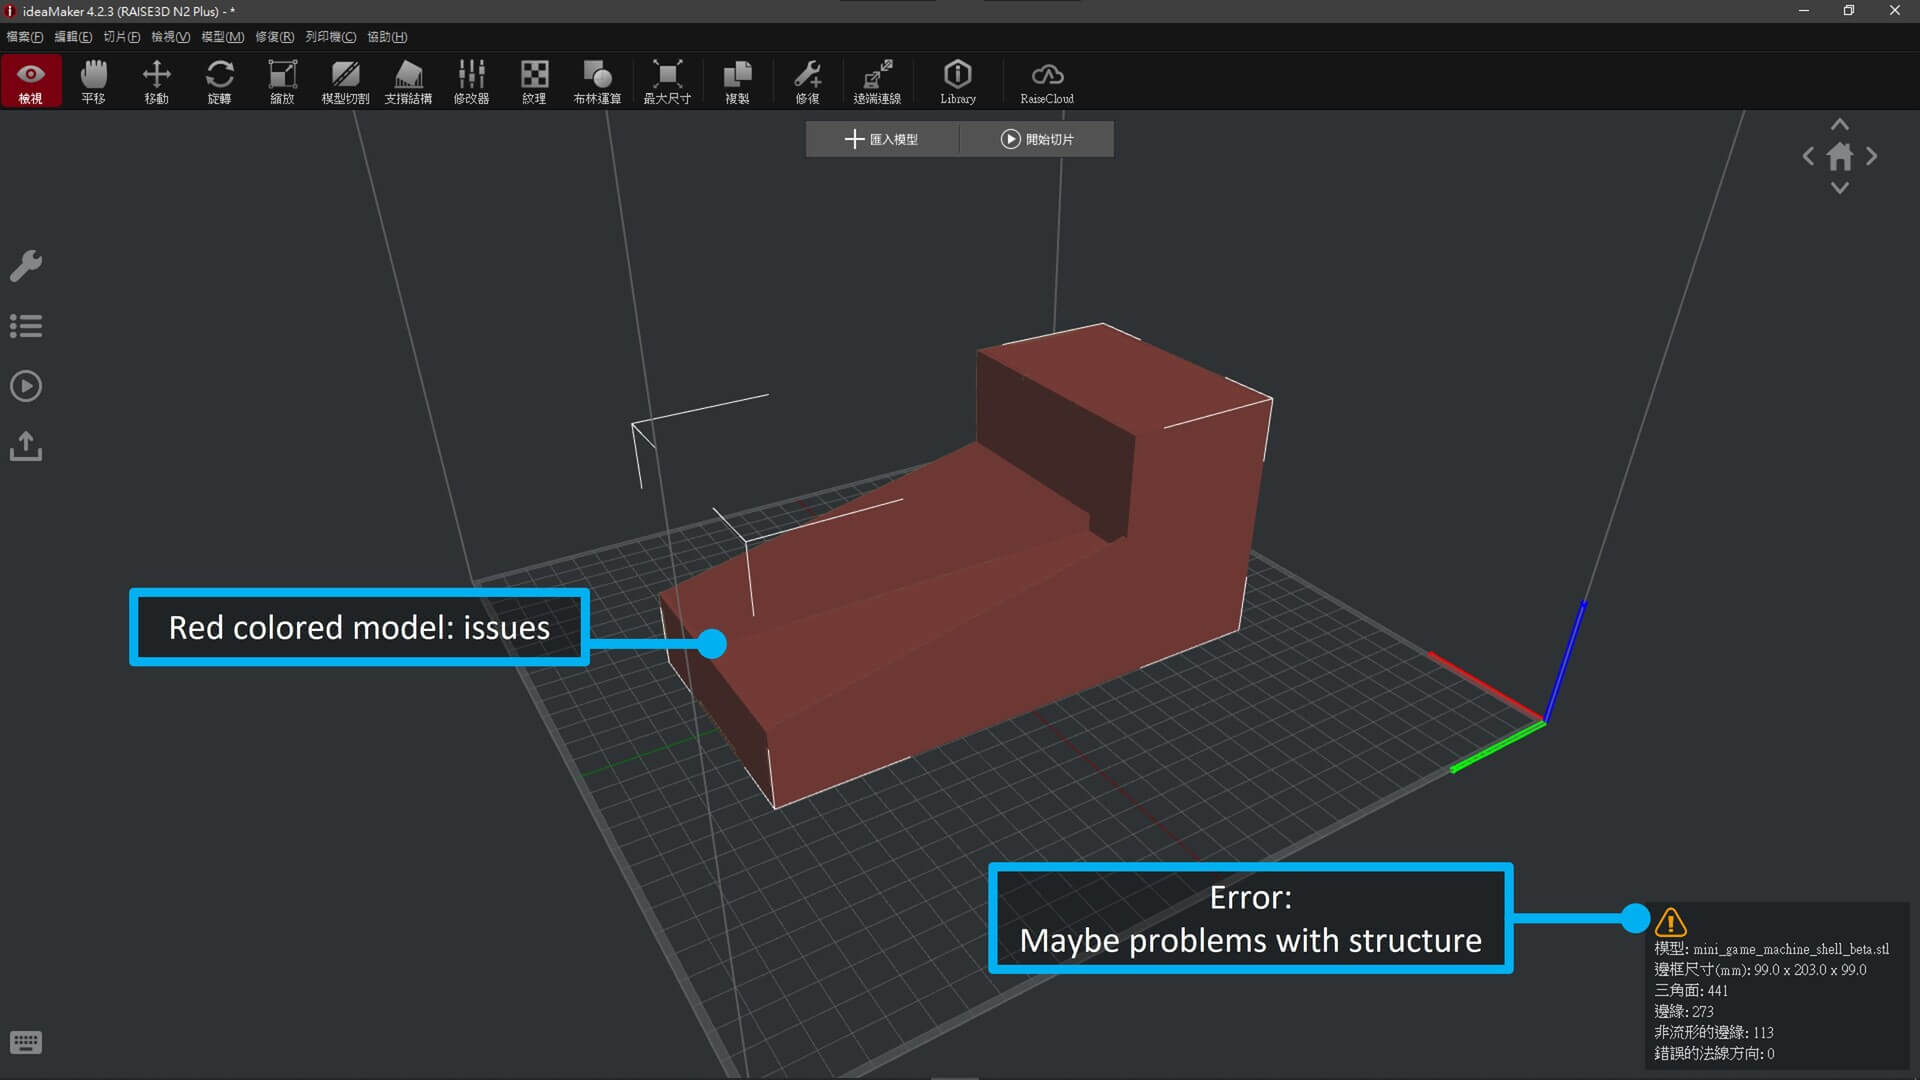
Since I am using the RAISE3D N2 Plus 3D printer. So I will use the 3D Slicer Software for Raise3D machine, ideaMaker.

Then I open the .stl file in the ideaMaker, but got some warnings and the model turned color red. I guess there may have problems with the structure.
So I separated the parts and will joint it after all parts were printed.
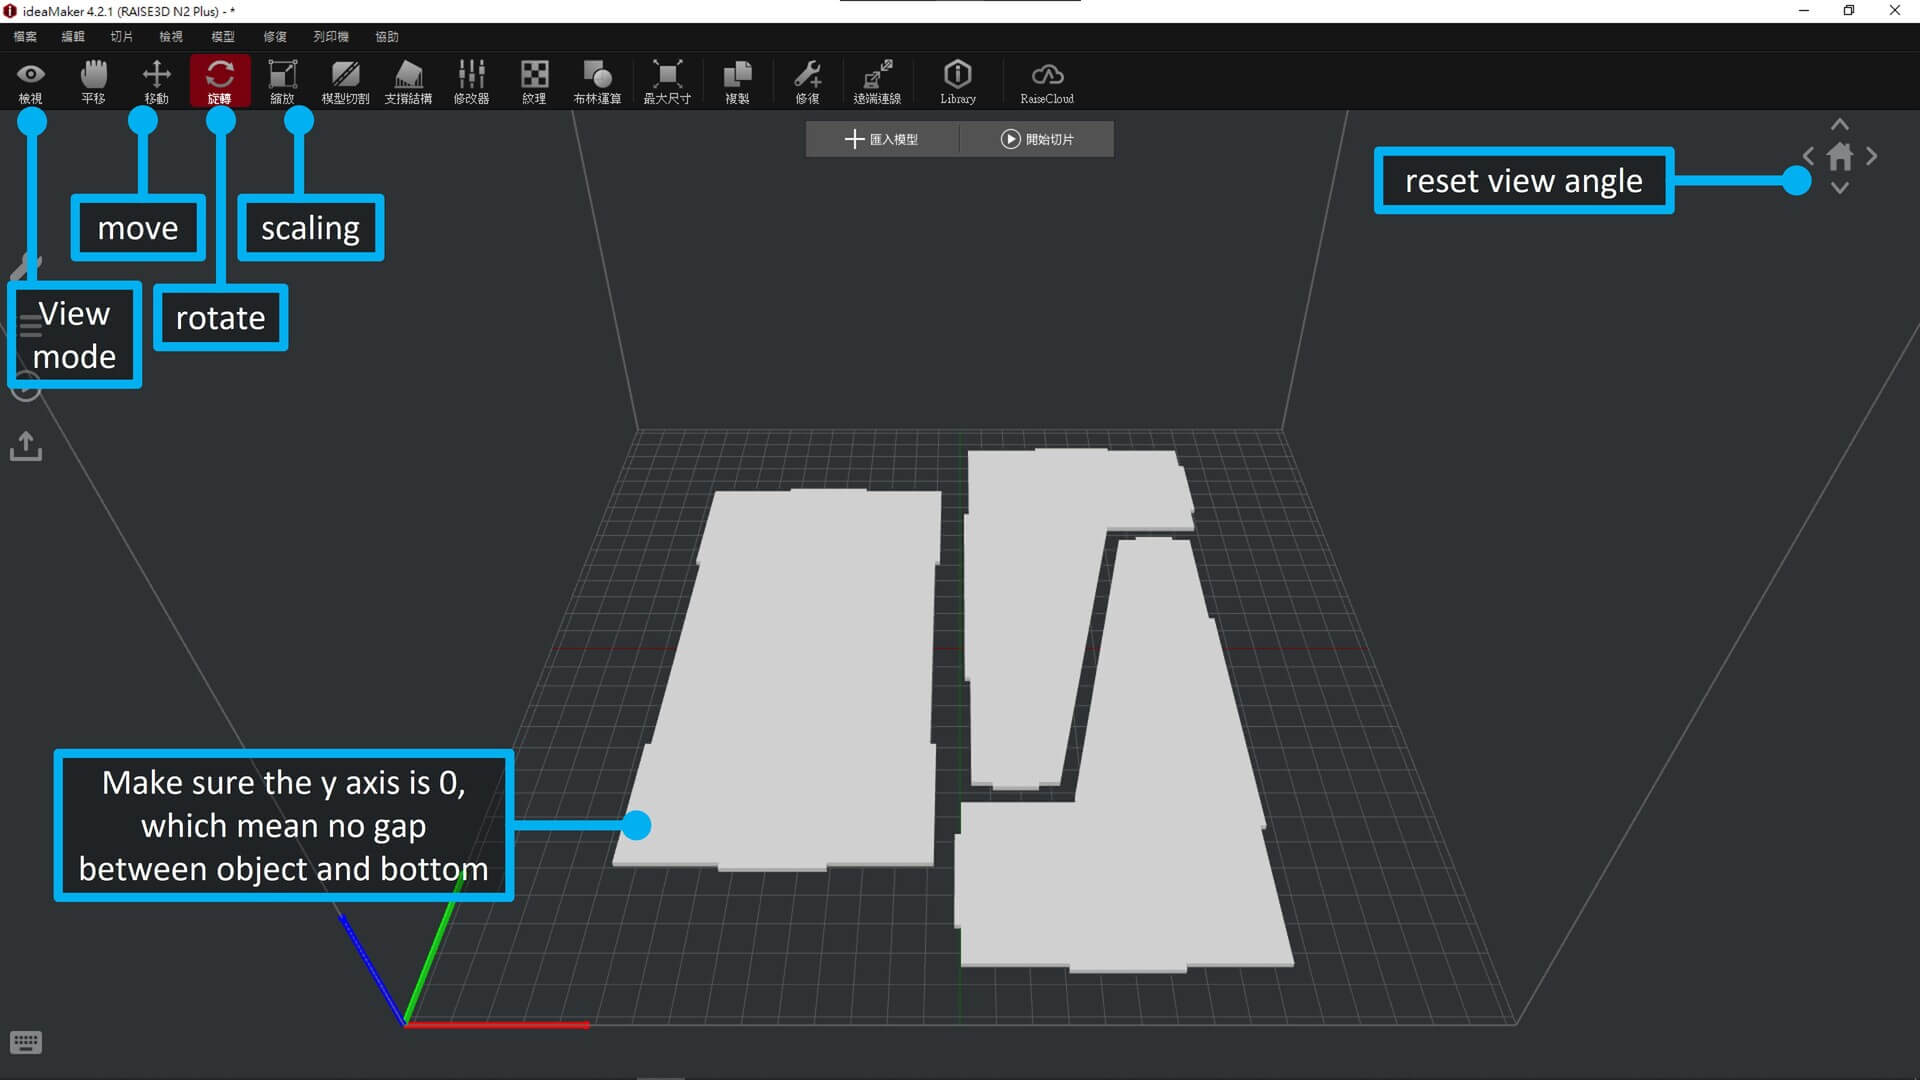
And there are some basic functions for users to edit the model, like view tool, move, rotate, scale, etc.
Then make sure that the y-axis is 0 which means no gap between object and bottom.
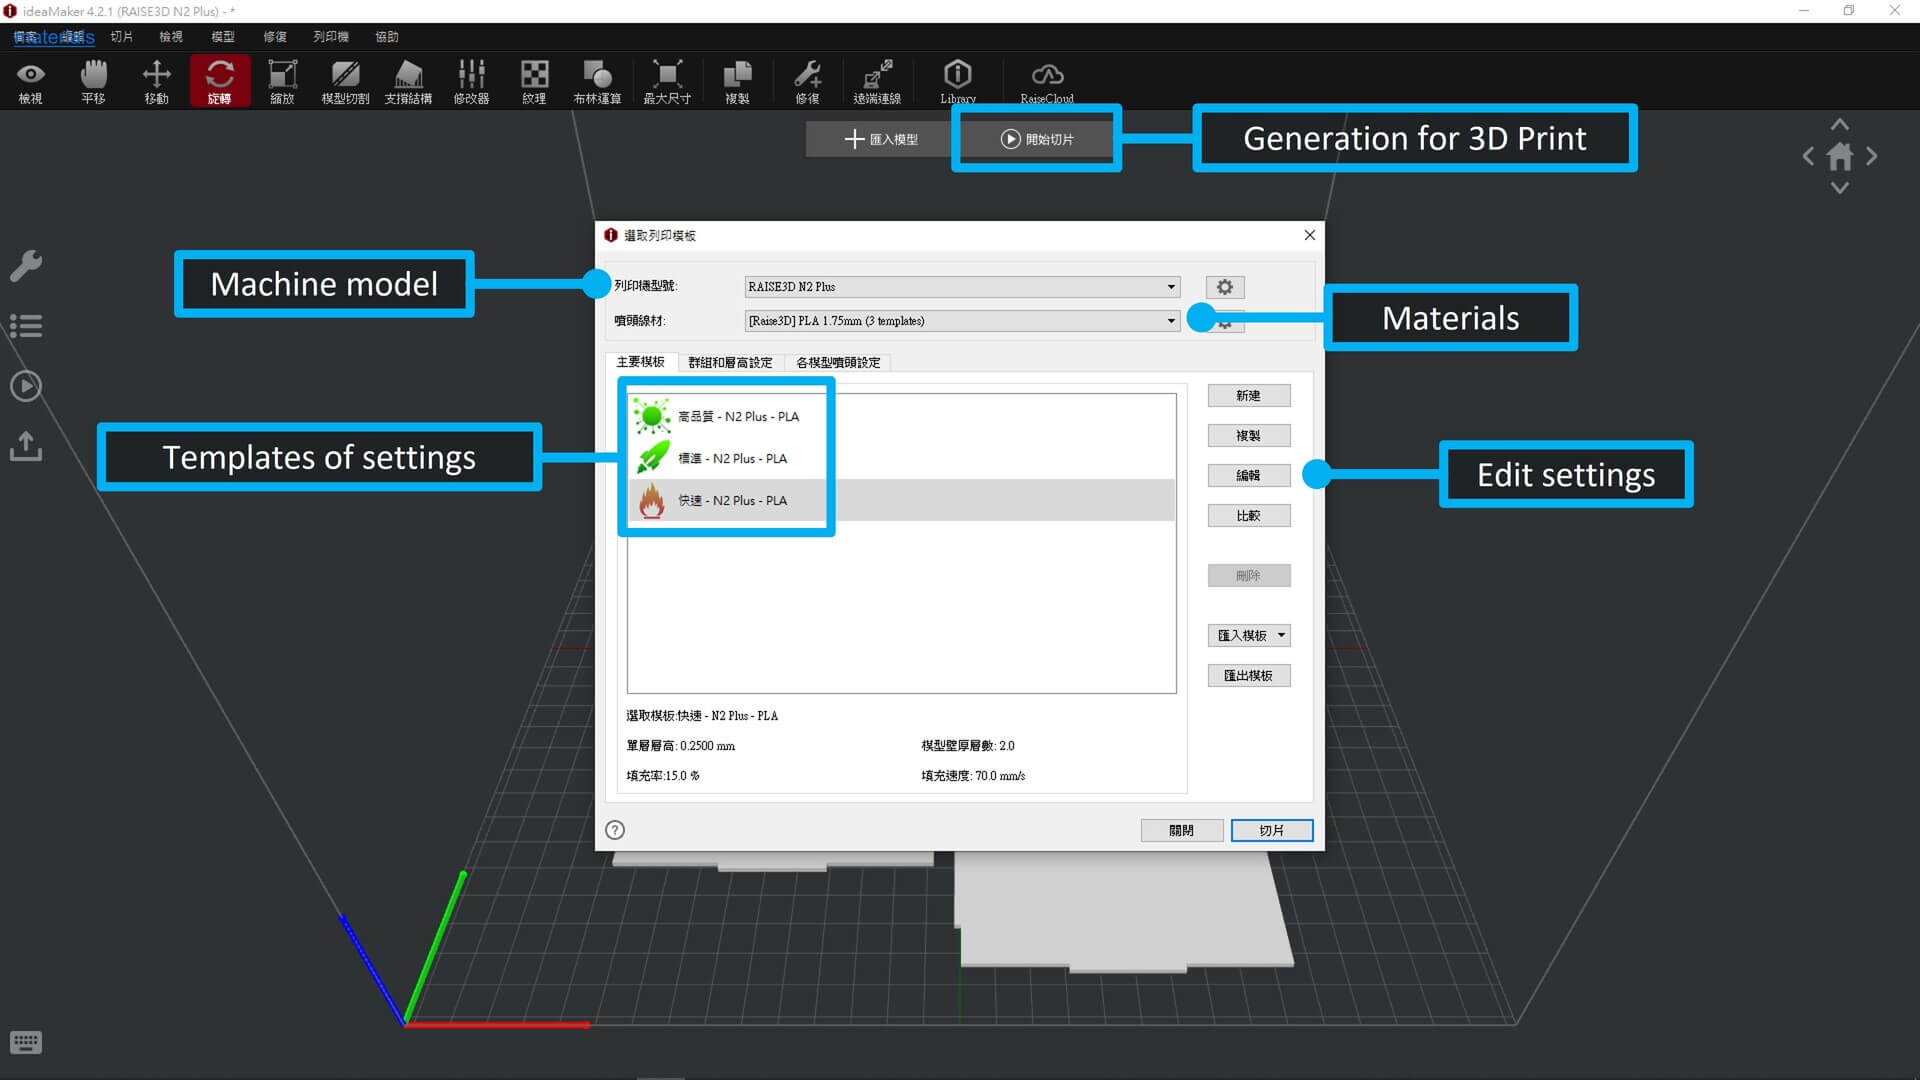
After all objects have been moved to the position you wanted. Click the button of ‘Generation for 3D Print’.
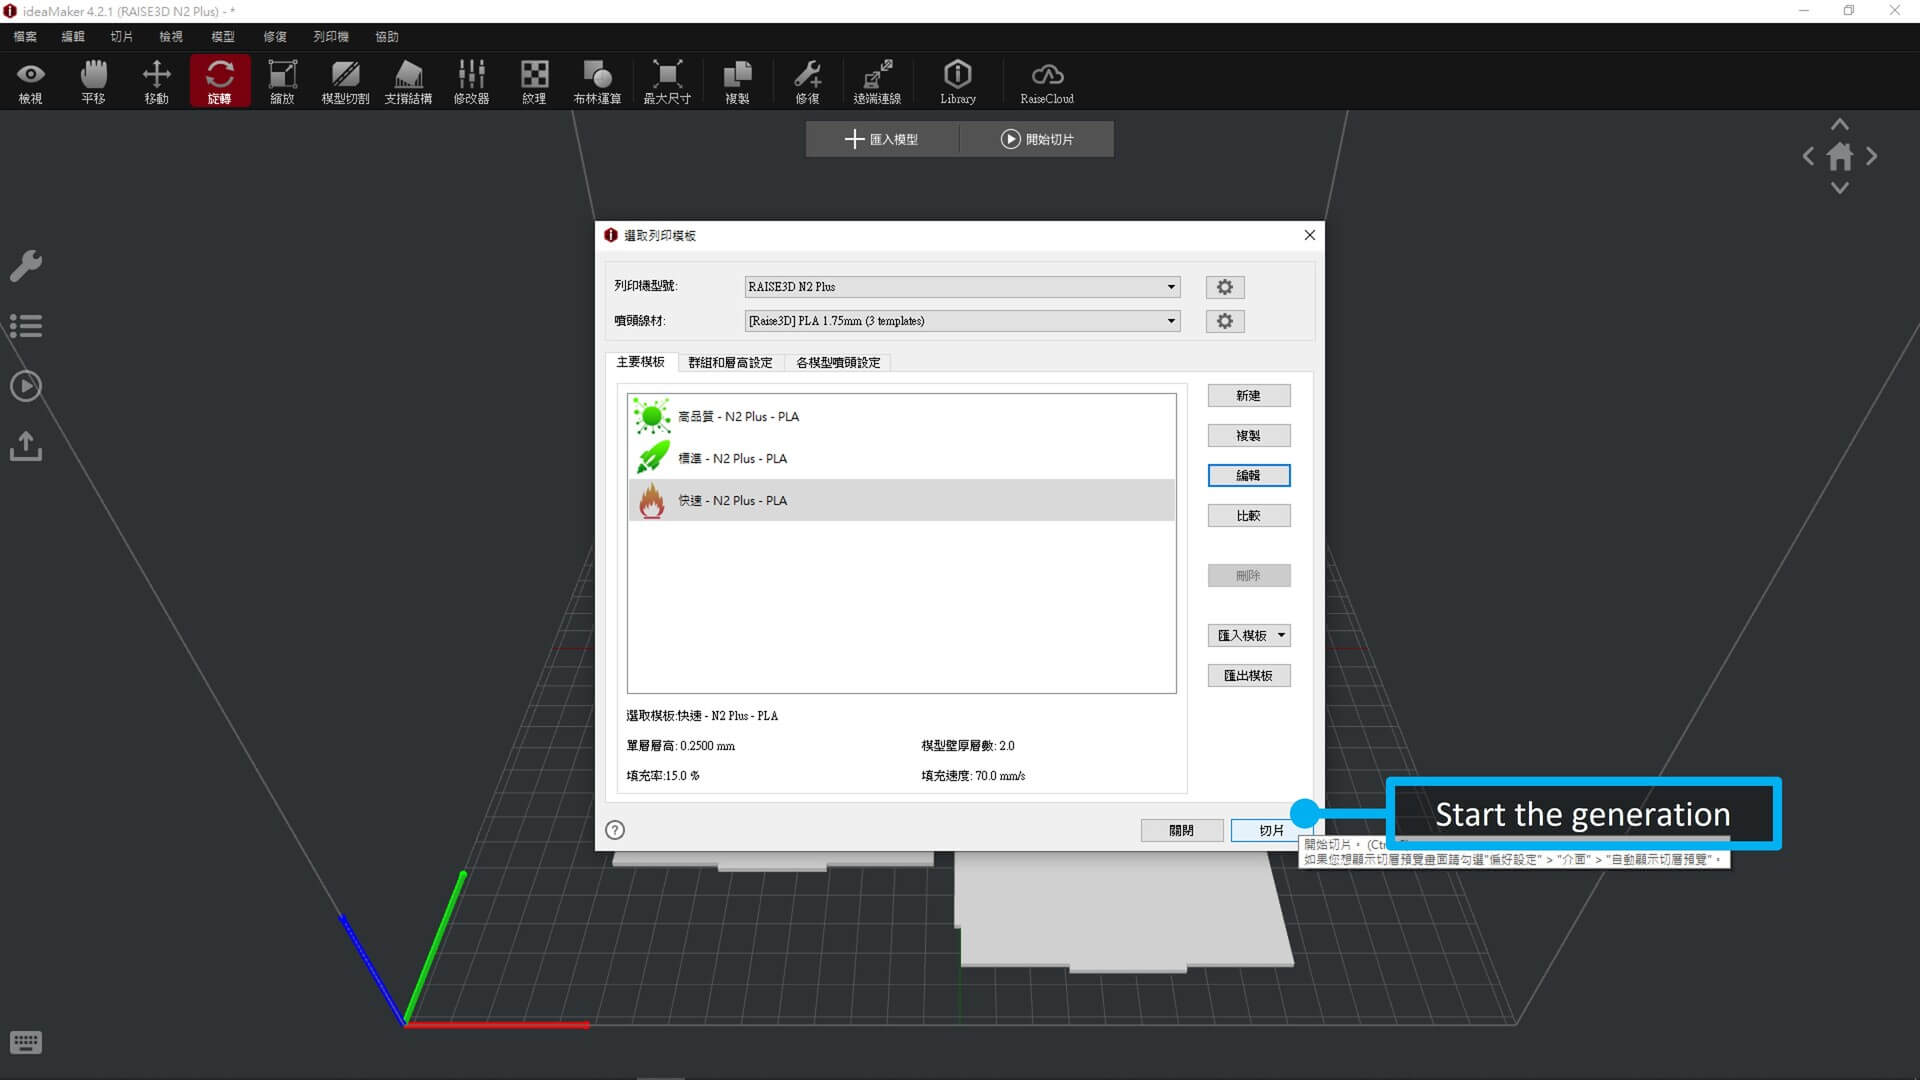
Then choose what model and materials you are using, for my case of cours RAISE3D N2 Plus and using PLA 1.75mm.
After, select which templates settings suit you. From top to bottom, High quality, Standard, Quick. In my case, I’ve chosen Quick. But we still need to go through some settings.
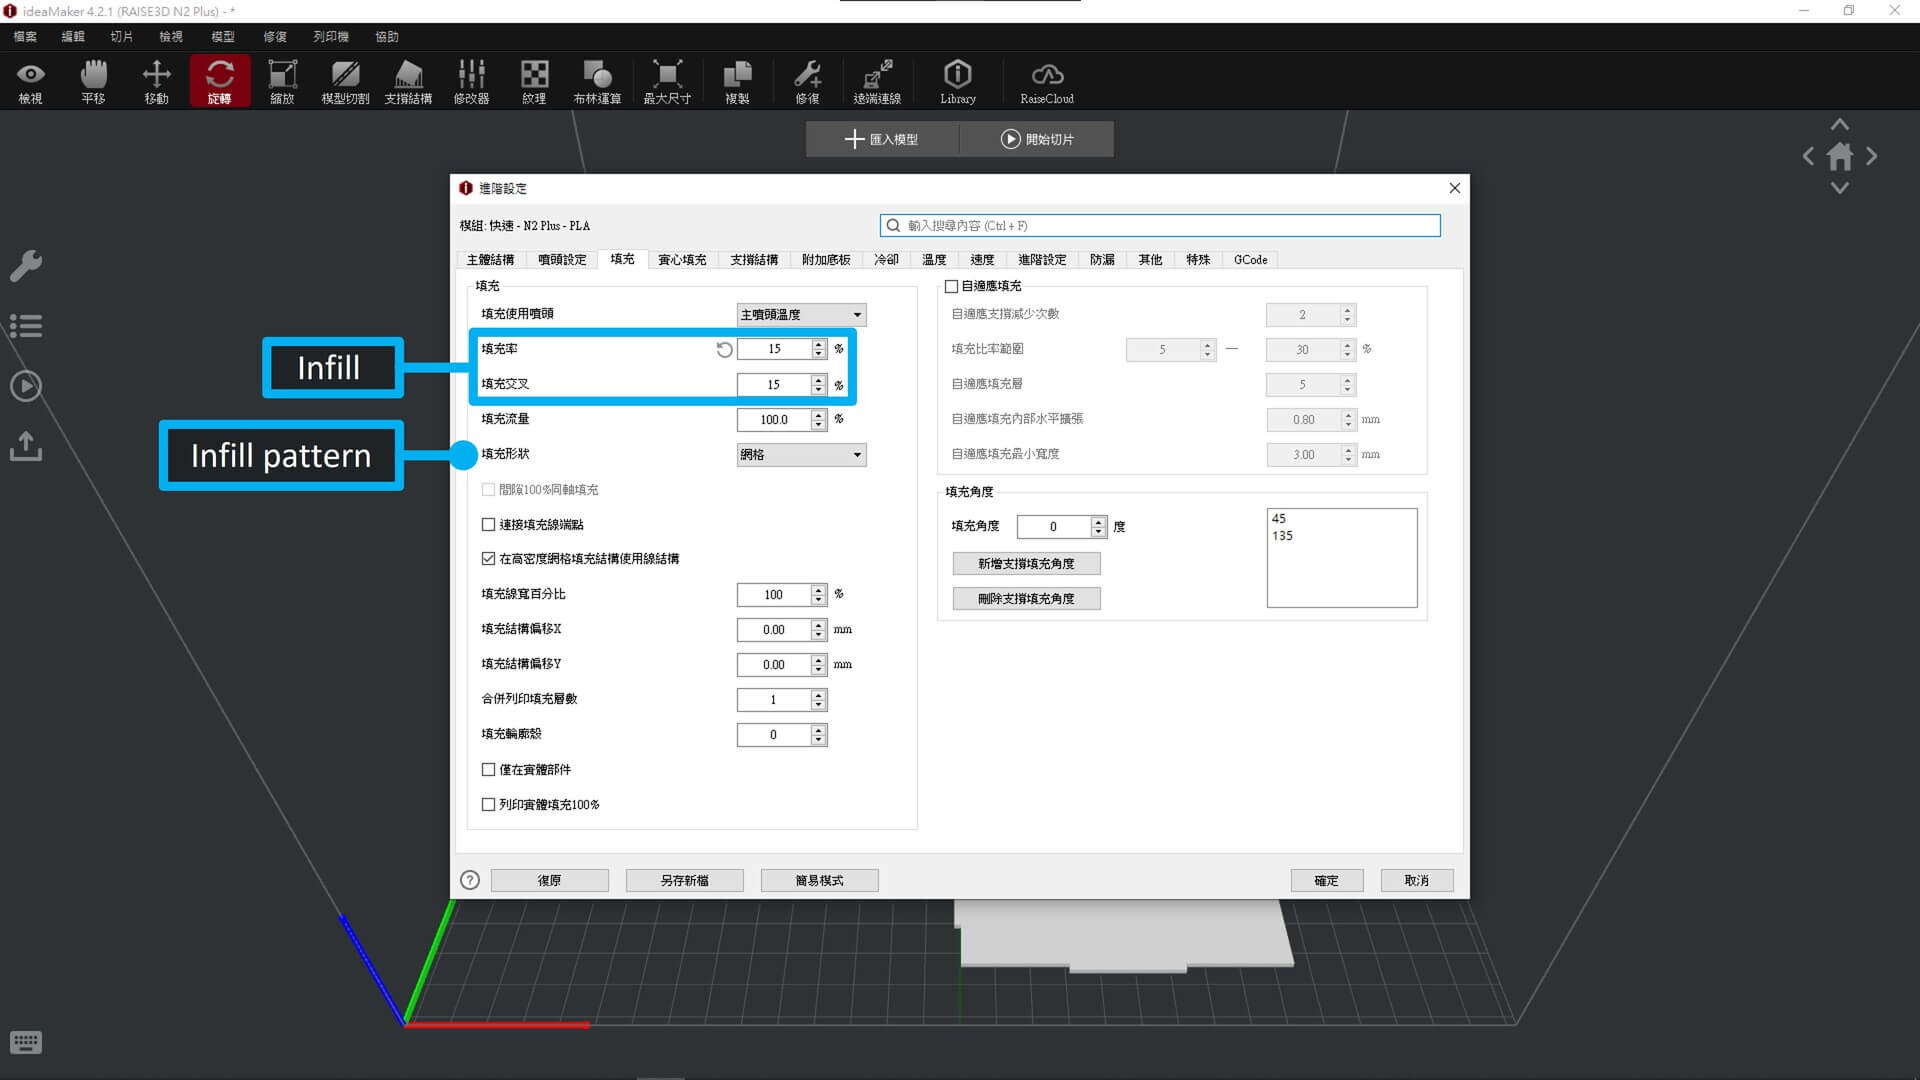
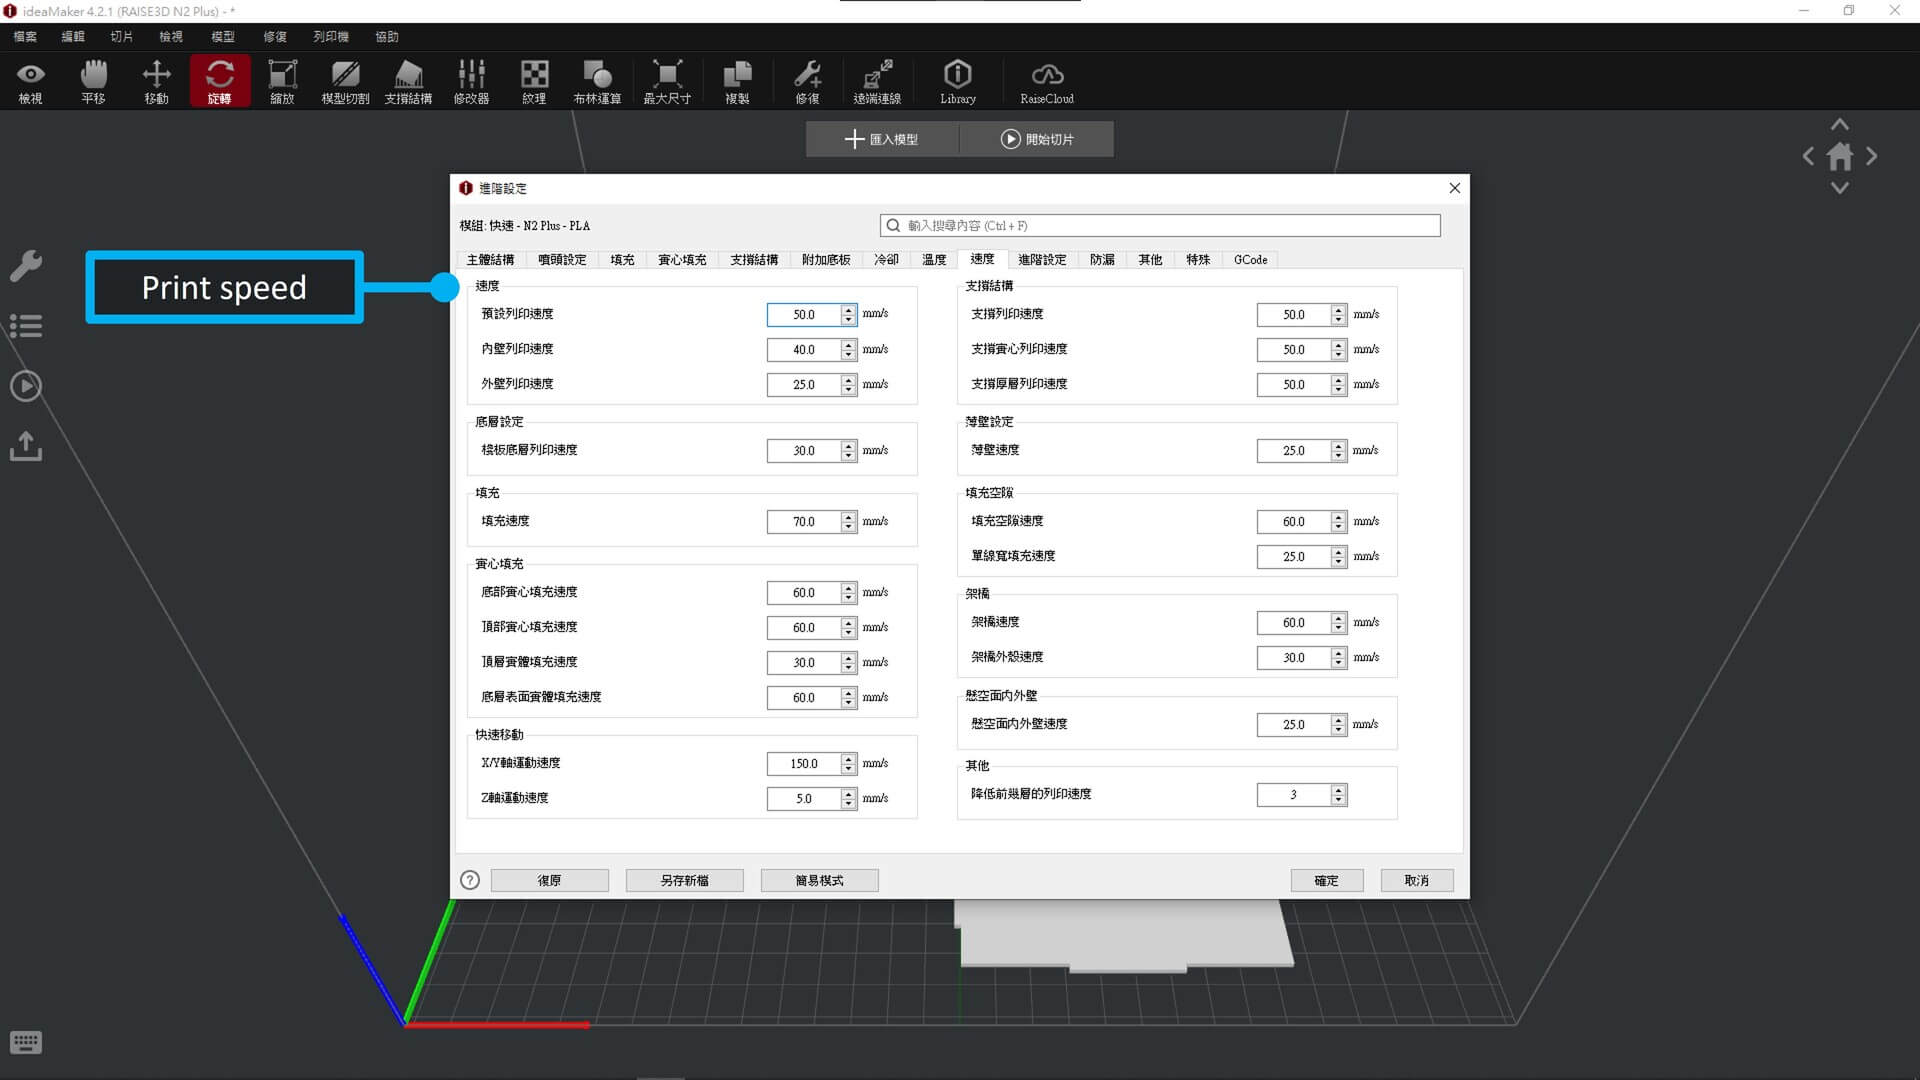
In advance settings, there are a lot, but will only check some important ones.
Before, one of the printer’s nozzle diameters is 0.60 mm. But now both printers’ nozzles are 0.40 mm.

I think 15% of infill is best for most situations.
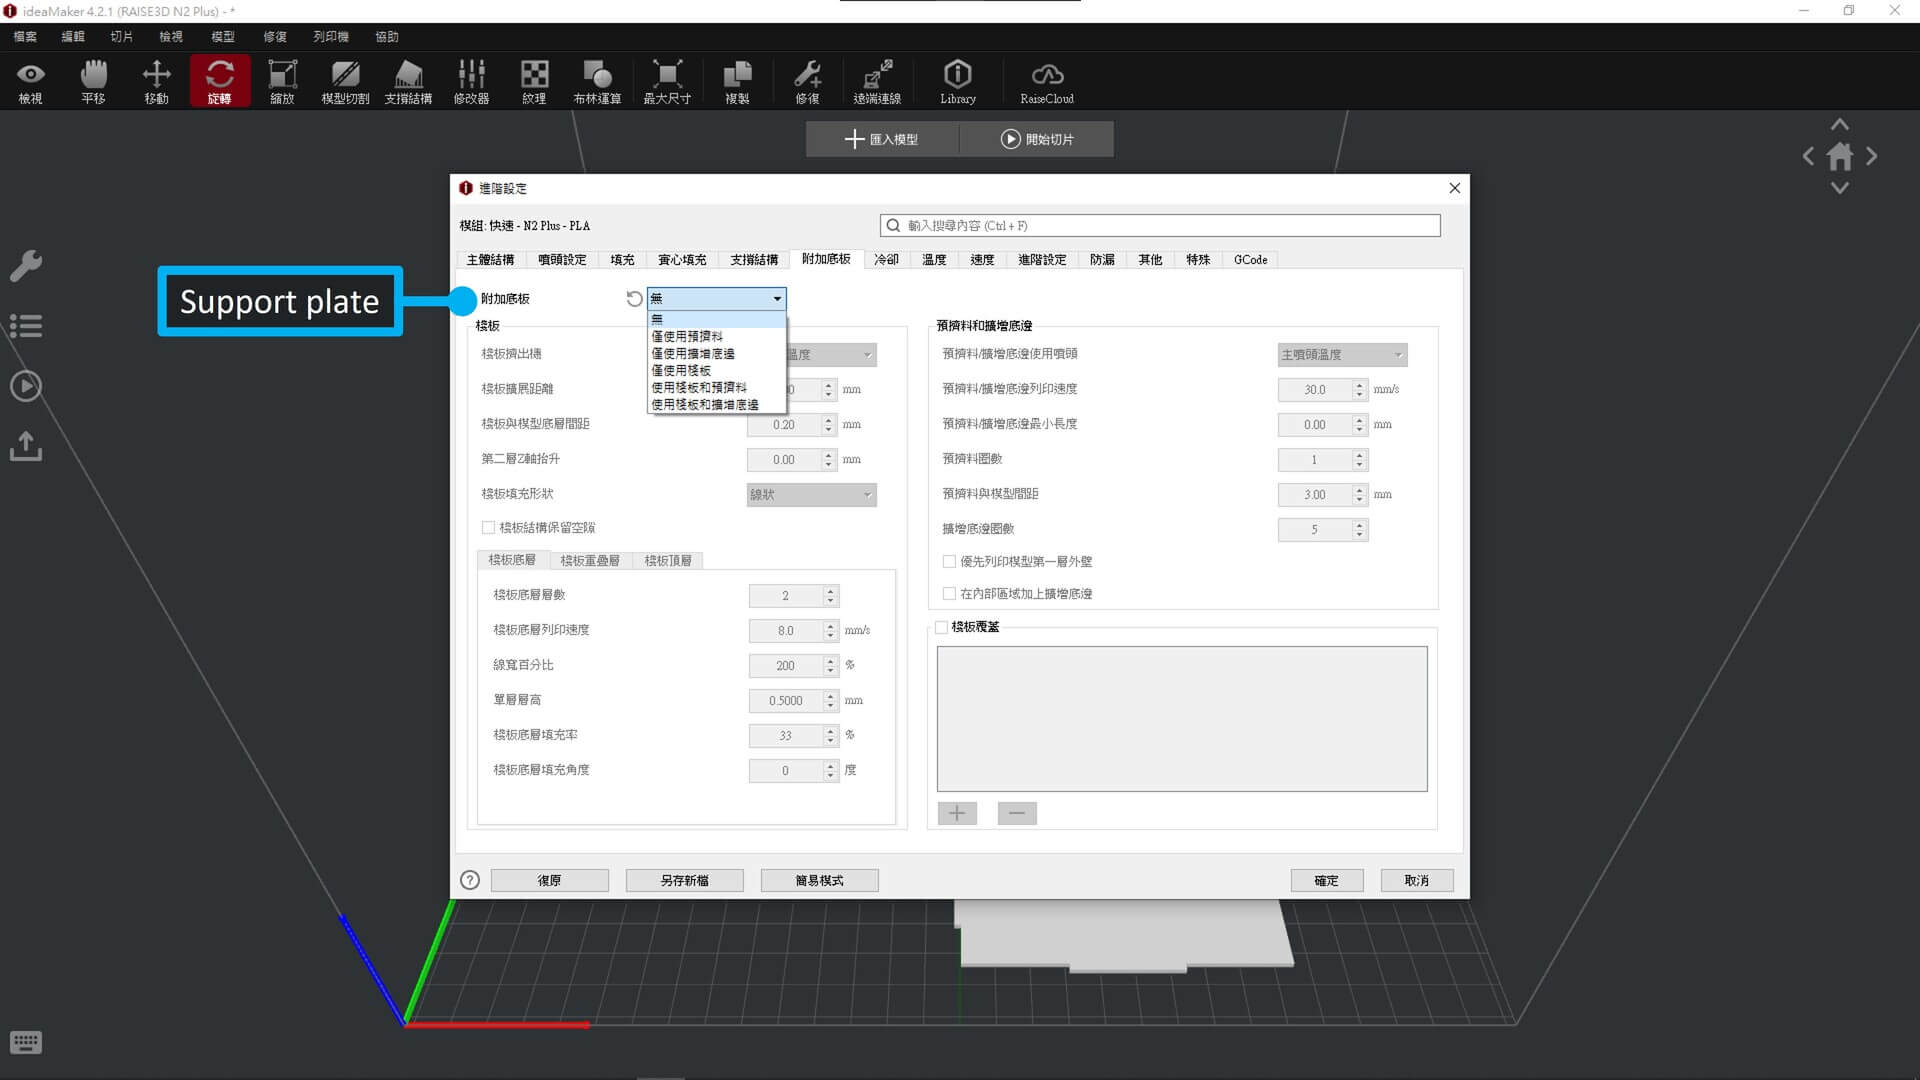
In some situations, we need to add a plate for supporting multi objects. For me, I don’t think I need to use it.
Here are the settings of the plate and nozzle temperature.
For me:
| Type | Temp |
|---|---|
| Plate | 60°C |
| Nozzle | 215°C |
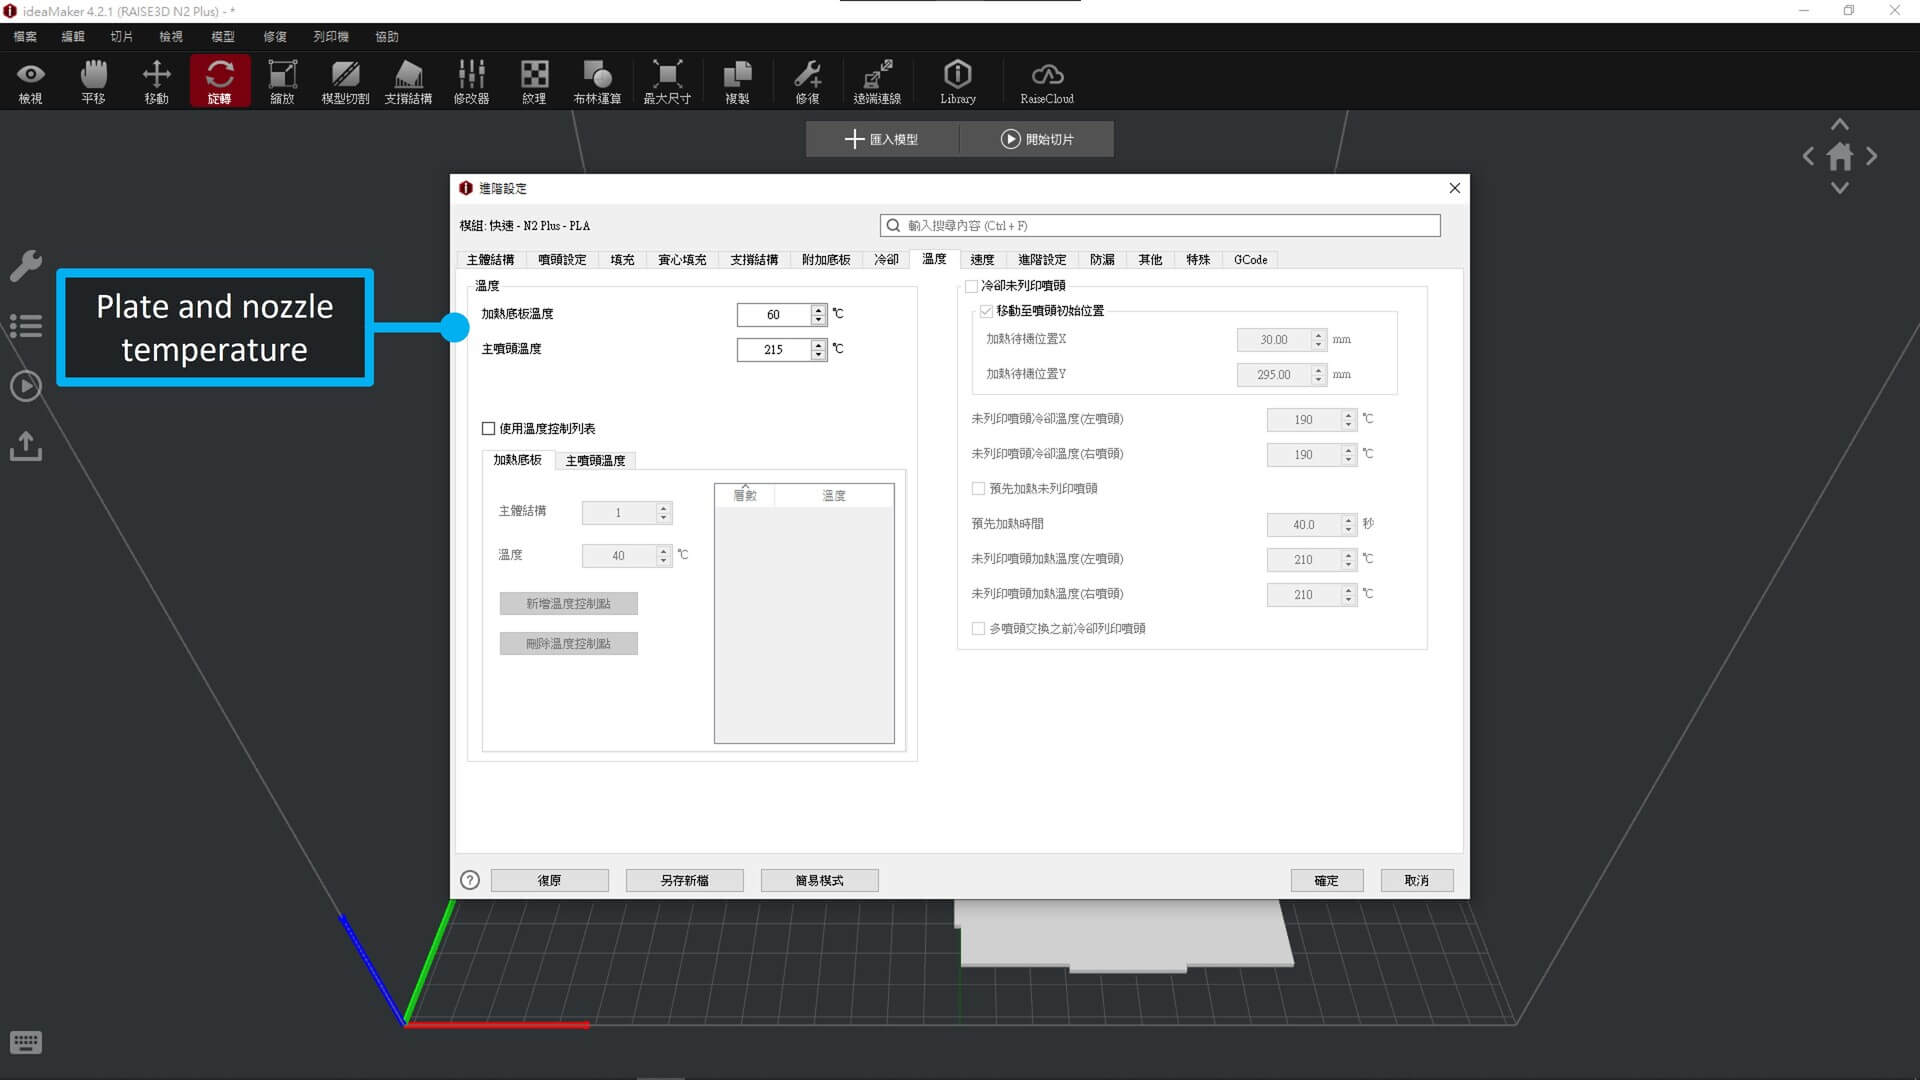
This I normally won’t set it, so, yea, leave it. :)
After all set, start to start the generation for 3D print.
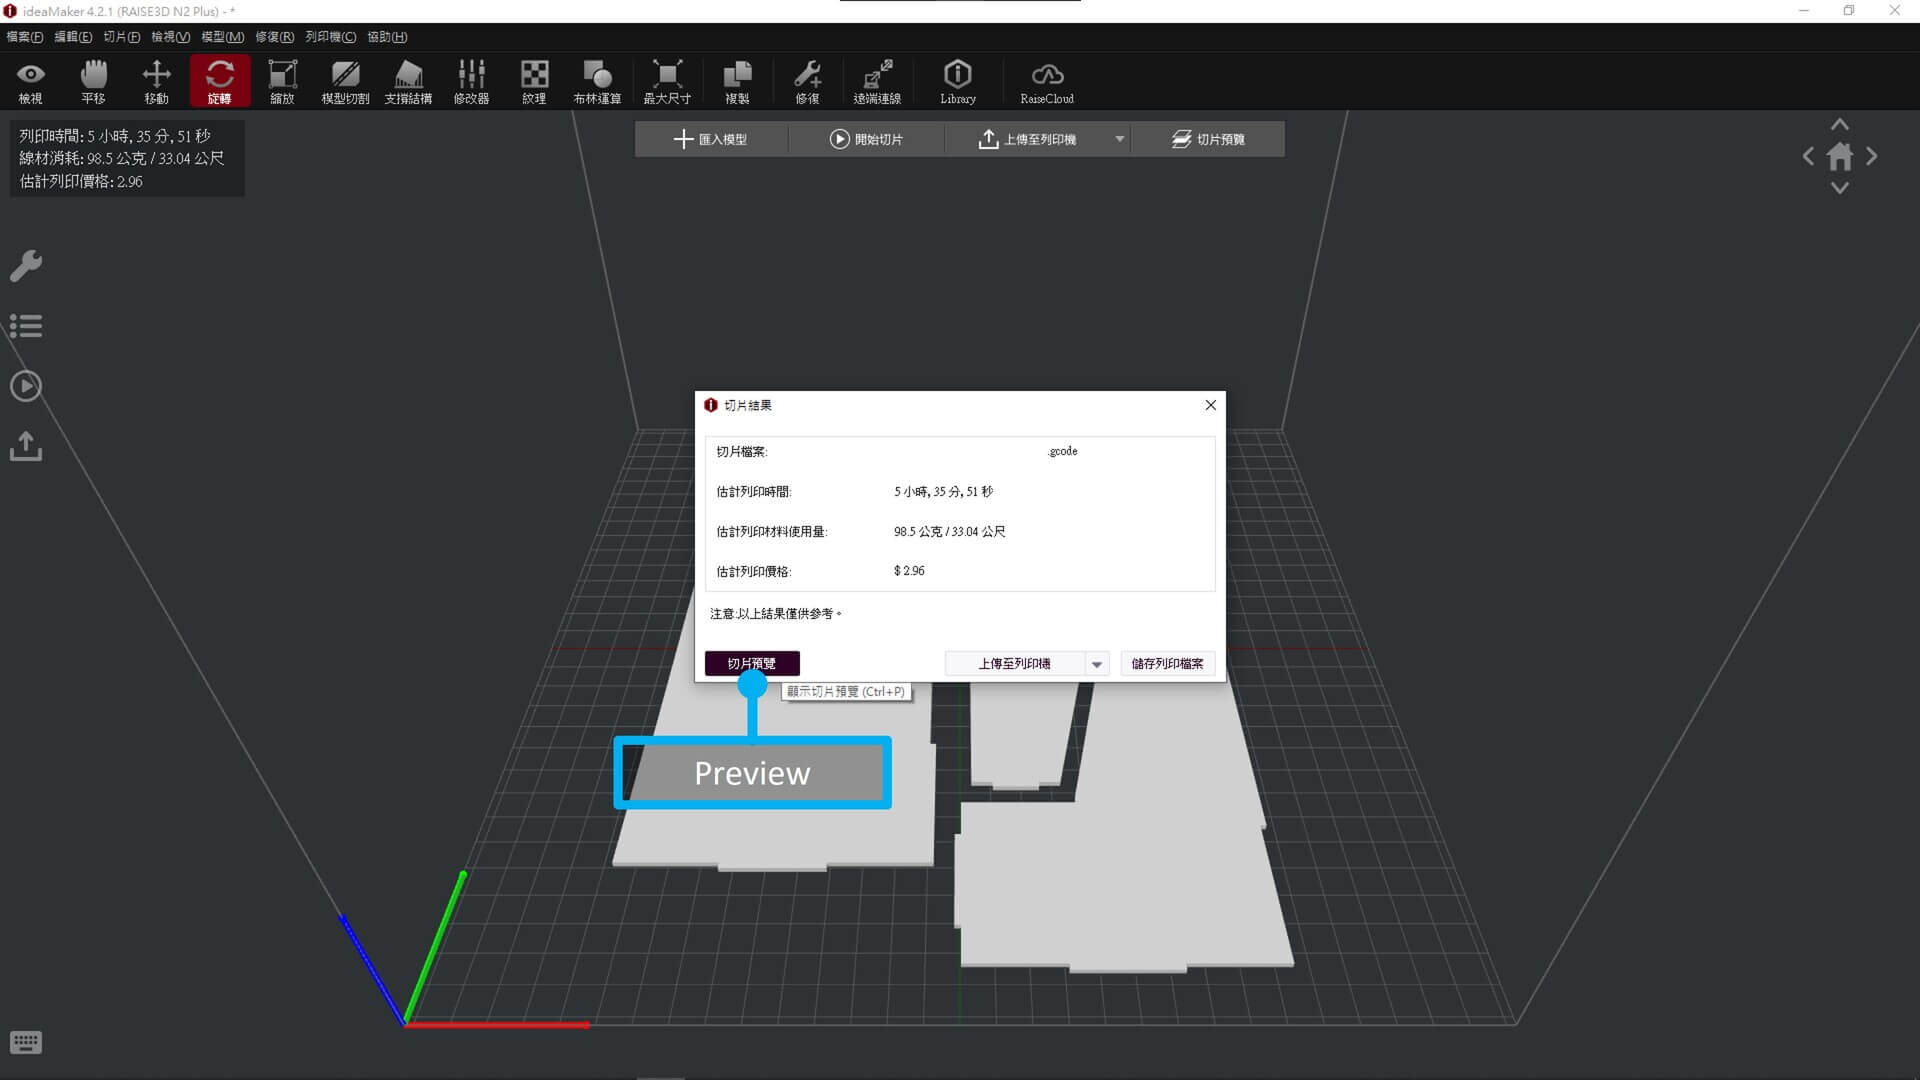
Then ideaMaker will give you some estimate information, like print time, filament used and price. just estimate.
Click the ‘preview’ button to check if there are any problems with the generation.
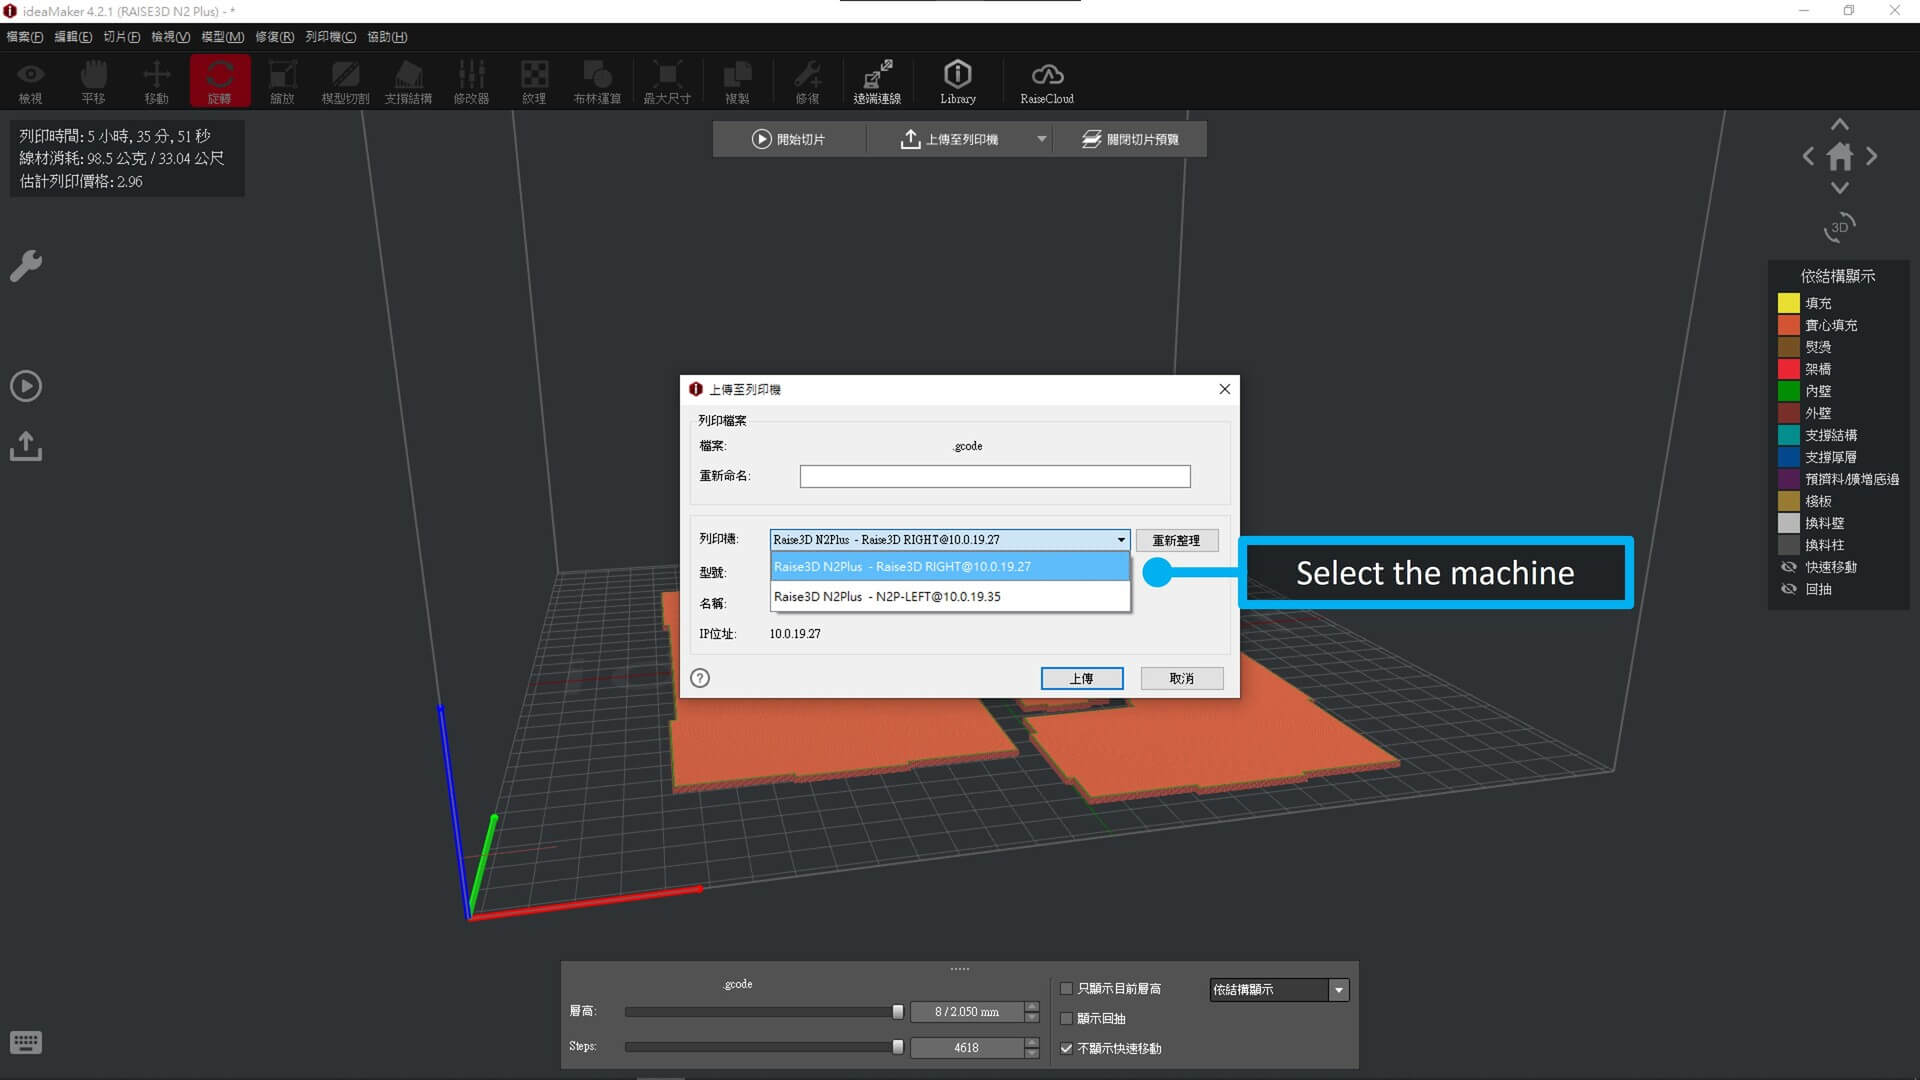
No problems with the generation, click ‘upload file to printer’

And rename and select the printer you want to run on if you have more than one Raise3D printer in the same network.
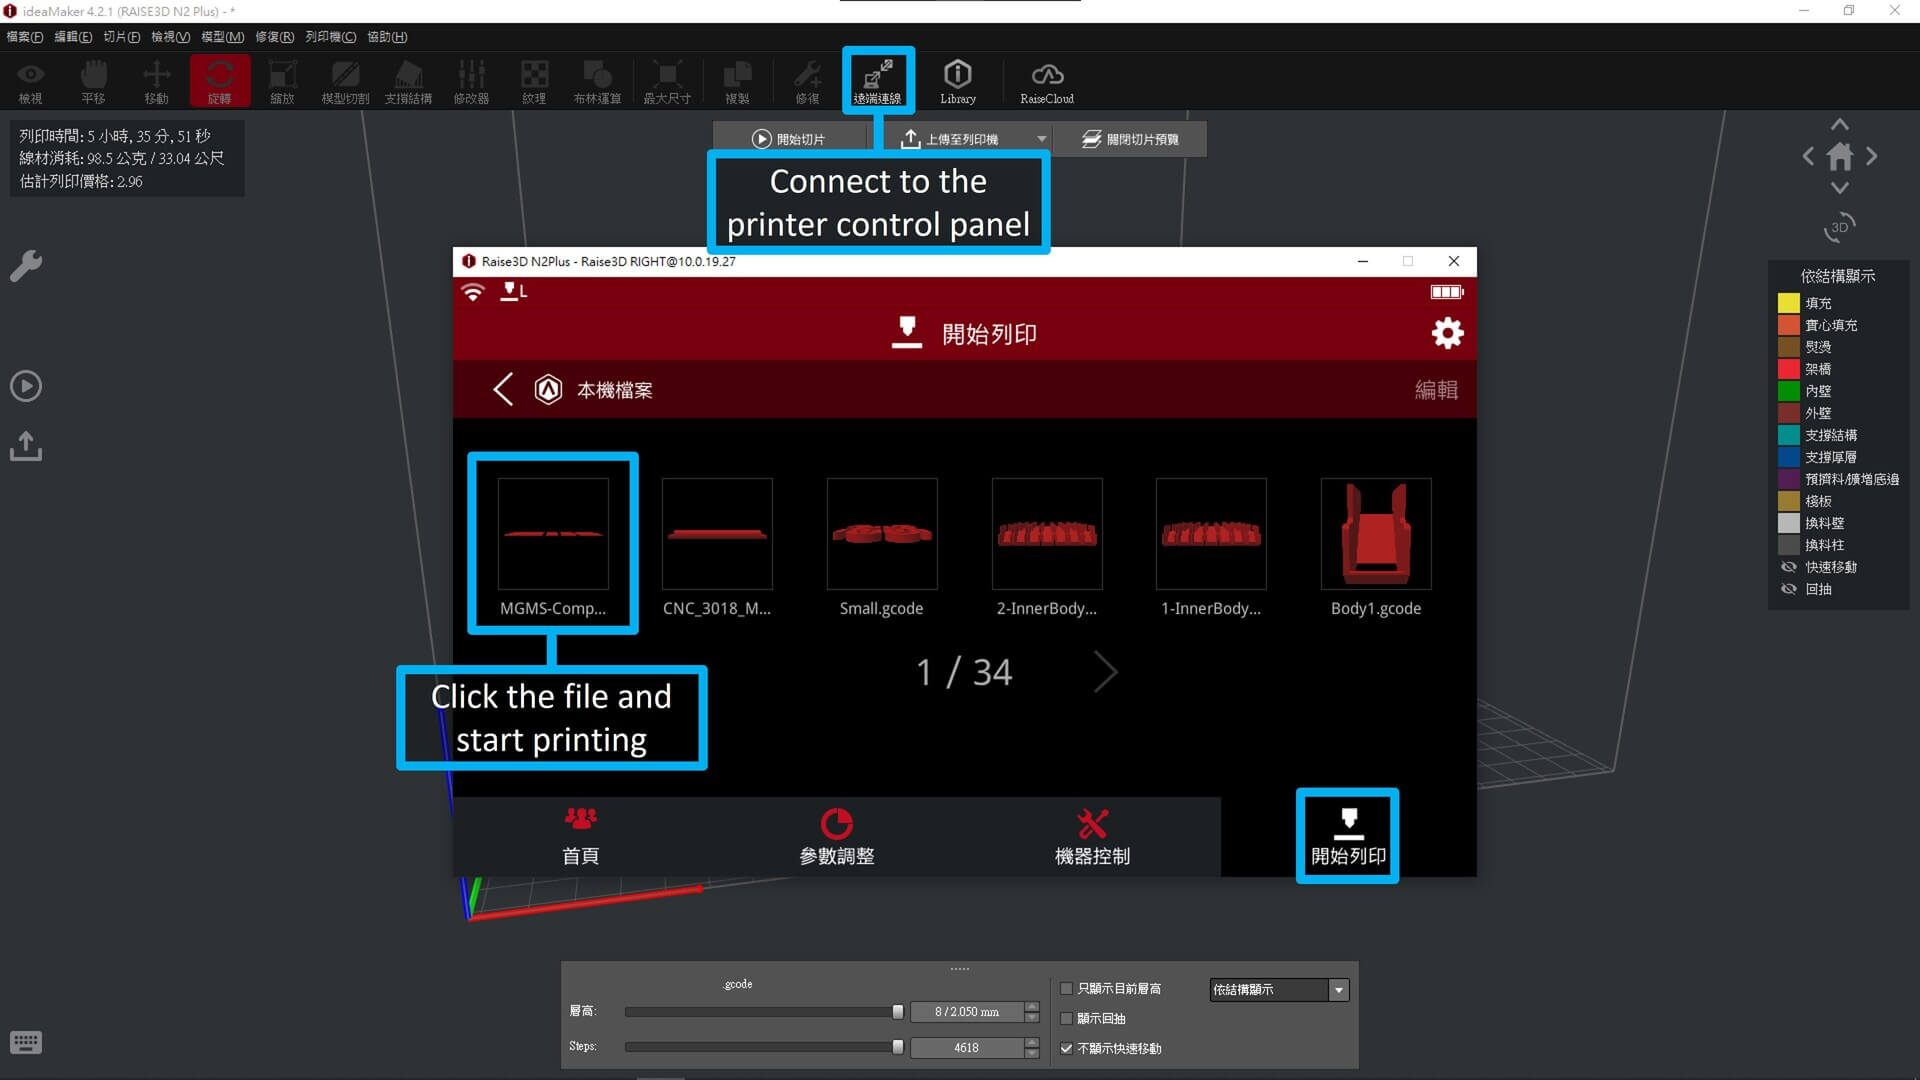
In ideaMaker, there is a function of ‘Connect to the printer control panel’ Then we can start printing on it. But make sure that the printer is safe enough for the operation.

coffee cup
And I’ve also tried to print a coffee cup that was designed during week 3 assignment in the same settings.
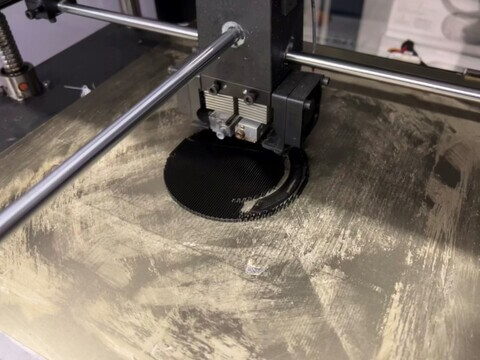
3D printing it…
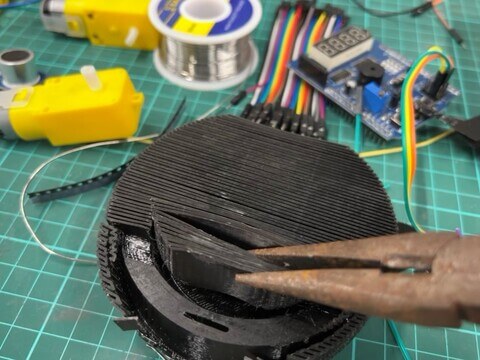
Then I’ve remove the support of it.
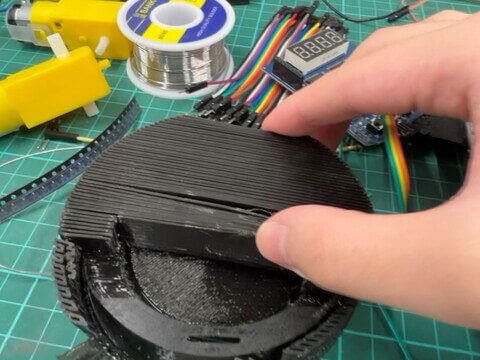
It’s hard to remove by hand so I use tools to do it.
It’s openable, but the cover is easy to fall.
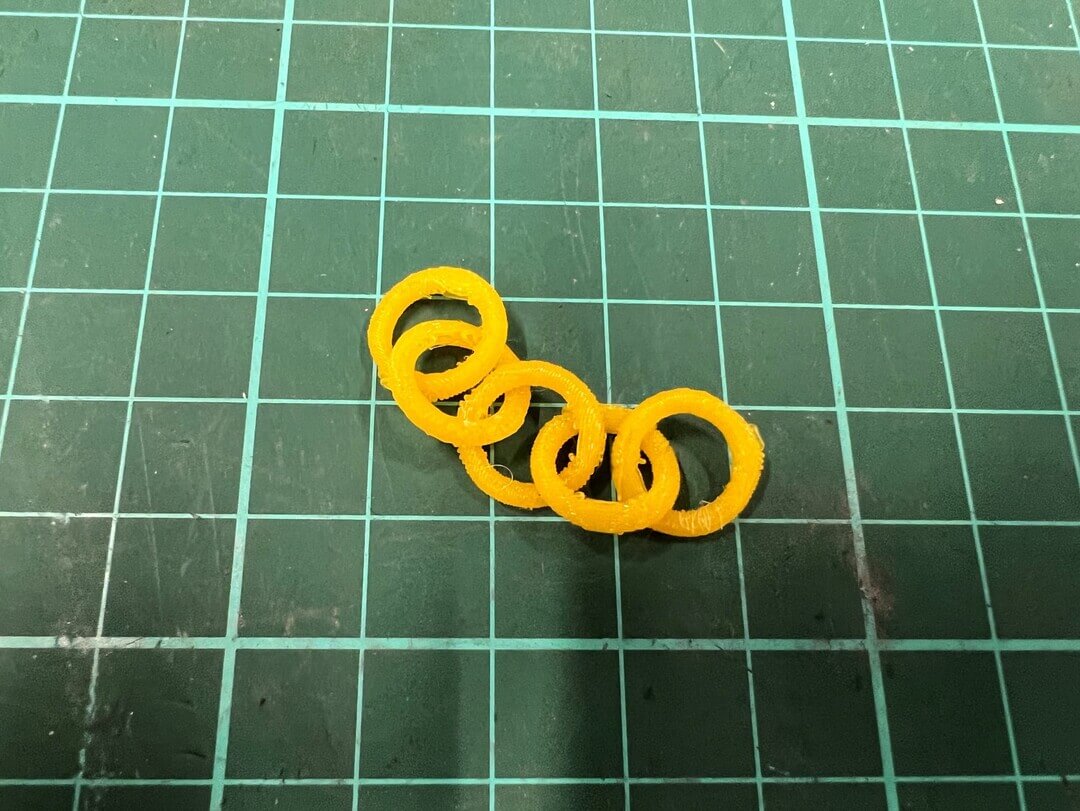
mini ring-ring
Since both the case and cup didn’t reach the requirement of this week assignment, so I design a mini ring-ring.
week06_F360_mini_ring-ring from TerryAU on Vimeo.
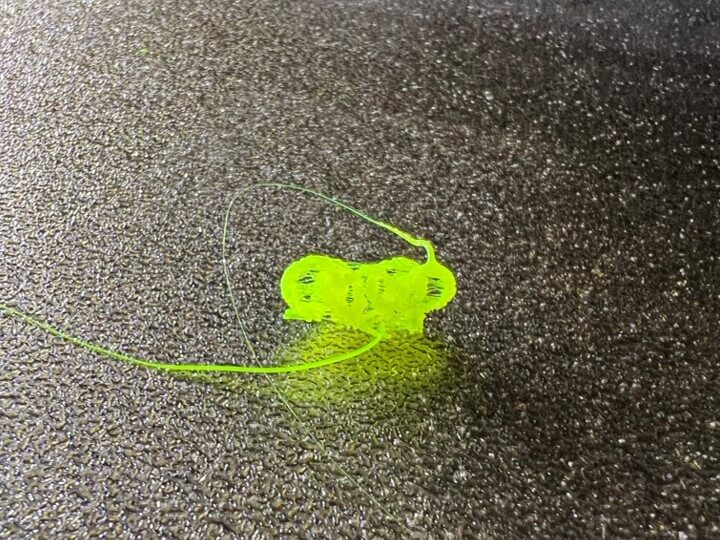
Then I tested it with 2 version, support plant and without support plant.
And you can see the image below, that’s without the support plant. It’s very unstable, so it broke after I take it off.
And that’s with the support plant.
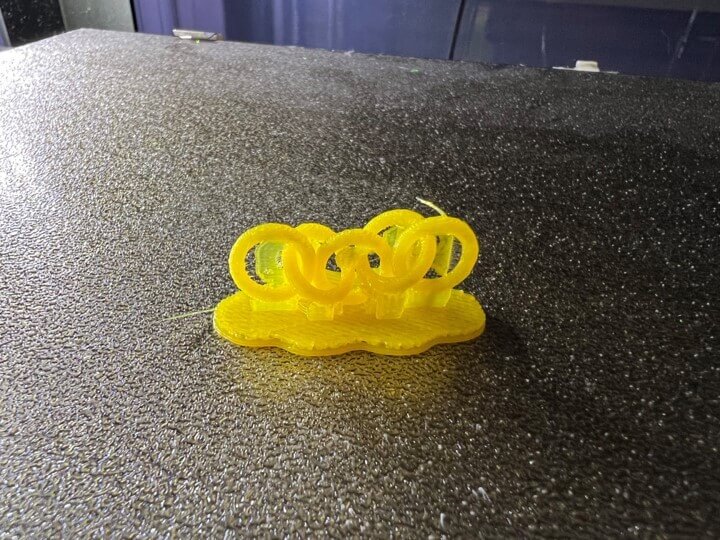
And the support plant can be removed perfectly. So that’s the result.
Conclusion
| PROS | CONS |
|---|---|
| It is a flexible design | Limited print size (depends on machine) |
| Could be rapid prototyping | May need to post processing (solvent welding etc.) |
| It can print parts strong with light weight | Inaccuracies print (depends on 3D model and printer) |
3D scan
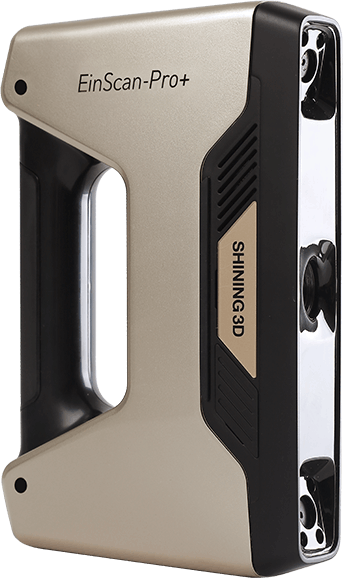
For 3D scanning, German borrow a 3D scan tool, EinScan-Pro+. Then I tried to use it.
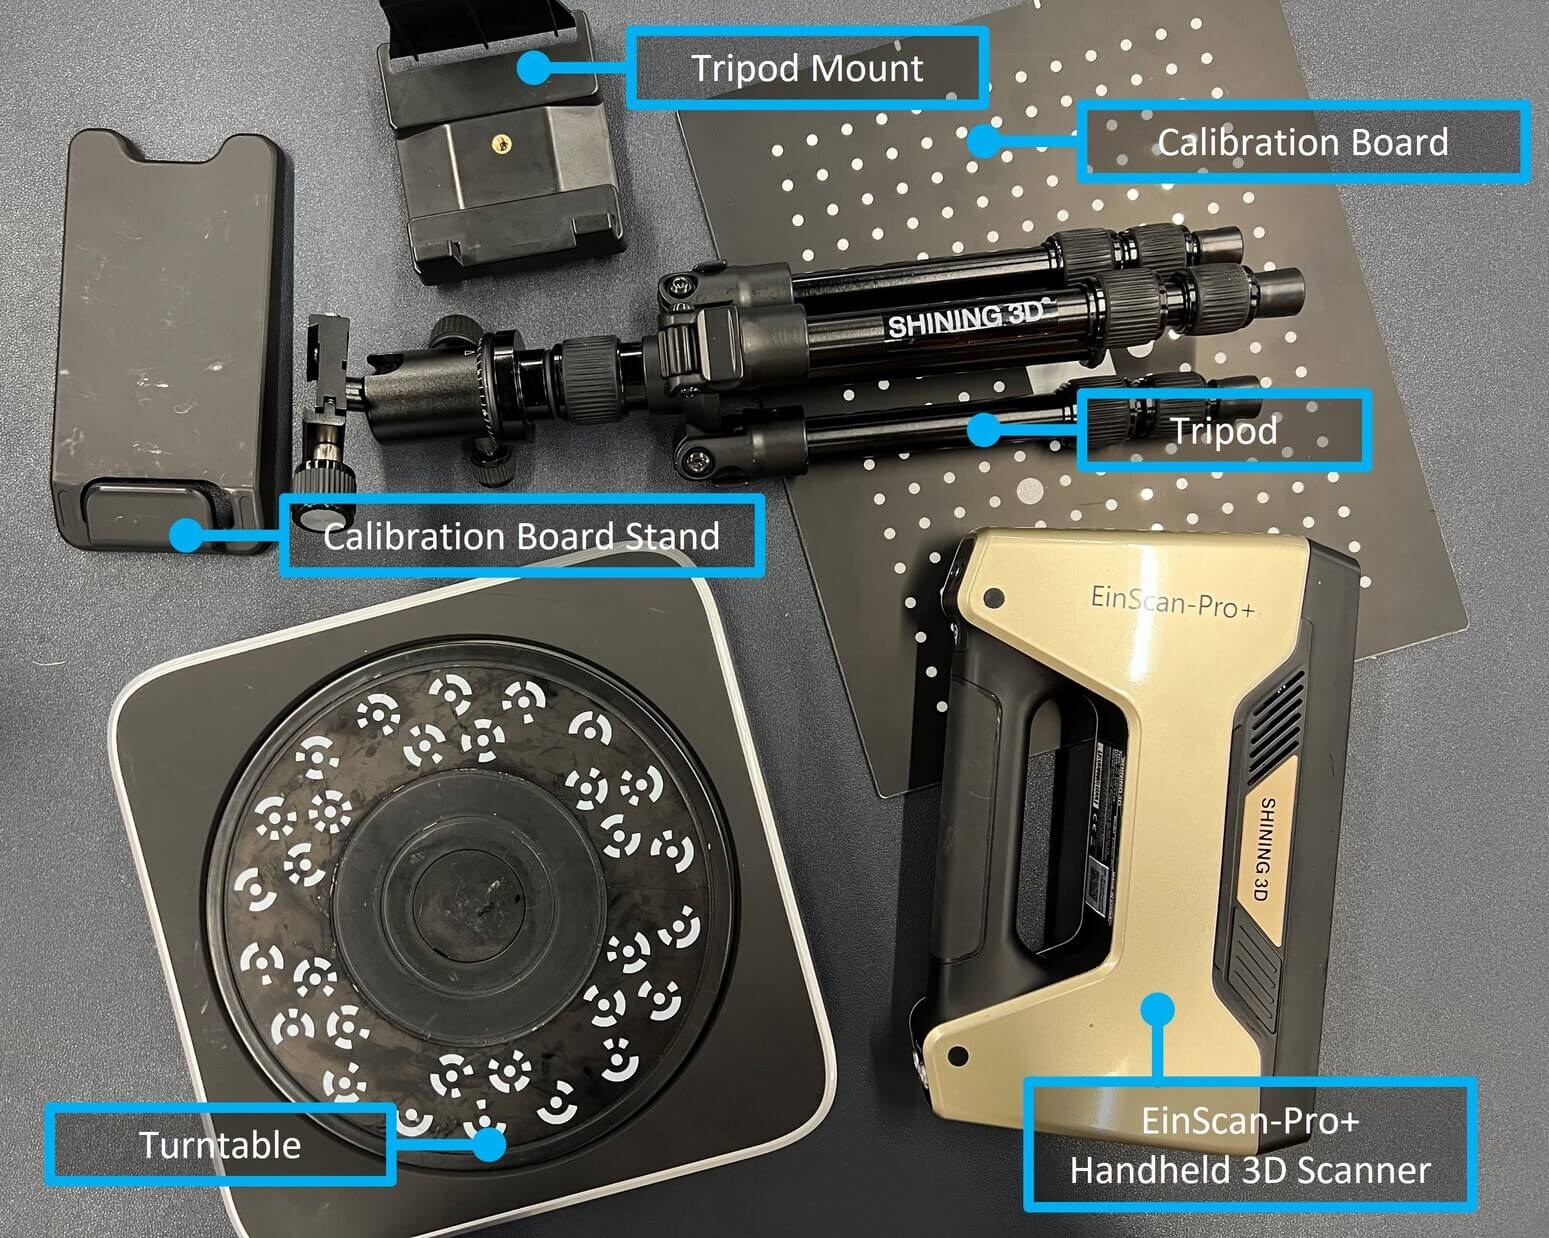
There are accessories for helping you and the device scanning.
- Tripod & Tripod Mount
- Calibration Board & Stand
- Turntable
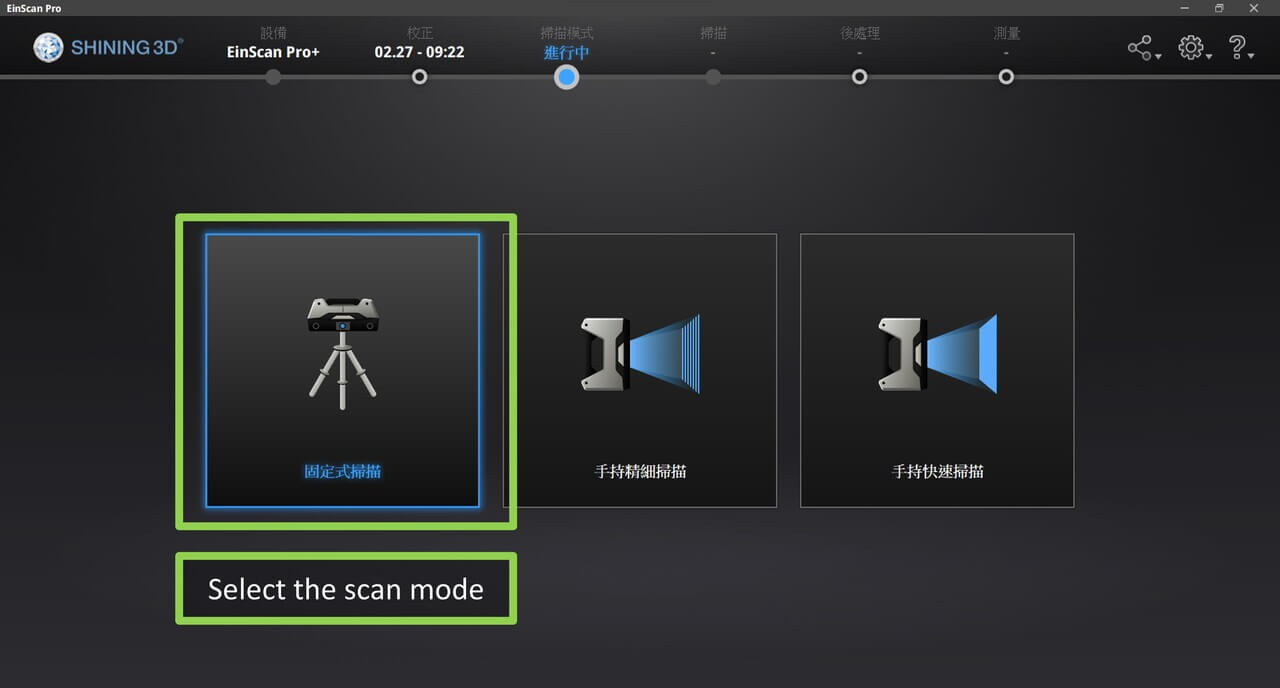
You can choose to use handheld or fixed scan mode.
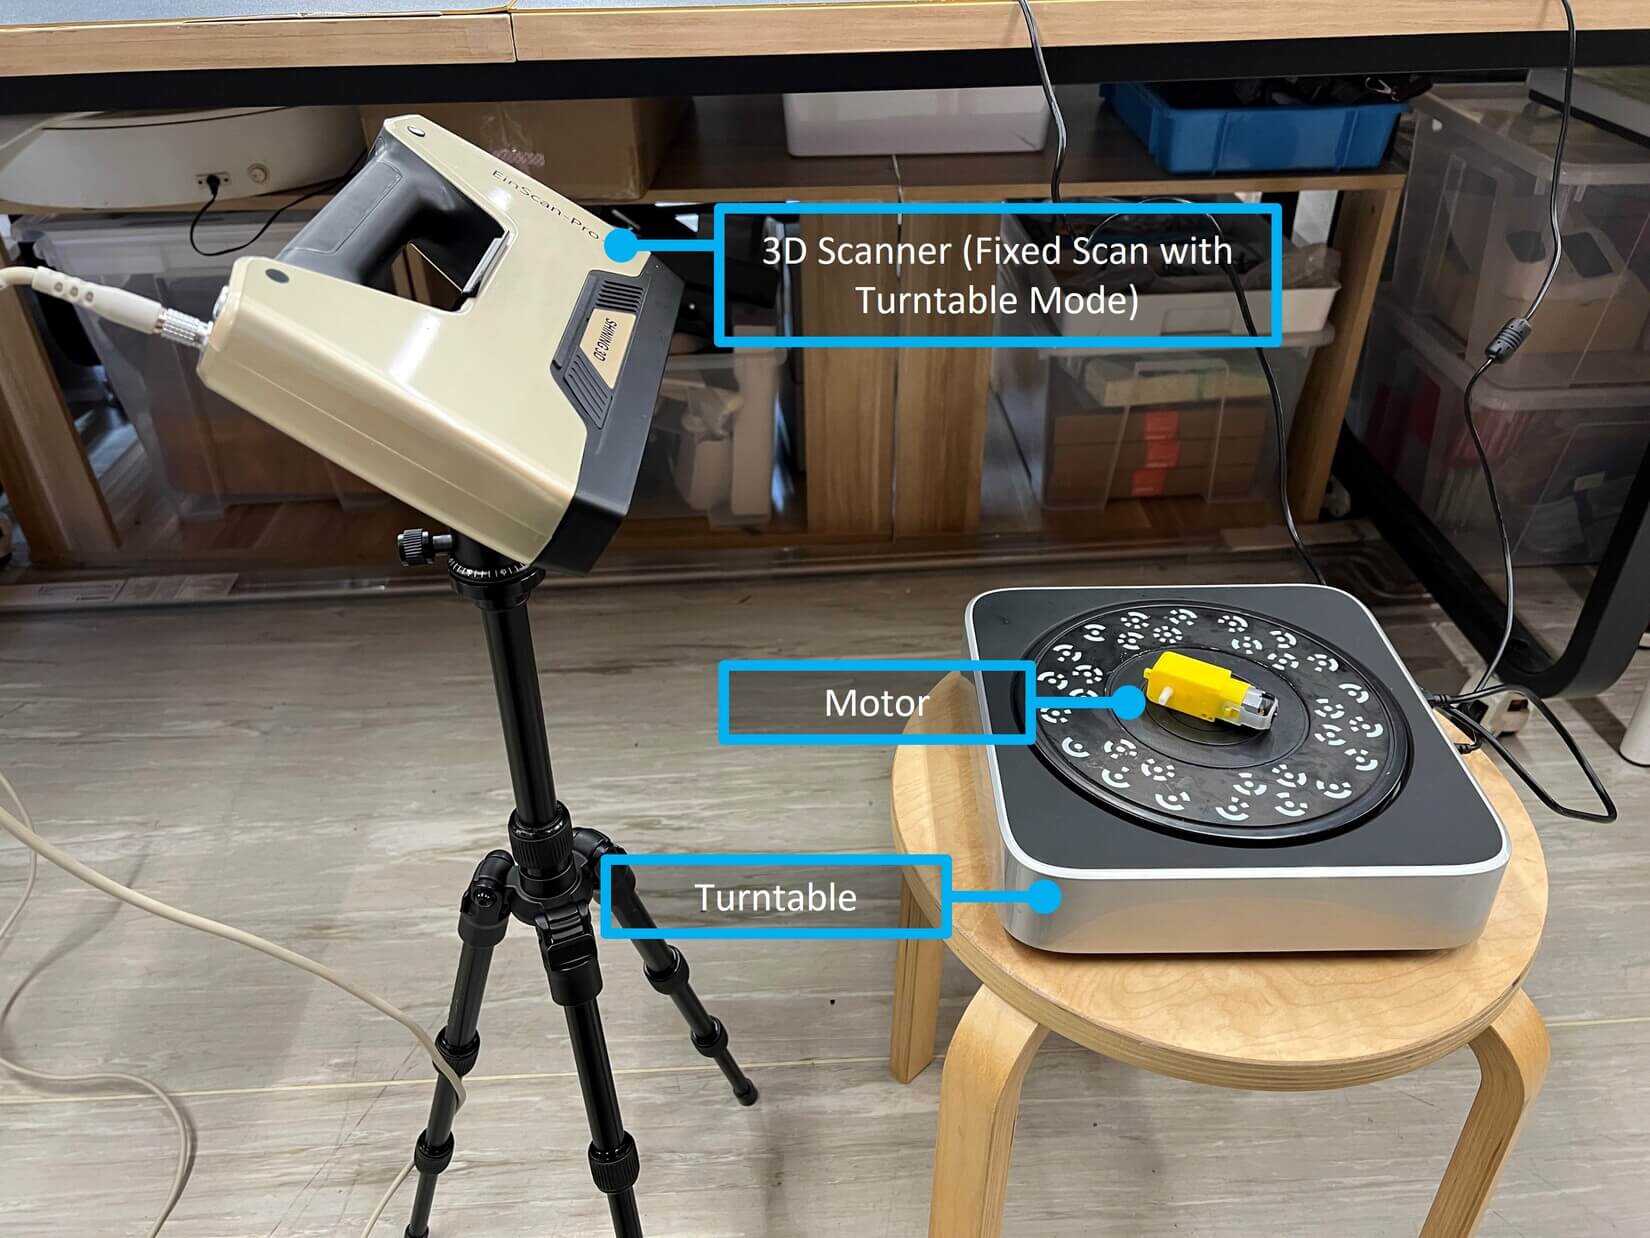
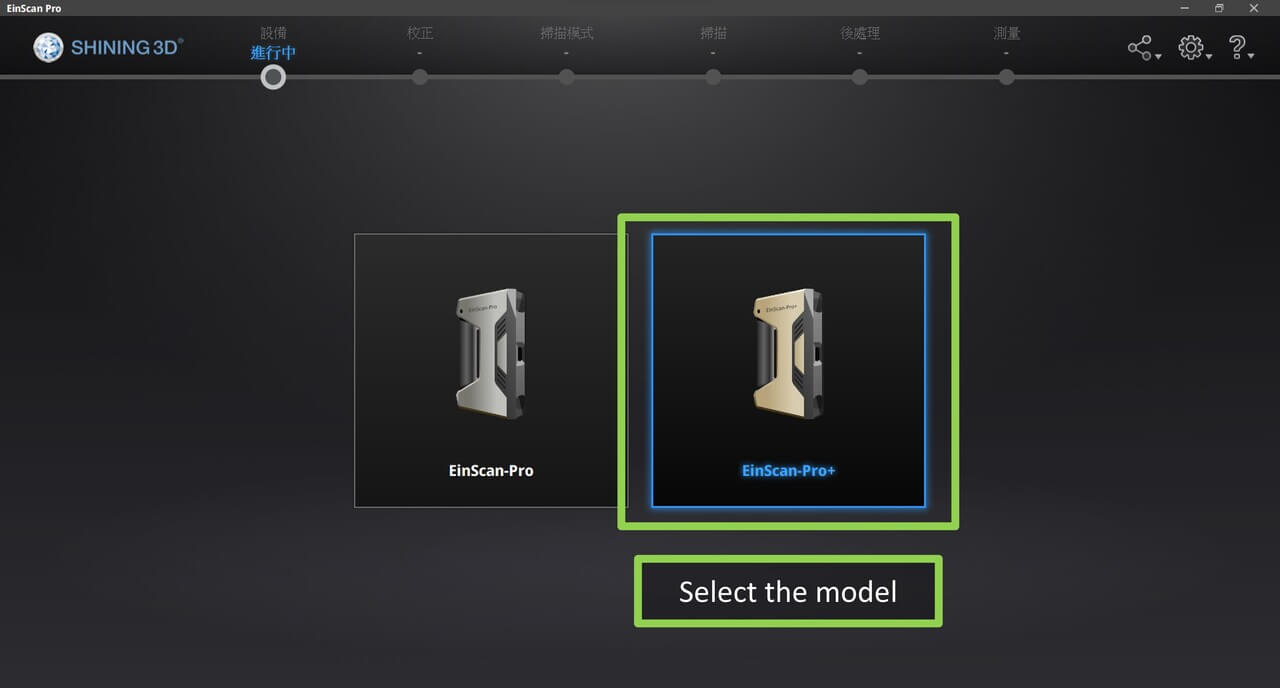
After opening up the software from SHINING 3D. Select the model.
For me, I want to scan a motor, so I preferred to use fixed scan mode with turntable.
Then do calibration every use.
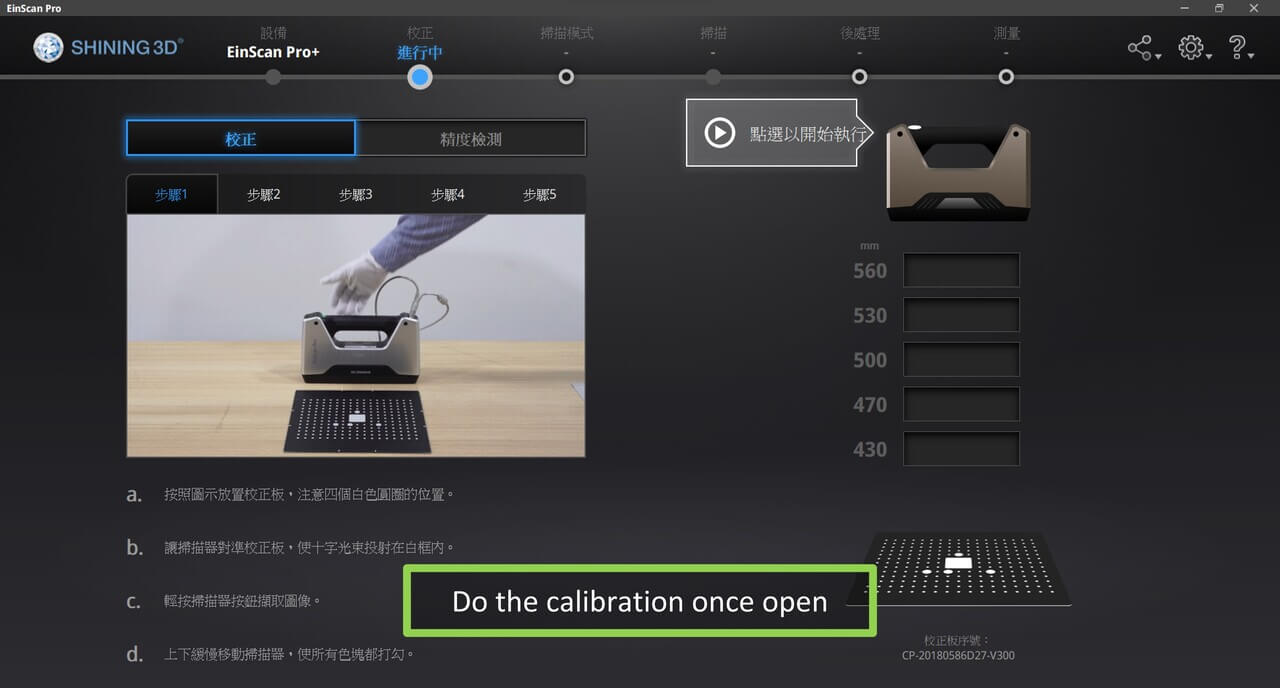
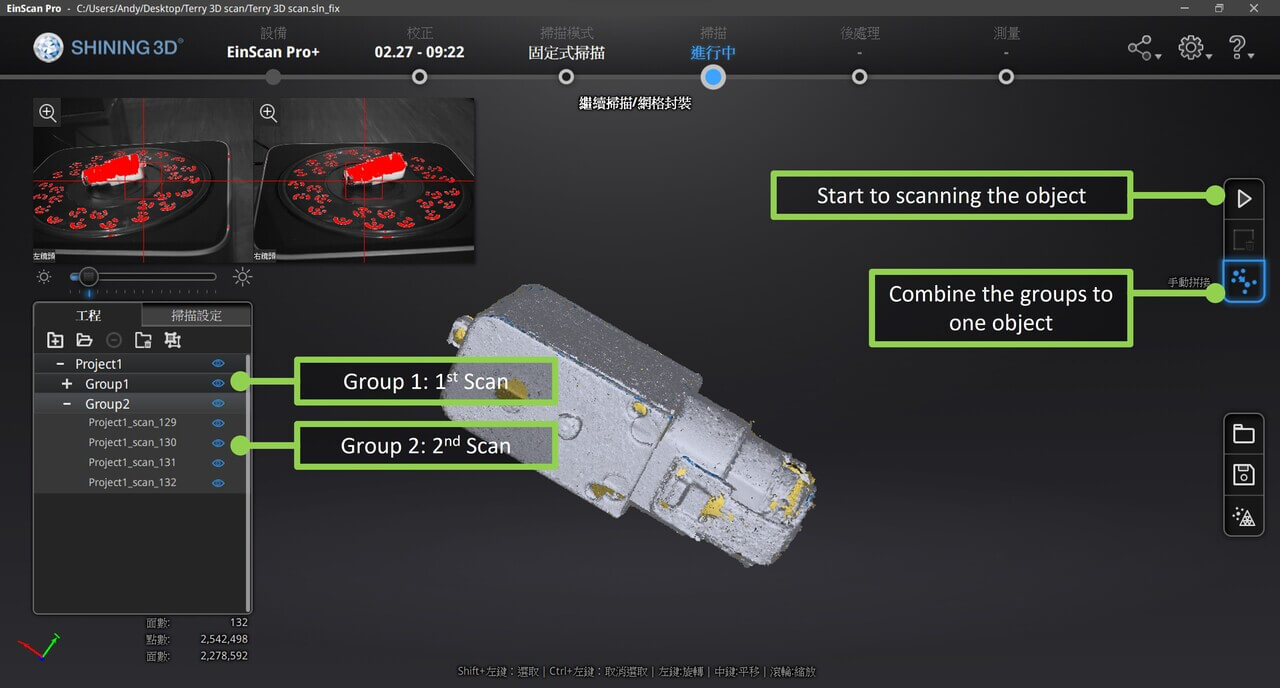
After calibration, put the item on the turntable and set the angle that aims at the item and turntable. Then click start to scan the object.
Just a single scan is usually not enough. After multi-scanning, there will be groups that you need to combine. By clicking the combine button and selecting two groups.
3D_Scanning.mp4 from TerryAU on Vimeo.
Then, it will enter a combining mode and you need to drag the group to the left window. After both groups were shown inside the window, click 3 points on both objects at the same place. It helps the software to combine them perfectly.
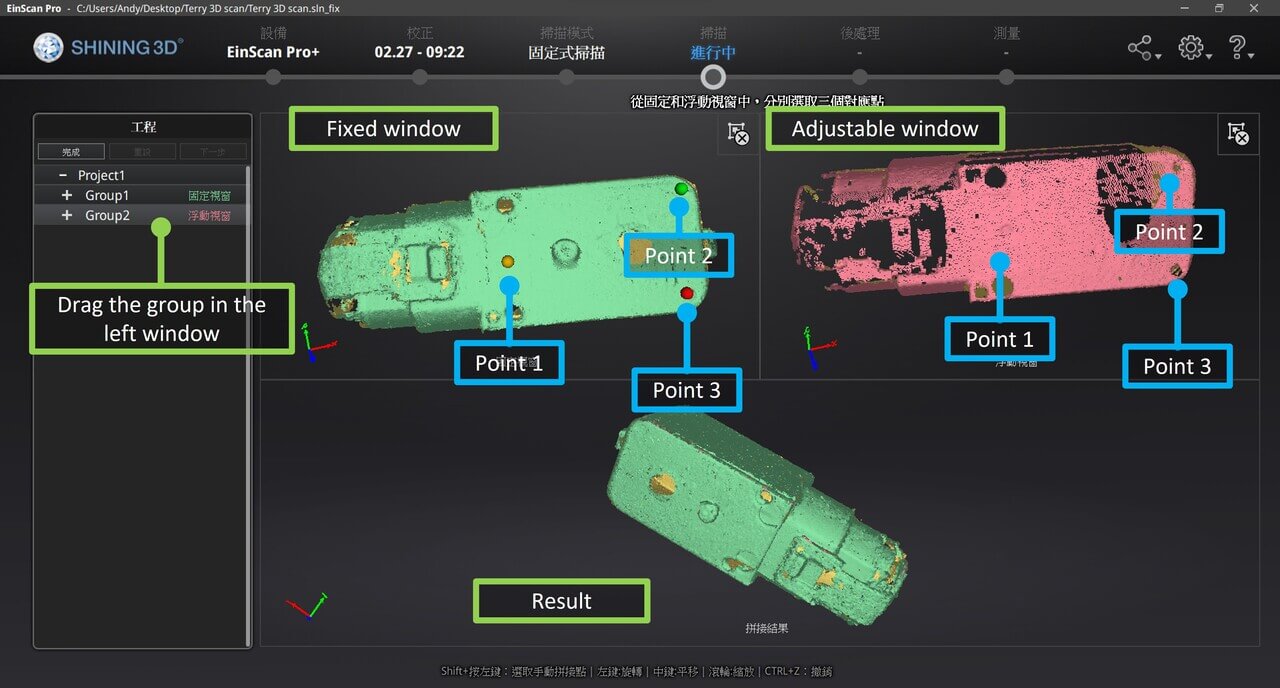
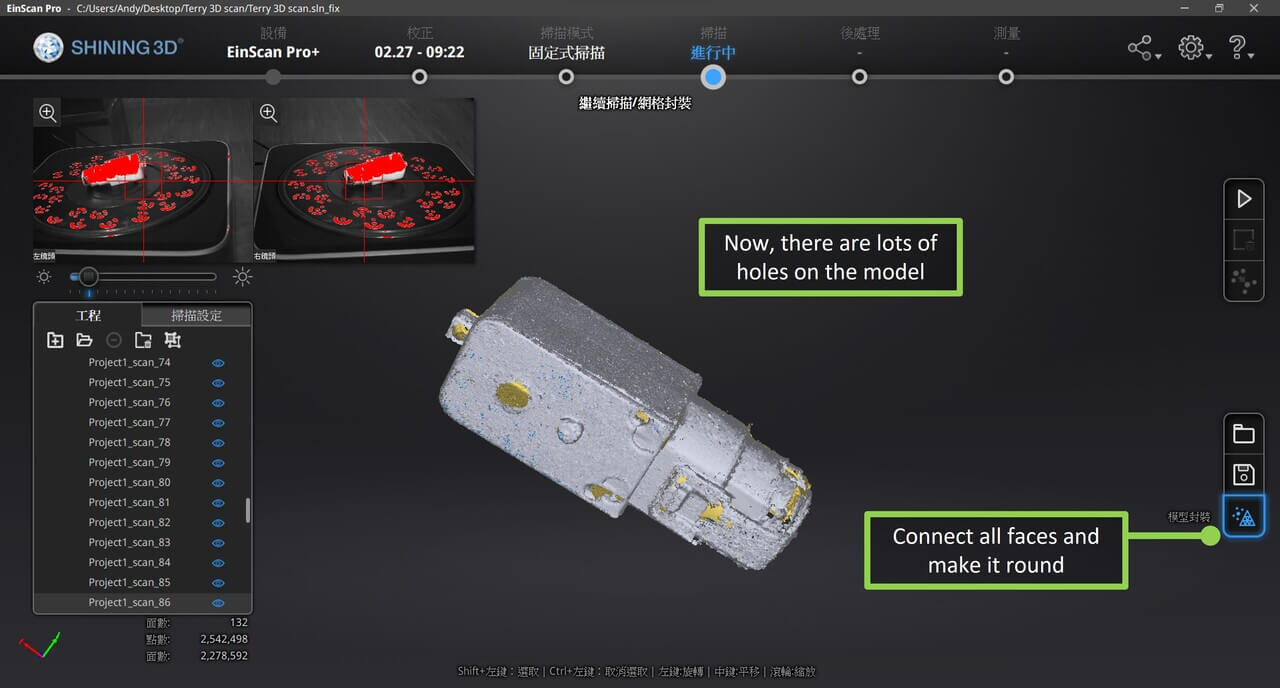
As you can see from the screenshot below, the object still isn’t perfect, there are lots of holes in the model. So, I’ve connected all faces and made it looks round.
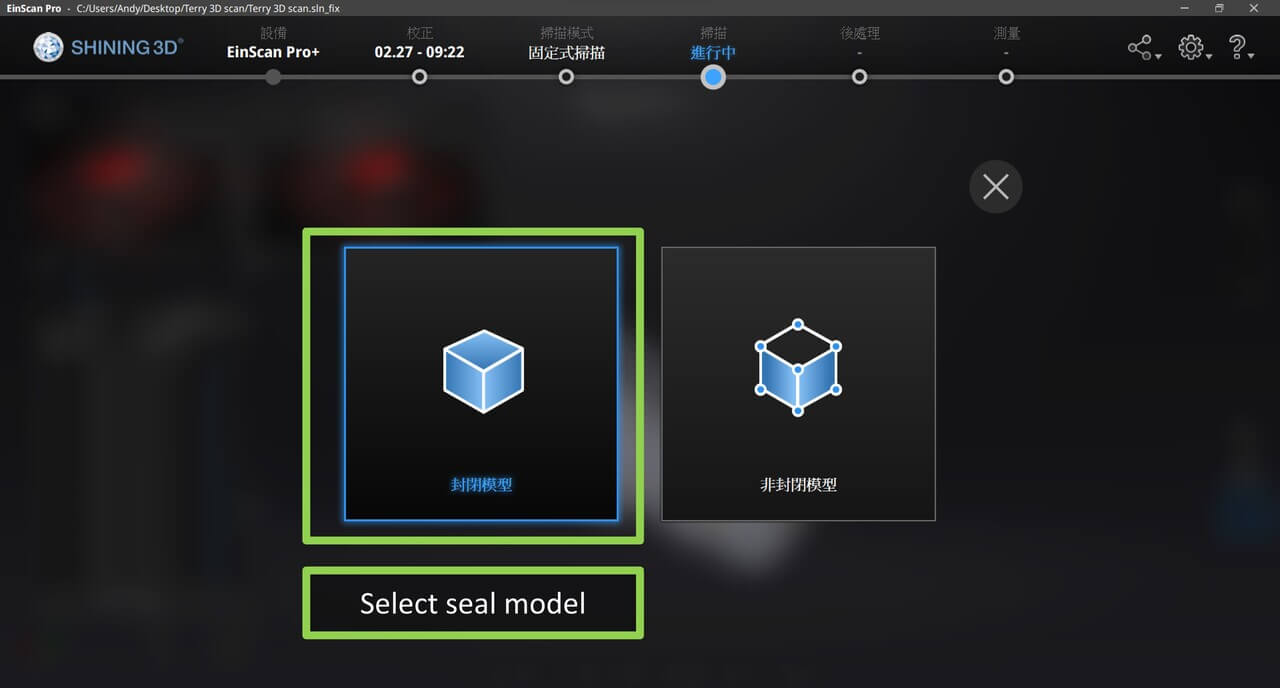
There are two types, sealed mode and unsealed mode. For me, I don’t want the holes in the model so I’ve chosen sealed mode.
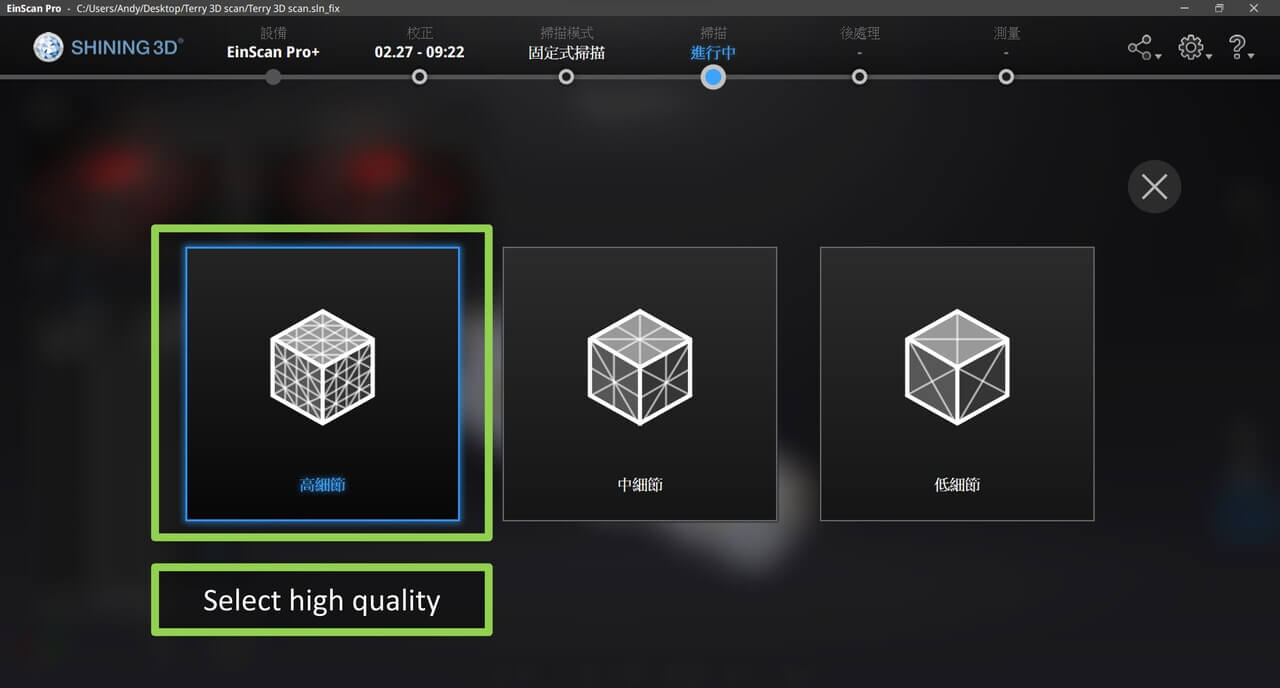
And I’ve selected high quality.
And here’s are the reults:
This scanned 8 surfaces.
This scanned 40 surfaces for 3 times.
In conclusion, scanning more surfaces gives the CAD more detail, but it takes more time. So if the object is more complex, you need to scan more time to make it perfect.
Downloads
mini game machine shell CAD file - .step | .f3d | .stl
Coffee cup CAD file - .step | .f3d
mini ring-ring CAD file - .step | .f3d
8 times scan motor CAD file - Google Drive
40 x 3 times scan motor CAD file - Google Drive