4. Computer controlled cutting
This week I worked on designing a Parametric Press-fit Construction Kit and use Vinylcutter to cut something.
Group assignment
This week of group assignment, We characterize your laser cutter’s focus, power, speed, rate, kerf, joint clearance, and types together. Click HERE to see more detail of the group assignment.
Individual assignment
Heroshot
Beta
Gamma
Parametric Press-fit Construction Kit
About laser cutting, I only saw teacher using the lasercutter but didin’t use it by myself. Before, I thought the laser is red and visible, after I discored that it isn’t. So the knowledge about laser and lasercut is not much for me. So, I will try my best to do and keep it safe.
I decided to make a mini game machine shell as the Parametric Press-fit Construction Kit, also as a kick-start of my final project.
My idea is to make a small one first, then we can use the parameter to make a big one so that it can save my time instead of doing another one.
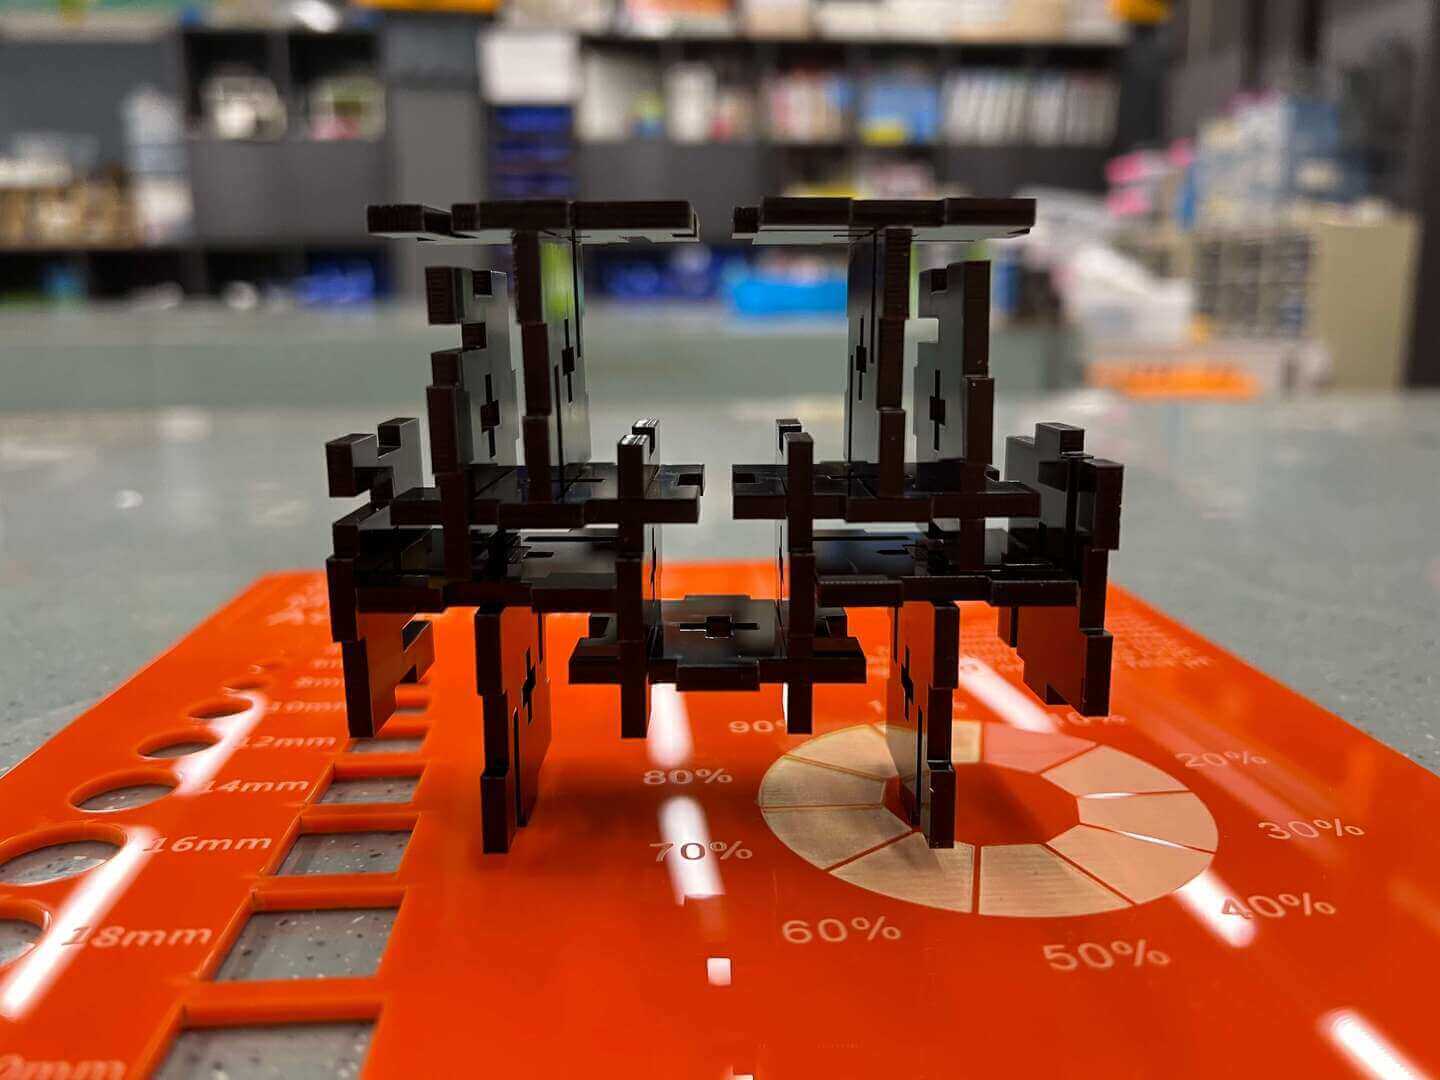
Alpha
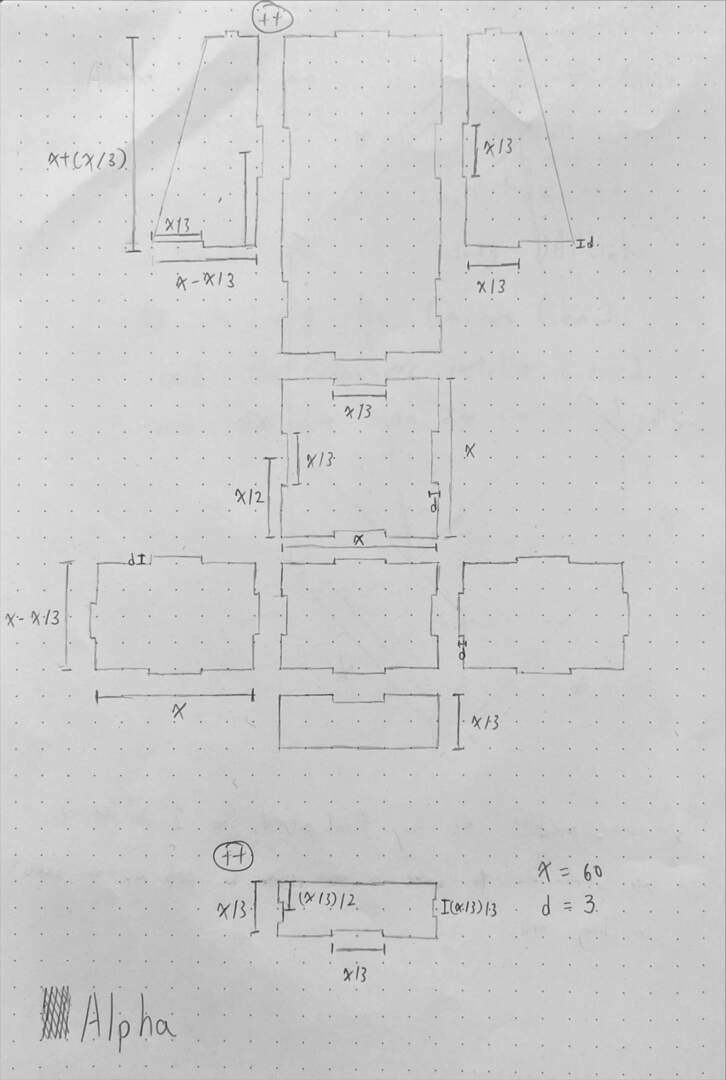
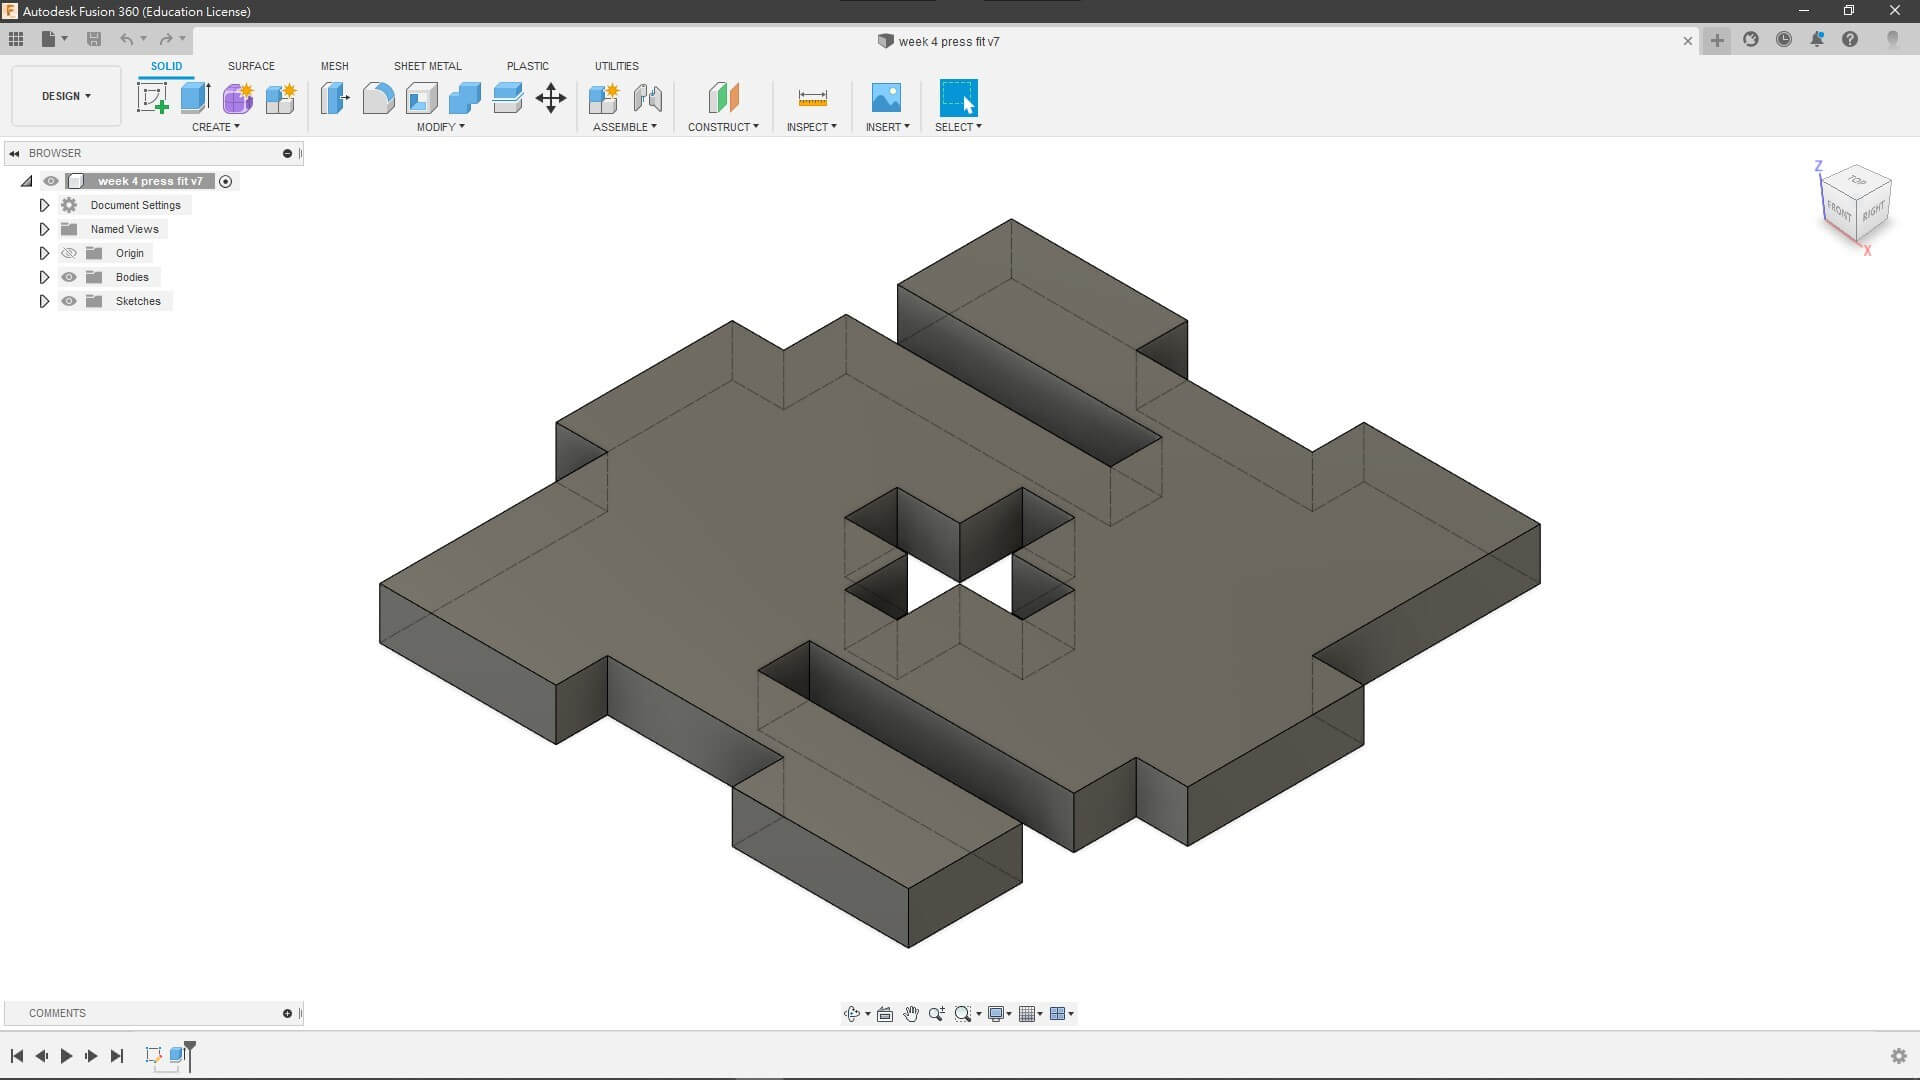
After drafting the shape and the size of that, I worked on the model, CAD of the mini game machine shell.

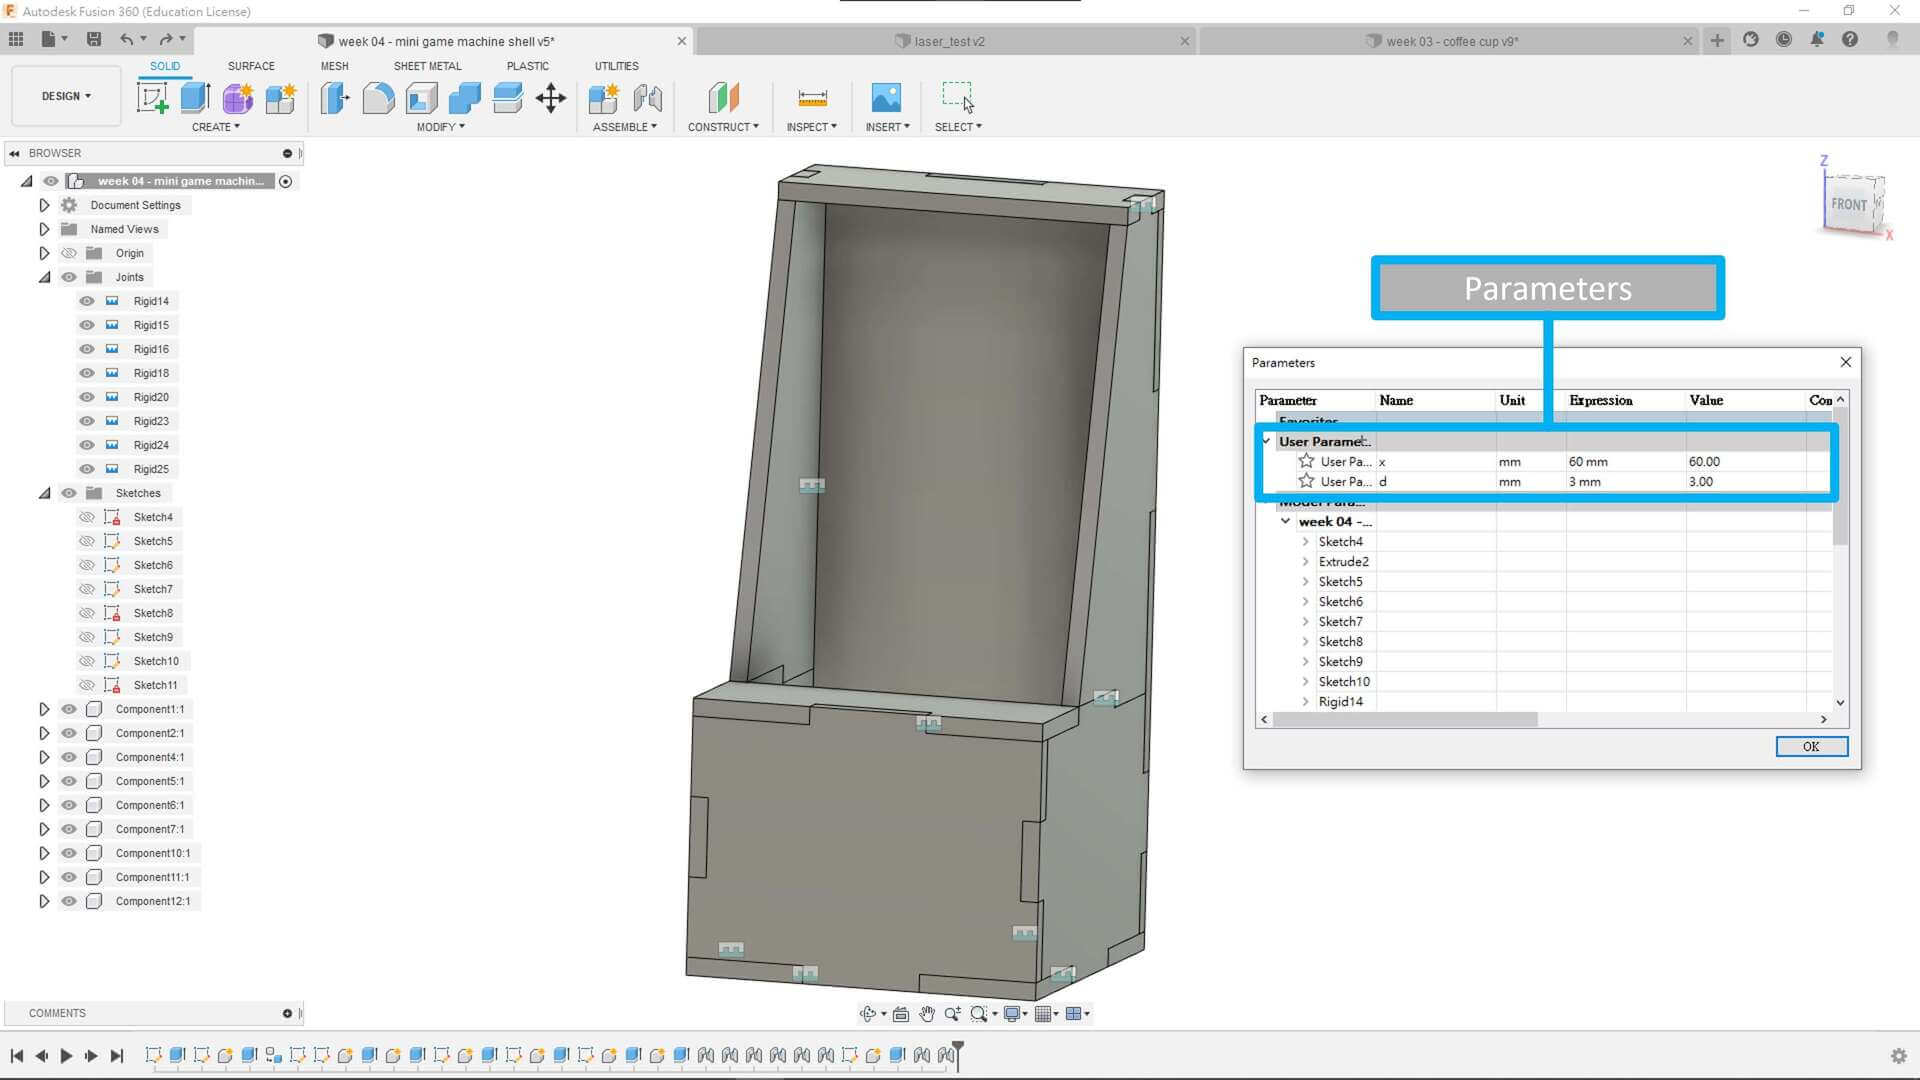
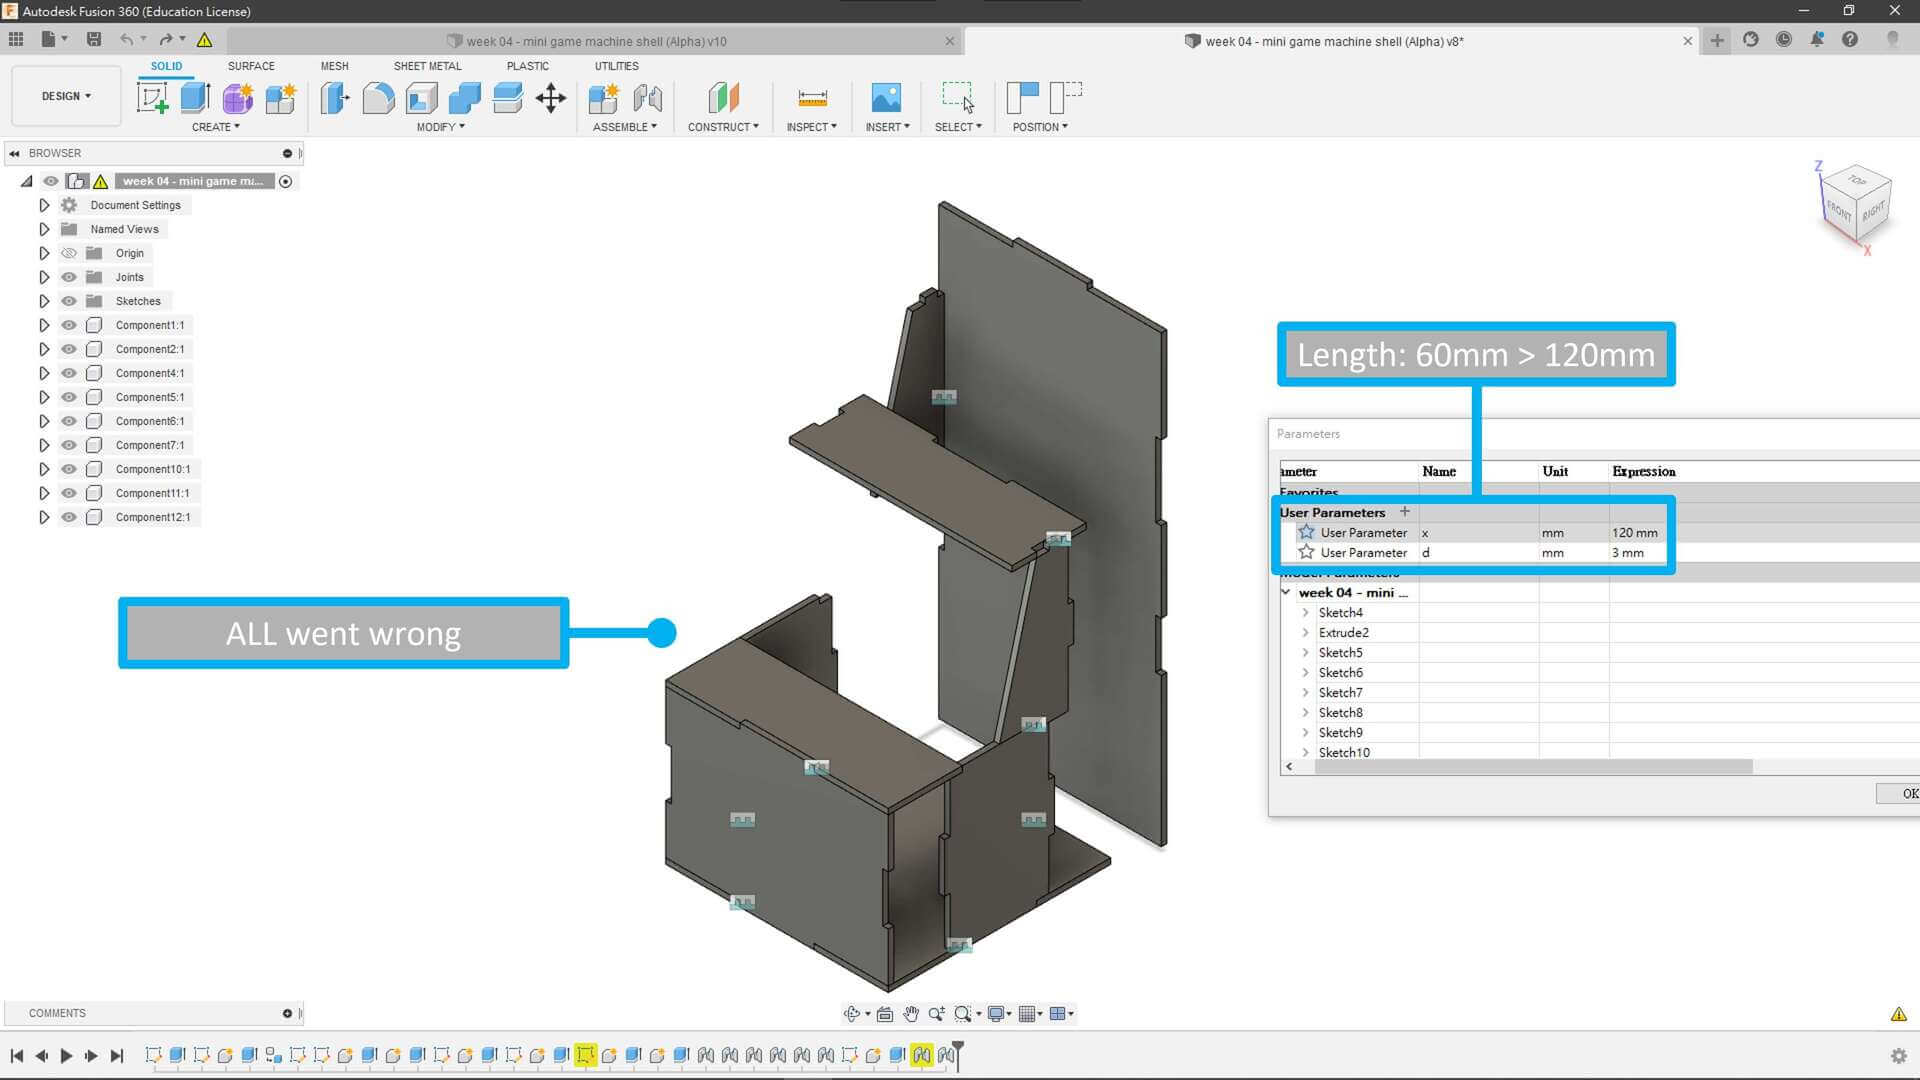
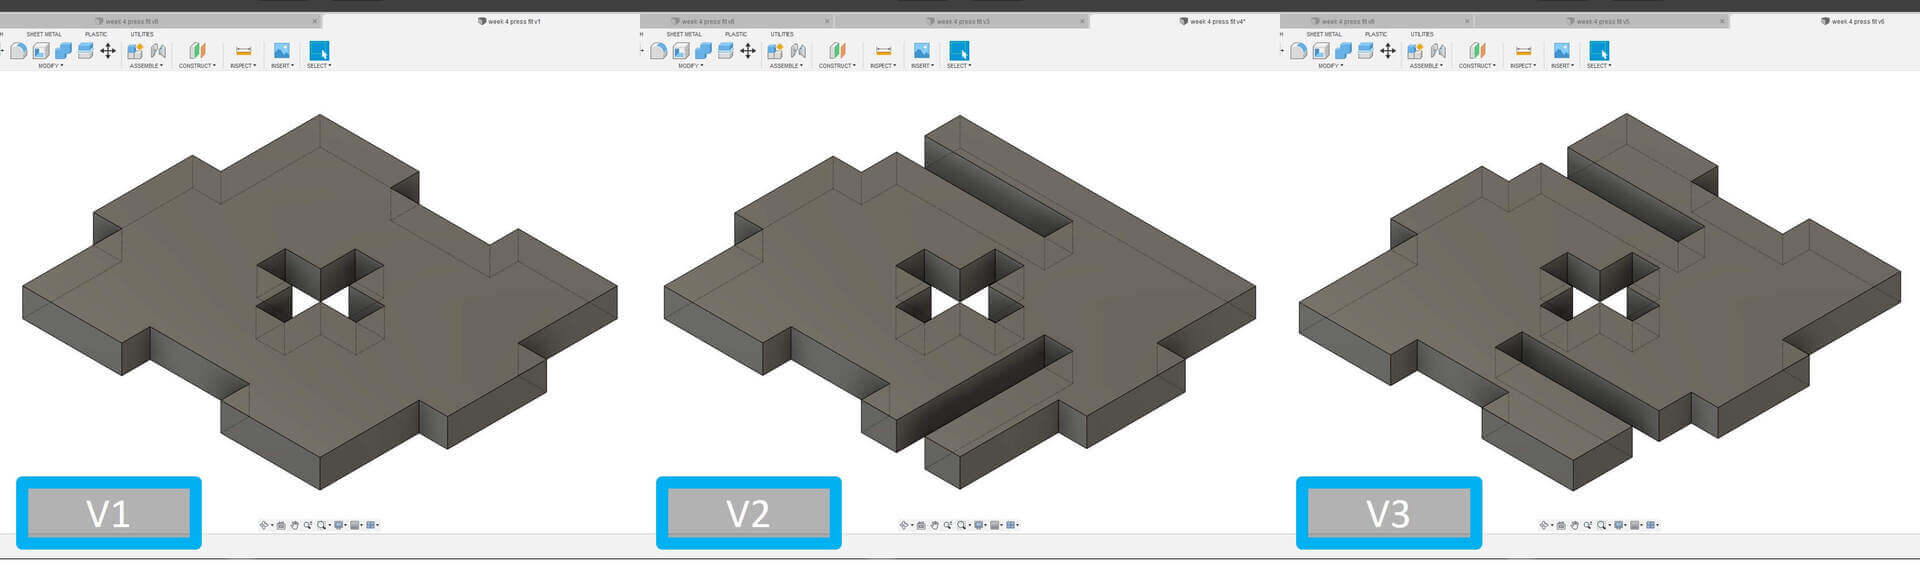
But I discovered some problems while using the parameter. The joint isn’t matching after changing the thickness and it will go wrong if I want to double the scale of the model.

Beta
So, I redesign a new version, BETA.
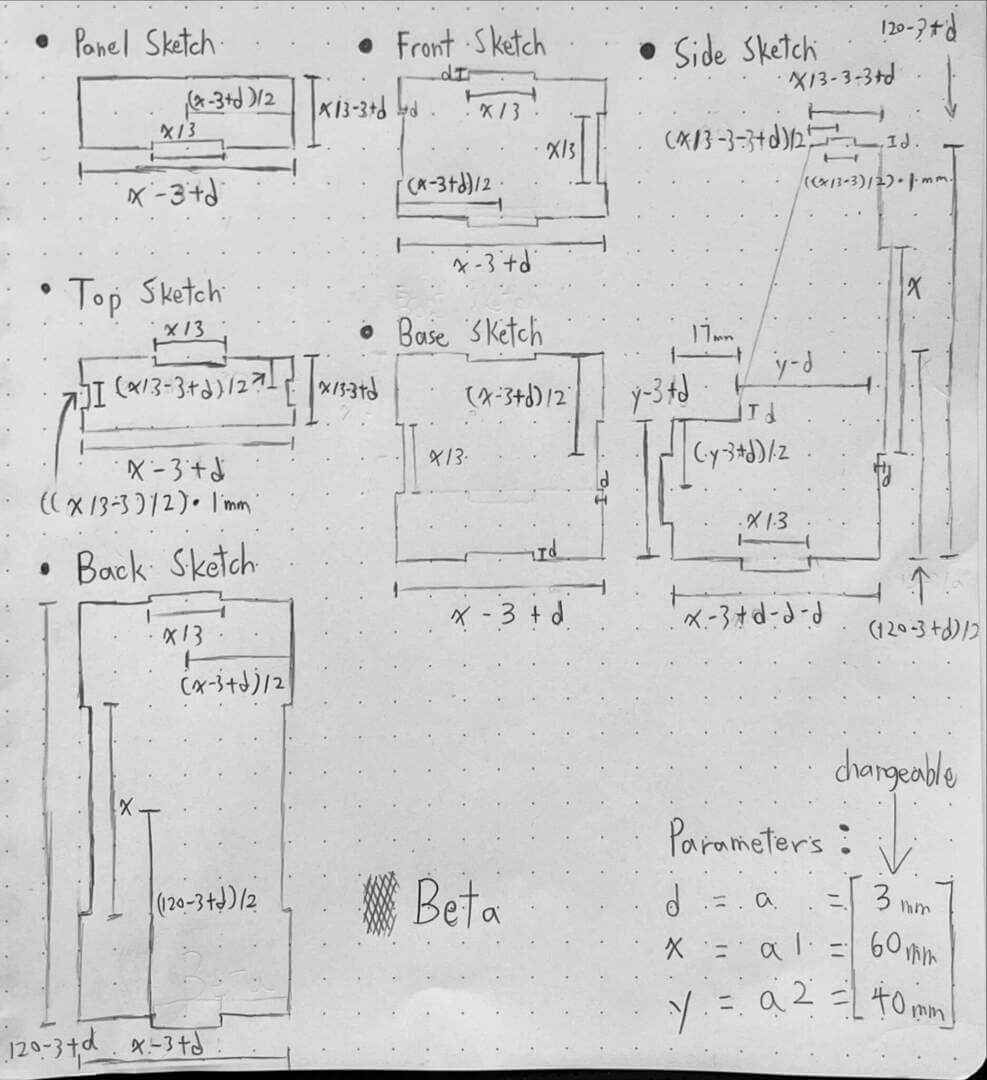
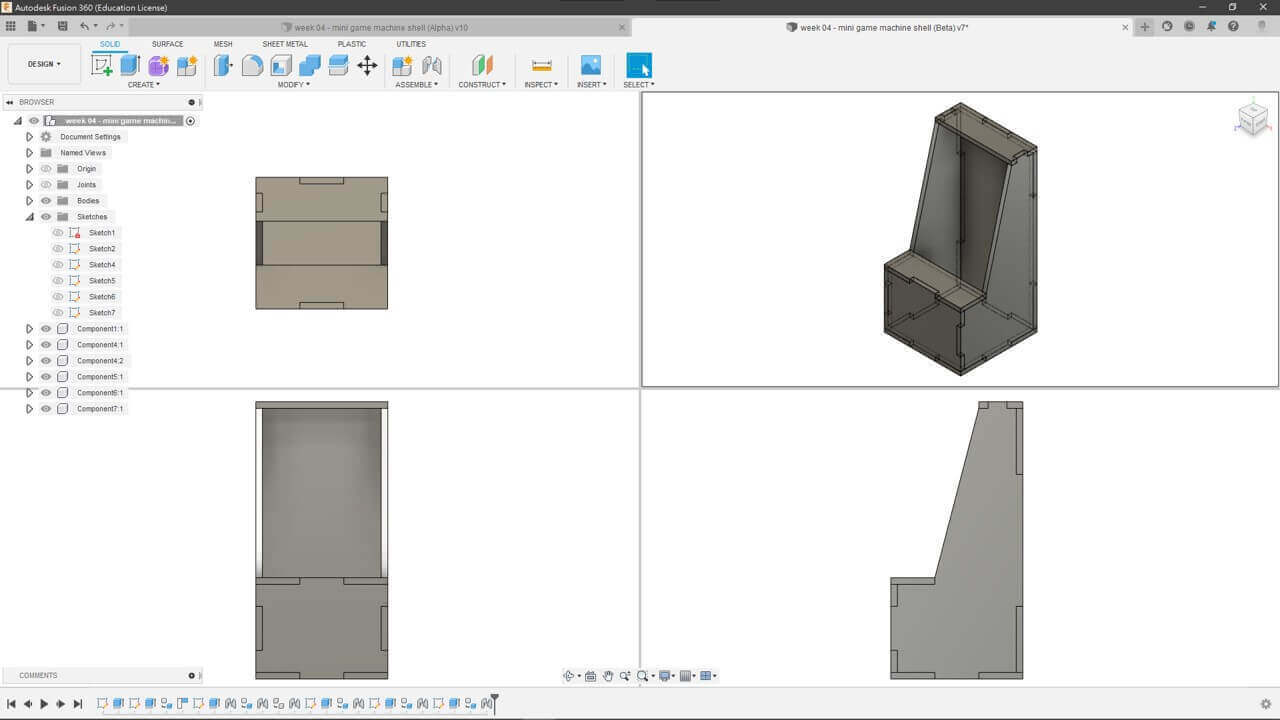
It’s still perfect after changing the parameter.

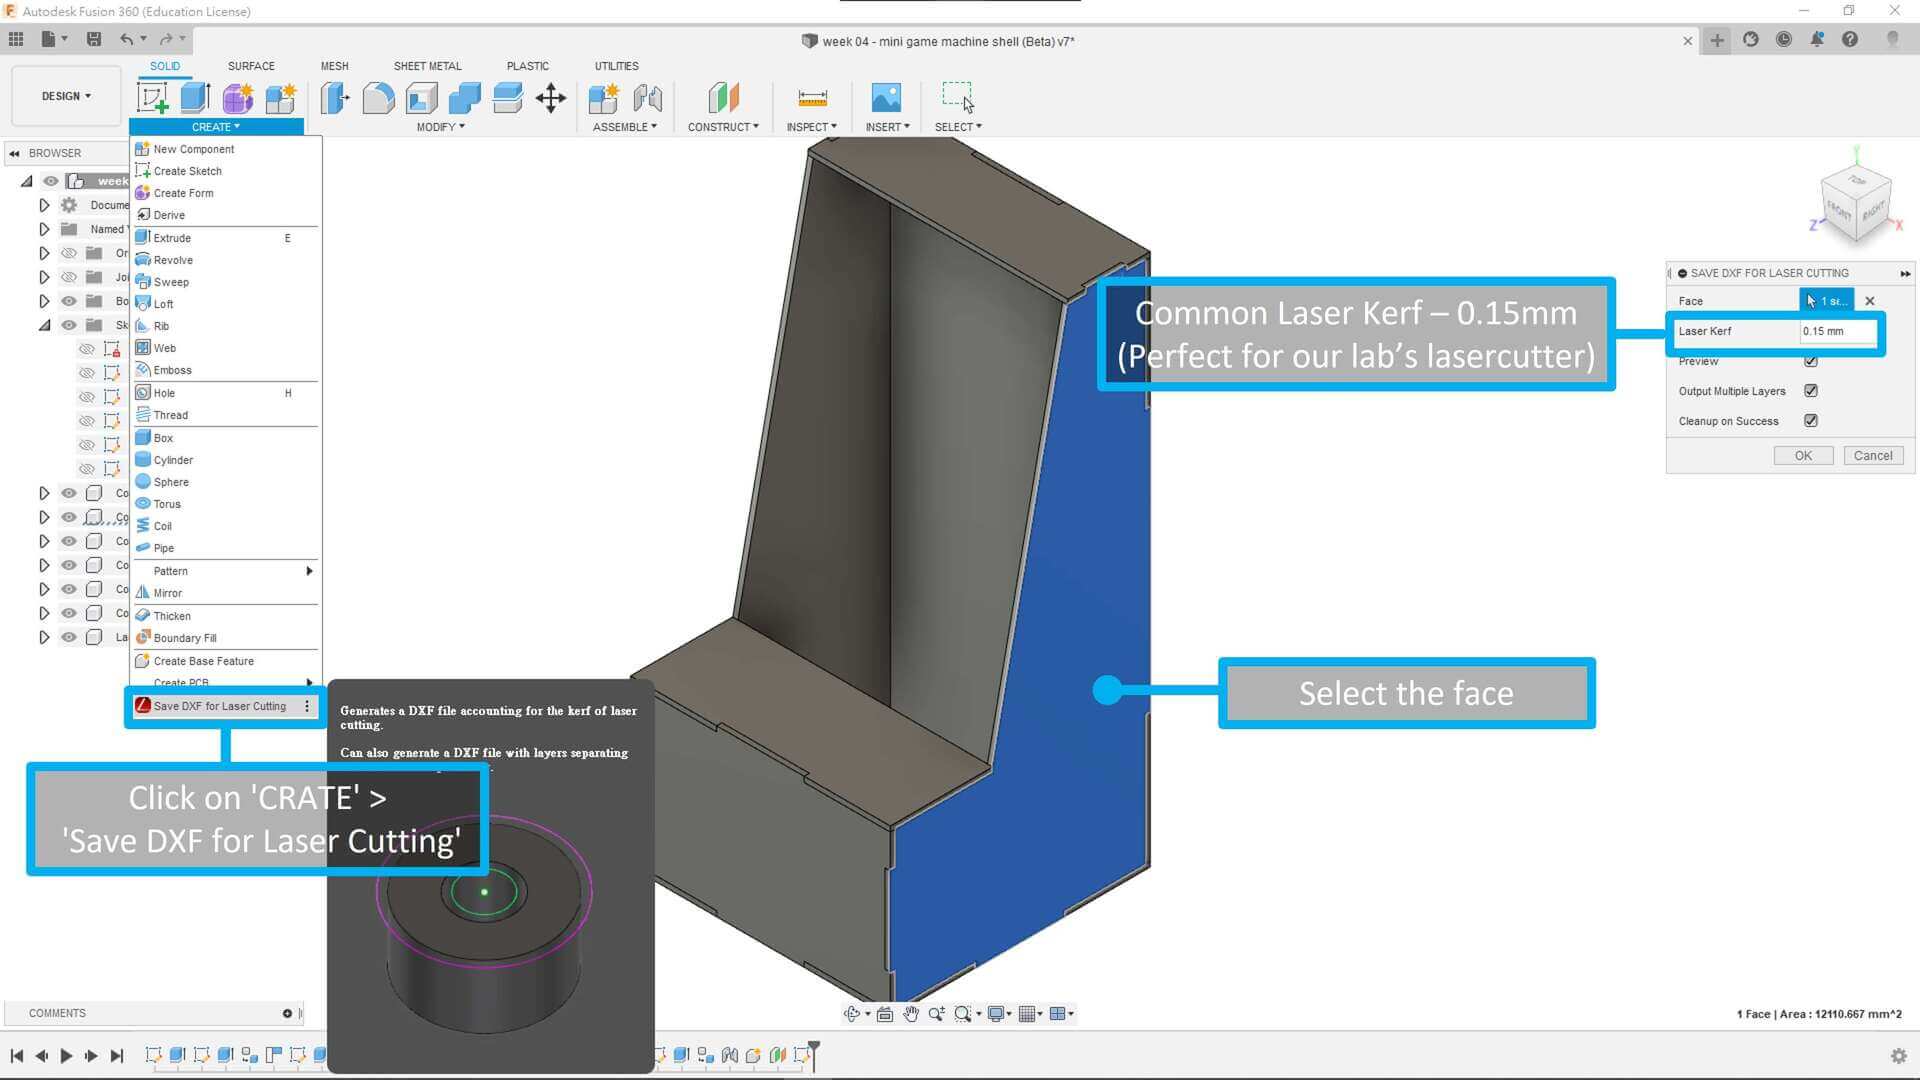
And I install a ‘ADD-INS‘ called ‘DXF for Laser‘ in order to output a DXF file for laser cutting.
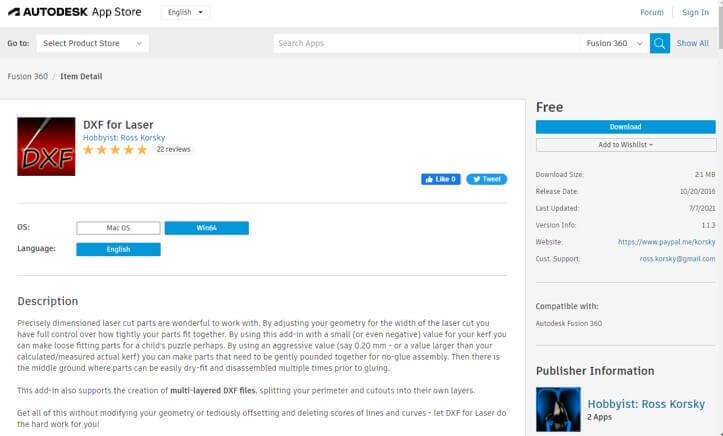
The reason why using ‘DXF for Laser‘ is it can export the file with laser kerf.
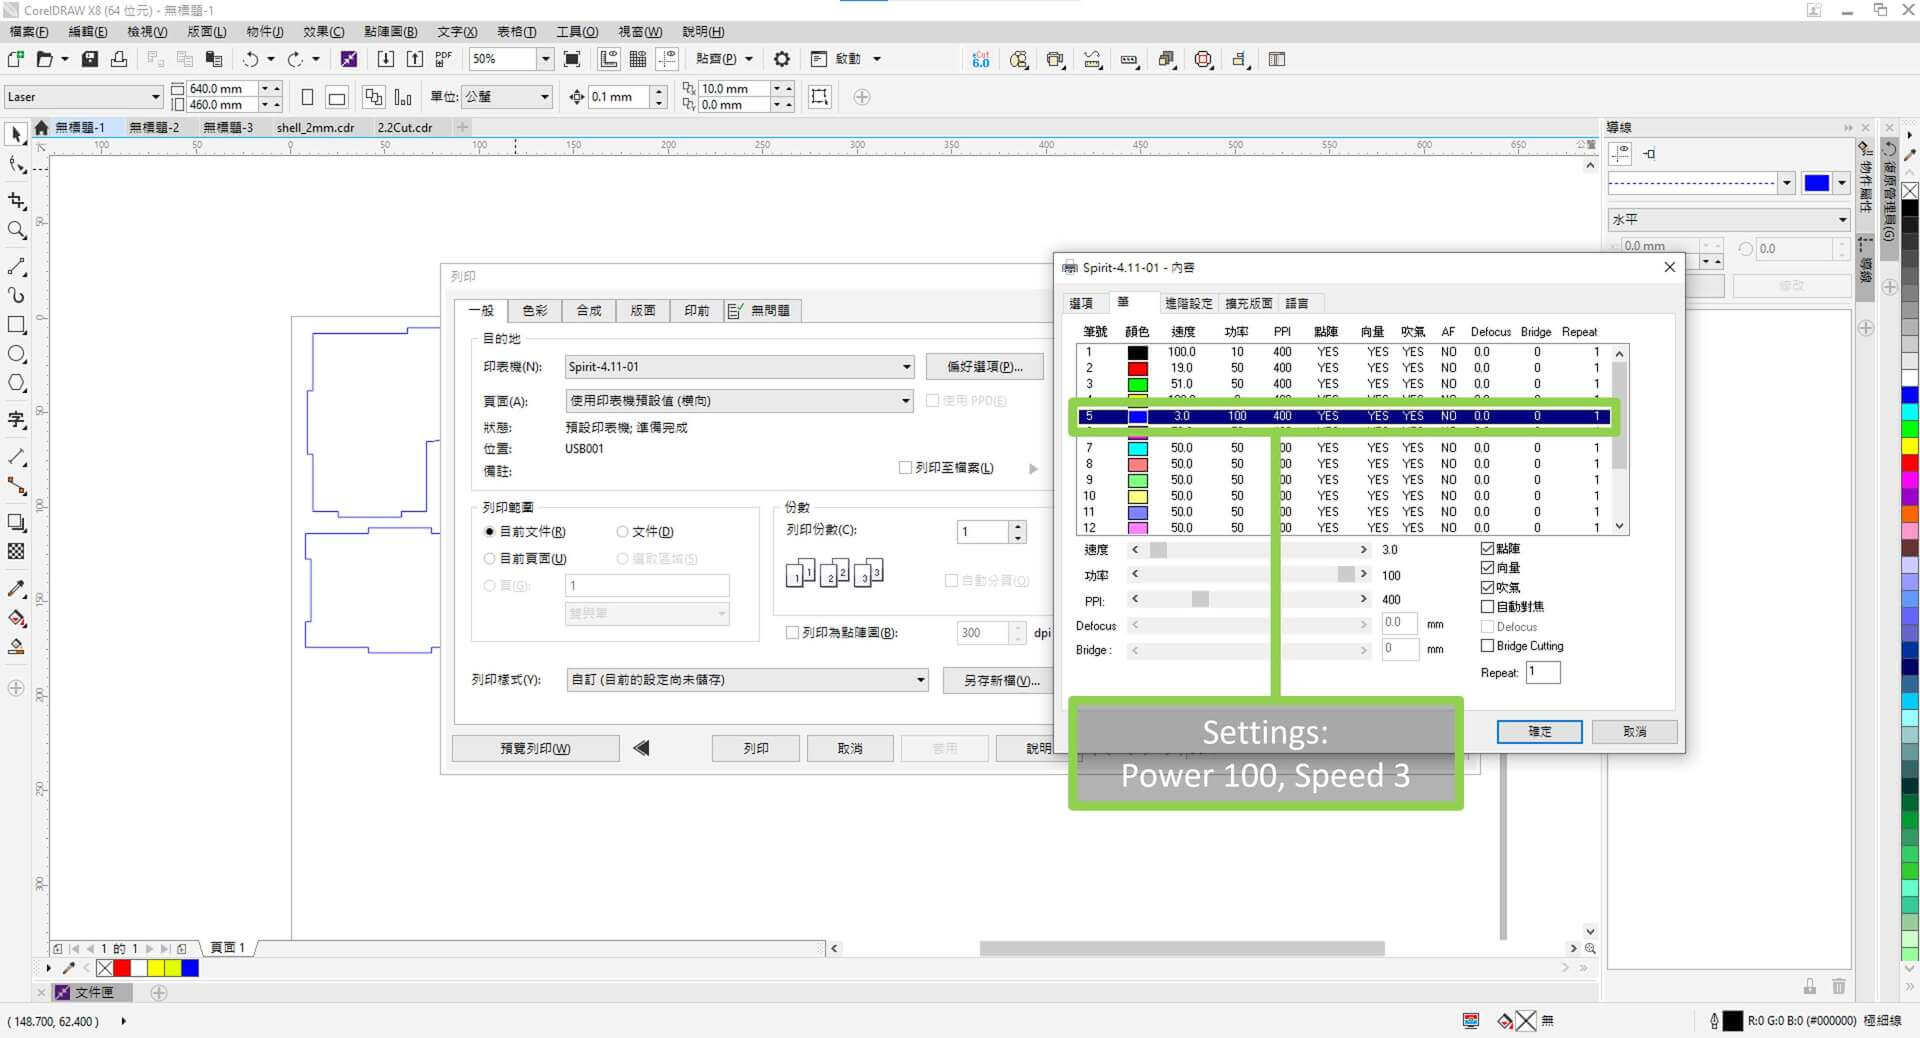
After all files are exported, I use the computer near the laser cutter for laser cutting and open all my dxf files in CorelDraw.
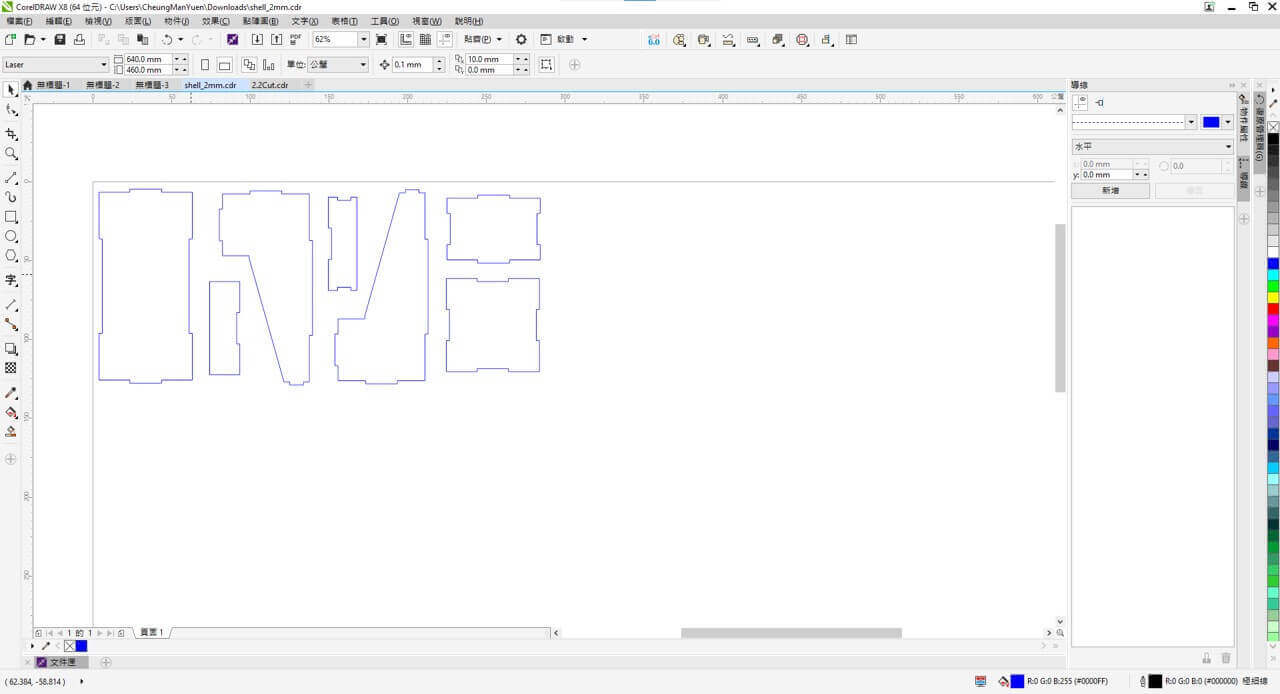
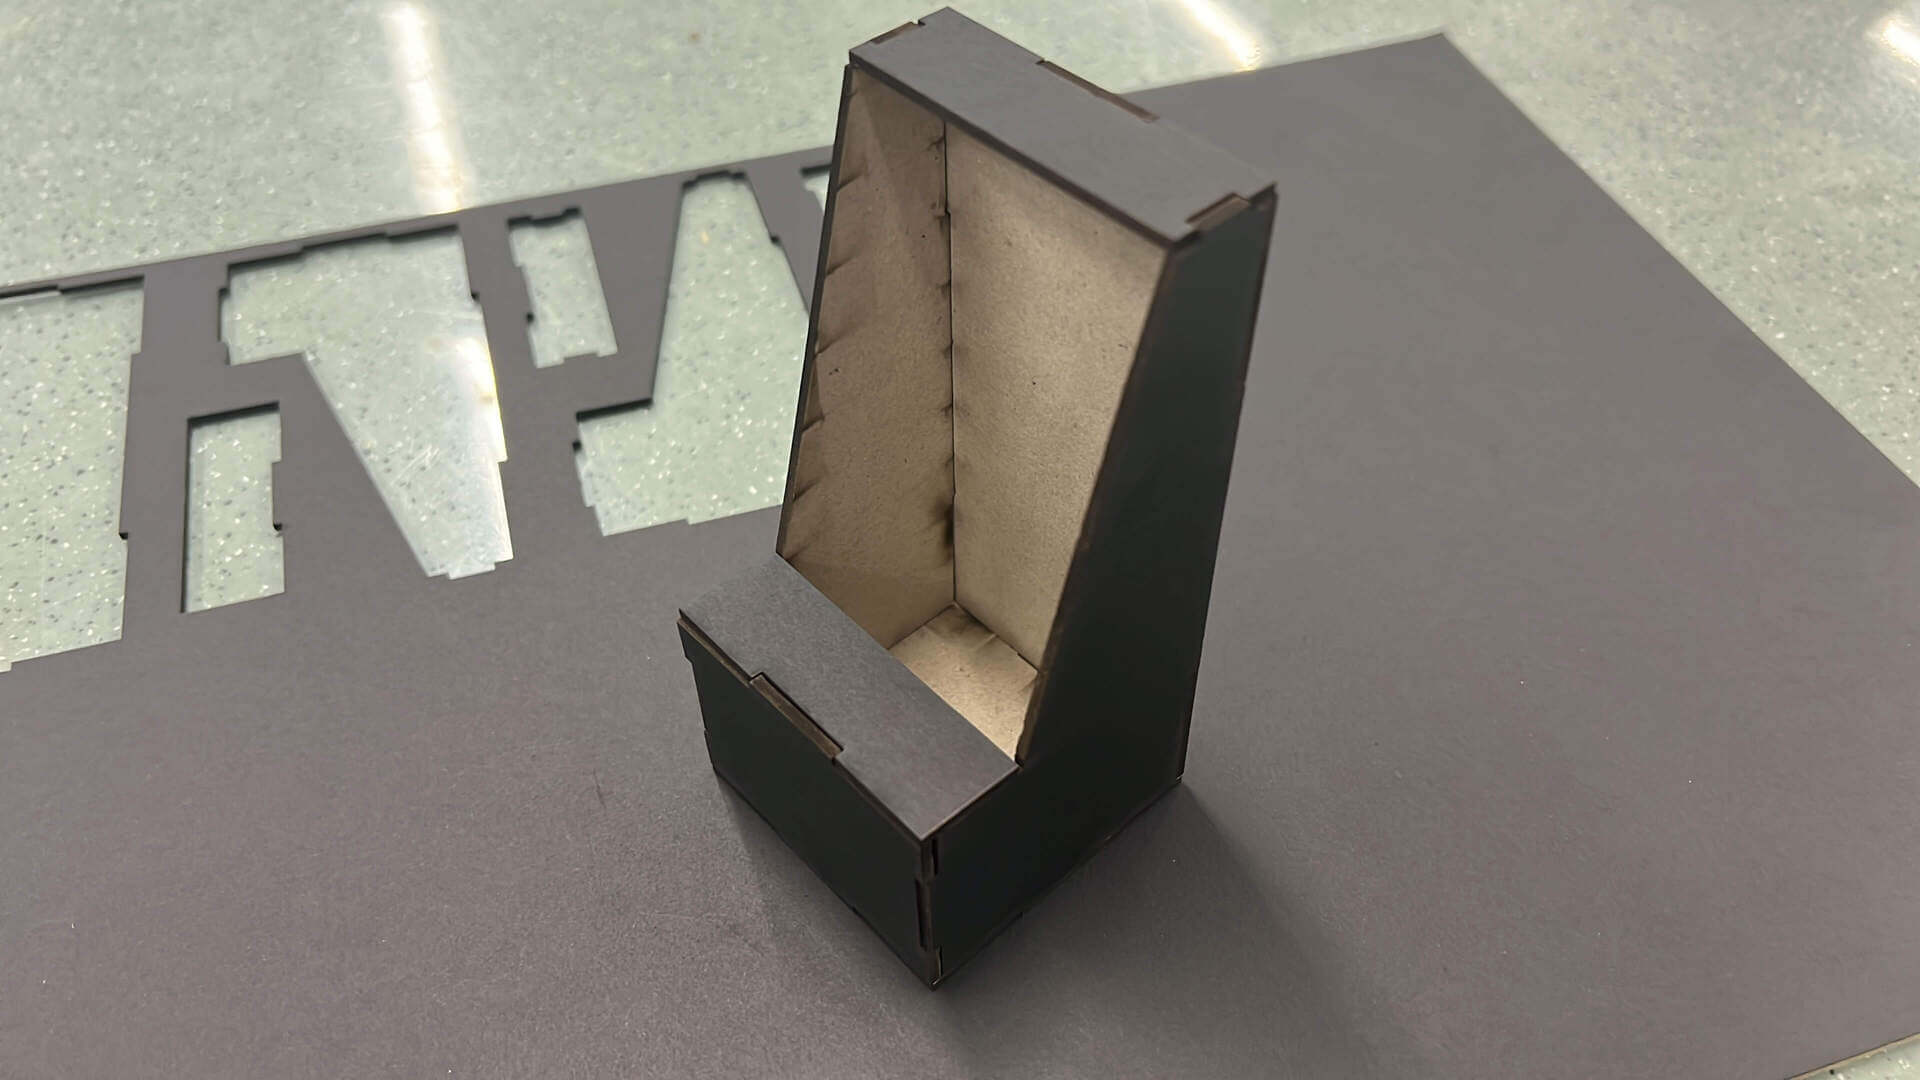
Then I use power 70, speed 2.8 for cutting the 2mm cardboard.
2mm_cardboard_cutting_clip from TerryAU on Vimeo.
And it joined together well. :)
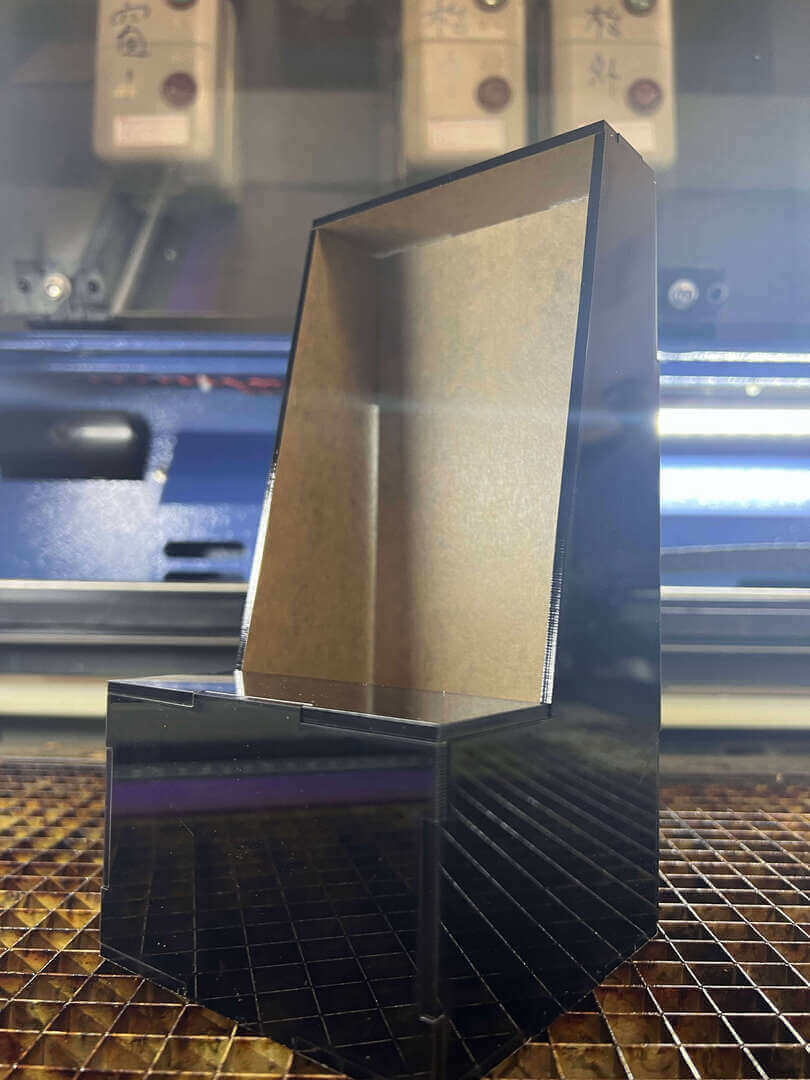
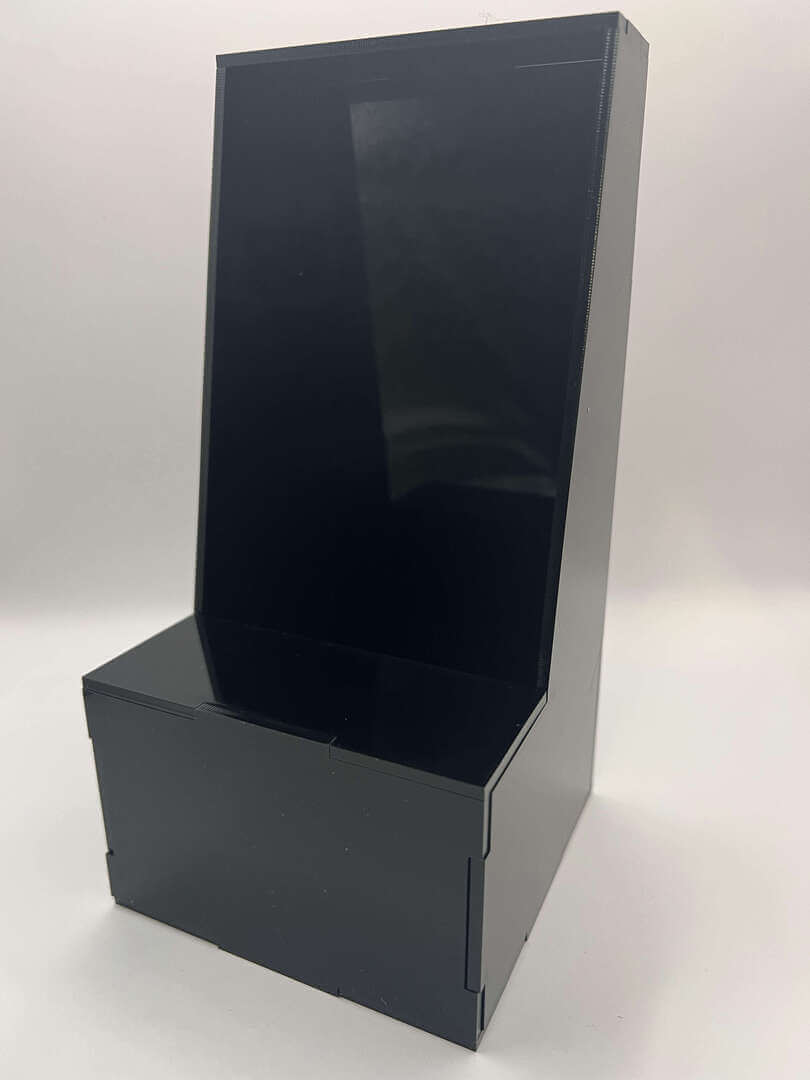
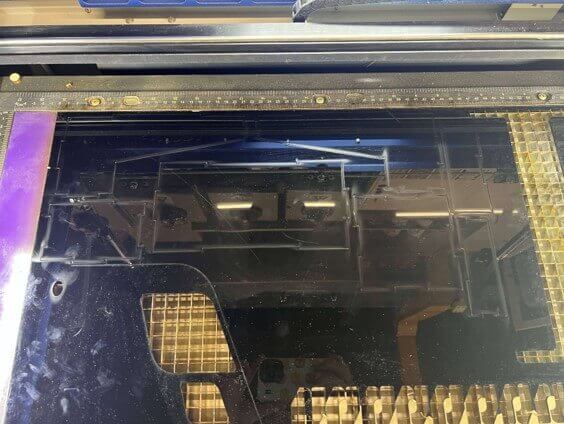
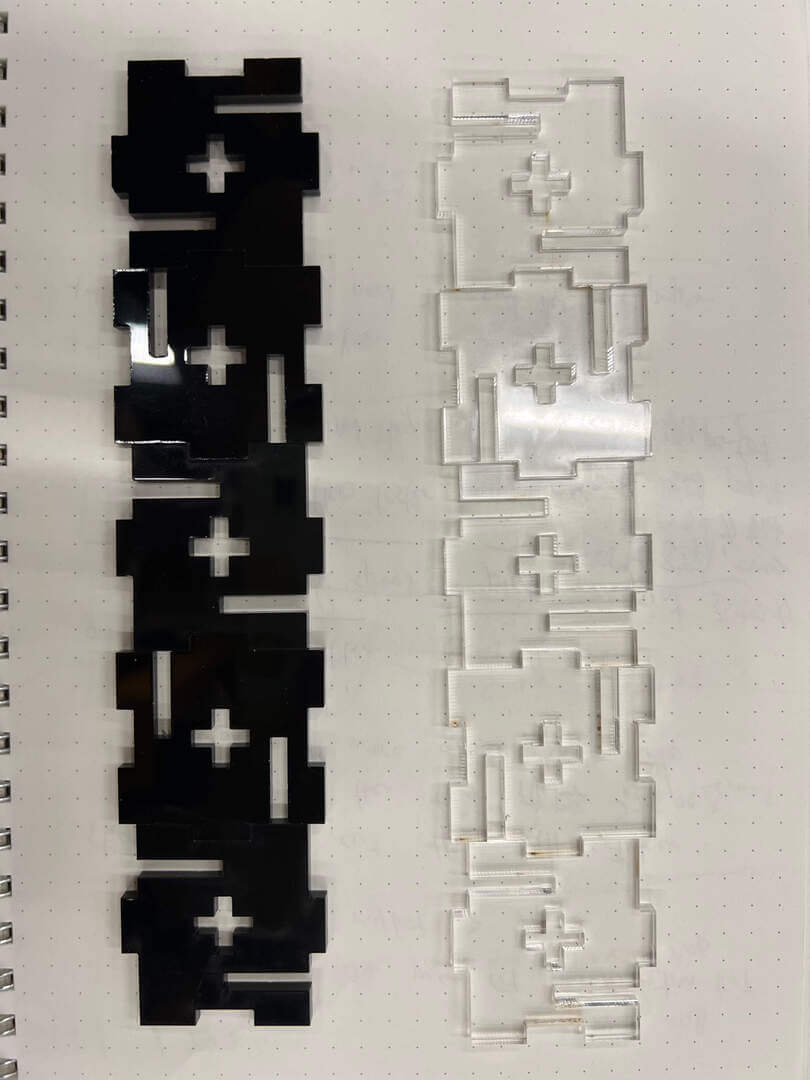
Then I decided to change the size from 60x60x120 to 100x100x200, and make it with a black acrylic sheet. With power 100, speed 3.
It cuts good as well. :)
Gamma
After Asia Review, the instructor told me that the ‘Parametric Press-fit Construction Kit’ I made didn’t reach the requirement of assembled in multiple ways. Then I design another one.
Parametric
Press-fit and can be assembled in multiple ways
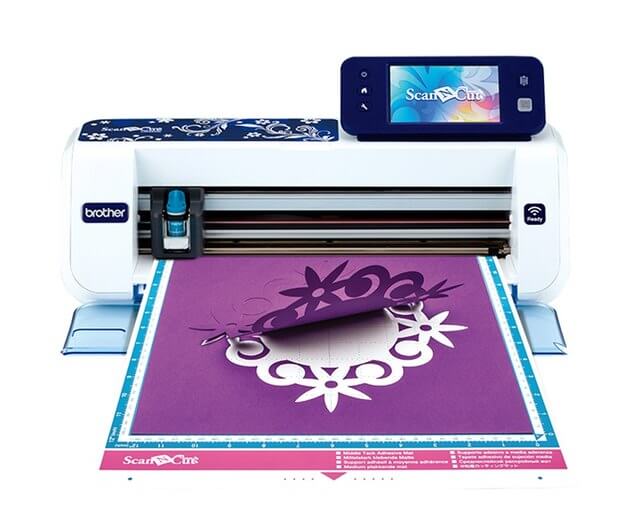
Vinylcutter
The Vinylcutter we are using in our lab is Brother ScanNCut CM900. It can Scan-to-Cut, Direct-to-Cut, Fabric Cut, and Pen Draw.
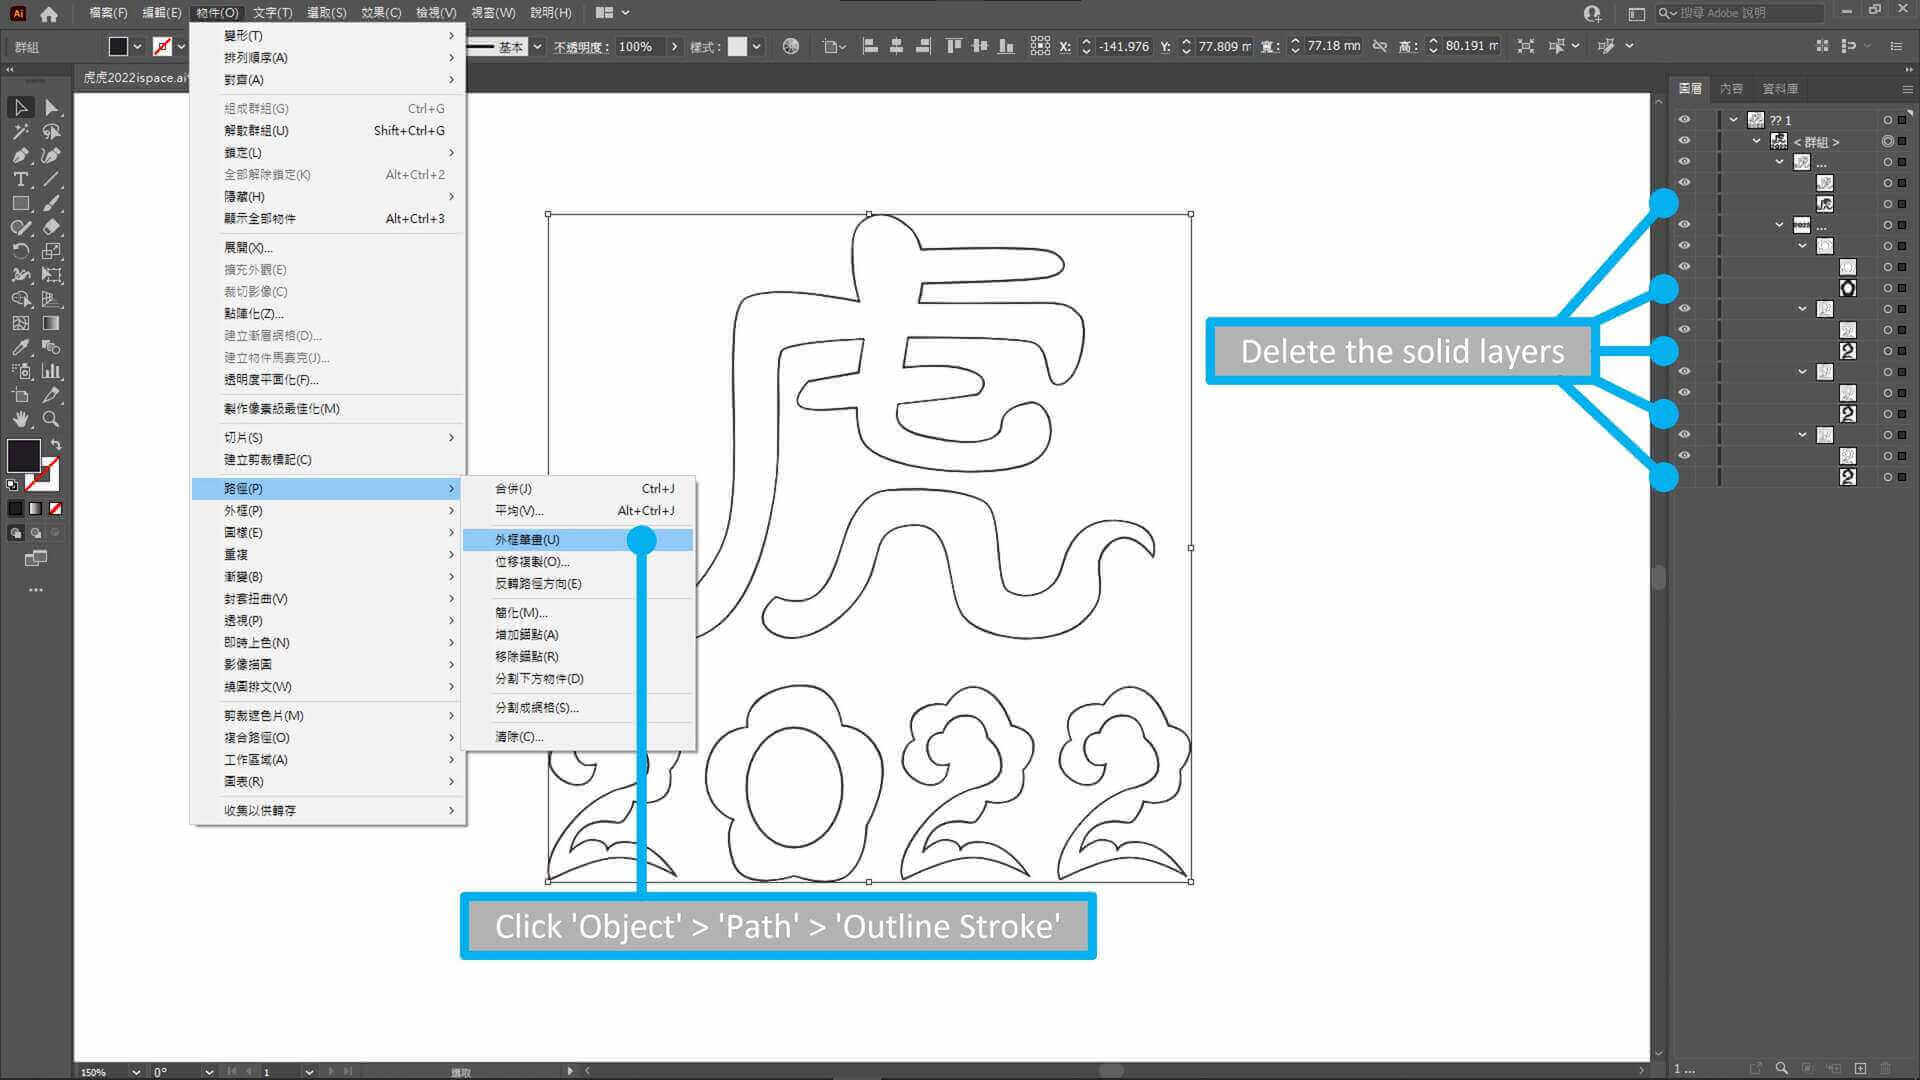
I decided to use the Tiger year logo which was designed for Lunar New Year to be cut to stickers.
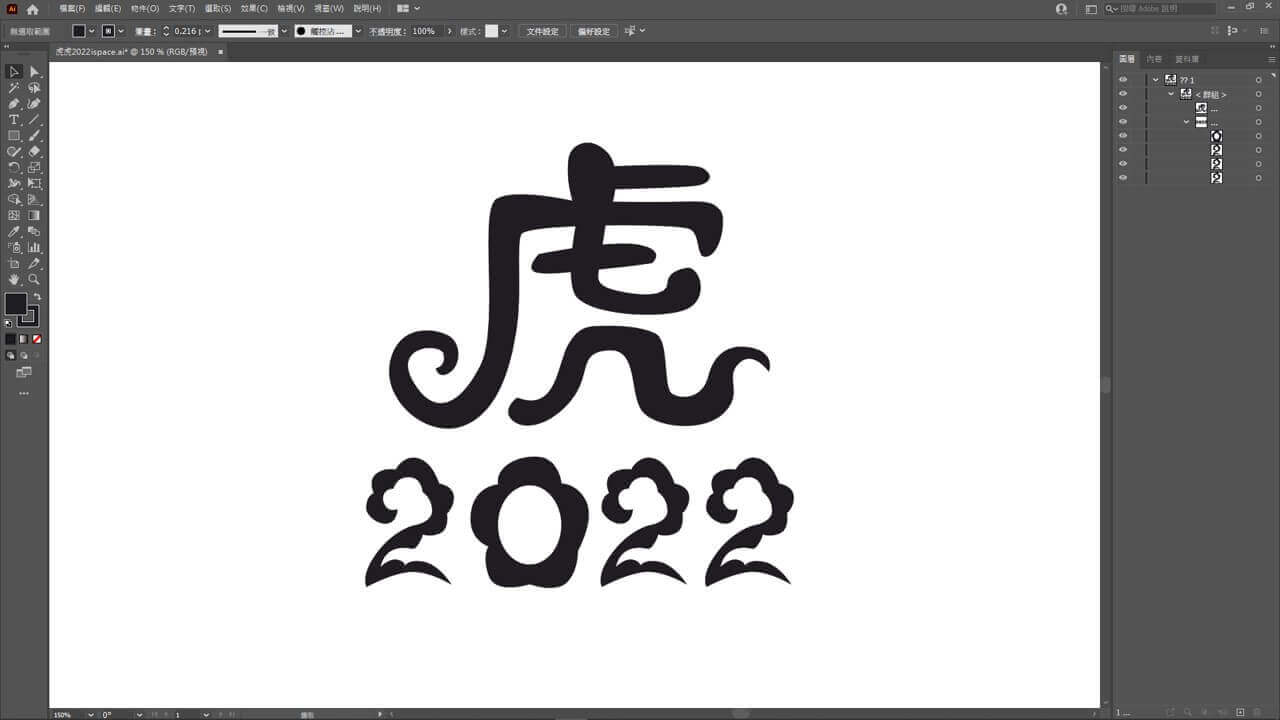
First, we need to outline the logo, so I select ‘Object‘ > ‘Path‘ > ‘Outline Stroke’. After, delete all the solid layers, keep the outlined layers, and output it as an SVG file.
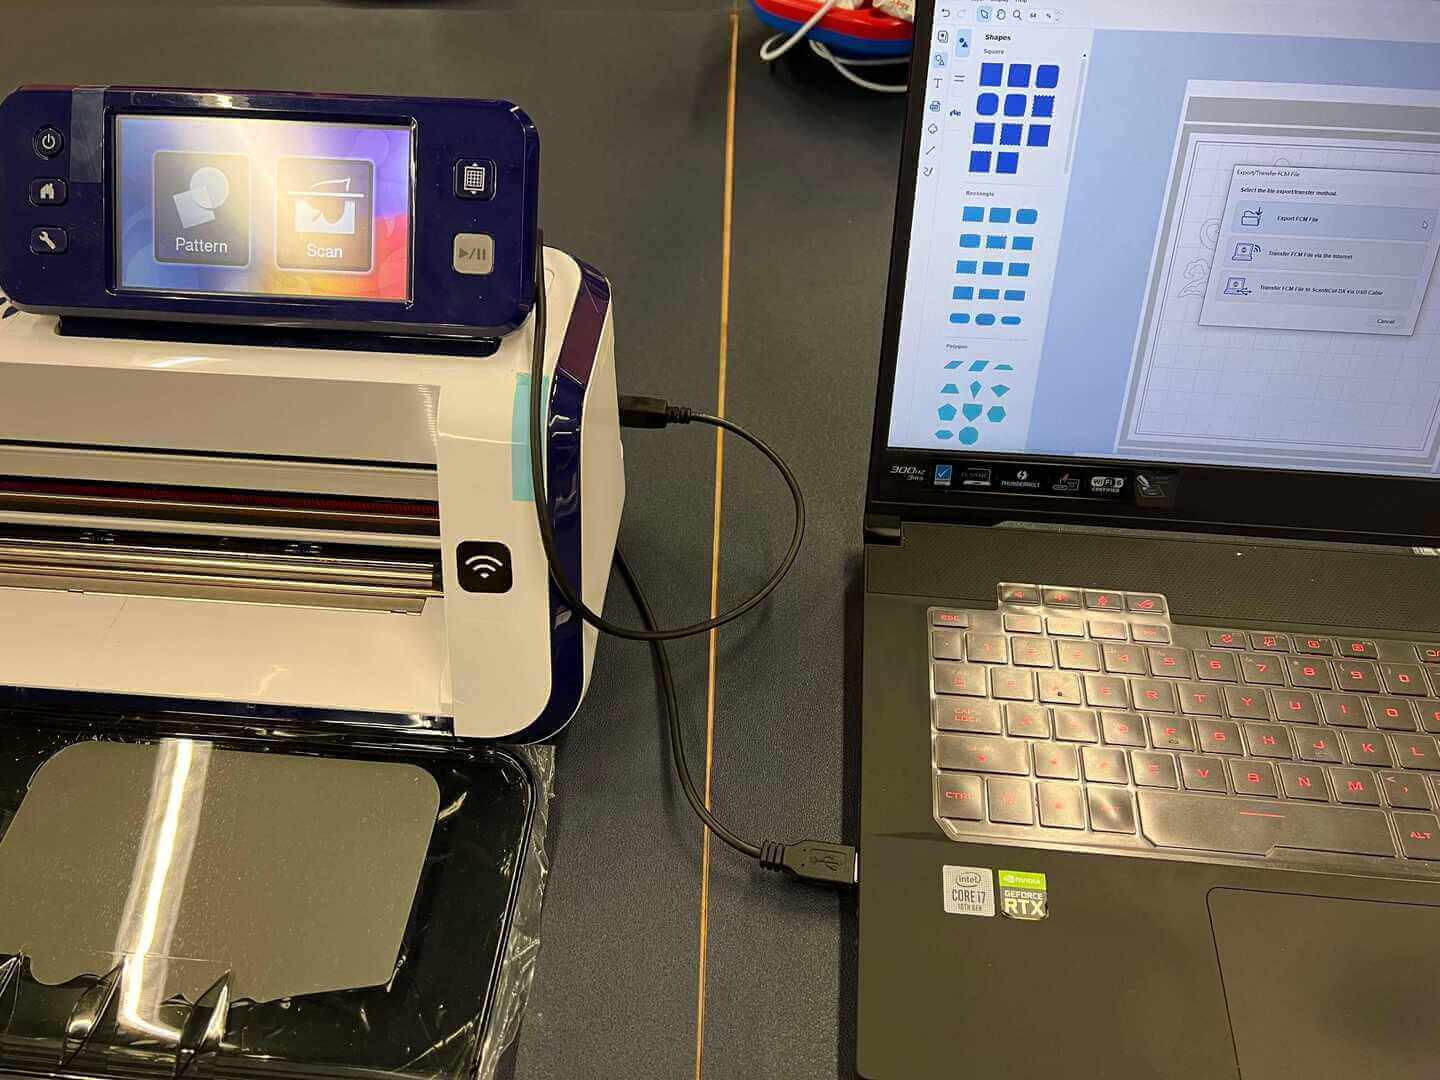
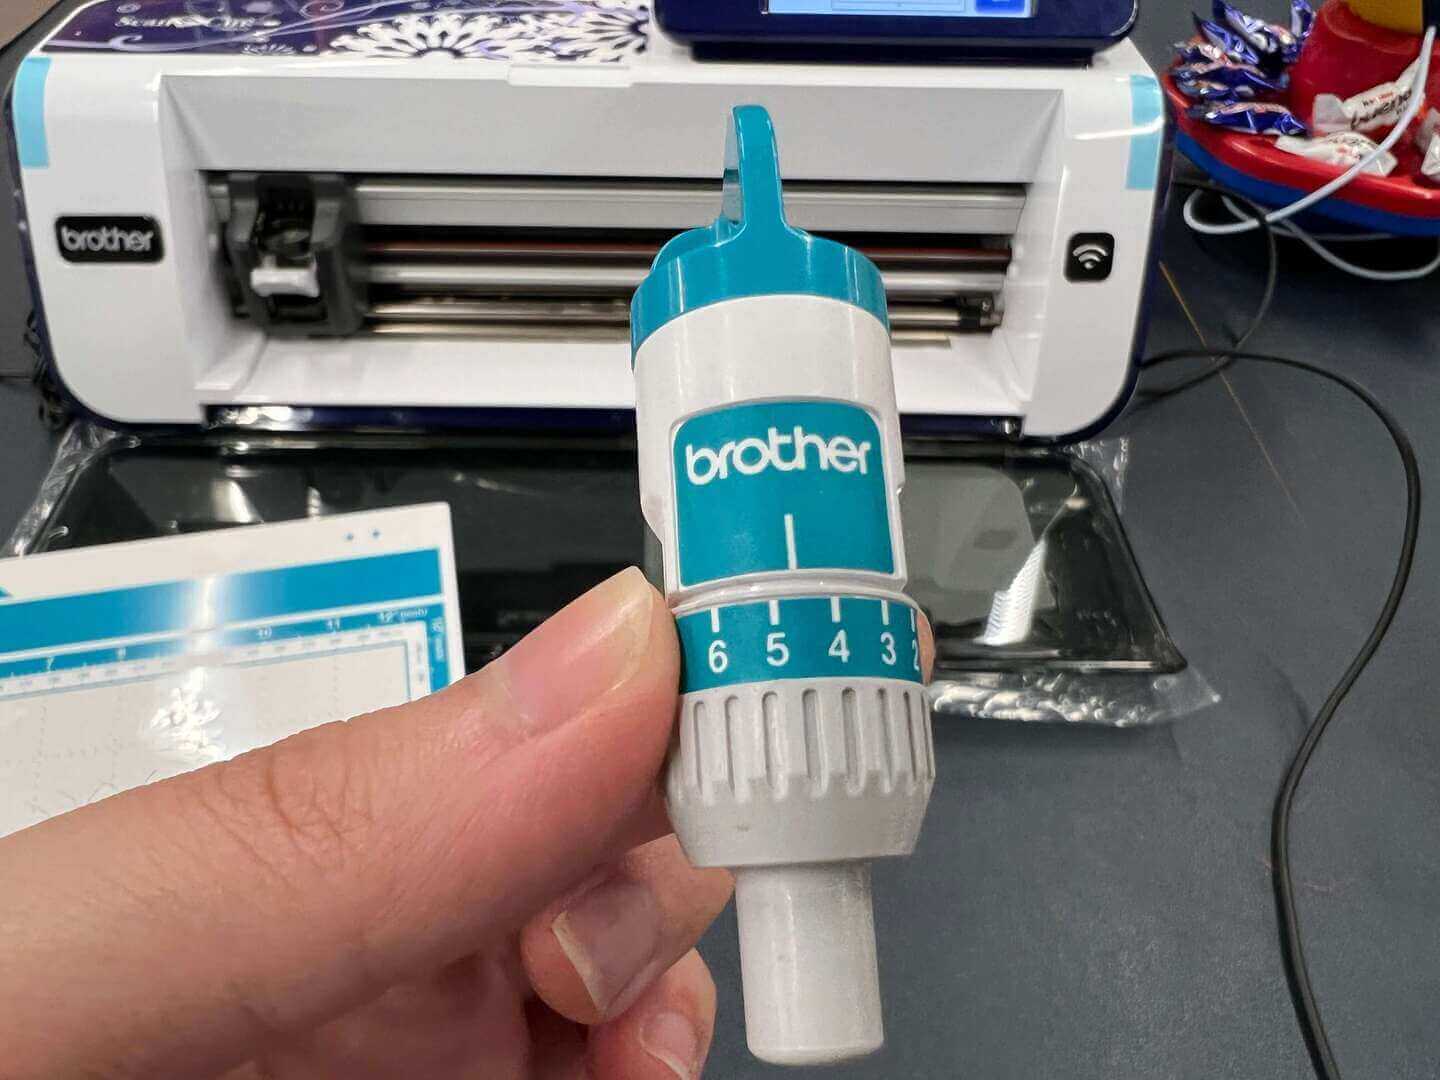
Make sure the cable is well connected with Vinylcutter
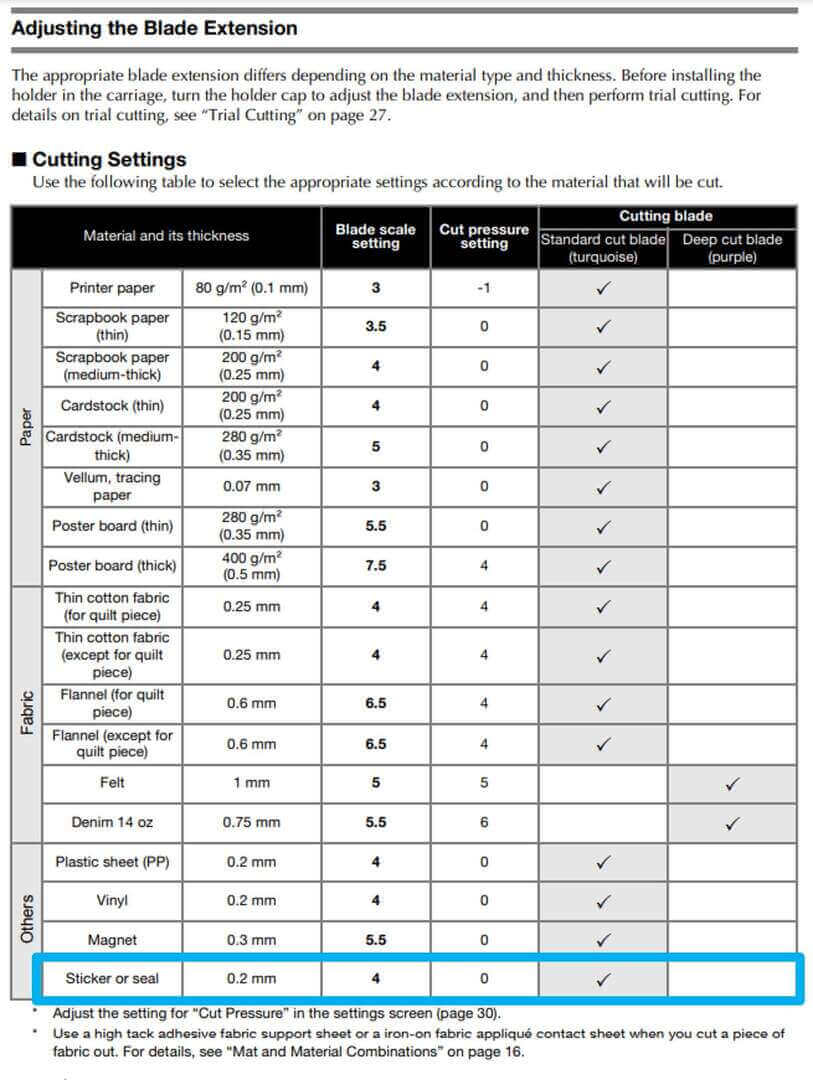
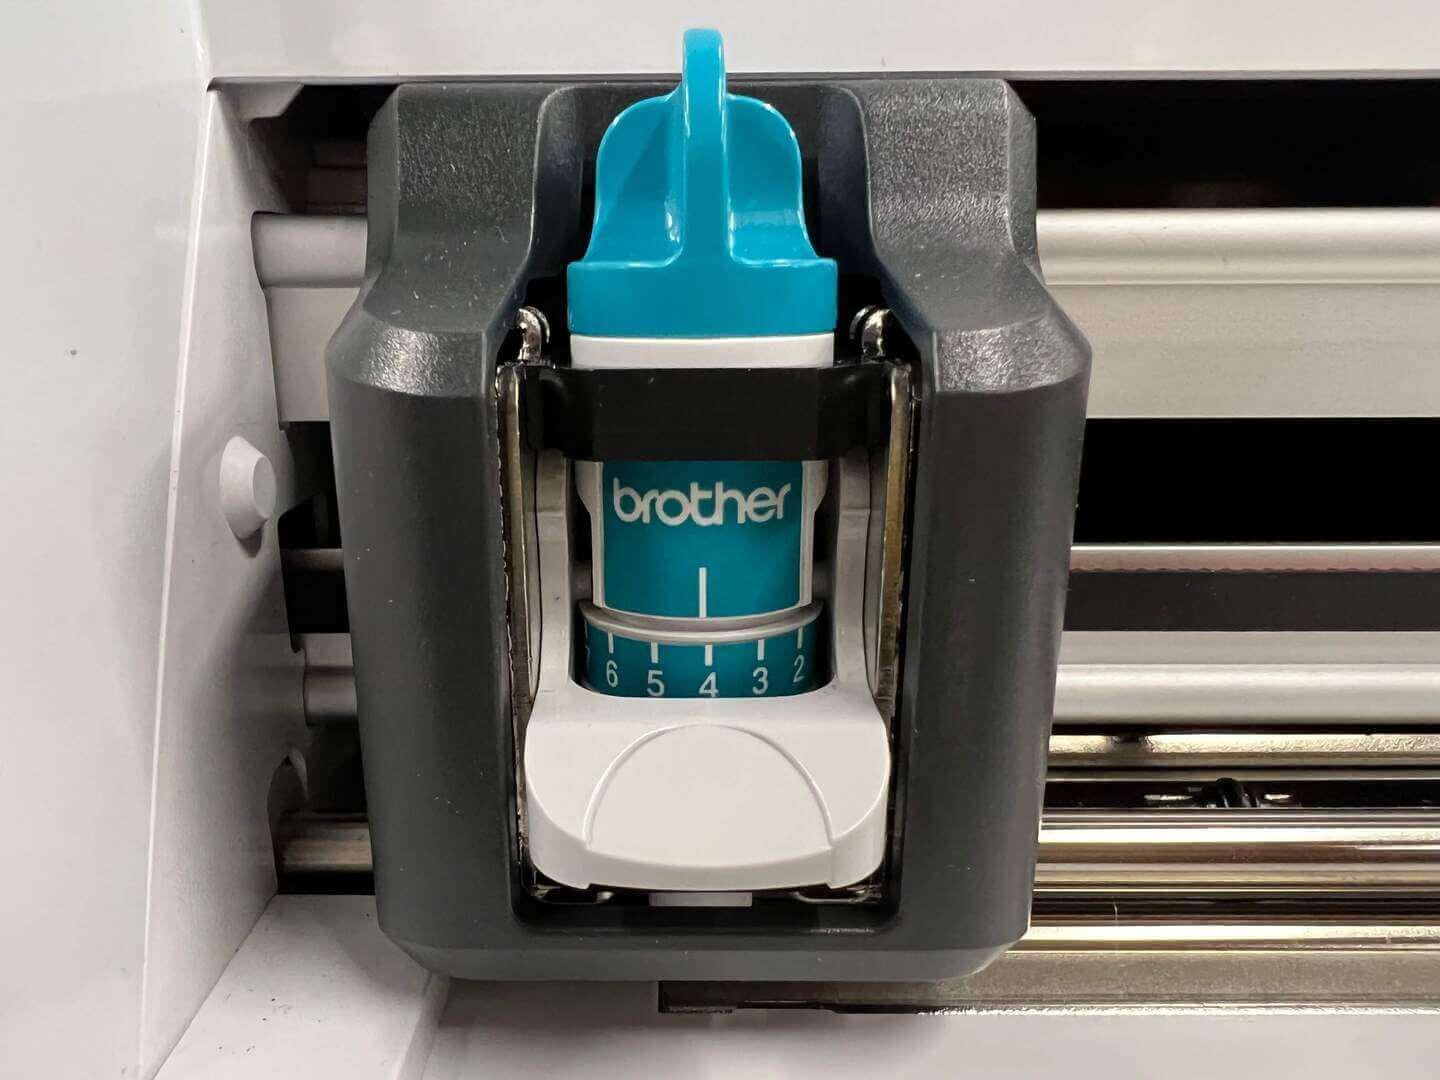
Then set the correct blade scale based on what material and its thickness are. According to the Operation Manual of Brother ScanNCut CM900, but we cannot fully believe the document because it depends on the thickness and the texture, so we need to try it out to test the perfect cut.
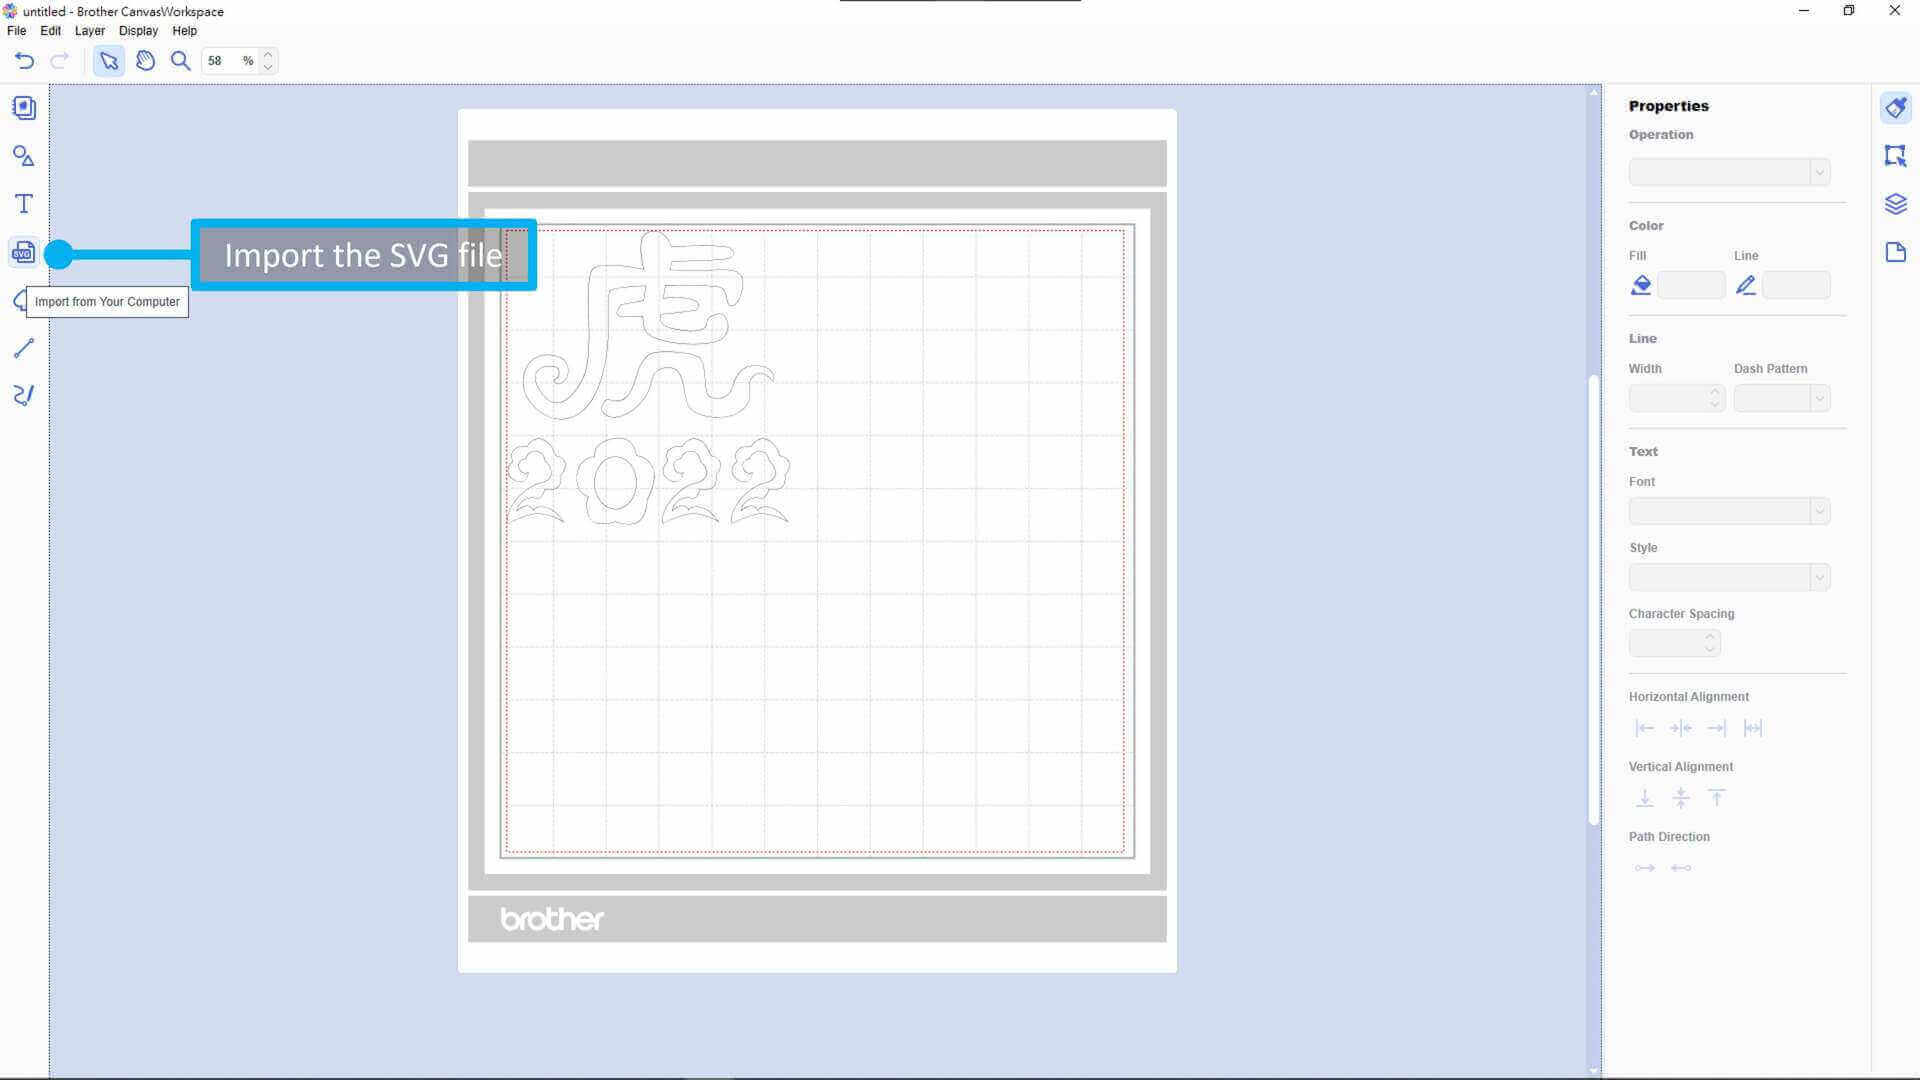
After that, import the SVG file into Brother CanvasWorkspace, which is an application that allows you to create and edit cutting or drawing patterns. By clicking ‘Import From Your Computer‘ in the left toolbar.
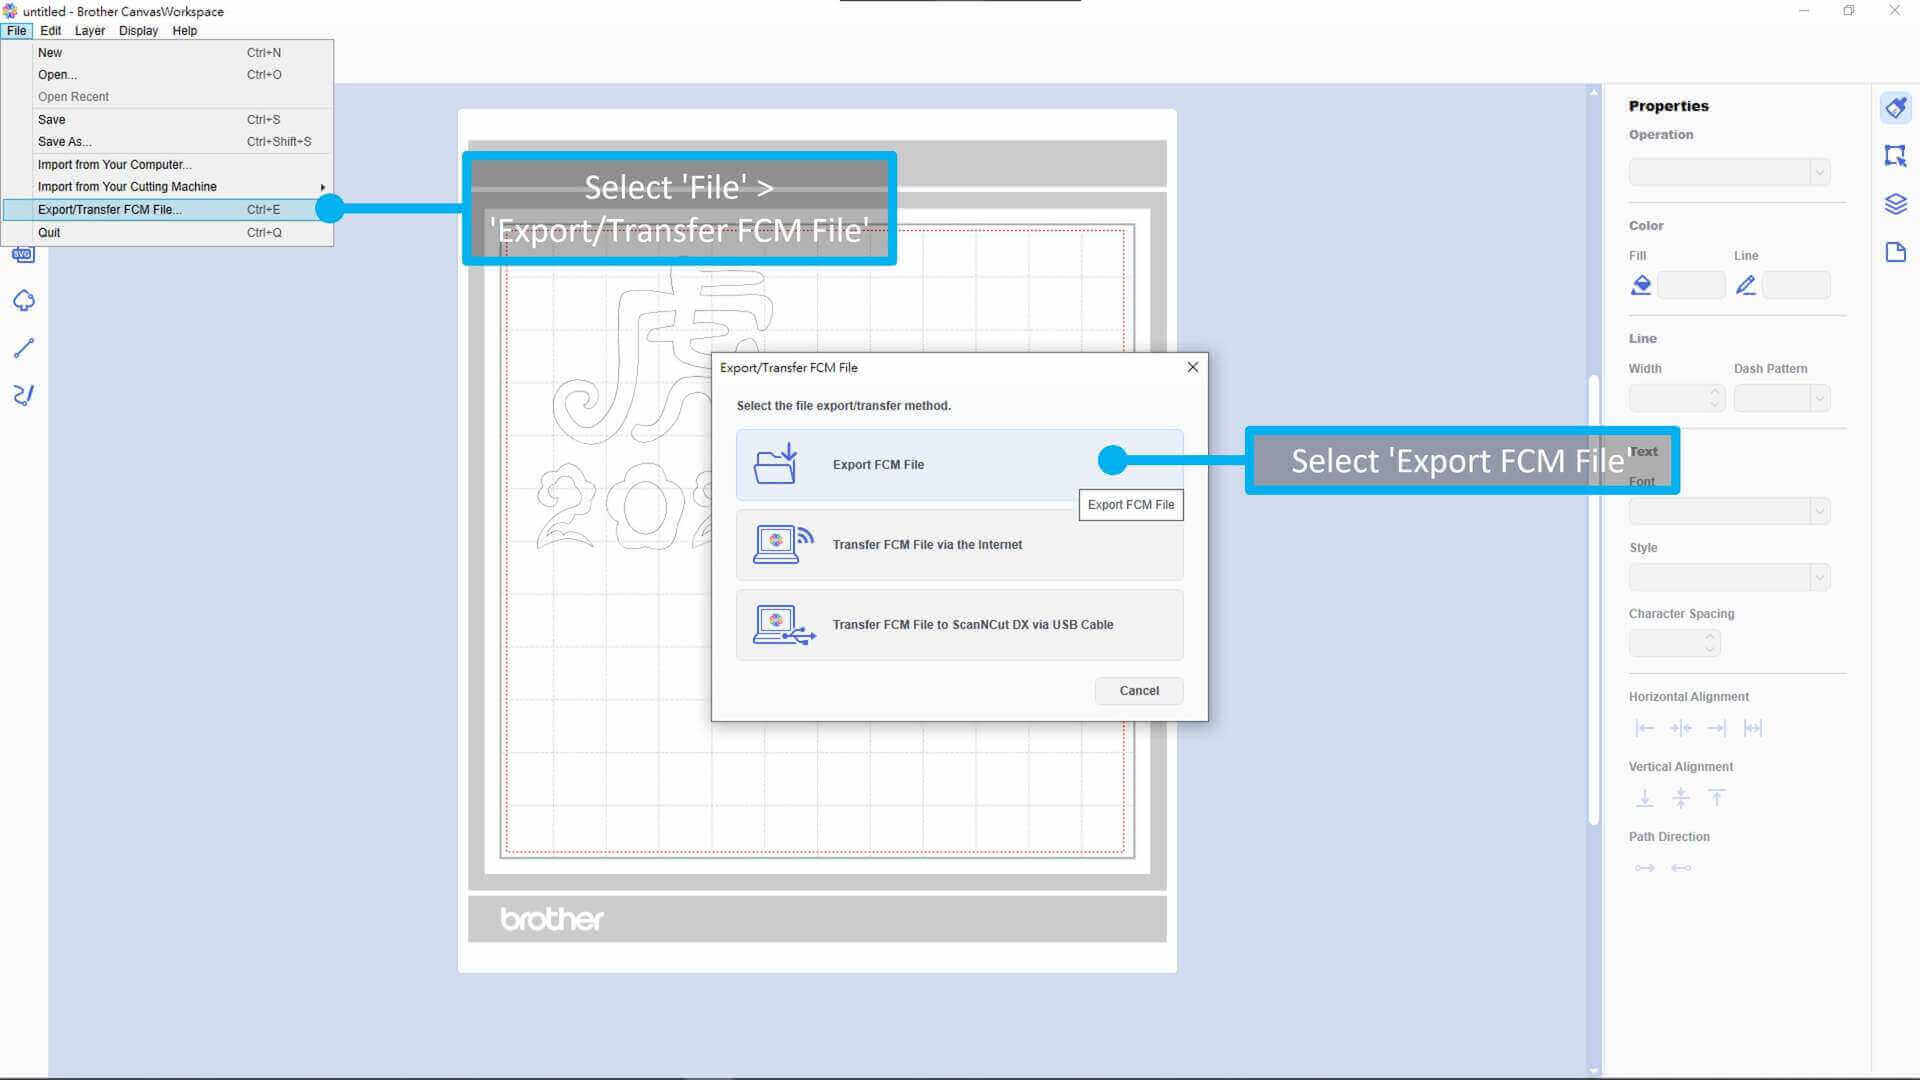
After selecting and editing the size, position of the pattern. Then, we need to export an FCM file into the Vinylcutter, by selecting ‘File‘ > ‘Export/Transfer FCM File‘ > ‘Export FCM File’, then save it into the drive of Vinylcutter.
Then choose the file in the Vinylcutter, open and start it. Here is the timelapse of the process.
week04_vinylcutter_tiger_process from TerryAU on Vimeo.
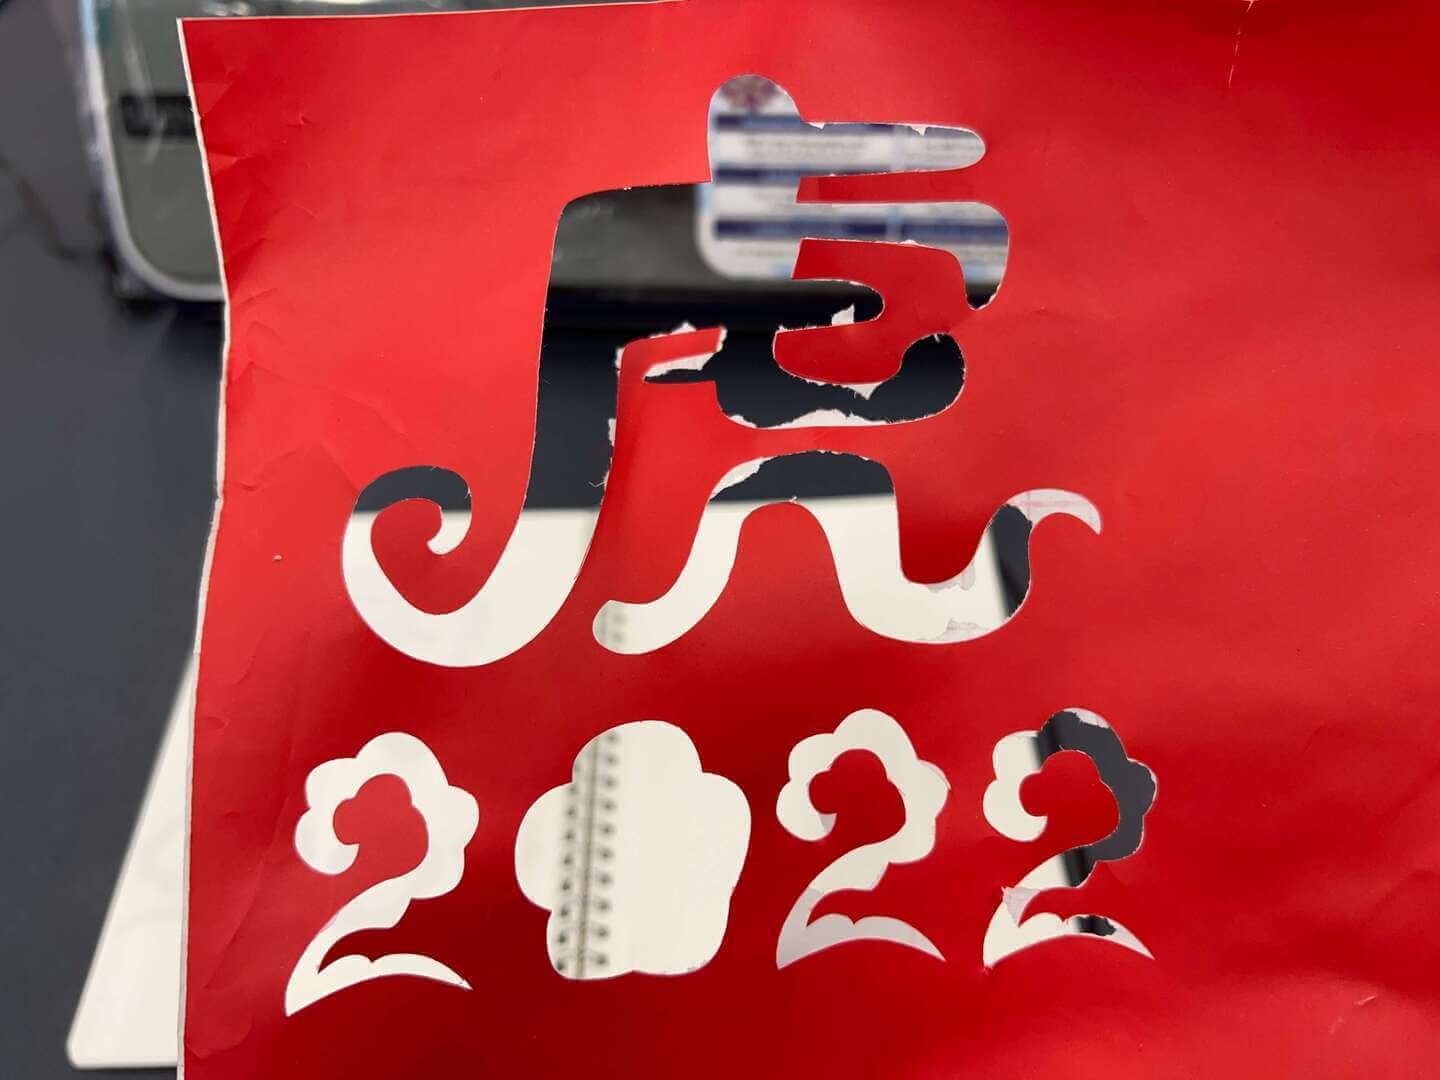
But I think using blade scale 4 isn’t cut deep enough so it is a little hard to take the sticker out.
Therefore, I try to use around 4.7 to cut the BALL IN logo, and this time I use a different function called ‘Image Tracing’. By selecting ‘Image Tracing‘ in the left toolbar, then ‘An Image in the Computer’, unselect ‘Paste the Image on the Drawing Area‘ and select ‘Trace Areas by Color‘ in Tracing Options.

After, export the FCM file to the vinylcutter’s drive and run it.
week04_vinylcutter_ball-in_process from TerryAU on Vimeo.
It cuts perfectly using a 4.7 blade scale. ˄_˄
Perfect Cut?
Then, I thought it was correct that the stickers were cut with the base paper. After Asia Review. I’ve been told that the bottom layer of paper is not supposed to be cut. That isn’t a perfect cut.
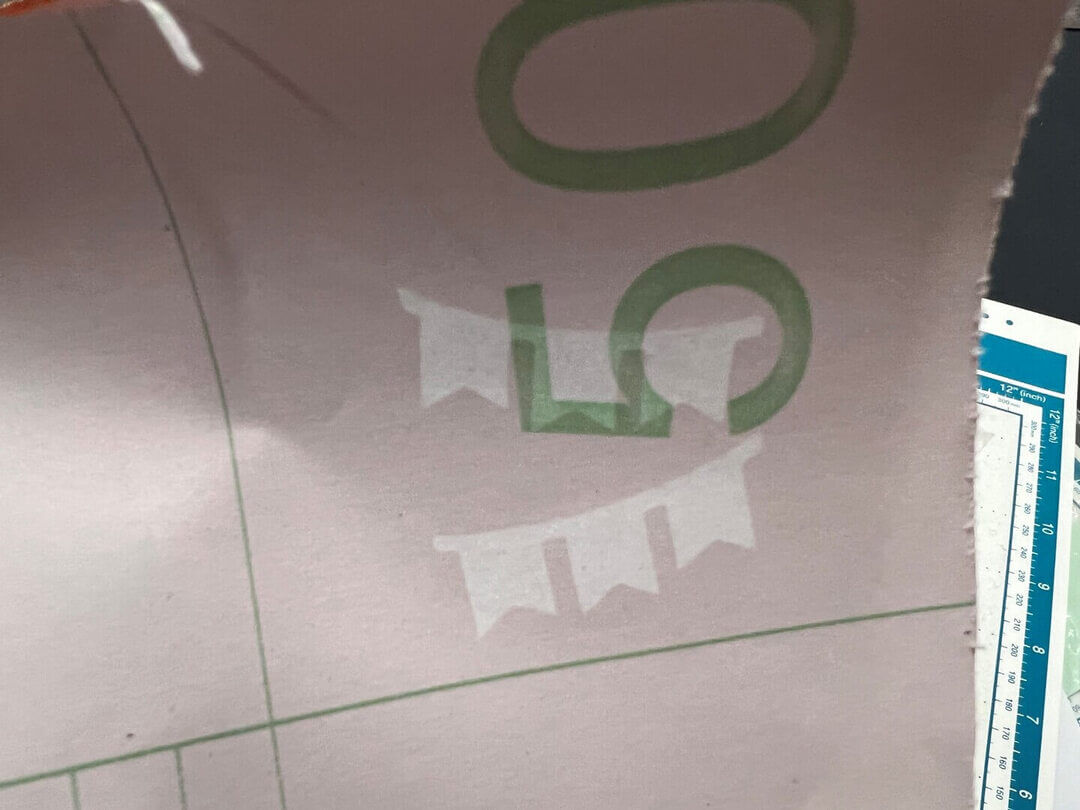
So, to accomplish a perfect cut of a sticker. I’ve made new cheer banner stickers. But this time I’ve used a different way to import the image into the machine. I’ve used an A4 paper which already printed the cheer banner on it. Then used the scan function to scan the image into the machine.
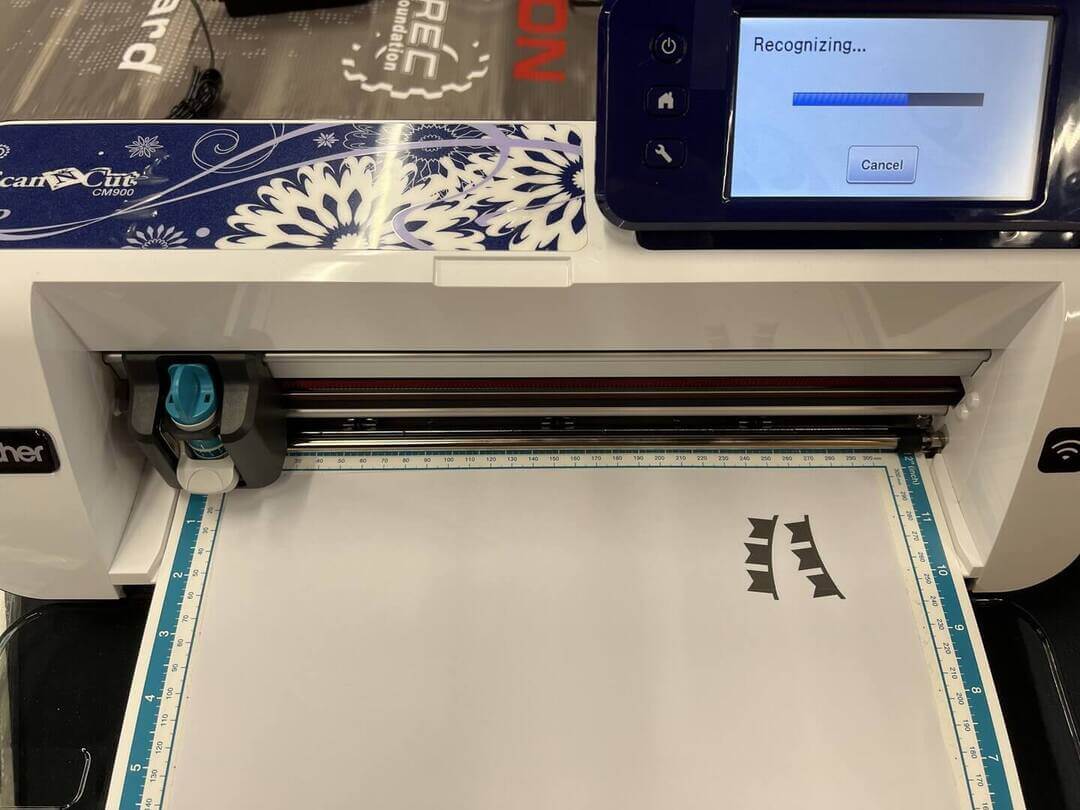
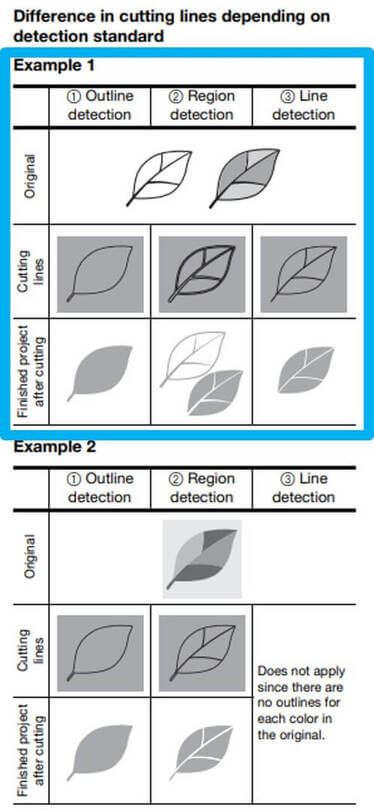
And there are different detection modes, such as outline, region, line. There are examples listed on page 68 of Operation Manual of Brother ScanNCut CM900. In my case, I used Outline mode. Then select the area to be recognized, the depth of gray as well.
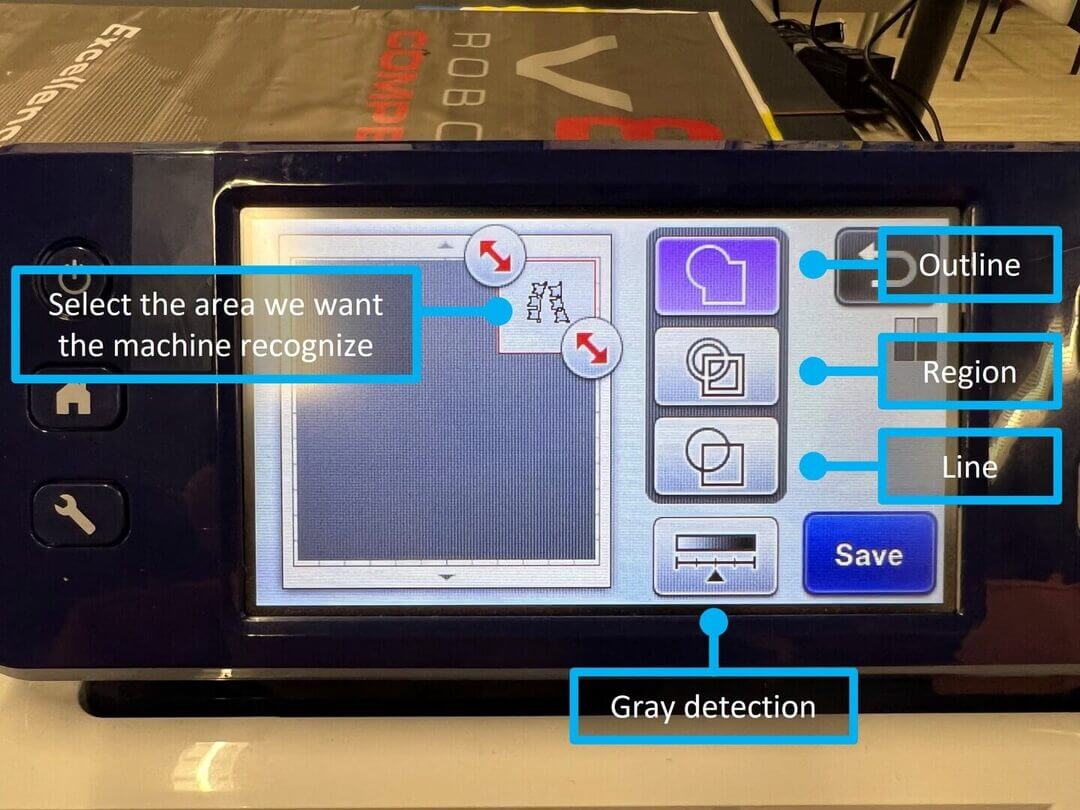
Then check if the preview of the cut data is correct.
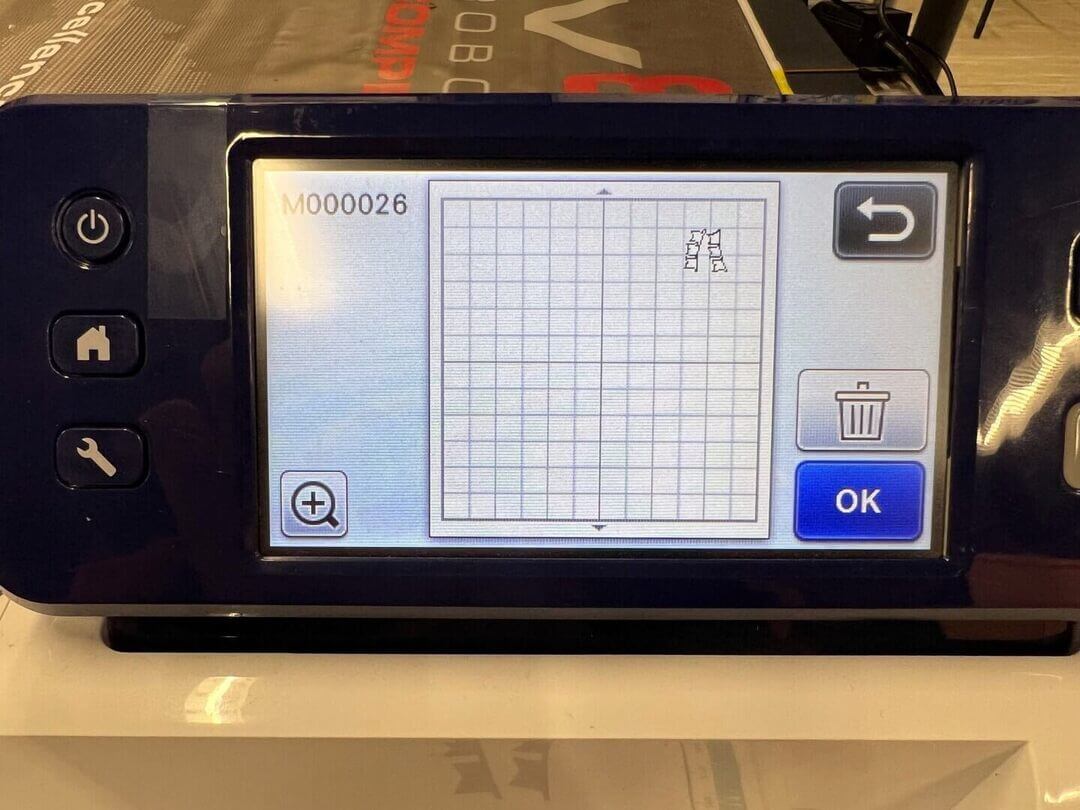
I used a scale of 3.45 to cut the material that I am using. And it turns out a perfect result.
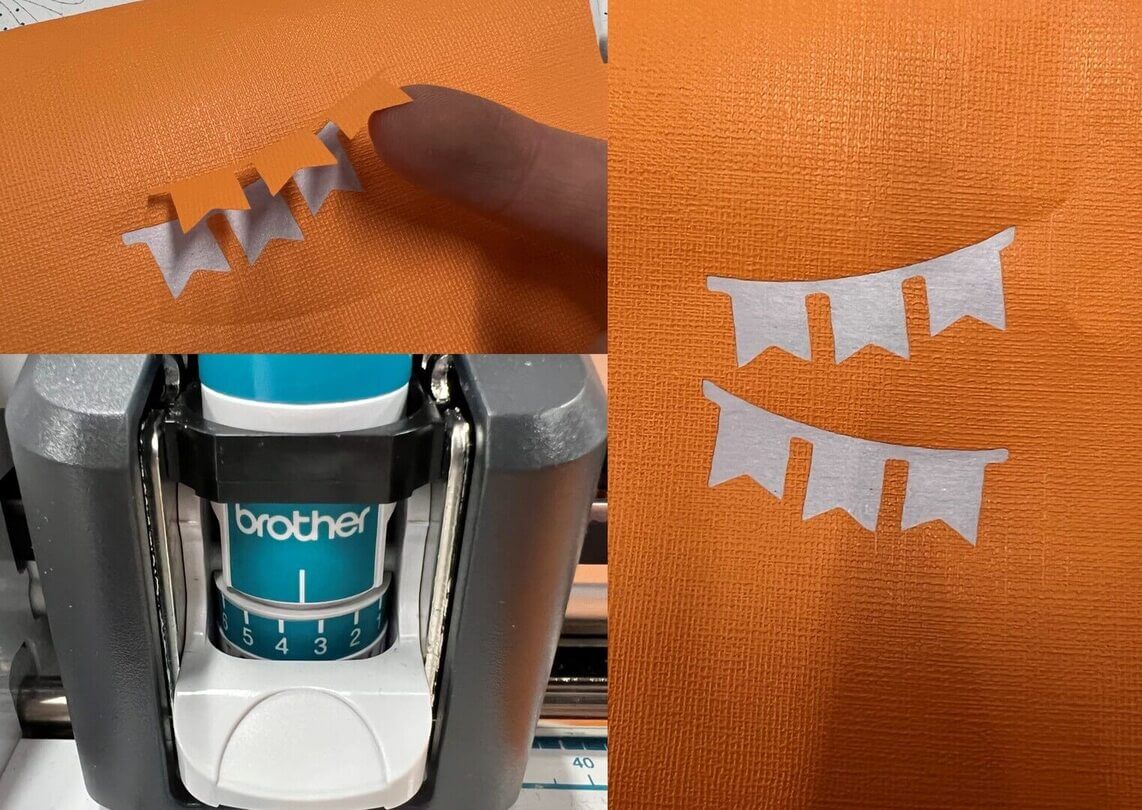
As you can see, there is no cut on the paper of the base layer. So that is a perfect cut without a doubt.
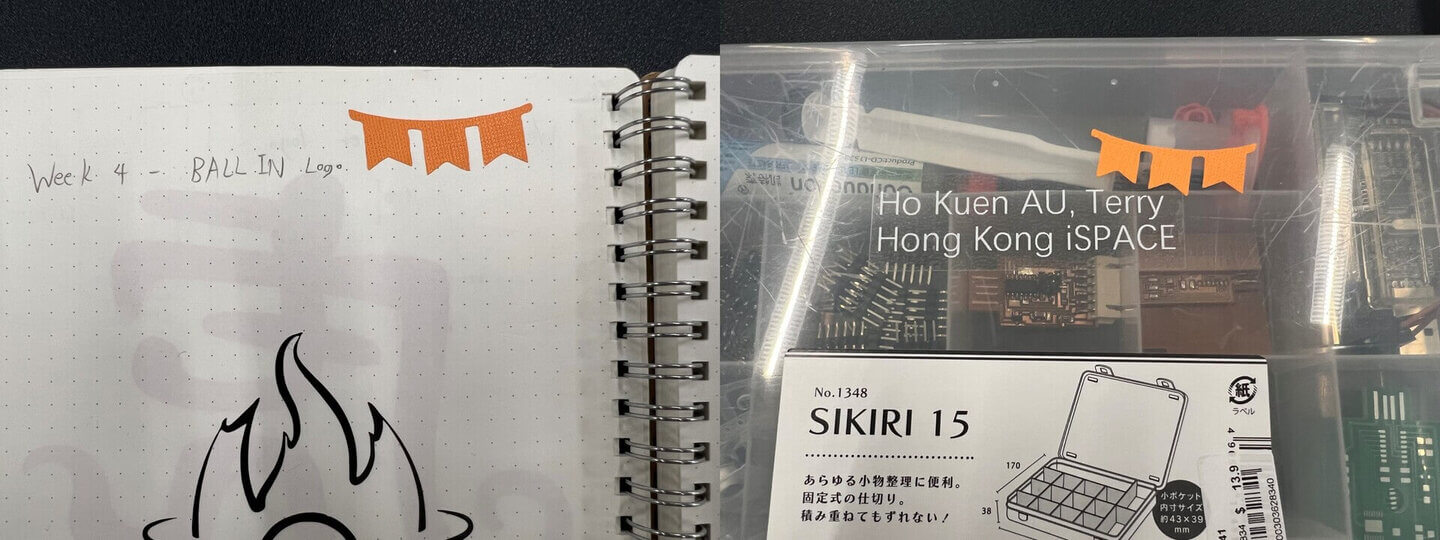
Then I paste it on my sketchbook and components box, Lovely _
Downloads
PPCK -> Parametric Press-fit Construction Kit
PPCK (Alpha) CAD file - .step | .f3d
PPCK (Beta) CAD file - .step | .f3d | .stl
PPCK (Beta) Zipped DXF for laser cutting - 2mm_60x120 | 3mm_100x200
PPCK (Gamma) CAD file - .step | .f3d | .stl
Tiger 2022 iSPACE - .ai | .svg