12. Mechanical design, Machine Design
Mechanical design, Machine Design Assessment
Mechanical Design (part 1 of 2)
Group assignment
- Design a machine that includes mechanism + actuation + automation
- Build the mechanical parts and operate it manually.
- Document the group project
Individual assignment:
- Document your individual contribution.
Machine Design (part 2 of 2)
Group assignment
- Actuate and automate your machine.
- Document the group project
Individual assignment:
- Document your individual contribution.
Meet Our Team
I´m really proud to present you our working team, please visit the machine design week page in Taz design and build´s Page to follow what the machine is, and what´s made for, also a Summary of everything we´ve done.

Each one contributions.
- Our instructors [Silvia and [Abdon guided us all the way.
- Juanca Designed the Stepper motor Mount, the center mount for the object in the scanner function, and the cnc shield case.
- Dani Fabricated the main base, the main rack, and designed and fabricated the Legs of the machine, also he is the photographer of the team.
- Jorge designed and build the first attempt of designing the CNC shield and contributed in the building of the machine.
- Katrina Designed and fabricated the cellphone stands for the machine.
- and I designed and assembled the moving mechanism and the main axis, also uploaded the firmware into the mainboard.
3D Design of the main Structure
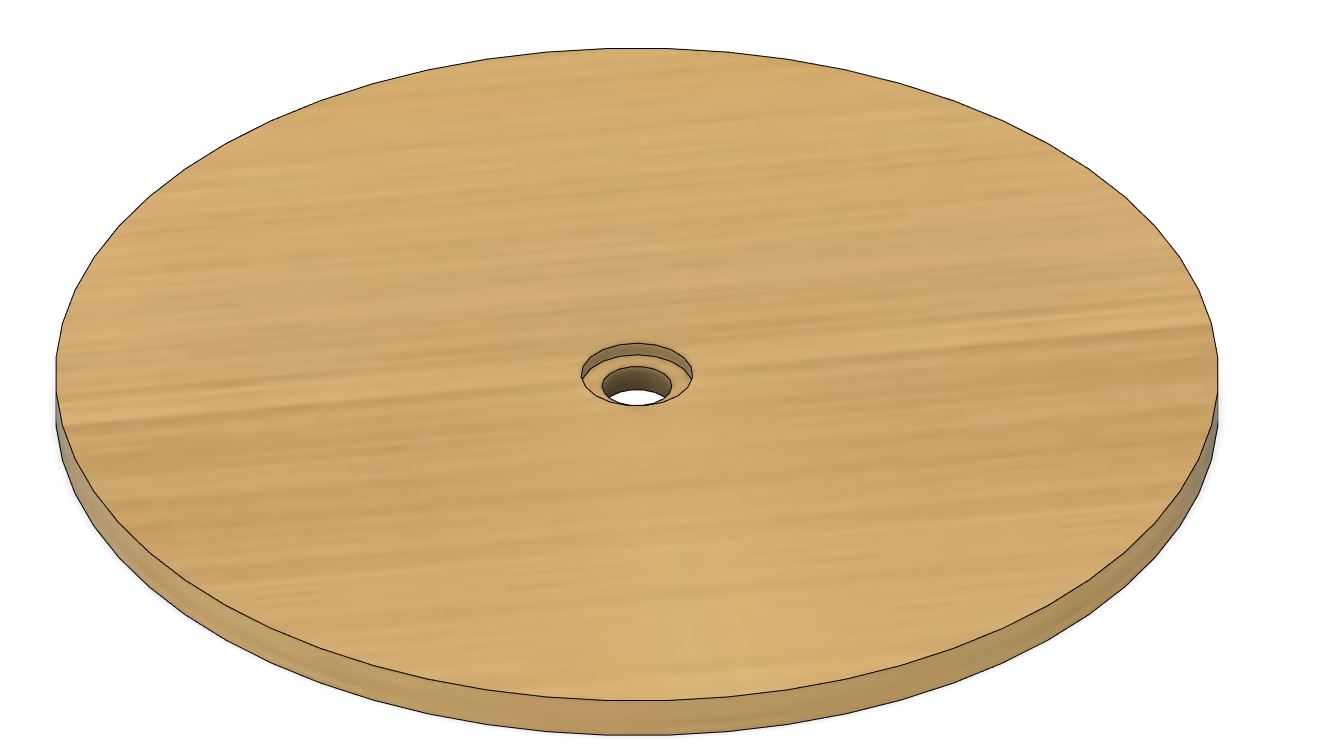
Main Base
We designed the base to be able to make it in the lab, So we choose 18mm plywood and made a hole for the main bearing
Rack and pinion System
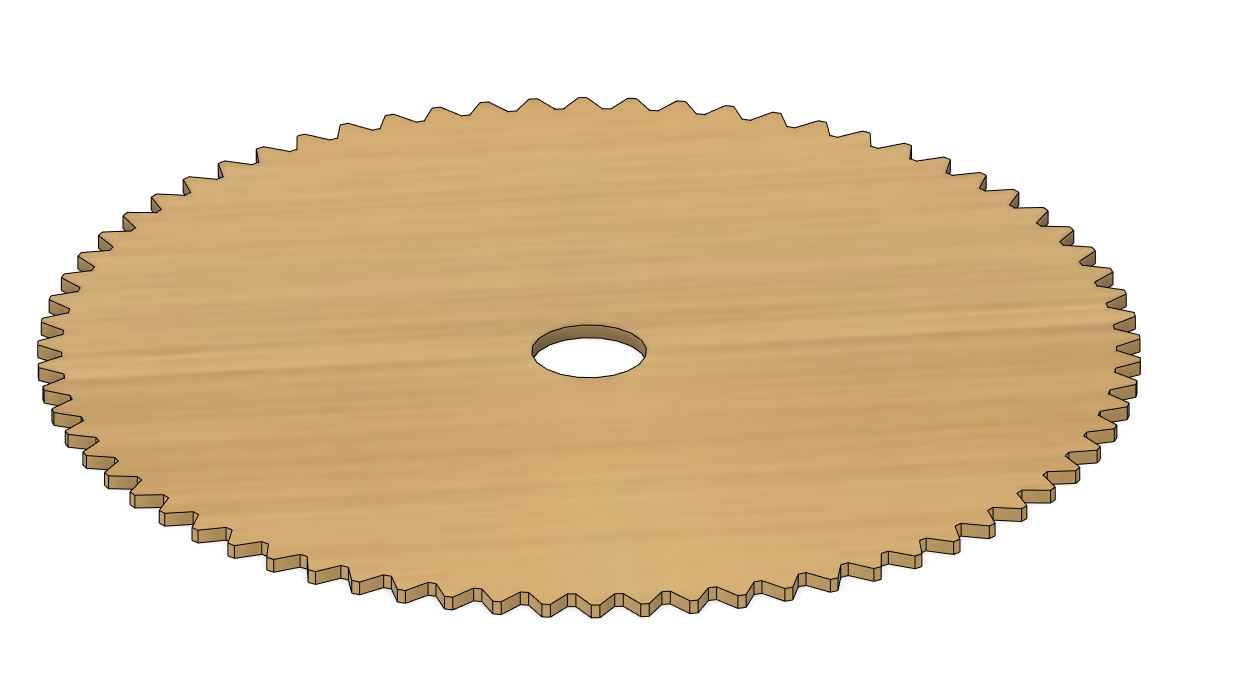
For the rack and pinion system, we thought laser cutting was the best and fastest way to make them.


We used 2 roller wheels with 608 bearings to add stability to the system an added a bottom bearing as well, because it wasn´t stable enough with just the top main bearing.
Bearings, Roller wheels and mid axis
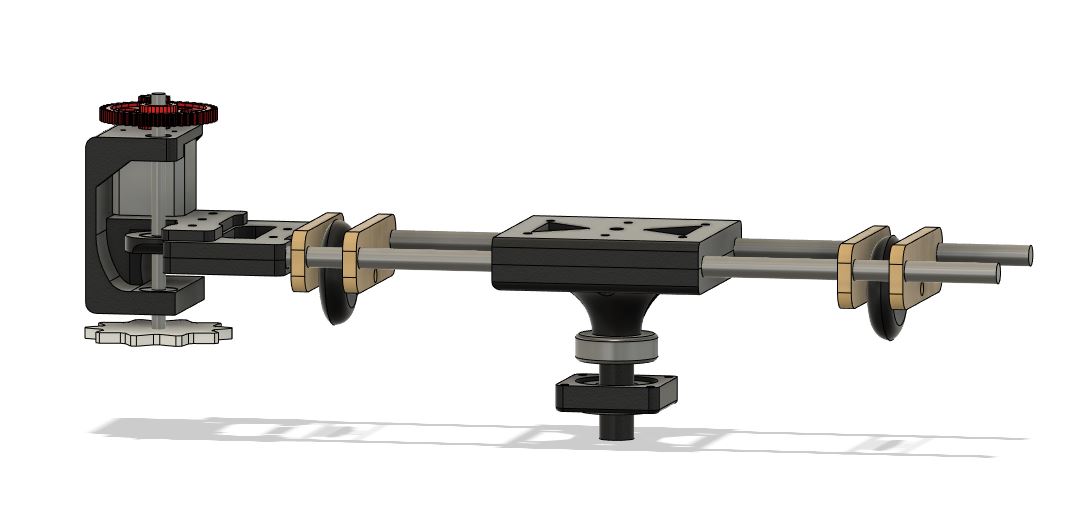
This is how The main mechanism looked like outside the machine.
Arduino Uno + CNC Shield
For the motherboard at first we tried to use the fabduino I made for my final project, but later our instructors told us that we where able to use arduino so we changed it on the last minute.
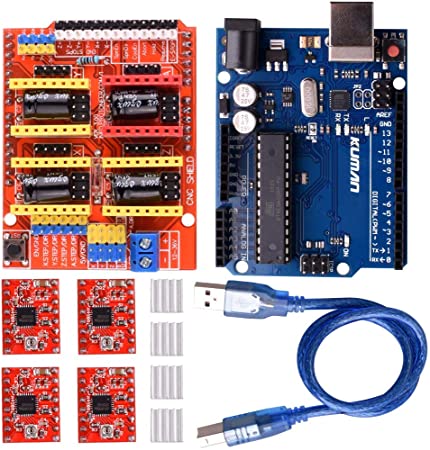
I choose Arduino UNO + CNC shield for its compatibility with GRBL firmware,
GRBL
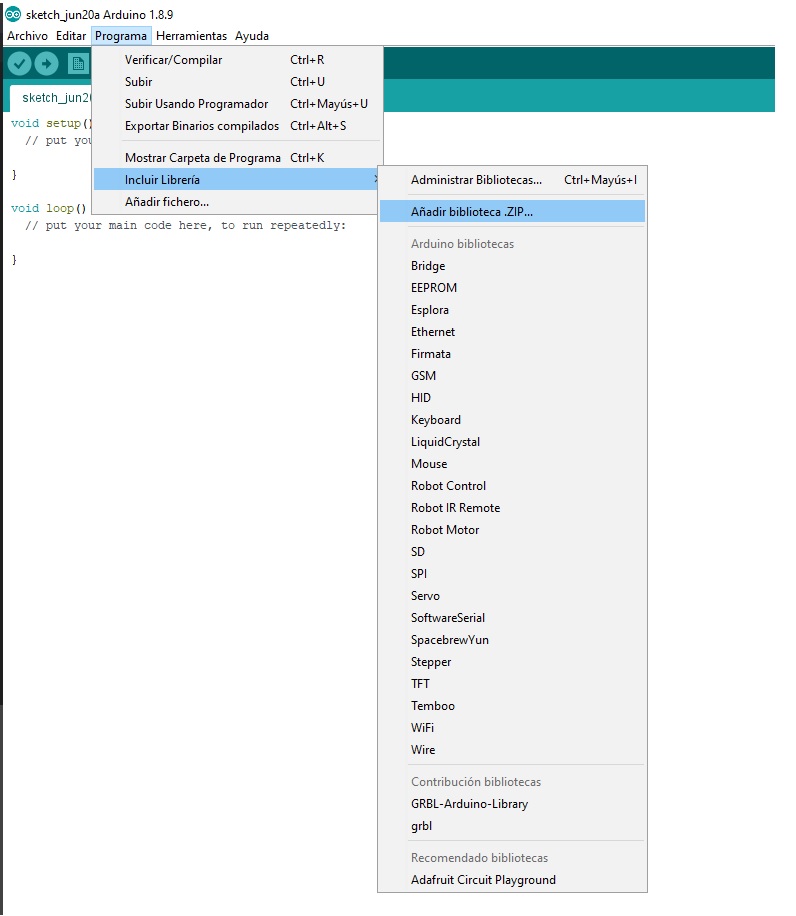
The first thing to do is to add the GRBL library that has to be downloaded from GitHUB
and to be added, you just have to follow the steps like shown in the picture.
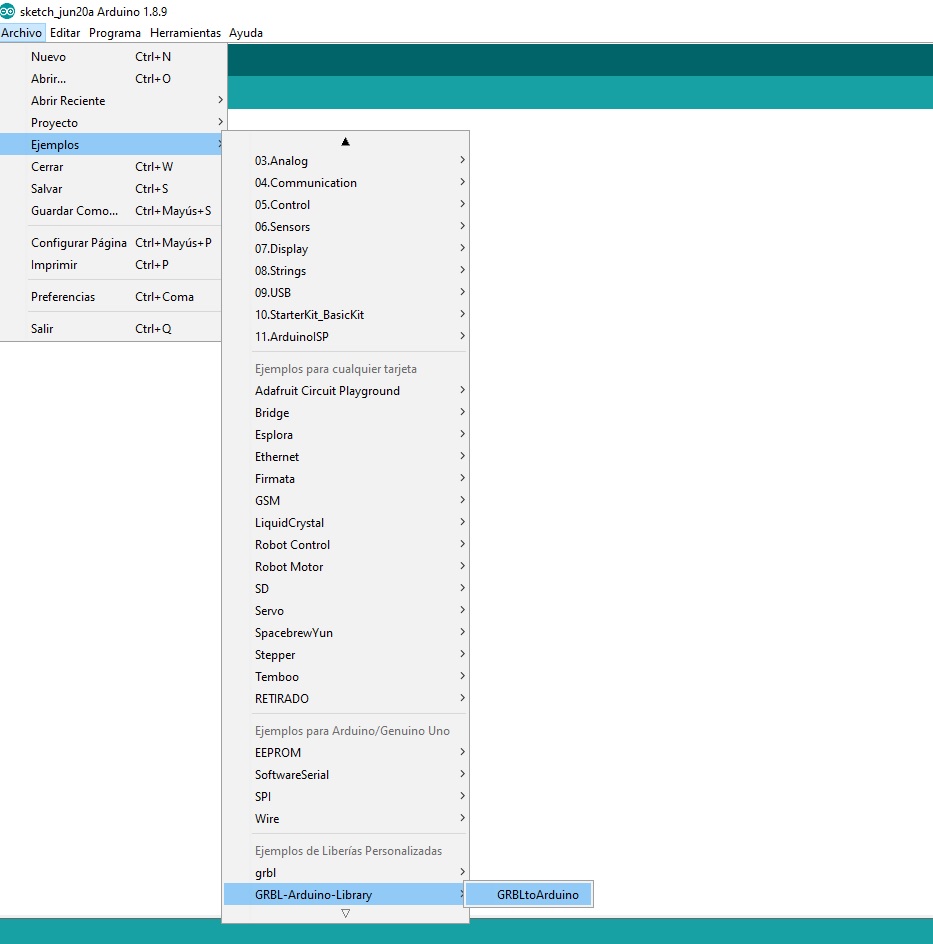
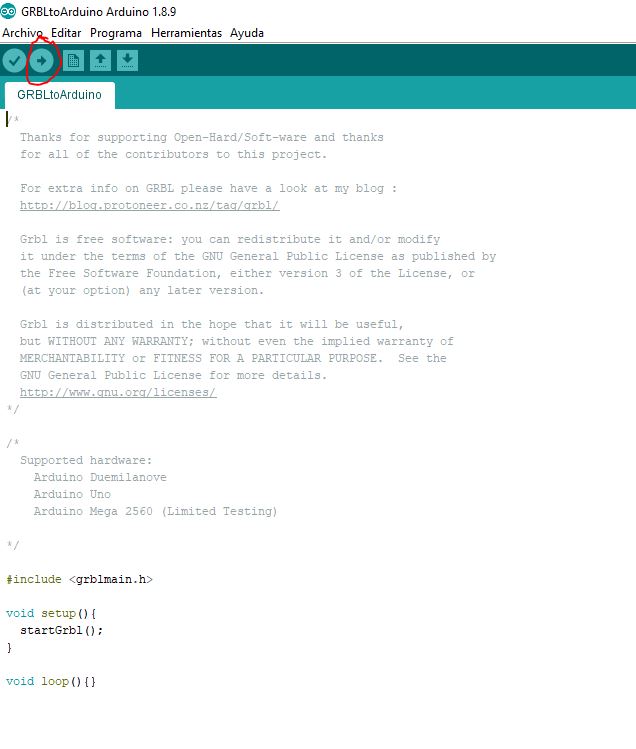
The next step is to open the examples
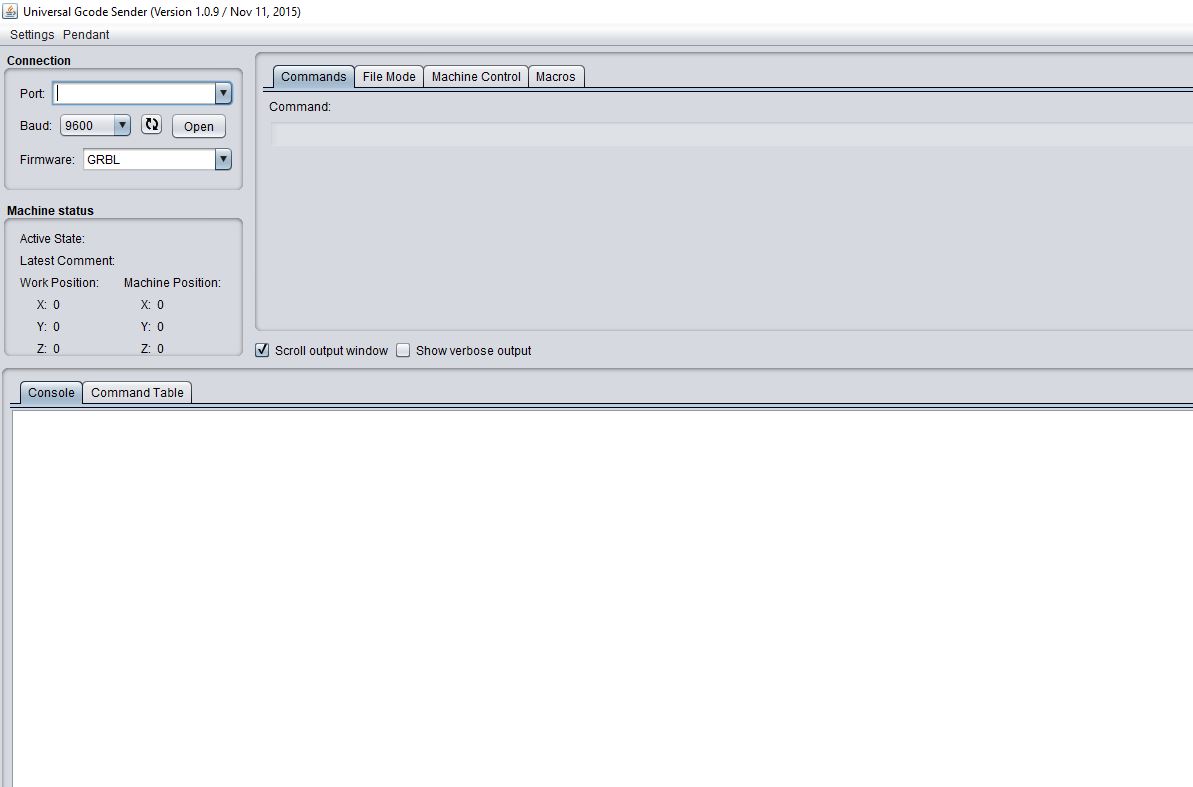
Universal Gcode Sender.