3. Computer Aided design
What should I learn this week?
Learning outcomes
- Evaluate and select 2D and 3D software
- Demonstrate and describe processes used in modelling with 2D and 3D software
Have you? - Modelled experimental objects/part of a possible project in 2D and 3D software - Shown how you did it with words/images/screenshots - Included your original design files
In this assingment I think I should focus on fusion 360 for all the steps of the design process.
2D image to a Vector manually using the Canvas tool in fusion 360
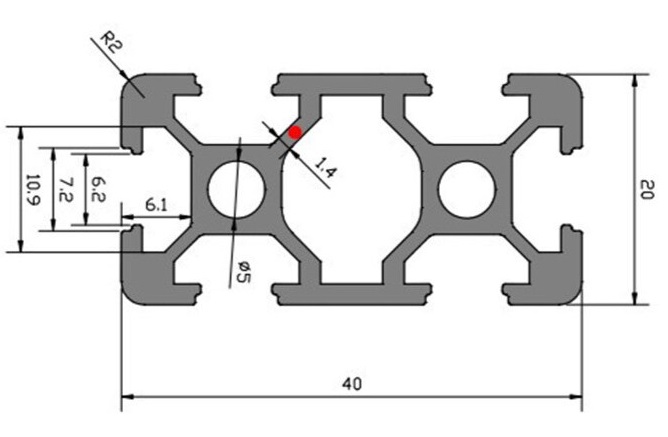
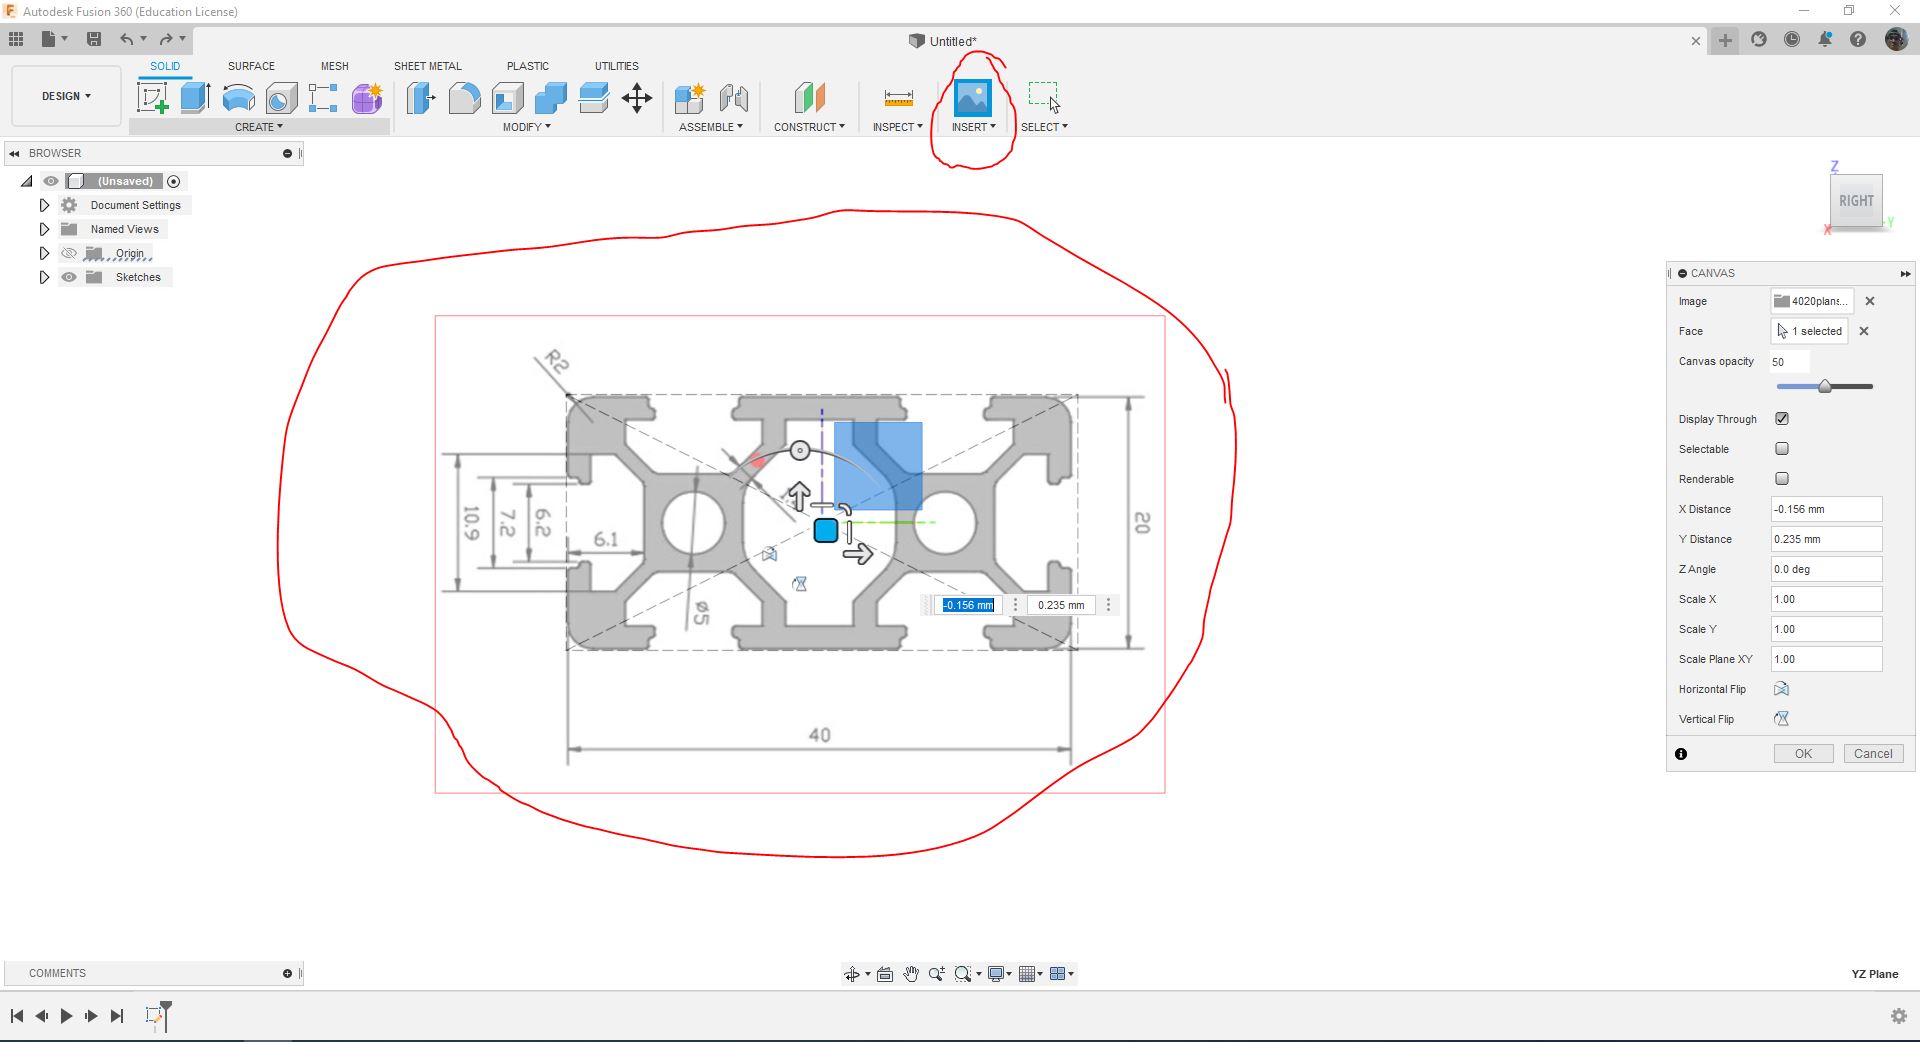
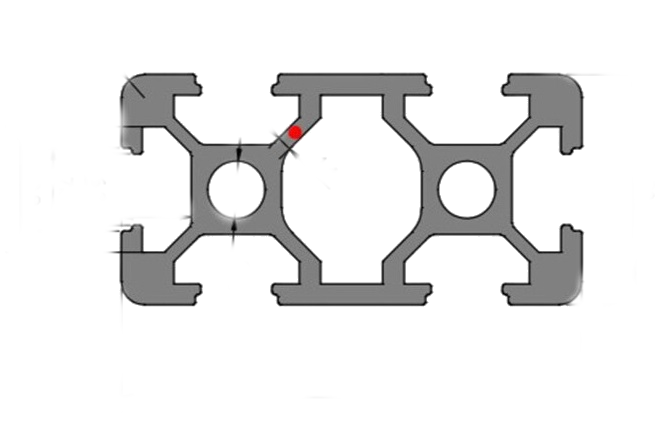
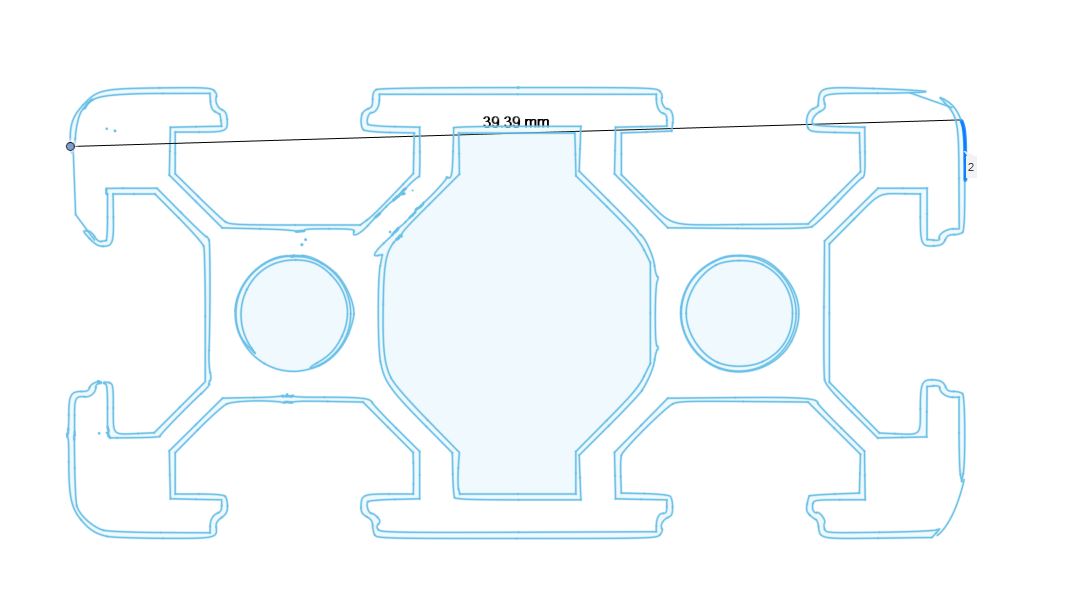
we can upload a watermarked 2D image to fusion 360, but first it´s better to create a sketch to have a size reference for the image. In this case I´m creating a 4020 aluminium profile using the plans from the image.
Te next step is simply to follow the plans in a fusion sketch. I create a new sketch in order to mantain history, but to start designing the plane as a vector I have to create a new sketch.
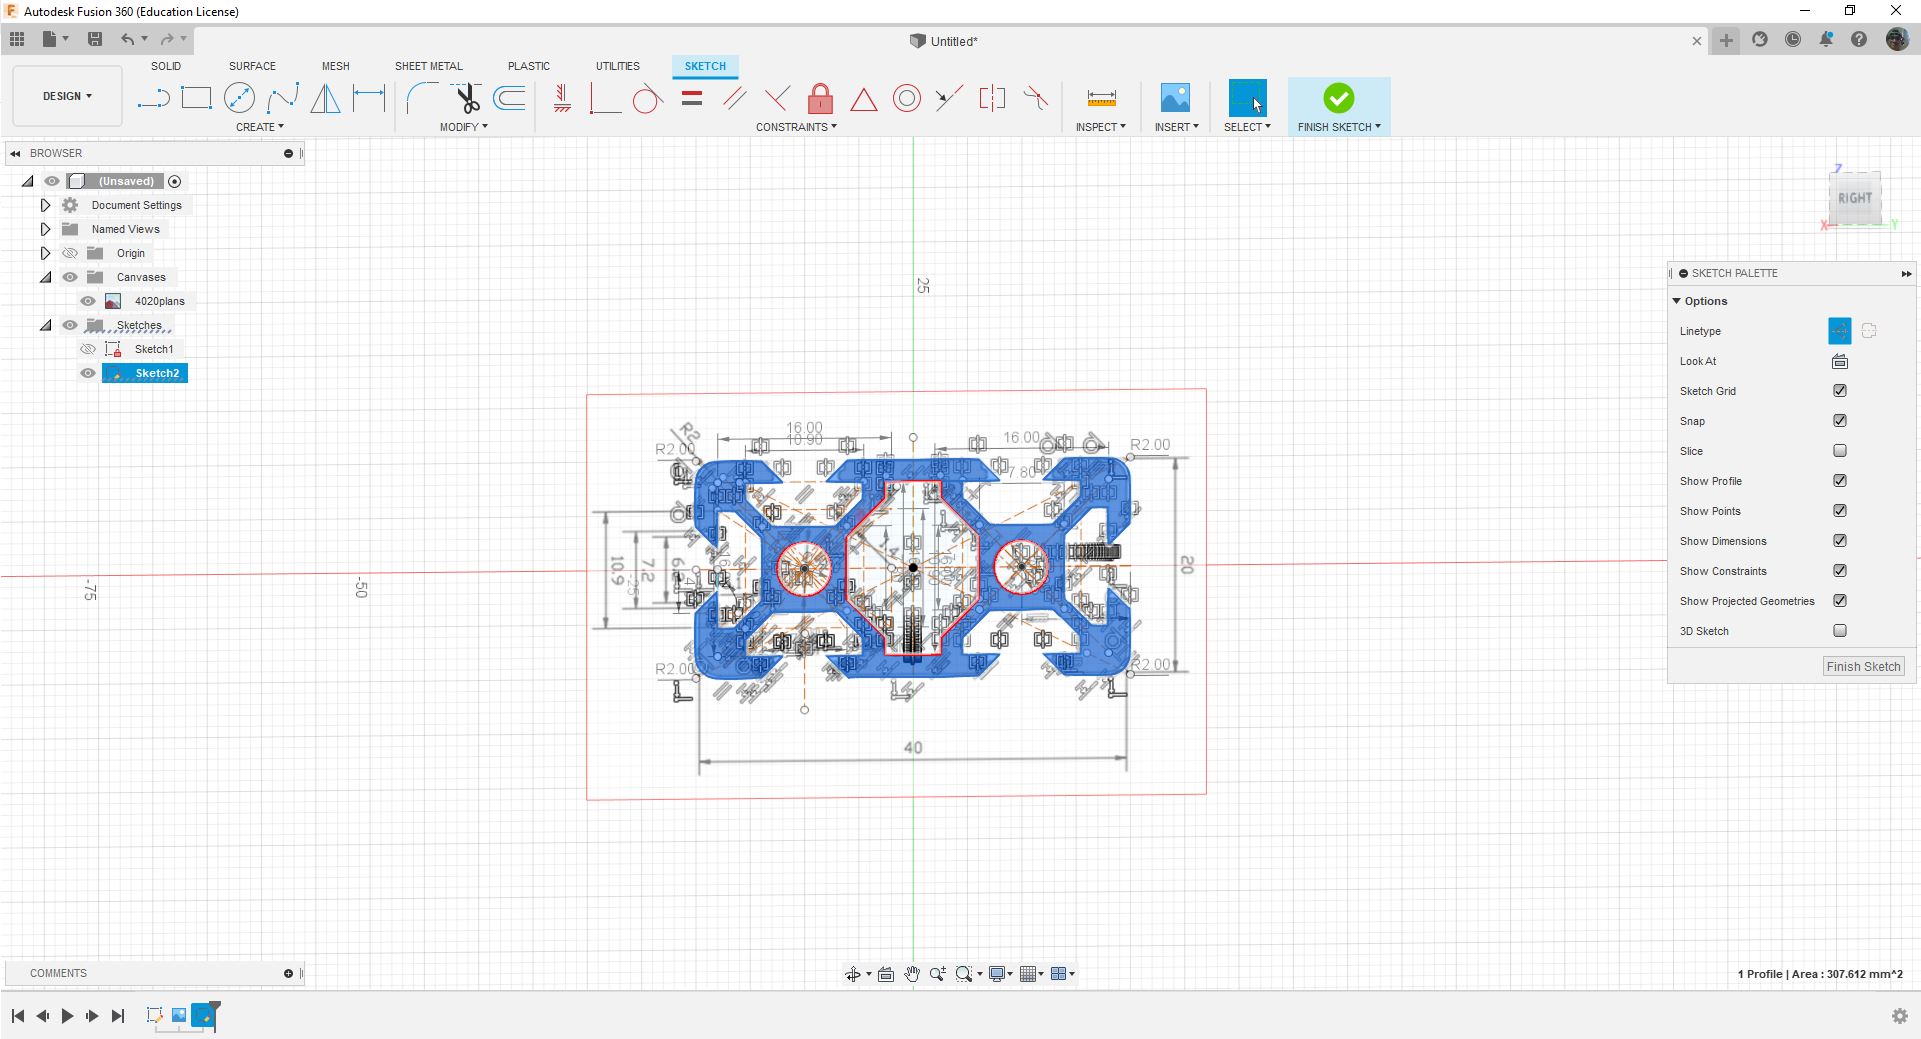
after following the plans, using the sketch tools, the model is ready to extrude.
2nd Way of doing the raster and vector using GIMP and inkscape
Download links
GIMP
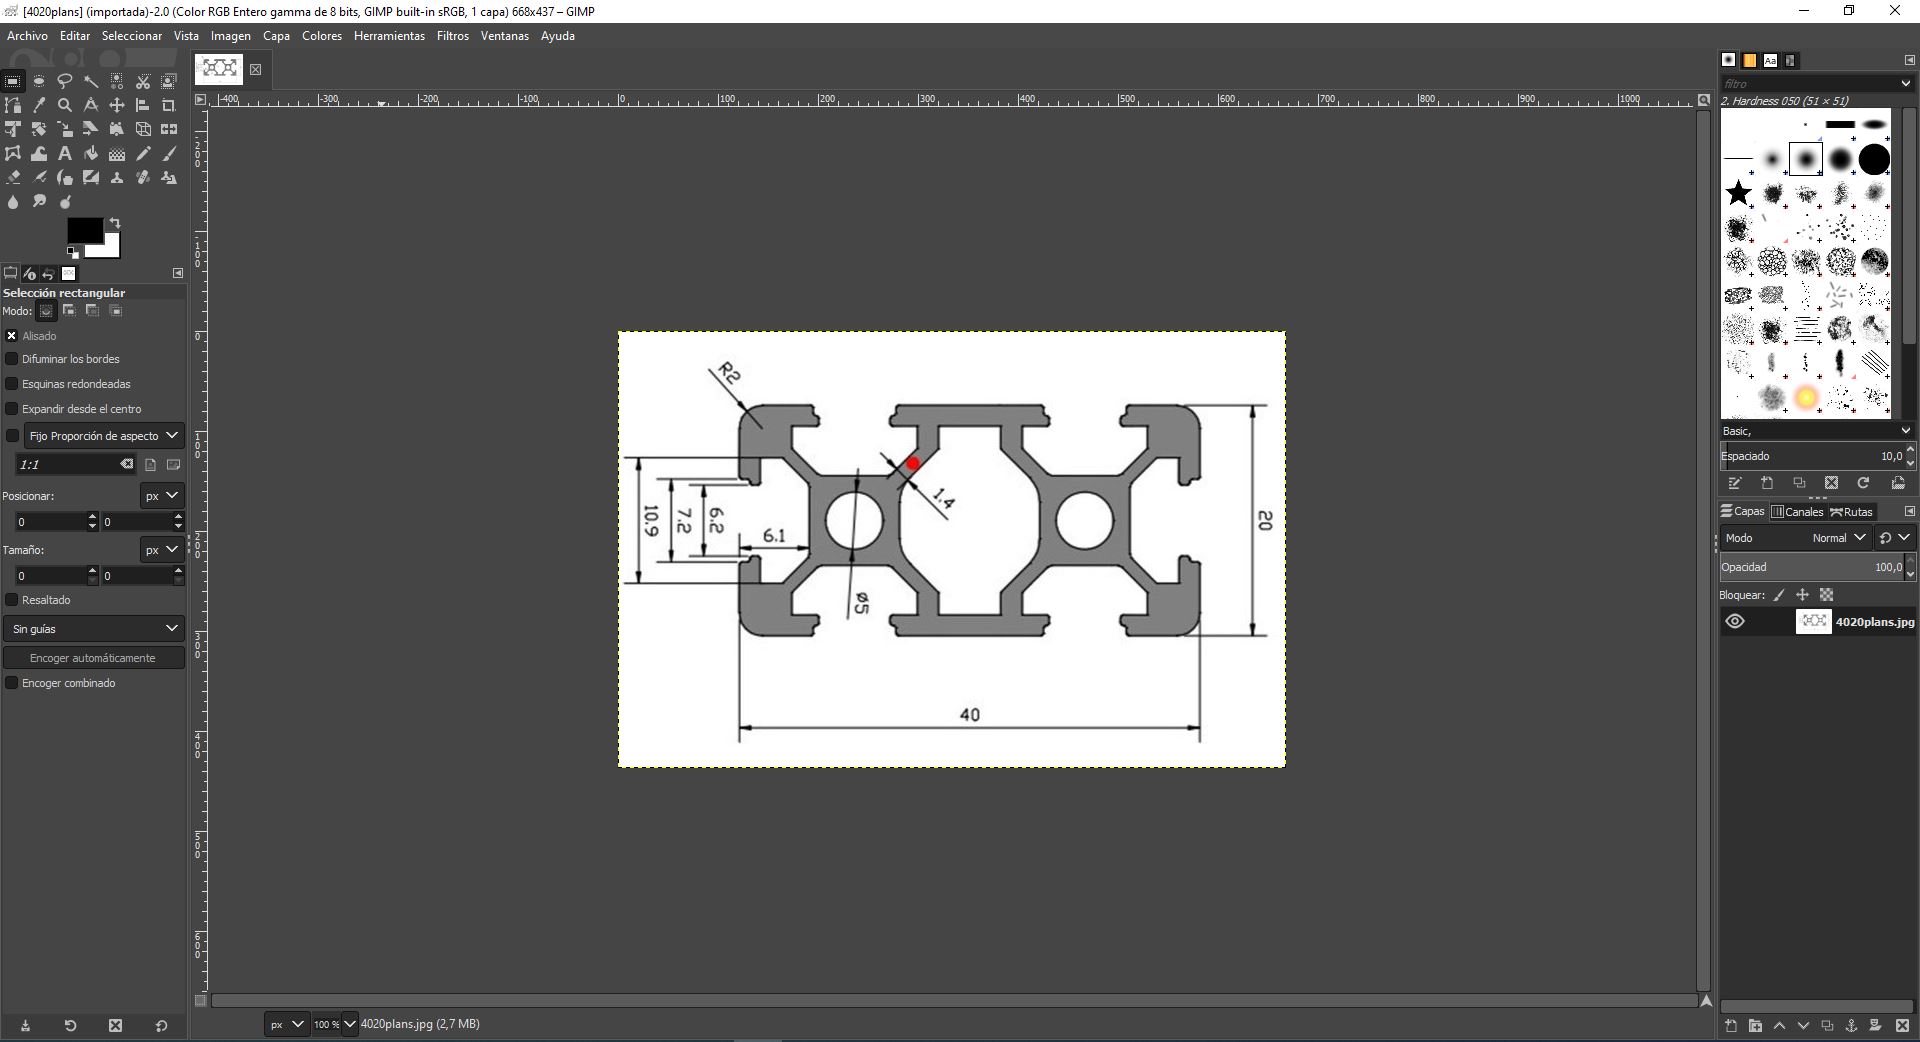
The acronym GIMP stands for GNU Image Manipulation Program, this software is a free image editor available for many operating systems as linux and windows.
The first step after opening the program is to open the image file, in this case is a JPG format, the same image as my fusion 360 example.
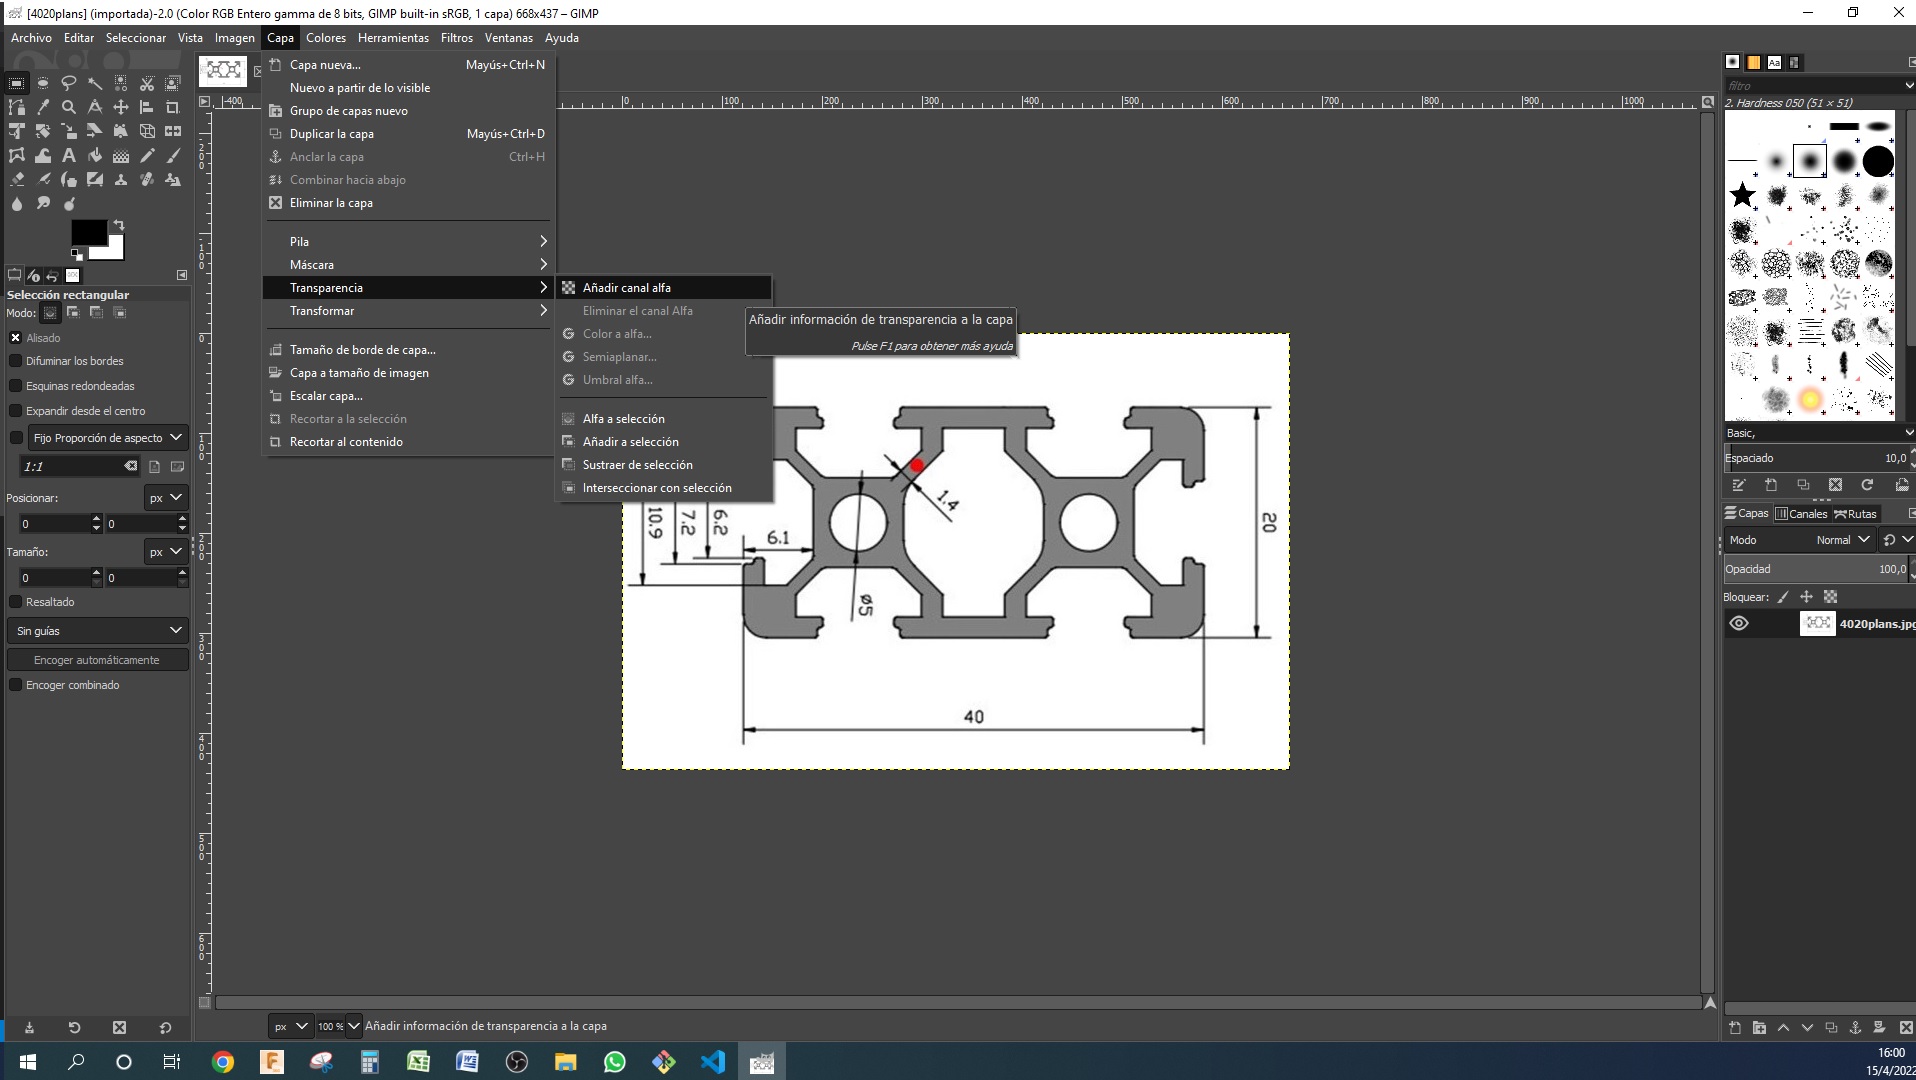
After that I had to select add alfa channel in the layer tab, under transparency. This will help me to remove the background and open the image in the vector software called inkscape.
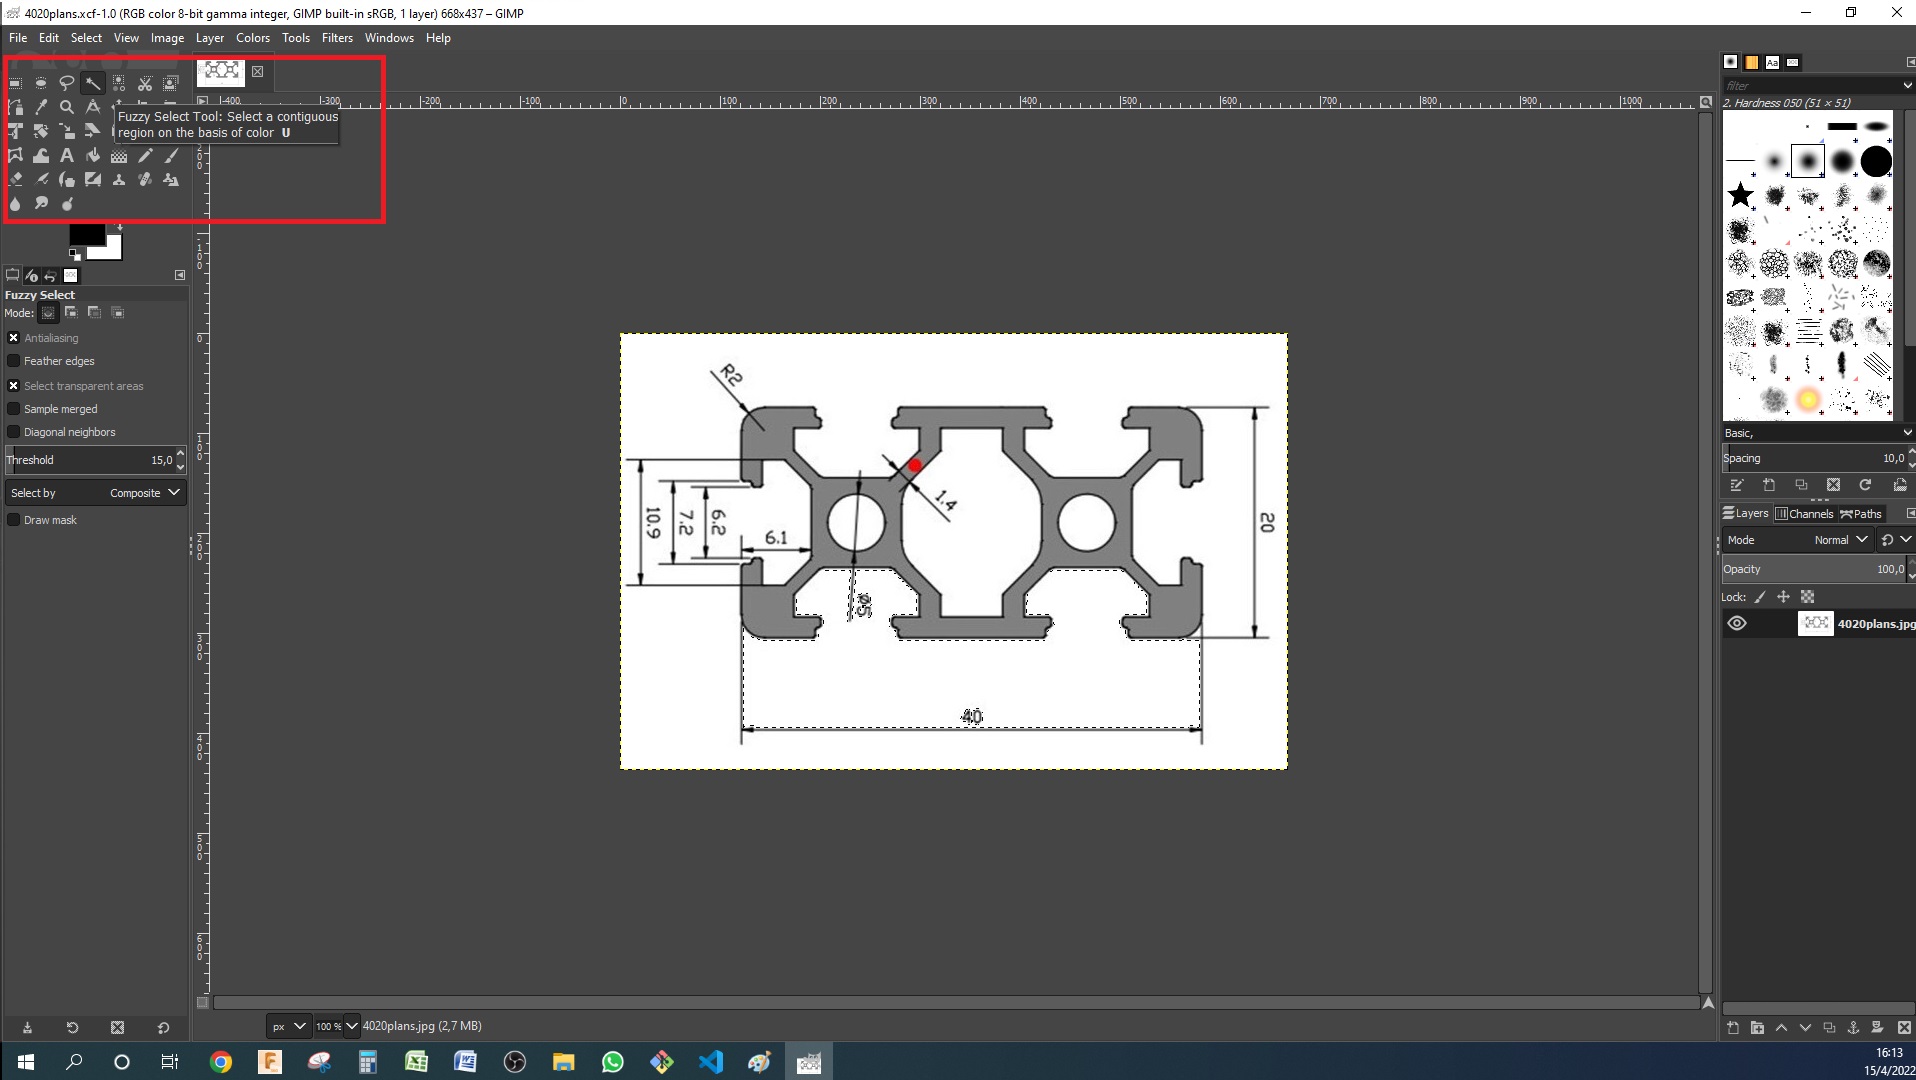
I used the Fuzzy select tool in the left top corner to delete all the background of the image, later I used the eraser tool to remove all measurement lines to leave only the main lines of the aluminium extrusion plans.
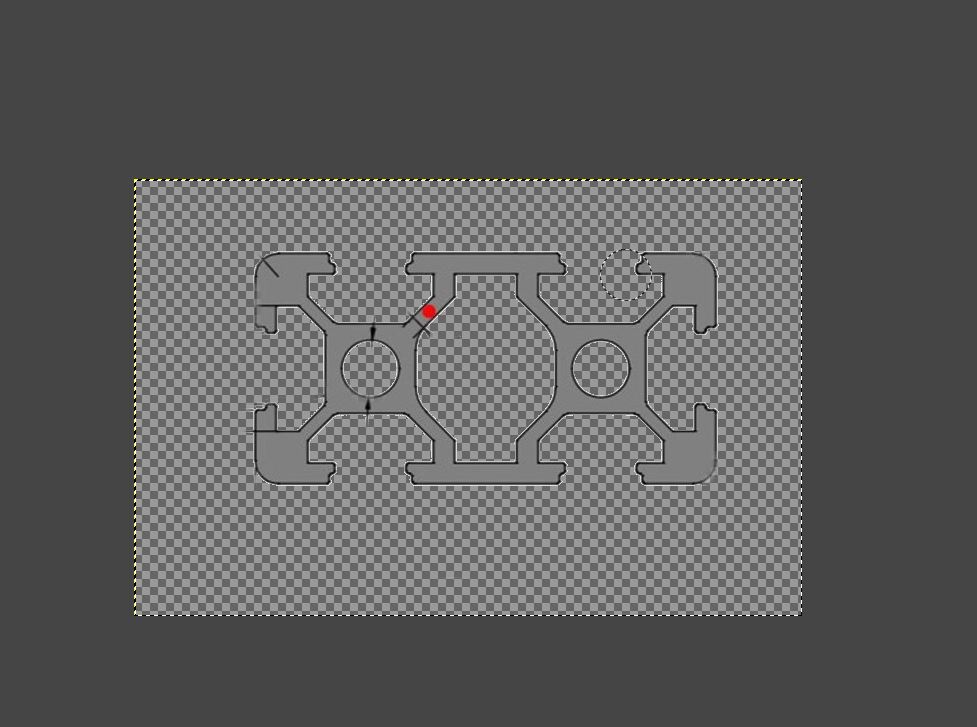
that process left the image as you see in the picture below
Now it is time to export the image as a PNG to open in the Inkscape software. To do that we have to select the FILE tab and than Export As just like the image below.
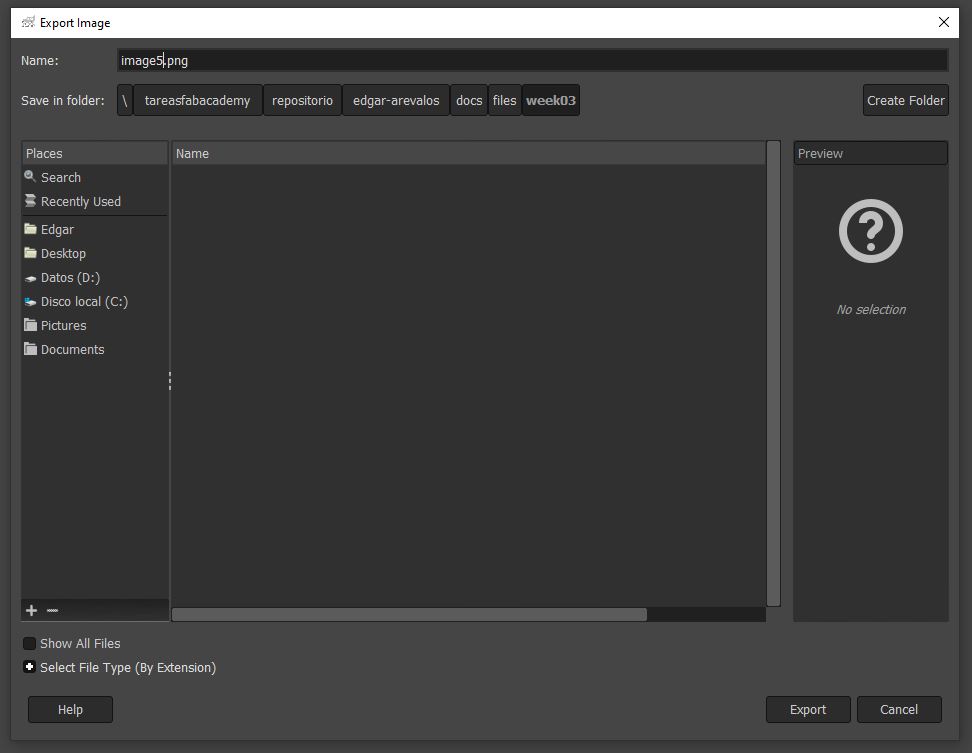
the obtained png image was the following.
If you want the raster files you can click here
Inkscape vectorization.
Inkscape is a powerful opensource design program, wich can support many diferent formats and allows you to add plugins to make custom solutions even to the CNC world.
The first step taken in inkscape was to open the PNG image I had just created in GIMP.

As you can see in the image the measuring unit is in Pixels, represented by “px” in the middle upper section of the screen. In my case, in order to export the files to fusion 360, I´m more comfortable using mm as a measuring unit, so I have changed that.
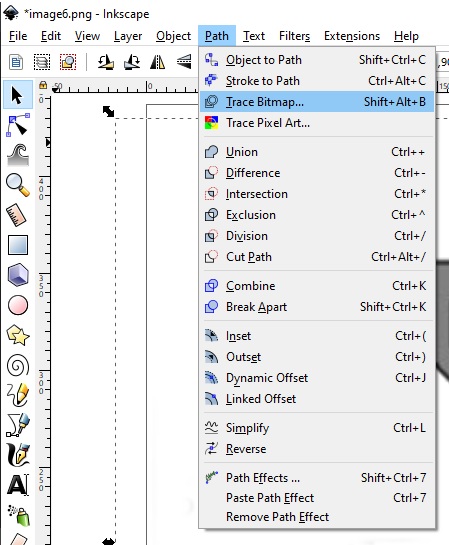
Now It is time to Vectorize the image, in this case I tried the automatic vectorization tool from inkscape to see the results. I selected the Path tab and then trace bitmap.
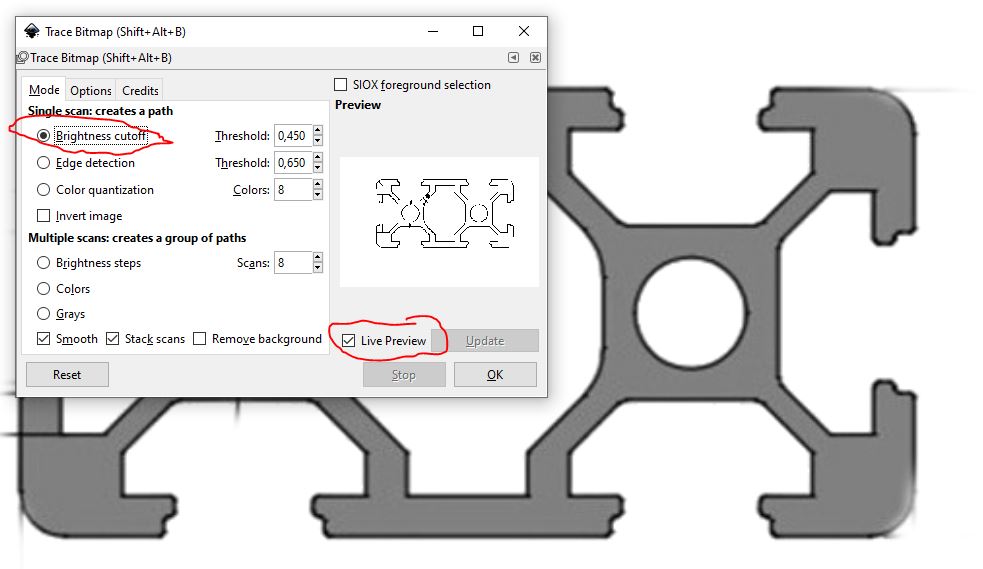
After that I have chosen live preview to see how the program modified the image in the diferent vectorization algorithms, and decided to try brightness cutoff.
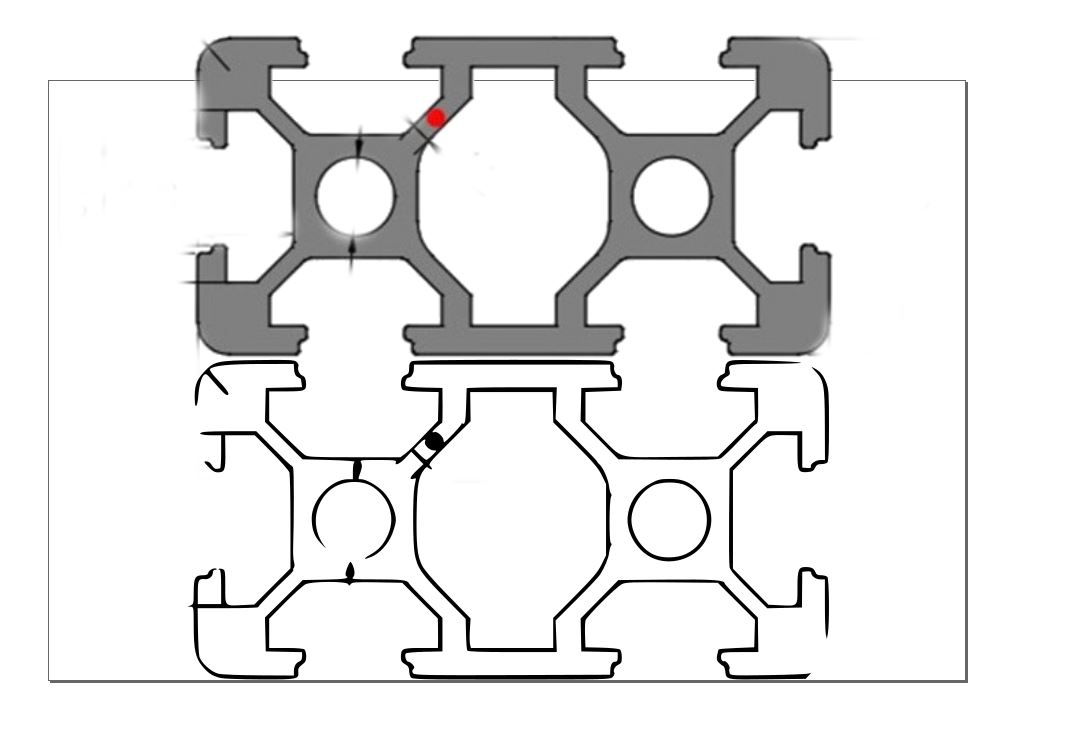
Later I had 2 images, the original one and the vectorized one, I removed the original one and change the measurements of the vectorized one to the real measures of the aluminium profiles.
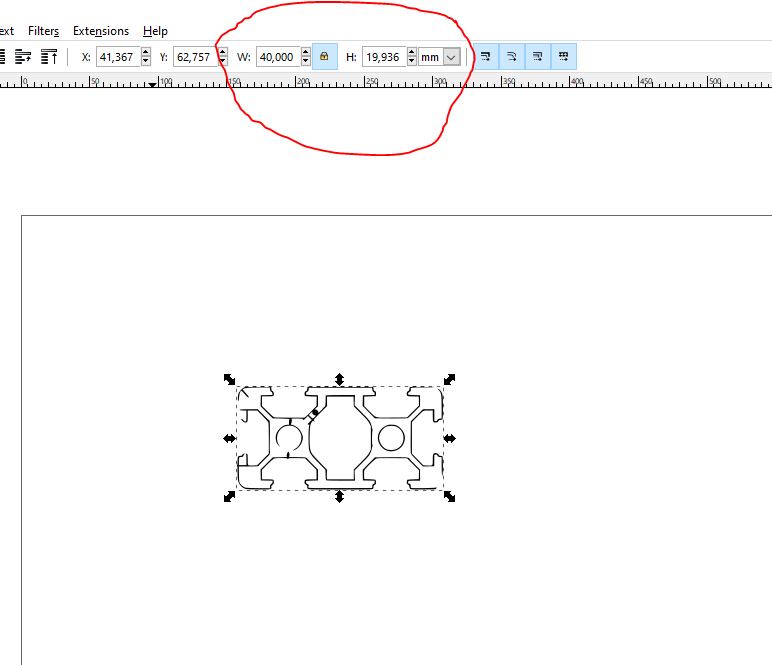
Seeing that the plans were quite spot on in the measures, using the lock on the top after choosing the proper wide distance of 40mm as the real aluminium profiles, the height automatically changed arount 20mm wich is the correct measure.
Still there were some holes in the image I had to correct, and some non desired lines. To remove the non desired lines I used the eraser tool
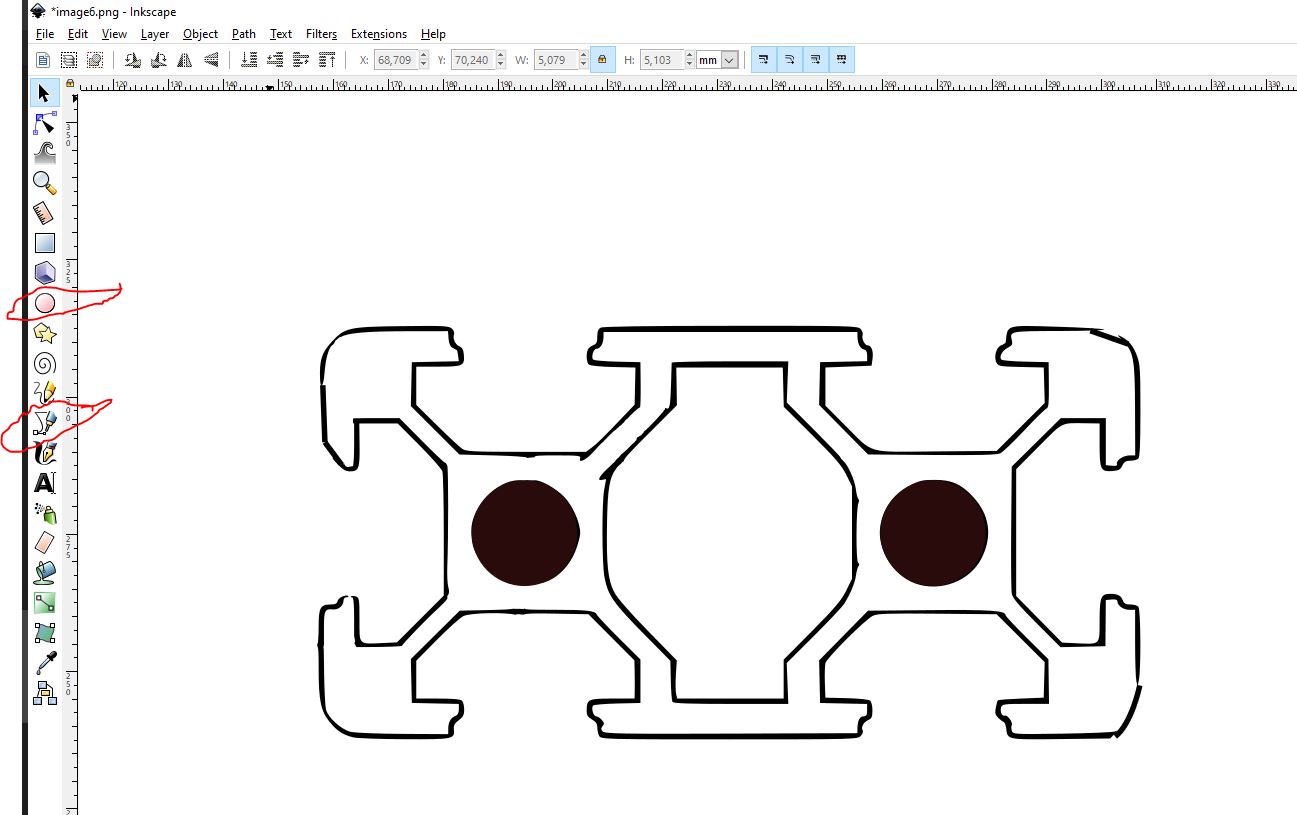
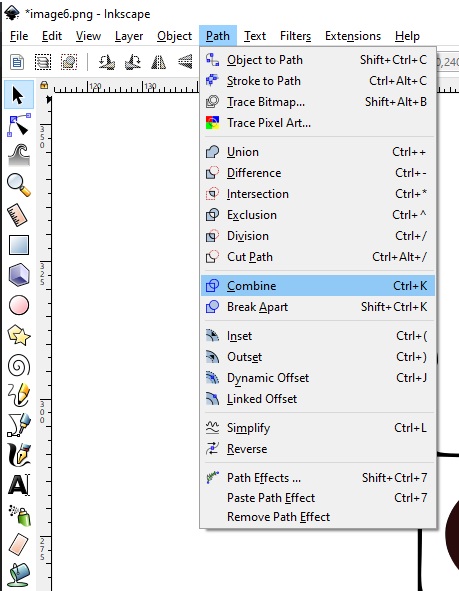
And to remove the erased portions I used the Bezier curves and straight lines tool, the vector in that point is made with several elements, but I need a combined element to convert to dxf format, so I selected the Path tab and then combine.
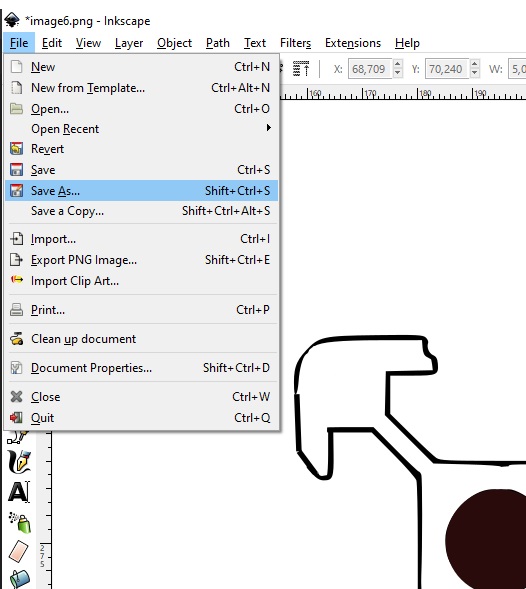
After that I selected the File tab and Save as, this allow you to save the file in a DXF format.
If you want to download the file you can do it by clicking the link below.
With this step completed you are able to upload the dxf file in fusion 360 and proceed with the next steps showed in this page.
3D desing using extrude of an sketch previously designed
The first step before extruding is to select the face of the sketch.
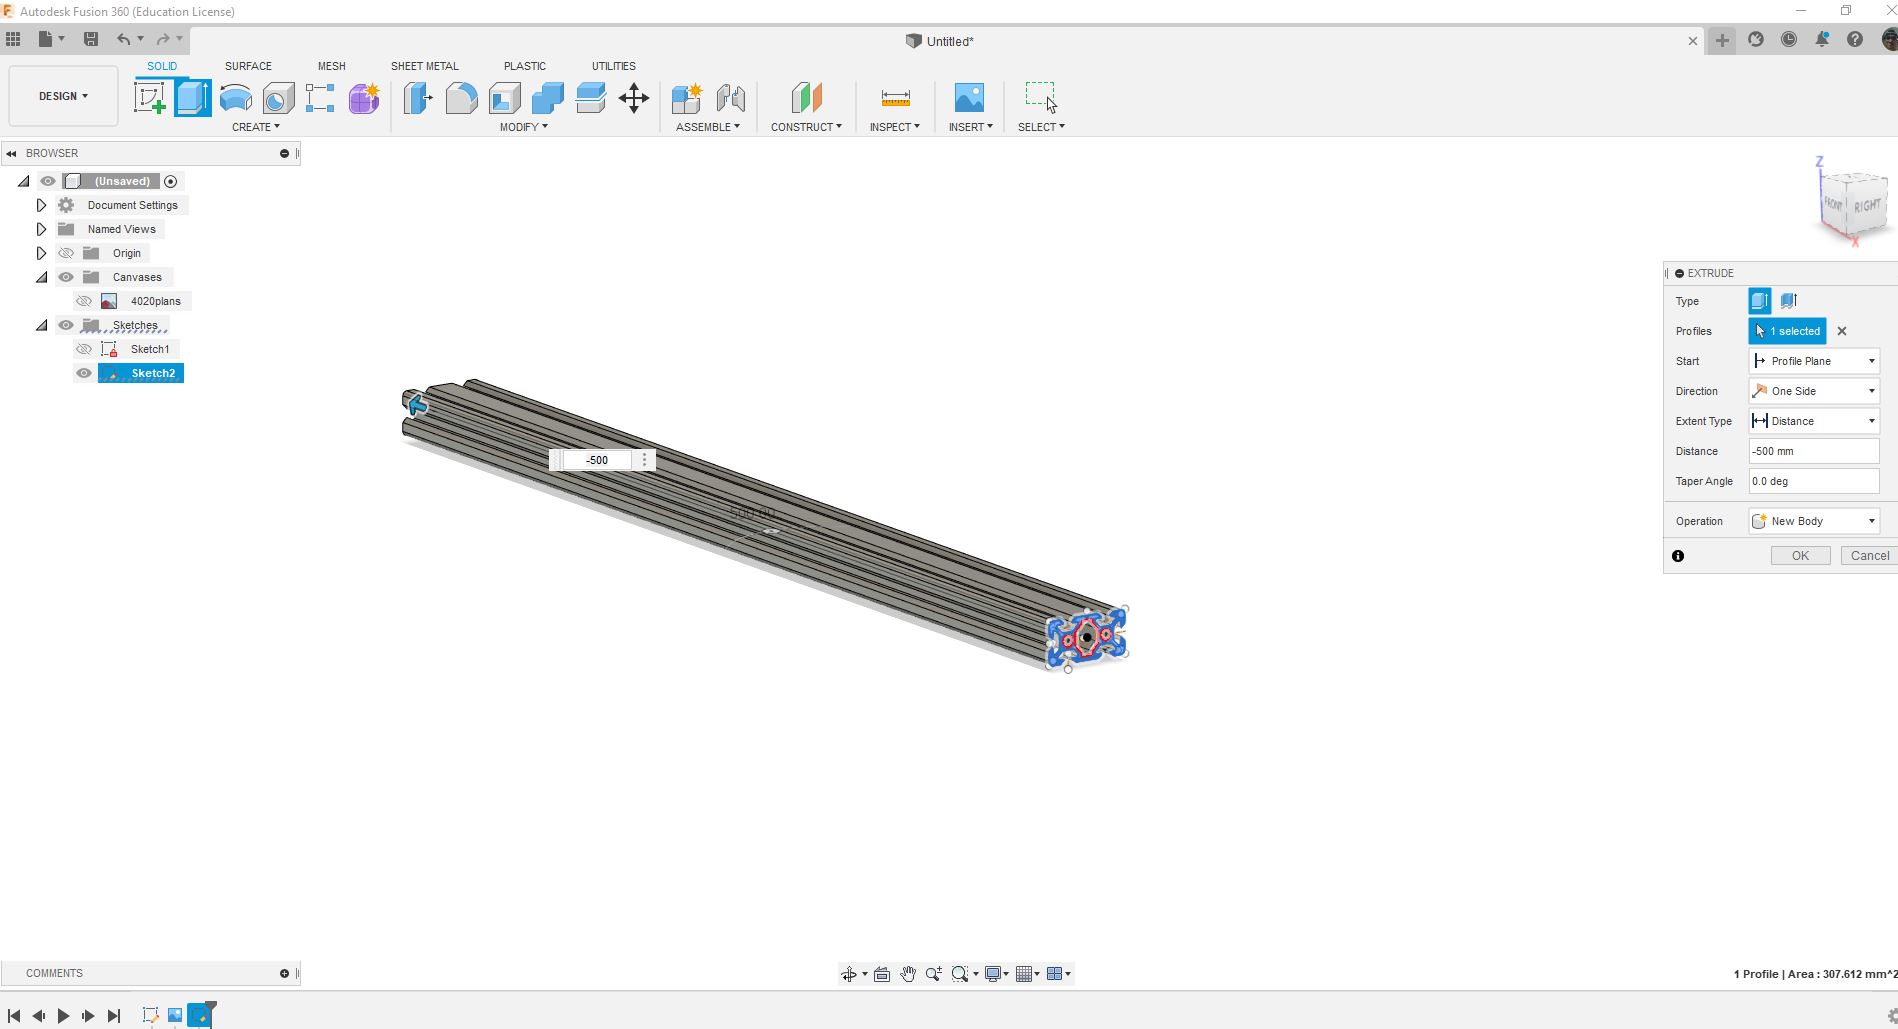
In this case I wanted the aluminium profile to be 500 mm, and I want to create a new component in order to mantain the history as small as posible, because the design history is independent for every component.
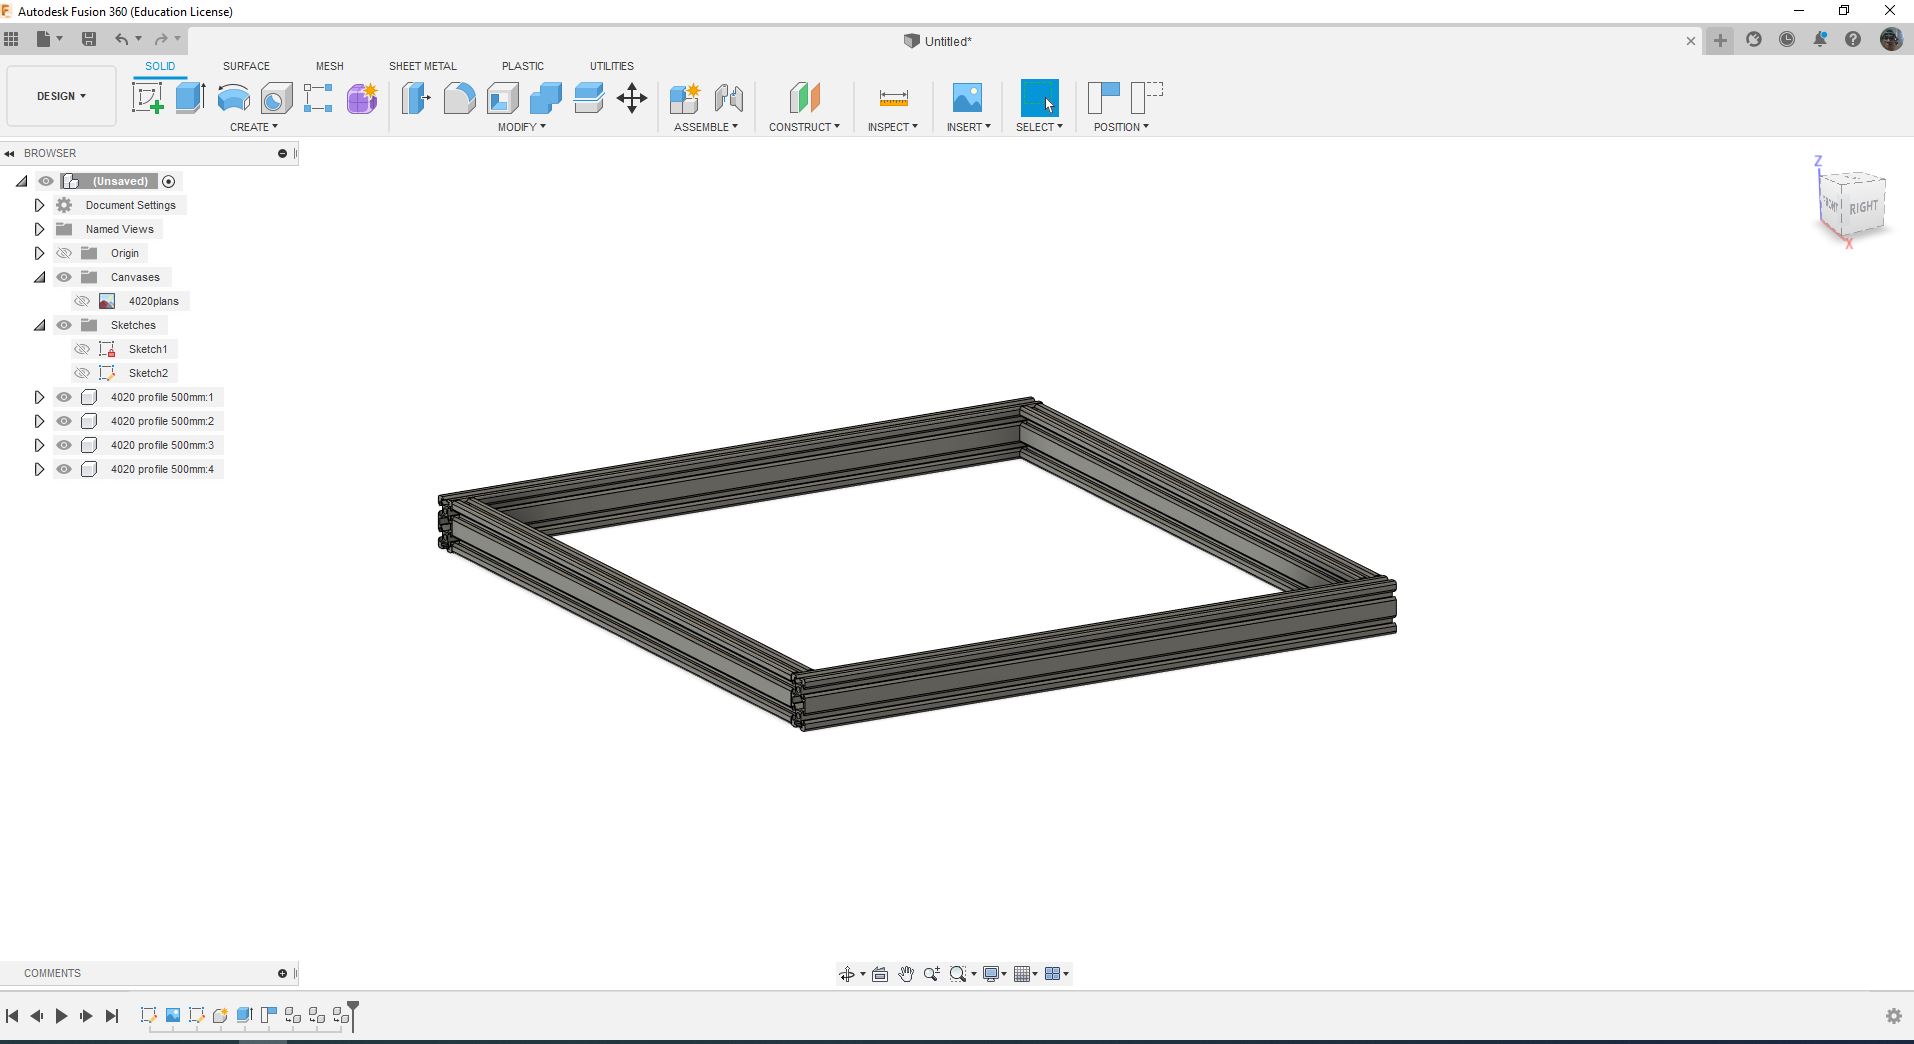
I used copy and paste tools to create 3 more profiles, and assembled the basic frame, every component copied is connected so if I modify any of them all are modified.
You can download the fusion 360 file in the link below.
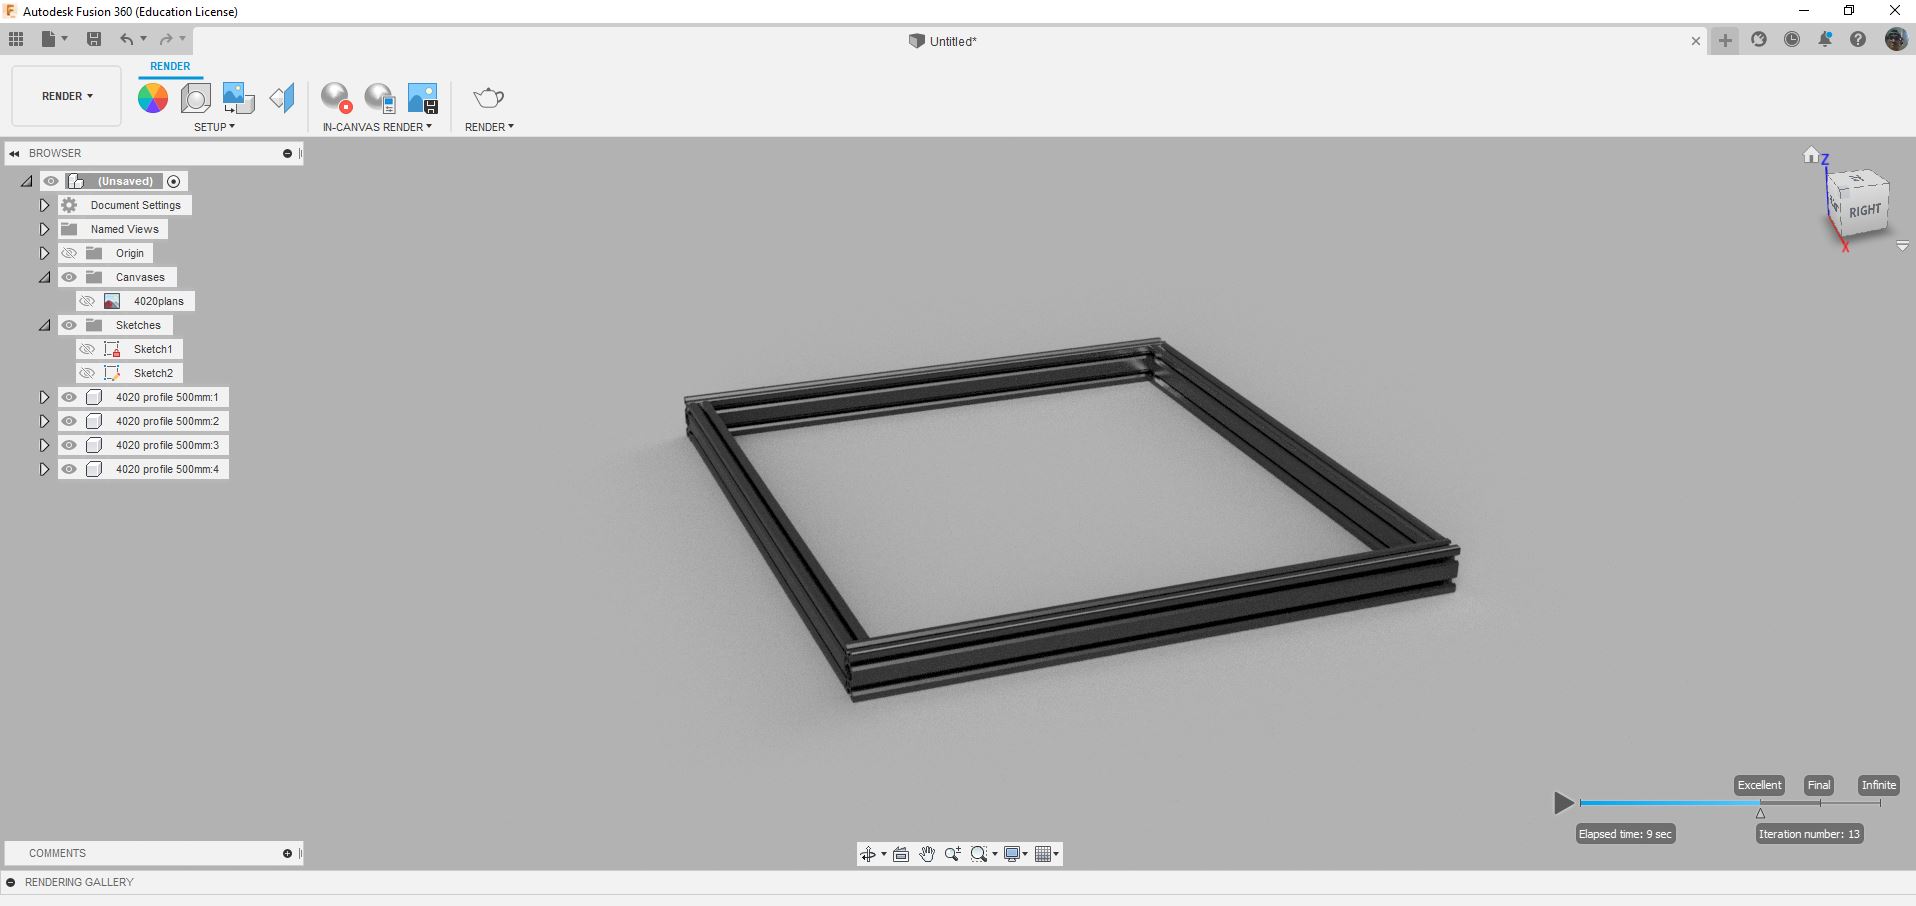
Render
Fusion 360 also Has a rendering tool, you can personalize light, scene and make a png photo with no background.
Animation
Fusion 360 has an animation environment, you can move the objects you want to animate following the timeline, one by one.