9. Embedded programming
Group assignment
- Compare the performance and development workflows for different microcontroller families
- Document your work (in a group or individually)
Individual assignment
- Read the datasheet for the microcontroller you are programming
- Program the board you have made to do something, with as many different
- programming languages and programming environments as possible.
Learning outcomes
- Identift relevant information in a microcontroler datasheet
- Implement programming protocols.
Raspberry pi vs Arduino
From my experience, the main difference in the practical world is the application it will be used into, for example if I have to save costs and need to make a simple led blink a cheap microcontroller will be sufficient.
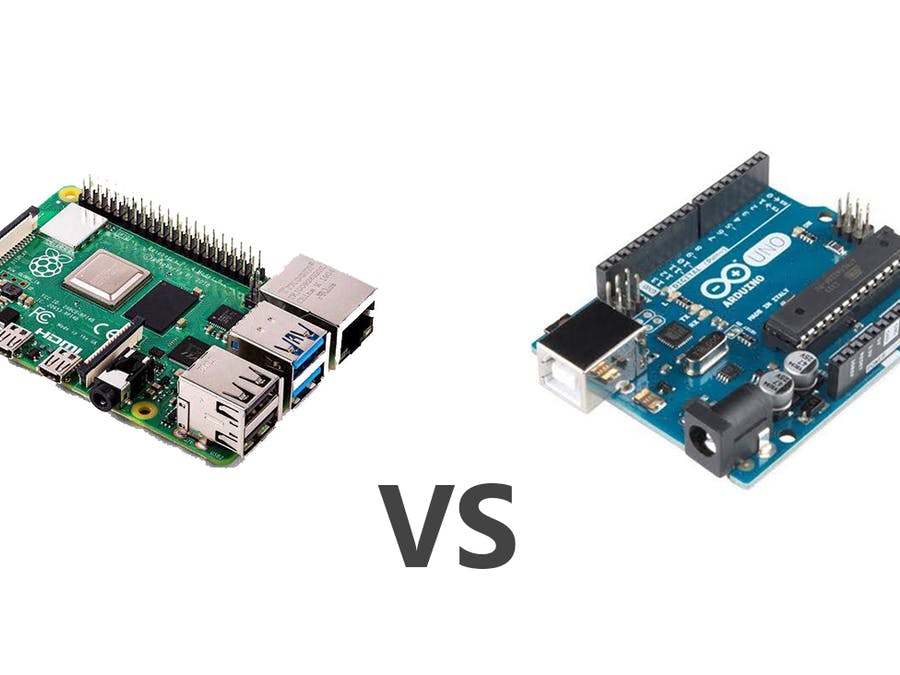
Raspberry pi
- The raspberry pi has a powerful processor and RAM, wich can allow you to run an entire operating system on it, allowing you to modify your programs directly trough SSH without the need of reprogramming the whole thing. But also this cost way more money than a simple arduino NANO. I mostly use it to control 3D printers but the aplications go beyond imagination.
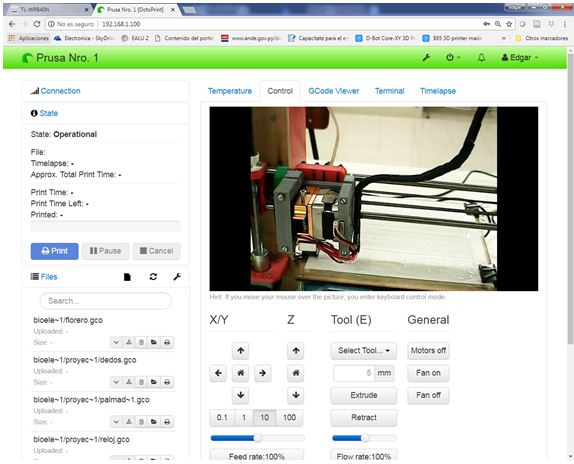
I use a software called octoprint wich runs in raspbian wich is a Raspberry pi distribution from debian.
Arduino Nano
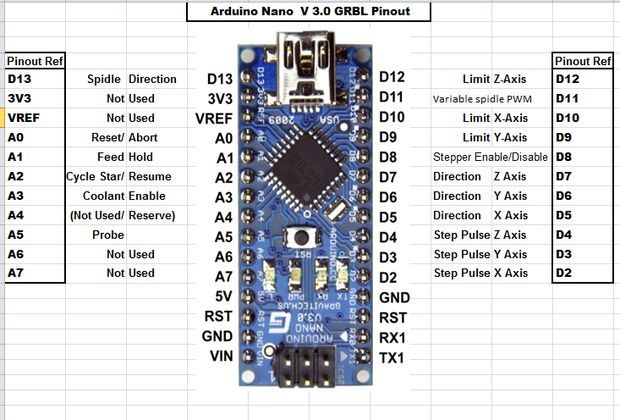
- The arduino nano is ideal if you don´t want to spend a lot of money in a Raspberry pi, and you don´t need much computer power or don´t need to run entire programs. You can even control a full 3 axis CNC with the arduino Nano
You can learn from anything
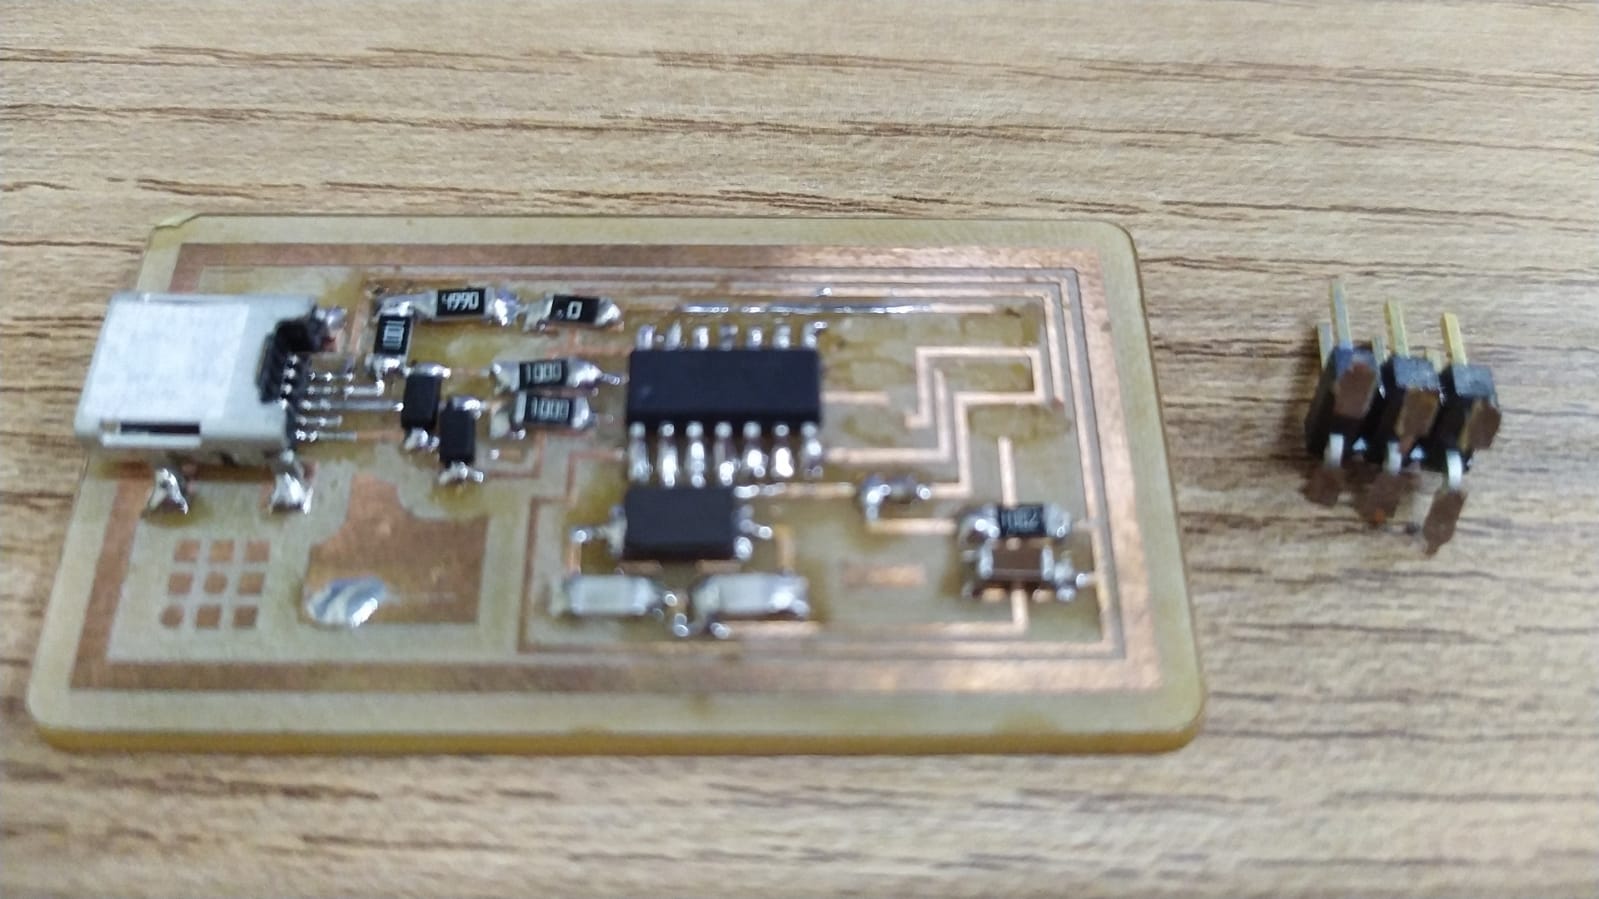
In this week i will be using the board I made in the electronic design week, and I was planning on using my programer also but....
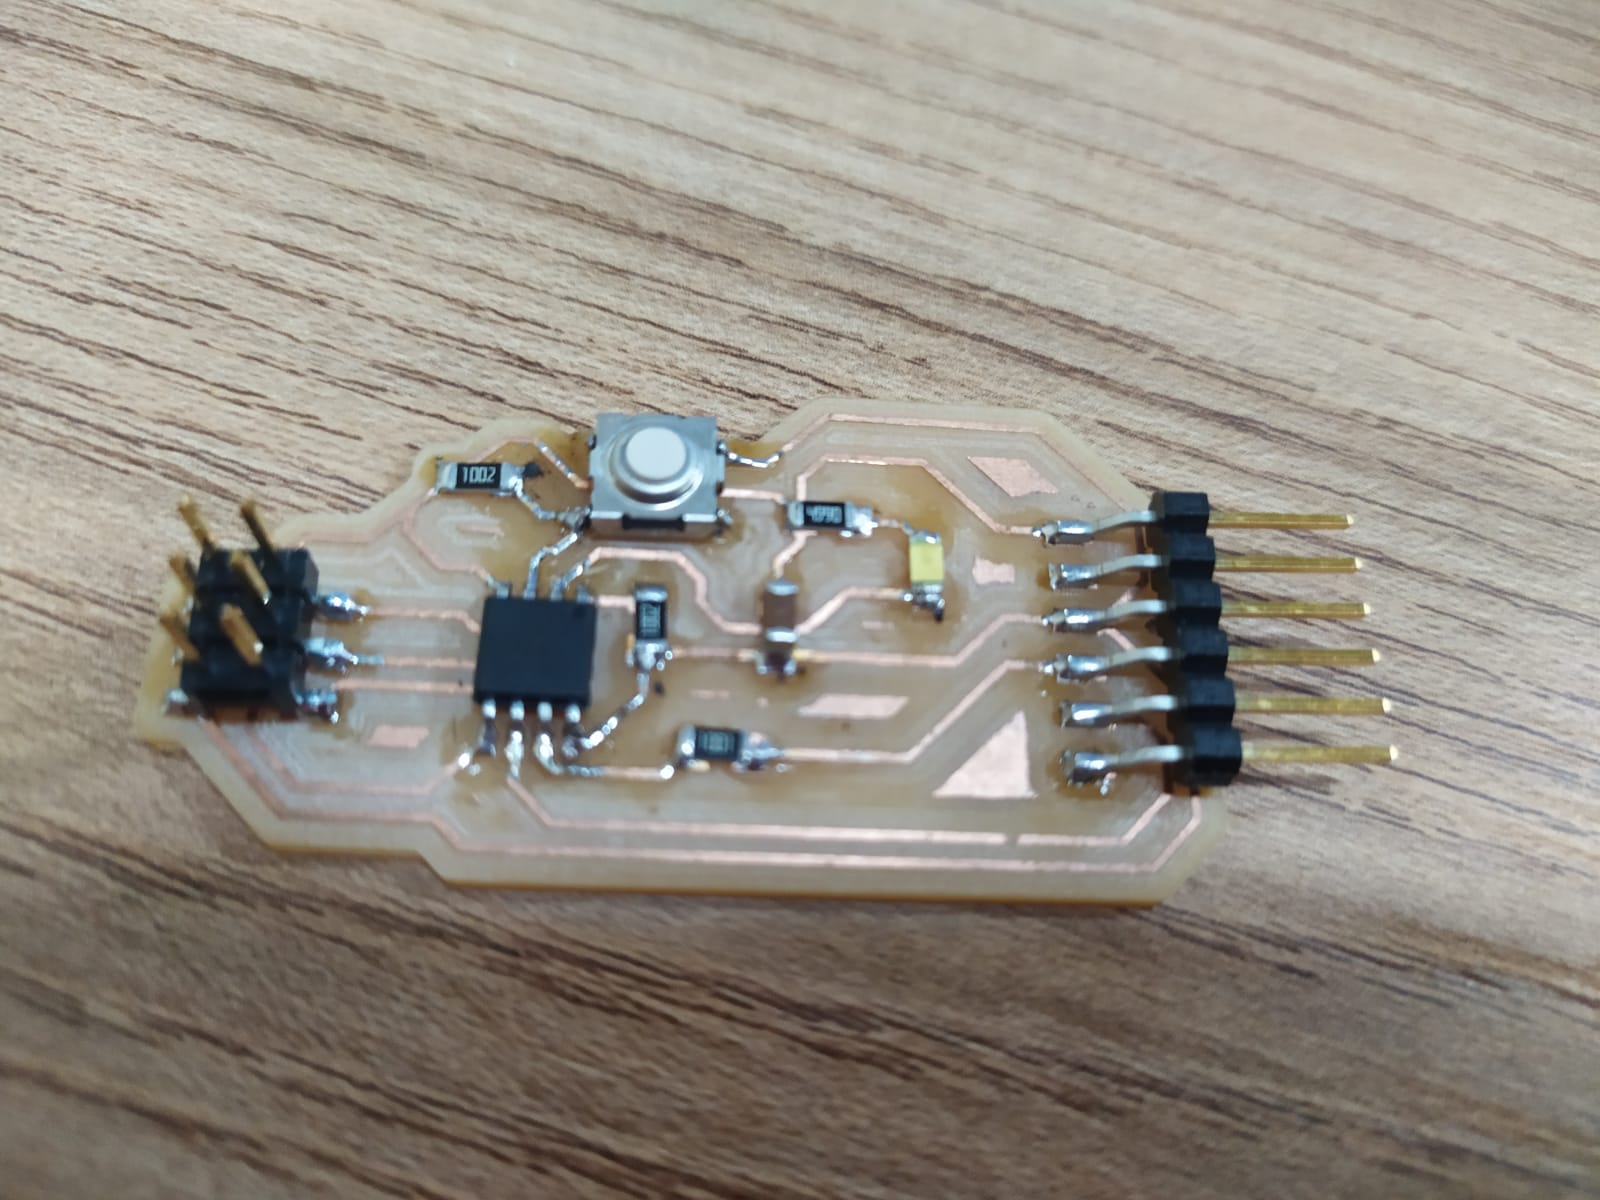
The programmer I made accidentaly broke in my backpack, so with that I´ve learned that all boards must be protected in boxes
Datasheet reading
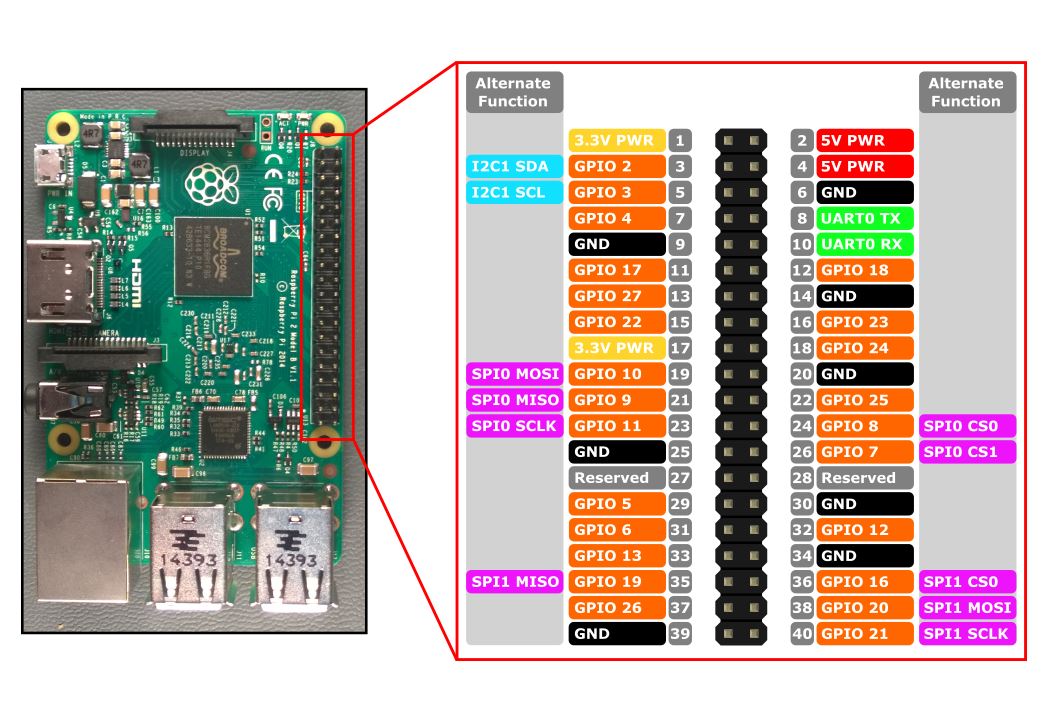
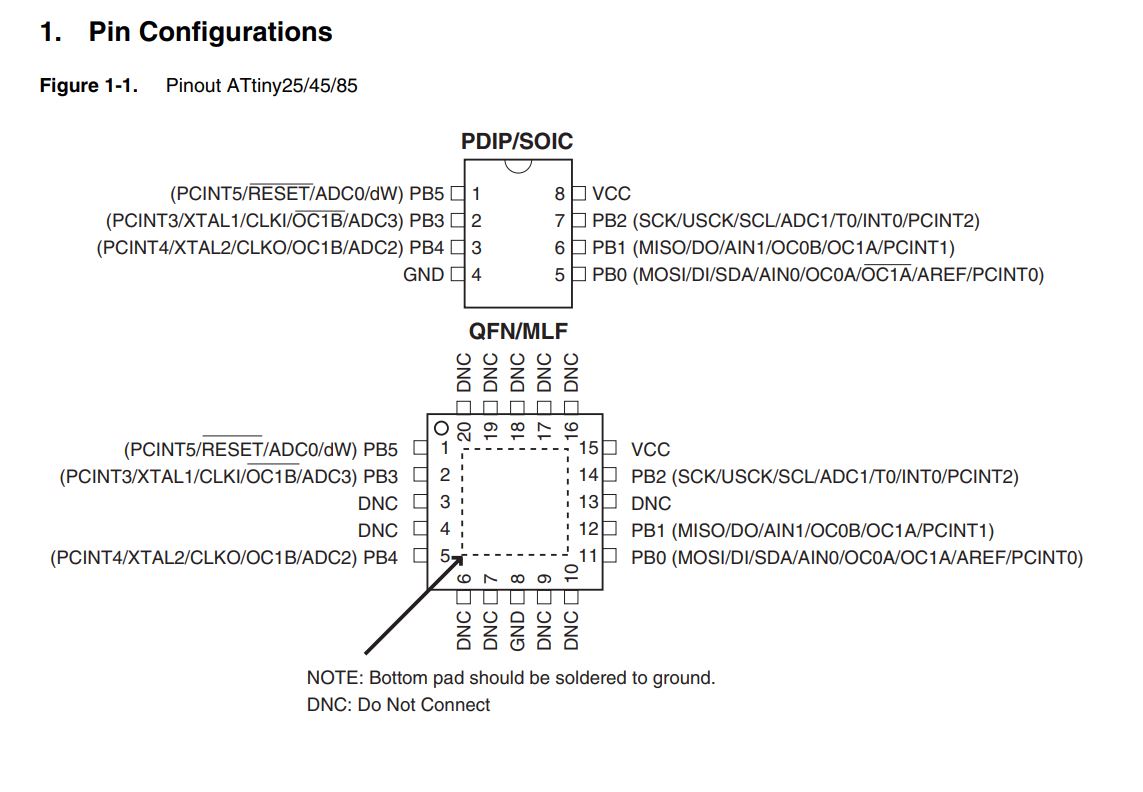
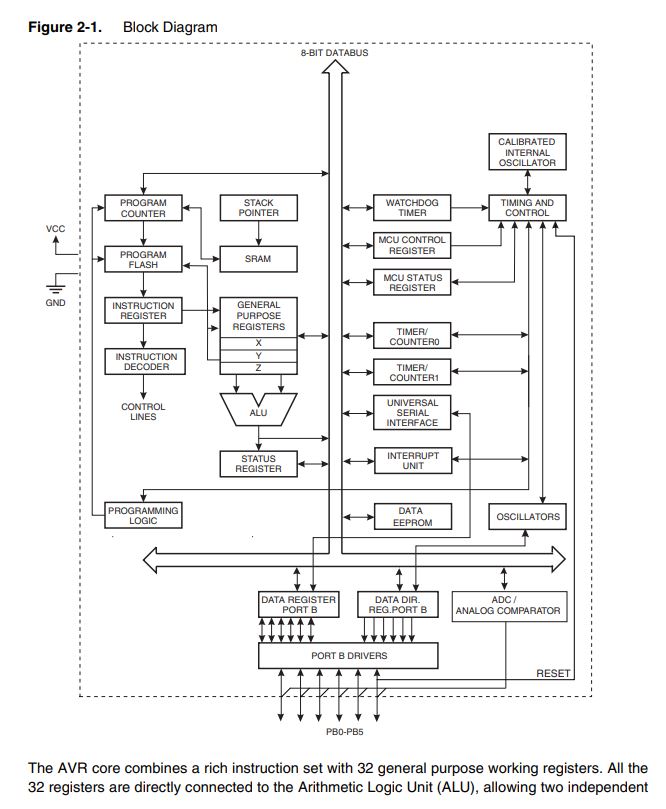
The microcontroller of my board is the Attiny45
The datasheet can be found in the following link Attiny45 datasheet.
The first important information I could find in the datasheet is the pinout and the pin configurations of the microcontroller.
after that I found the block diagram, if you study the way it works it is really interesting. It has an 8 bit data bus and 32 general purpose working registers.
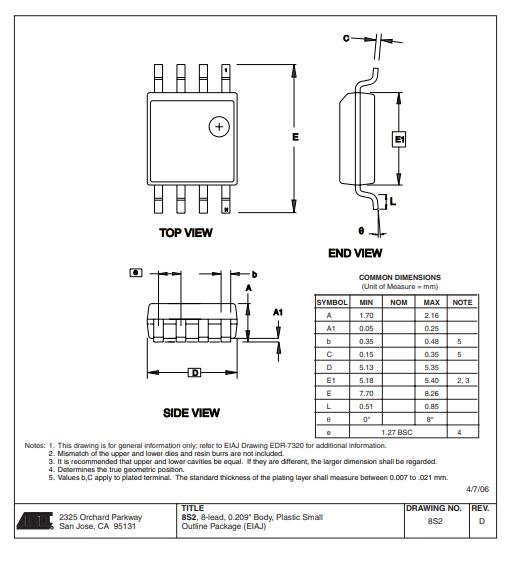
The next useful information in the time of creating a new design using the microcontroller is the packaging information wich contains all the measurements of the Integrated Circuit, in this case we use an SMD IC so that´s the packaging I´m interested in looking.
Arduino Basic programming:
To start programming in arduino you need to learn the two parts of a simple program:
-
The setup part: lets you set the inizialization of the pins as a variable and define variables and constants.
-
The loop part: is a set of sequencial instructions that repeats over time, lets you run an embedded program indefinitely repeating itself.
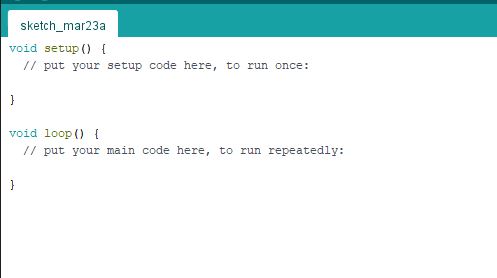
The function void means the code inside the parethesis doesn t return any value to another function.
Useful arduino codes
| code | explanation |
|---|---|
| int | initialize a variable of an int type |
| digitalWrite() | lets you select the state of a pin (high/low) |
| digitalRead() | lets you read the state of a pin (high/low) |
| #Define | lets you set a value in a constant before the program is compiled |
| int | initialize a variable of an int type |
Programming the board.
First thing to do is to download and install arduino.
Second thing to do is to install the attiny library boards
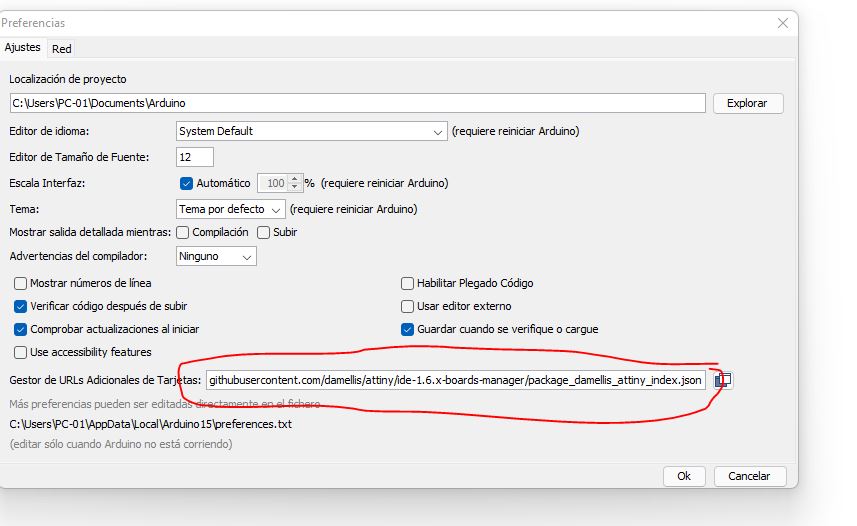
https://raw.githubusercontent.com/damellis/attiny/ide-1.6.x-boards-manager/package_damellis_attiny_index.json
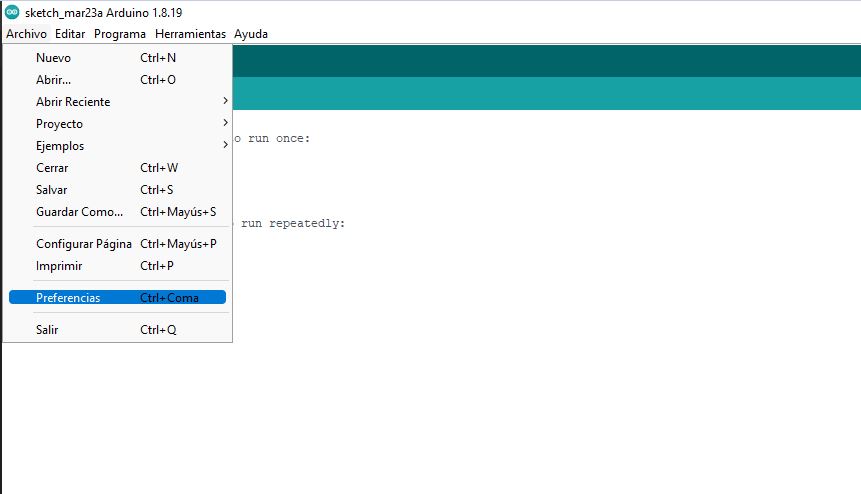
You should paste the above link in the preferences of arduino.
After that you should install the board library to be able to use the Attiny programmer and the microcontroller in arduino IDE.
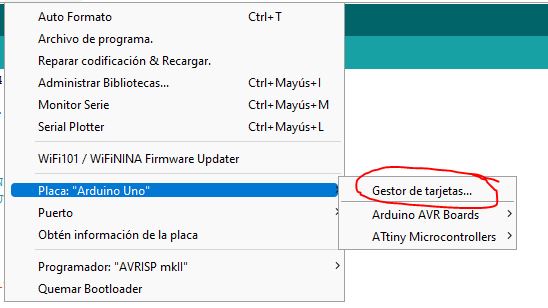
we should select manage libraries and install attiny from David A Mellis.
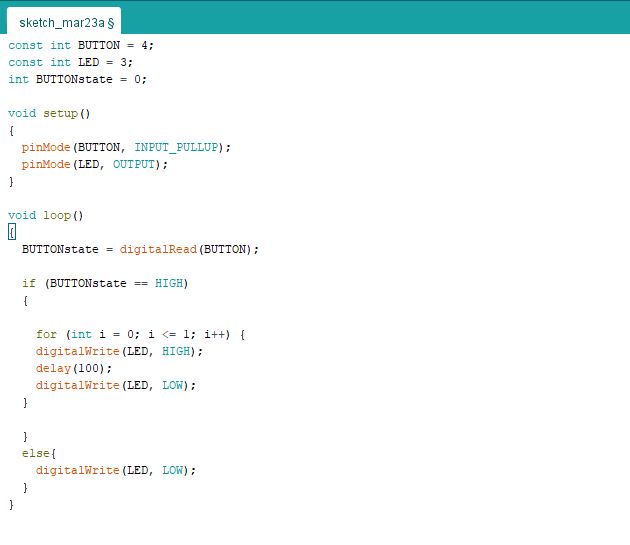
For the program I decided to do a program to blink twice
If you want to download the files you can do it in the download link
to upload the program to the board you must select the correct board wich is the attiny45
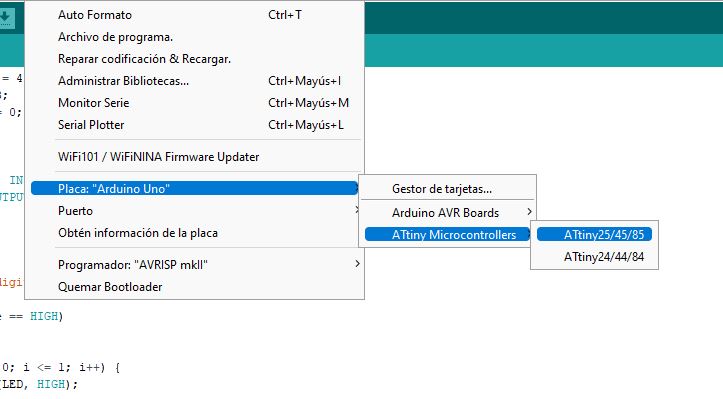
you need to select the board like the picture bellow
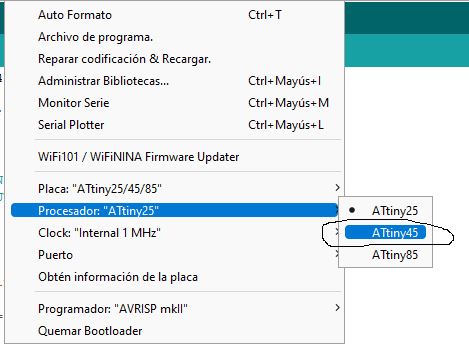
later the processor, in this case is the attiny45
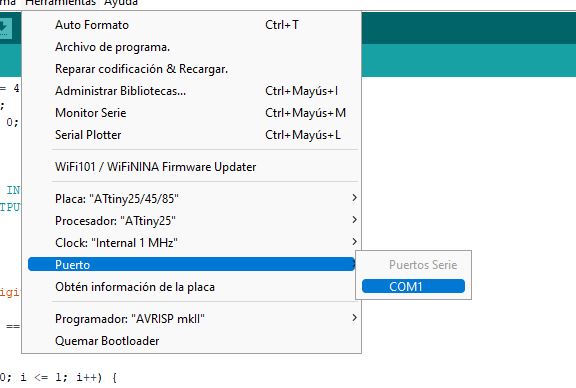
after that you shoud select the port where your board is connected.
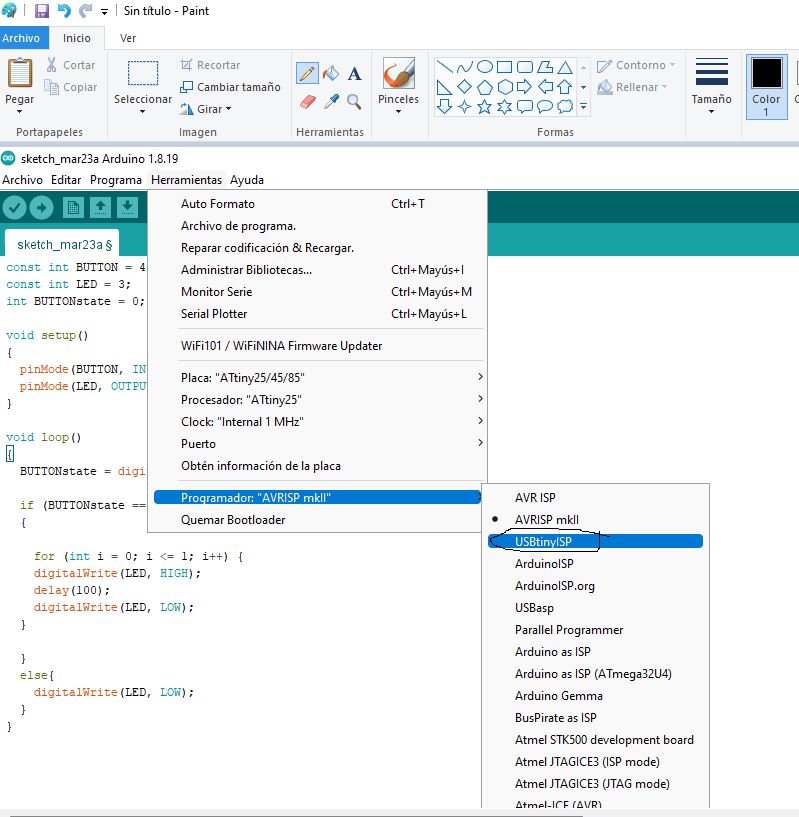
and finally you should choose the programmer.