10. Moulding and casting
Group assignment
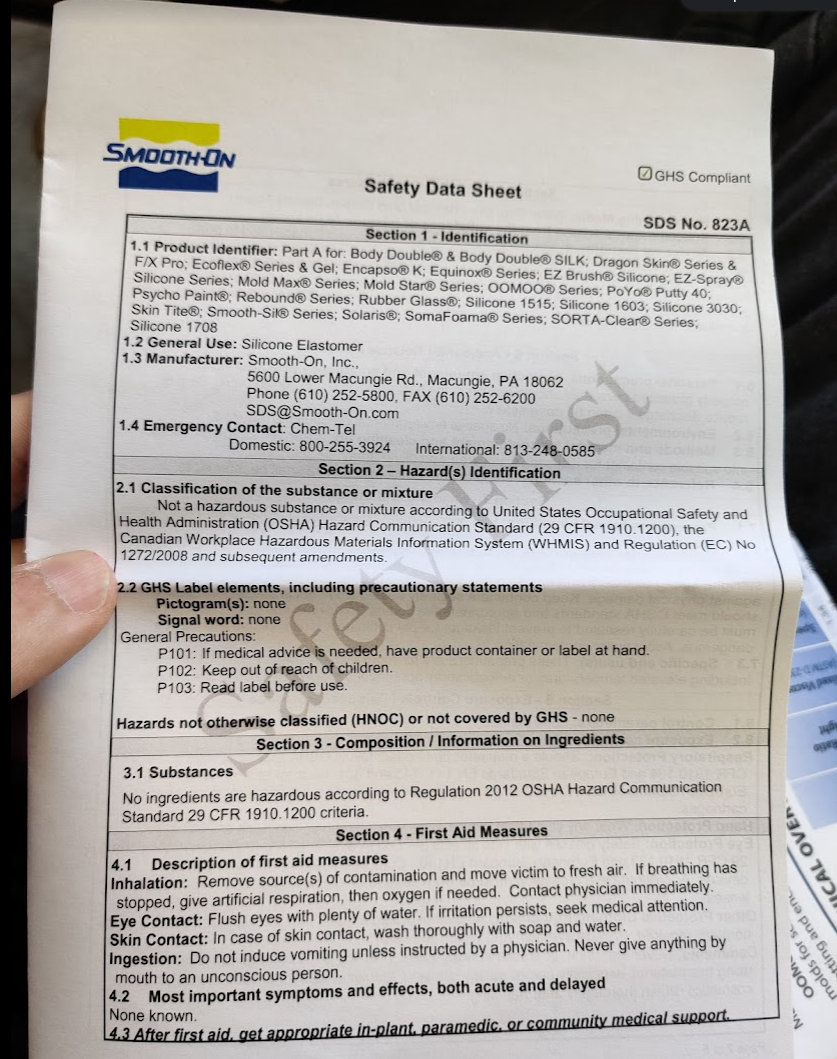
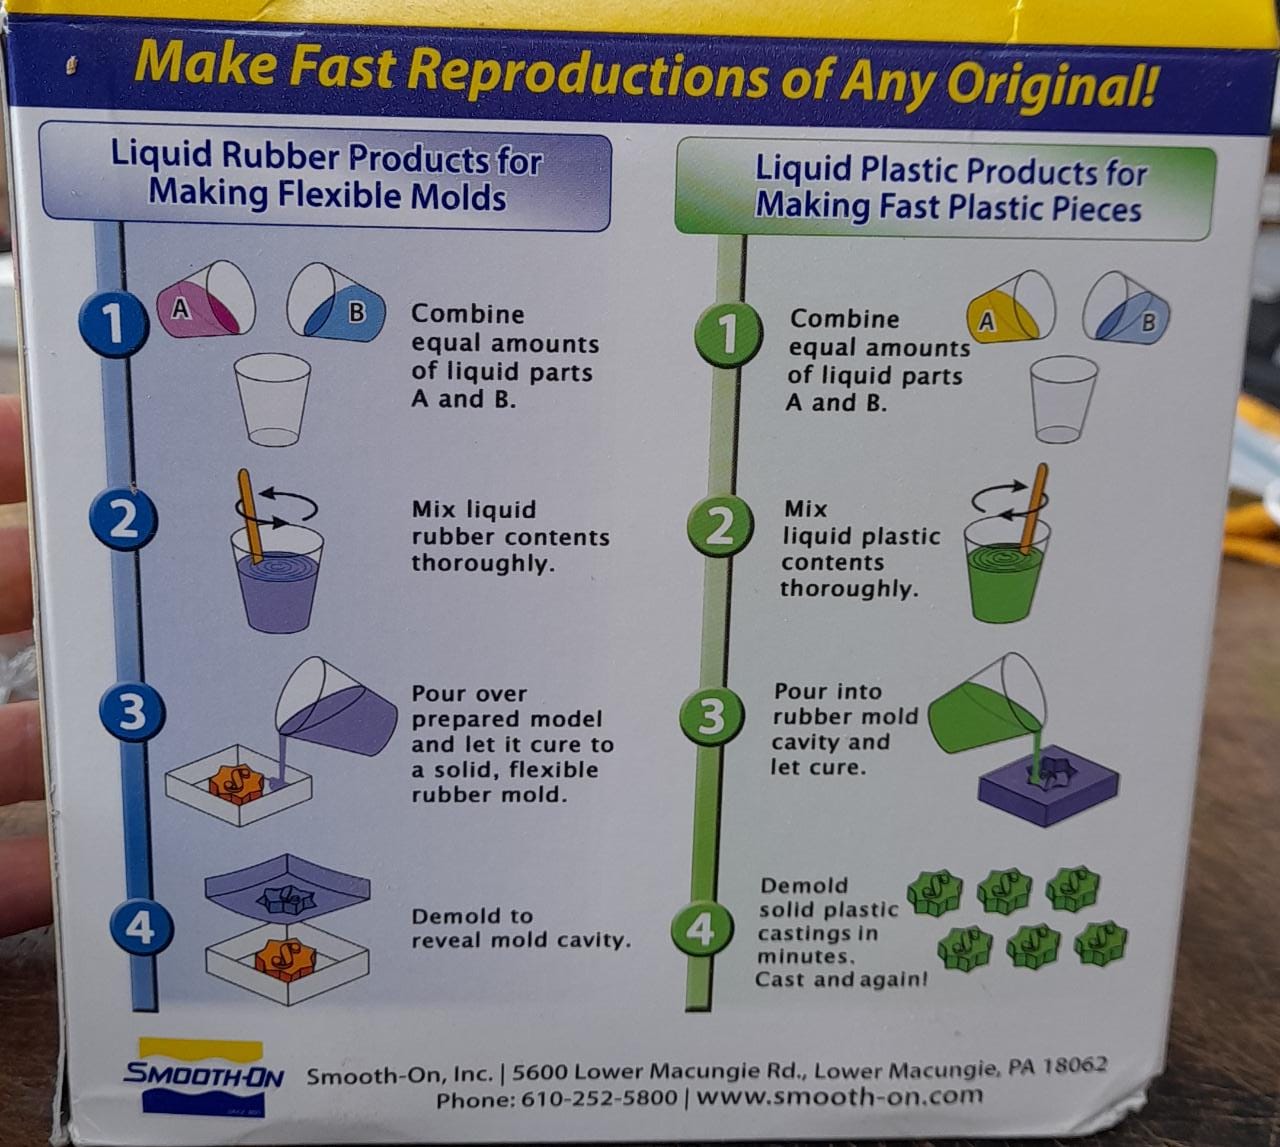
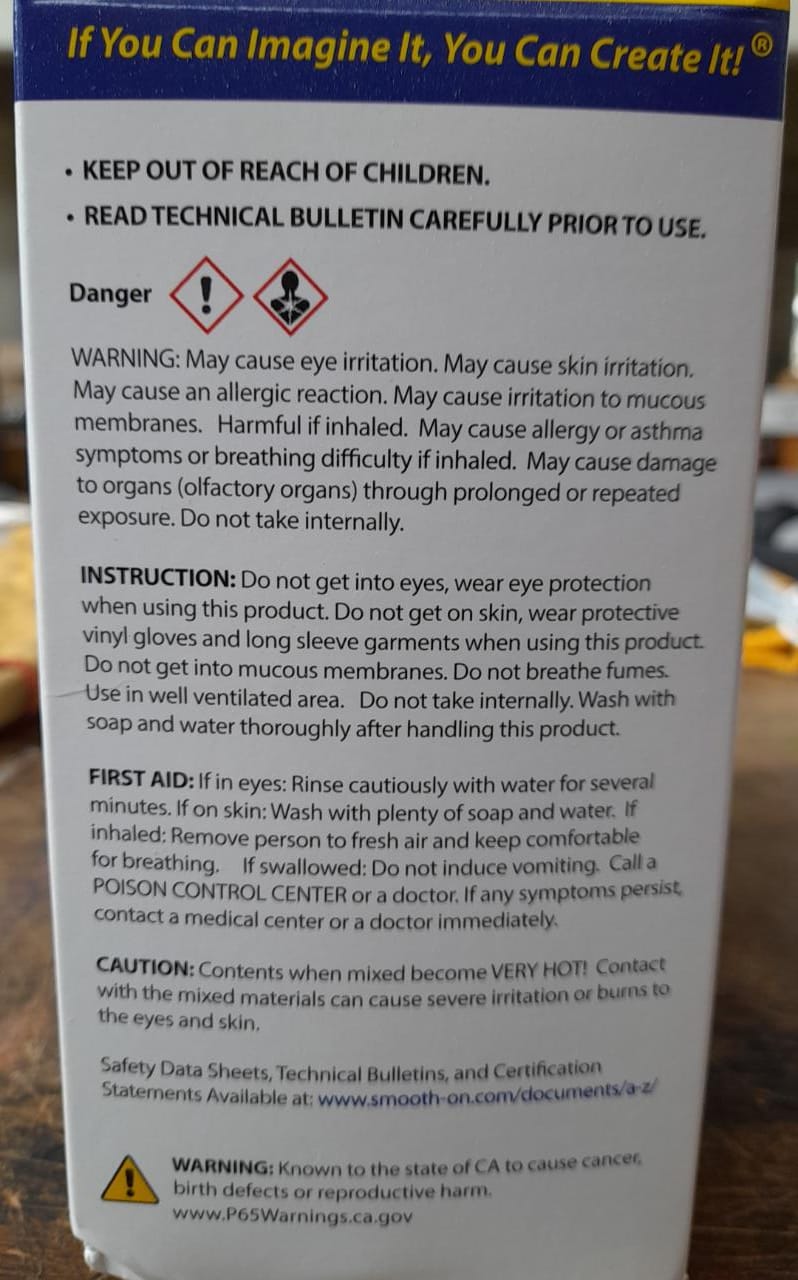
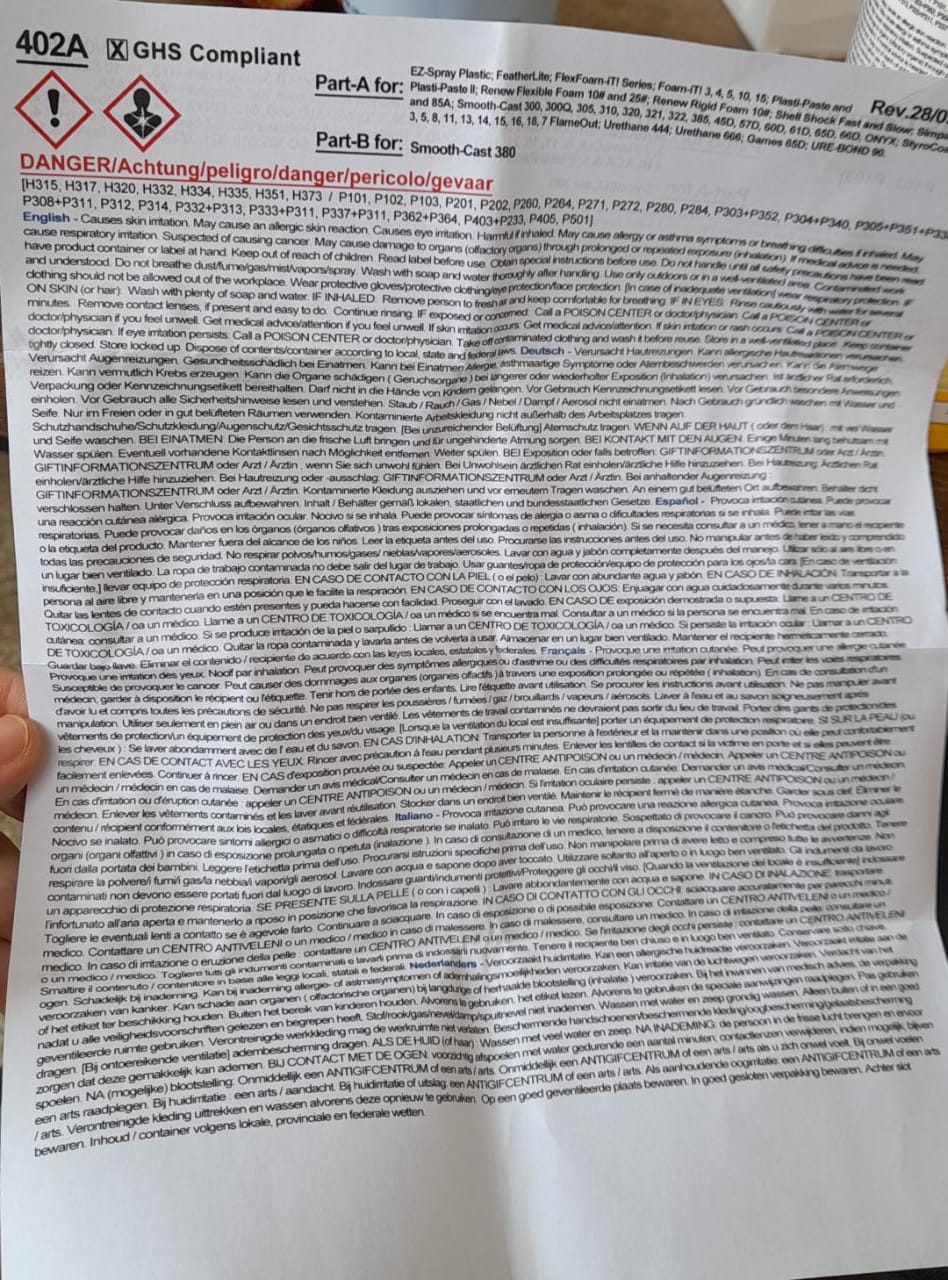
- Review the safety data sheets for each of your molding and casting materials
- Make and compare test casts with each of them
Individual assignment
- Design a 3D mould around the stock and tooling that you’ll be using, mill it (rough cut + (at least) three-axis finish cut), and use it to cast parts.
This week´s checklist
- link to the group assignment page and reflected on your individual page what you have learned
- Reviewed the safety data sheets for each of your molding and casting materials, then made and compared test cast with each of them
- Documented how you designed your 3d mould and created your rough and created your rouh and finish toolpaths for machining including machine settings
- Show how you made your mould and cast the parts
- Described problems and how you fixed them
- Included your design files and ero shot of the mould and the final object.
Design process
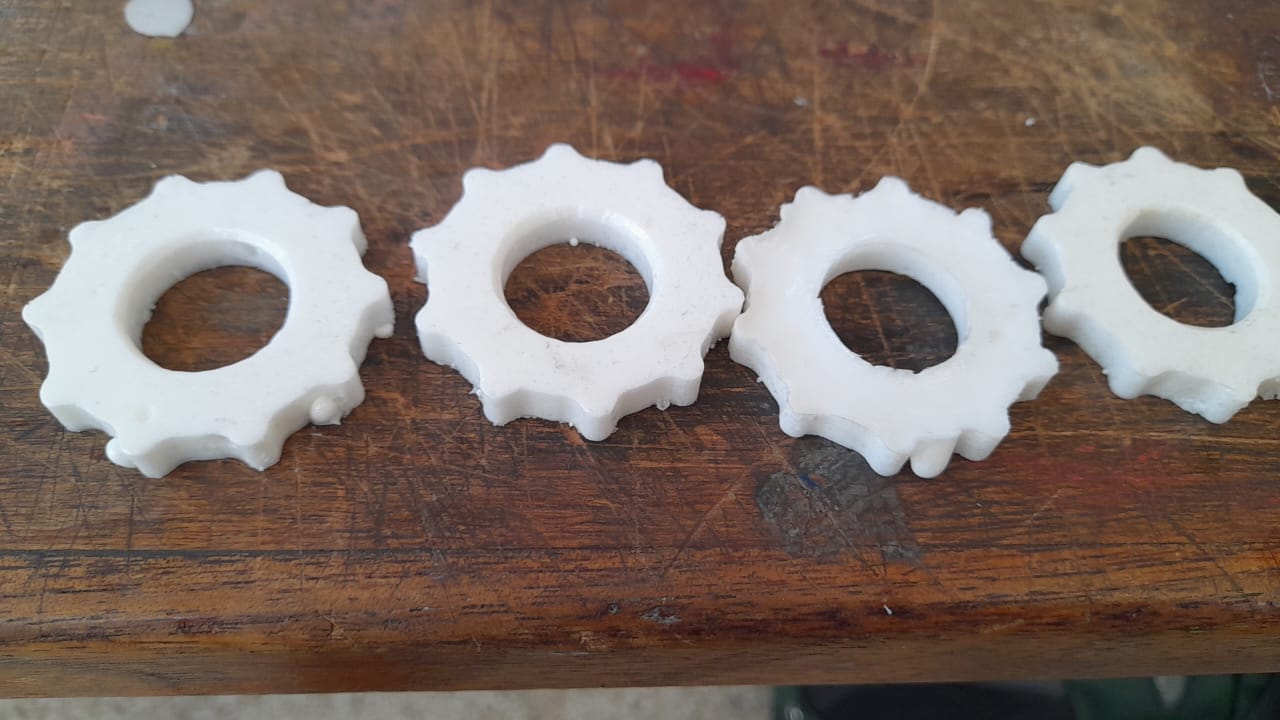
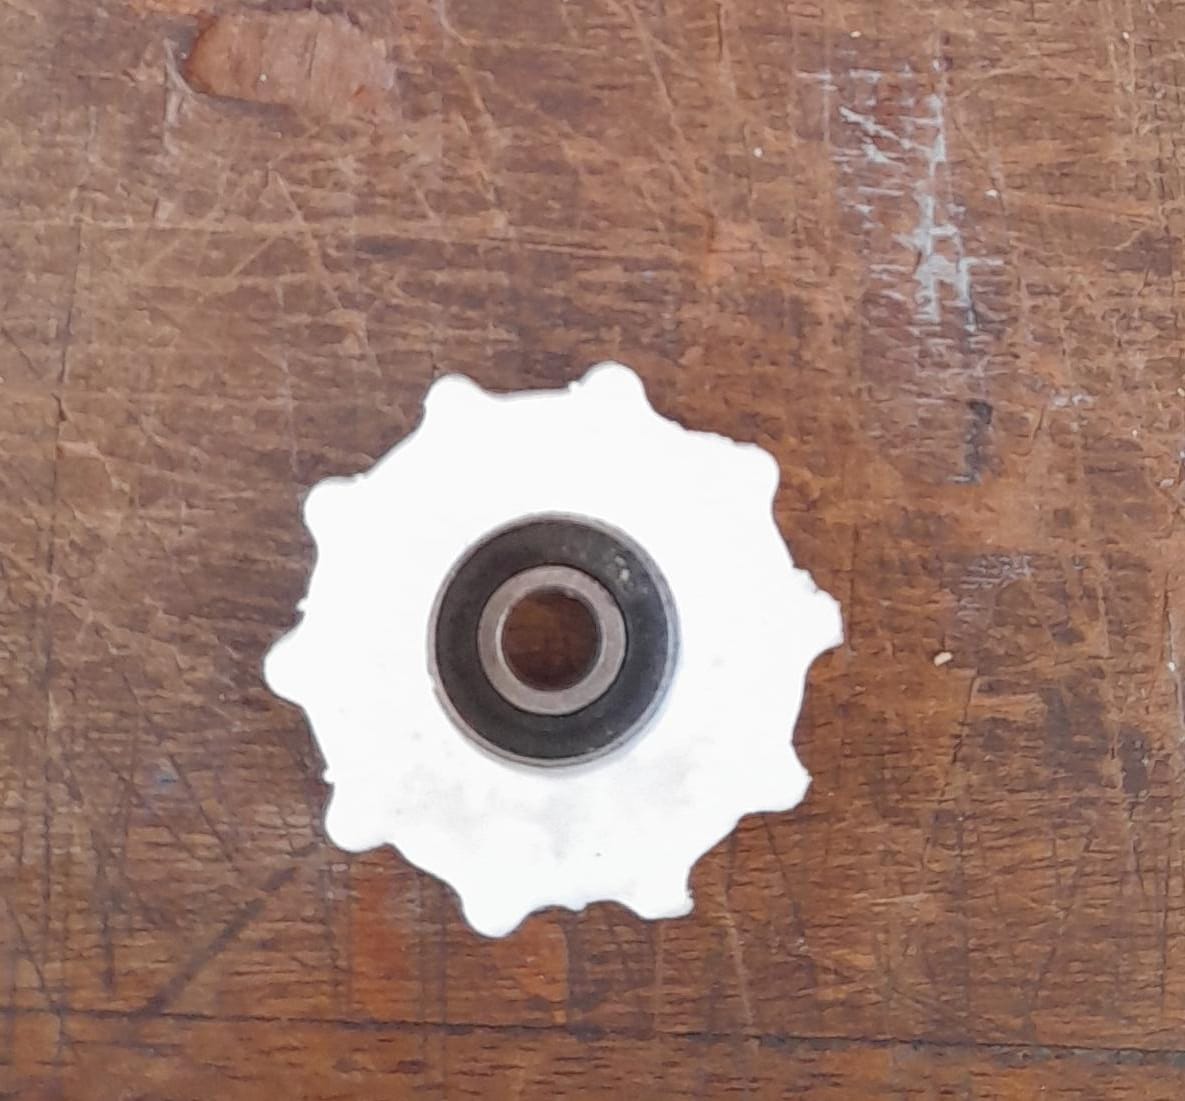
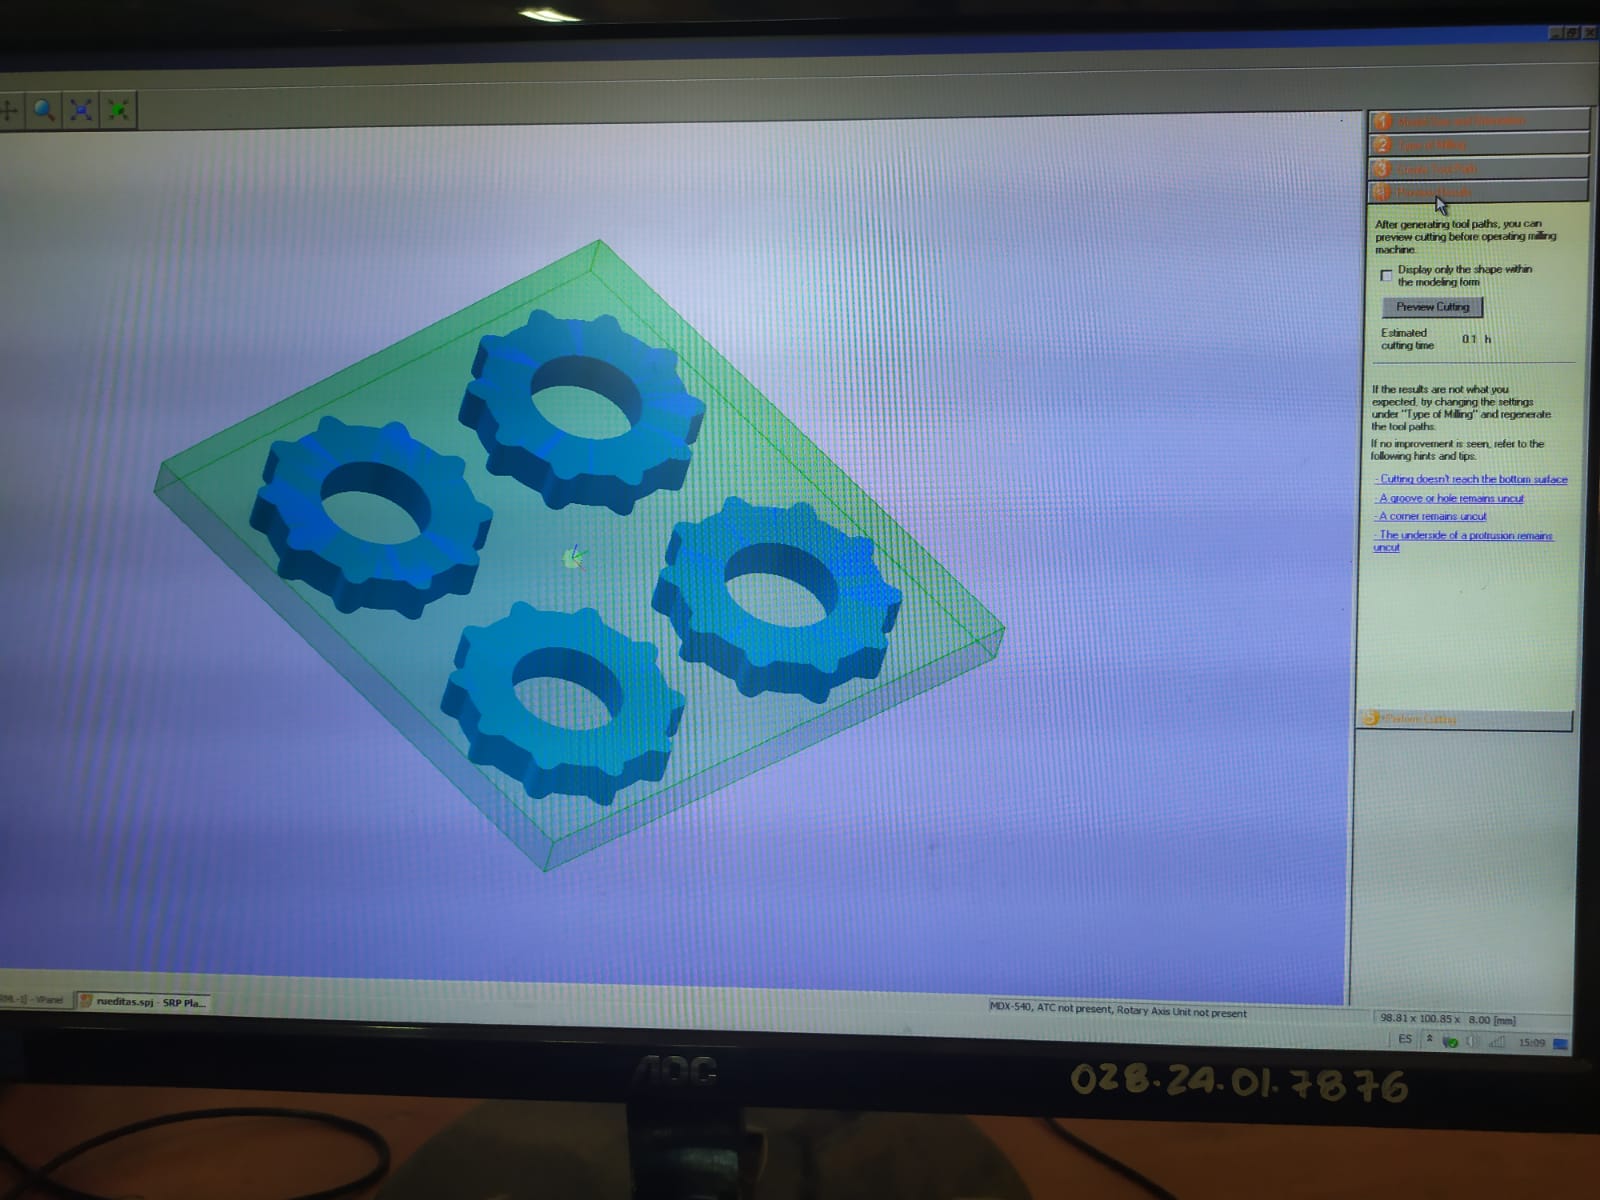
For this week I choose a small wheel, the first Idea was to make something usefull and replicable, at first I thought the lab´s resin was flexible, because the one I saw wasn´t entirely cured, so that gave me the idea of making a wheel
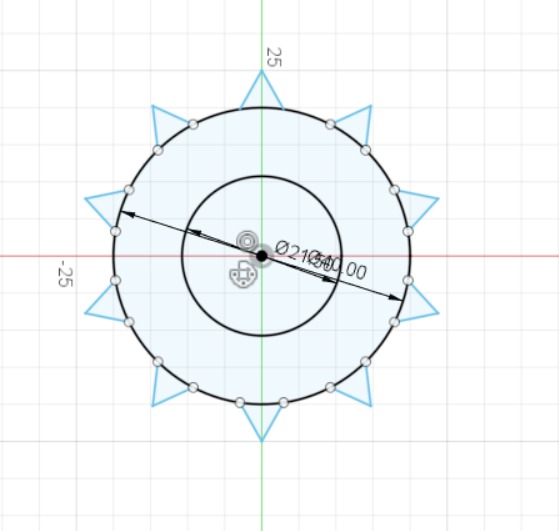
In fusion 360 I used the circular Pattern tool to create the basic shape and then extruded it
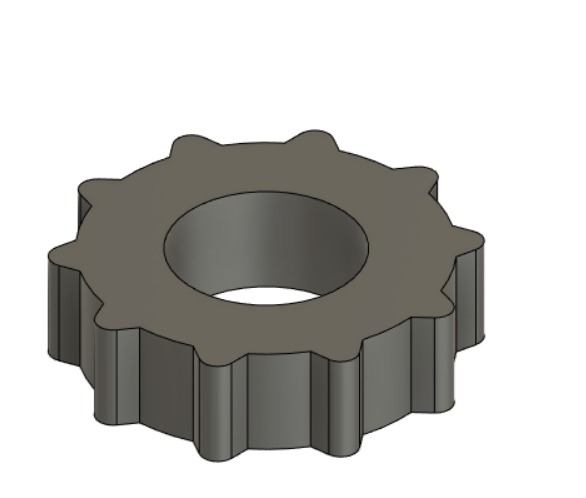
In order to make rounded corners I used the fillet tool.
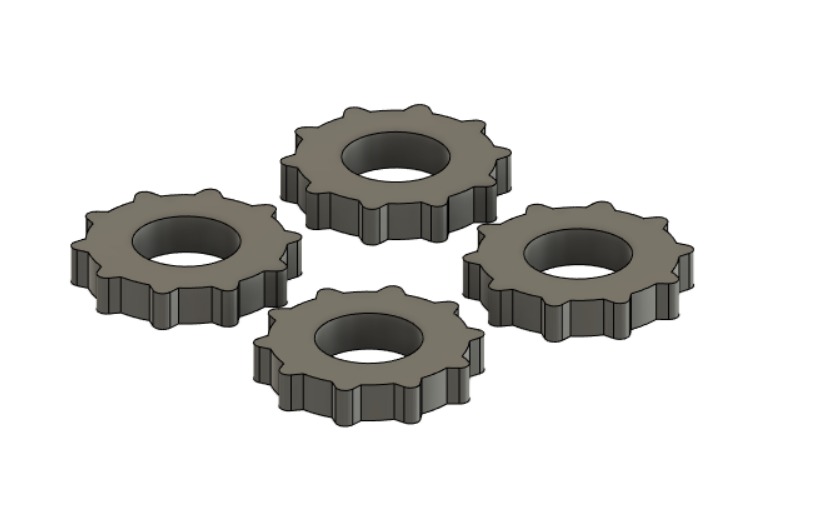
because the wheels are very small and normally in most proyects you need 4 of them, I made 3 copies and created the STL File to upload to the CAM program.
You can find the fusion 360 file in the link below:
Machining
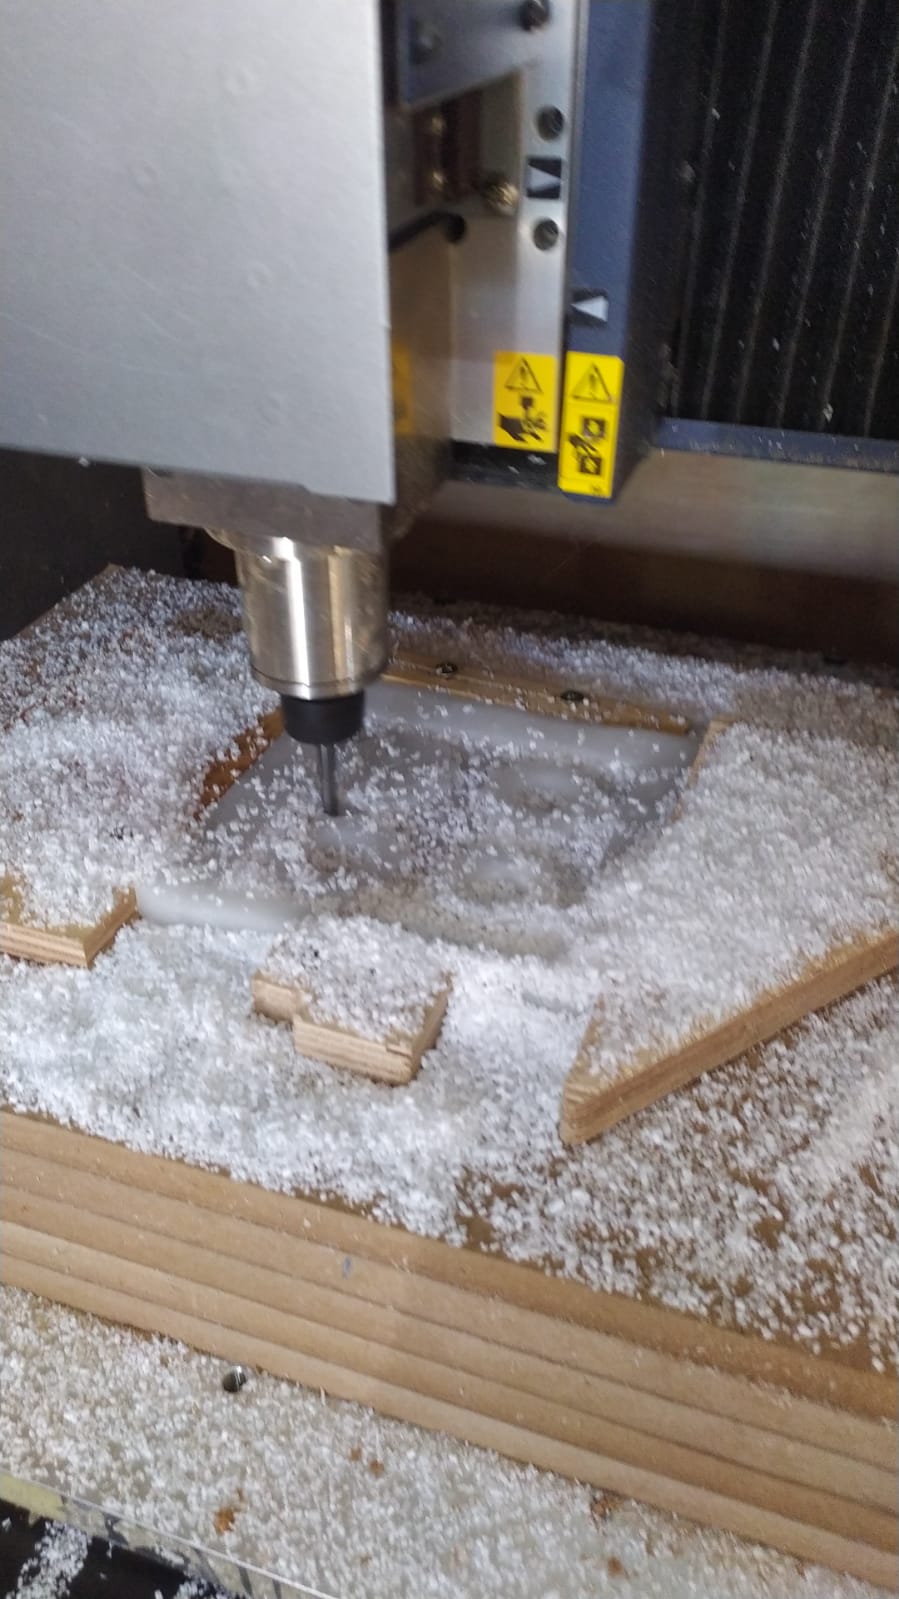
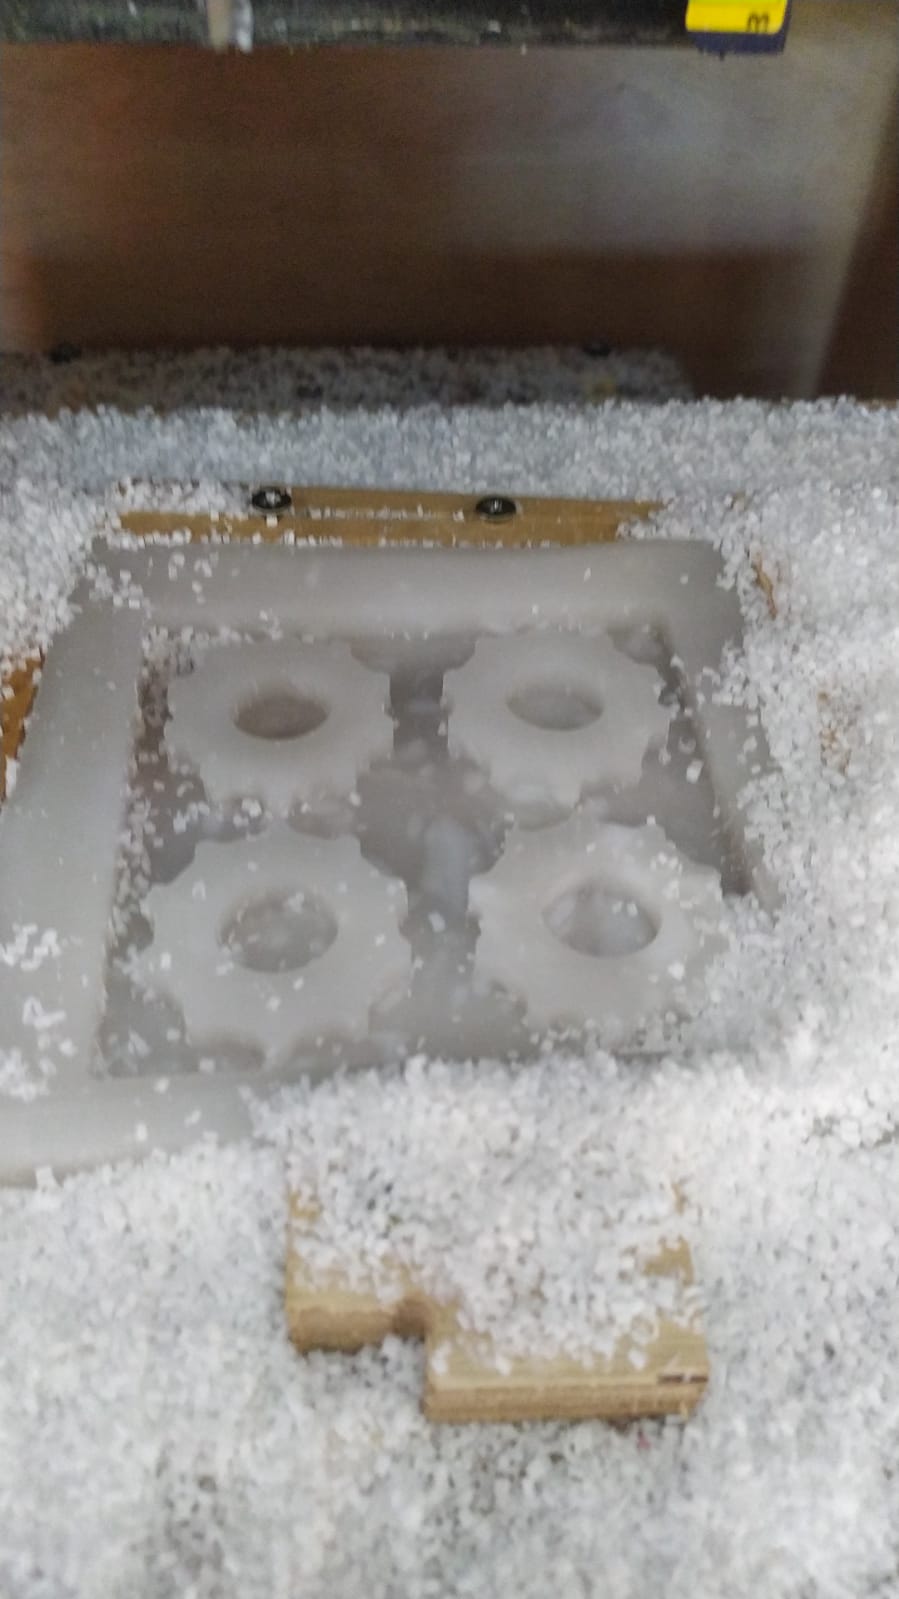
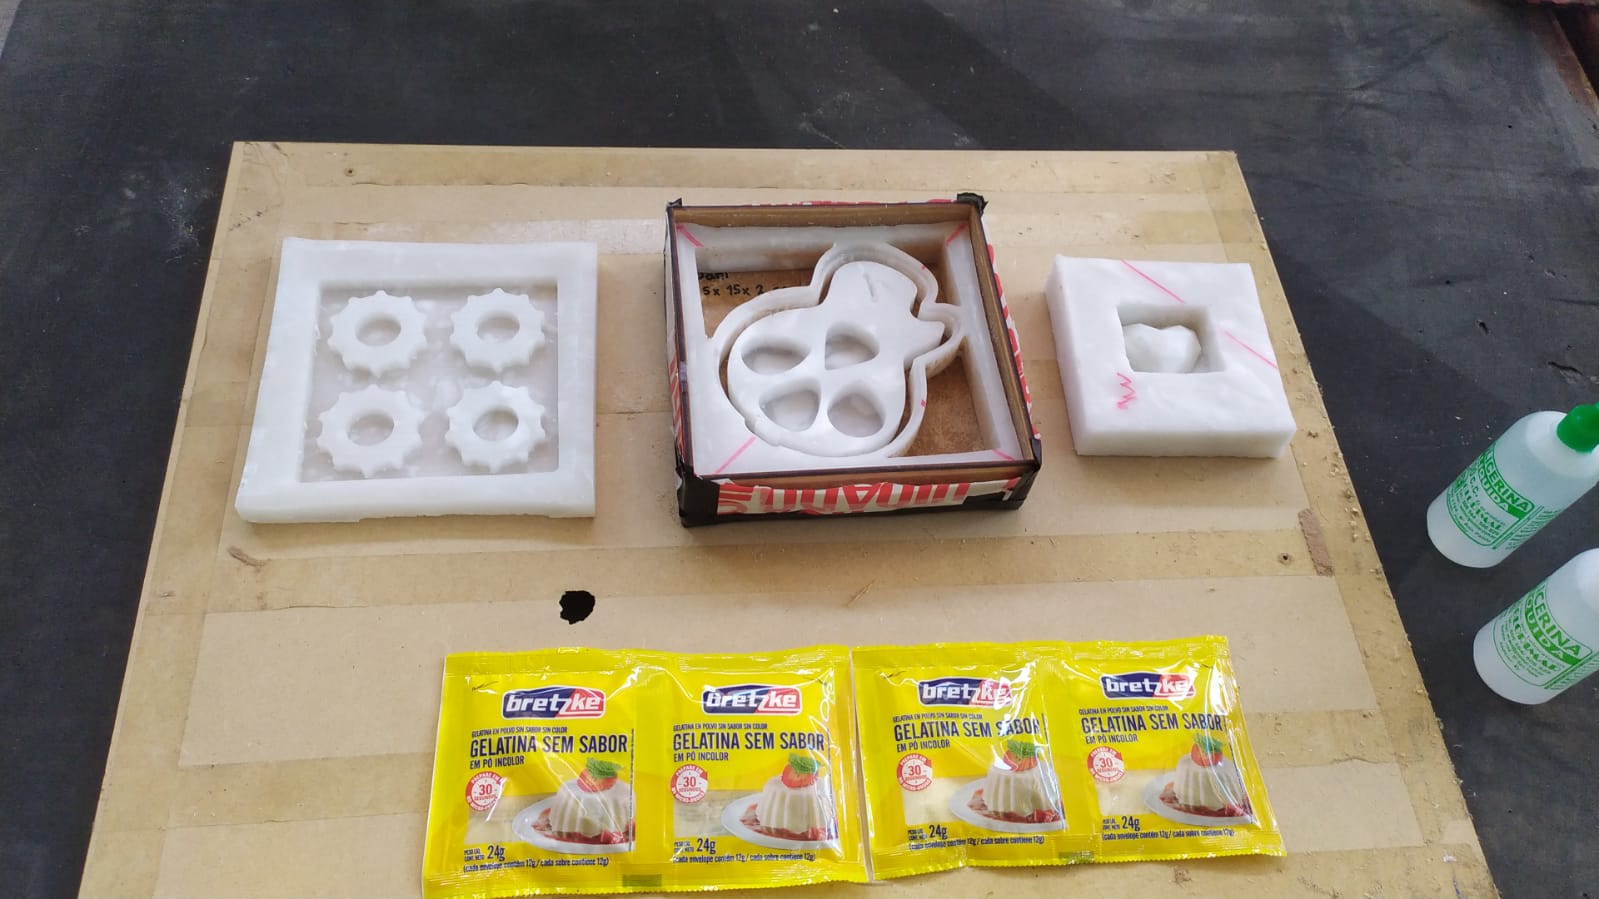
To make our molds we used candle wax, heated in a metal cooking pot, and poured in a laser cutted mdf square mold, as you can see the wax contracted after cooling down.
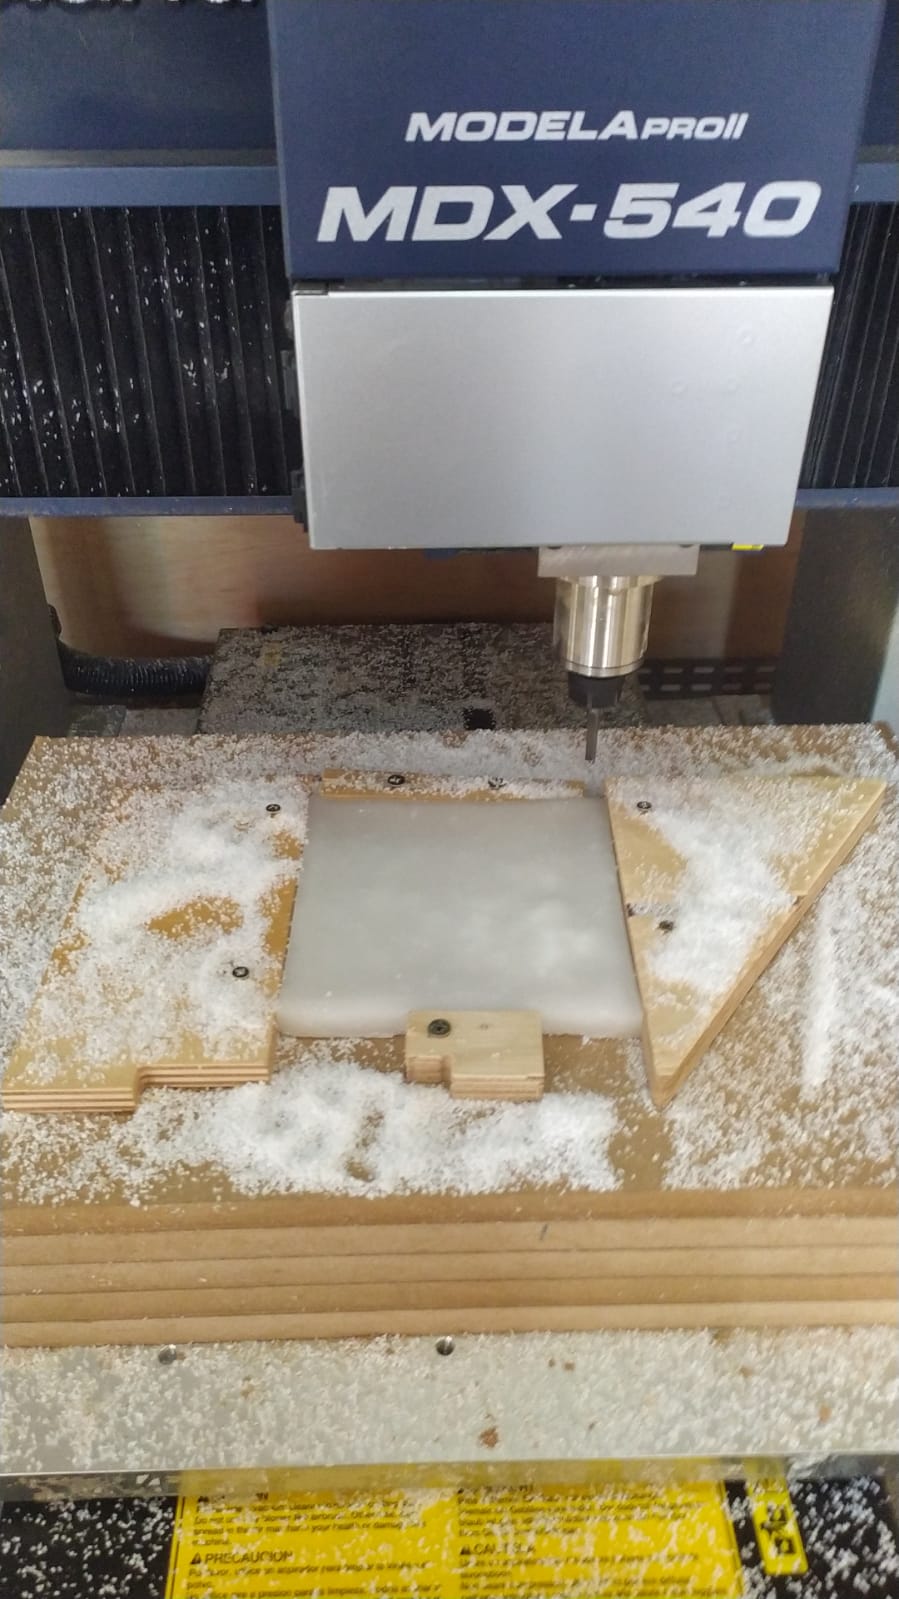
The first step is to rectify the surface of the wax, for that we used a 1/4 inch two flute flat endmill, the feedrates were 2000 mm/min, and the depth of cut was 2mm. This made our working surface completely flat.
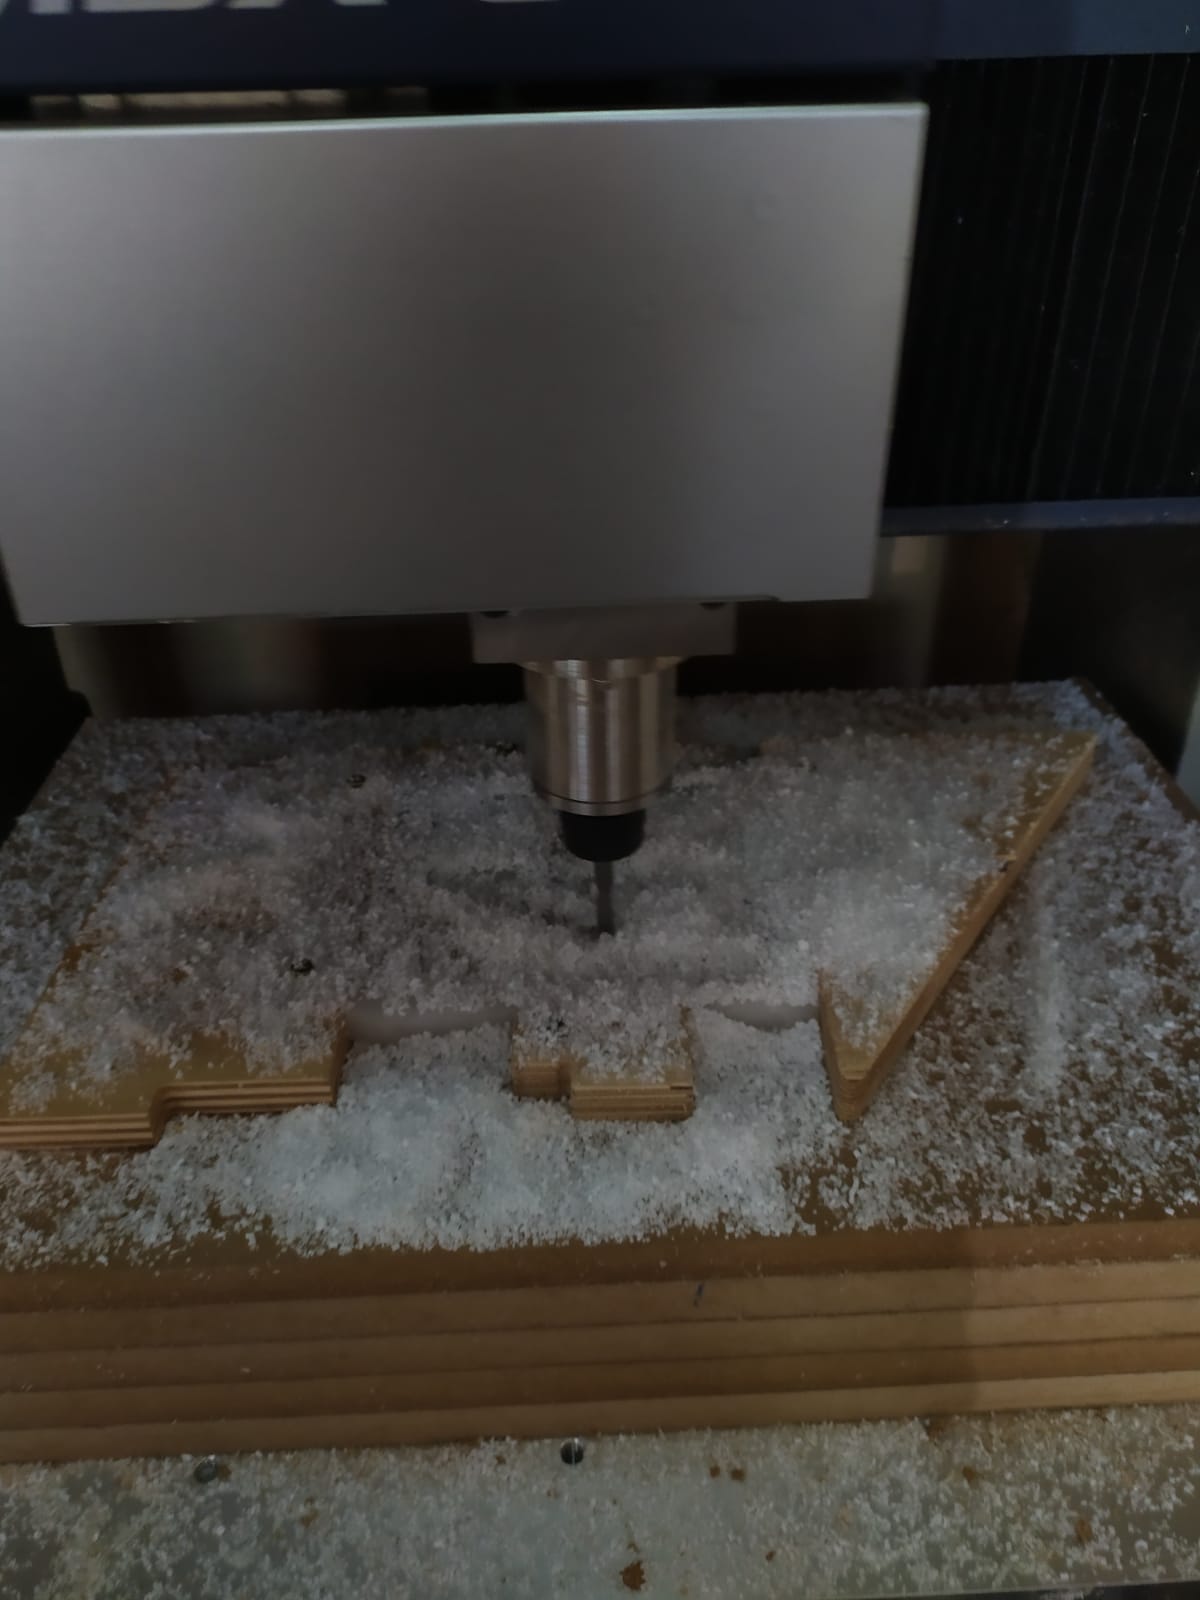
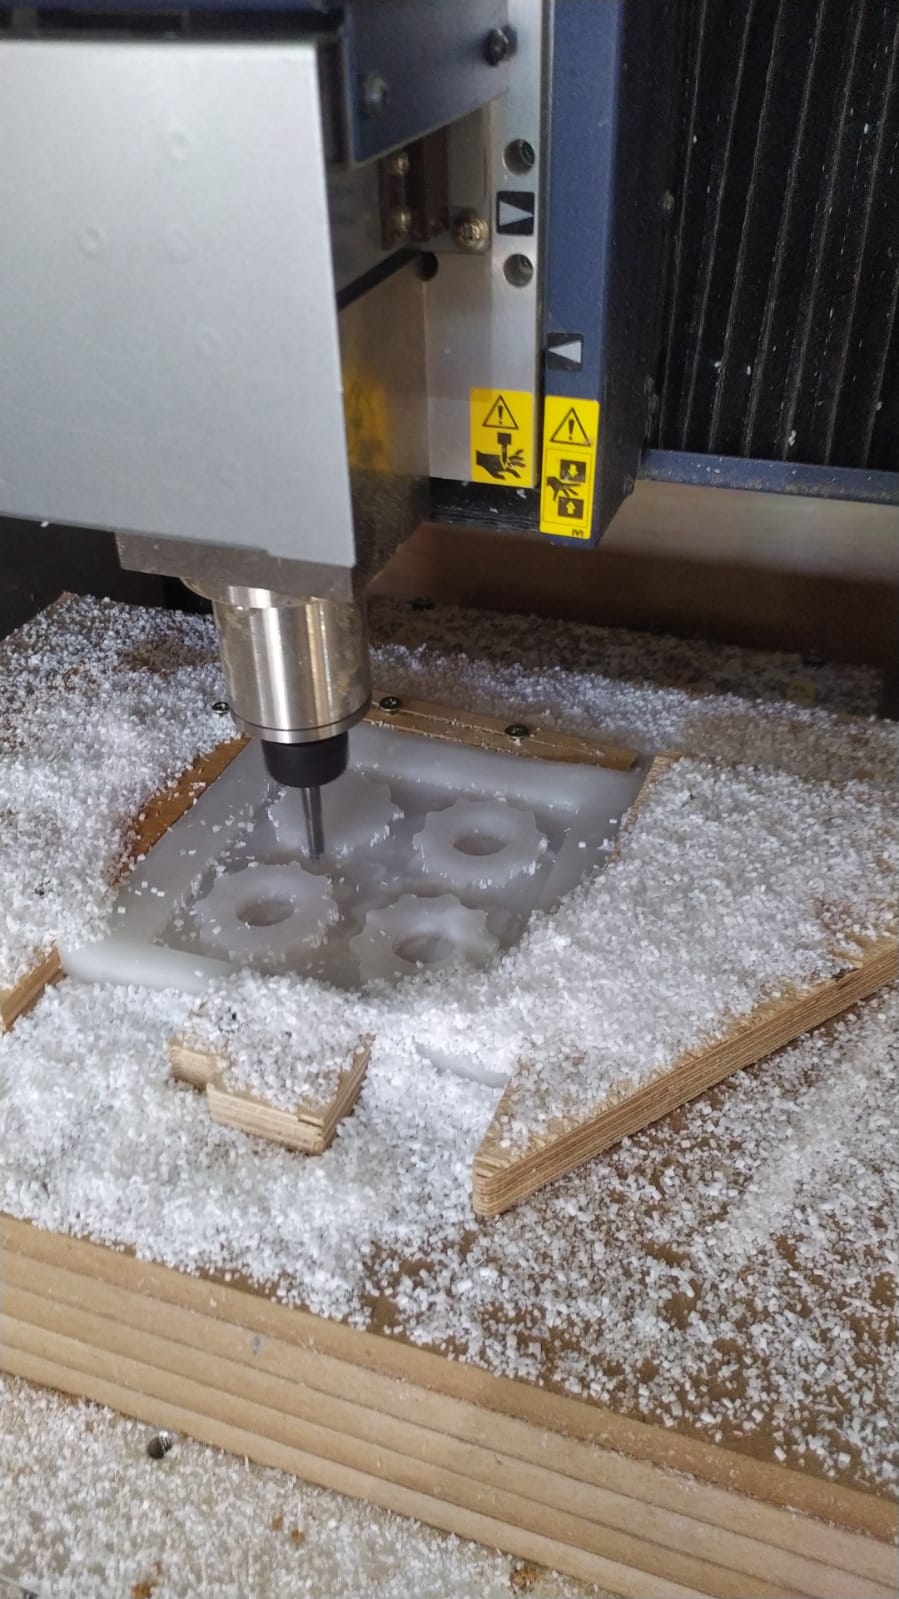
After that we started machining with the 1/4 inch bit to make the rough pass, and then to smooth the surface we used a 1/8 inch helicoidal bit.
Preparing the mould
Silicone datasheets
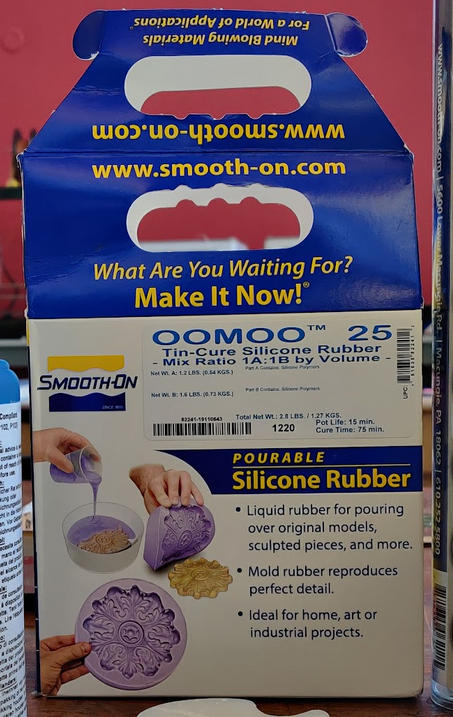
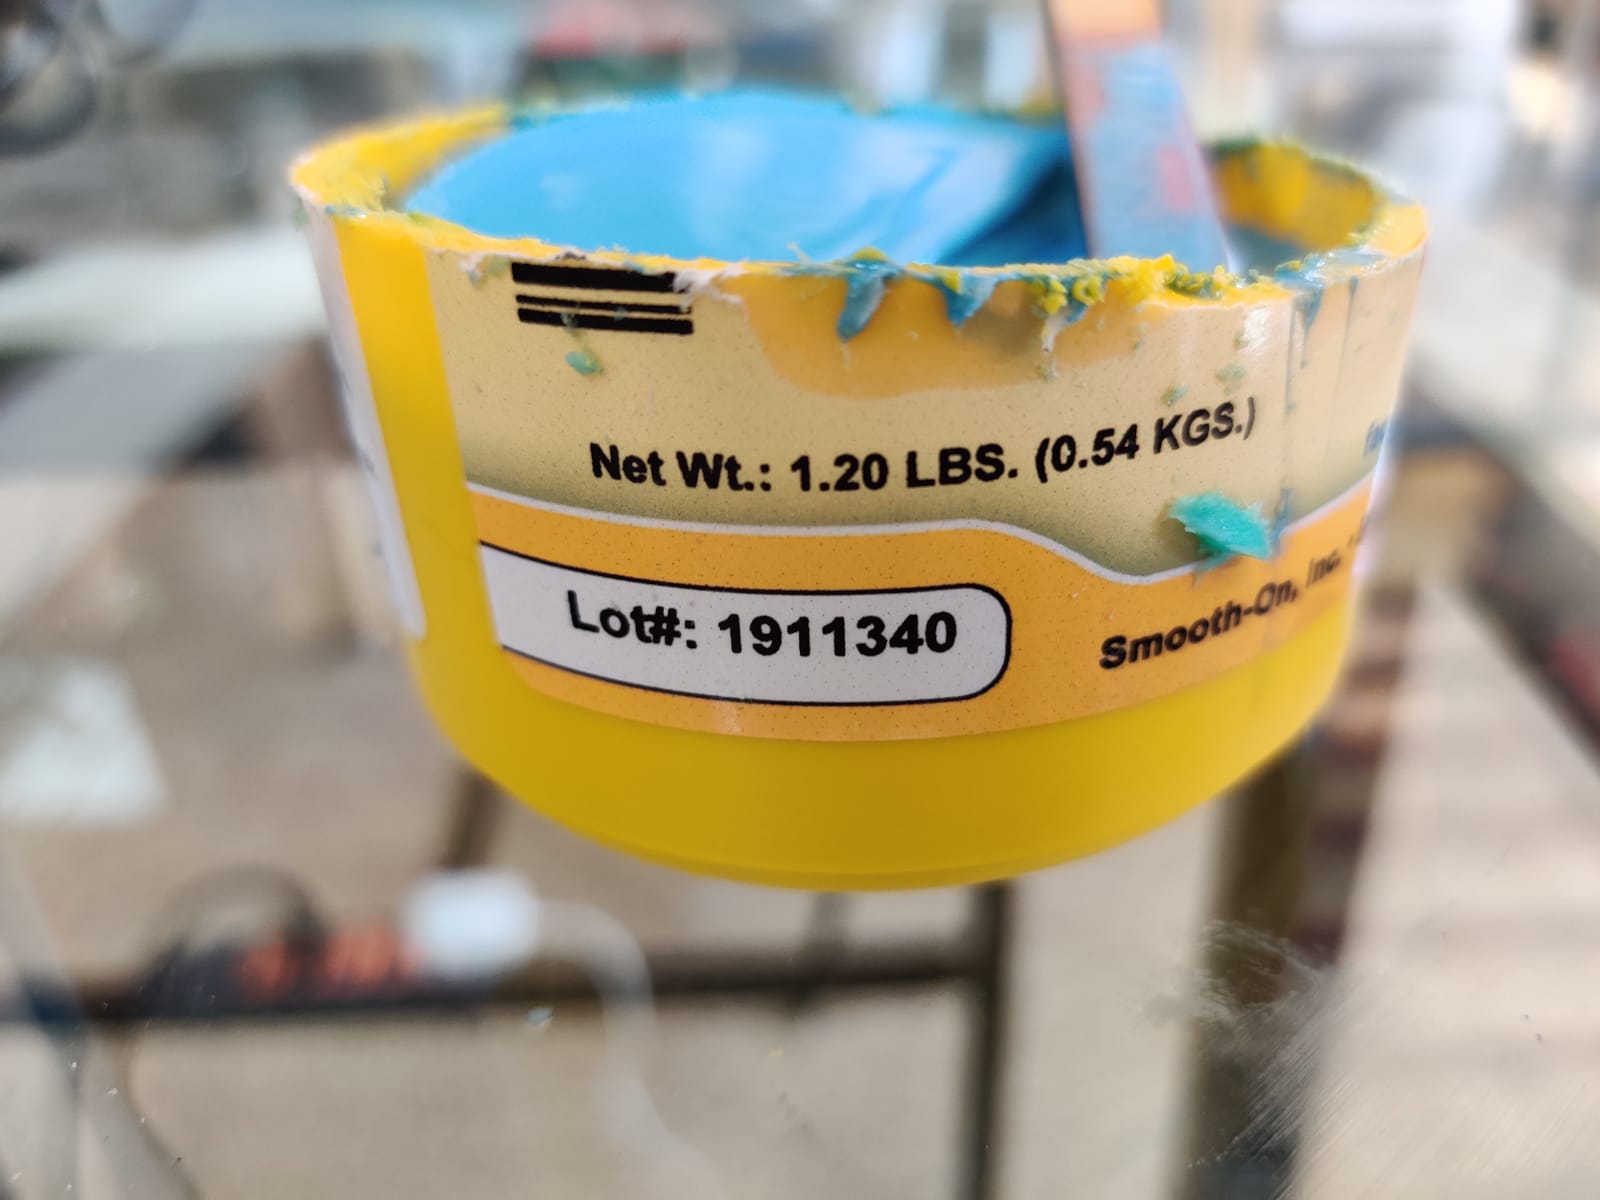
After finishing the CNC part of the job we realized that all the silicone of the lab was cured before opening the bottles, we tried 4 diferent pots, but all of them were already cured, so we had to improvise.
We found this tutorial online that used Glicerine and jelly to cast the mold and decided to try it out since is very dificult to acquire silicone in the Paraguayan Market.
https://www.youtube.com/watch?v=fsQxsX8wFuY
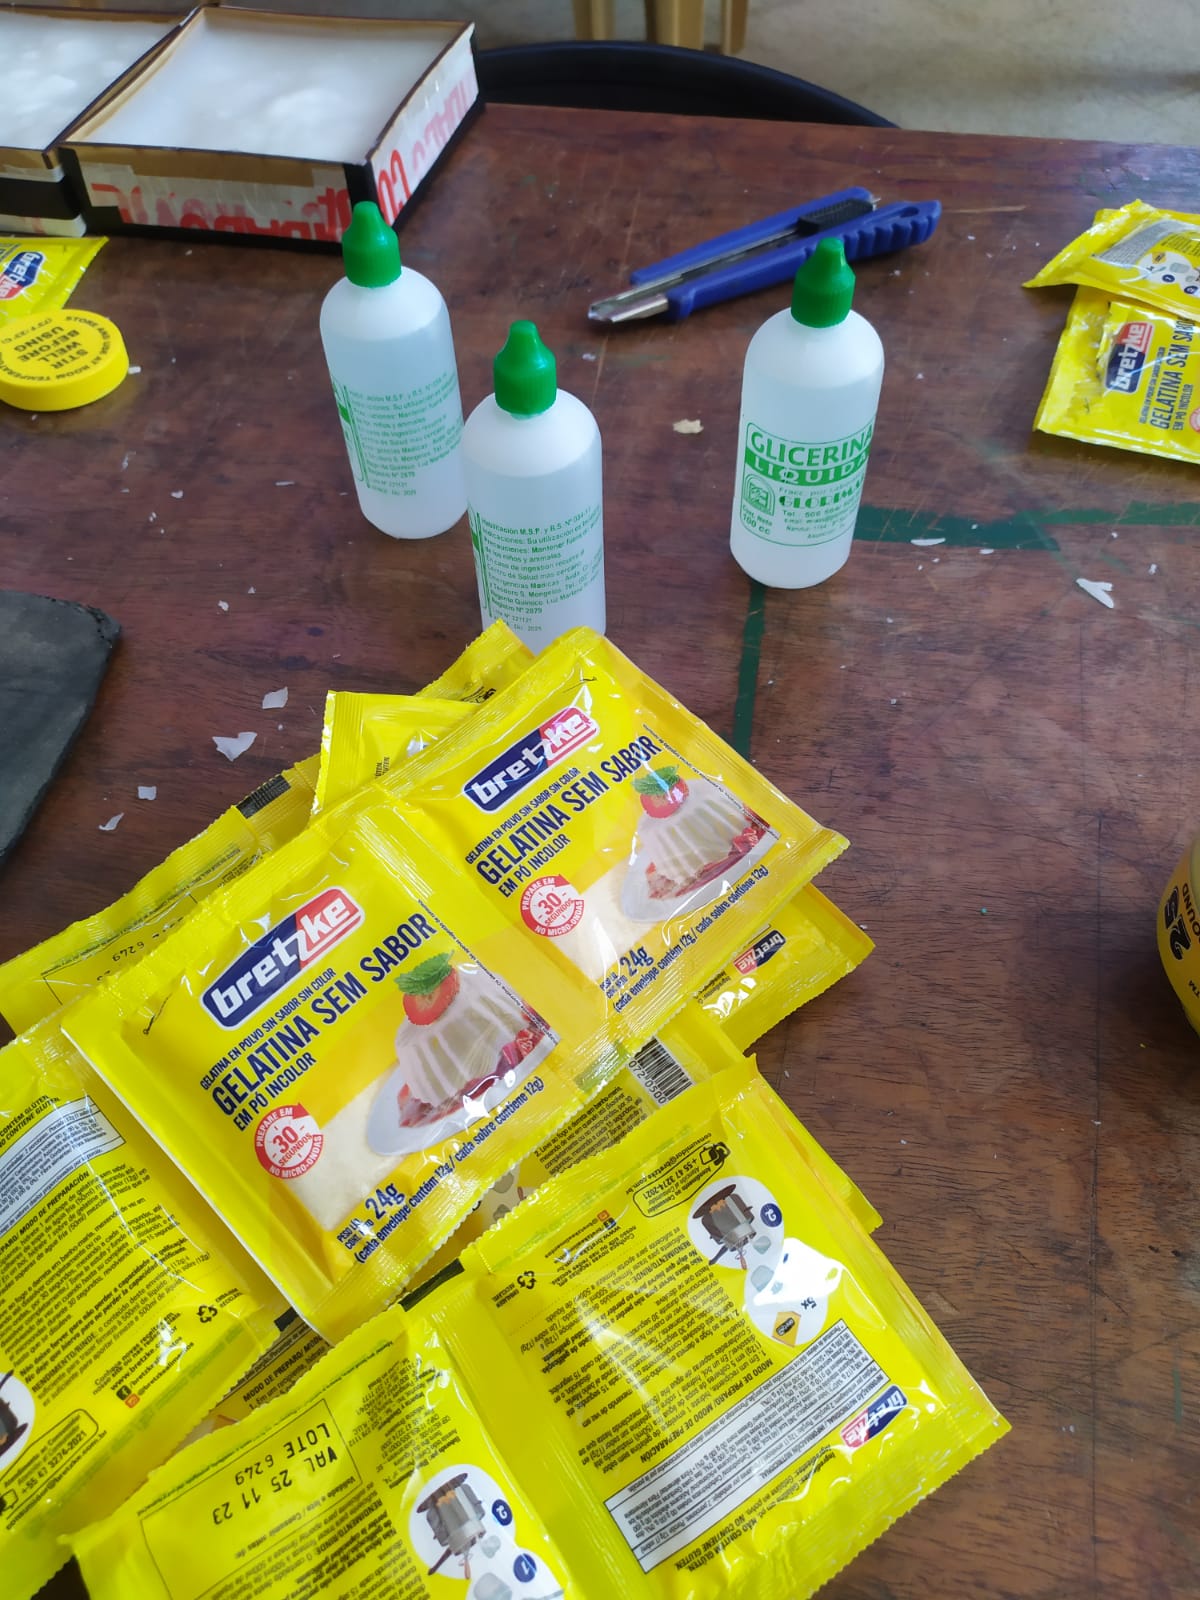
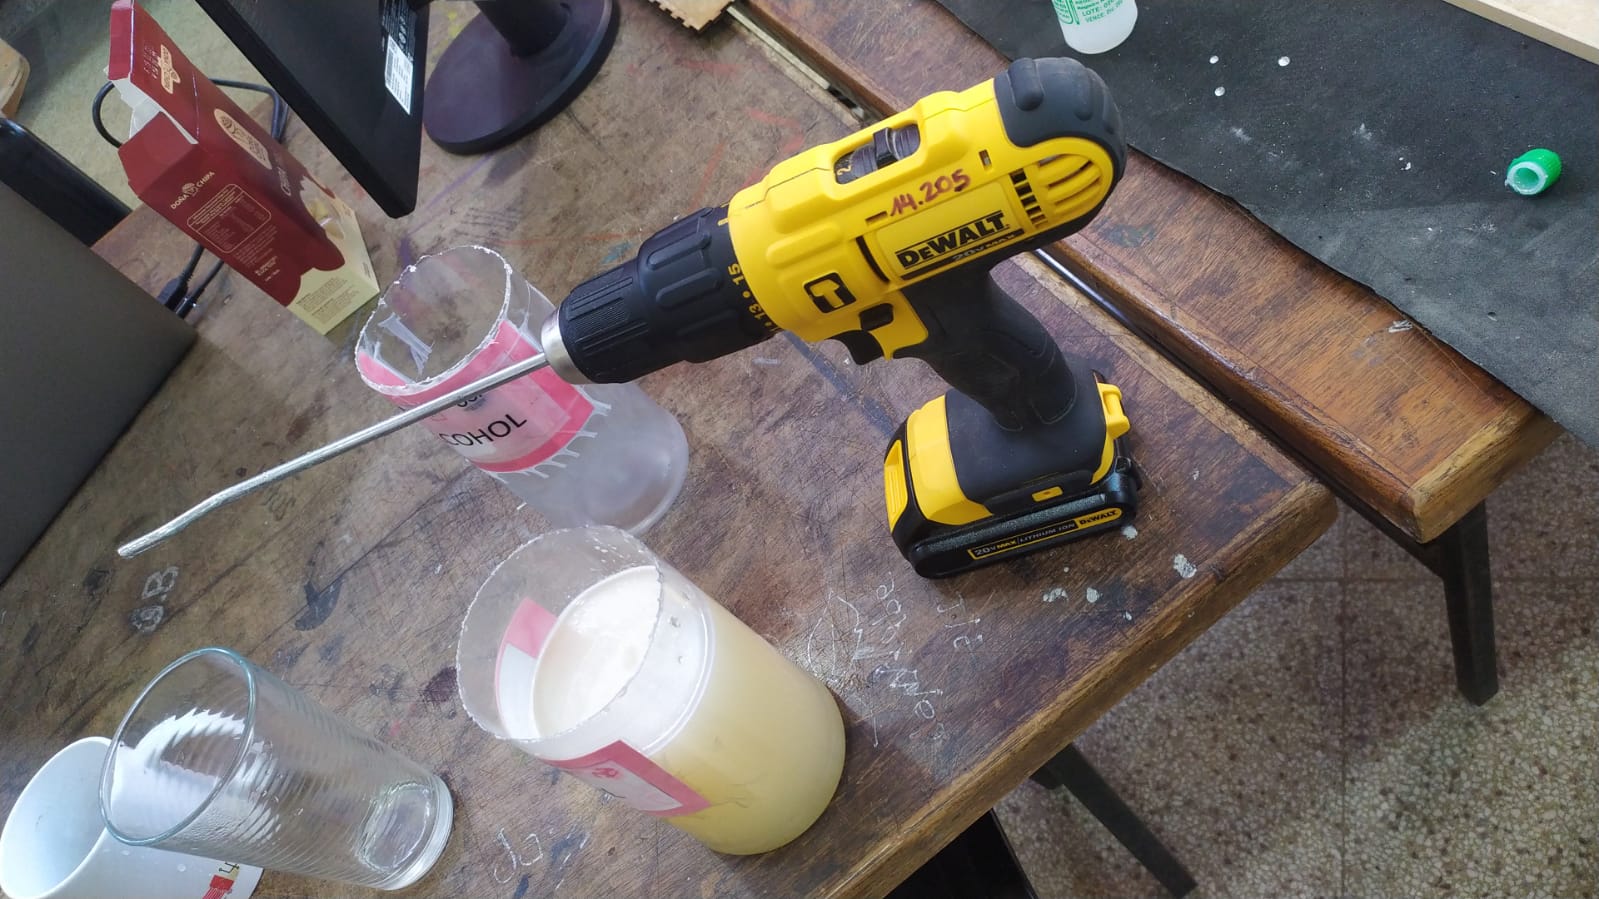
To mix the liquid and the powder, we used the lab cordless drill and a stick.
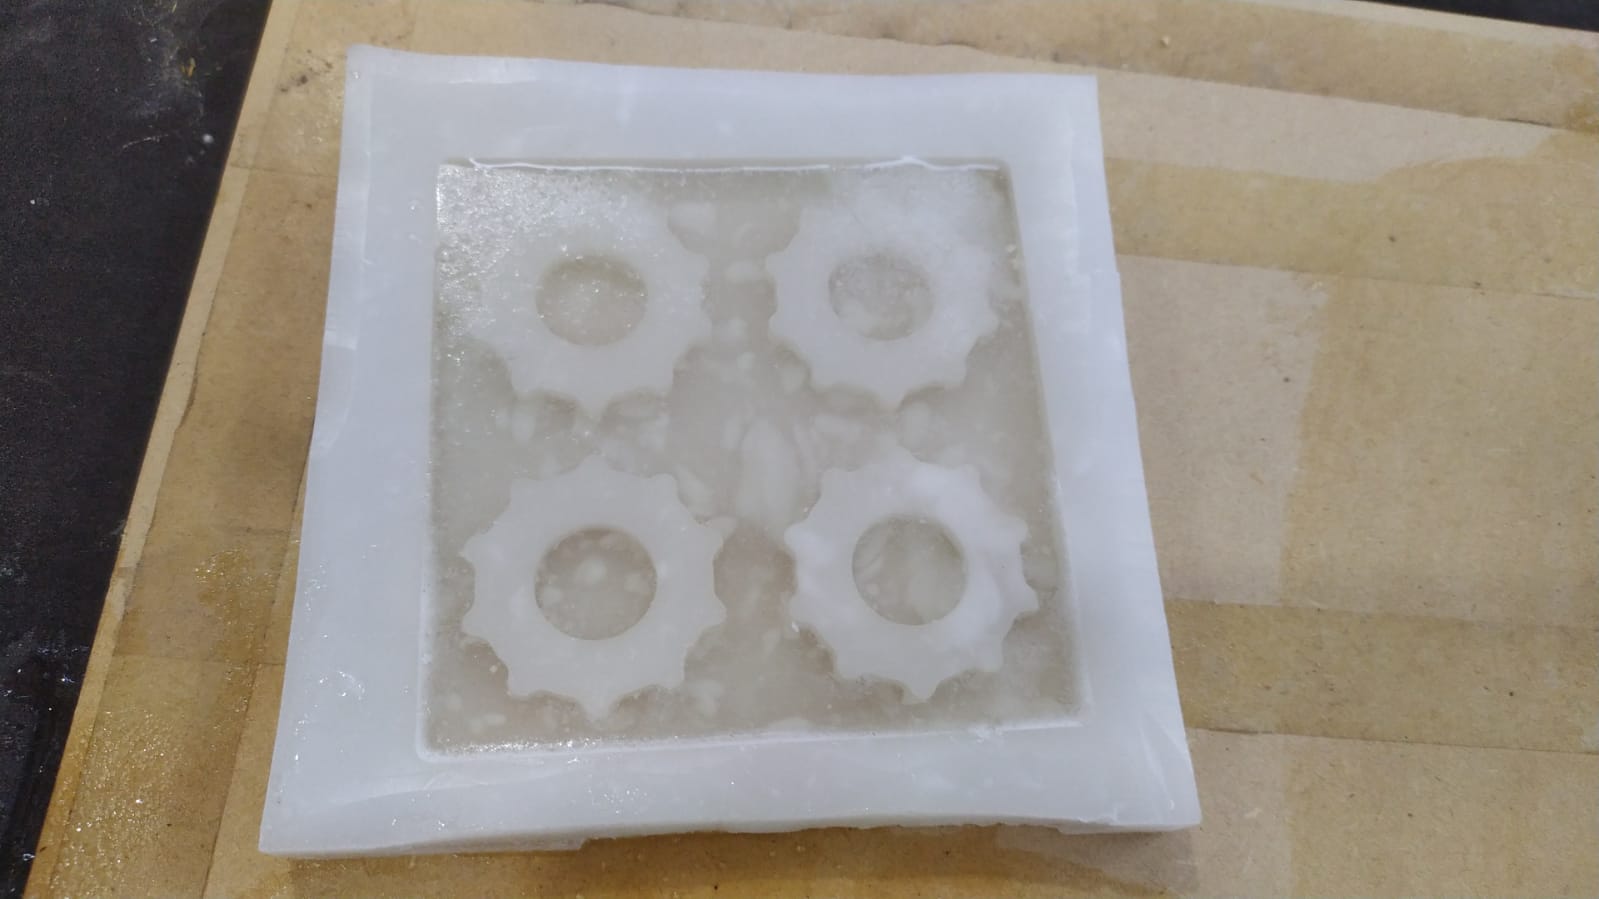
We poured the liquid into the mould and let it cure for the night.
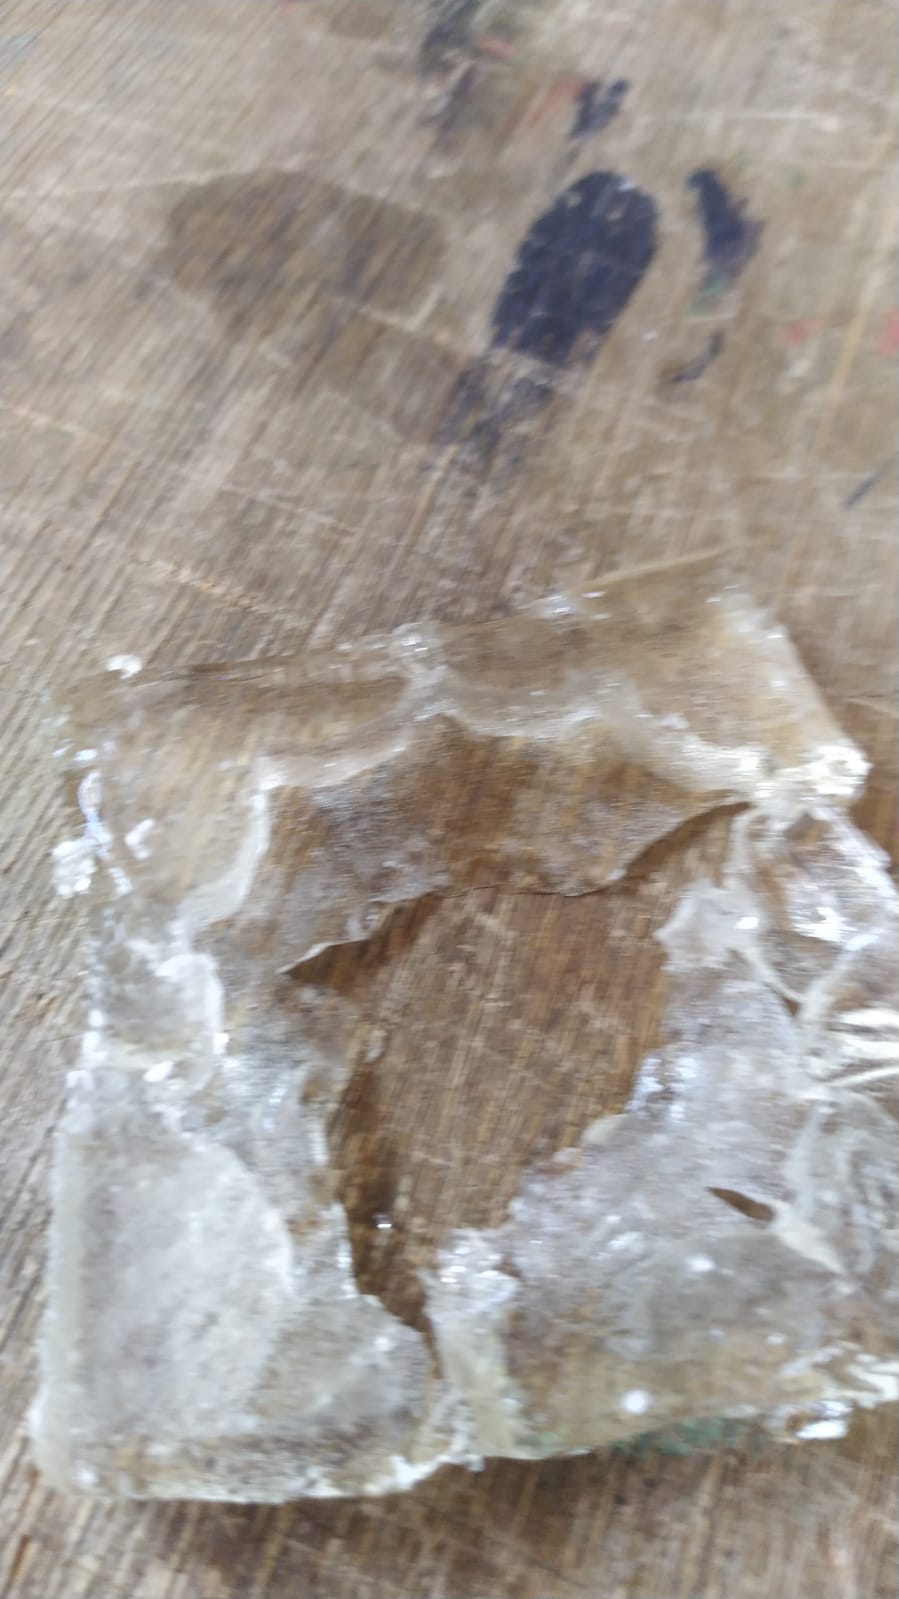
the next morning, I tried removing it but it broke.
I tried again 3 more times.
and the last time I got “something” hehe.
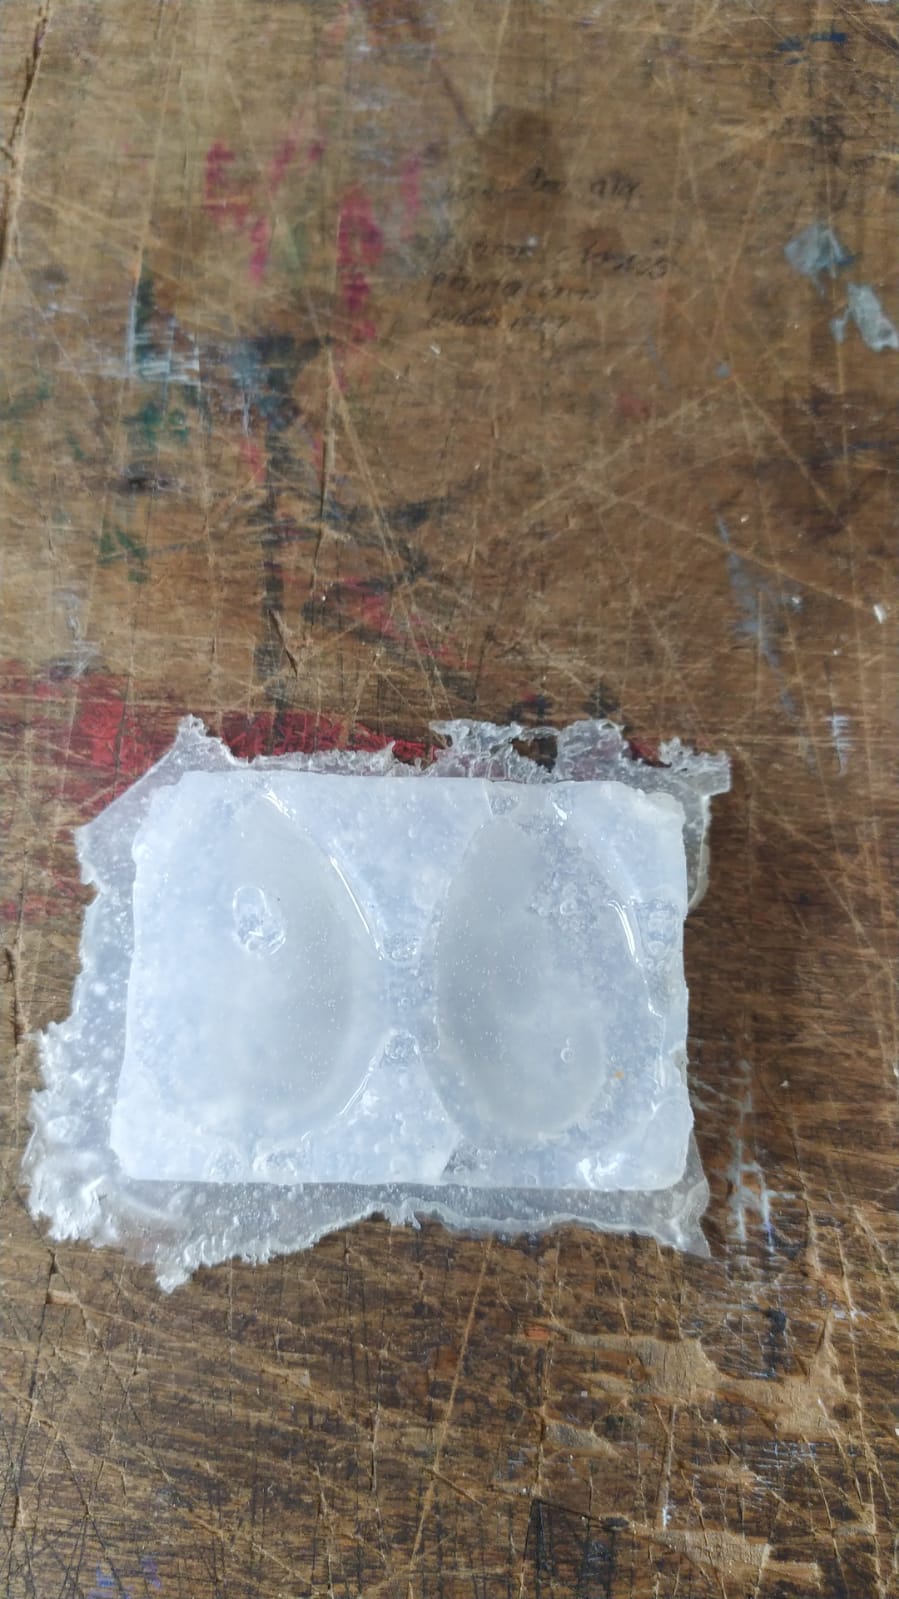
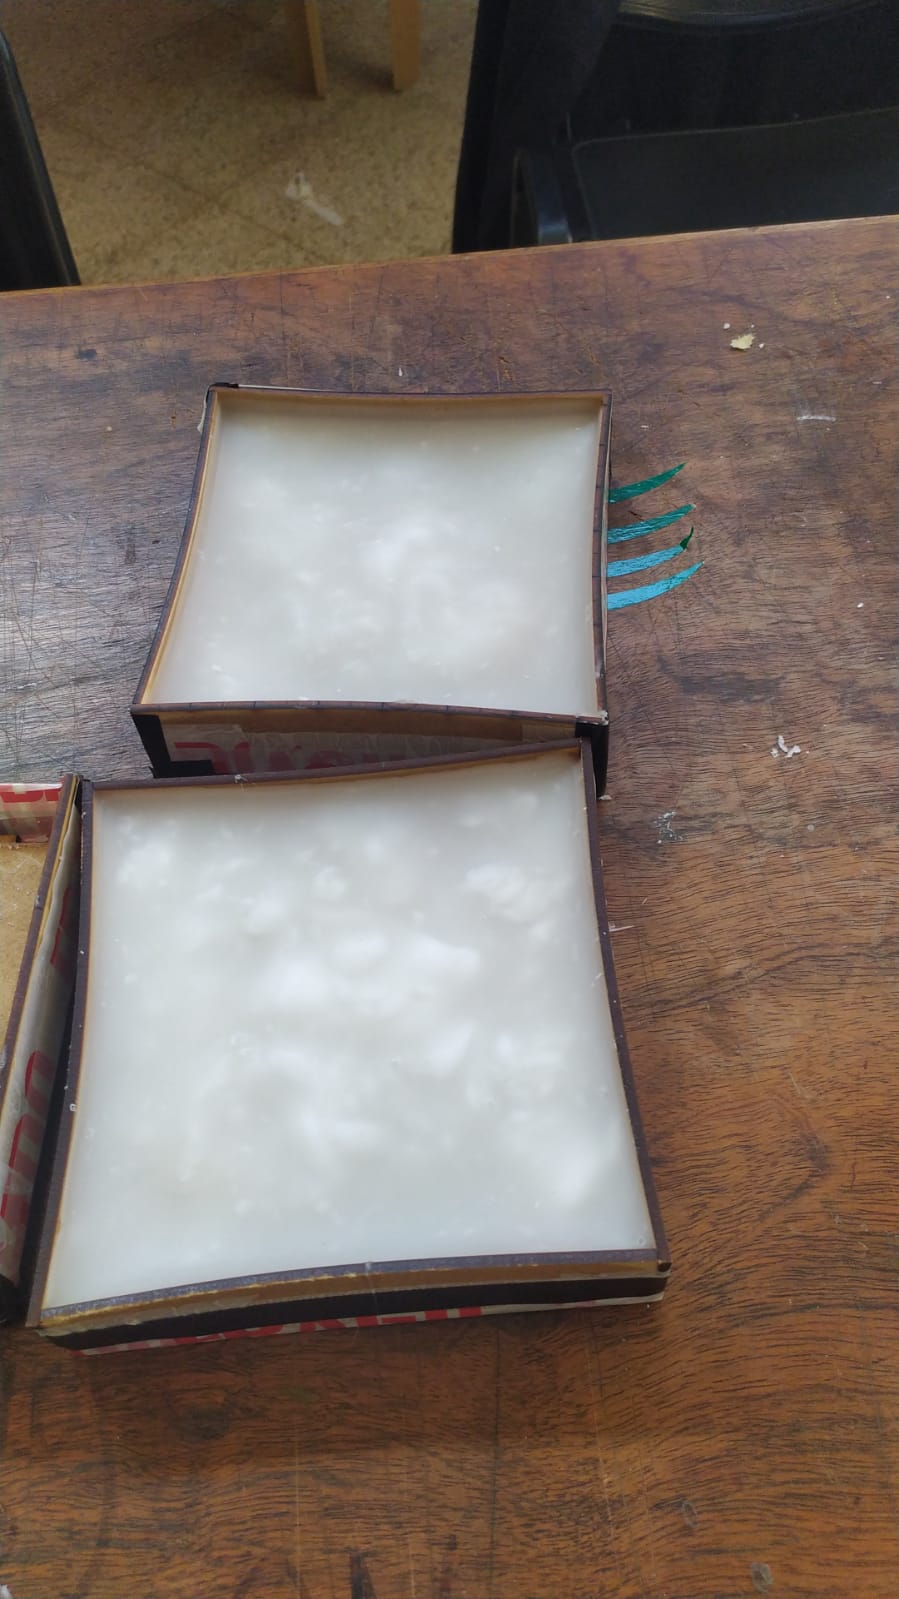
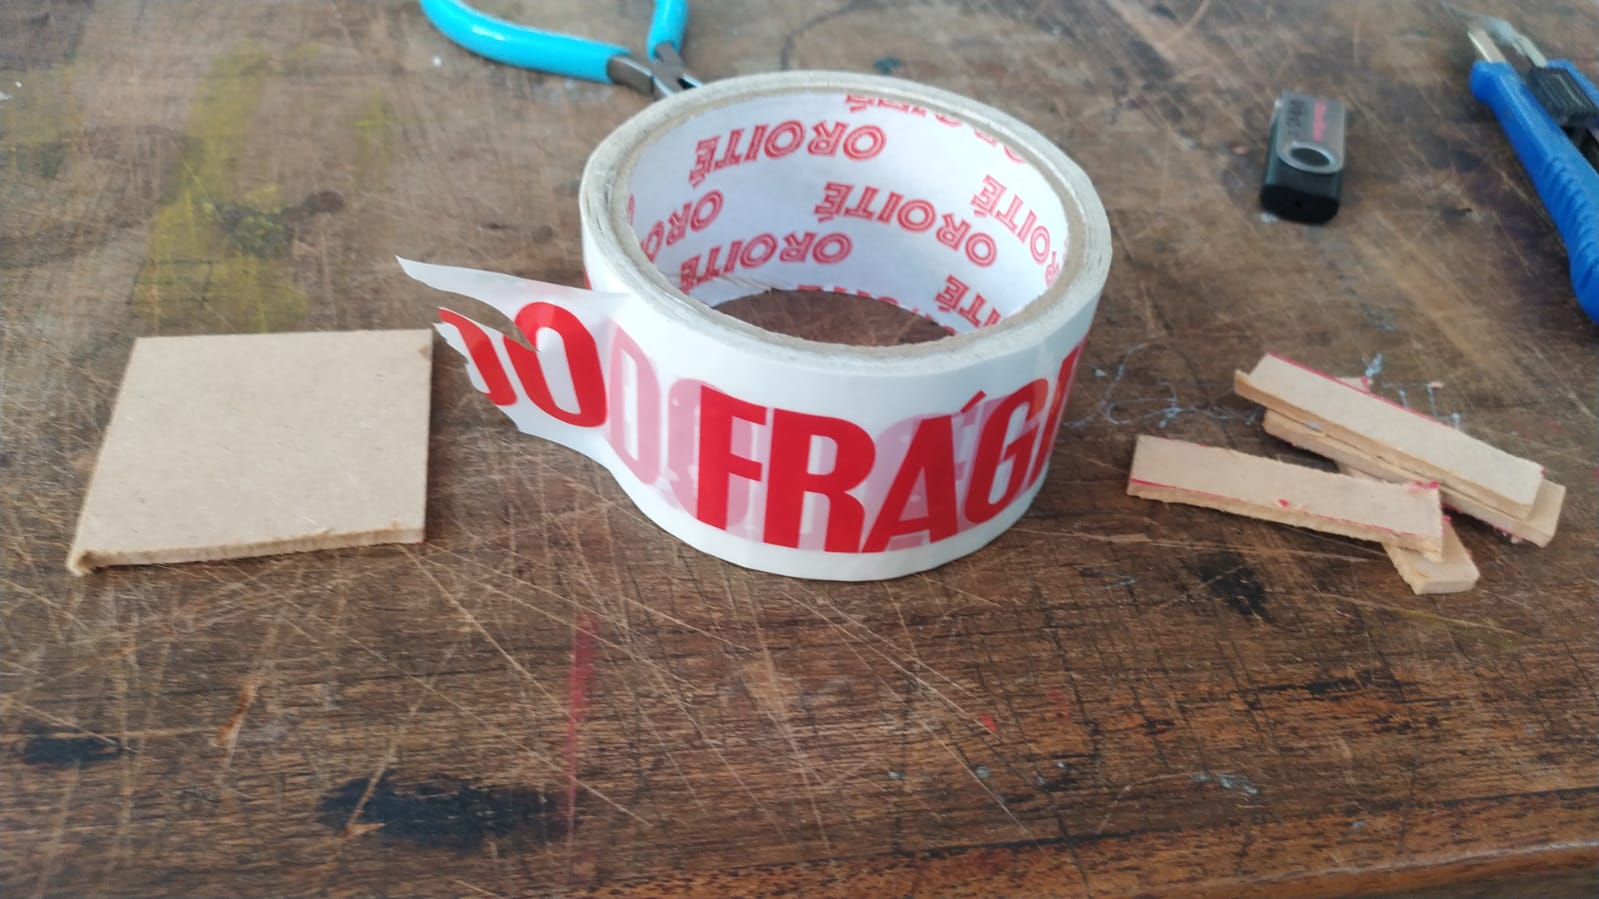
I made a small box with mdf and tape to contain my mould.
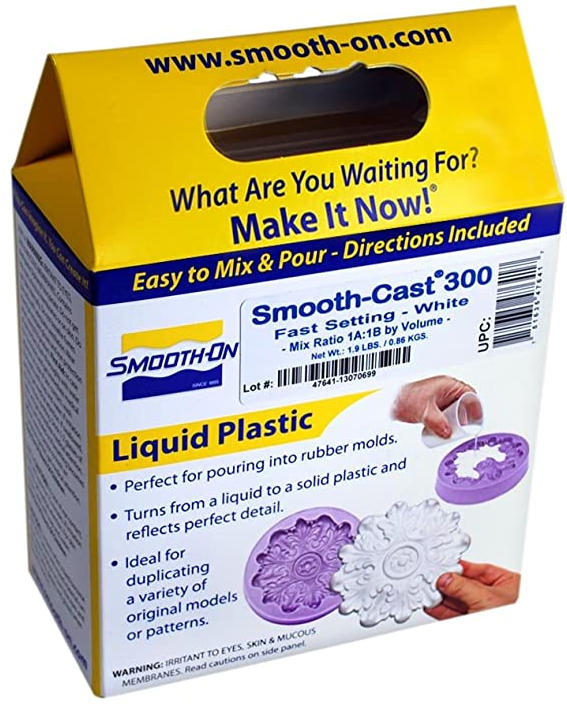
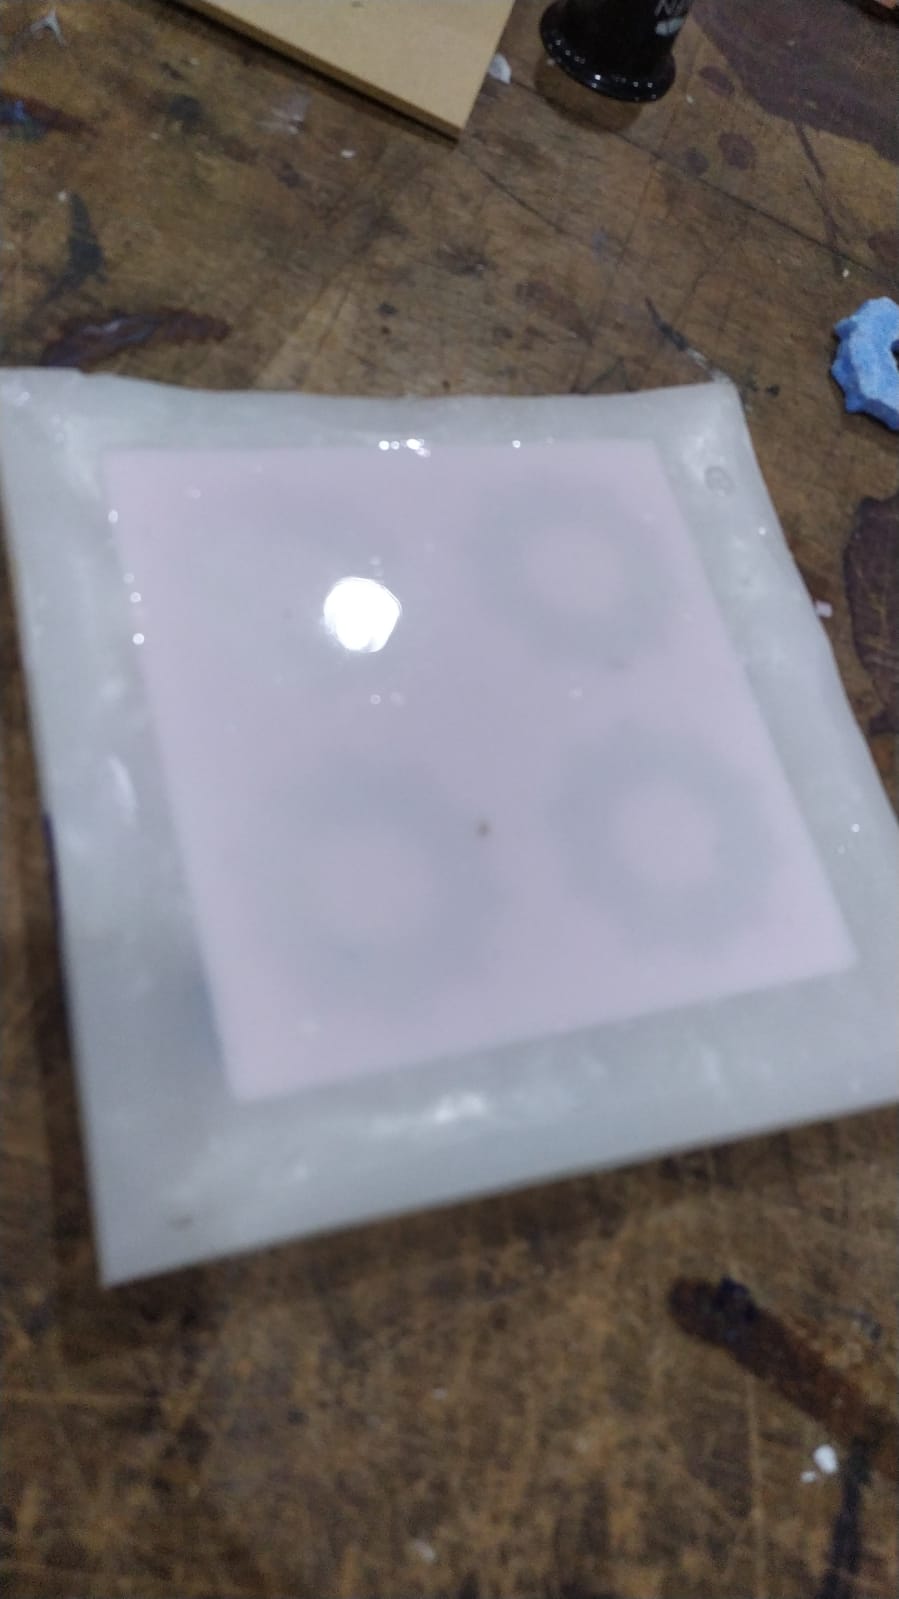
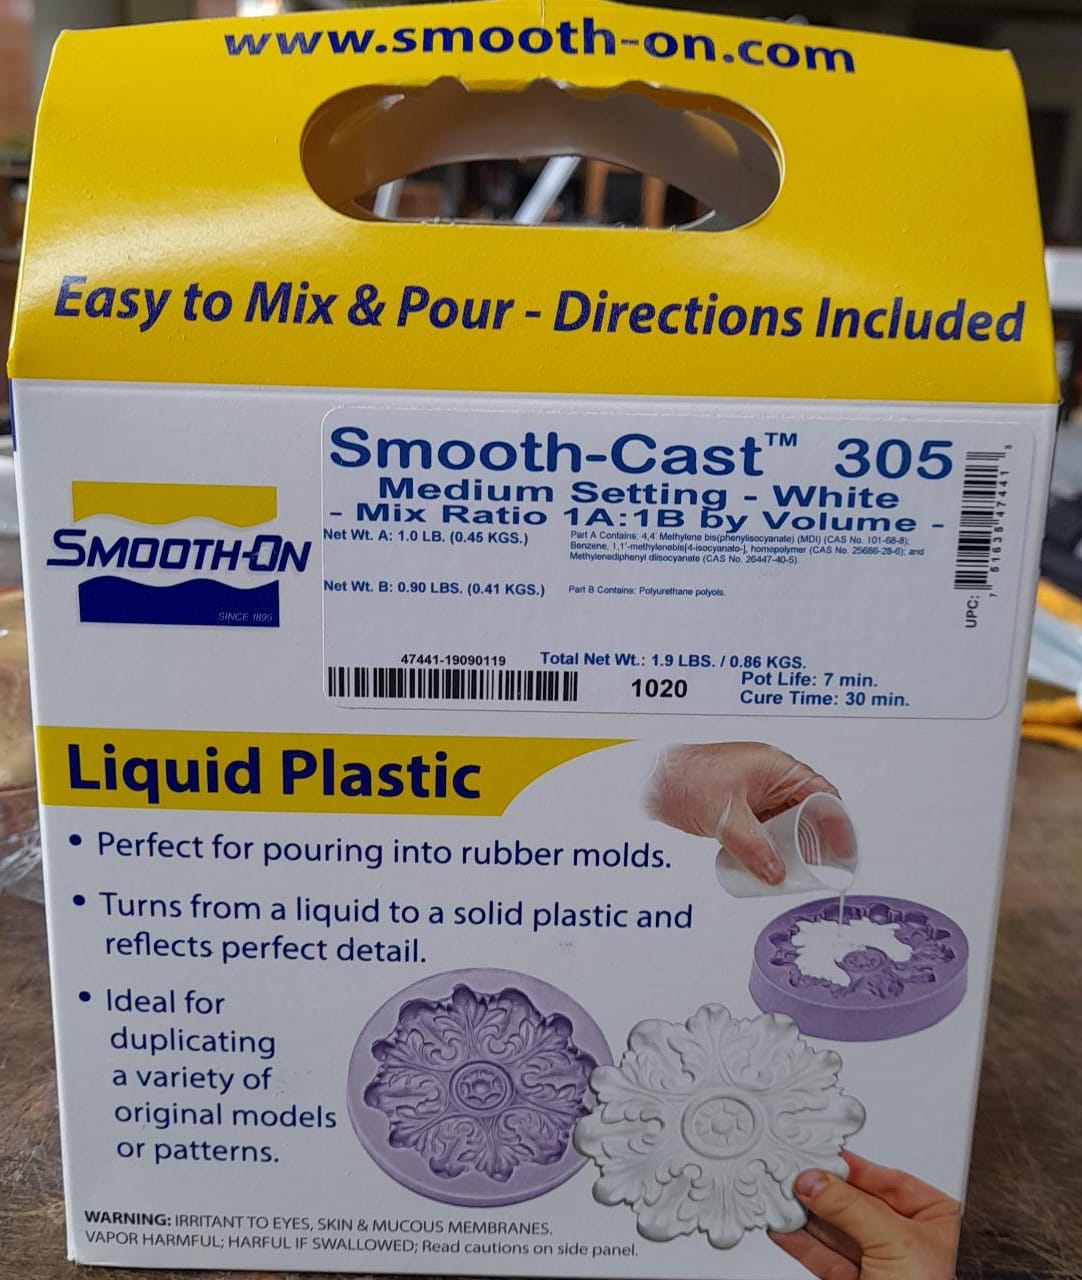
And then started preparing the liquid plastic resin.
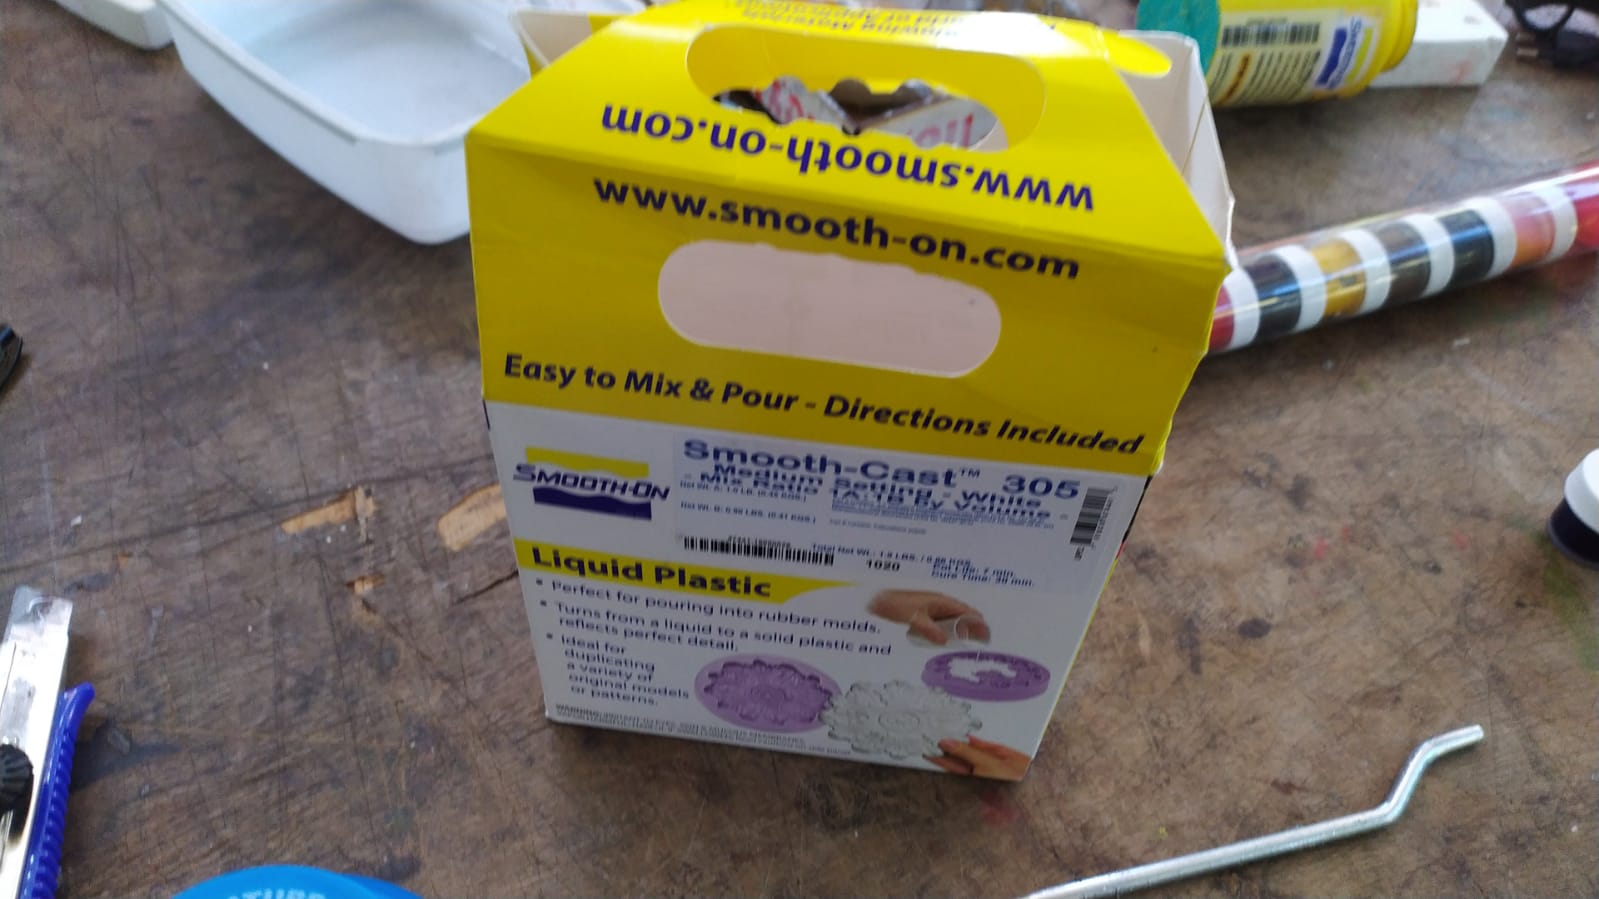
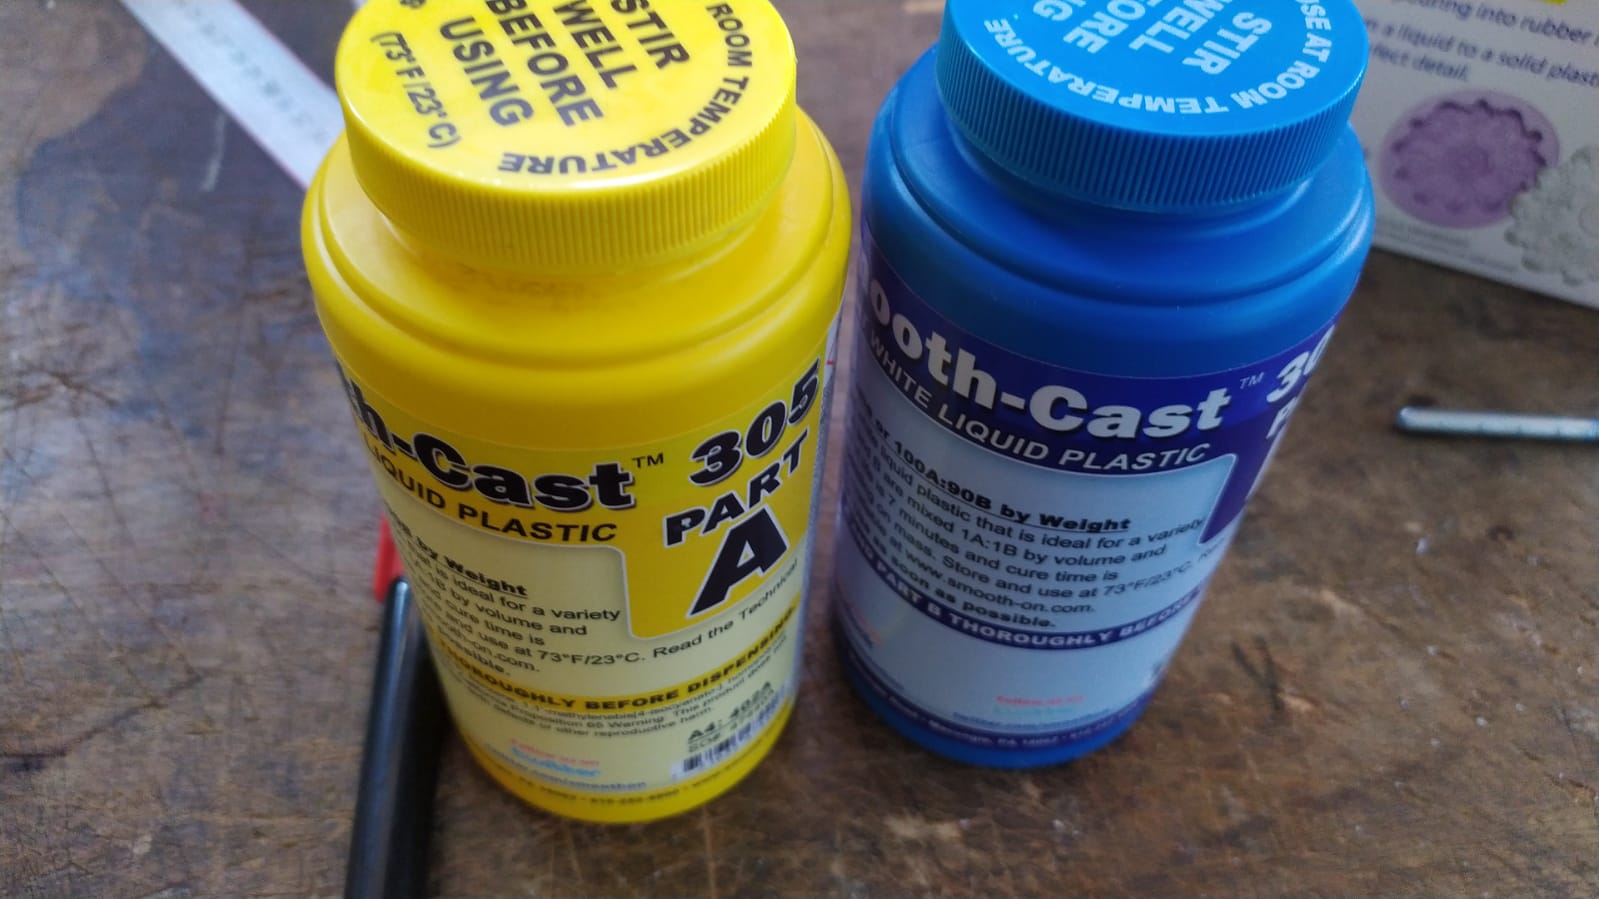
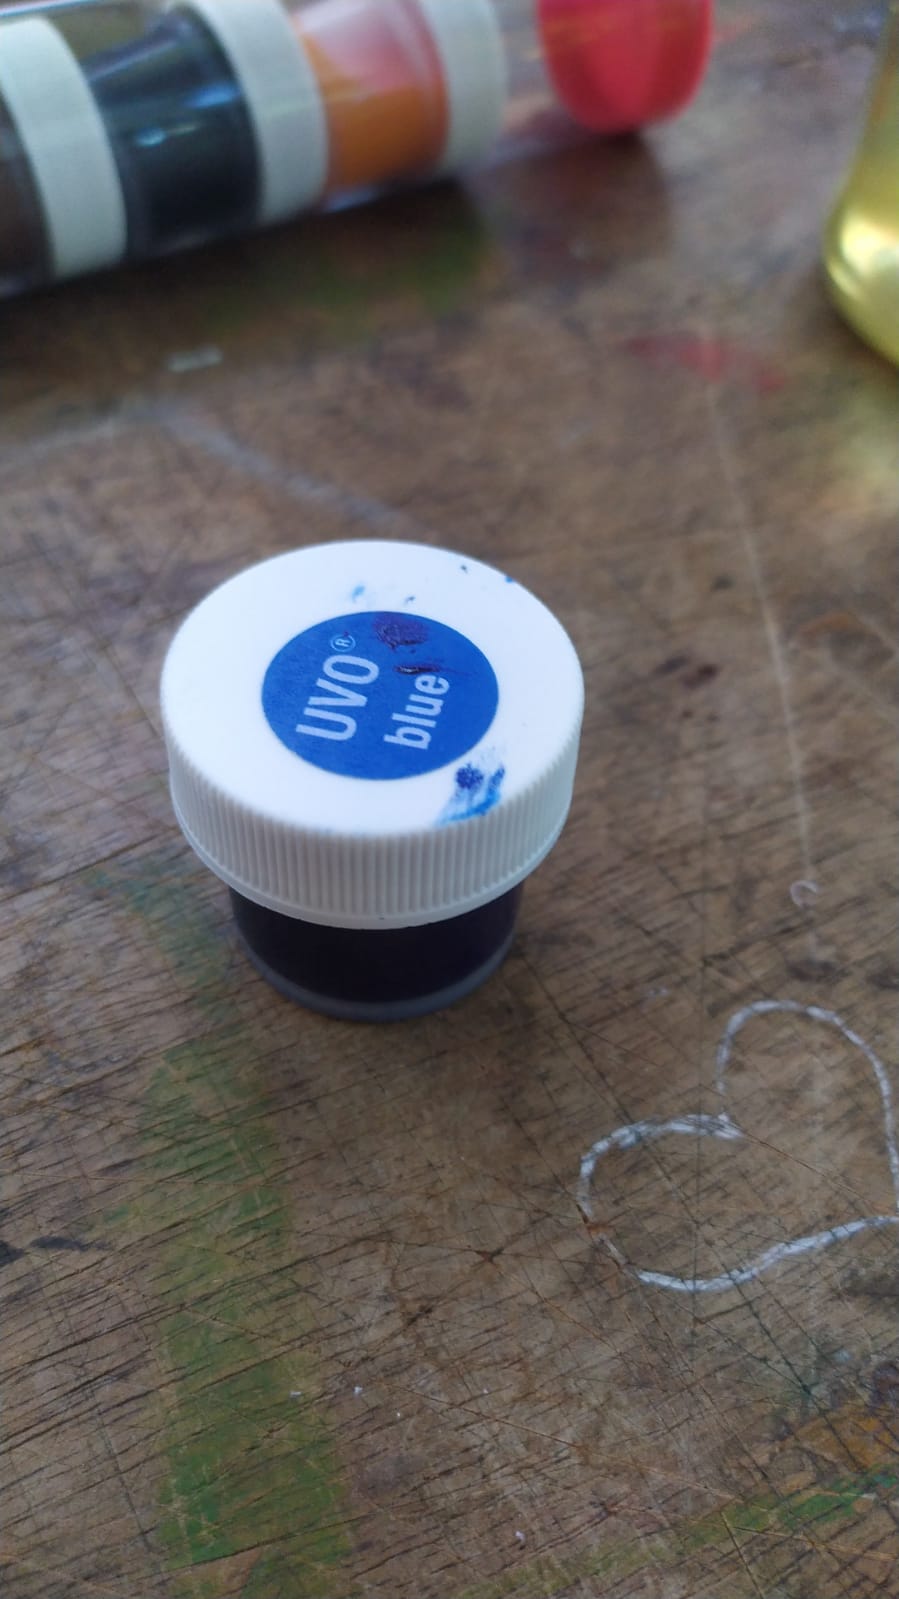
it has a small colorant I choose the color blue and poured some in the mixture.
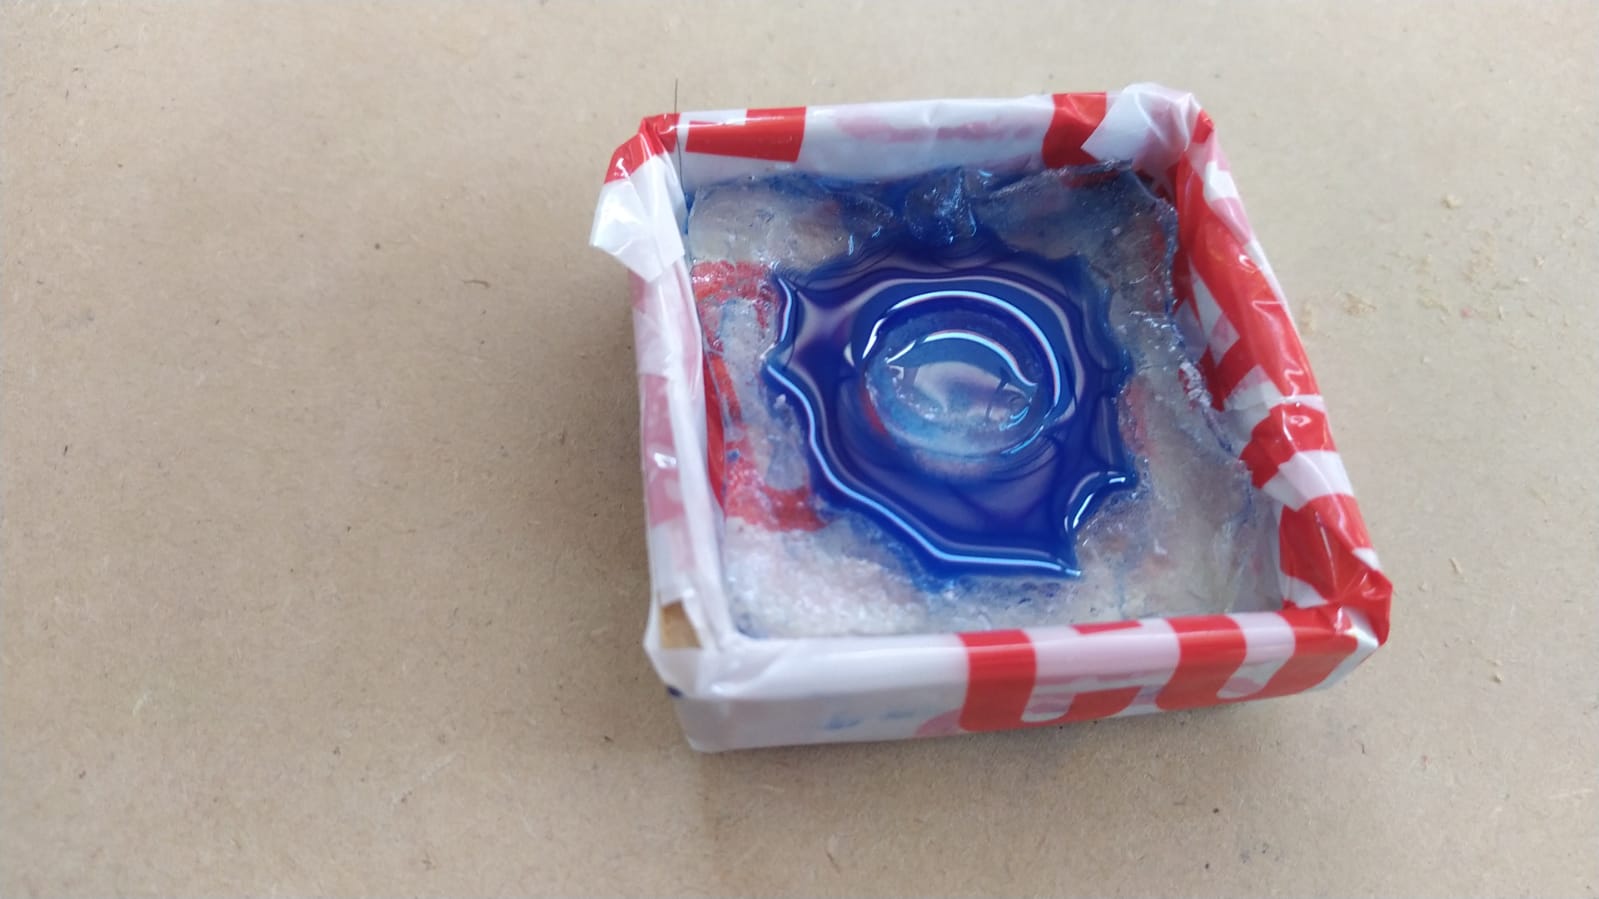
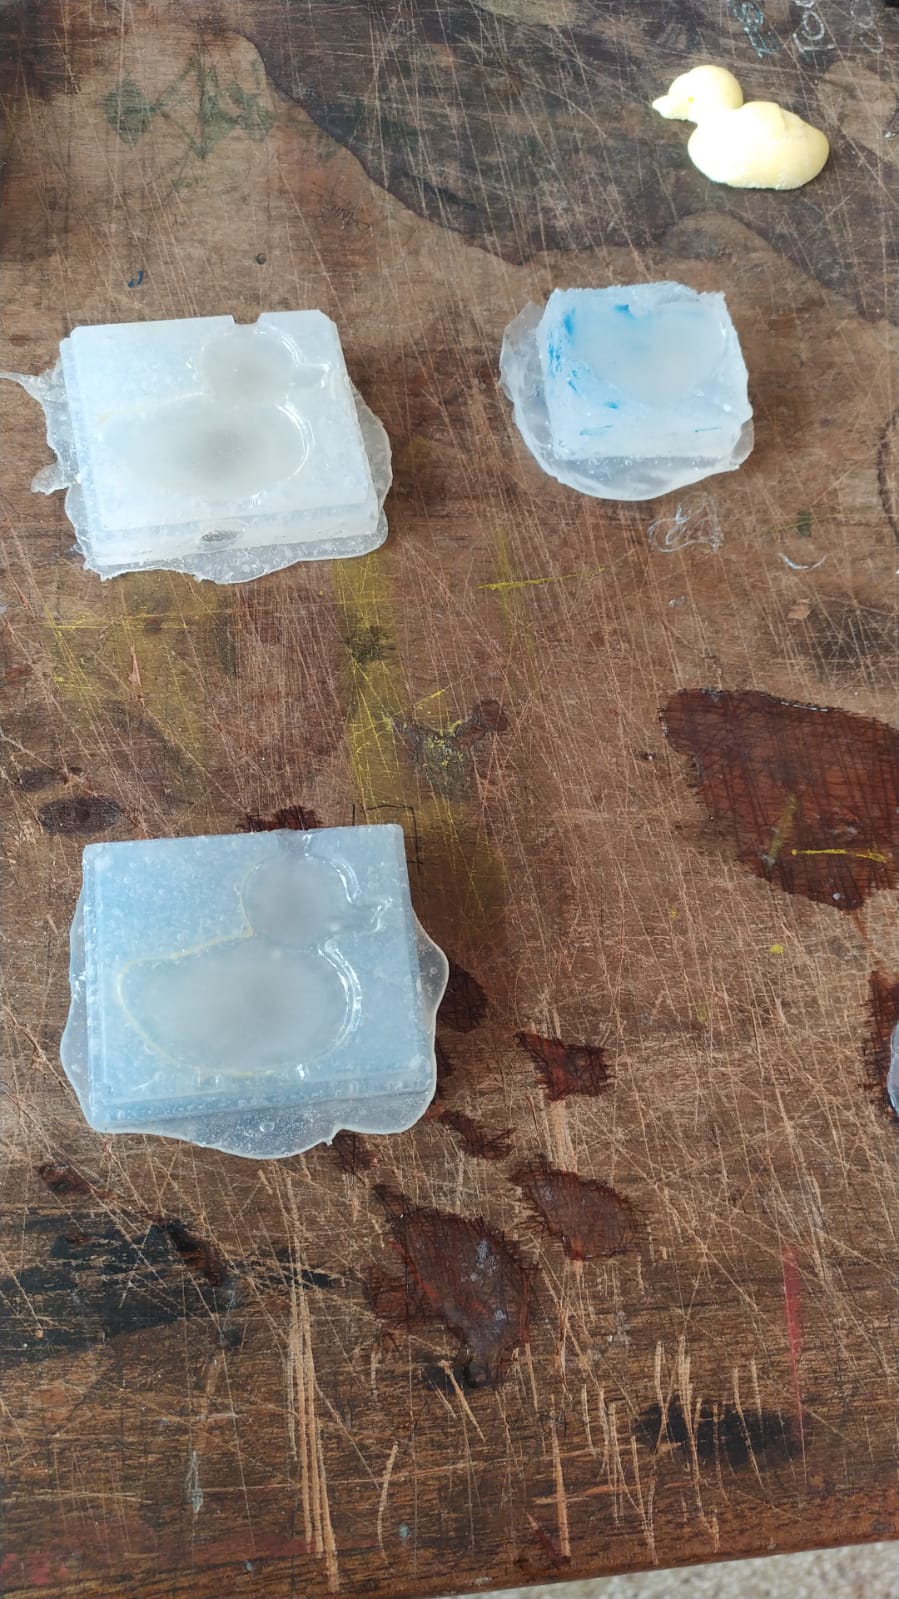
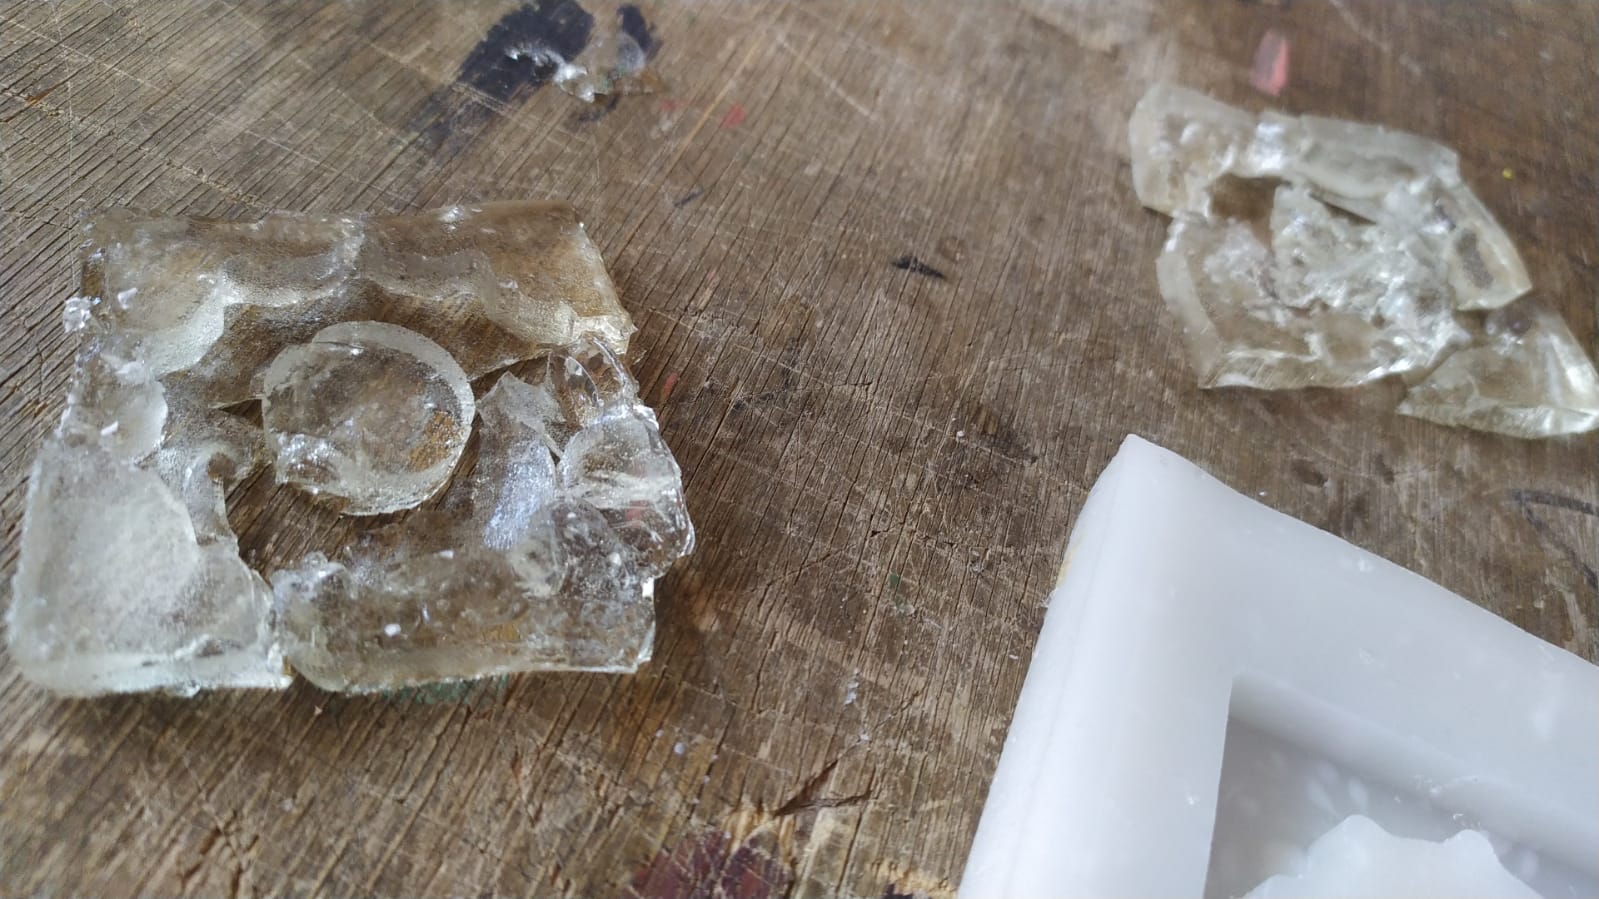
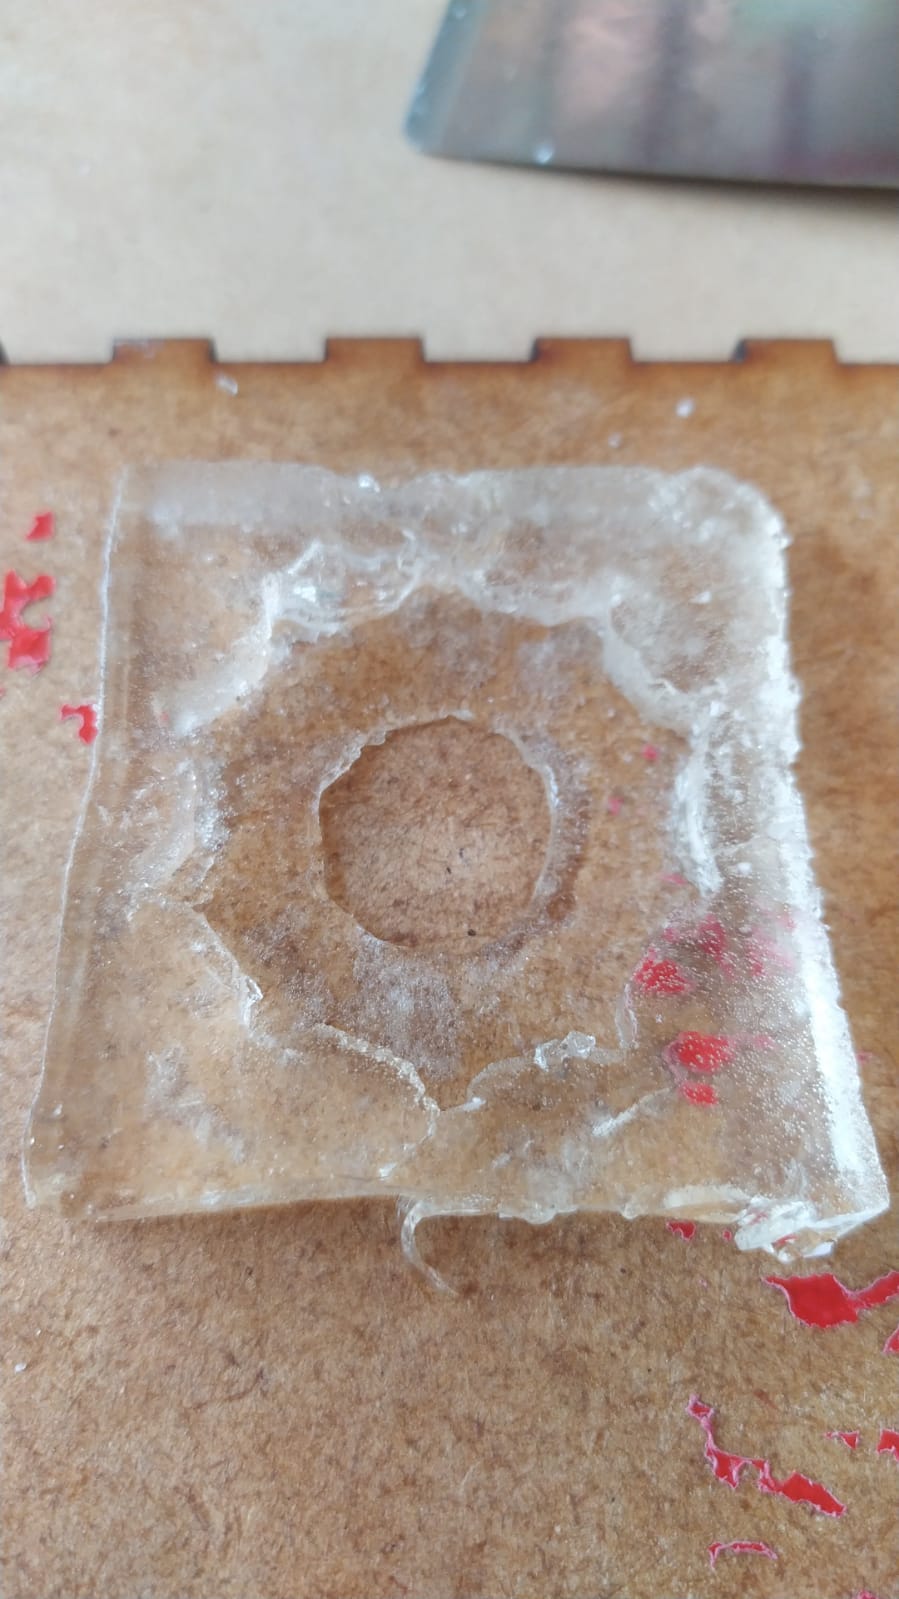
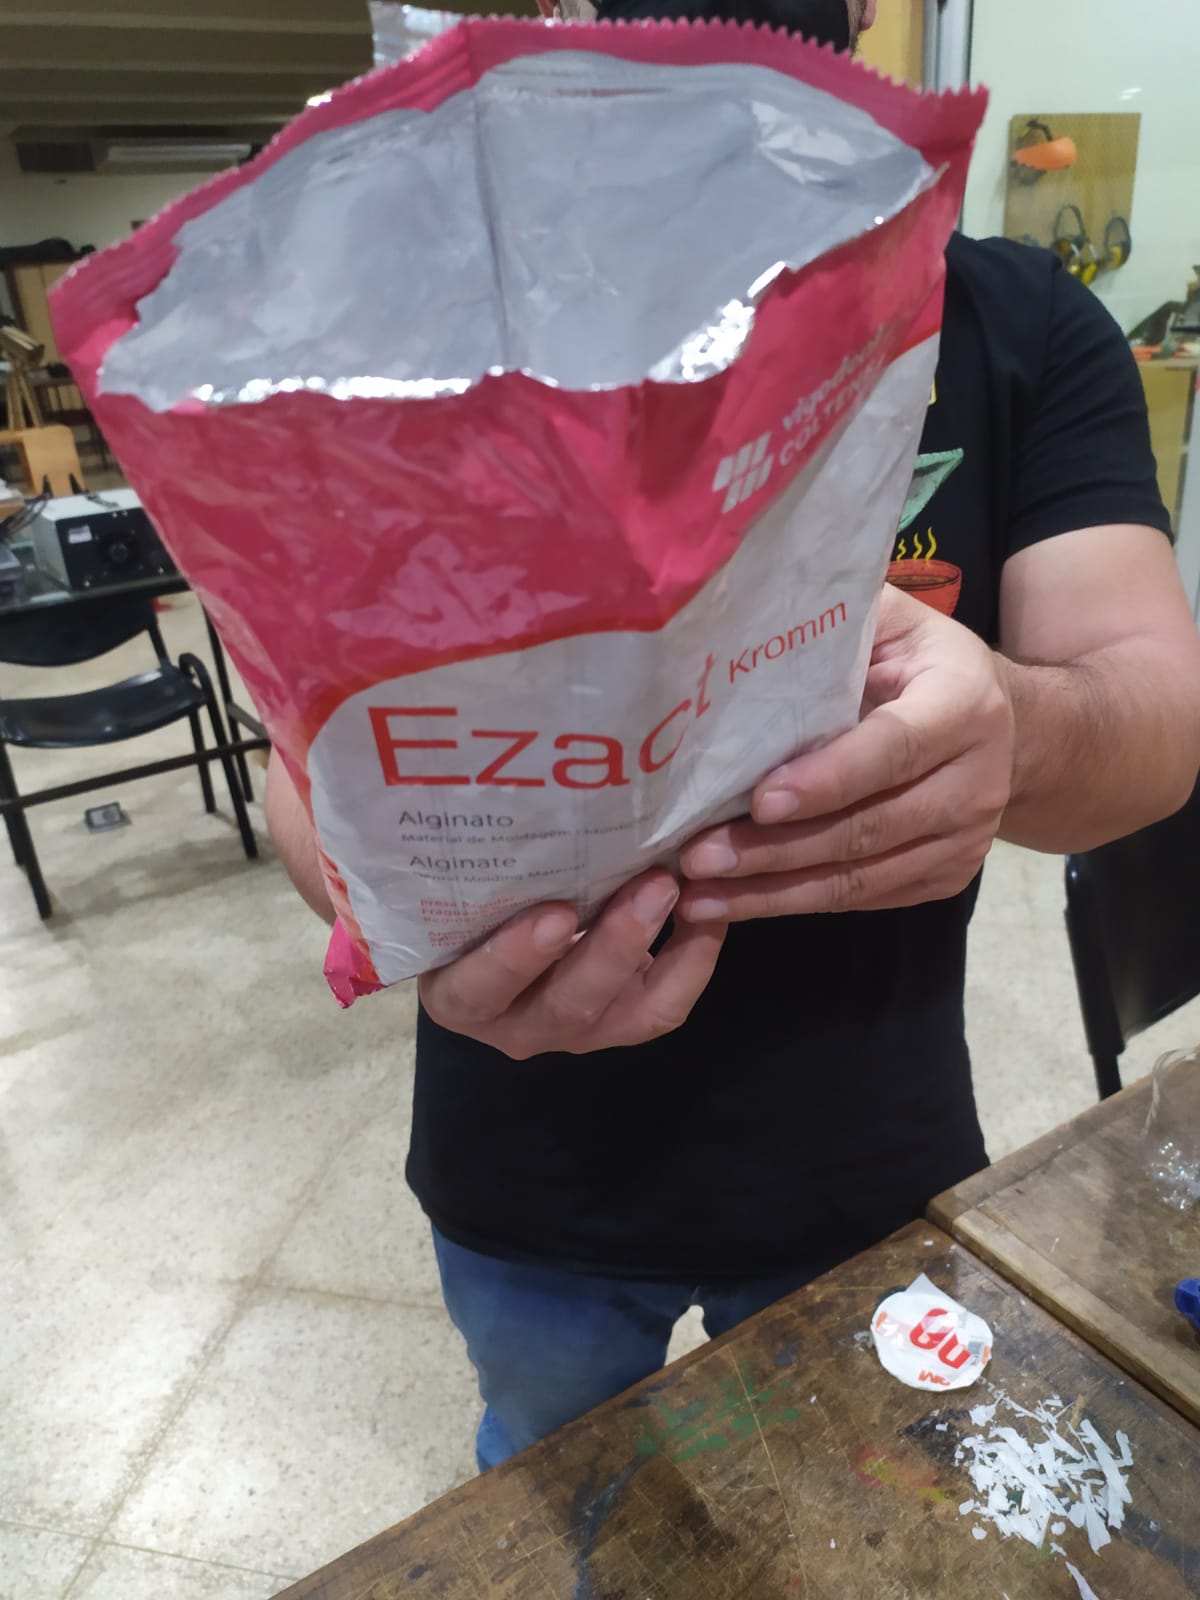
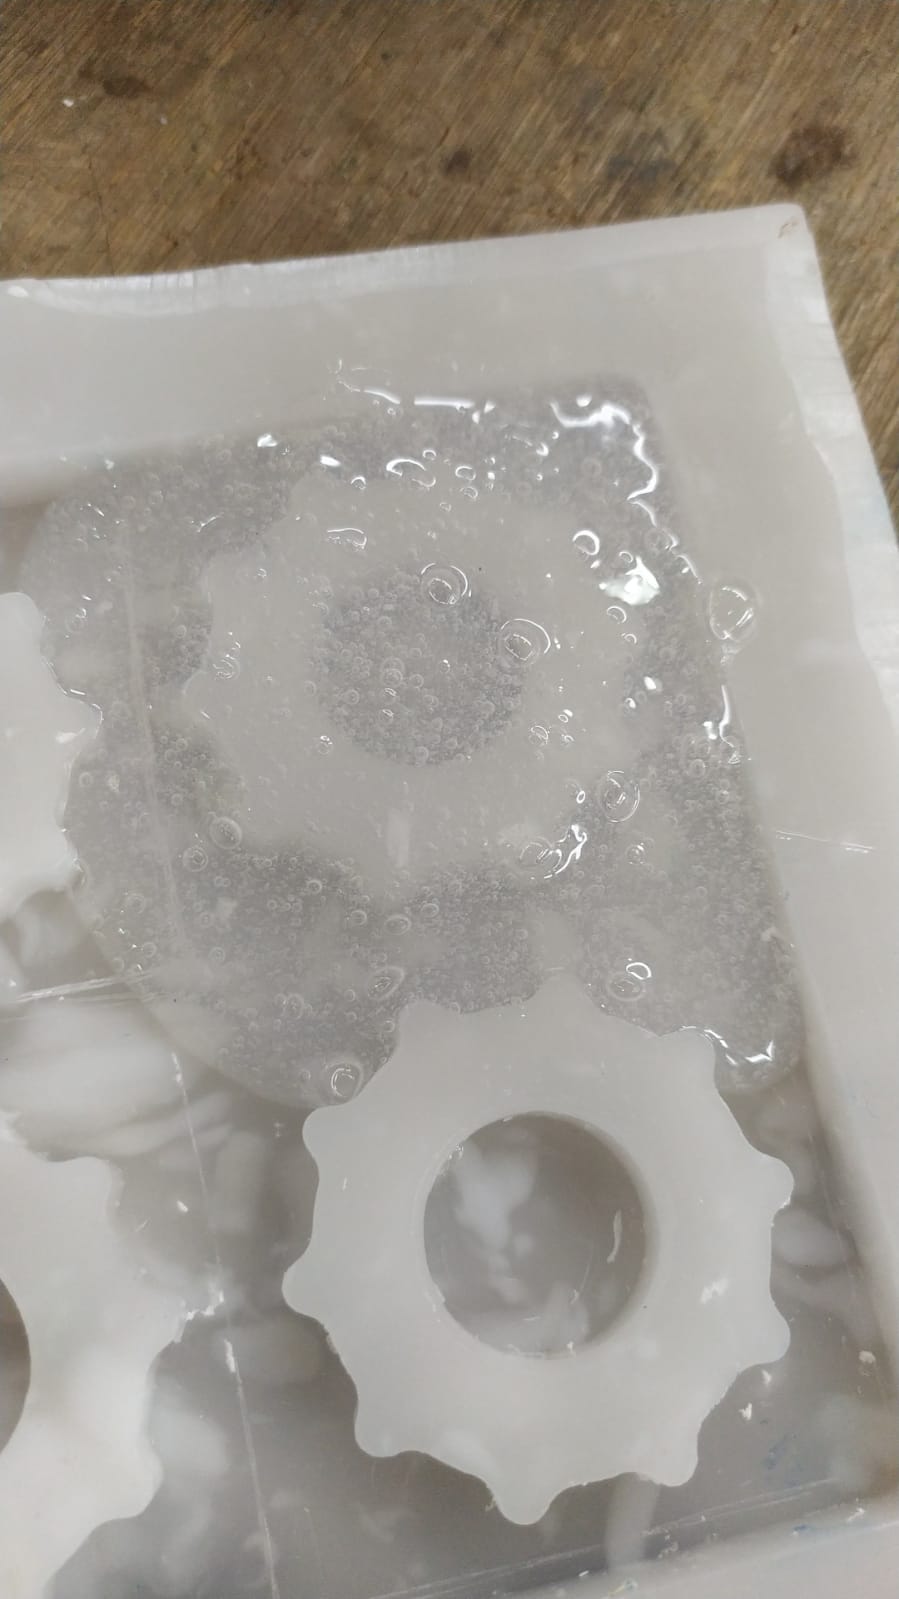
the result was not so good, so we decided to try again using alginate, that we could find in Paraguay more easily than silicone.
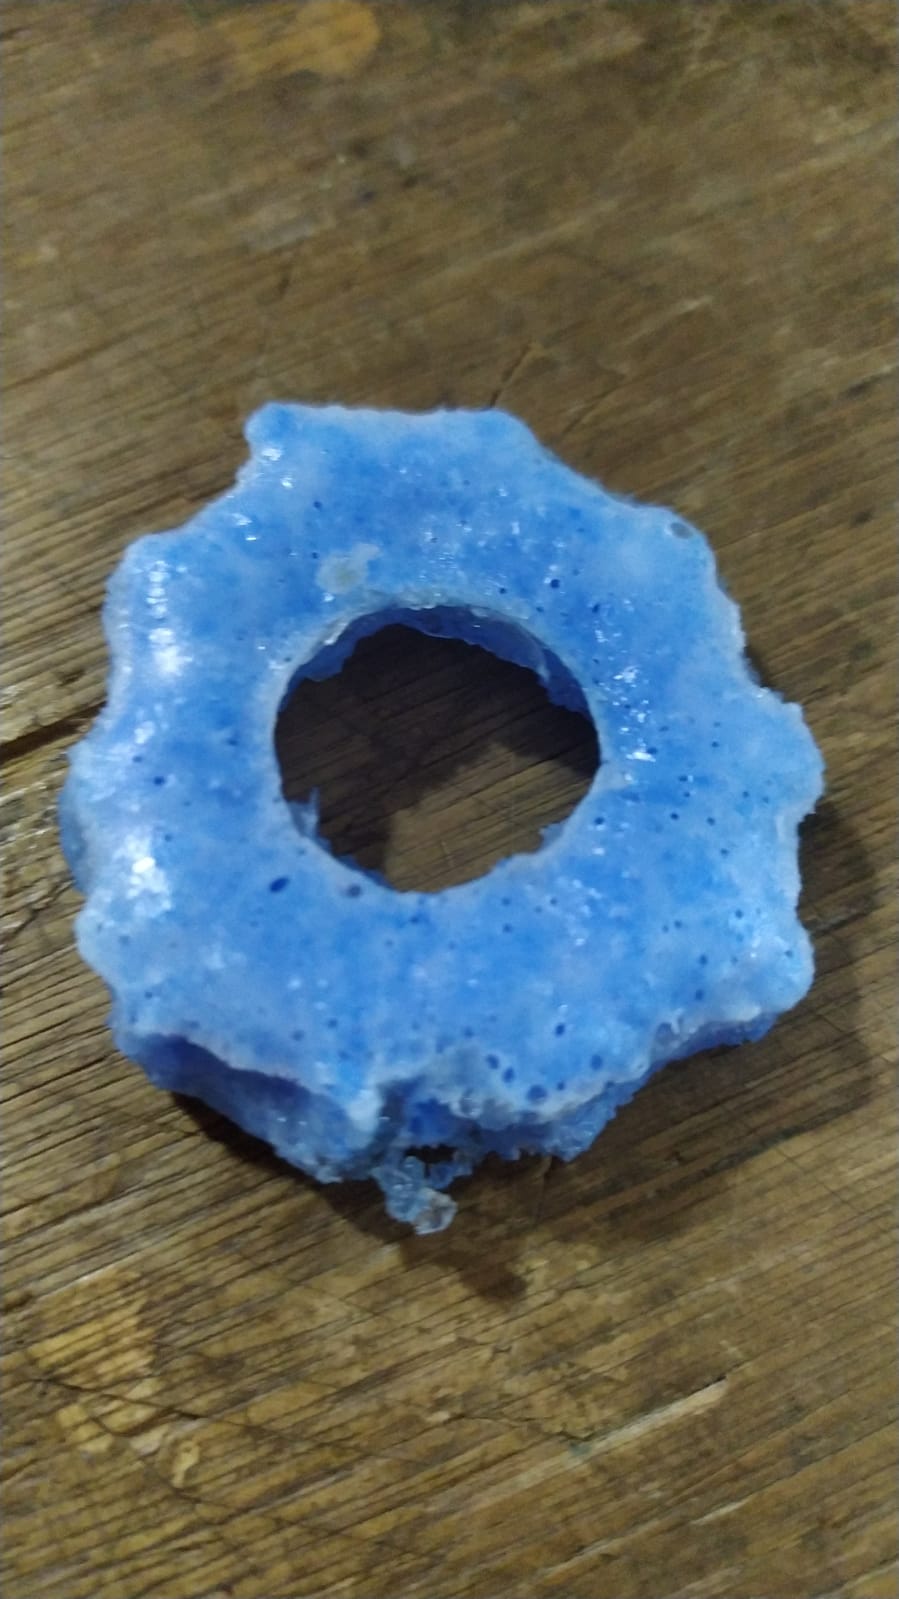
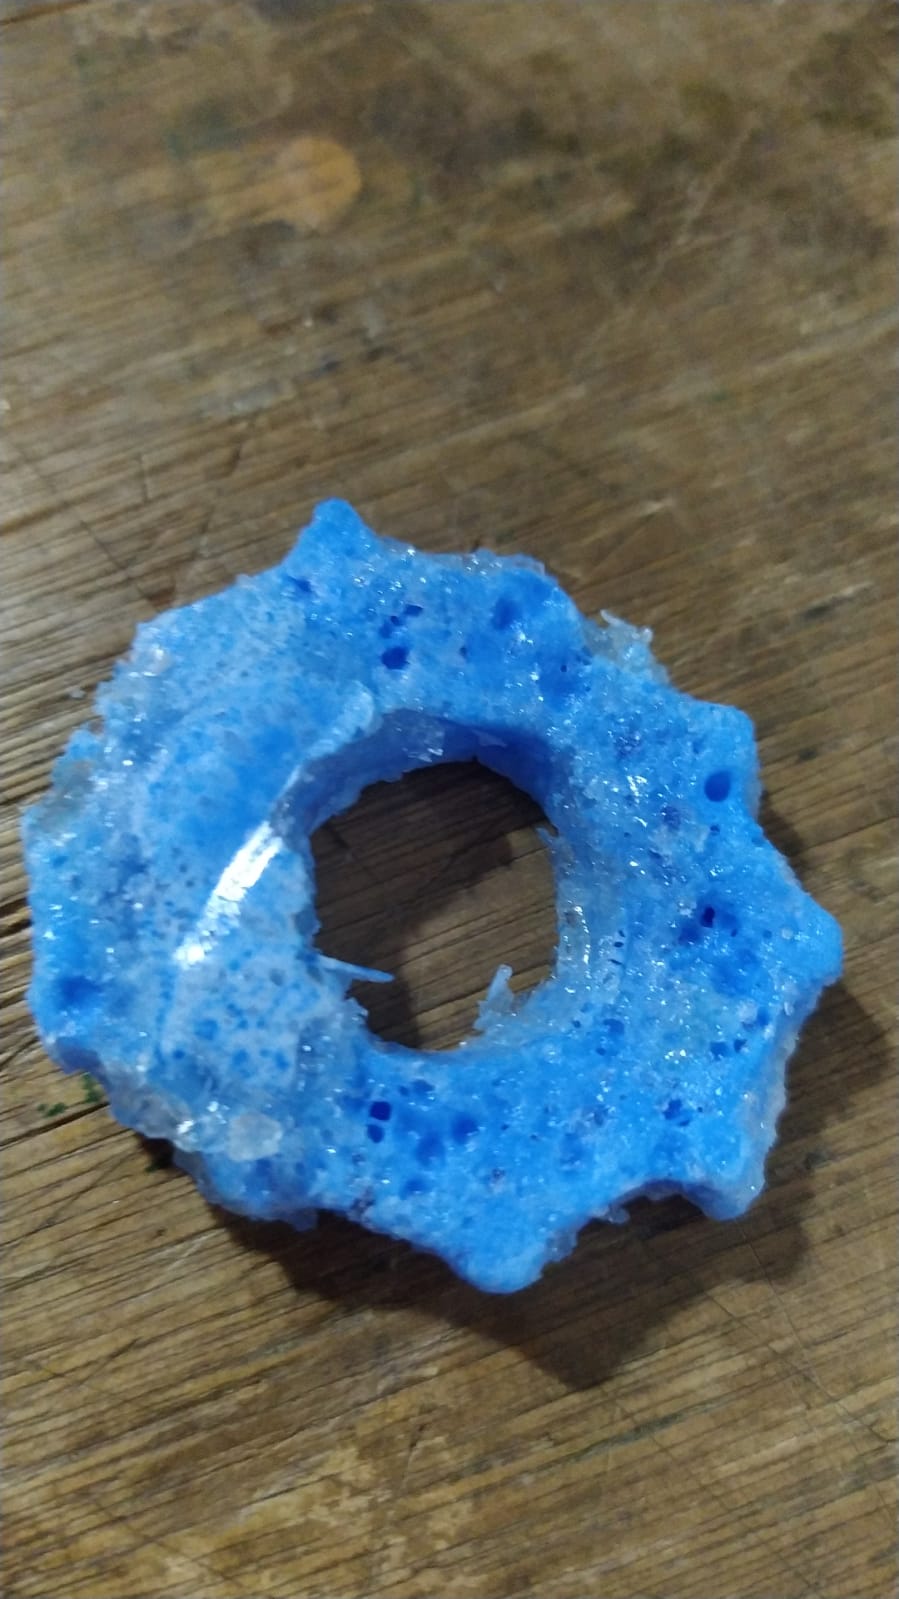
the first results were not so Pretty, it has bubbles of air on it.
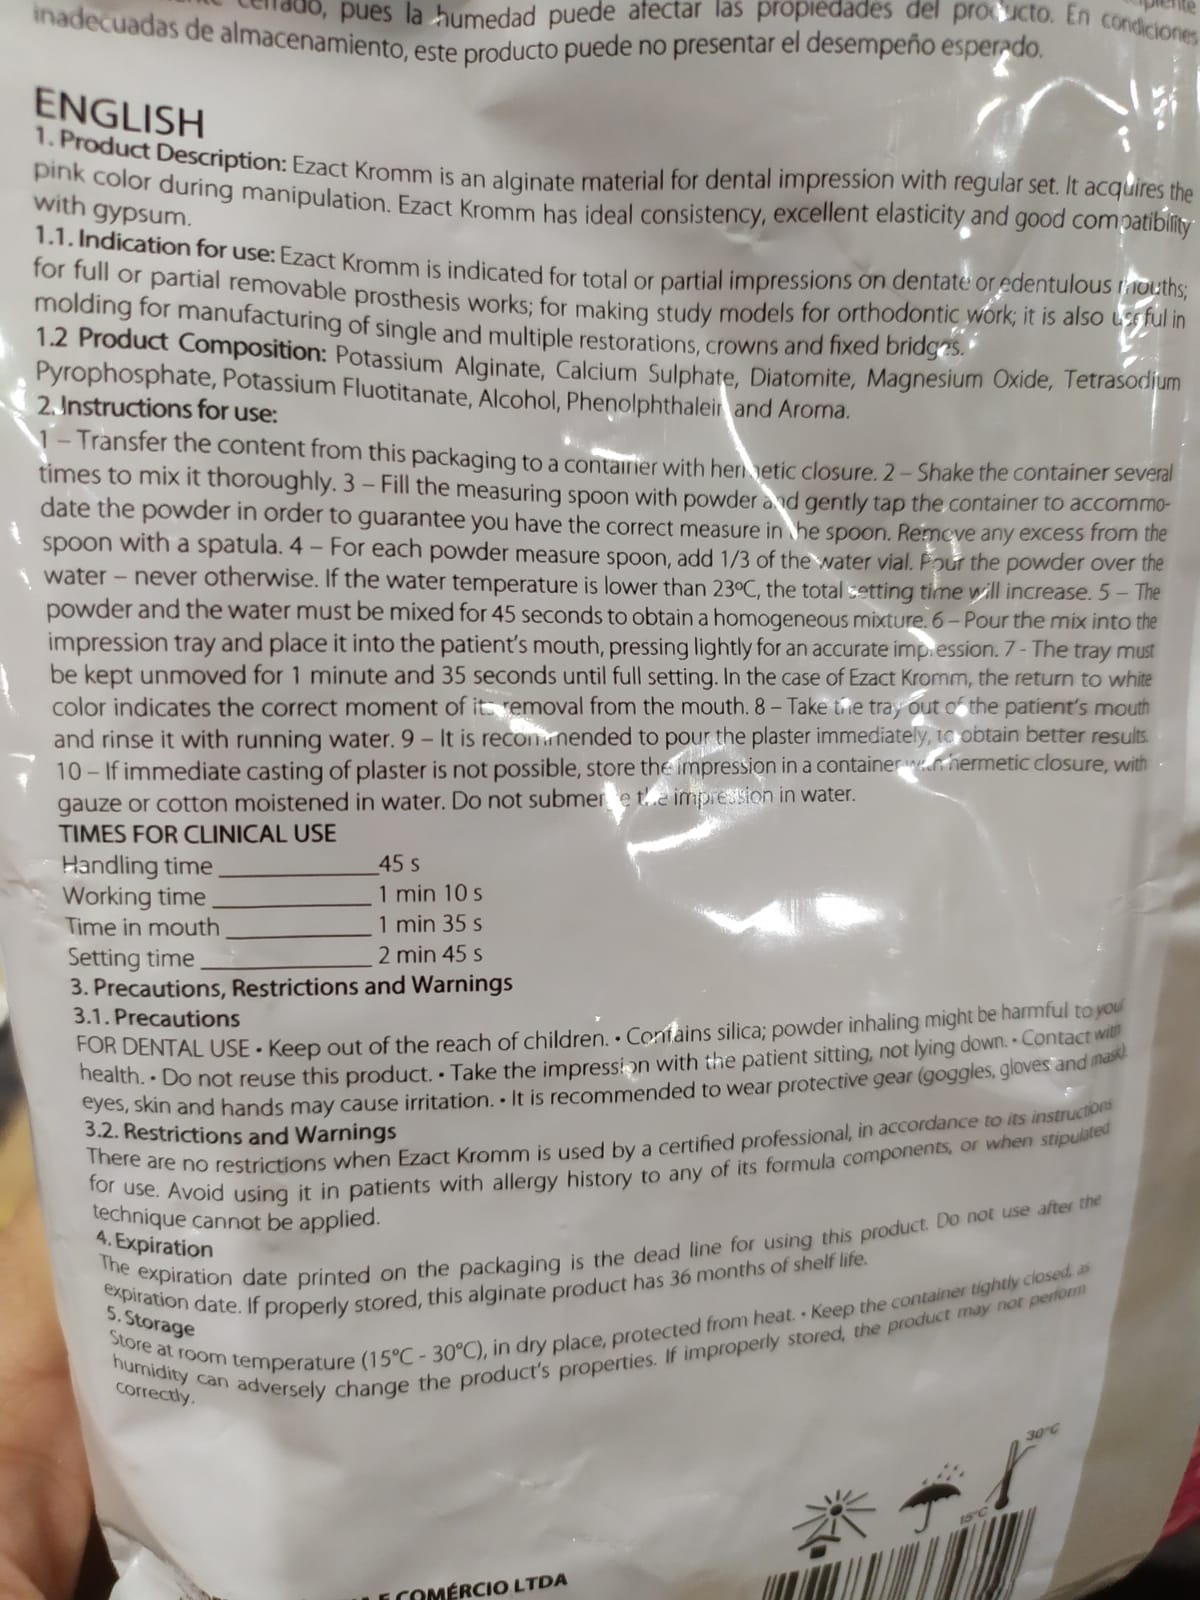
We read the safety measures wich considered using face mask and not to aspire the material, taking the safety precautions we started mixing it and poured it into the wax mould.
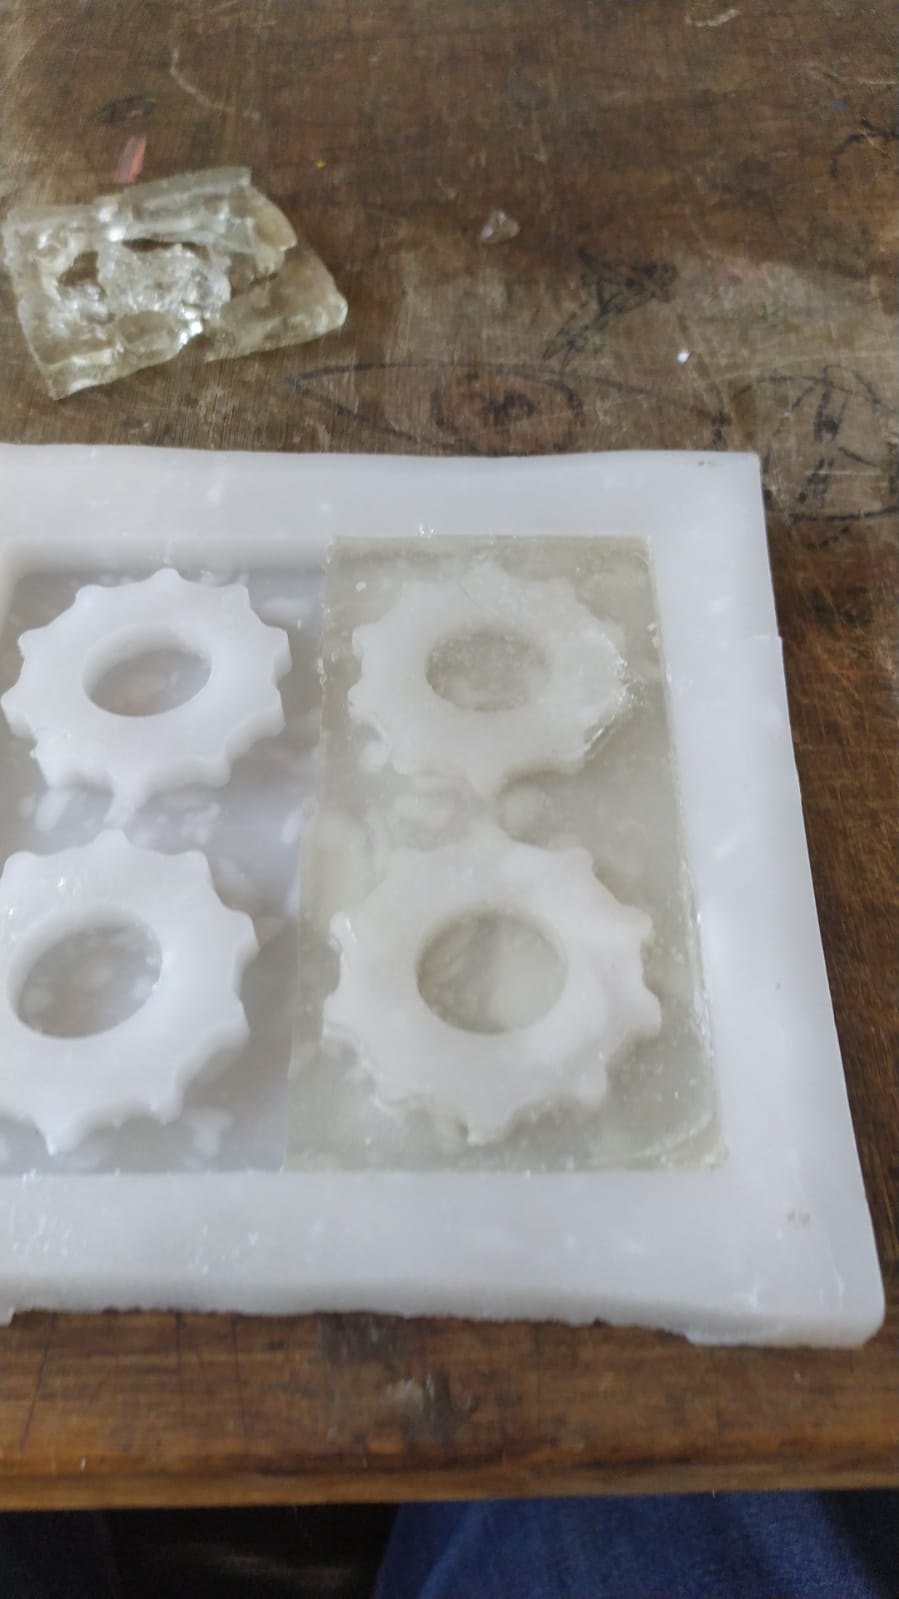
the mixture cured in ten minutes, but it was also weak.
It broke easily so we decided to start over and to let it cure better over night.

I was able to remove parcially again 1/4 parts of my mould.
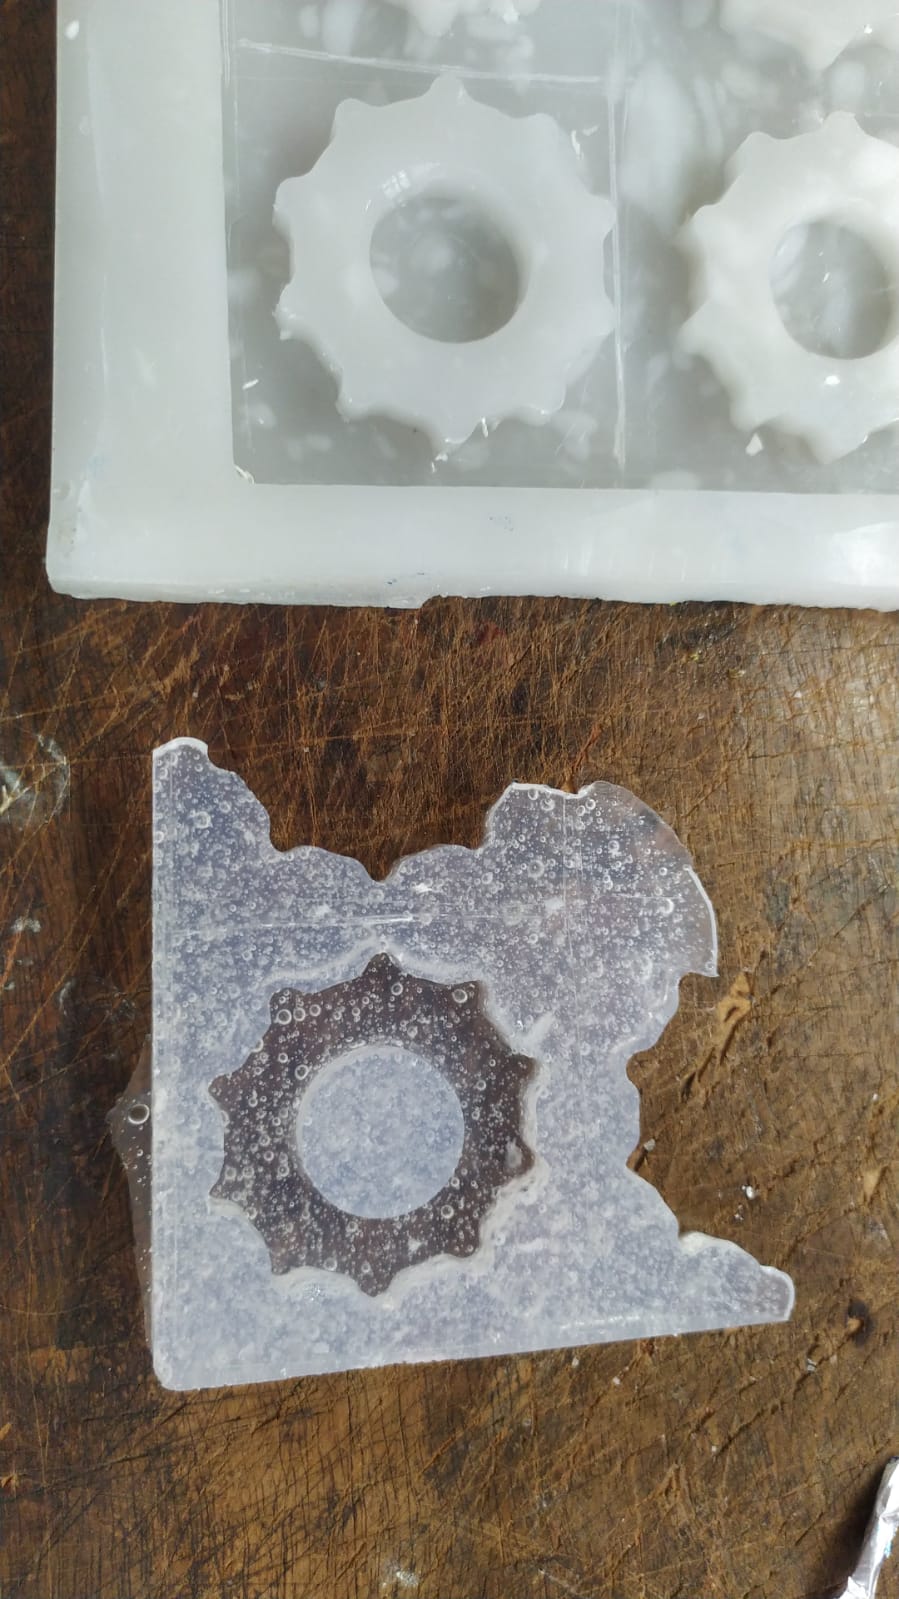
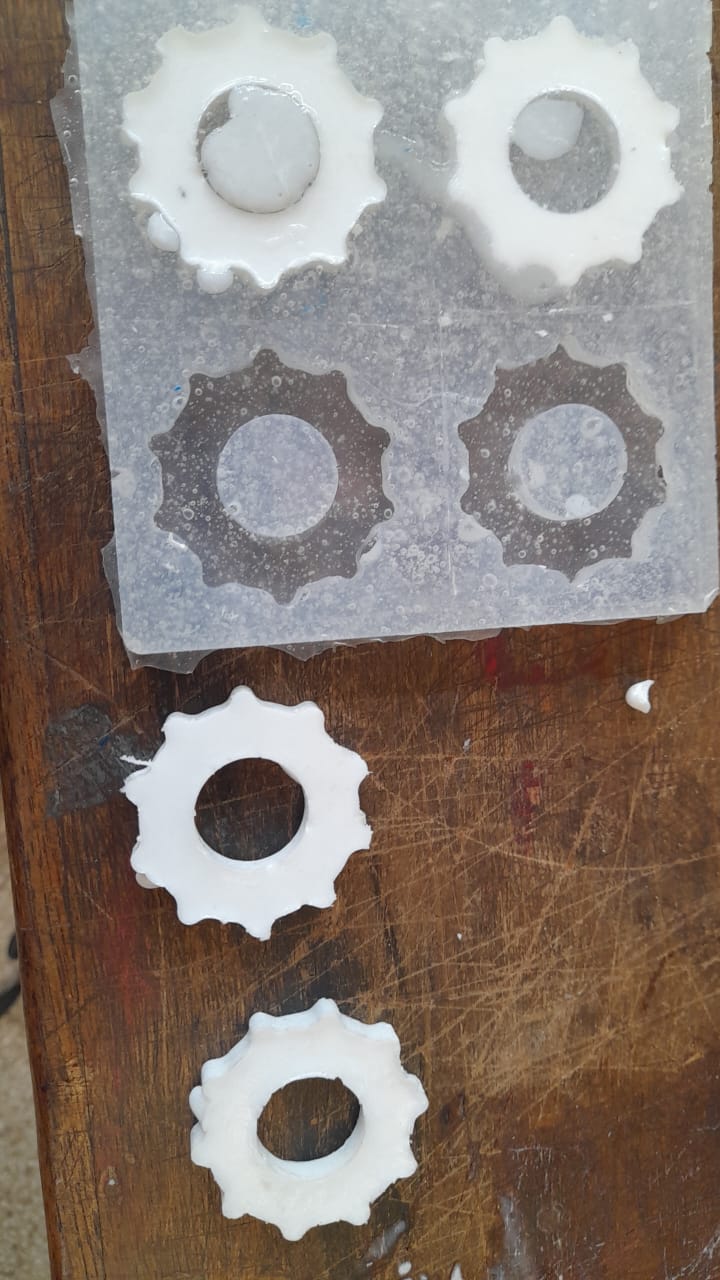
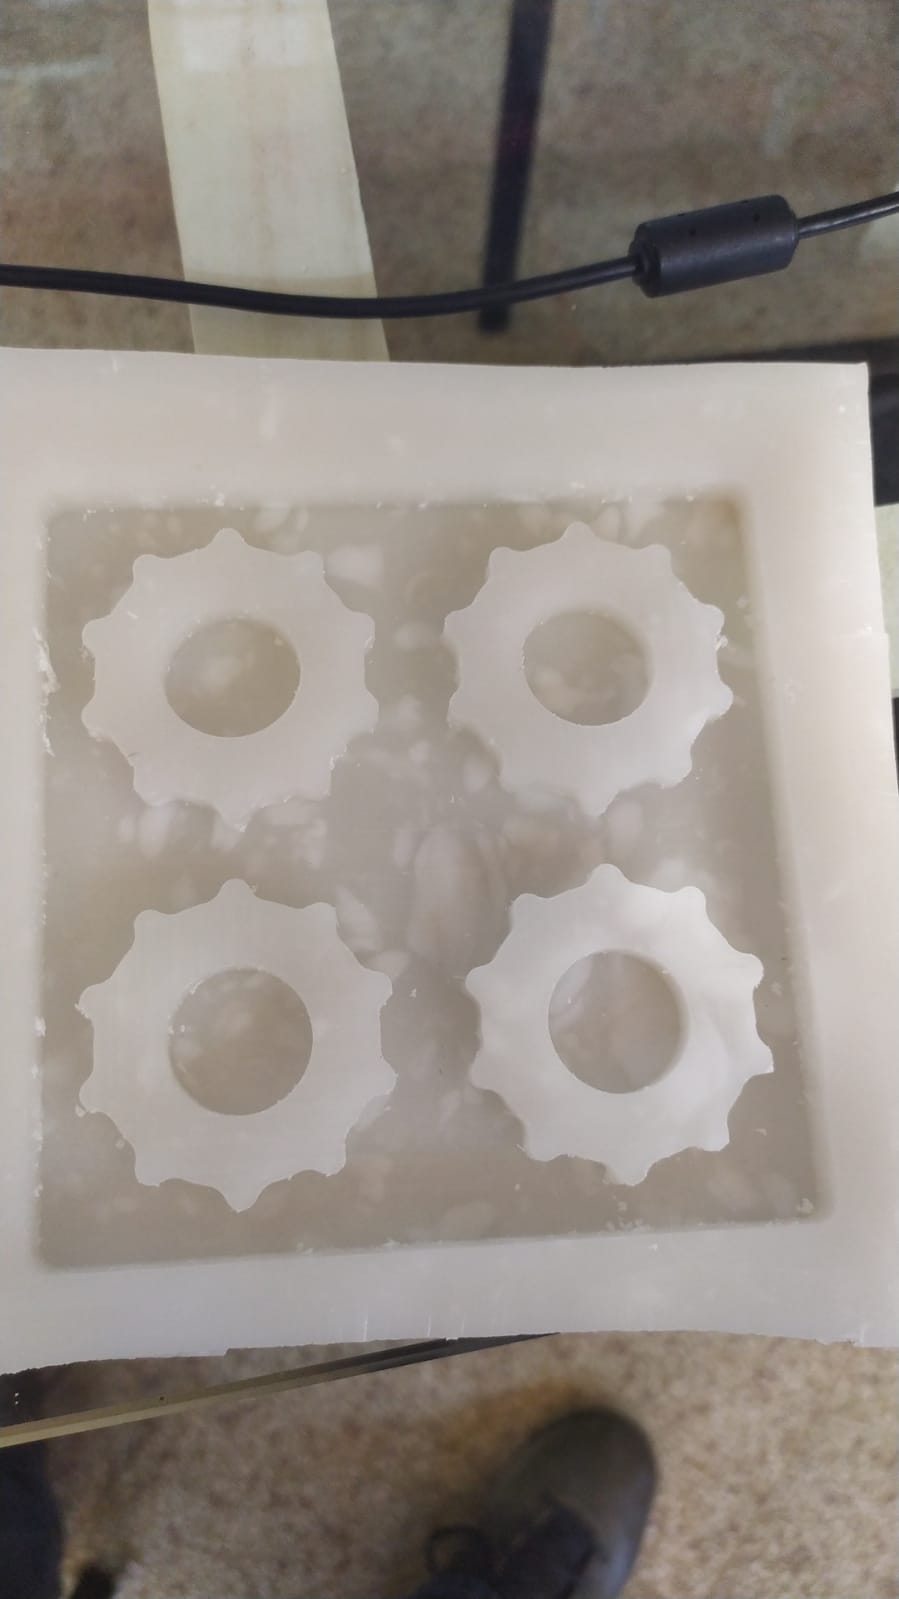
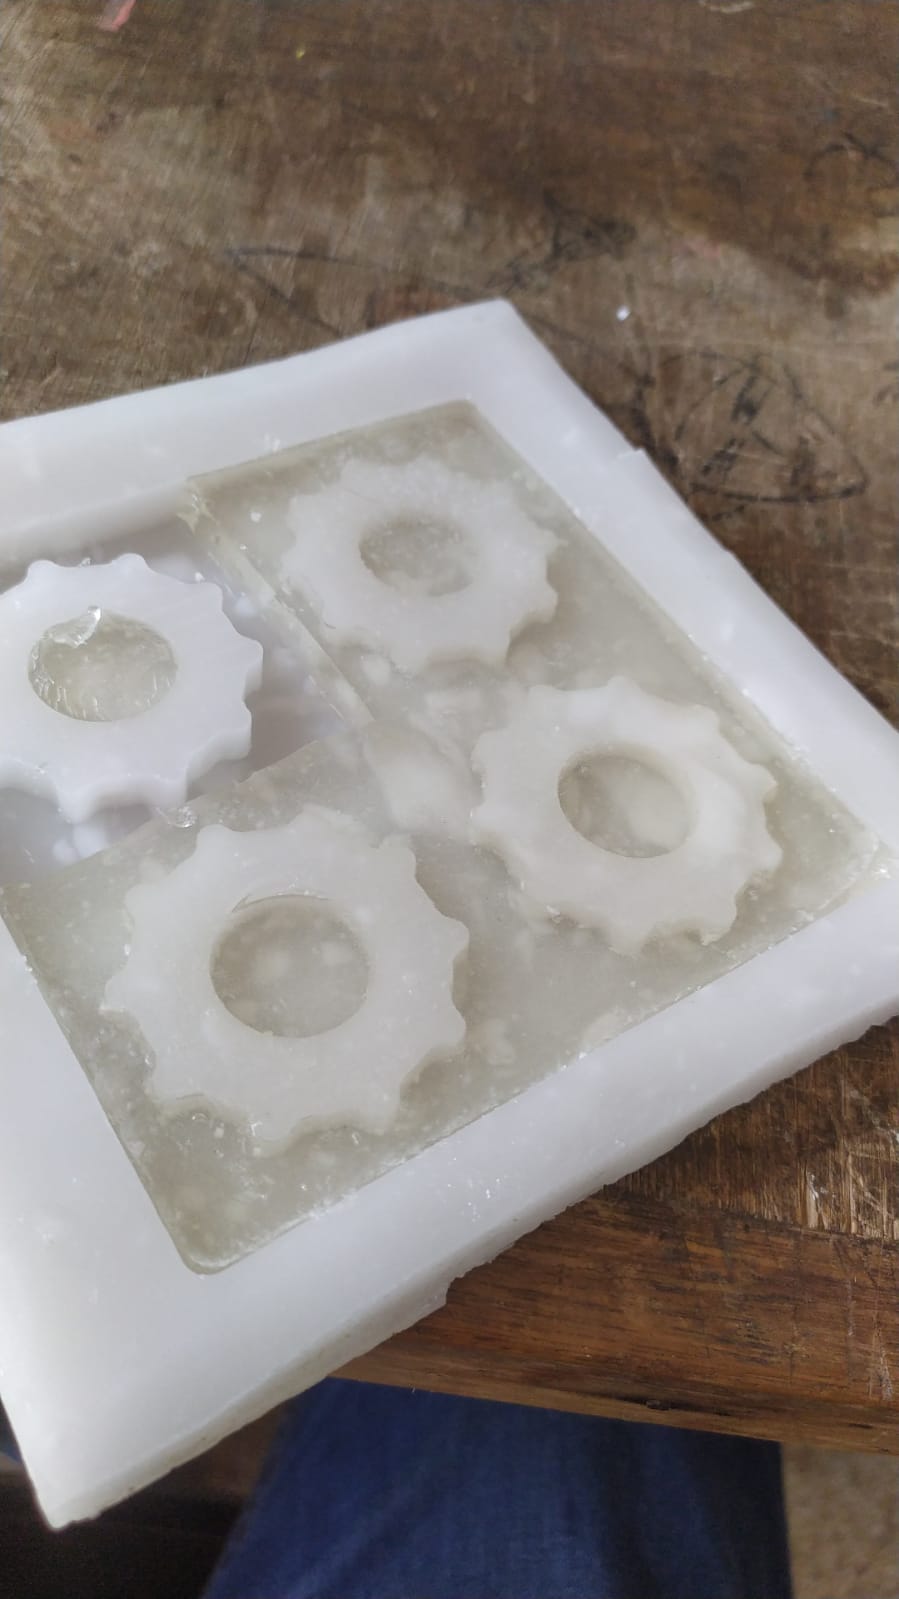
At last, I tried the sorta clear silicone and it came out beautifuly
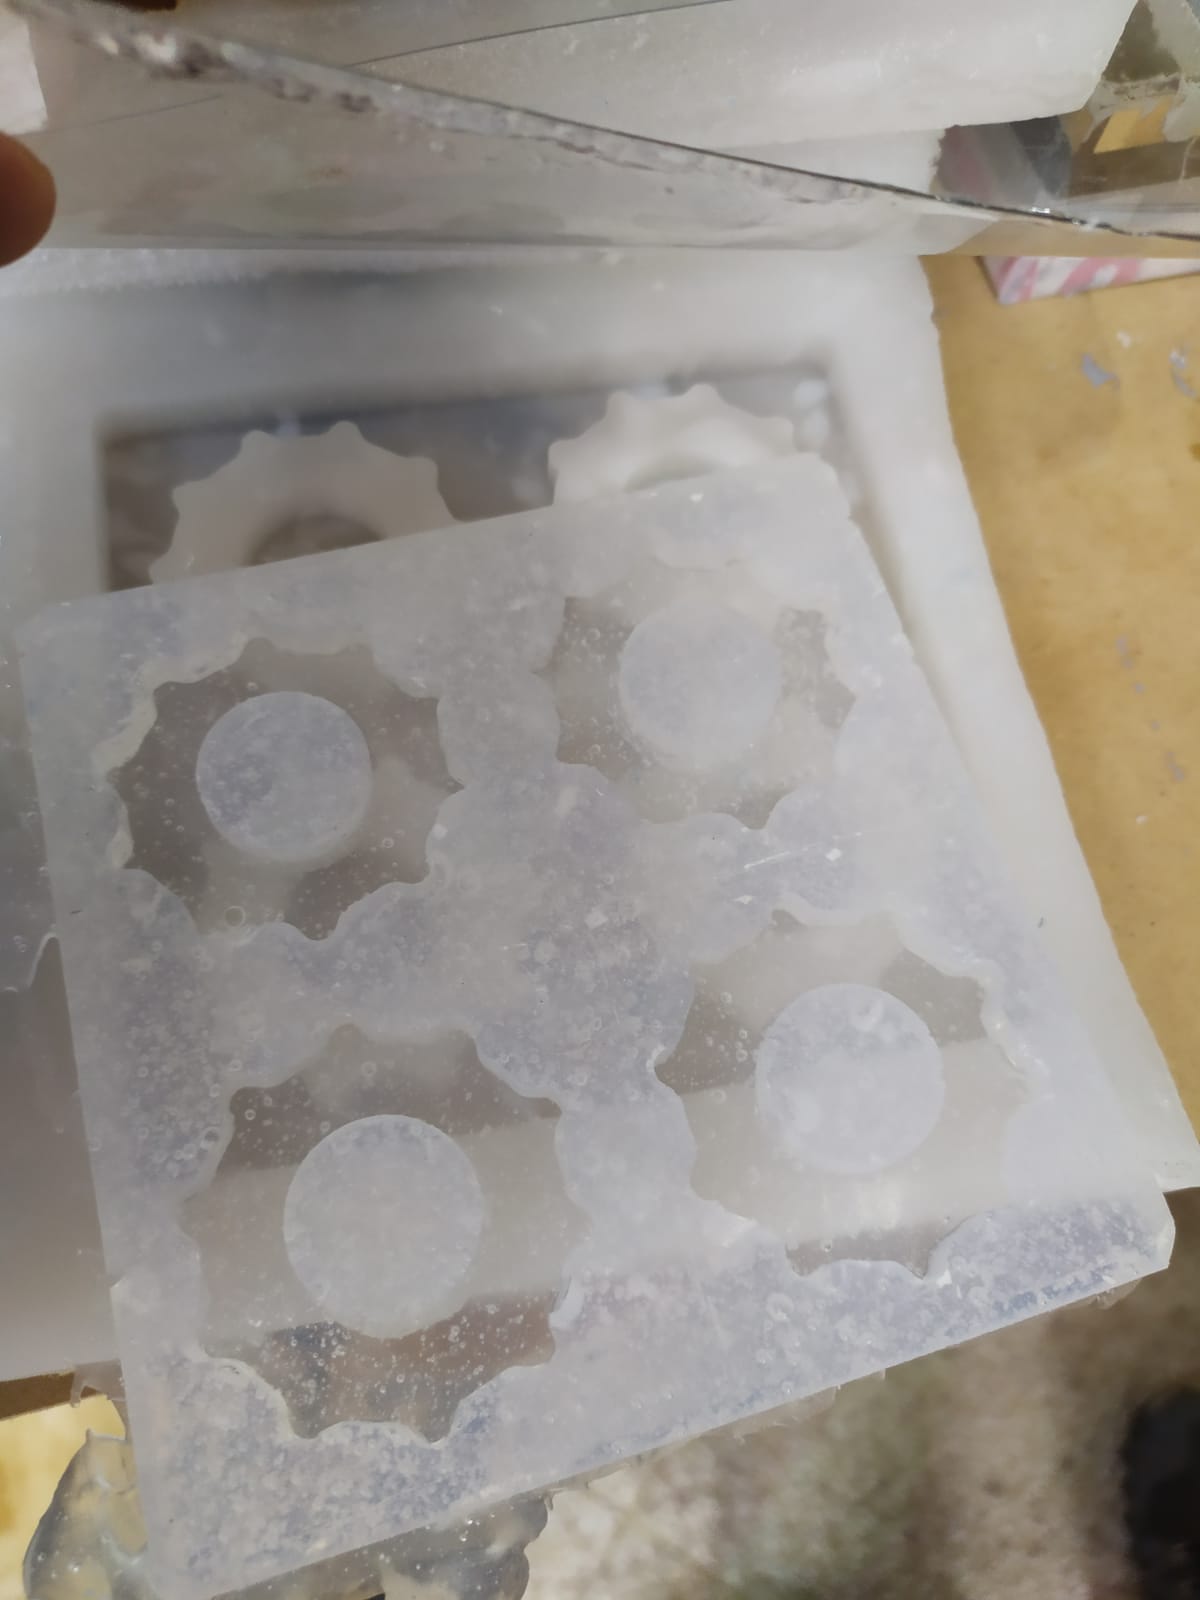
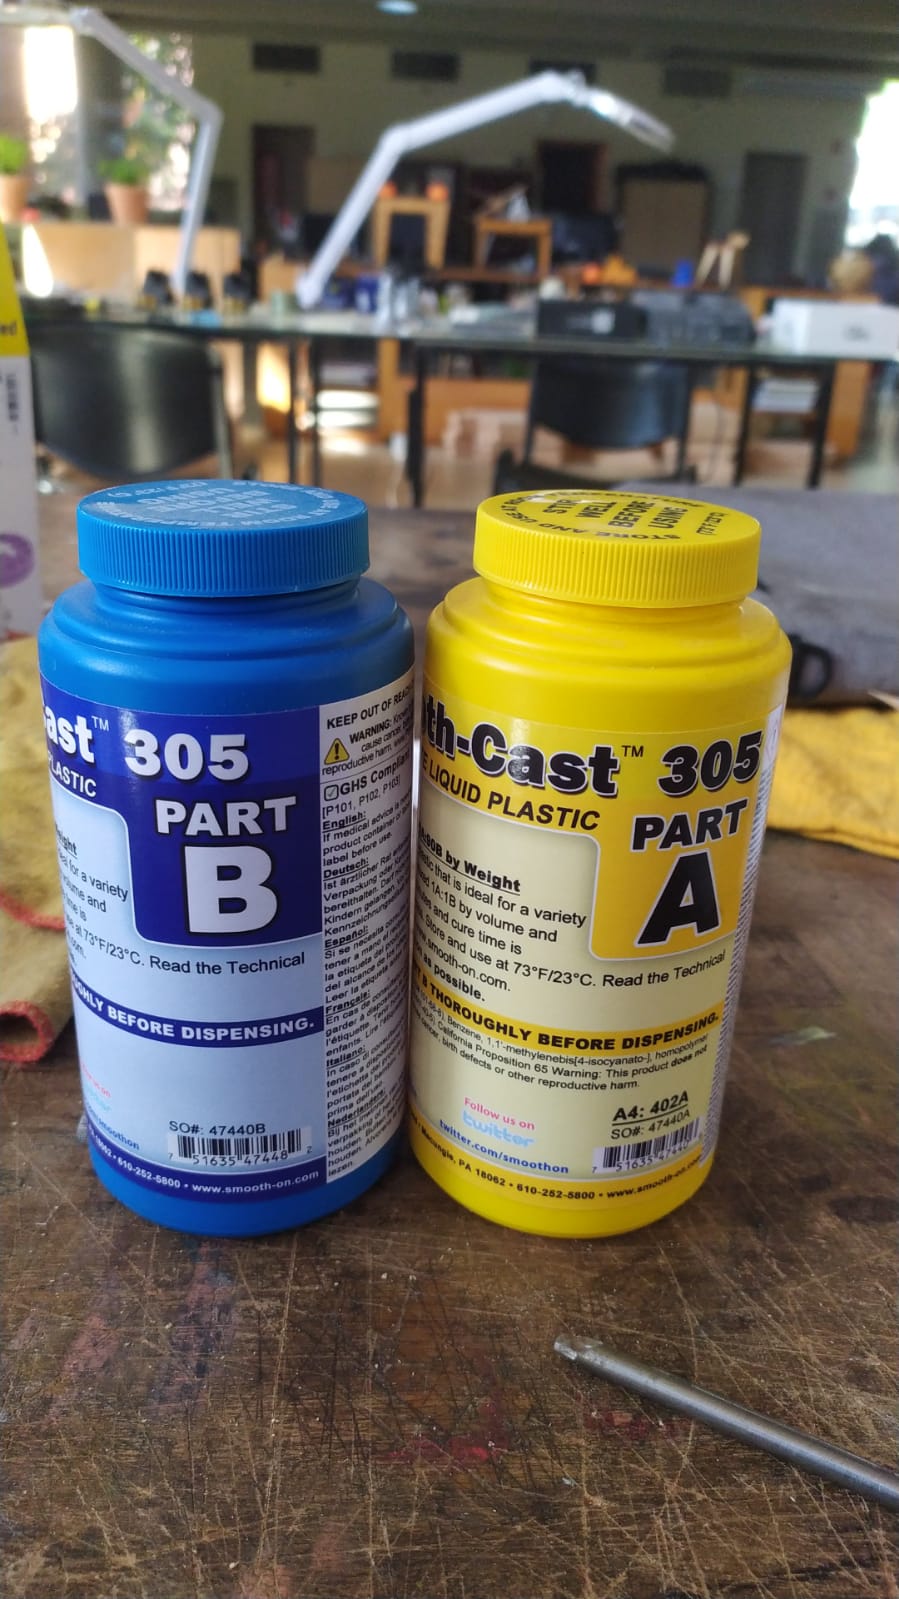

I prepared too much liquid plastic so I filled my classmates moulds to use it all.