15. Interface and application programming
Group assignment
- Compare as many tool options as possible.
Individual assignment
- Write an application that interfaces a user with an input and/or output device that you made.
Learning outcomes - Interpret and implement design and programming protocols to create a Graphic User Interface (GUI).
Have you?
- Linked to the group assignment page
- Documented your process
- Explained the UI that you made and how you did it
- Outlined problems and how you fixed them
- Included original code (or a screenshot of the app code if that’s not possible)
- Included a ‘hero shot/video’ of your application running with your board
Graphical User interface
The graphical user interface is a form of user interface that allows users to interact with electronic devices through graphical icons and visual indicators such as secondary notation, instead of text-based user interfaces, typed command labels or text navigation (wikipedia).

The idea
In this week I will be using the same board and input devices from the week13. I was thinking about using Processing to see on the screen the results from my ultrasonic sensor, but in the end I decided to follow Dani´s example and use Websockets and HTML to show the distance measured by my ultrasonic sensor.
Processing
Processing is an open source graphical library and integrated developmen environment(IDE) built for the electronic arts, new media art, and visual design communities with the purpose of teaching non-programmers the fundamentals of computer programming in a visual contex (wikipedia).
You can download the IDE for your favorite operative System in the following link
I found Hyejin Park´s Page wich did something very similar to what I wanted to do, but I had trouble compiling and uploading it correctly to the attiny45 board.
Websockets
WebSocket is a computer communications protocol, providing full-duplex communication channels over a single TCP connection. The WebSocket protocol was standardized by the IETF as RFC 6455 in 2011. The current API specification allowing web applications to use this protocol is known as WebSockets(wikipedia).
Programming
I used Neil´s Hello SR04 python script as an example and modified the code removing the graphical interface he used and replace it with the websockets code.
#
# hello.HC-SR04.py
#
# HC-SR04 sonar hello-world
#    hello.HC-SR04.py serial_port
#
# Neil Gershenfeld 11/15/15
# (c) Massachusetts Institute of Technology 2015
#
# This work may be reproduced, modified, distributed,
# performed, and displayed for any purpose. Copyright is
# retained and must be preserved. The work is provided
# as is; no warranty is provided, and users accept all
# liability.
#

from tkinter import *
import serial

WINDOW = 600 # window size
filt = 0
eps = 0.1

def idle(parent,canvas):
   global filt,eps
   #
   # idle routine
   #
   byte2 = 0
   byte3 = 0
   byte4 = 0
   ser.flush()
   while 1:
      #
      # find framing
      #
      byte1 = byte2
      byte2 = byte3
      byte3 = byte4
      byte4 = ord(ser.read())
      if ((byte1 == 1) & (byte2 == 2) & (byte3 == 3) & (byte4 == 4)):
         break
   low = ord(ser.read())
   high = ord(ser.read())
   value = (256*high + low)
   filt = (1-eps)*filt+eps*value
   us = filt/8.0 # 8 MHz counter
   cm = us/58.0
   x = int(.2*WINDOW + (.9-.2)*WINDOW*cm/50)
   canvas.itemconfigure("text",text="%.0f cm"%cm)
   canvas.coords('rect1',.2*WINDOW,.05*WINDOW,x,.2*WINDOW)
   canvas.coords('rect2',x,.05*WINDOW,.9*WINDOW,.2*WINDOW)
   canvas.update()
   parent.after_idle(idle,parent,canvas)

#
#  check command line arguments
#
if (len(sys.argv) != 2):
   print("command line: hello.HC-SR04.py serial_port")
   sys.exit()
port = sys.argv[1]
#
# open serial port
#
ser = serial.Serial(port,9600)
ser.setDTR()
#
# set up GUI
#
root = Tk()
root.title('hello.HC-SR04.py (q to exit)')
root.bind('q','exit')
canvas = Canvas(root, width=WINDOW, height=.25*WINDOW, background='white')
canvas.create_text(.1*WINDOW,.125*WINDOW,text=".33",font=("Helvetica", 24),tags="text",fill="#0000b0")
canvas.create_rectangle(.2*WINDOW,.05*WINDOW,.3*WINDOW,.2*WINDOW, tags='rect1', fill='#b00000')
canvas.create_rectangle(.3*WINDOW,.05*WINDOW,.9*WINDOW,.2*WINDOW, tags='rect2', fill='#0000b0')
canvas.pack()
#
# start idle loop
#
root.after(100,idle,root,canvas)
root.mainloop()
The main issue I had with this code is the libraries compatibility and that it didn´t worked in python 3.10 wich was the version installed in my computer (ubuntu).
#
# hello.HC-SR04.py modified
#
# HC-SR04 sonar hello-world
#    hello.HC-SR04.py serial_port
#
# Neil Gershenfeld 11/15/15
# (c) Massachusetts Institute of Technology 2015
#
# This work may be reproduced, modified, distributed,
# performed, and displayed for any purpose. Copyright is
# retained and must be preserved. The work is provided
# as is; no warranty is provided, and users accept all
# liability.
#

#!/usr/bin/python

# All the libraries necessary to make this program work.

import serial
import asyncio
import datetime
import random
import websockets
from numpy import log
import time

ser = serial.Serial(        # changed the way to communicate with the serial port.
port='/dev/ttyUSB0',\
baudrate=9600)
# ser.setDTR()

filter = 0
eps = 0.1

print("connected to: " + ser.portstr)

async def tx(websocket, path):        #websocket function.
   line = []
   global filter, eps
   while True:
      #
      # idle routine
      #
      byte2 = 0
      byte3 = 0
      byte4 = 0
      ser.flush()
      try:
         while 1:
            #
            # find framing
            #
            byte1 = byte2
            byte2 = byte3
            byte3 = byte4
            byte4 = ord(ser.read())
            if ((byte1 == 1) & (byte2 == 2) & (byte3 == 3) & (byte4 == 4)):
               break
         low = ord(ser.read())
         high = ord(ser.read())
         value = (256*high + low)
         filter = (1-eps)*filter+eps*value
         us = filter/8.0 # 8 MHz counter
         cm = us/58.0             # distance of the object to the sensor in cm.
         print(filter)
         await websocket.send(str(cm))  # data transmited to the browser
        # await asyncio.sleep(1)

      except:
         ser.flush()
       #  await asyncio.sleep(1)
         print('except')

# server starting at localhost at the port 5678

start_server = websockets.serve(tx, "127.0.0.1", 5678)

asyncio.get_event_loop().run_until_complete(start_server)
asyncio.get_event_loop().run_forever()

ser.close()
This is the distance websockets HTML code, it consists simply on putting the measurement of all the distances on the screen in real time.
<!DOCTYPE html>
<html>
<head>
    <meta charset="utf-8">
    <meta name="viewport" content="width=320" />
    <meta name="apple-mobile-web-app-capable" content="yes" />
    <title>Distance</title>
    <style>
    body {
        font-family:  Helvetica, Arial, sans-serif;
        margin: 32px;
    }

    </style>
</head>
<body>
    <div style="display: flex; flex-direction: column; justify-content: center; align-items: center;">
        <div id="message" style="font-size: 50px; margin-bottom: 20px;">
            Distance to object: N/A
        </div>
    </div>
</div>
</div>

<script>

    var ws = new WebSocket("ws://127.0.0.1:5678/")

    ws.onmessage = function (event) {
            content = document.createTextNode(event.data);
            const data = Number(event.data);
            document.getElementById("message").textContent = `Distance to object: ${data || 'N/A'}`;
    };

</script>
</body>
</html>
Screen captures and video
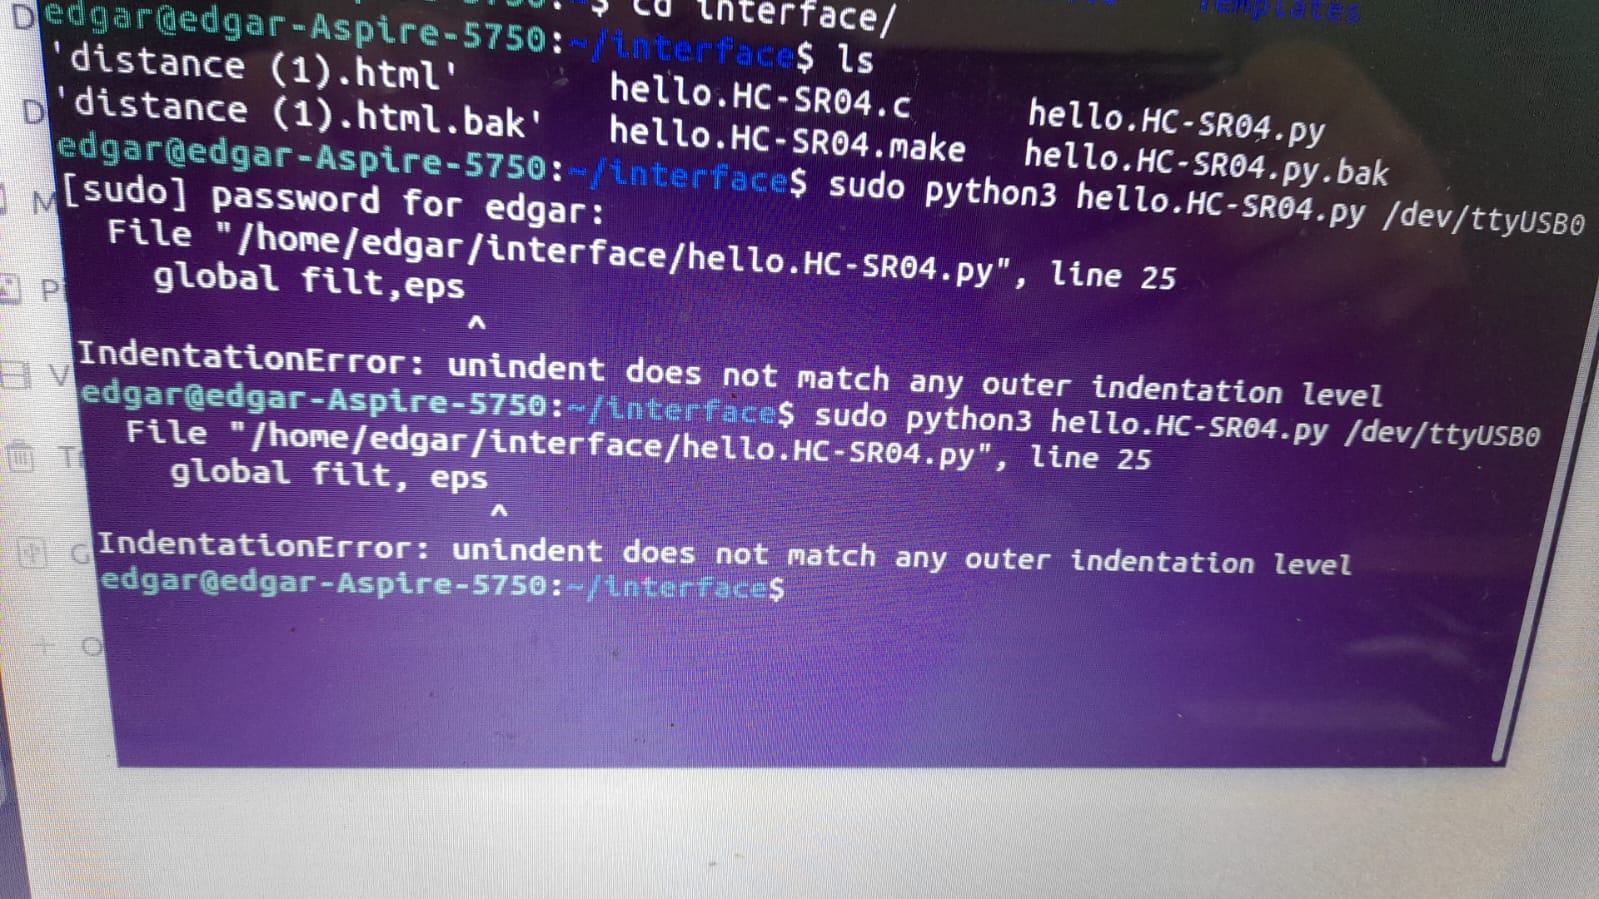
The first problem I had when I modified the script was the indentation in python, later I realized Neil used 3 spacebar spaces on each indentation, and then it compiled.
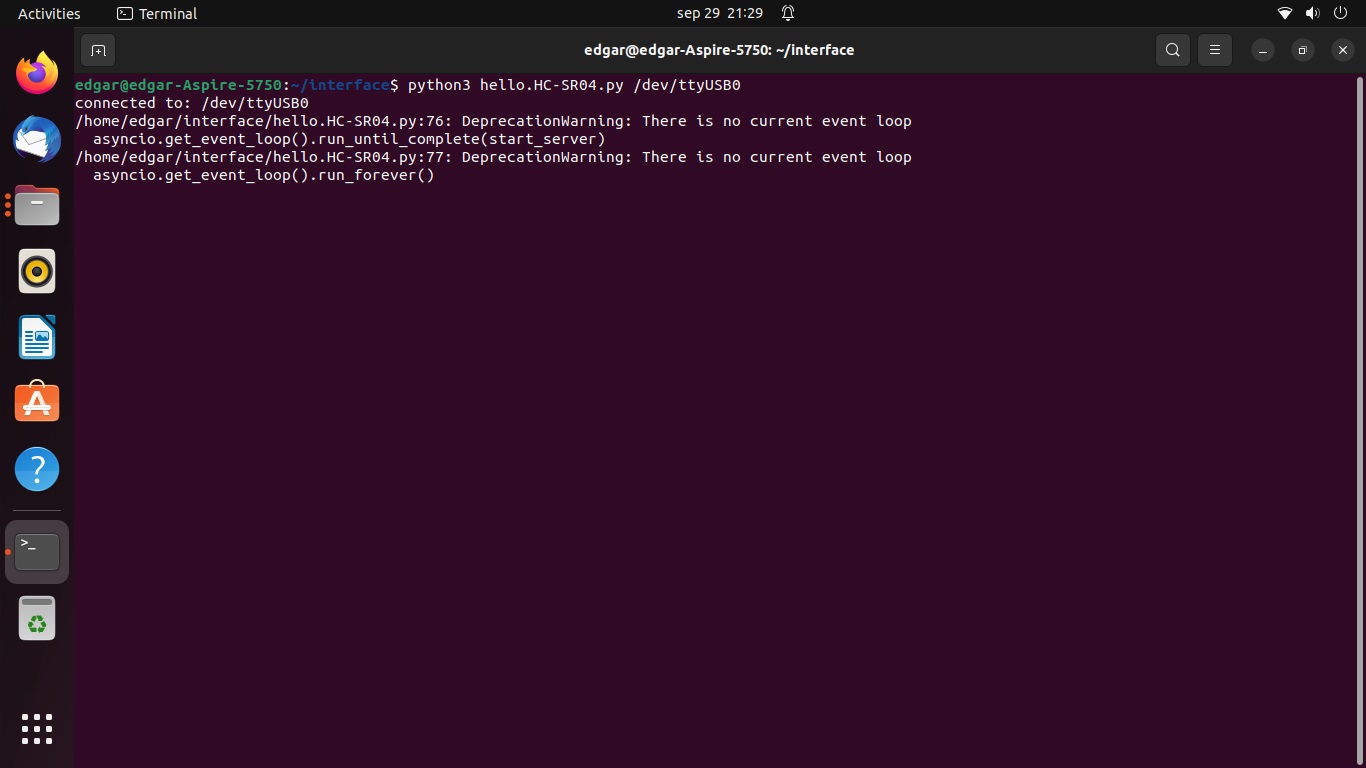
The second and most important problem that took me a lot of time to figure out and a call to Dani to know what version of Python was he using, was the difference in the version, he was using python 3.8.10 and I was using python 3.10.6.
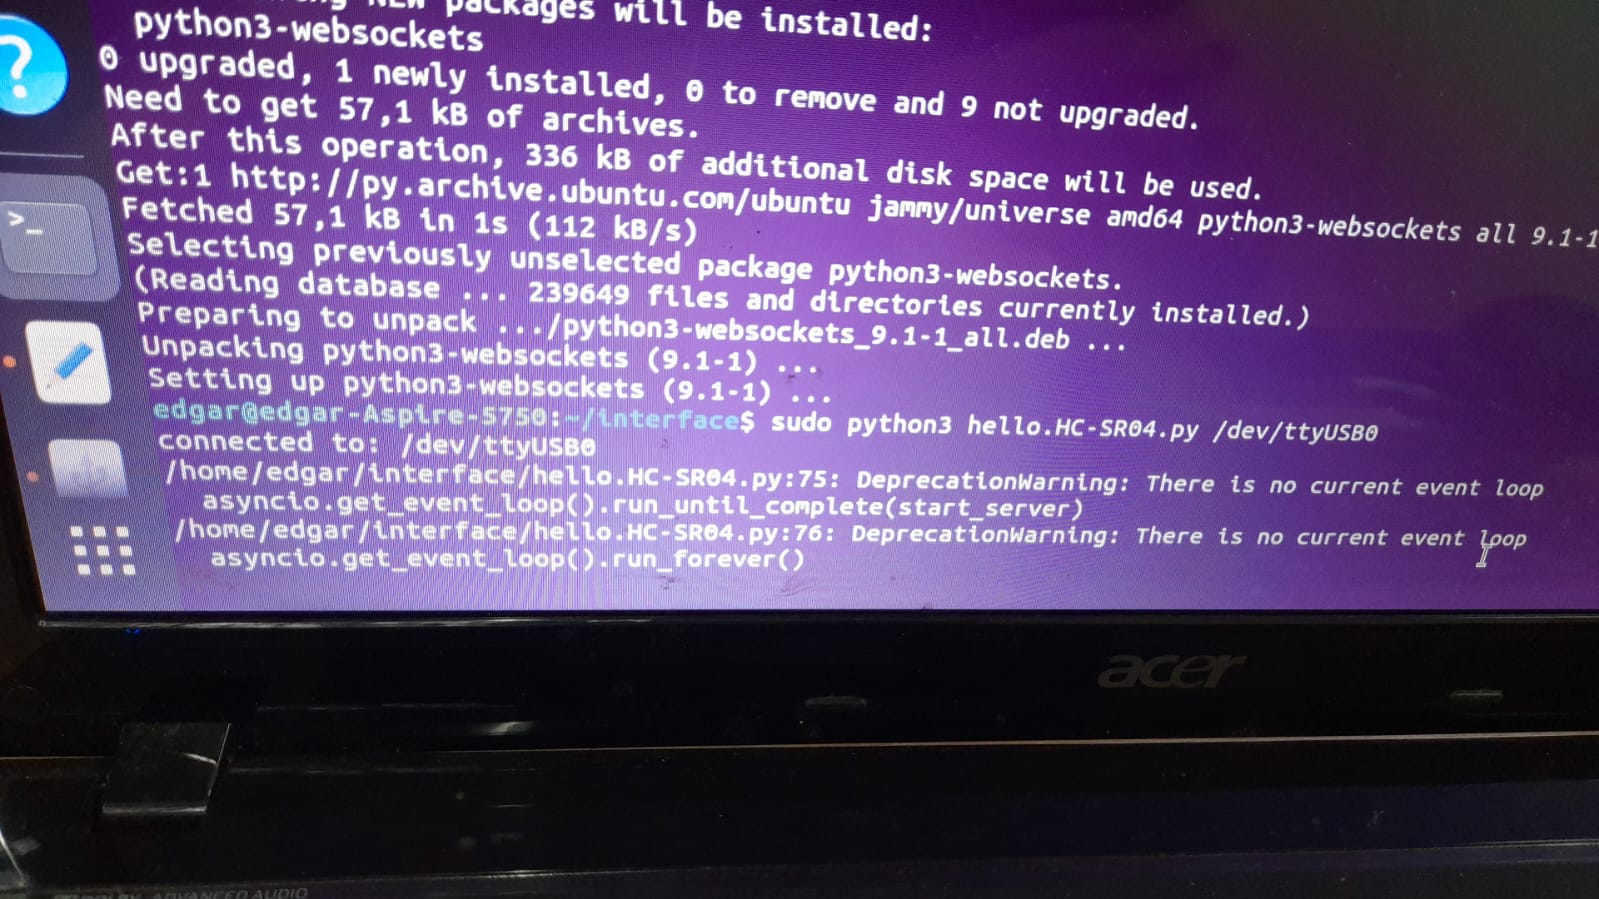
To change this after googling for a while, I found the next steps to make a virtual environment on python 3.8.10 and install all the libraries necessary. I had to use an external repository and then copied all the versions Dani was using on his PC. He send me the requirements.txt file and with that everything worked like magic.
sudo add-apt-repository ppa:deadsnakes/ppa

sudo apt-get update

sudo apt-get install python3.8

python3.8 -m venv env

source env/bin/activate

pip install -r requirements.txt

created the virtual environment and activated it..
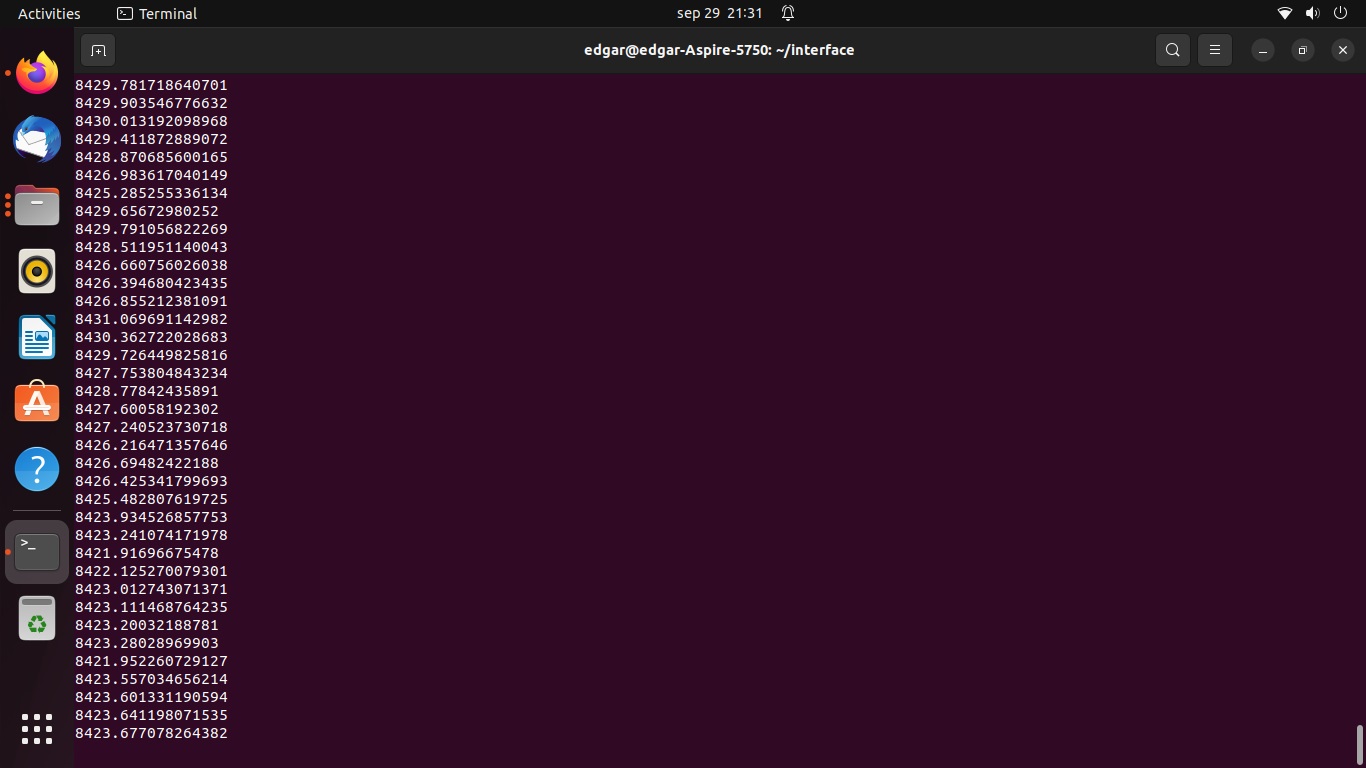
opened the program and I was able to see the distance in my web browser, first I had an intentional delay on the python script wich later I commented because it made all the measurements displays take much longer than needed and couldn´t see the distance in real time.
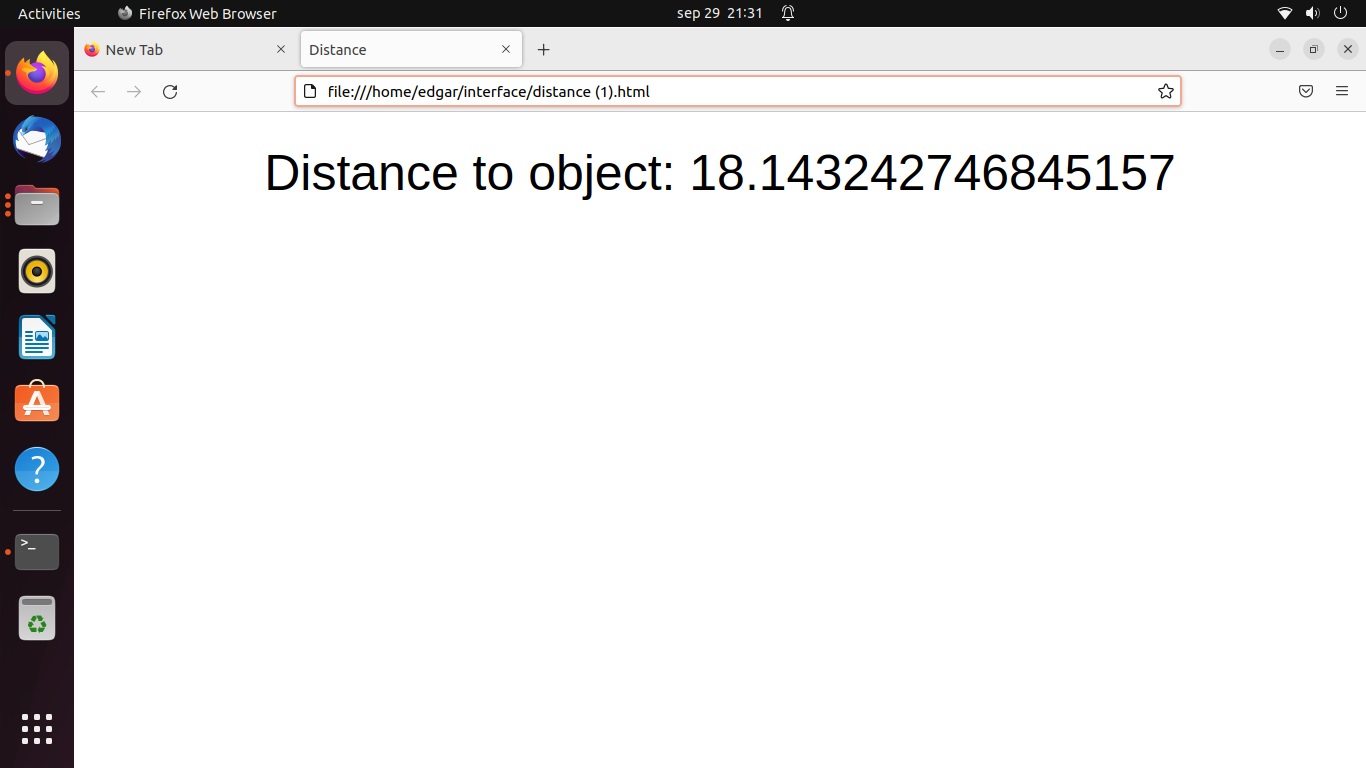
In the video you can see how the distance is shown with all the decimal points.