10. Molding and casting
Assignments for the Week:
Group Assignment:
Review the safety data sheets for each of your molding and casting materials, then make and compare test casts with each of them. For extra credit, try other molding and casting processes. You can view our results of this week’s group work here.
This week’s group assignment was a fun one! Watching the molds form, and then demolding and feeling each one really helped me narrow down which one would work best for my design. I decided to use a flexible silicone mold since the gems I plan on casting will be made from epoxy resin. The flexible silicone will allow me to remove my rigid pieces from the mold more easily.
Individual Assignment:
Design a mold around the stock and tooling that you’ll be using.
Mill it (rough cut and 3-axis finish cut) and use it to cast parts. For extra credit, use more than two mold parts.
Design Files
Molding and casting is a multi-step process just for making your molds. Our instructors warned us to pay special attention to how we design our files because many times students will cast the negative of the design in the first step and then by the end you have the design backwards.
Using images from Alex Garcia’s Fab page, I made sure to understand the proper positive and negative parts for my design. Another useful process came from the Fab Academy tutorial’s page for this week.
During week 3 we focused on computer-aided design. For my assignment that week, I went ahead and worked on designing the gems for my jewelry pieces for my final project. I knew I wanted several of them, and rather than 3D printing each one, my instructors let me know about molding and casting and making them out of resin instead!
Since my design was ready for this week, I only needed to focus on creating the correct steps to achieve the positve in the first step. The video mentioned above along with an in-class tutorial from our instructor David Taylor helped me get started.
After this review session, I sat with Dr. Taylor later in the week and we realized I had overhangs in my design that would prevent it from being properly milled. I could either create a two part mold or (as I chose to do) alter my design to adjust for the overhangs. I chose the second option because it would not change the effect of the end piece. He also verified that I did indeed need to first make the postive in the milling process and the negative with the flexible silicone. Then, when I go to pour the epoxy resin into my mold, I will have the correct orientation of my final design.
During the Wednesday lecture for the week, an important note was made about the type of product to use: if your final piece needs to be hard, then use a flexible mold; if it needs to be soft, then use a harder mold. Trying to pry a hard final piece out of a hard mold will surely result with issues. Saturday’s Global Time also was a great session this week. We talked through trying to figure out if we needed one part or two part molds, vents and the full process.
It didn’t take long to change my design. With a new idea in mind to turn the pieces into earring studs, I flattened the original bottom portion on the back of the gem. Then, when I put the resin in the negative mold, I can add flat earring backs to them so the backs are embedded into the resin.
By far the most difficult part of this process was setting up the CAM. I had never used this part of Fusion360 before. I tried to follow the tutorial given to us during our lab lecture, but I was either missing some steps or could not follow them fully. I tried searching for videos on YouTube as well, but parts of steps were missing, or the software was now outdated from the time the video was created and I couldn’t find updated versions. I ended up finding a tutorial on the Bantam (previously Othermill) website. When I followed this tutorial step by step, my CAM setup worked perfectly! 33rd time is a charm!
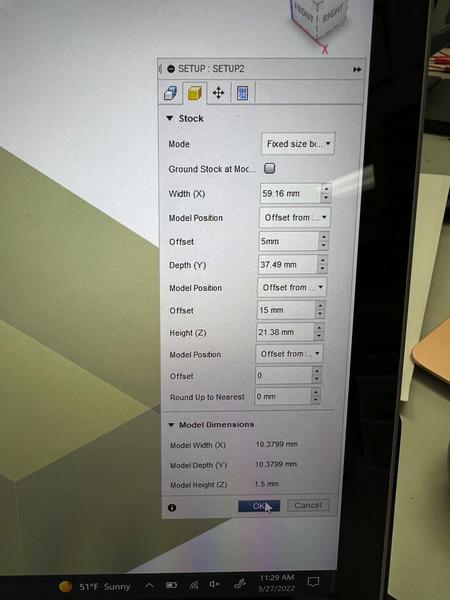
STEPS FOR SET UP HERE WITH PICS FROM SOFTWARE
According to the software, the first pass will take just over an hour and the finishing pass will take about 3 hours to make sure I have a smooth, even finish. I used the 1/8” flat end mill to remove stock and the 1/16” ball end mill to finish.
Once my toolpaths were created and I ran the simulation without issues, I moved to set up my stock. I applied a layer of nitto tape to the bottom of my machineable wax block. I already measured the block for the toolpath setup, so I added those measurements to my Bantam software.
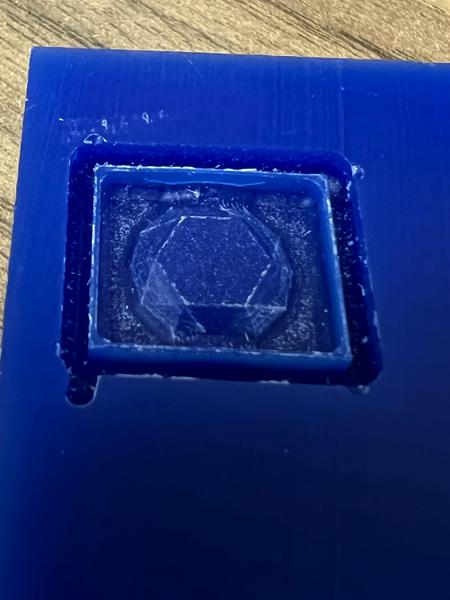
My block is all set up in the machine ready to mill.

Molding
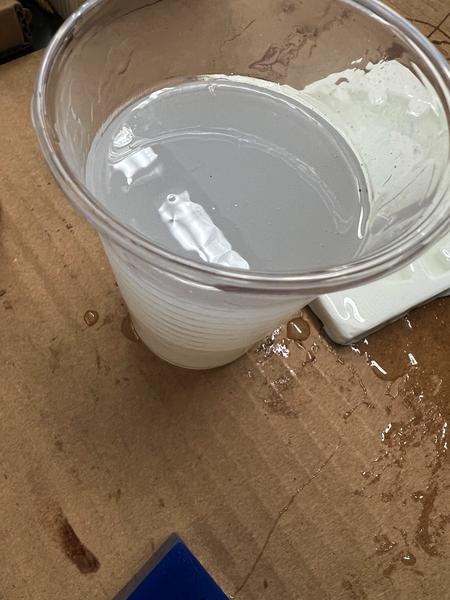
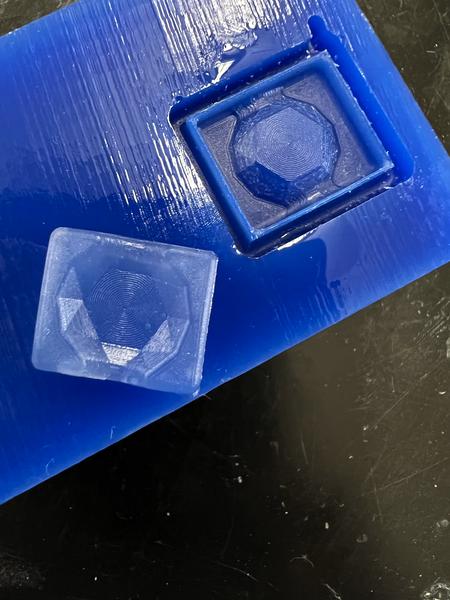
To mold my wax block, I worked with Barbara Morrow and set ours up at the same time to take advantage of making one batch. Because my end piece is so small, I needed a tiny amount of product. Barbara decided she wanted to use the the Dragon Silicone for her mold. We both discussed needing to use something flexible, given we needed rigid final pieces.

Here is the silicone ready to go!
I added the mixture to the mold. According to the datasheet, it had a 75 minute cure time. When I checked after half an hour, it was well on its way.
Casting
To cast my final piece, I decided to use epoxy resin since we had it in the lab. I tinted it a slight shade of purple and mixed parts A and B in equal measurements. Once I had mixed it for a few minutes, I scooped it up onto the popsicle stick and dripped it into my mold.
Because I wanted to prototype this cast as earrings or gems for my final project, I added a small metal jewelry fixture to the resin when it became tacky.
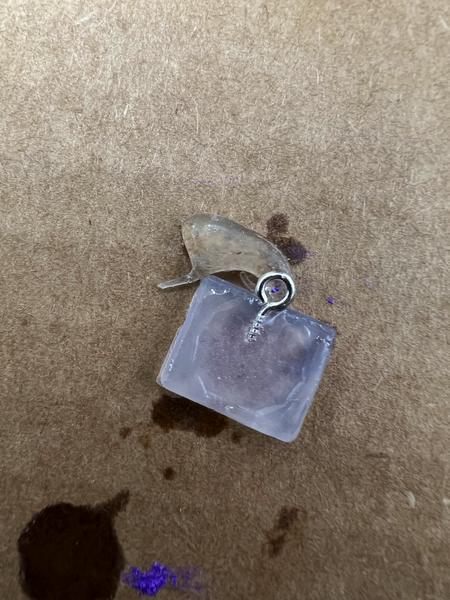
Waiting for this one was really hard. It takes 24 hours for the resin to fully cure. After 4 hours it was sticky to the touch and I had to walk away from the lab to avoid “watching paint dry”.
Our group had a work session this same evening so I was able to keep an eye on my project - or so I thought.
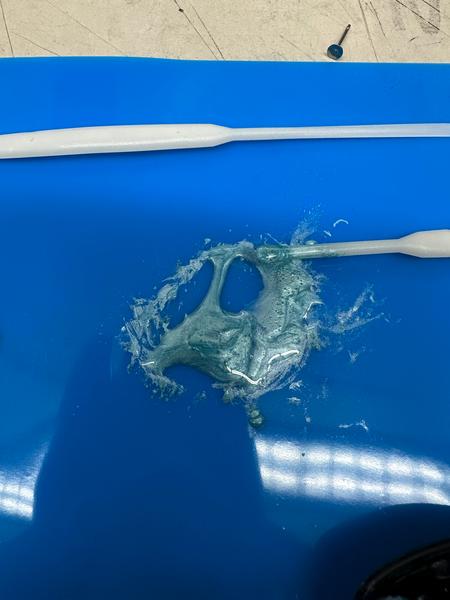
I came back after a few hours to find part of my project on the floor. I never found the other part. Lucky for me, I was able to pick up and reuse the mold I had already created. I washed it off with some alcohol to remove the residue from the previous pour.
Updated 2023 Continuing Student
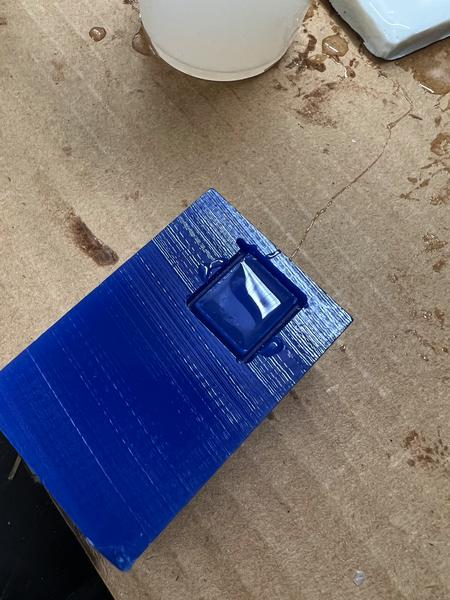
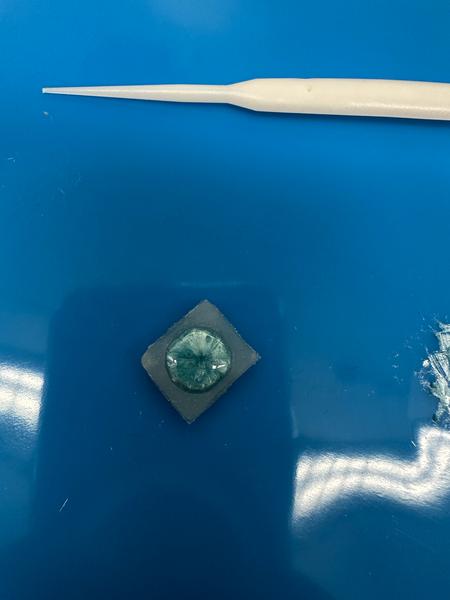
I remembered when going through my checklists that I needed to update this page! I ordered some resin from Amazon and mixed it together as the instructions stated. Since the final dress is white, I used some pigment we had in the lab and mixed it into the resin quickly. I chose a pretty light blue color that I thought my daughter would like!
Next I poured a tiny bit of the resin into the mold using a little scoop. The mold was really small to create the little studs, so I had to be careful not to overfill it.
My next step was to add some earring backs I ordered from Amazon to create little stud earrings. I carefully placed one of the studs into the wet resin and pressed it down into the mold.
I then set up the mold and resin under the LED to cure it. According to the instructions, this should run for about 6 seconds.

When the stud came out, I realied the weight of the earring back and the wet resin didn’t work well. The back fell down further into the resin than I expected.

I figured I would ask my daughter what she thought about the color and design overall before creating another set. However, I was really happy with the project overall. I am thinking to avoid the same issue with the earring back, maybe I will pour a tiny amount in the mold, set it and then add the remainder of the resin and the earring back so it won’t have a chance to fall through! I’ve also learned during this time she would prefer to have pink earrings instead!
Click the link for the file below to download all of the files I used in this week’s assignments. Files