0. CLS Internal Bootcamp
To prep for Fab Academy 2022, the Charlotte Latin Fab Lab set up mini lessons to help review or introduce us to new concepts.
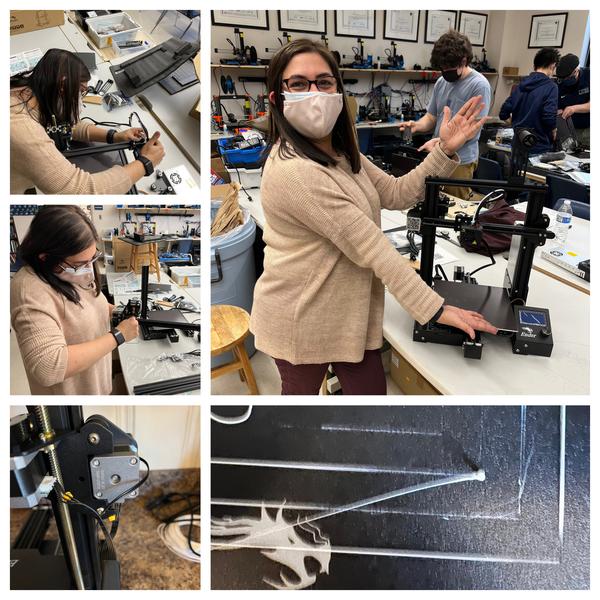
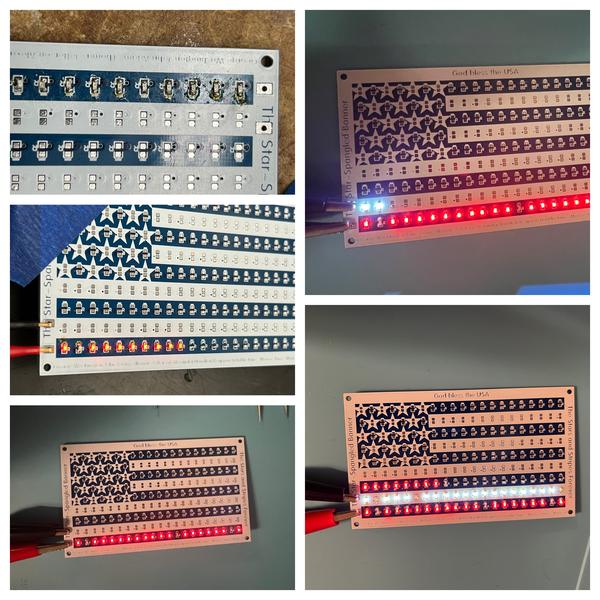
Soldering
We began bootcamp prep by learning to solder (stuff) components onto boards. Our first project was a through-hole LED flashing lights practice board. It consisted of about 30 LEDs, transistors, resistors, a potentiometer and several microchips. Remembering polarity on the LEDs and placing the different resistors in their proper locations was what proved to be most difficult if you were not paying attention! Overall, I did not have much trouble with this project!
Our second soldering project was a little more frustrating for me. Because I wear glasses, the tiny components were hard to view. I ended up purchasing a pair of jeweler’s glasses (worn like a headset) and a portable digital microscope for assistance! Even with the new tools, it still took me several weeks (days spread across weeks) to finish the project, as I could only stuff a few small components in a single session. As frustrating as this project was, it was still helpful because now that we are practicing with components that are a little larger, I find I am not having much difficulty.
3D Printers
To make sure we would have maximum time for 3D priting, our lab provided us with Ender 3 Pro V2 printers to use at home. We spent an afternoon in the lab putting our printers together. Once they were completed, we took them home to calibrate them and learn how to work with them.
It took me several instances of dissassembling and reassembling my printer to get it to function properly. Even then, the right side of the x-axis was significantly lower than the right. When I would attempt to calibrate, the nozzle would gouge into the bed. My colleague Scott Moulton helped me by disassembling the x-bar once again, showing me how to tighten two internal screws to secure the weight of the nozzle assembly, tightening all the screws everywhere and putting it back together. We discovered I hadn’t secured the screws very well (I think I was worried about stripping them by overtightening) and the nozzle assembly was tilted a significant amount to warp the test prints on the bed. Once these changes were made with the help of fellow Fabber Scott Moulton, we were able to print a test benchy with success!