3. Computer Aided design
Assignment: Model (raster, vector, 2D, 3D, render, animate, simulate, …) a possible final project, compress your images and videos, and post it on your class page.
2D Design: Corel Draw
To begin work on my project, I wanted to prepare files to laser cut the dress form. I brought an image into Corel Draw and began tracing the outline. I realized very quickly that this method wouldn’t necessarily work the best as Corel Draw does not have a true parametric design method. Rather, it uses cloning (which Neil briefly mentnioned) to copy and paste a selected part. When you change the original part, they all adjust. it’s a form of parametric modeling, but I could very well see the issues it could create later on.
So I moved over to Fusion360. In Fusion, I had a lot of trouble with tracing over the image and having it do anything. I used the sketch menu and dropped points all along the outer edge of the drawing. Then, using the spline tool, I went back in and connected all of those points. I know the sketch closed because when I hovered the mouse over it to select it, the inside of the outline turned blue. This is a good sign in Fusion. However, no matter that I tried to do, I could not get it to dimension correctly. I decided to move to a different design to complete this portion of the assignment, but I will definitely come back to this part since I need it for my final project!
3D Design: Fusion360
Because I do not have extensive experience with using Fusion 360, I completed several YouTube tutorials designed by Kevin Kennedy. He has a “Learn Fusion 360 in 30 Days” lesson plan and I specifically tried to select lessons that could possibly help me when designing my own project. I looked for varying tools he uses, and methods for tracing, drawing and adding dimensions.
To begin some actual design work for my own project, I decided to start with the gems for the jewelry I hope to create to go with the dress. I am picturing a bracelet or necklace, possibly made on the 3D printer but I would add a different color gem to the setting. I searched around until I found a piece I liked the shape of, but could manipulate and flatten out to my liking. I used this tutorial from MAD About Designs to create the basic shape of the diamond. This is his original design: (original diamond shape is the filename)
In following his tutorial, I began by selecting the top plane and sketching a polygon with 12 sides and a radius of 5mm.

Once I finished the sketch, I then selected ‘E’ for the extrude tool. I extruded the bottom of the polygon and tapered it to -45 degrees and a depth of 5mm, as in the video. I realized I wanted a flatter bottom, rather than the diamond point from his design, so I changed the distance to only 2mm.

The next few steps were all the same, but at varying degrees and depths as the previous step. These extrusions helped create the top of the gem.

The next step was to facet the sides of the gem to look more like a diamond cut. In order to do this, I had to create an offset plane using 3 points. The 3 points selected were on the final extrusion and, when cut, will give the faceted look we needed to achieve. In the picture below, you can see the 3 points selected, as well as the yellow plane created that runs at an angle to the component itself.

The next step is to cut away the triangle shape created from the plane and 3 points. This gave me the first facet on the top layer.

To run the facets all the way around the top of the piece, I used the pattern tool. You change the type to features and then use the timeline below to select the last feature created, which was the triangle on the new plane. Once that is selected, you select the center axis to rotate the pattern around and enter in the number of points to duplicate (in our case 6).

The final step is to add an appearance to the project, but I did not keep this step after I did it. Here is the final piece.

2D Design: Cuttle Software
We recently found out about a new 2D software, Cuttle. I don’t know much about it, but began doing some research on how it works. They have a few tutorials, and I chose one that will use parameters and animate an angle moving (as you adjust the angle).
Following the tutorial, I drew a path and gave it dimension by turning off hairline. I was able to add weight to the line and round the corners.
To cut out the shape, I select Modify → (Boolean) Flatten and then change then check the box for Stroke Result. This gives me a shape with an outline that I can now cut. Next, I want to add a parameter to the item I just created to be able to change the angle. I start by adding a parameter to the component (component = angle).
Once you set the second node, and add a function to rotate the formula, you can use the slider to move the angle. You now have a parametric angle.
I am happy I began learning how to use the software as it will help me with next week’s assignment for computer-controlled cutting on the laser!
I used this video as a guide on how to set up parameters. The video below is after I set it up and then recorded my screen. You can see in the video how changing the slider for the angle parameter moves the ray on one side of the angle.
2D Design - Gimp
I decided to try one final software option for 2D design, known as Gimp. When I first started Fab Academy, I attempted to actually use Gimp to convert my photos to a manageable size. It was a very cumbersome process and slowed me down quite a bit. (See my Week 2 for XnConvert which I used instead).
Still, Gimp has been around for a while, so one of the upsides is that there are many tutorials out there on how ot use it. It’s still not as intuitive to me as some other software out there, but I decided to give it a try again.
I began with this tutorial to create a simple floating logo. It is a simple and easy to follow tutorial and I was able to duplicate it without any issues.
I began by setting up the page parameters and typing my name in the space.

The next change to the image, was to apply a Gaussian Blur to it. I selected this by going to Filters–>Blur–>Gaussian Blur.

After this, I added some color with a plasma type color to the image.

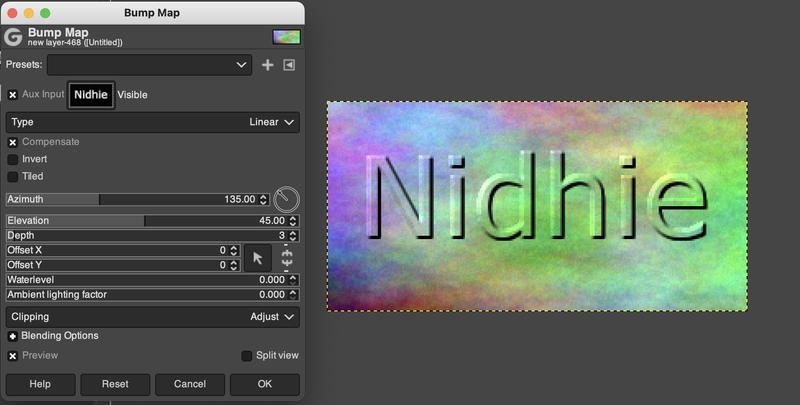
The final effect was to add a “bump map” to give it the illusion of coming off the screen. I followed the instructions to apply this map.
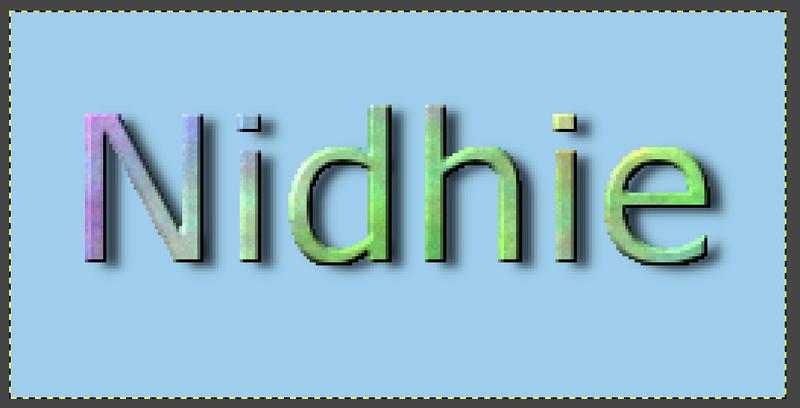
After cleaning it up with the remainder of the steps, I finished my name logo!
While in Gimp, I also decided to try to play with some of it’s other features since I was trying new things. I have never created a gif from scratch before, so I thought it might be cool - and hopefully easy - to try one.
Creating the gif was pretty simple. The idea is a bunch of layers that each show a different aspect or “time” in your animated picture. You layer these images and then export it to create a moving collection of pictures.
I used this tutorial from Logos by Nick to create a spinning wheel gif. A lot of the work was dupliating layers and erasing the parts of each layer I didn’t need. In doing so, I would reveal the highlighted section below it, resulting in the spinning effect when it plays.
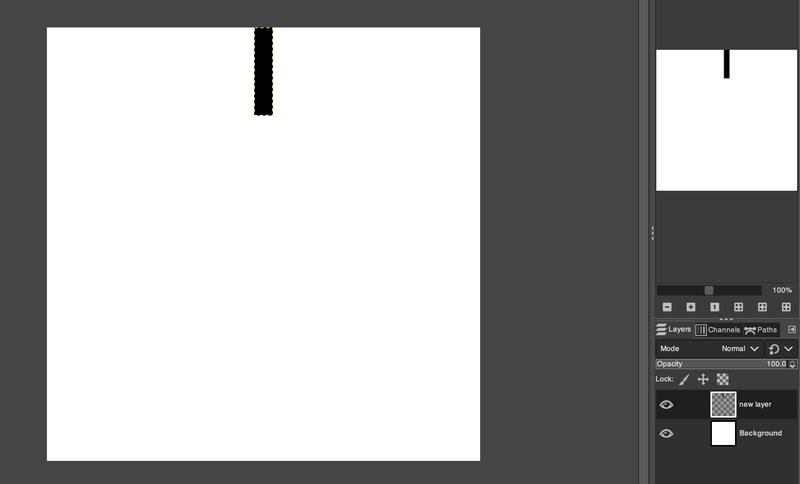
The first major step after setting up the page size, was to create the small rectangle we will duplicate around to form the circle.
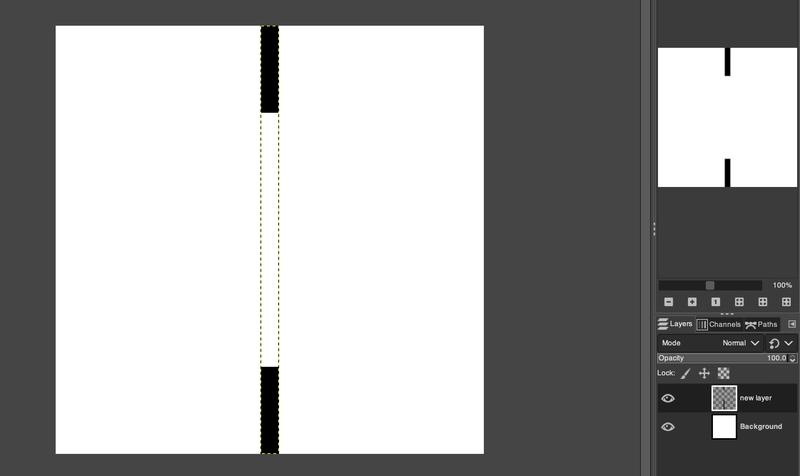
After aligning this across the top middle of the selection, I copied it and moved it to the bottom. This gave me the first two sections for the circle.
Next was the first repetive part. I copied these two rectangles around the cirlce each moving 2 “clicks” around. I did this 5 more times until I had 12 rectangles visible when viewing all layers. The end result was a full circle of tiny rectangles.
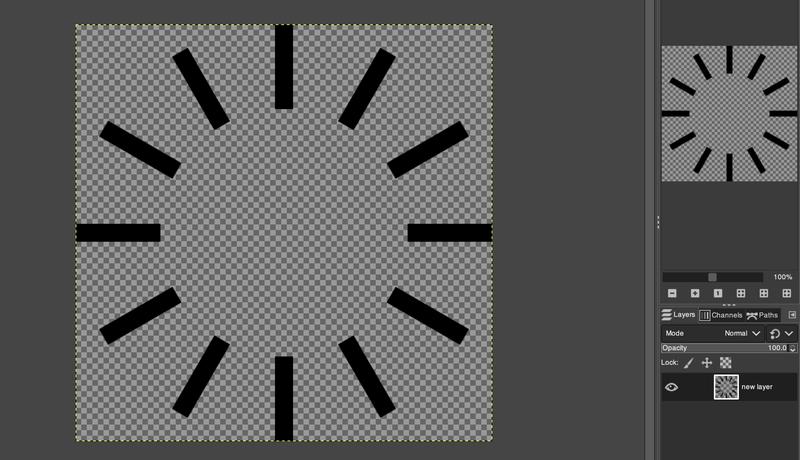
The final process was to take each of these layers and erase the parts that weren’t needed. You then end up with 12 layers each offering one highlighted rectangle. Once you merge and delete the original layers, you are ready to export your file as a GIF. Remember to select the button for animated, and also the selection to show each frame separately. I was quite impressed with the results!
Click the link for the file below to download all of the files I used in this week’s assignments. Files