6. 3D Scanning and printing
3D Scanning
I started this week off with 3D Scanning. I have never 3D Scanned before but I was excited to get started on this. Because I have an IPhone 12 Pro Max I was able to do it all through my phone. I downloaded on the appstore an app named Qlone. It was extremely useful and easy to use.
I first had to print out a piece of paper to help the guidelines of my scan. I printed the paper, then put it on a very flat surface, then I made sure there was a sufficient amount of light around so I could get the best result. I first decided to scan a spray hand sanitizer bottle. It was small but had an intricate design.
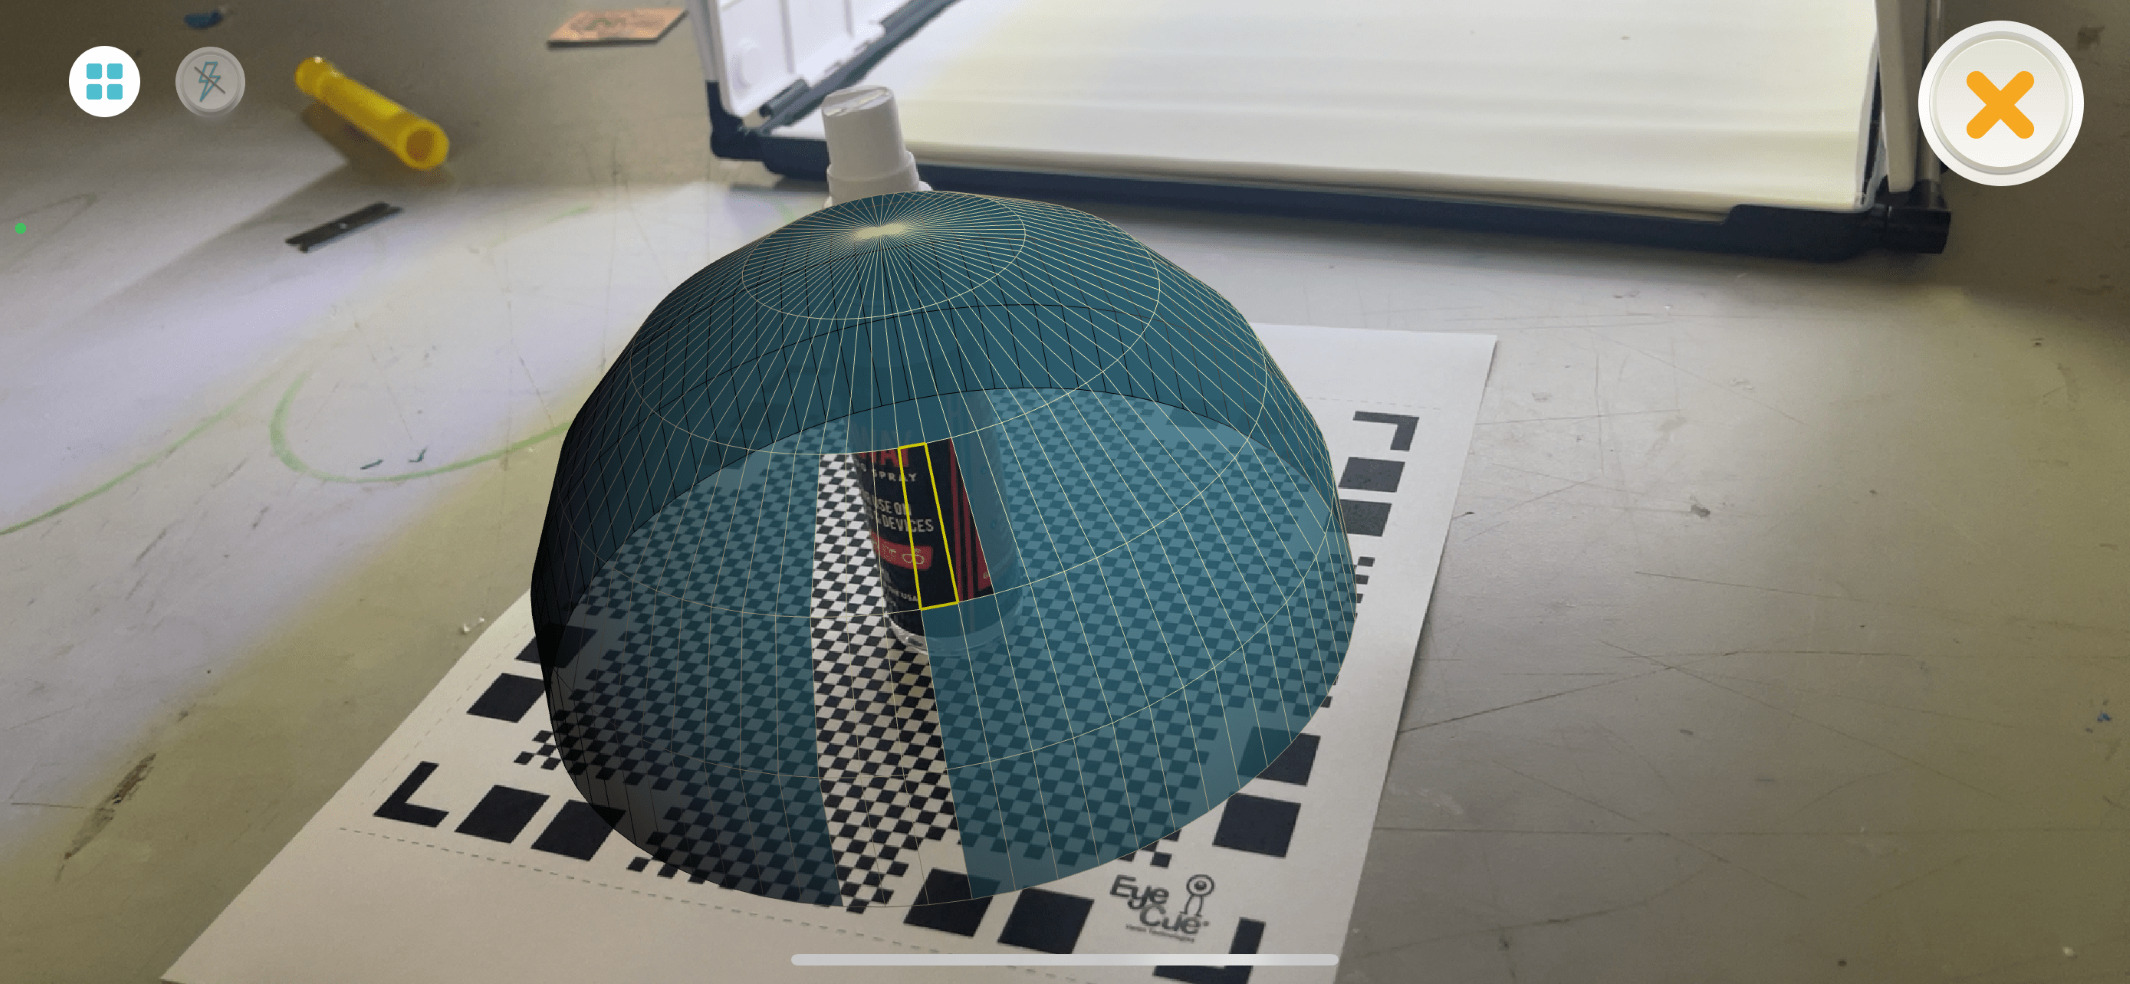
This went well, the only problem was the clear part of the bottle messed up the scan. It should be solid colors and not transparent to get the best result. Besides that it looked great.

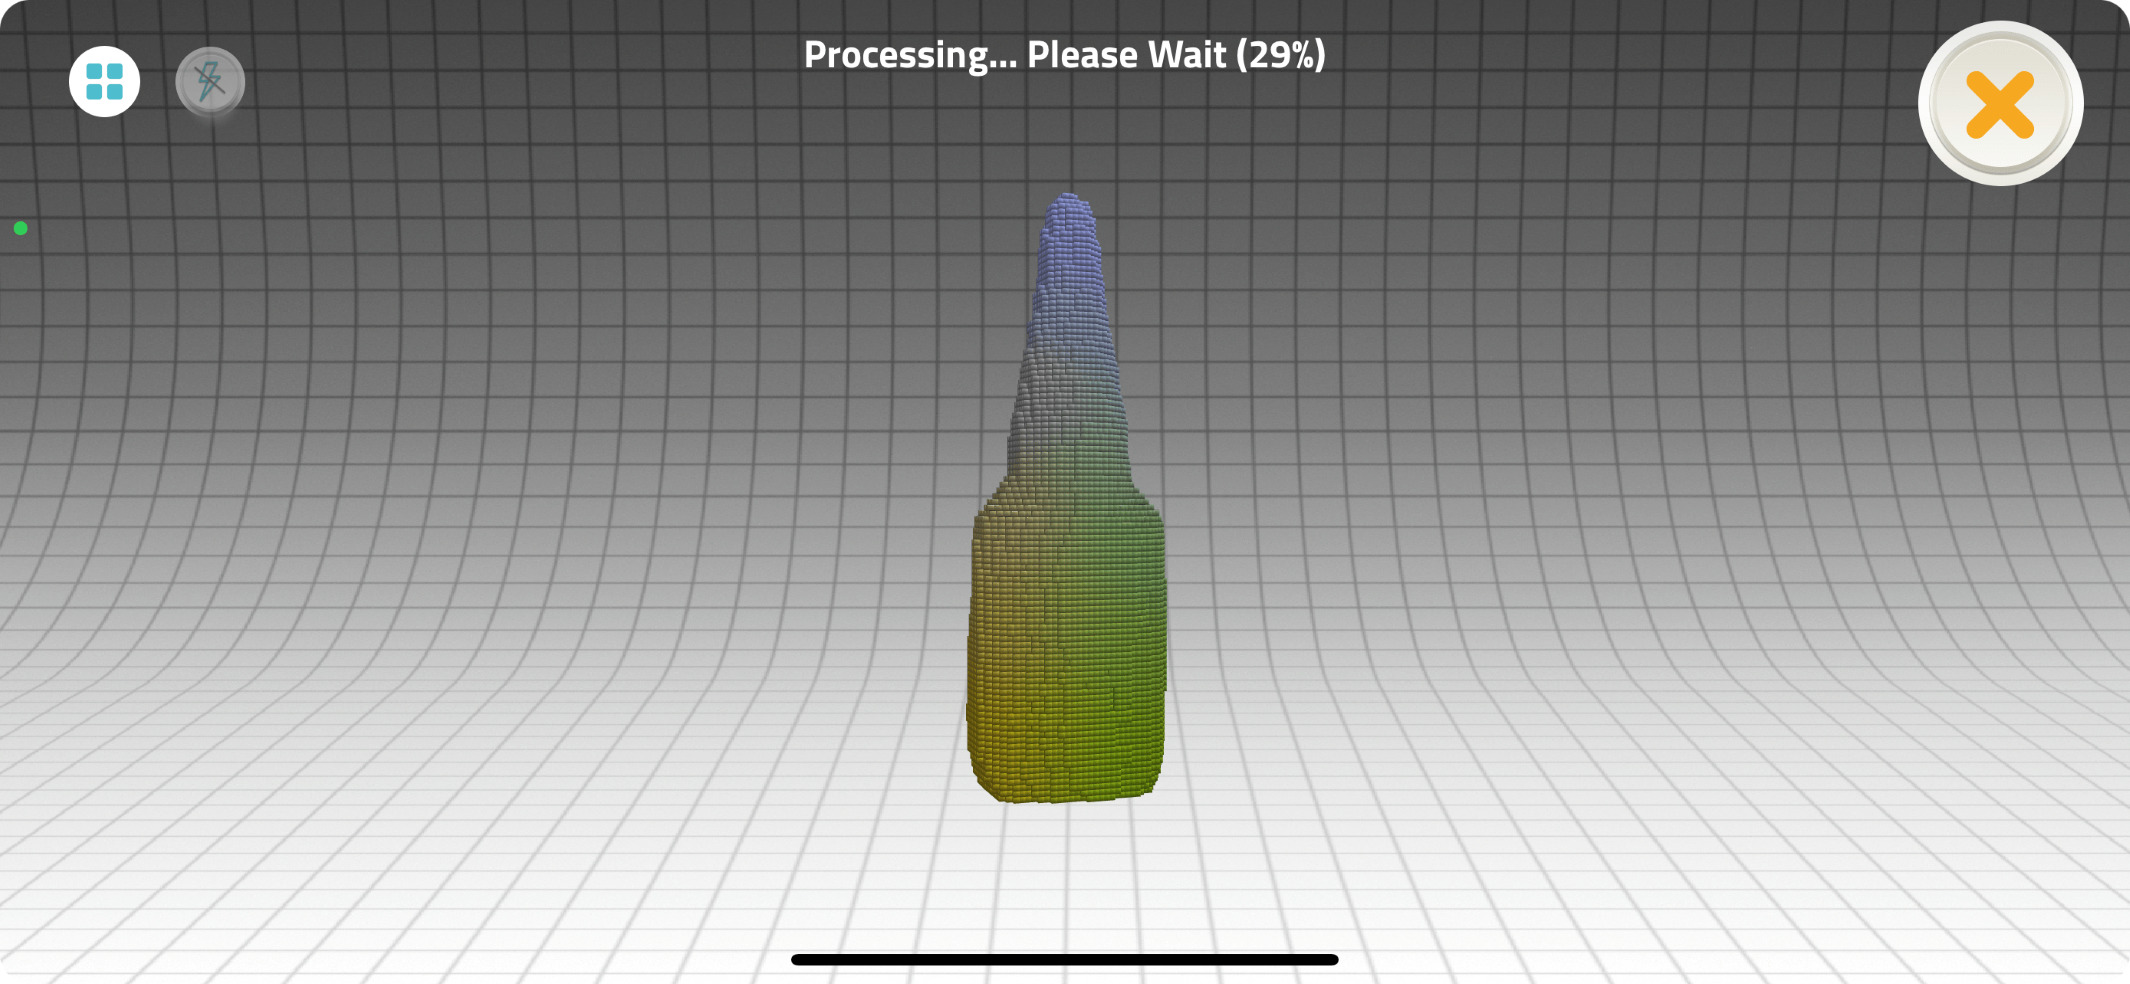
Next I did a bottle of Gorilla Super Glue. This bottle was less transparent than the spray bottle so I thought I could get a better result out of this one. It turned out like this:

Then I scanned again to get a bit of a better result then I merged both scans to come out with a better scan.

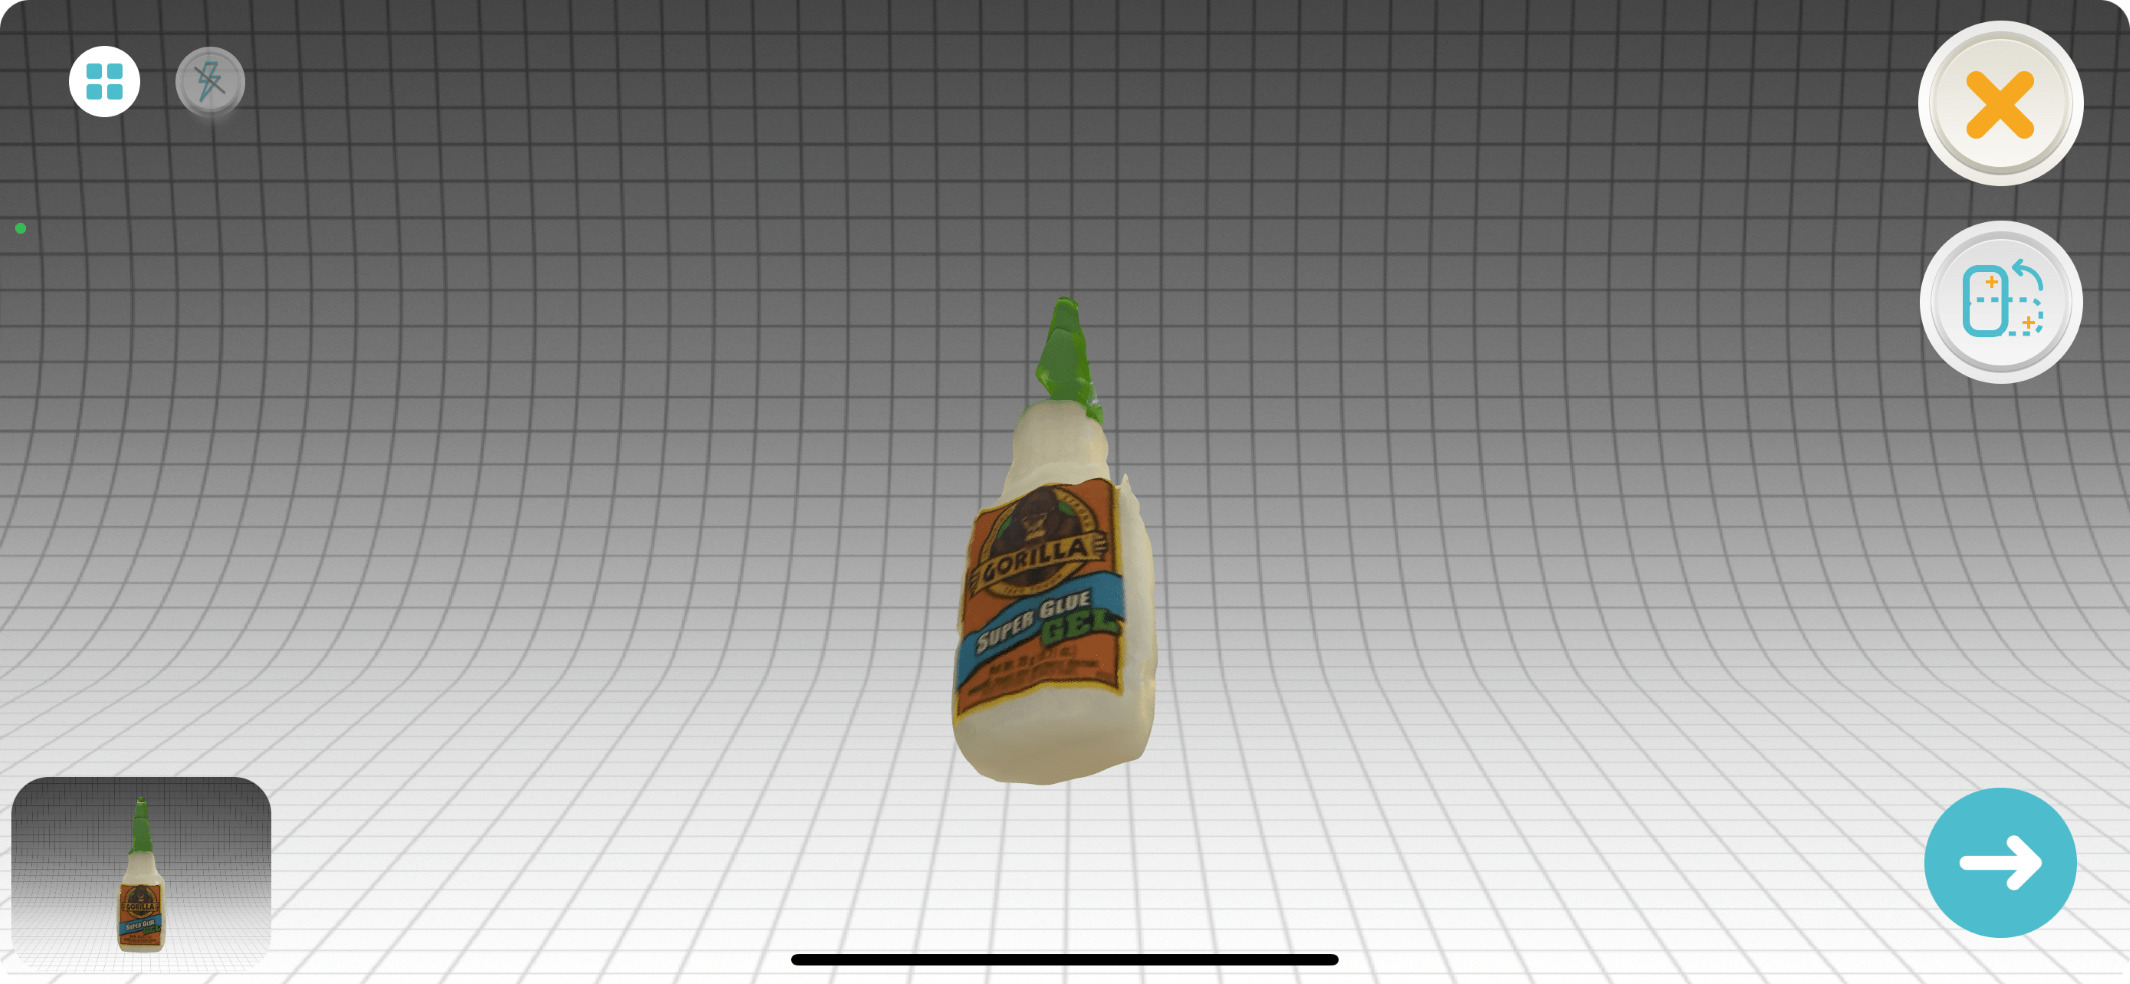
This turned out really great, the colors are very vibrant and it got the shape down to almost a tee. I enjoyed 3D scanning it gives very close 3D digital models of the physical object which is very useful.
3D Printing
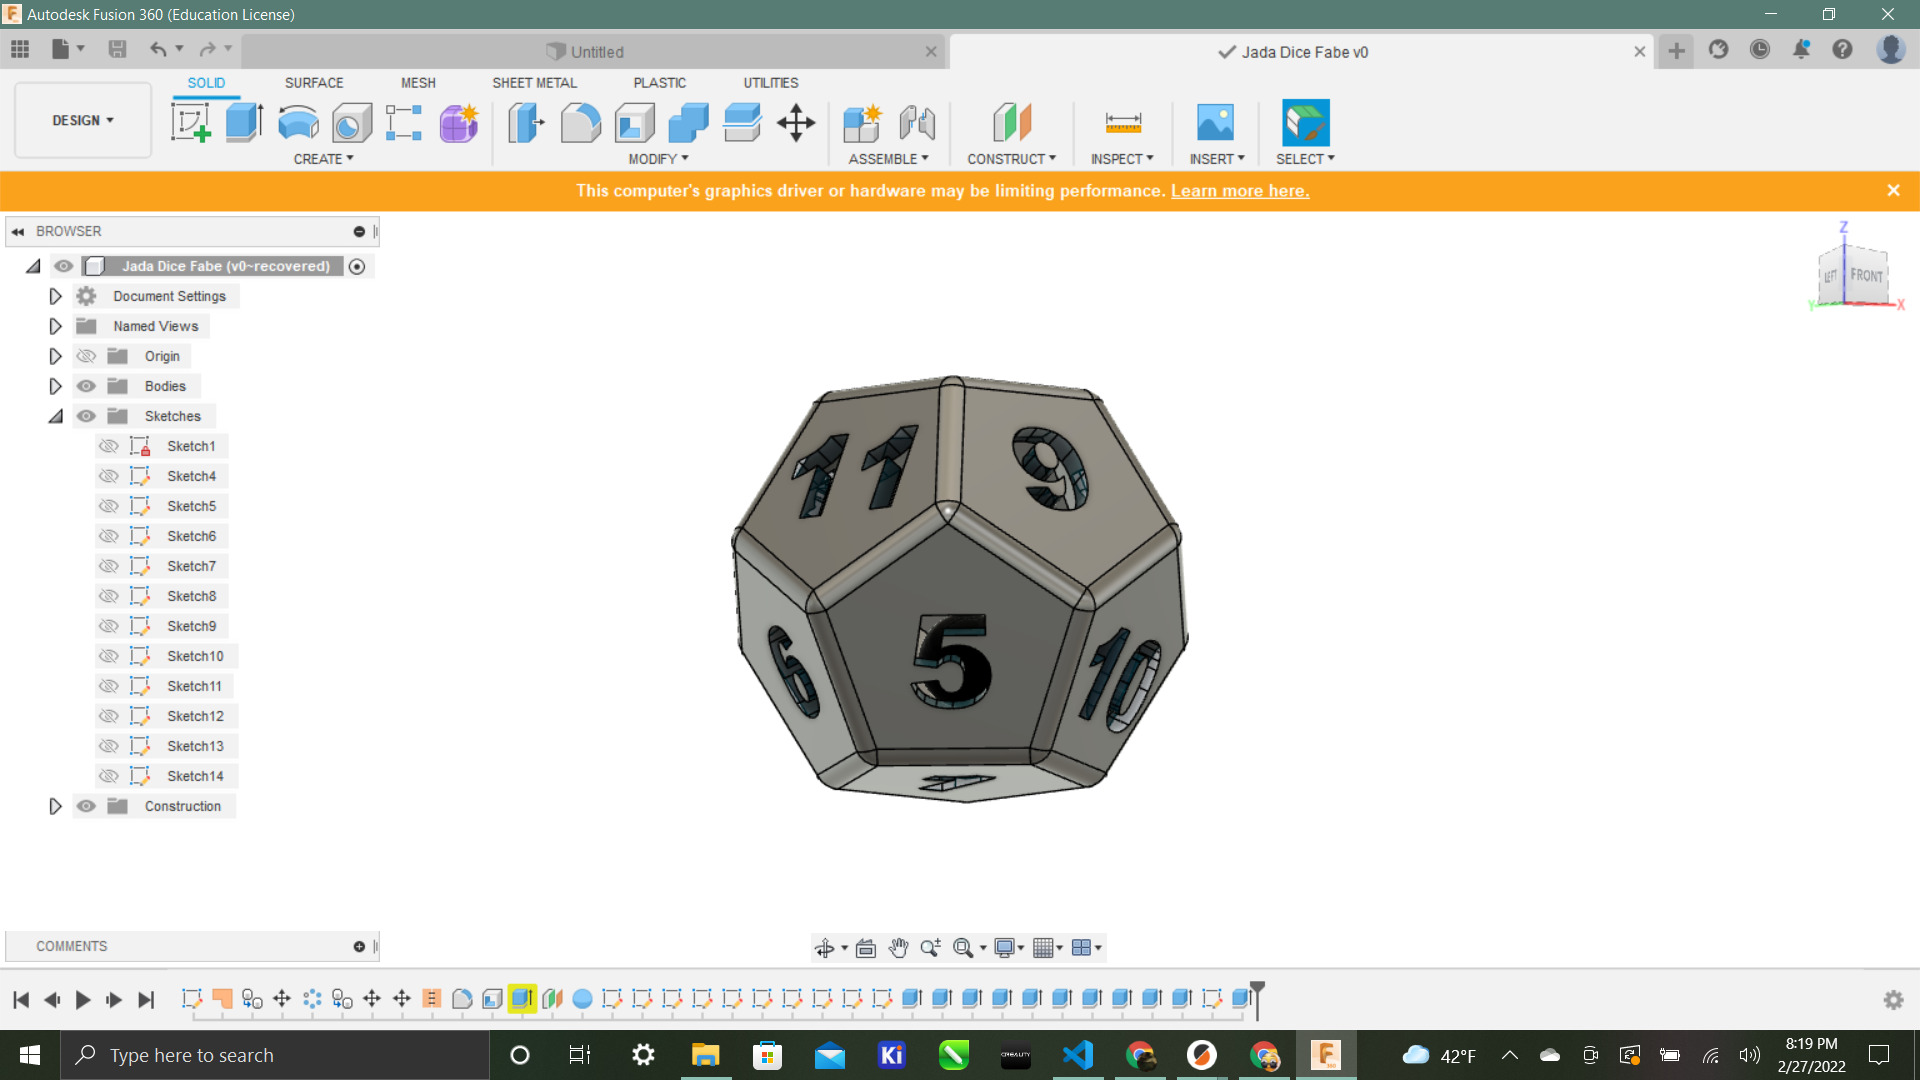
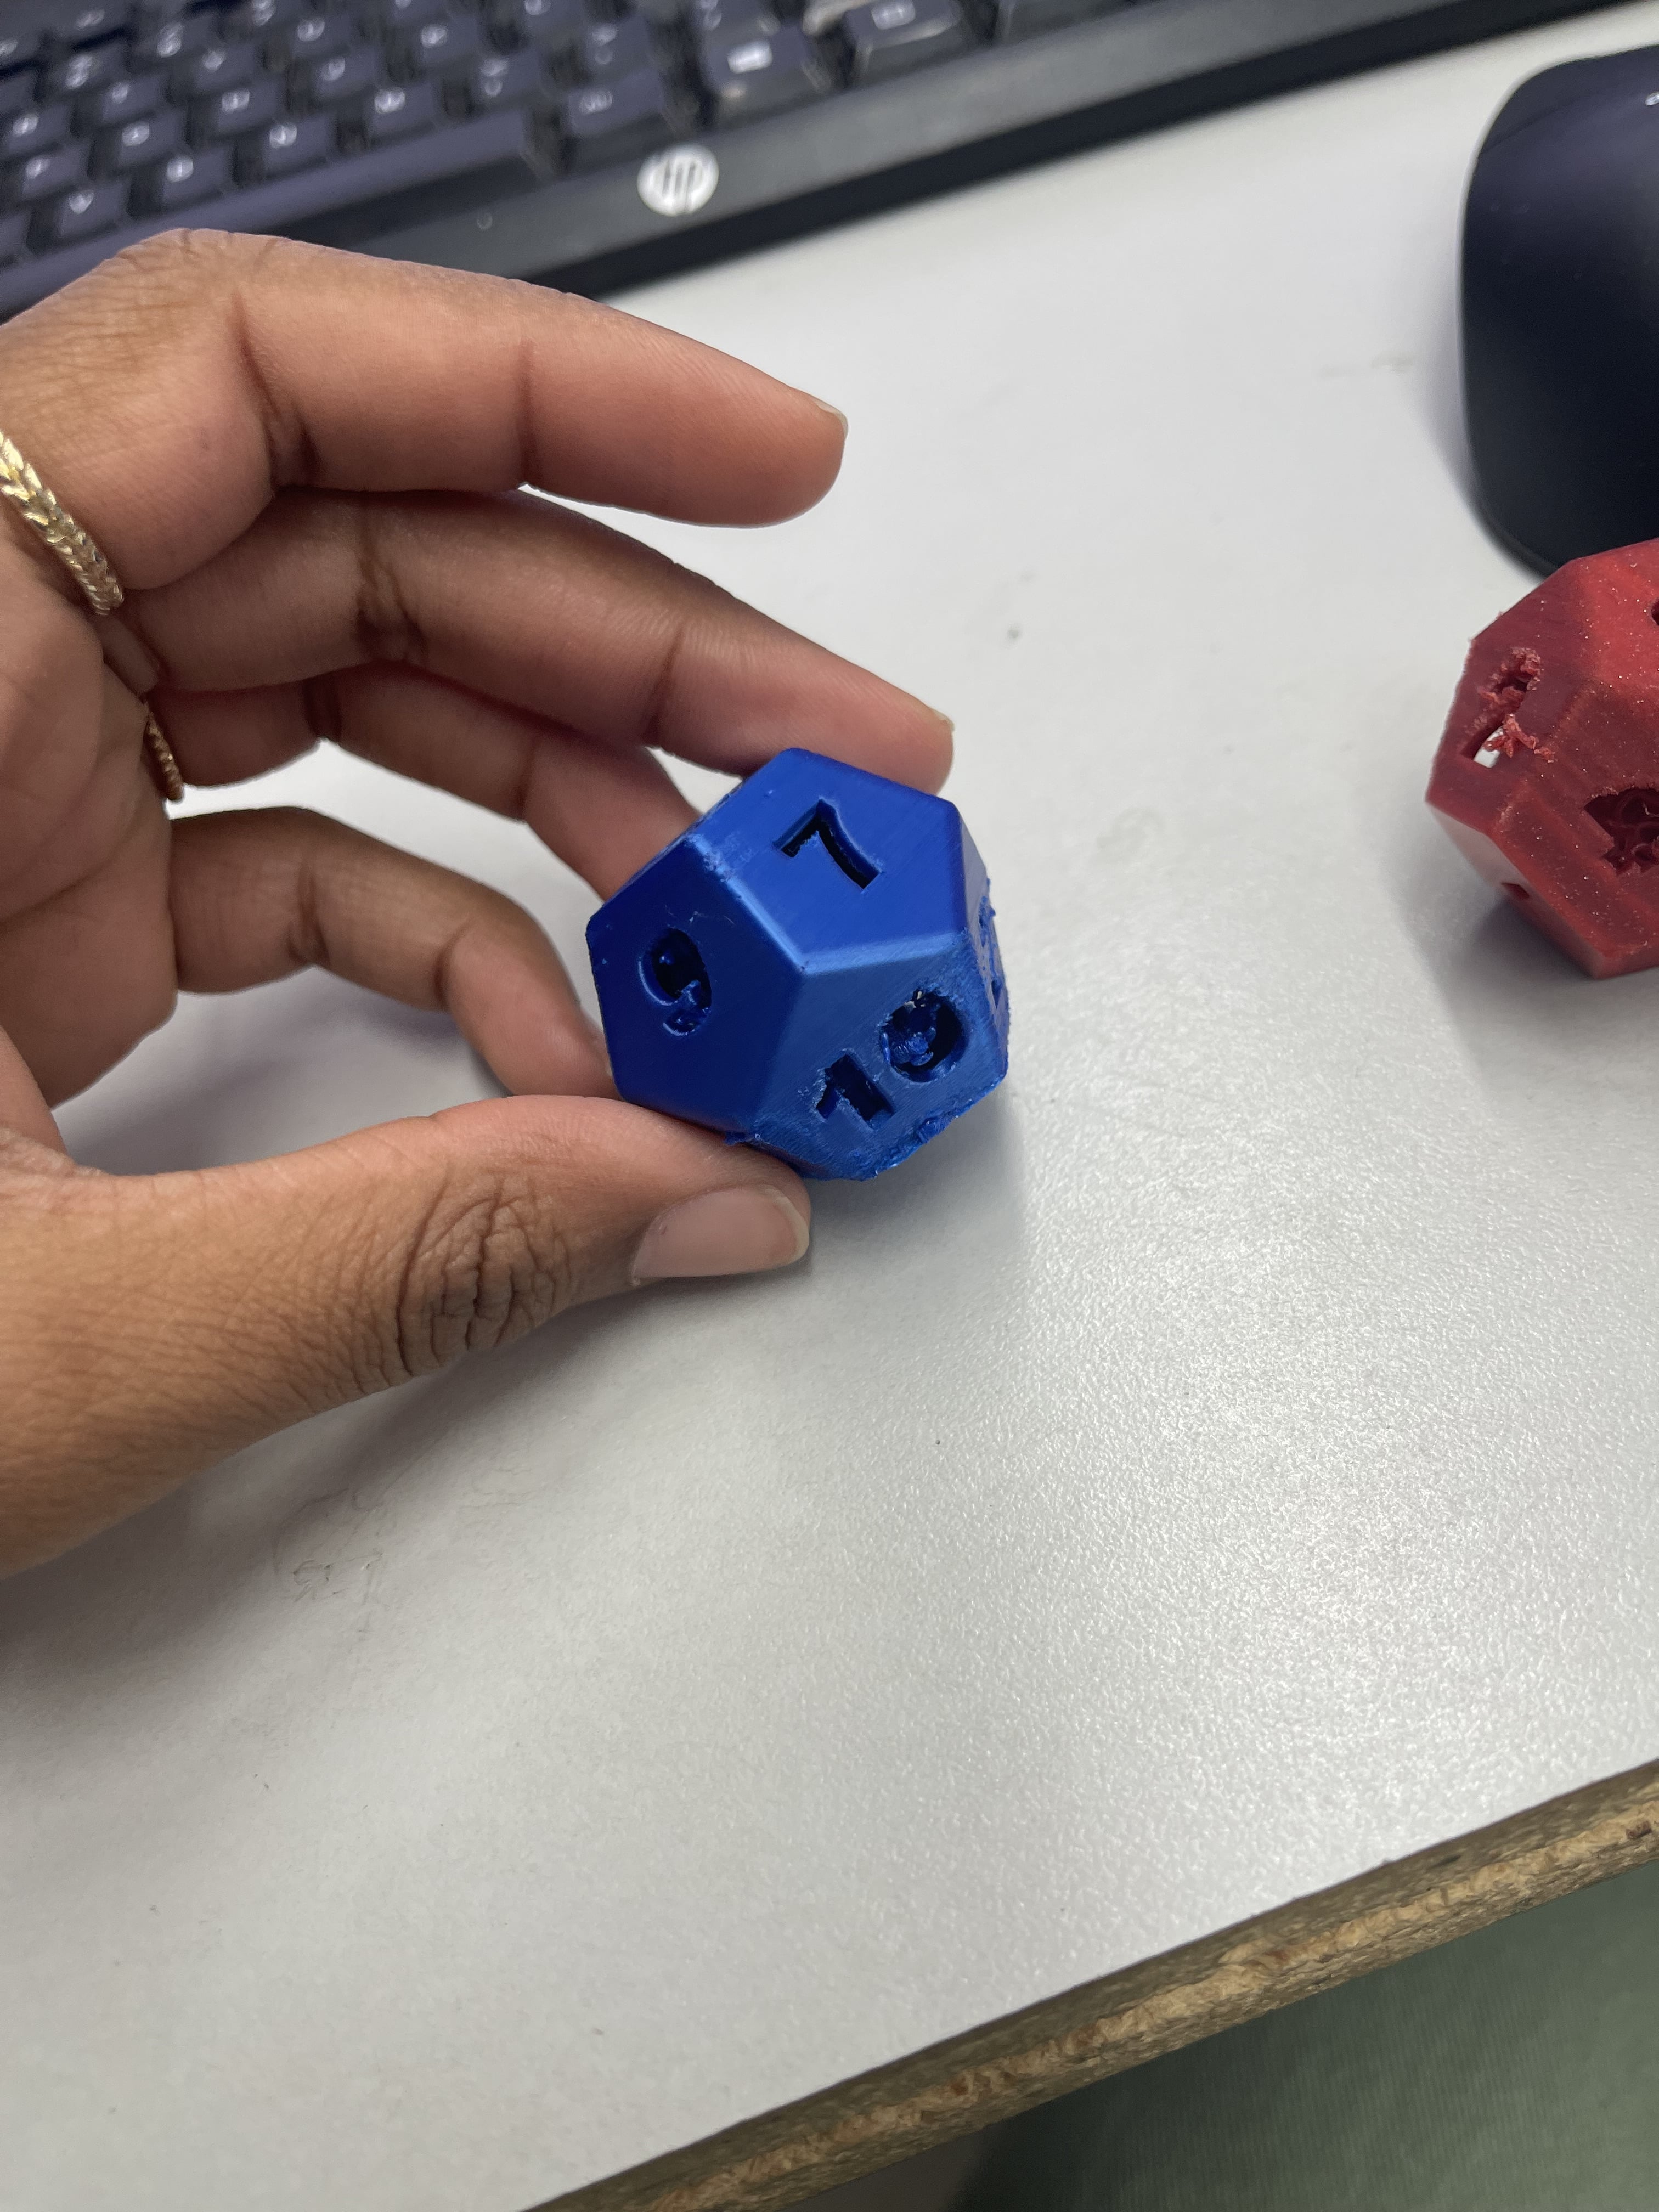
I decided to 3D print a Dodecohedron (12 Sided Dice). I always loved dice for no reason so I thought this was a cute idea. I put a little ball inside of the die. It would rattle around when it is shaken or when it is rolled. I had to create the ball so it small enough to make noises and not fall through the numbers. but not so big that it would make no noise. I designed it in fusin 360 using surface commands.
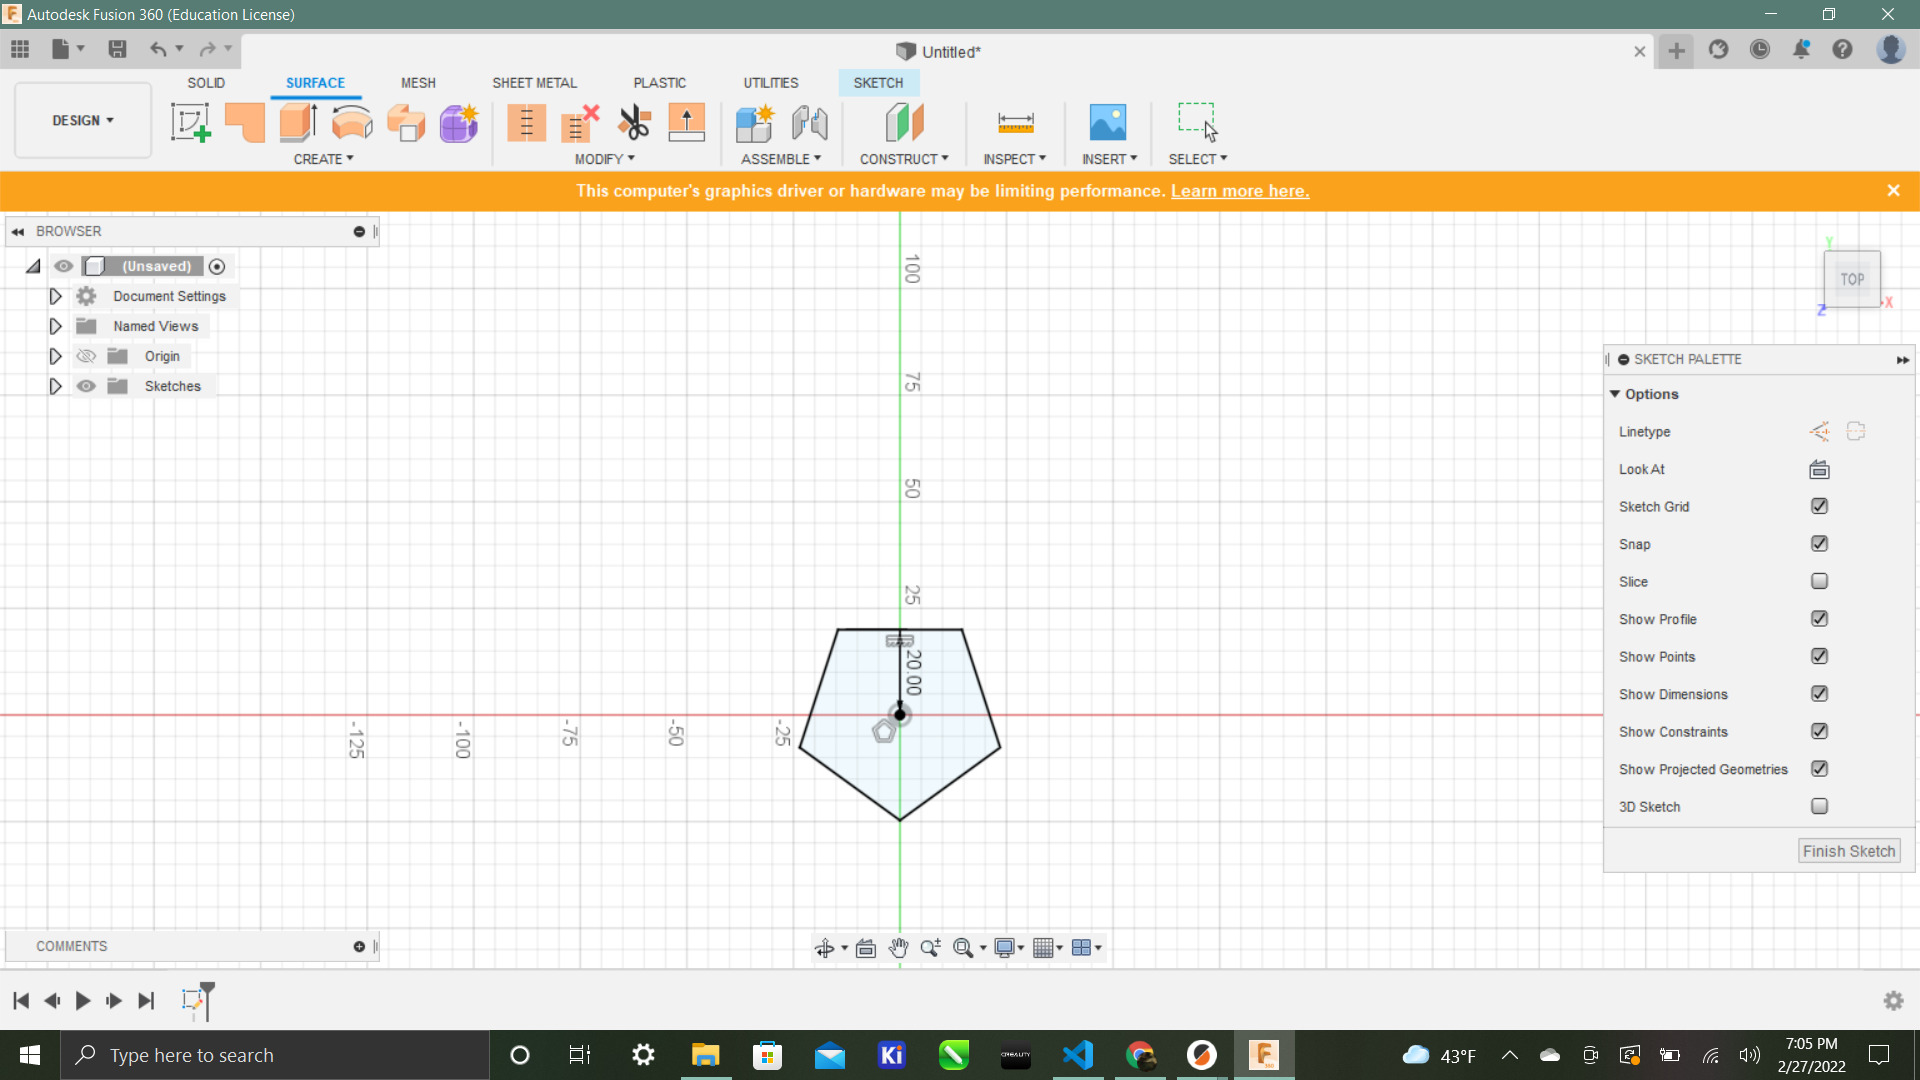

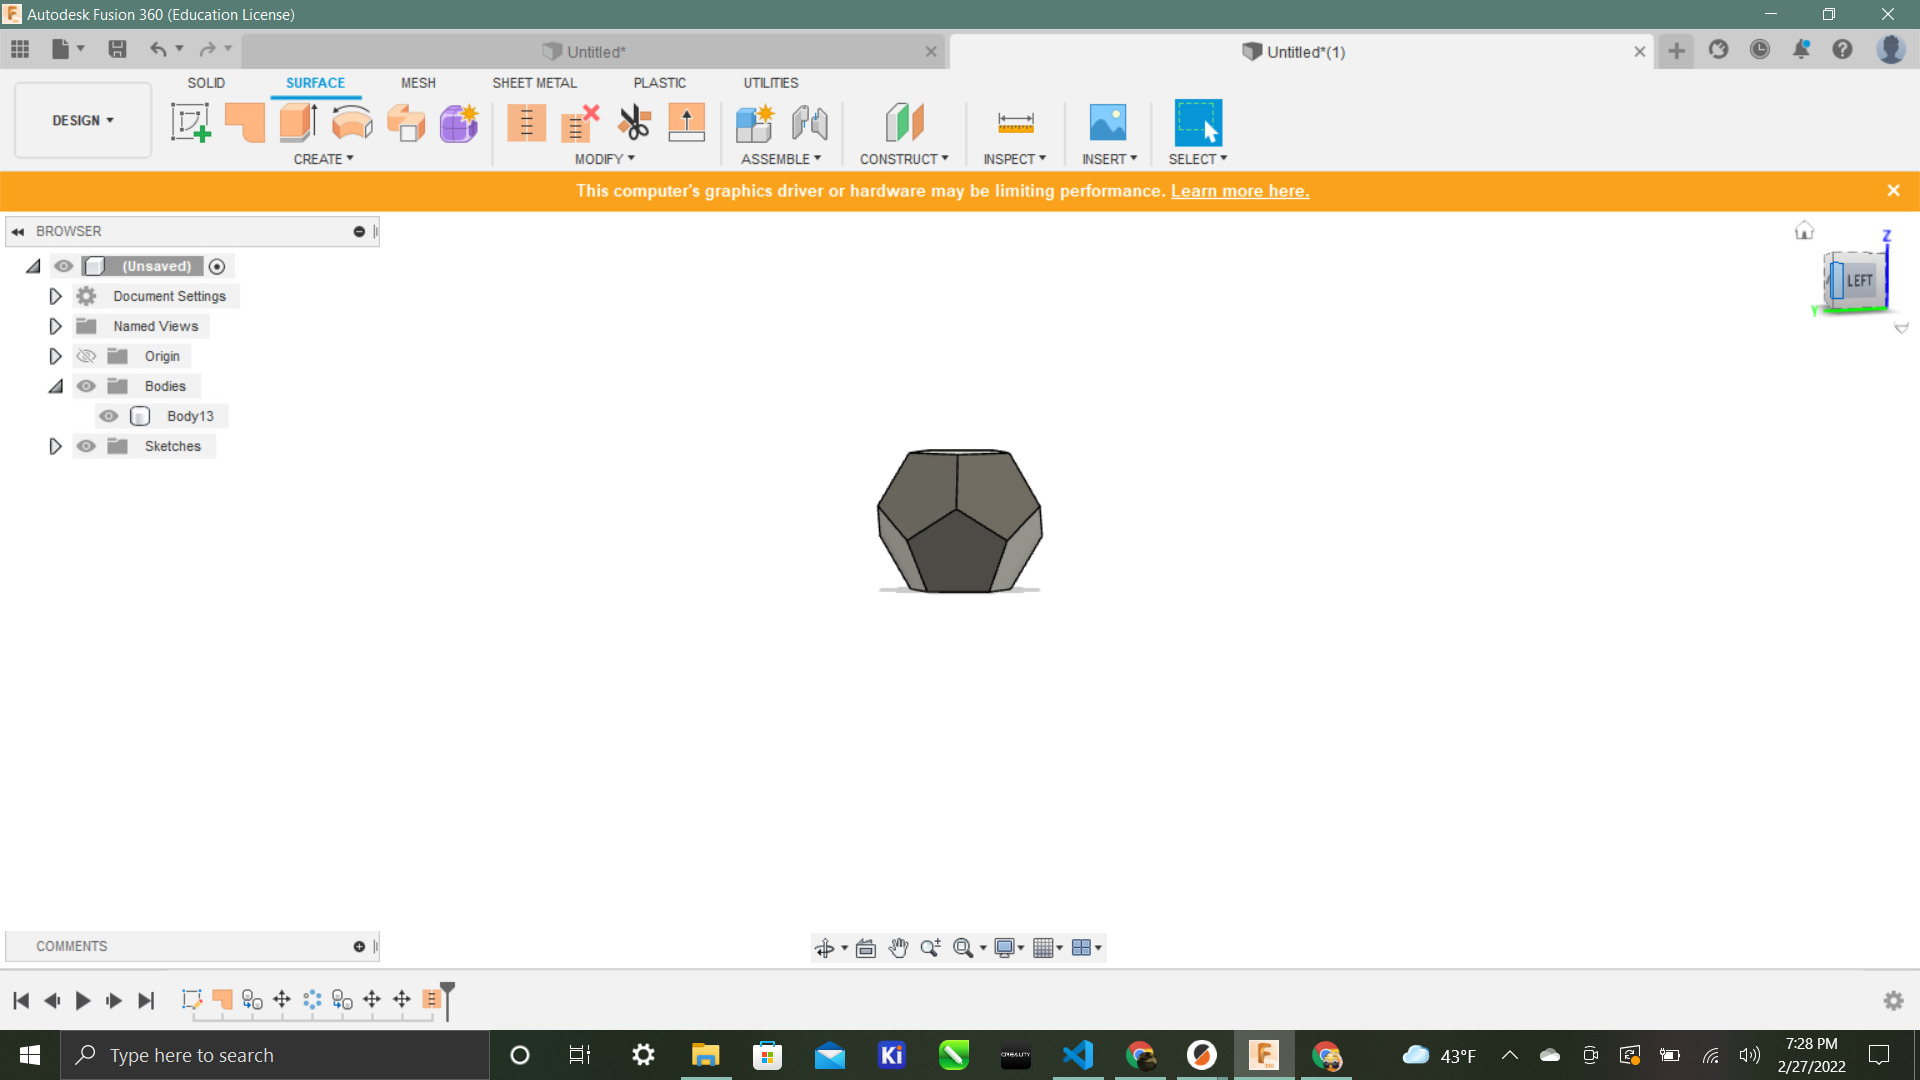
I have never used them before but it was very useful. I then wrote out each number with the text tool one by one.

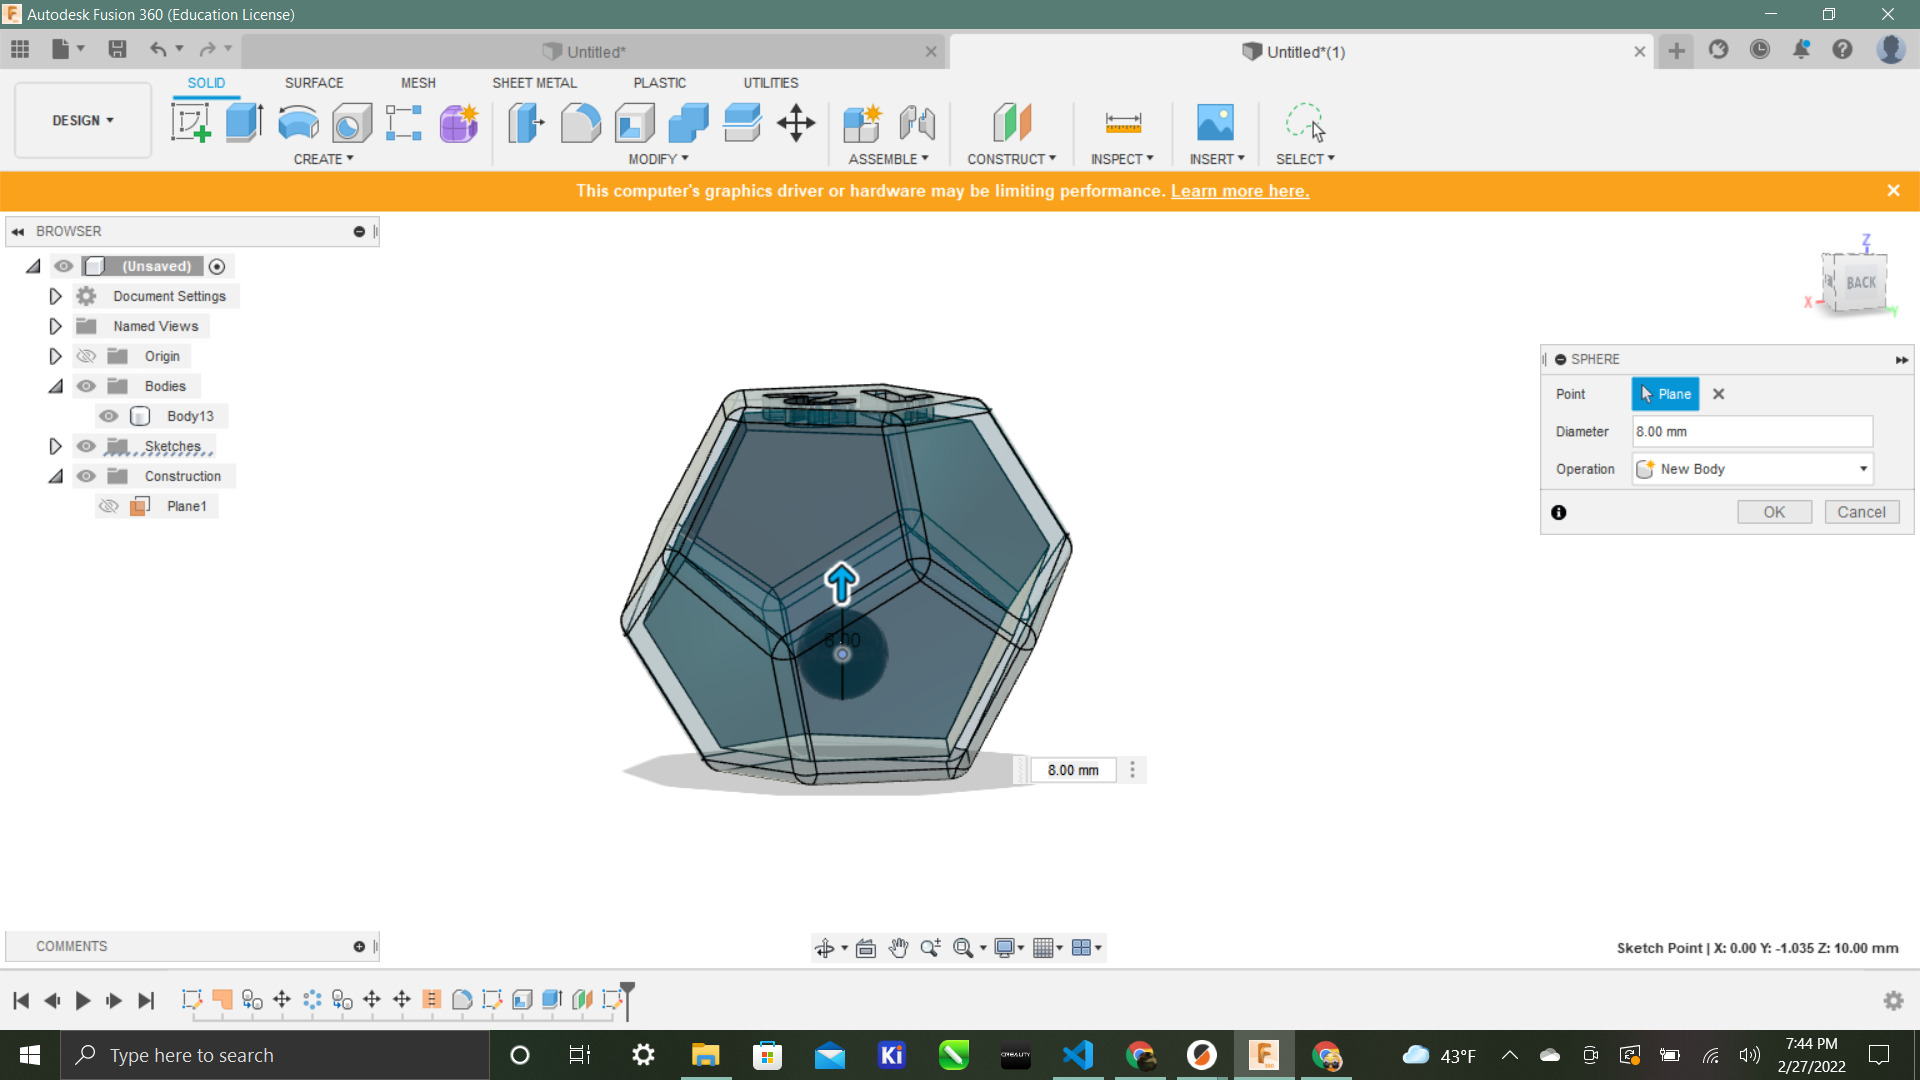
I honestly forgot to put the ball in the middle of the dice. I finished designing the dice and I did not want to restart so I clicked through the number to put an offset plane inside the bottom of the dice. Thats where I used the sphere tool to create the ball inside.
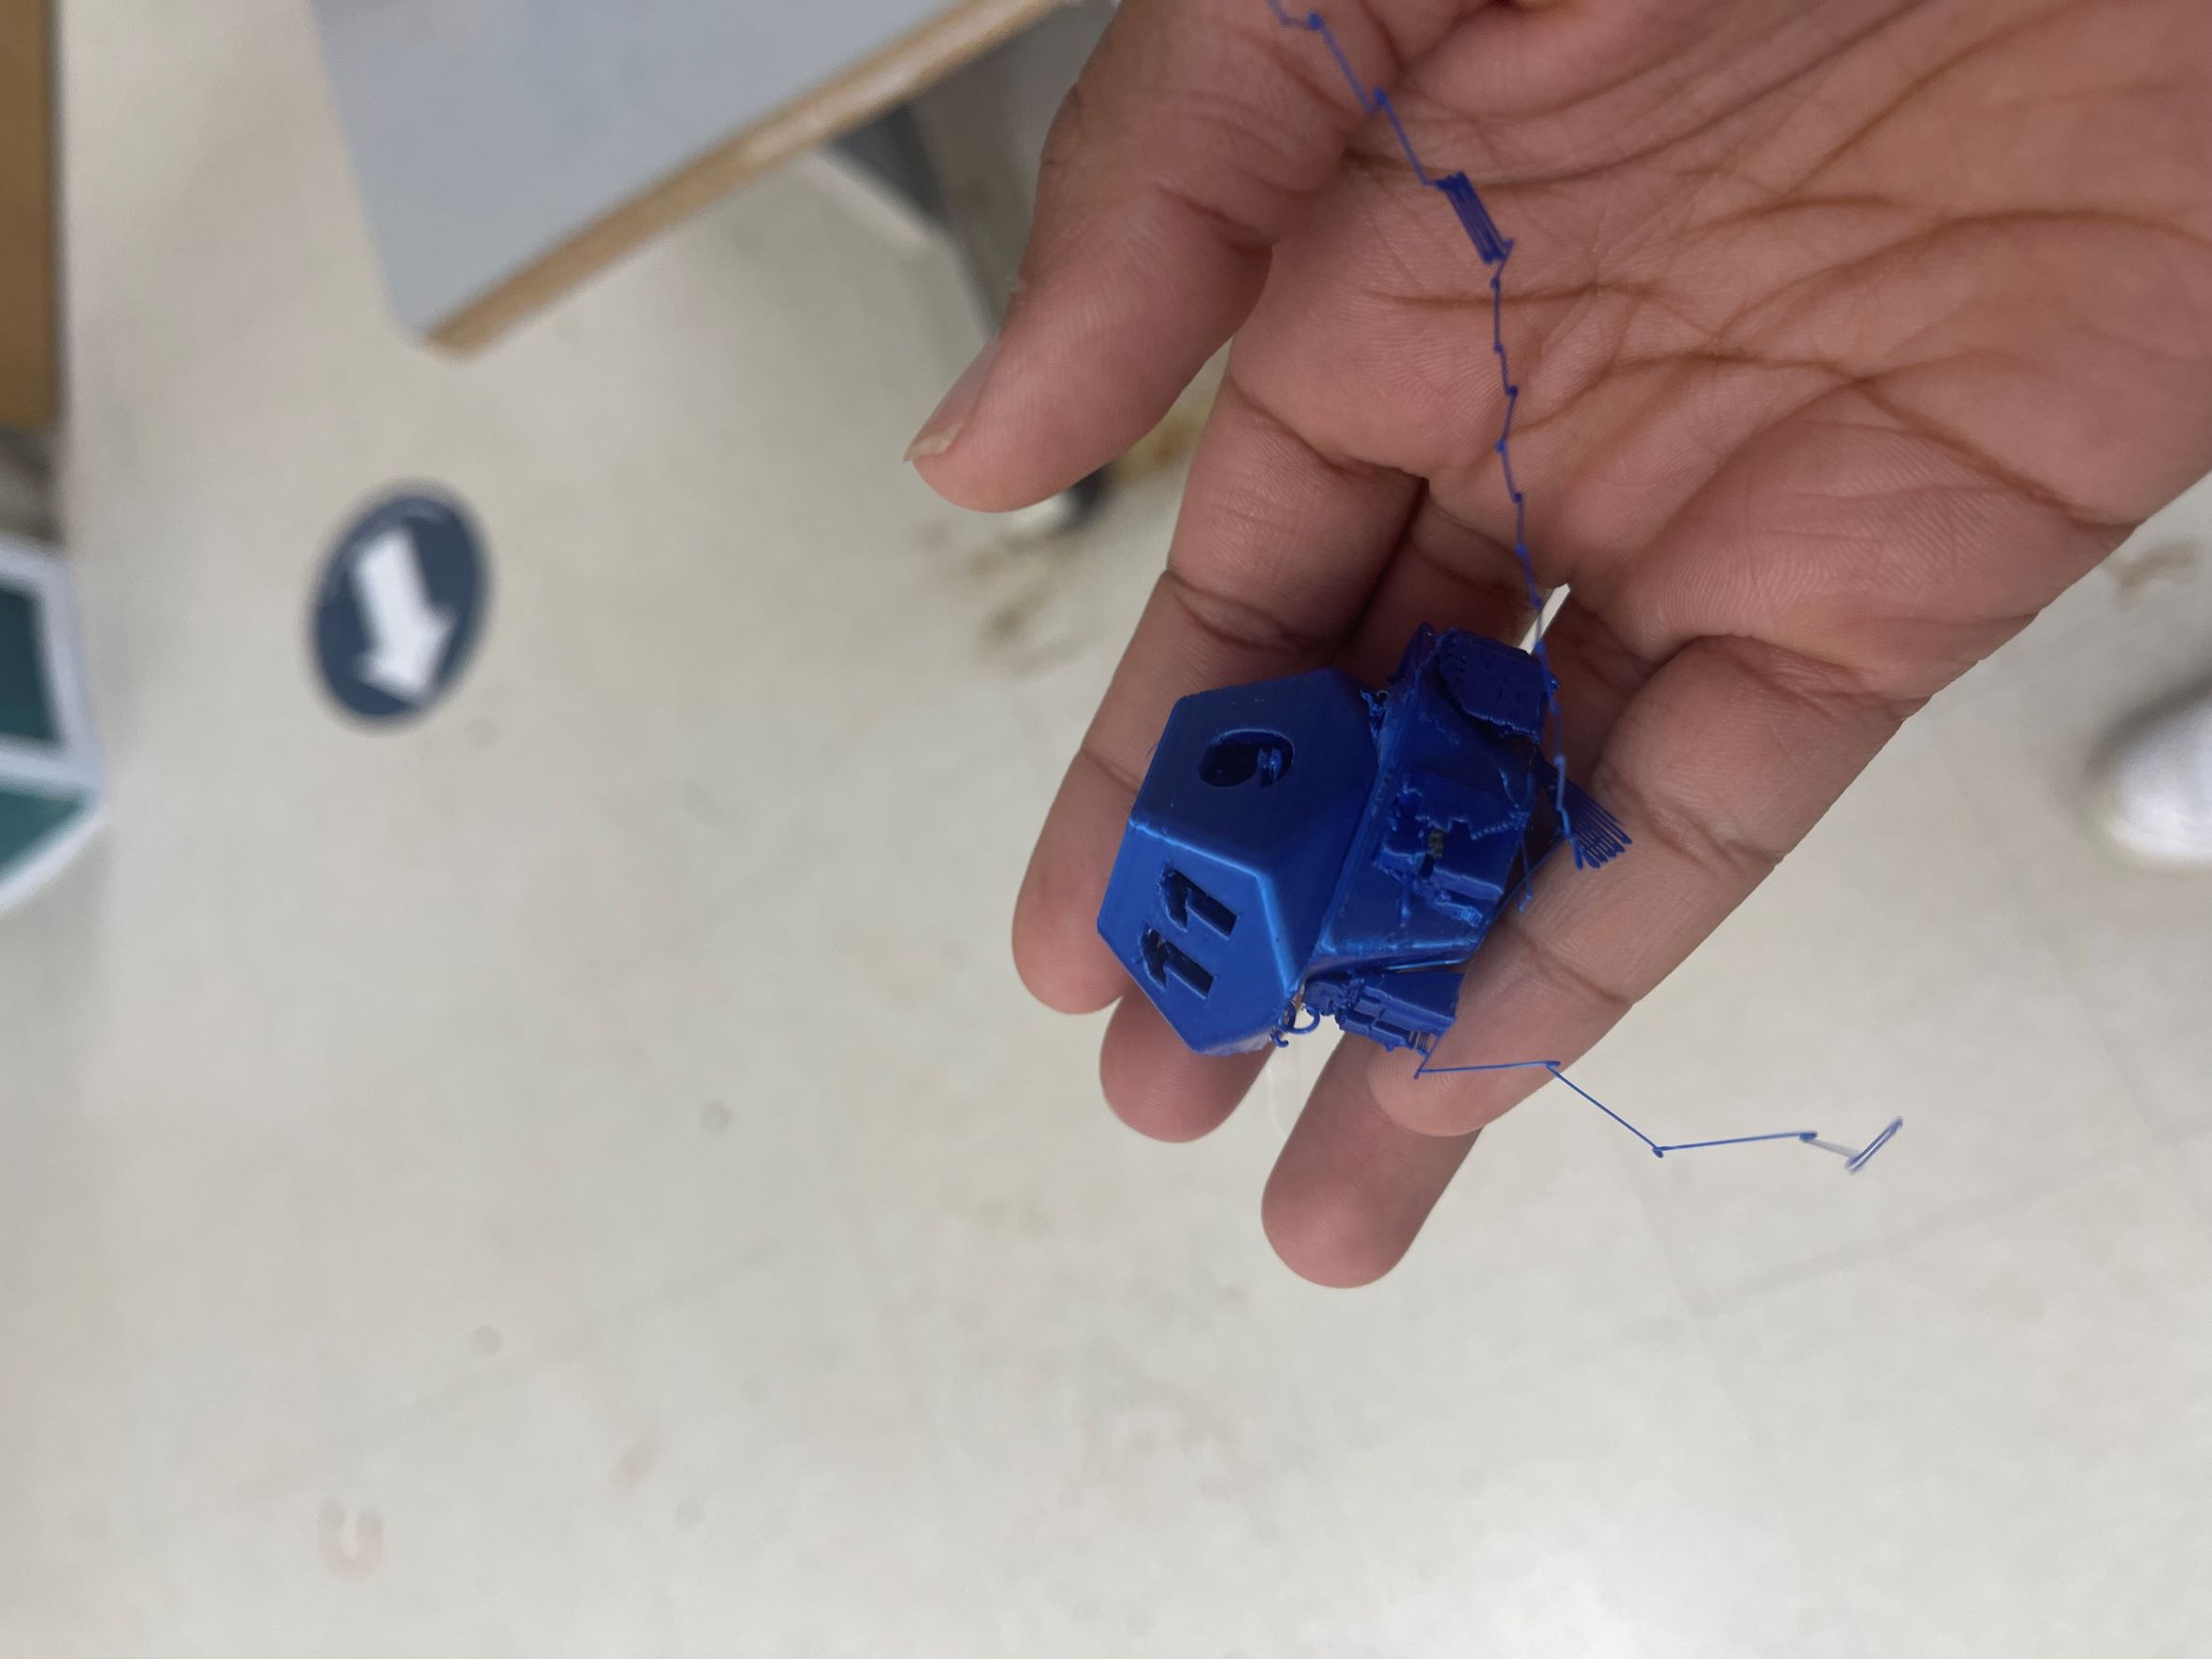
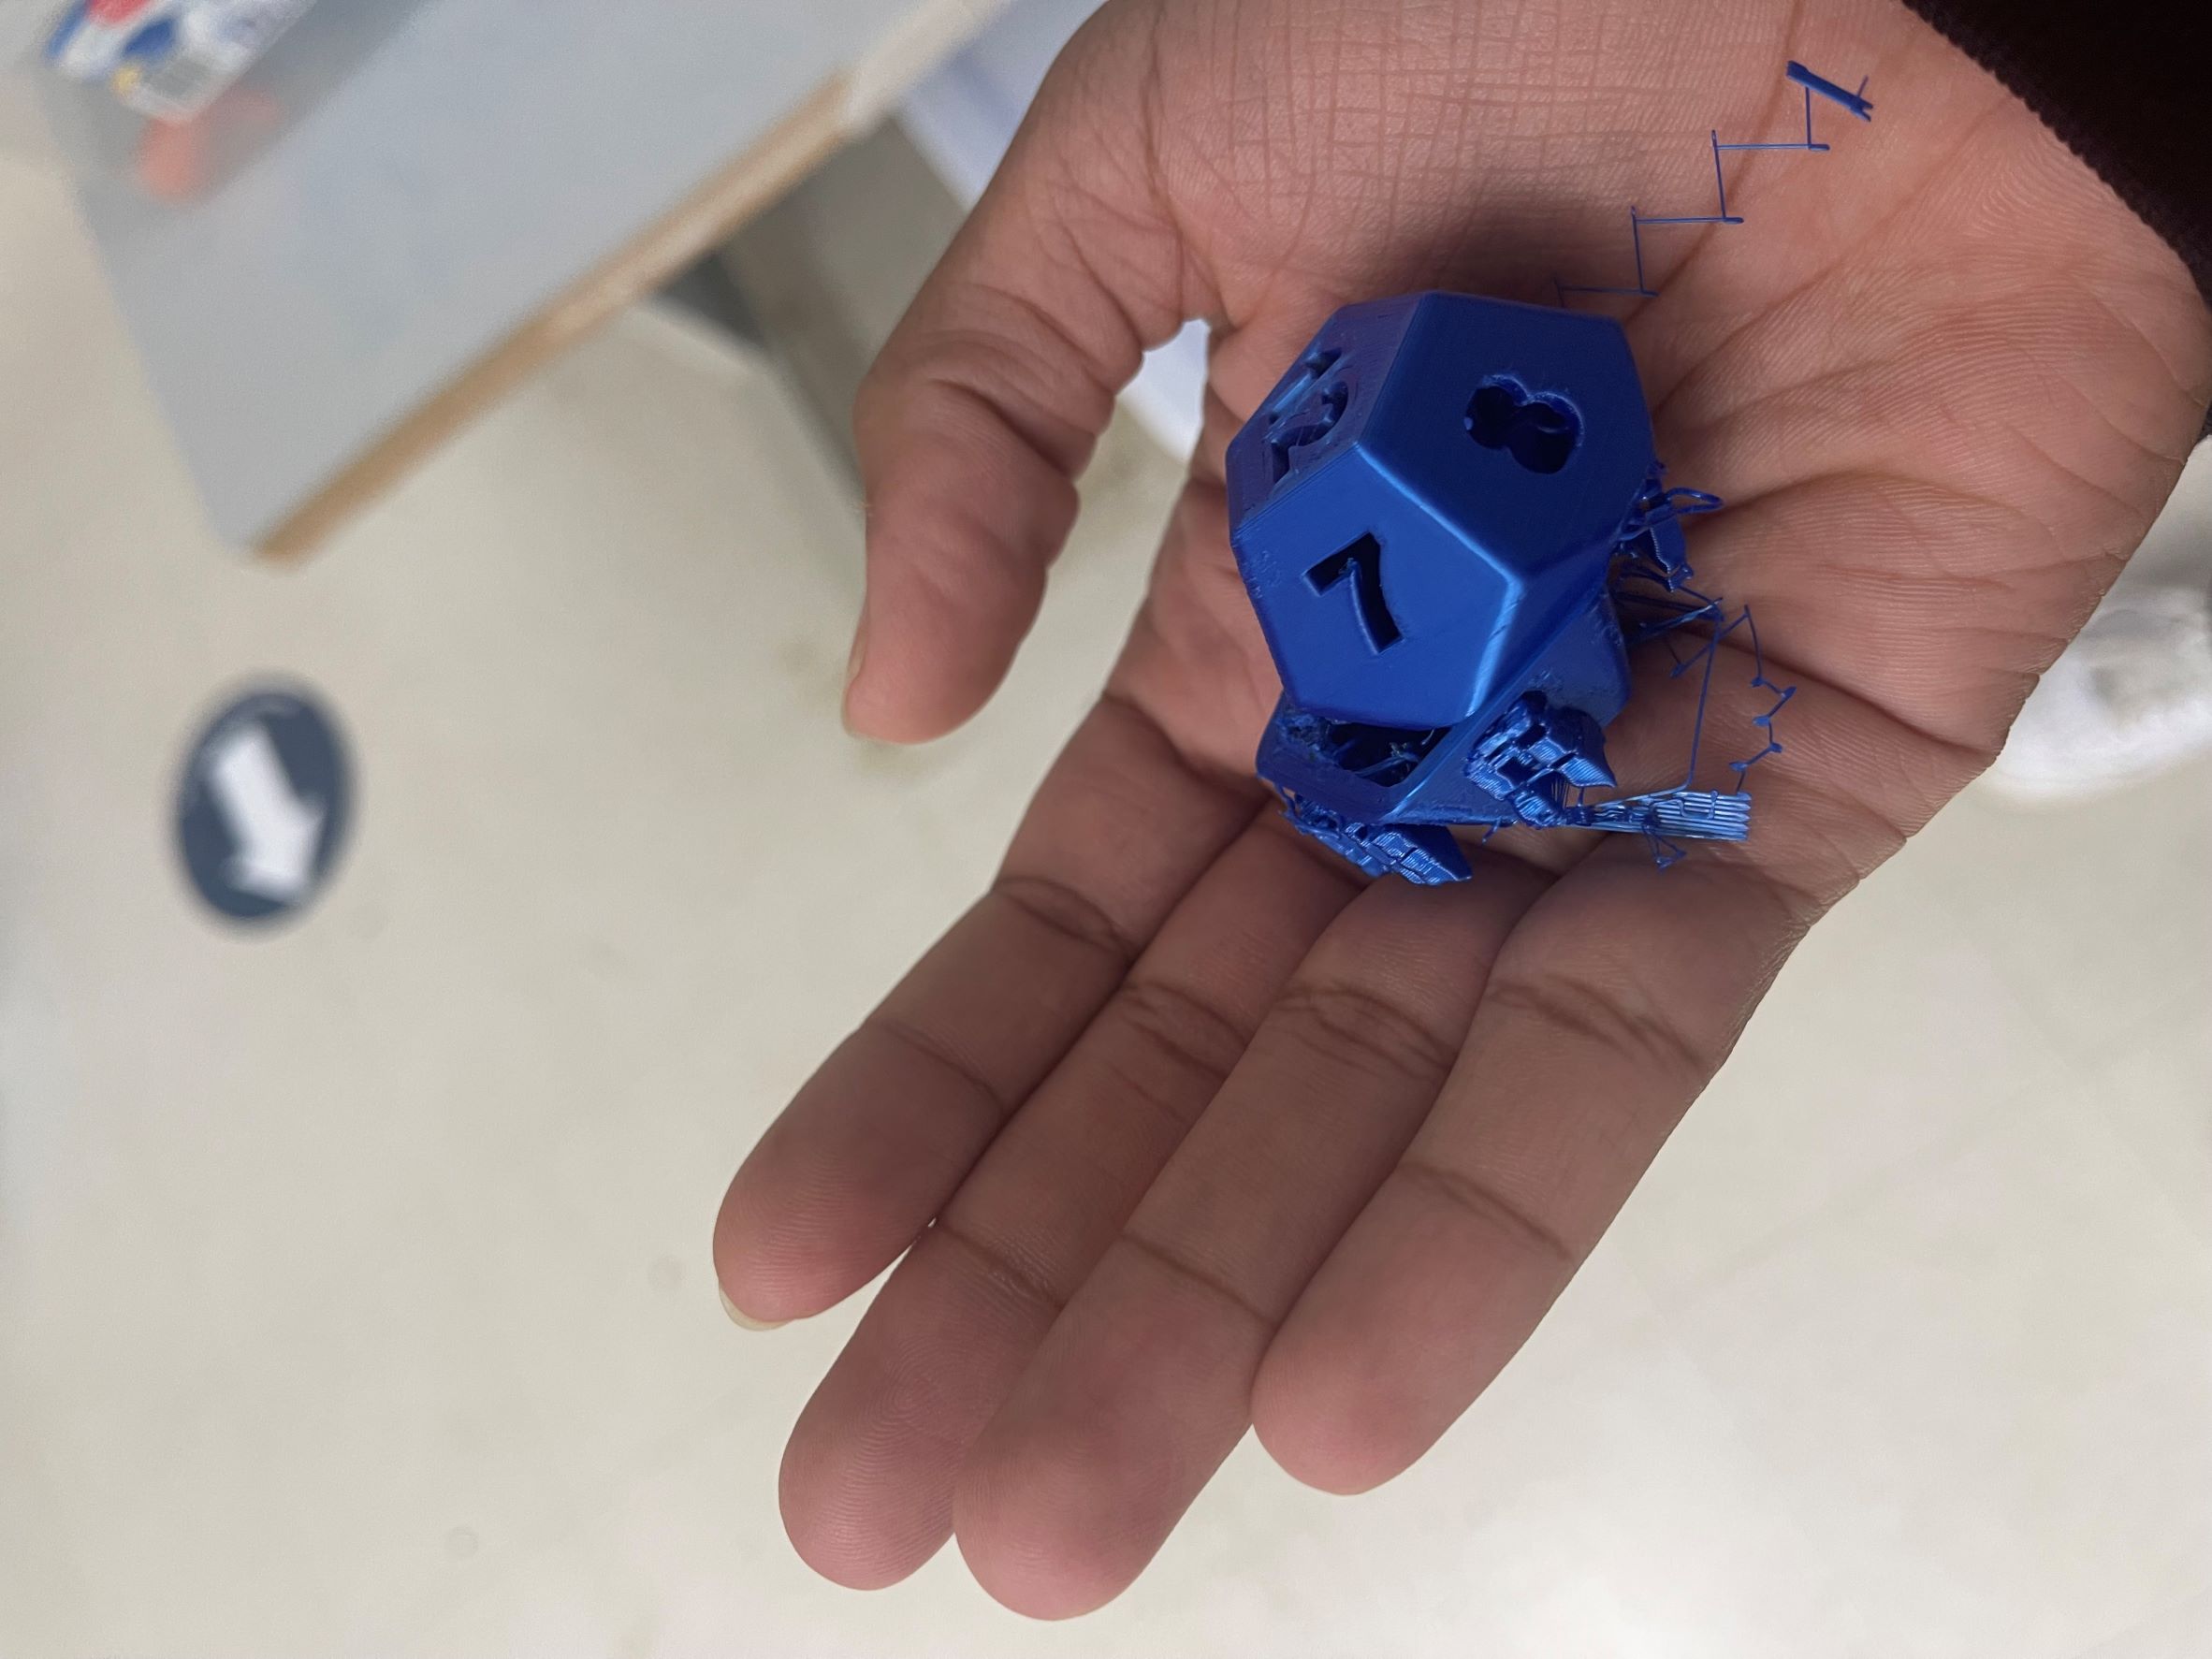
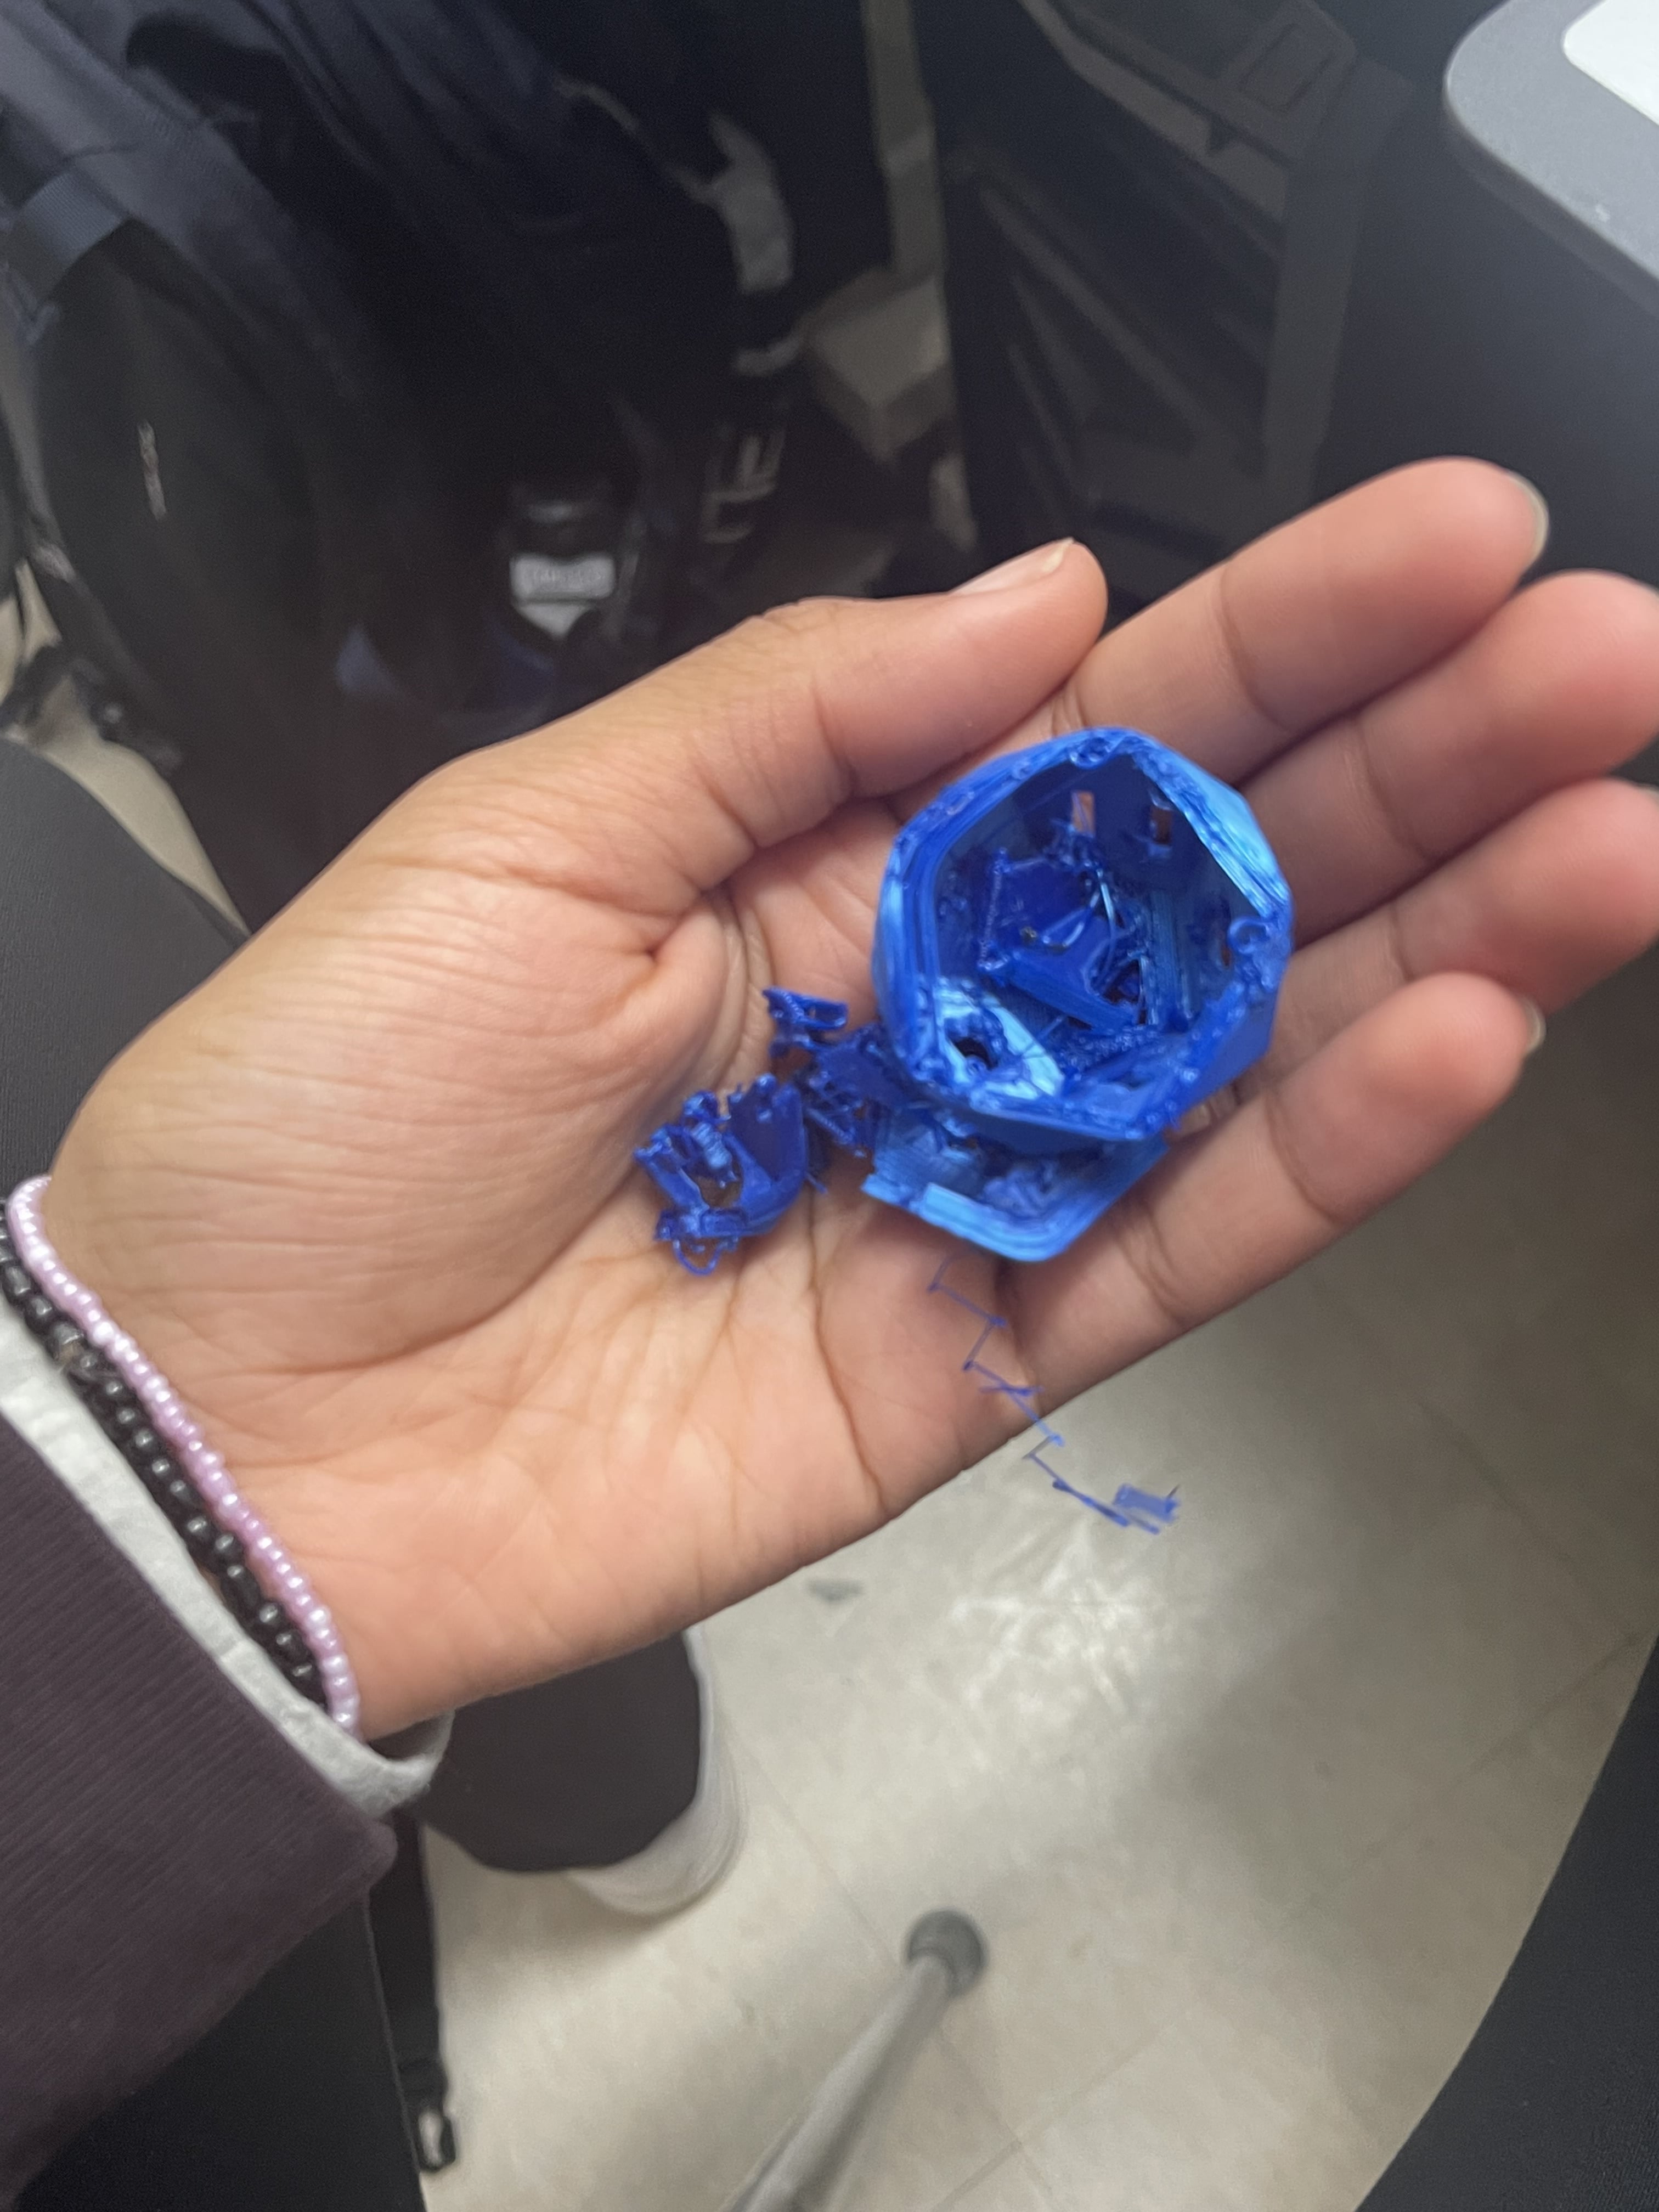
This was my first attempt. It wasn’t the design but something happened to the print while I was not present. I couldn’t tell if the ball was in the middle so I stomped on it and unfortunately in this round the ball was not in it so I reprinted it
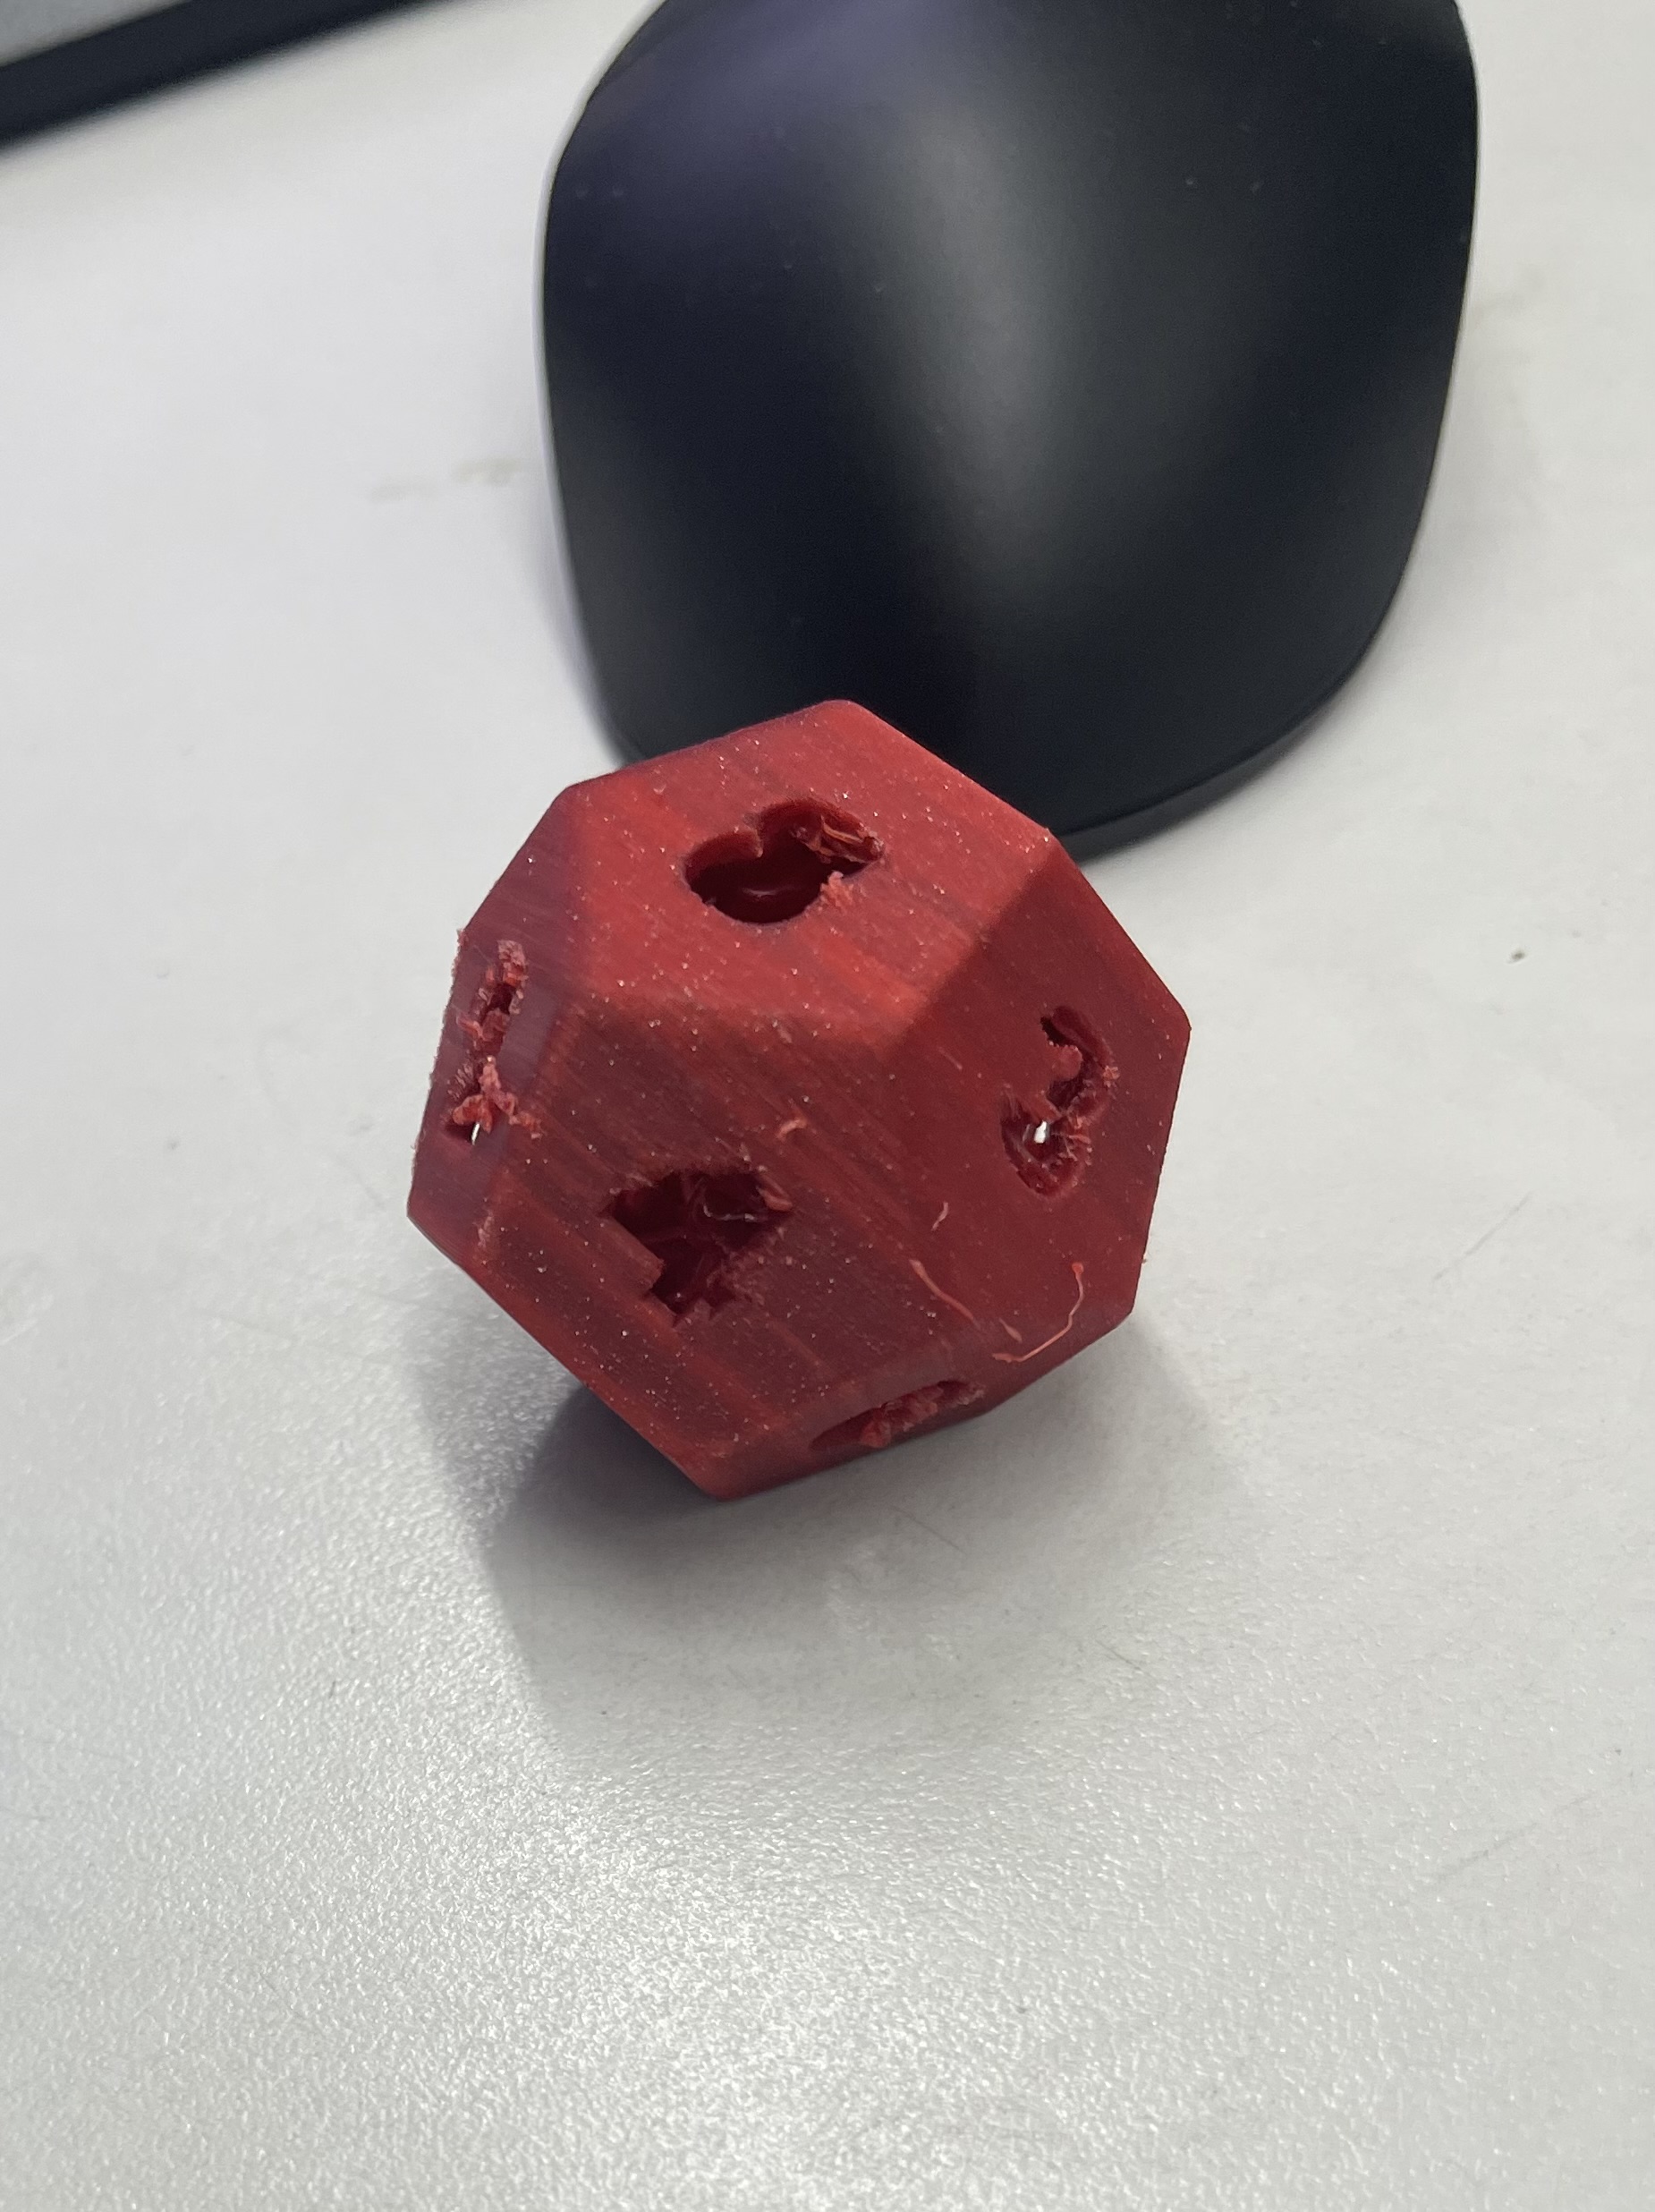
Then this is the next print. I used autogenerated supports on this one to see what was going to happen. The dice actually printed very nice but it had no ball in the middle because it printed with no supports at all.
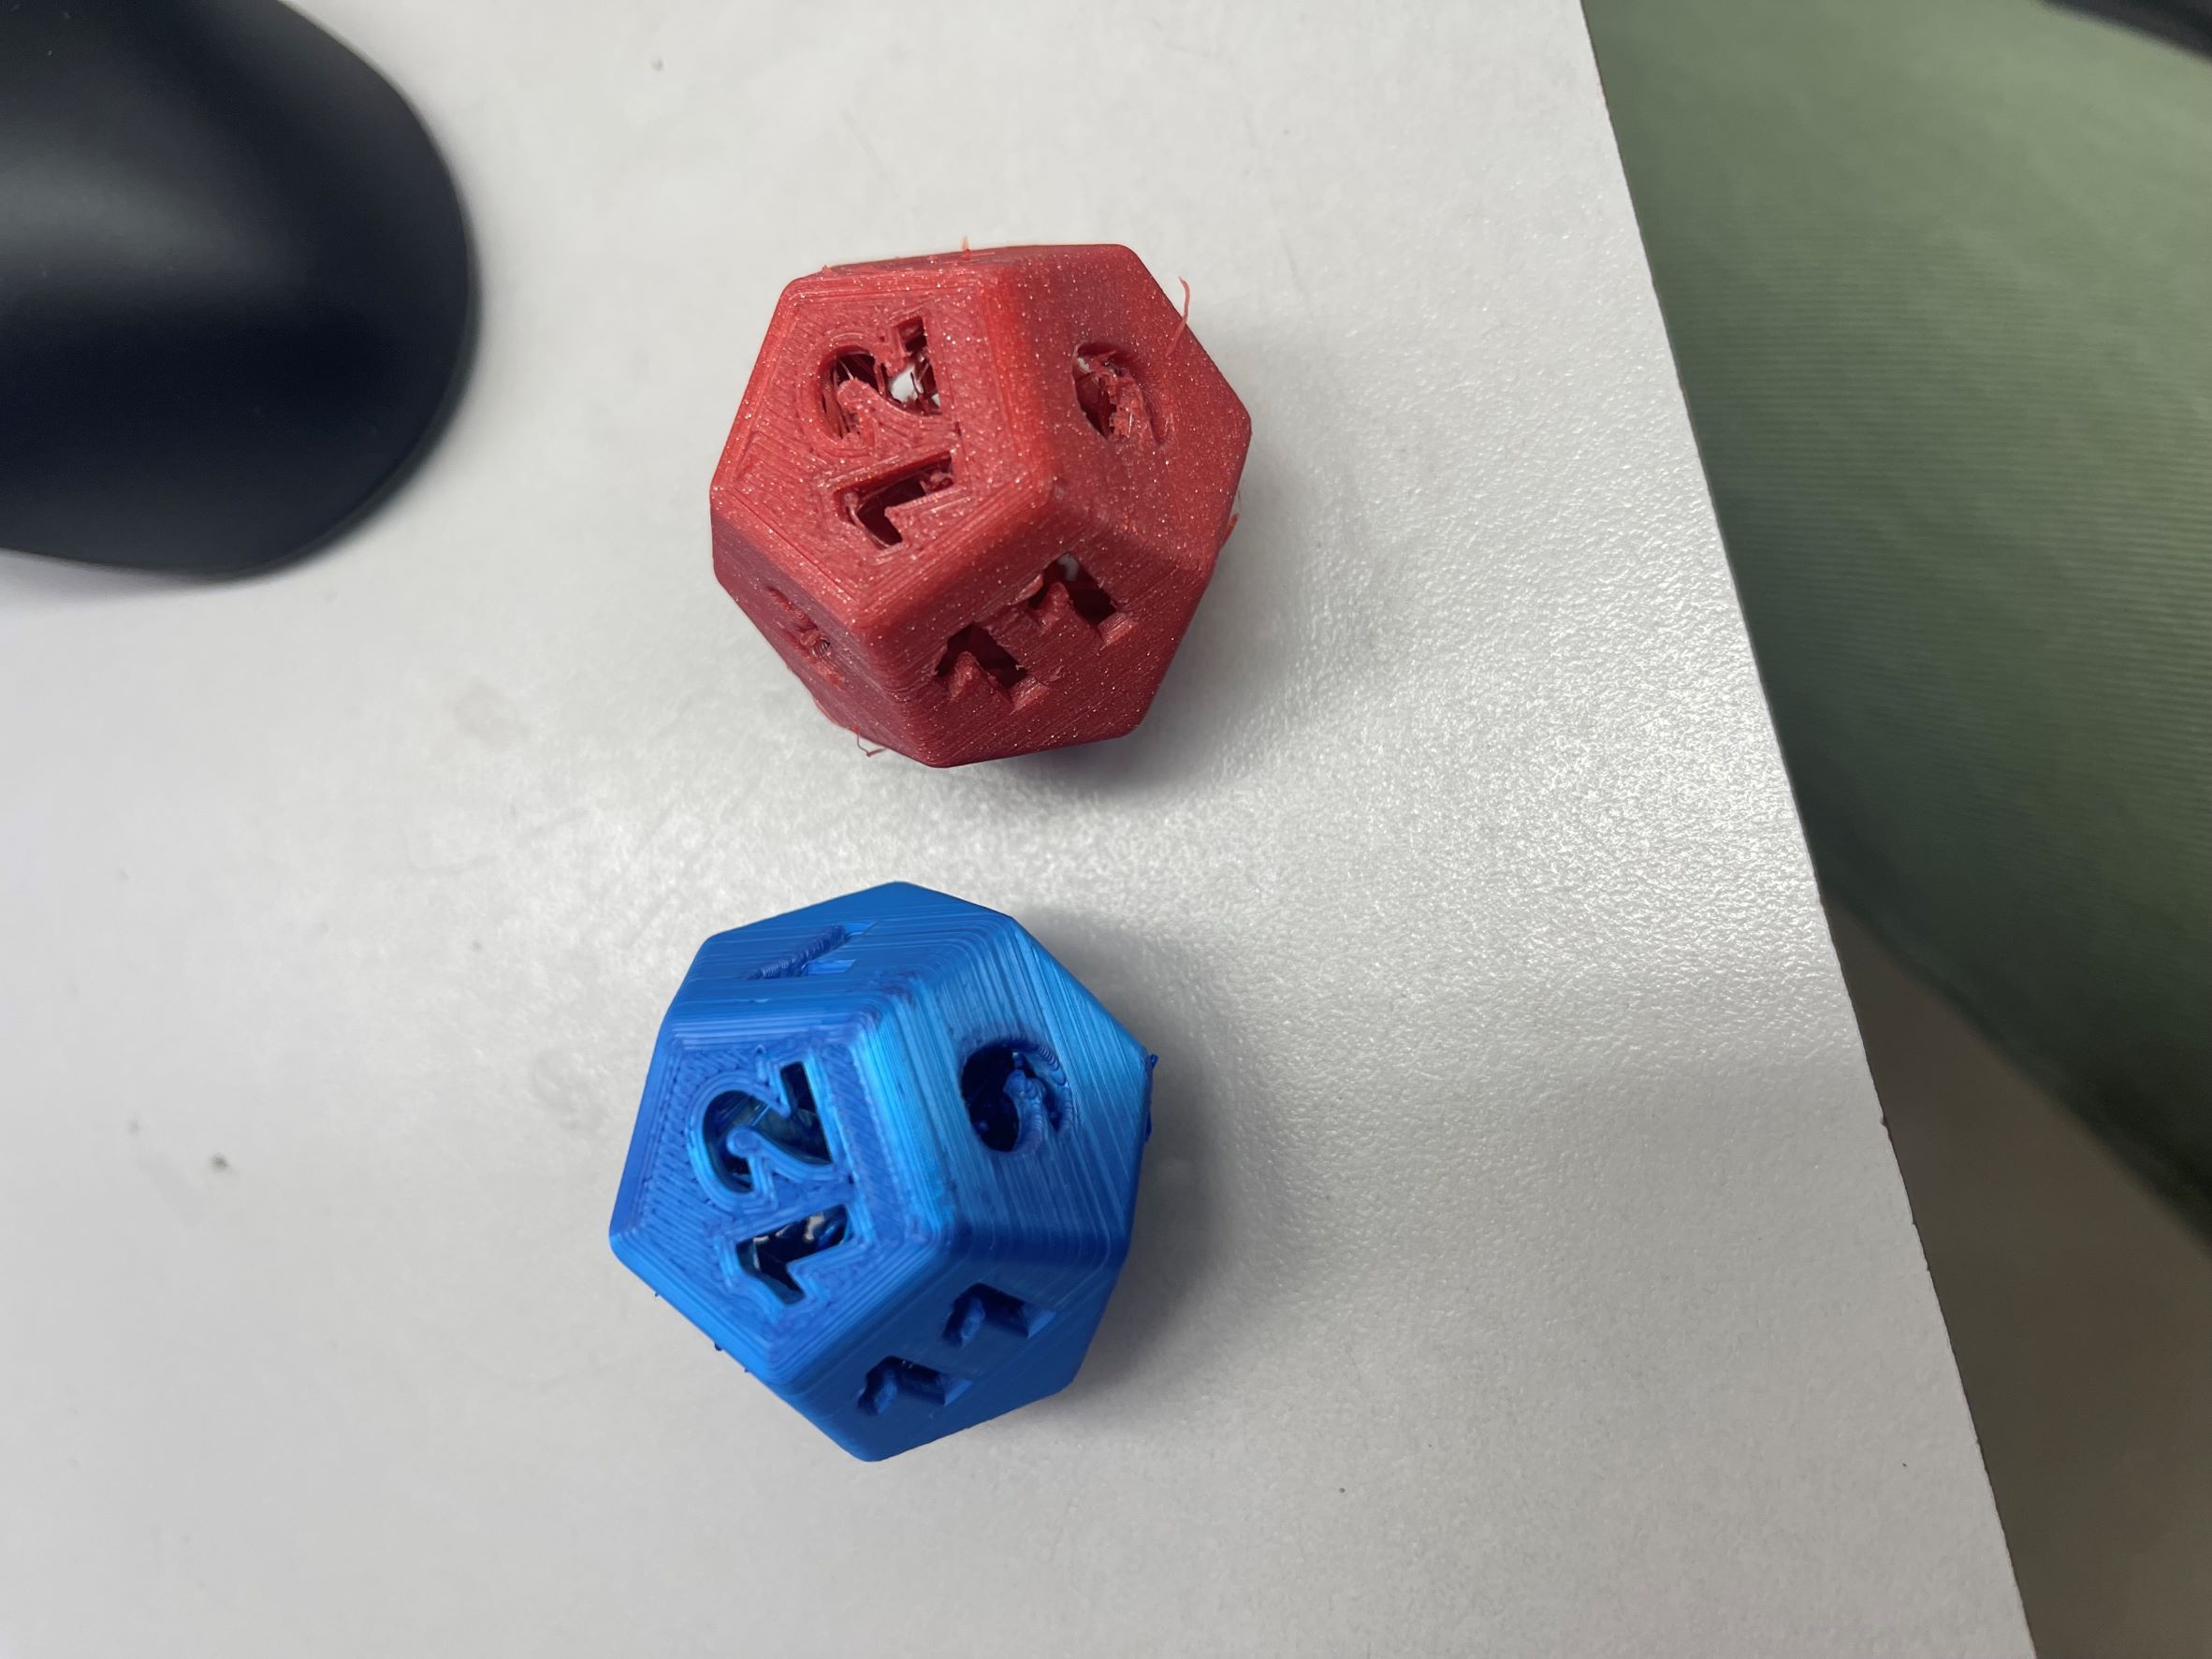
Lastly I reprinted what I printed the first time with supports everywhere on a different printer. This was the one. The numbers were more scruffy than the one with no supports but the ball was in fact in the middle which was the goal. It turned out great. I have never printed anything like this before so it was very exciting for me when it works. Now I can use it to play games with and to shake around and annoy my sister.
What I learned
This week I learned a lot about 3D printing that I didn’t know. I learned different fusion functions and how to use them. Then I learned how to choose the correct supports so the ball still worked. That was extremally tough but I figured it out. I have been 3D designing for a while so fusion was not new to me but I got to learn more about functions I didn’t even know existed.
Groupwork
This week Pari and I worked on the testing for the overhang for the 3D printers you can read more here