18. Wildcard week
This week is the Wild Card Week. In this week we have to use a machines that is not usually found in a standard fablab, one that we haven’t used in the previous weeks.
Individual Assignment:
- Design and produce something with a digital fabrication process (incorporating computer-aided design and manufacturing) not covered in another assignment, documenting the requirements that your assignment meets, and including everything necessary to reproduce it. Possibilities include (but are not limited to):http://academy.cba.mit.edu/classes/wildcard/index.html
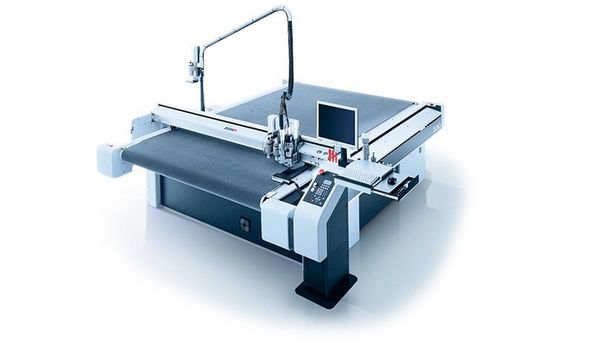
I decided to try zund G3 series which is available at Super Fab Lab (SFL).
Zünd cutters are high-precision machines. All components – from drive system to cutting blade – are designed and manufactured to work together perfectly.
The G3 cutter is a variable processing system for flexible and rigid materials with various tool systems. Extension options are available to provide improved handling and for the adjustment of the system to special requirements or for processing specific materials.
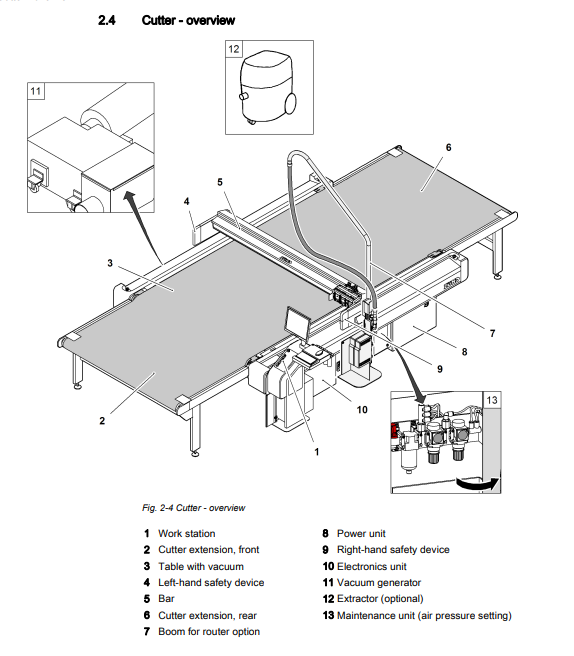
Overview of zund cutter
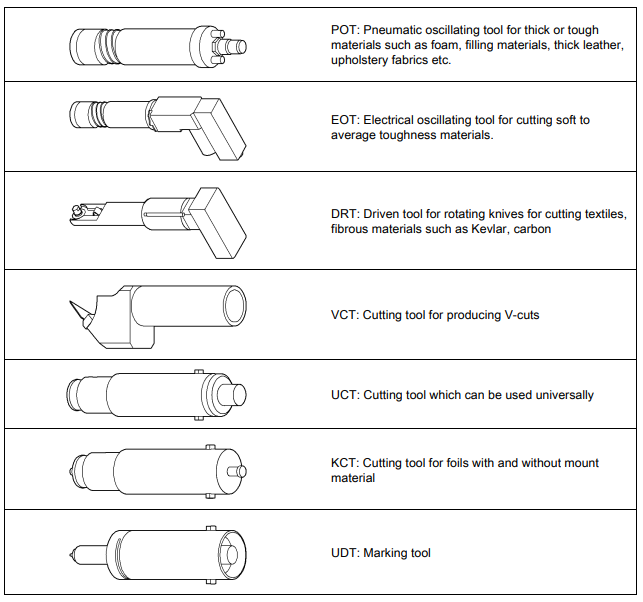
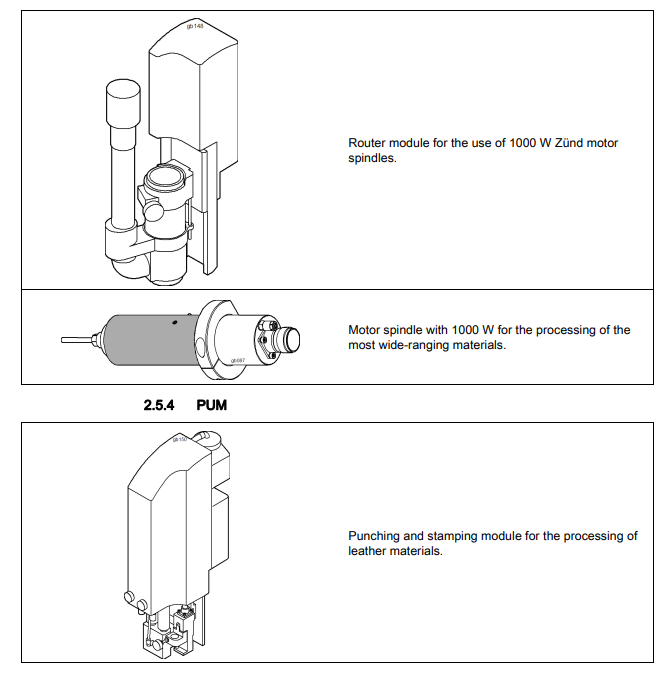
Tools used
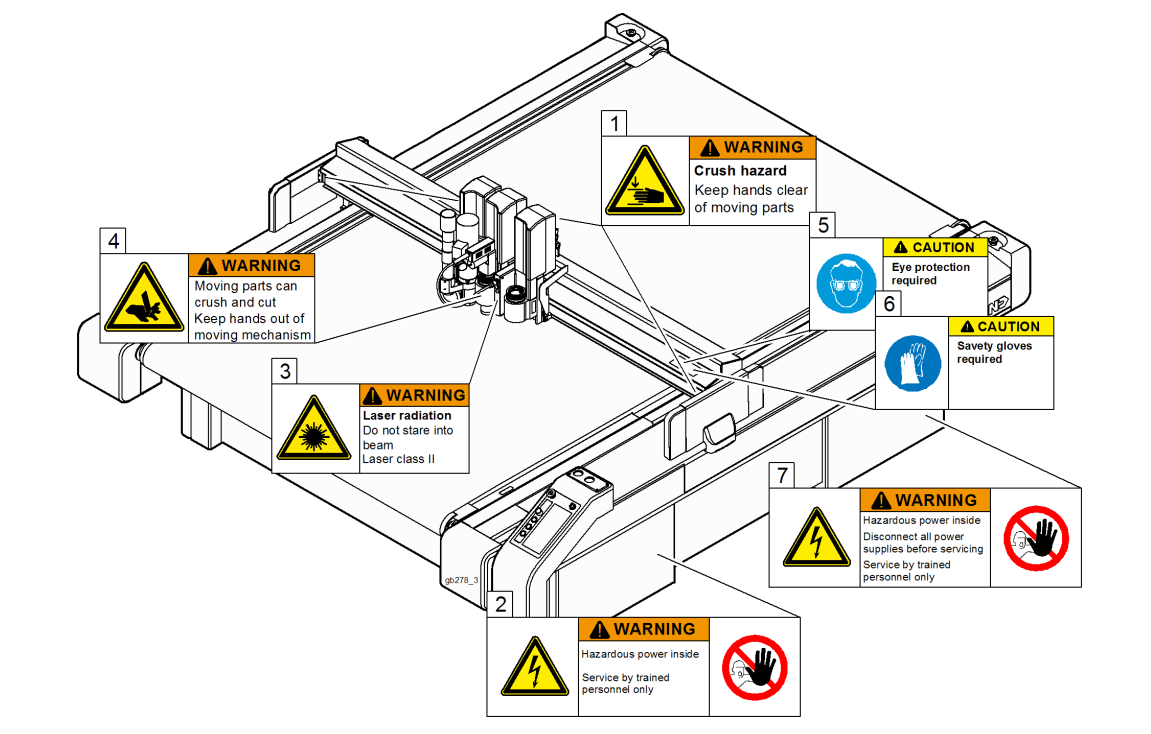
Safety measures to keep in mind while operating
How machine works?
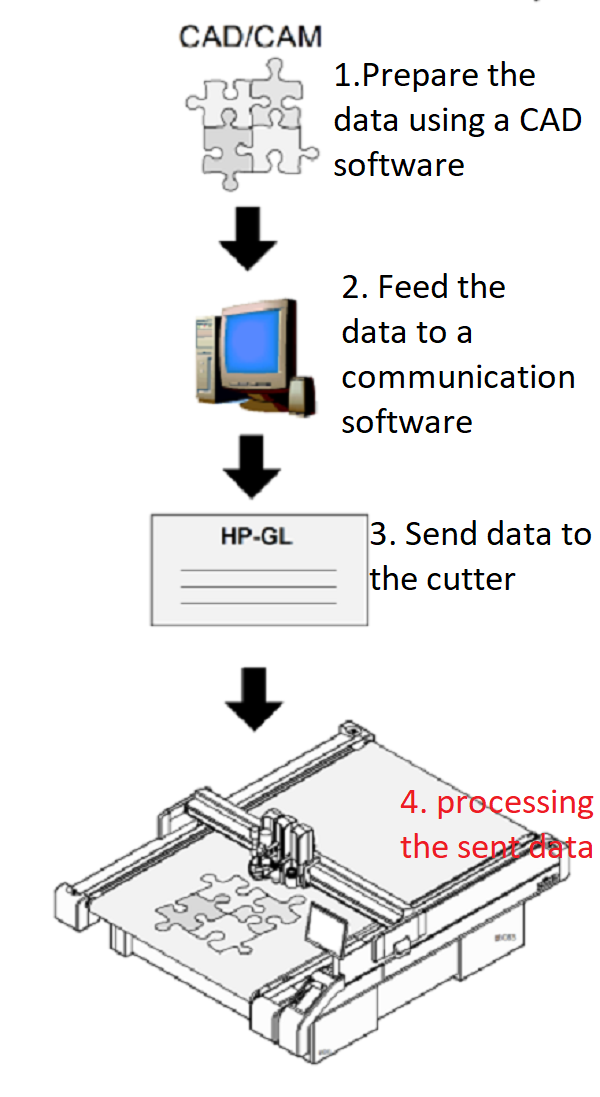
Preparation of Data/Design
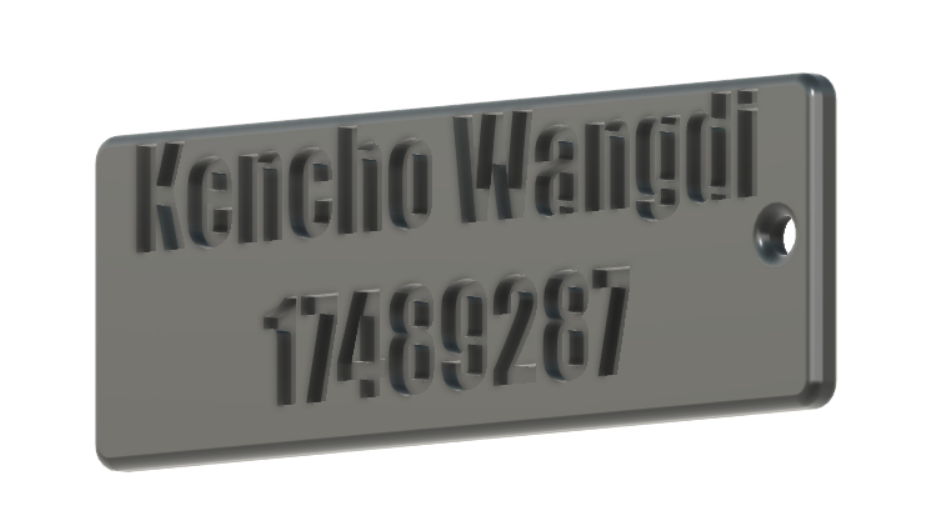
To operate zund, first I have to prepare a design. For that I used Fusion 360 to create a Design.
Design1

Design2
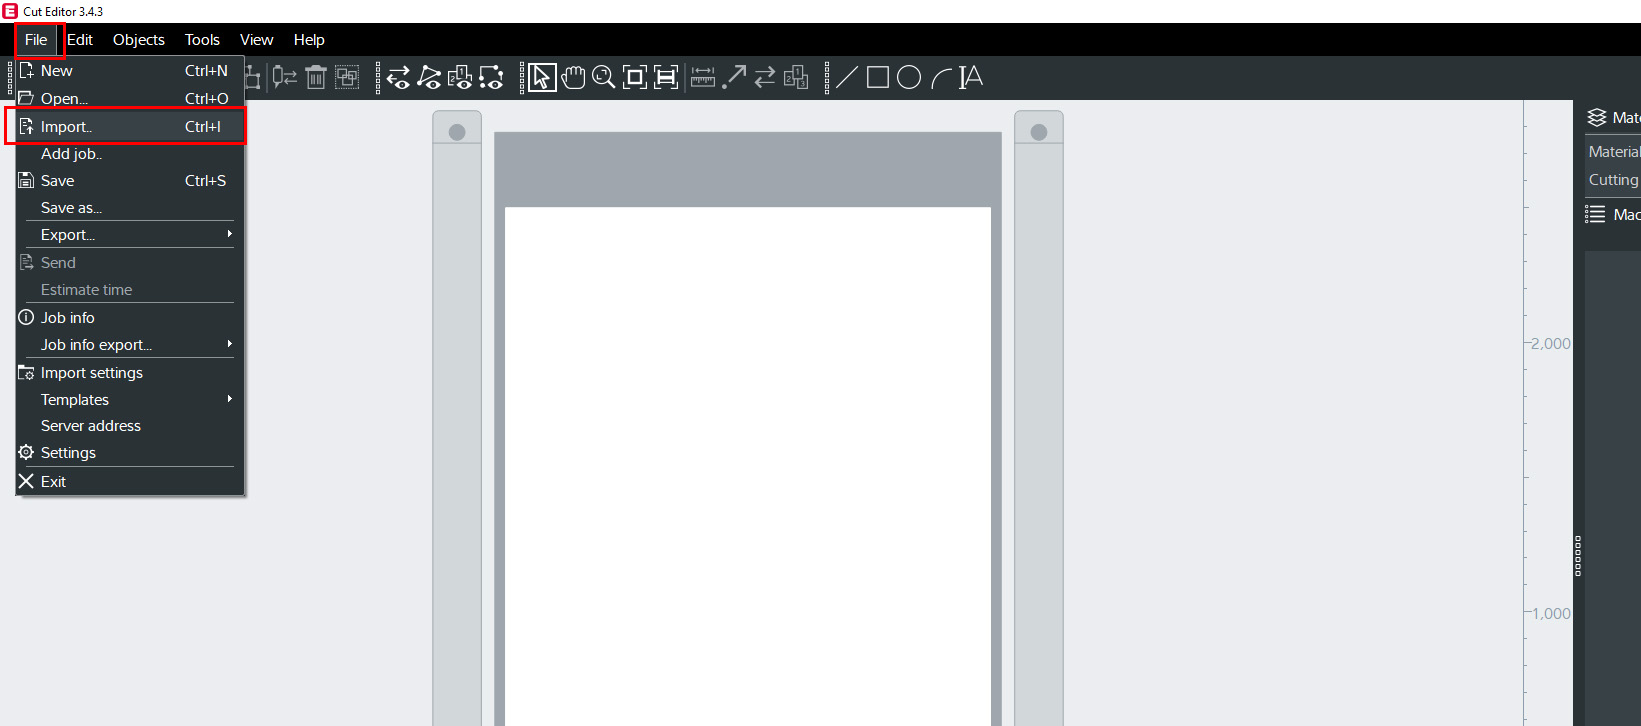
Transfering Data to the computer
Once design is completed, transfer the data to communication software in either dxf or Svg format by clicking on import from file.
We have used CutEditor and CutQueue.
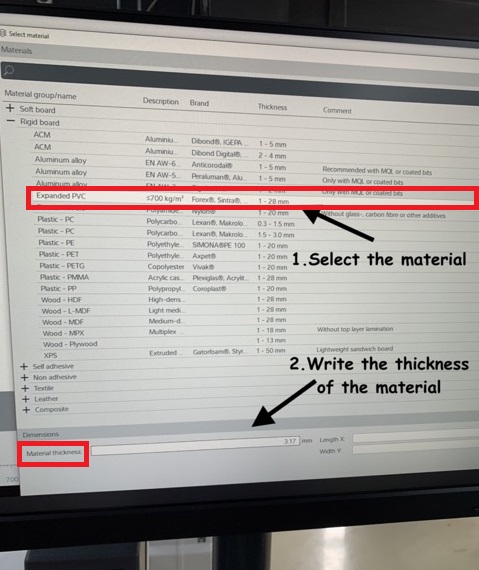
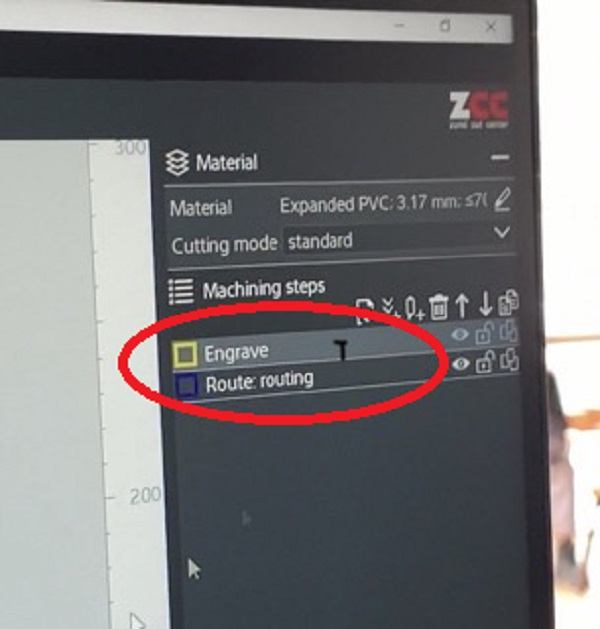
once the file is transfered to the communication software, select the type of material from the top right panel.
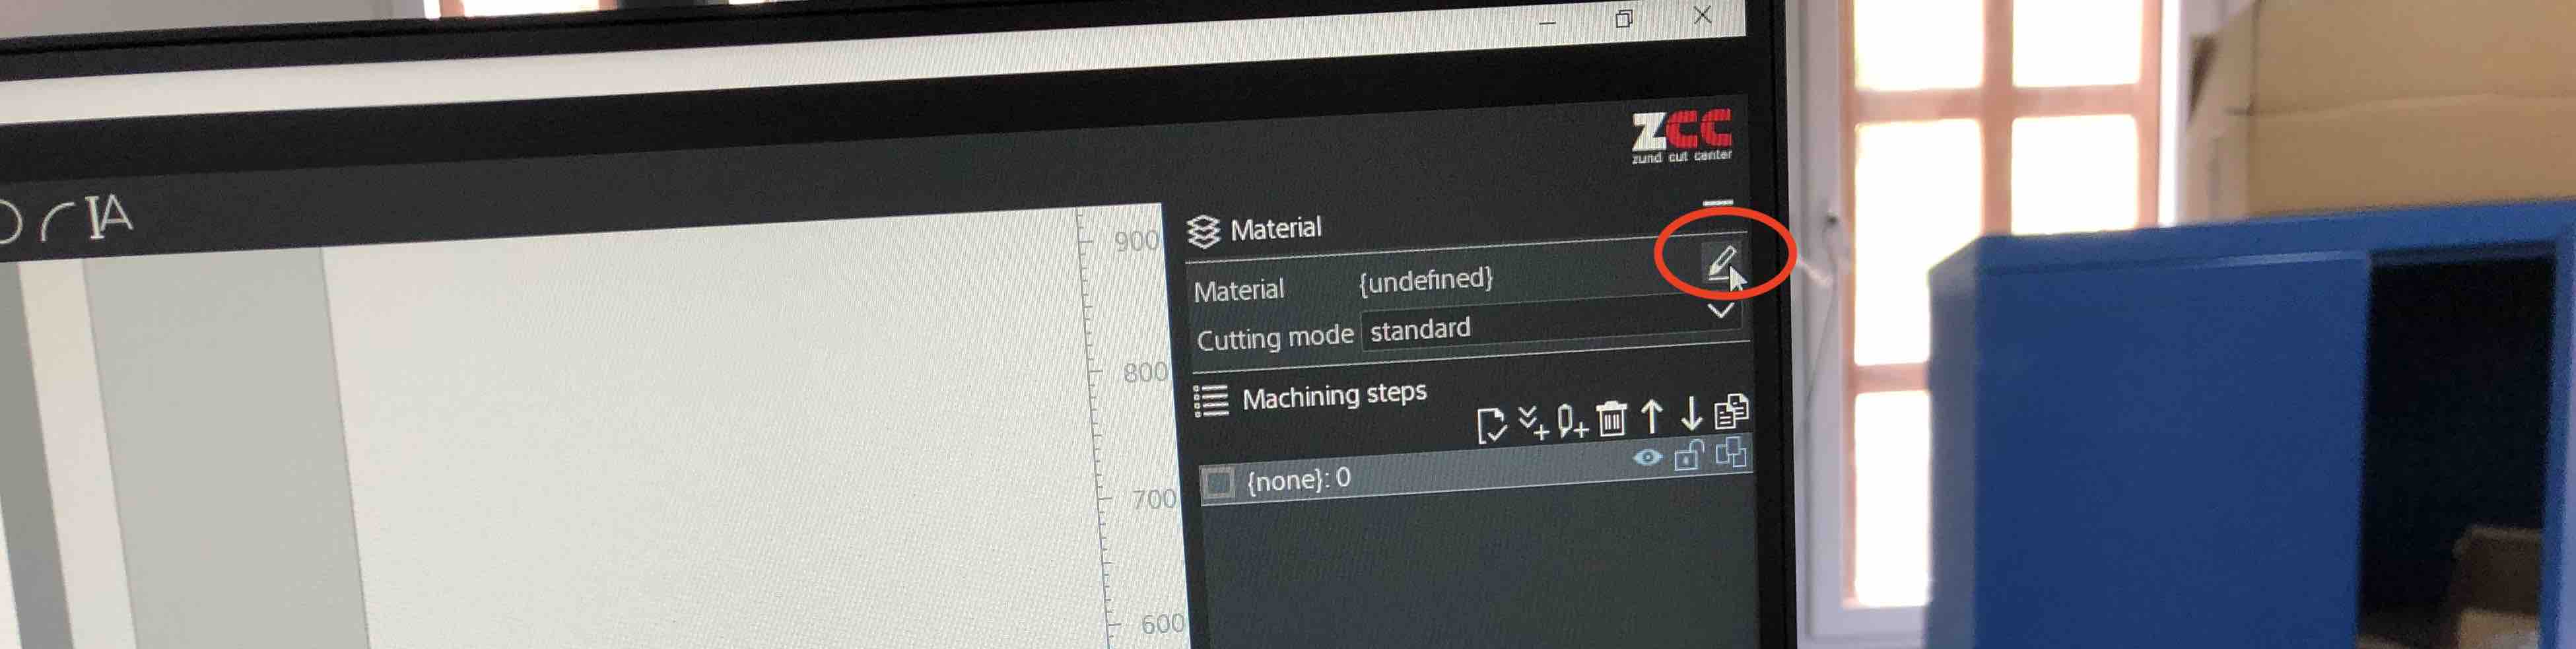
Then measure the thickness of the material and write down the thickness in the material thickness
After that select the part you wanted to route by right clicking the mouse and name your file.
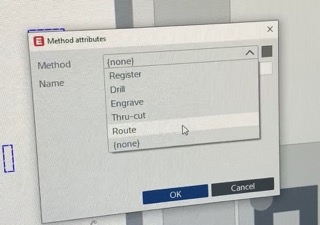
Then select the part you wanted to engrave by right clicking.
The different colored box represent different jobs
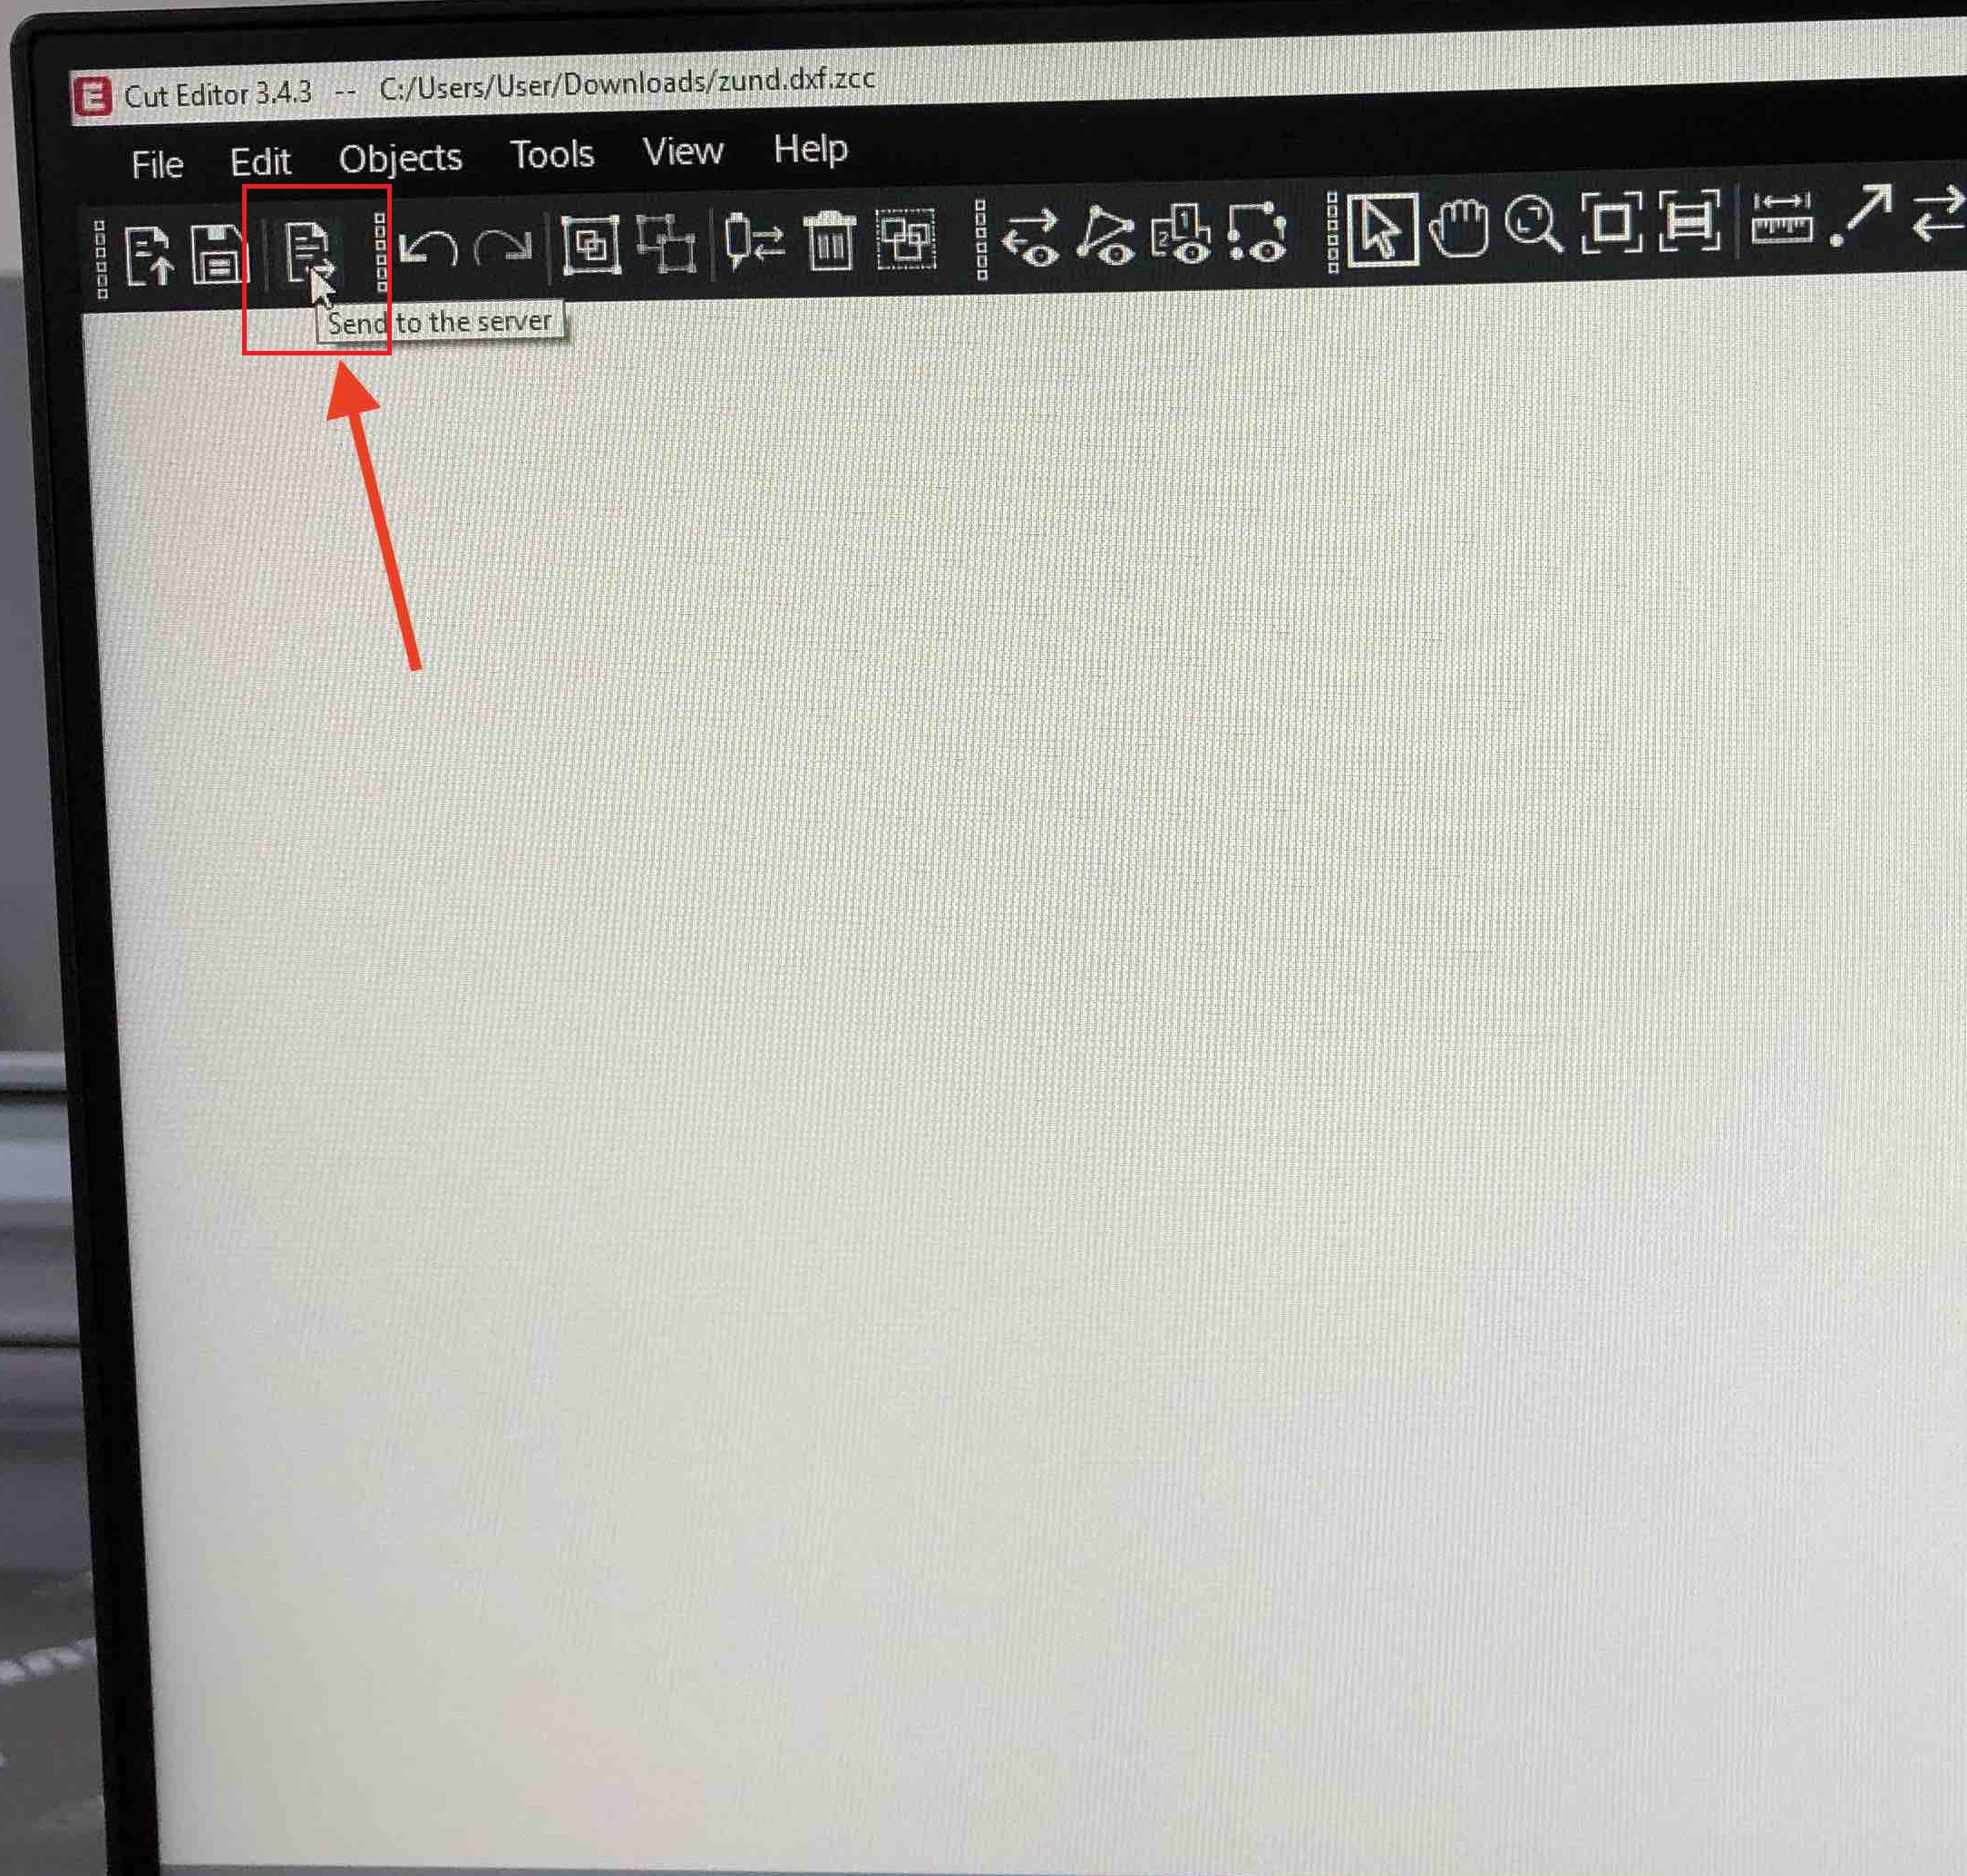
Now Select the jobs and click send to server
Preparation of file in Cut Queue.
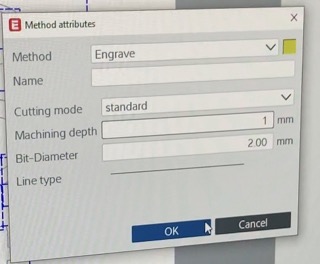
Open cut queue, find your job from the list and double click on engrave file. For the engrave method, I chose end-mill= R202-A dia2 (5211434) and engrave depth of 1mm and selected the 2mm toolbit. I didn’t change the rest of the parameters.

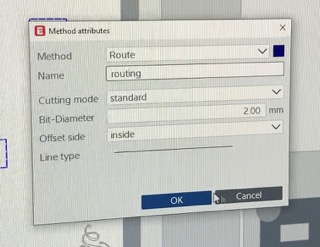
Settings for the routing method;
Click on the routing file on the right side of the screen which opens the machining step setting window. I chose the end-mill= R202-A dia2 (5211434), multi-pass max depth of 1mm and base depth of 0mm.

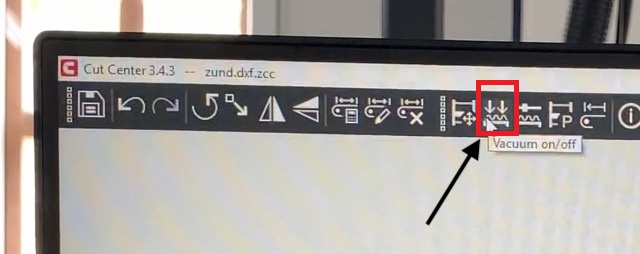
Then turn on the vacuum before running the job.
Now click on interactive mode. This will allow you to move the focus point manually.
Set XY axis using arrow sign
Then set a refernce point using the laser point. The Reference point is denoted as R on the screen and ctrl+R to set the reference.
Once the reference point is set start the job.
Result
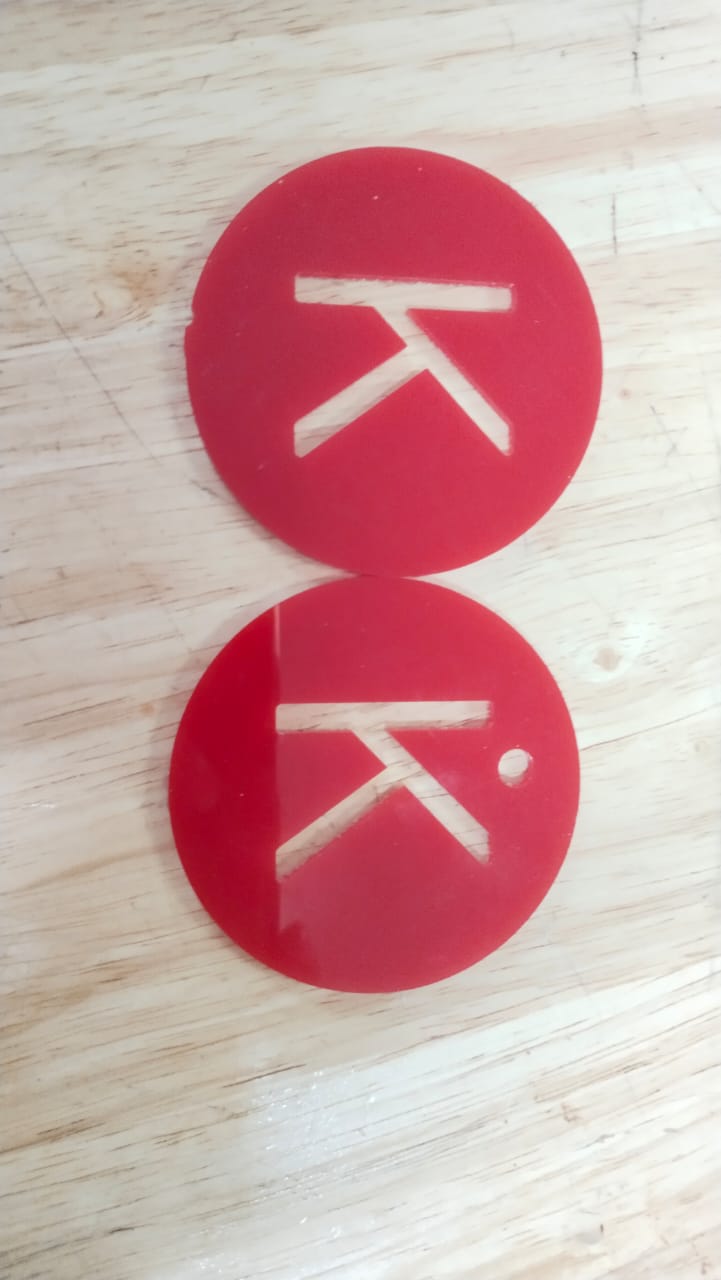
Unfortunately I counln’t cut my second design.
Learning Outcome
This week I have learnt a new machine which is usually not available in standard lab.
I even got introduced to some new software like CutEditor and CutQueue.
If you are interested to learn more about the zund machine click on this link
Orginal files.
Download all the original files from here.