10. Molding and casting
I took two weeks to complete Molding and Casting week assignment, and still I couldn’t fully complete it. The main reason was during the computer controlled machining week we couldn’t get access to lab because of lockdown. And during the Molding casting week we have to work on computer controlled machining. It was a ripple effect of the lockdown and even if I had my designs ready I have to wait for my turn to do my assignments.
BUT I am not making excuses here, I just wanted to mention why I couldn’t keep myself updated with the weekly assignments. Now for the molding and casting week, the assignments are:
Group Assignment:
  review the safety data sheets for each of your molding and casting materials,
     then make and compare test casts with each of them
  extra credit: try other molding and casting processes
For the group assignment Refer Here
Individual Assignment:
Design a mold around the stock and tooling that you'll be using,
     mill it (rough cut + three-axis finish cut),
     and use it to cast parts
  extra credit: use more then two mold parts.
Before I start with my individual assignment let me share some information about molding Molding and Casting.
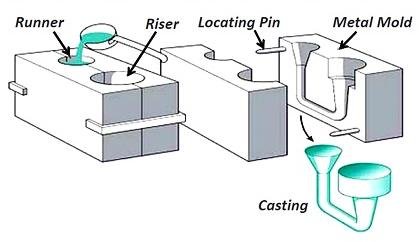
MOLDING is defined as the process of manufacturing by shaping liquid or pliable raw material using a rigid frame called a mold or matrix. A mold is the hollowed-out block that is filled with a liquid or pliable material such as plastic, glass, metal or ceramic raw material.
CASTING is a manufacturing process in which a liquid material is poured into a mold, which contains a hollow cavity of the desired shape (mold), and then allowed to solidify. The solidified part is known as a casting.
CASTING and MOLDING are significant on the grounds that they permit us to make objects from materials that would some way or another be excessively troublesome or costly to shape. For instance, metals can be projected into perplexing shapes that would be difficult to make utilizing different strategies, and plastics can be formed into items with a wide scope of uses.
CASTING is additionally an exceptionally flexible cycle that can be used to make almost any size, from small adornments parts of enormous models. Also, molding permits us to efficiently manufacture items rapidly and proficiently.
So whether you’re a craftsman or a specialist, a gem dealer or a producer, understanding the essentials of casting and molding will empower you to make pretty much anything you can envision.
Designing Mold
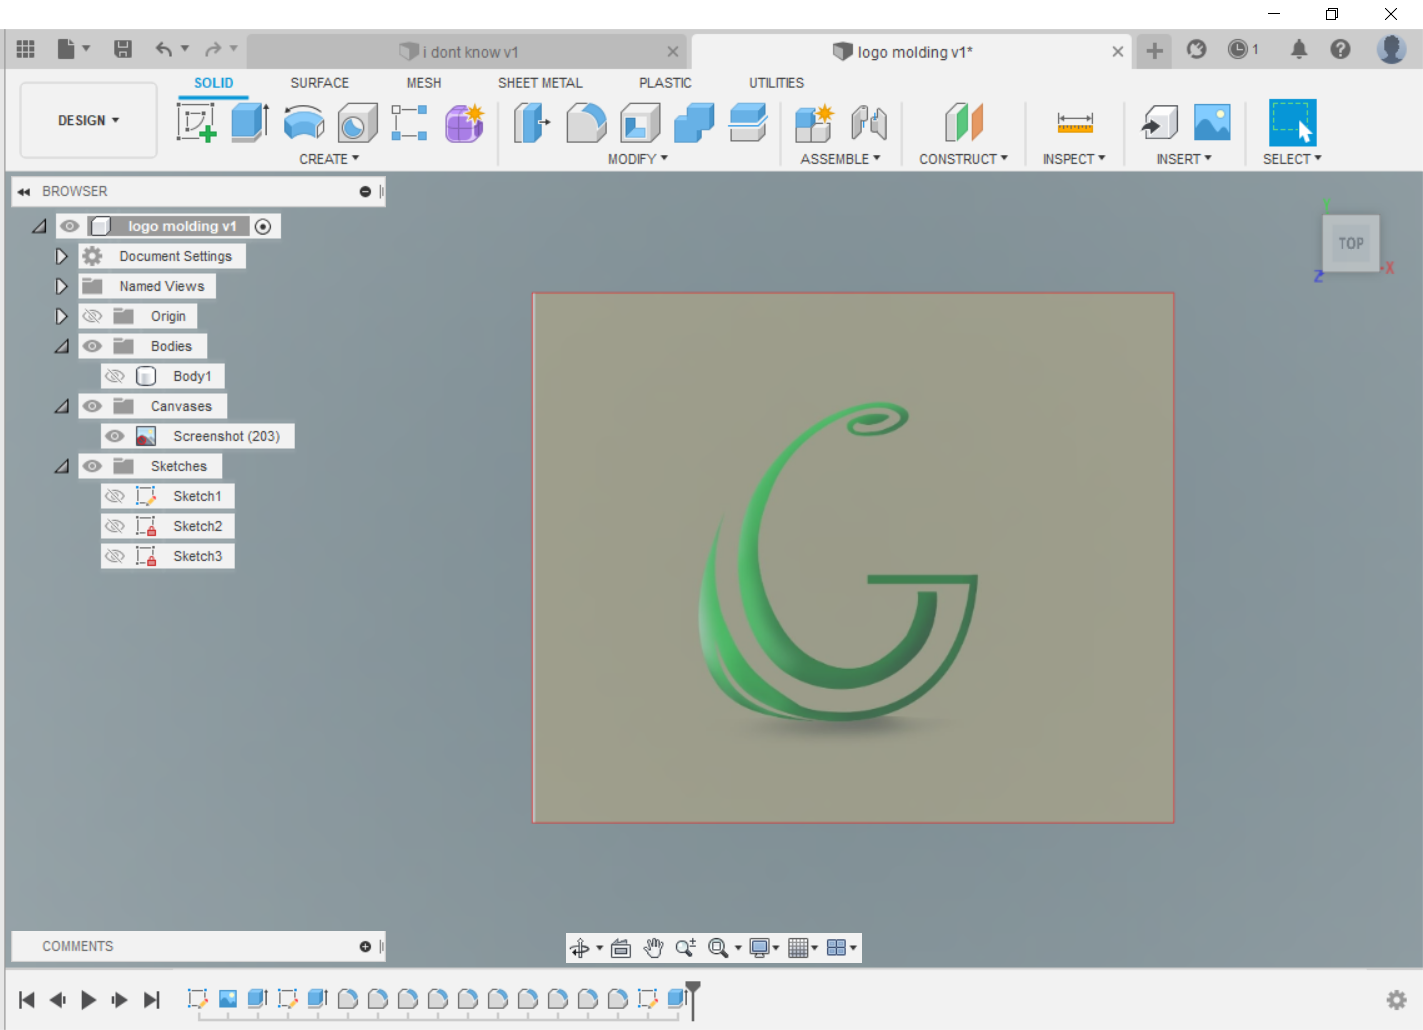
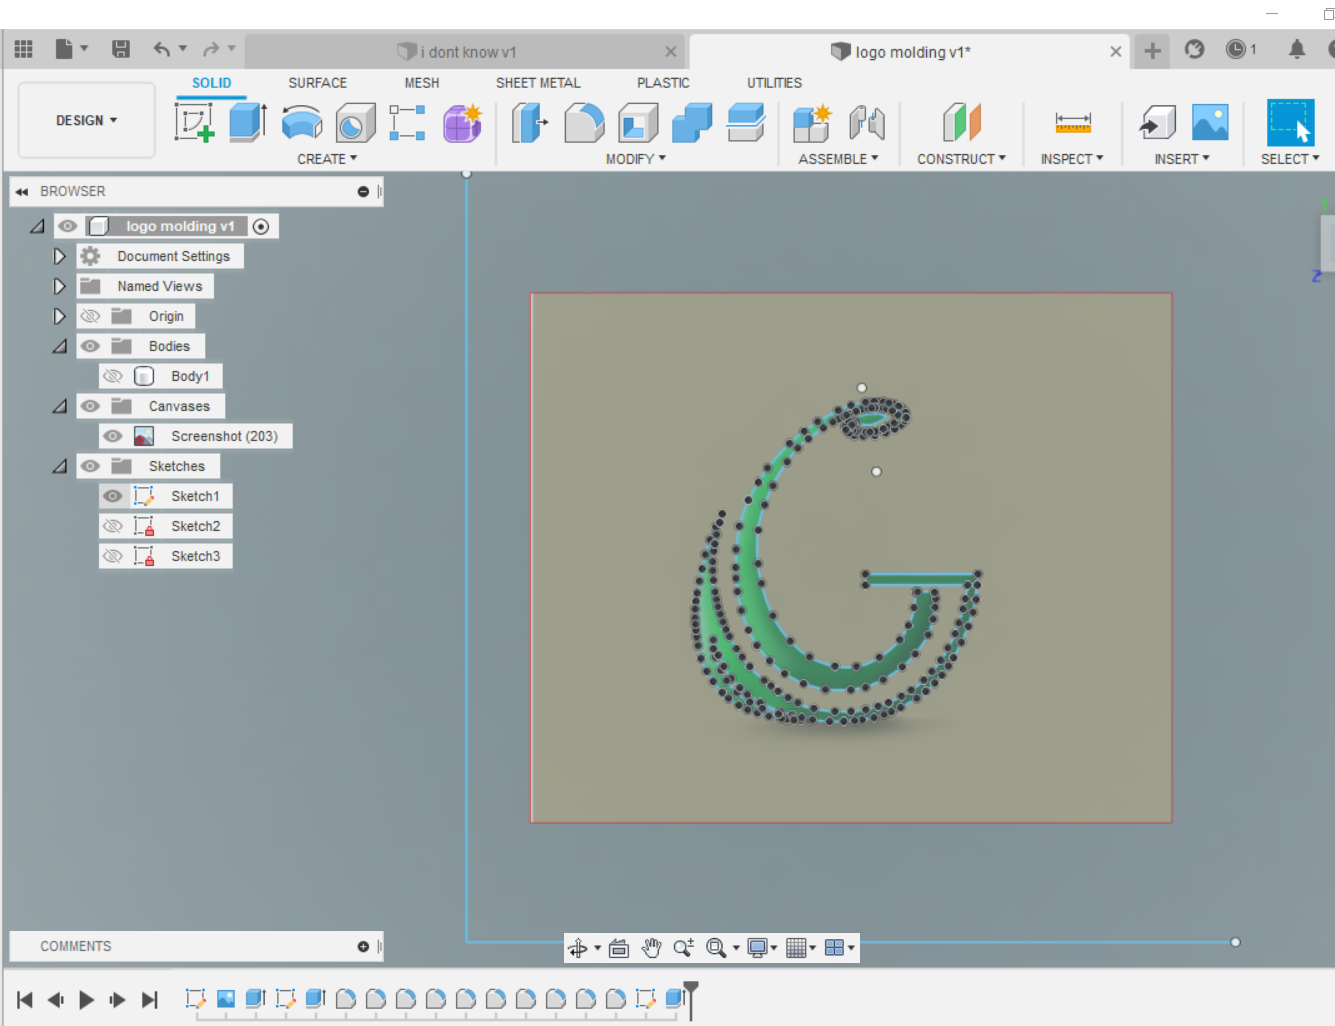
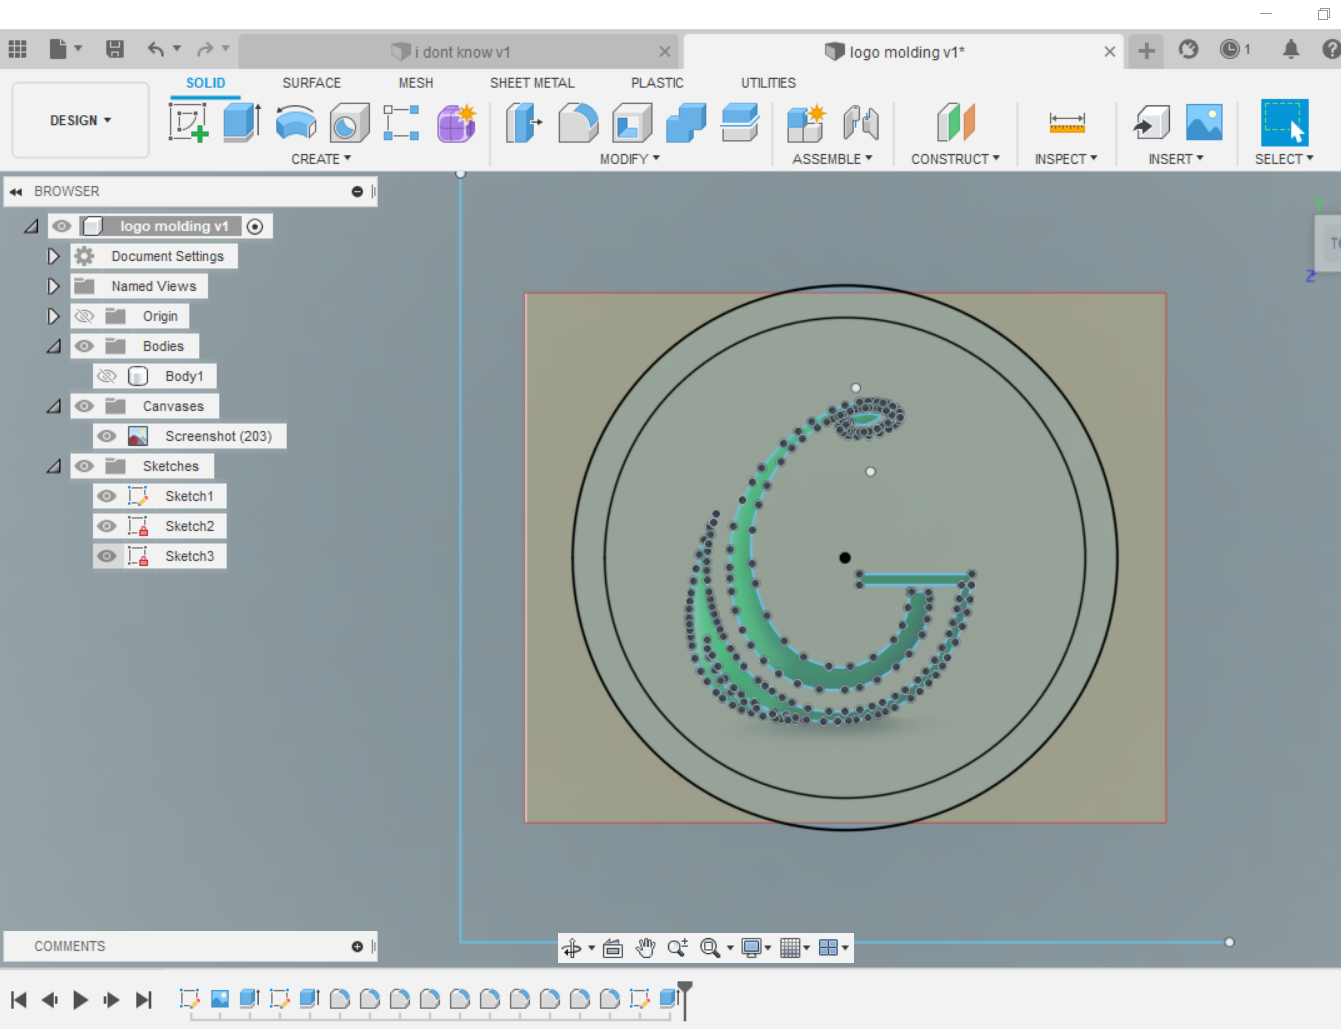
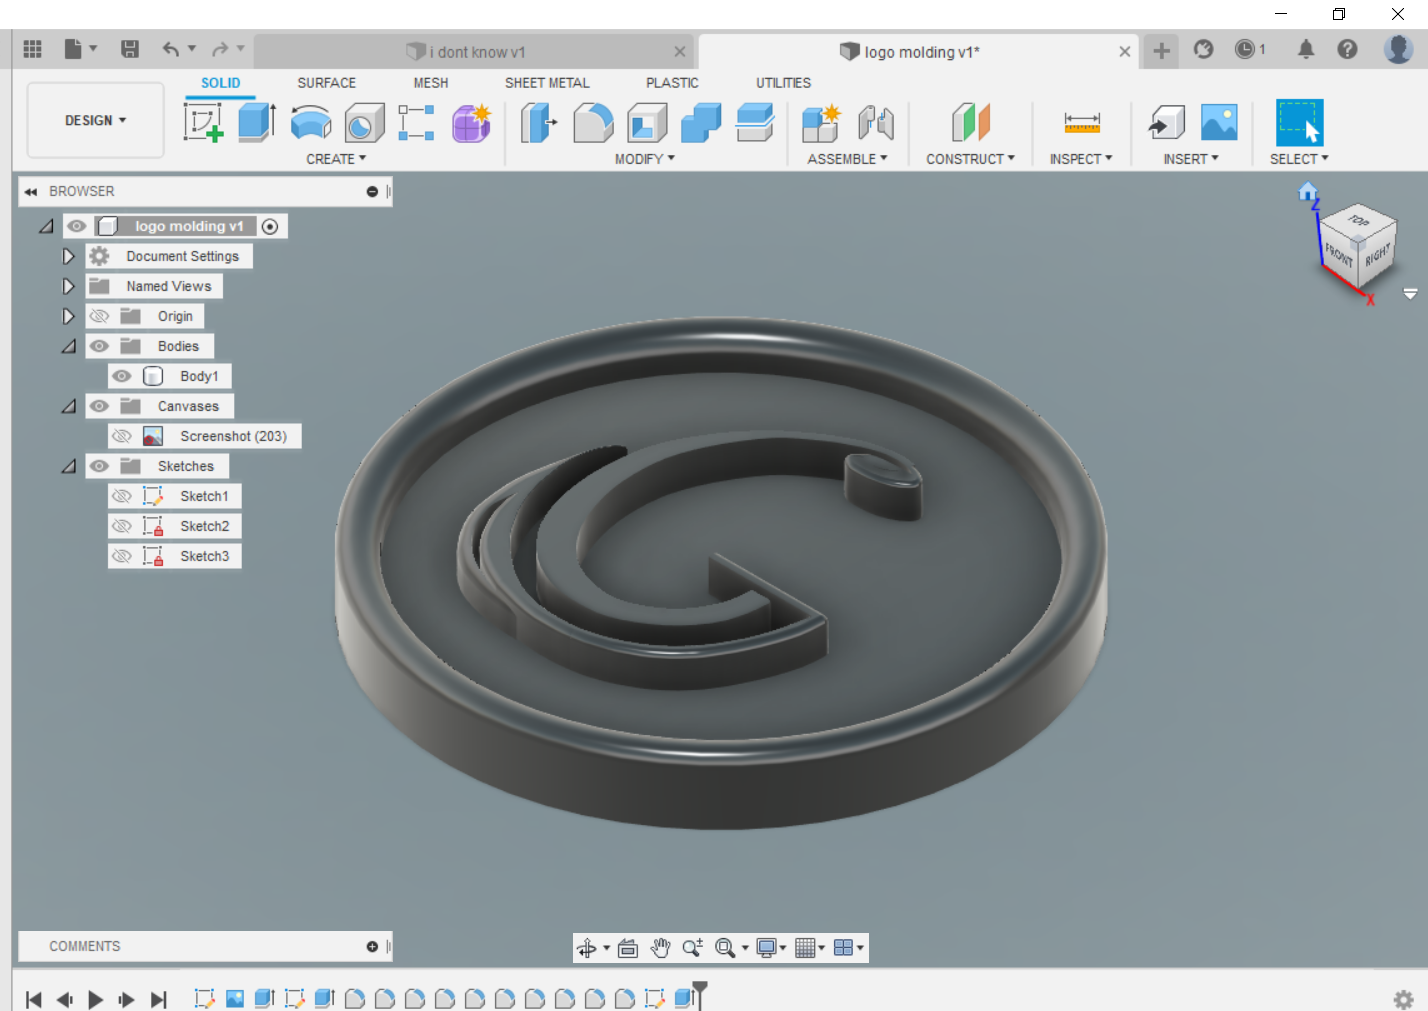
Software used for designing: Fusion 360.
For making the mould I have used a wax block of (15cmX15cmX6cm ) Dimensions, and prepare the design according to the block. For designing the mould I inserted a canvas and used the line tool to trace the outline of the image.
MILLING the MOLD
Milling of design object in SRM 20 milling machine consist of following three steps. - Surfacing - Roughing - Finishing
For operting the SRM -20 we have to used Modela-4 player for G code generation, V- Panel for SRM-20 communication and Virtual Player for Modela.
The process for the software operation is as follows:
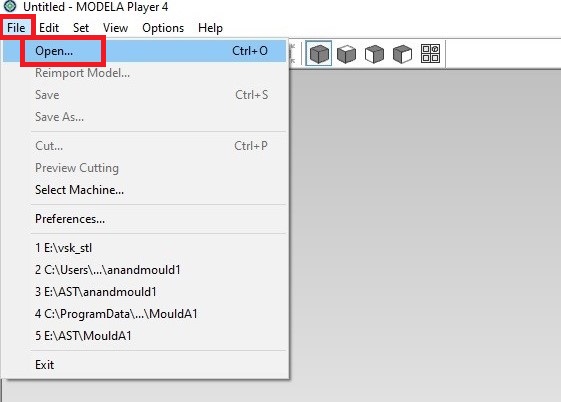
Open modela software, go to file and open your design in STL format.
 Select the type of material you will be using from the top right corner
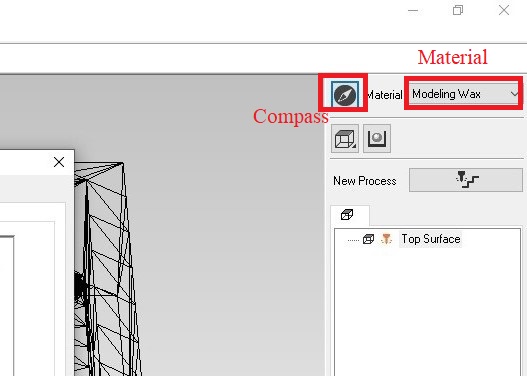 Set the size and orientation by clicking in the compass button.
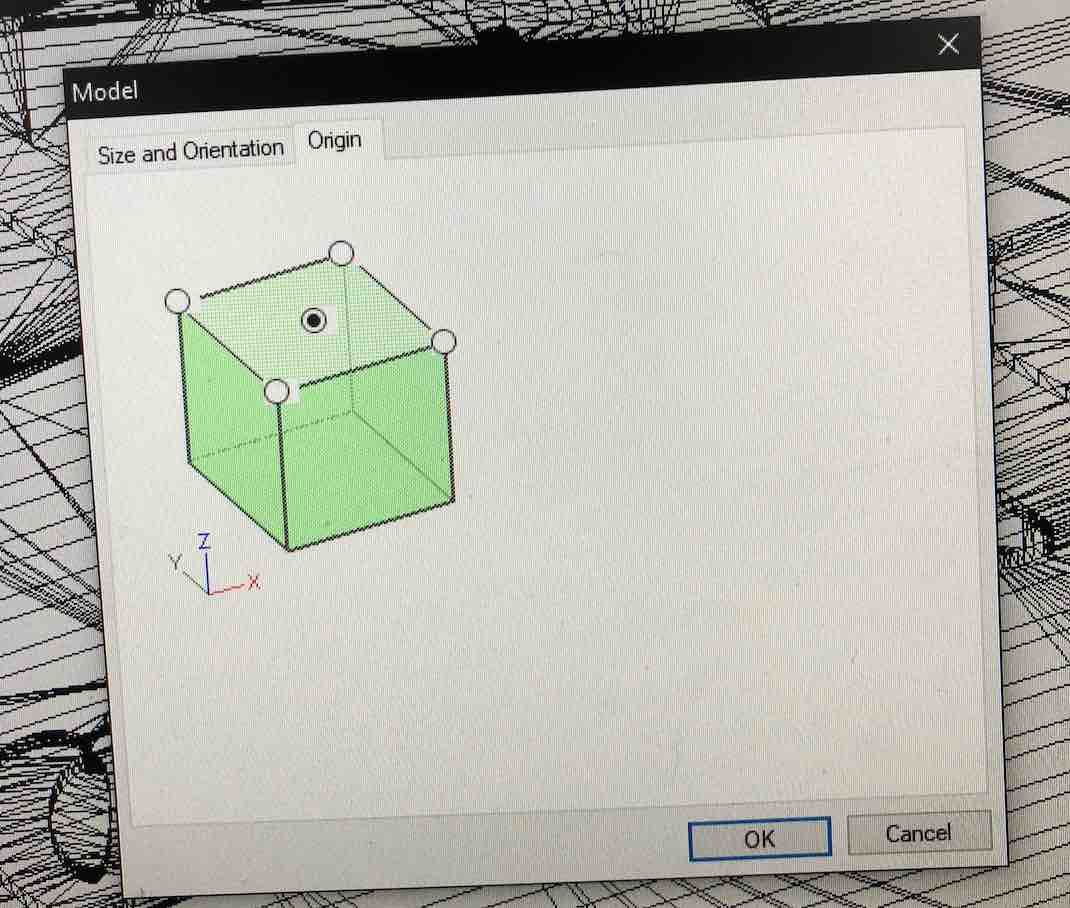
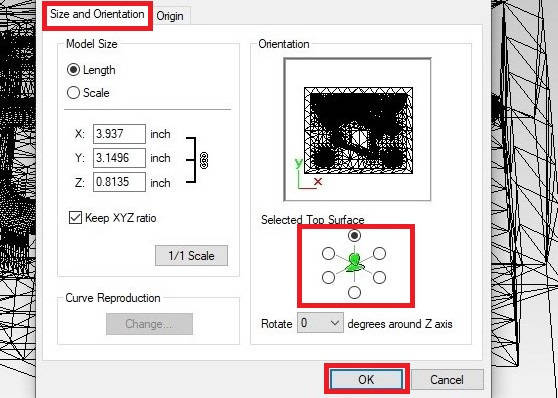 Now select the origin. Since my design is in circular shape I selected the top face center.
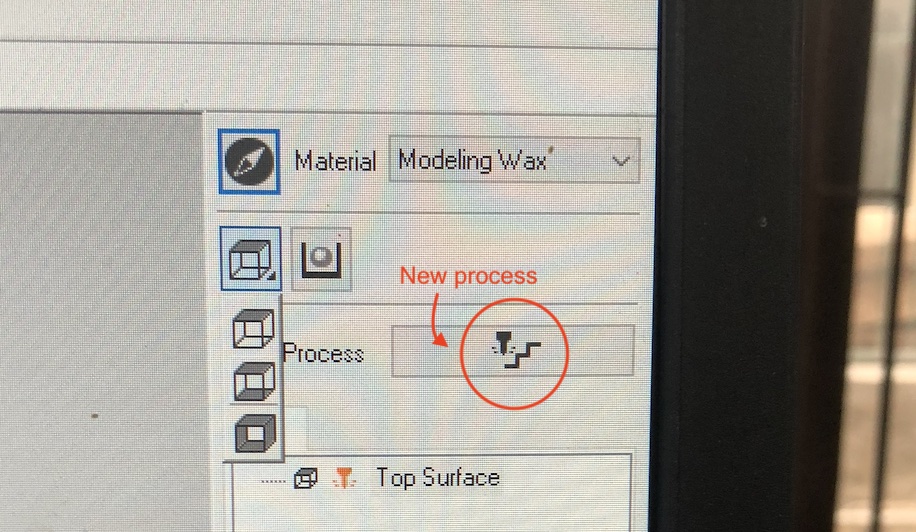
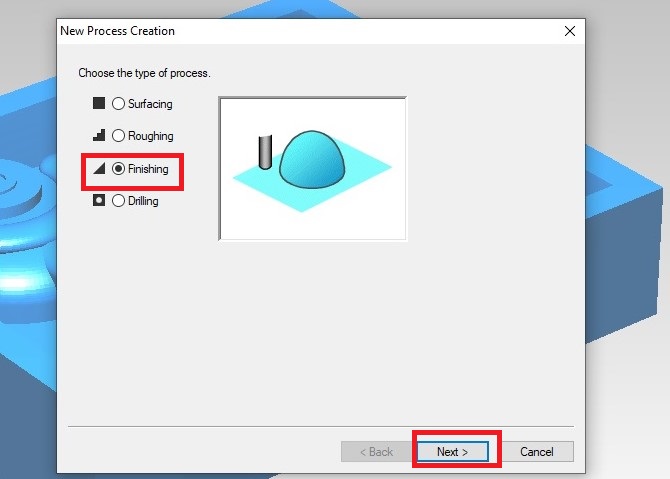
 Create a new process by clicking on the process button on the top right panel.
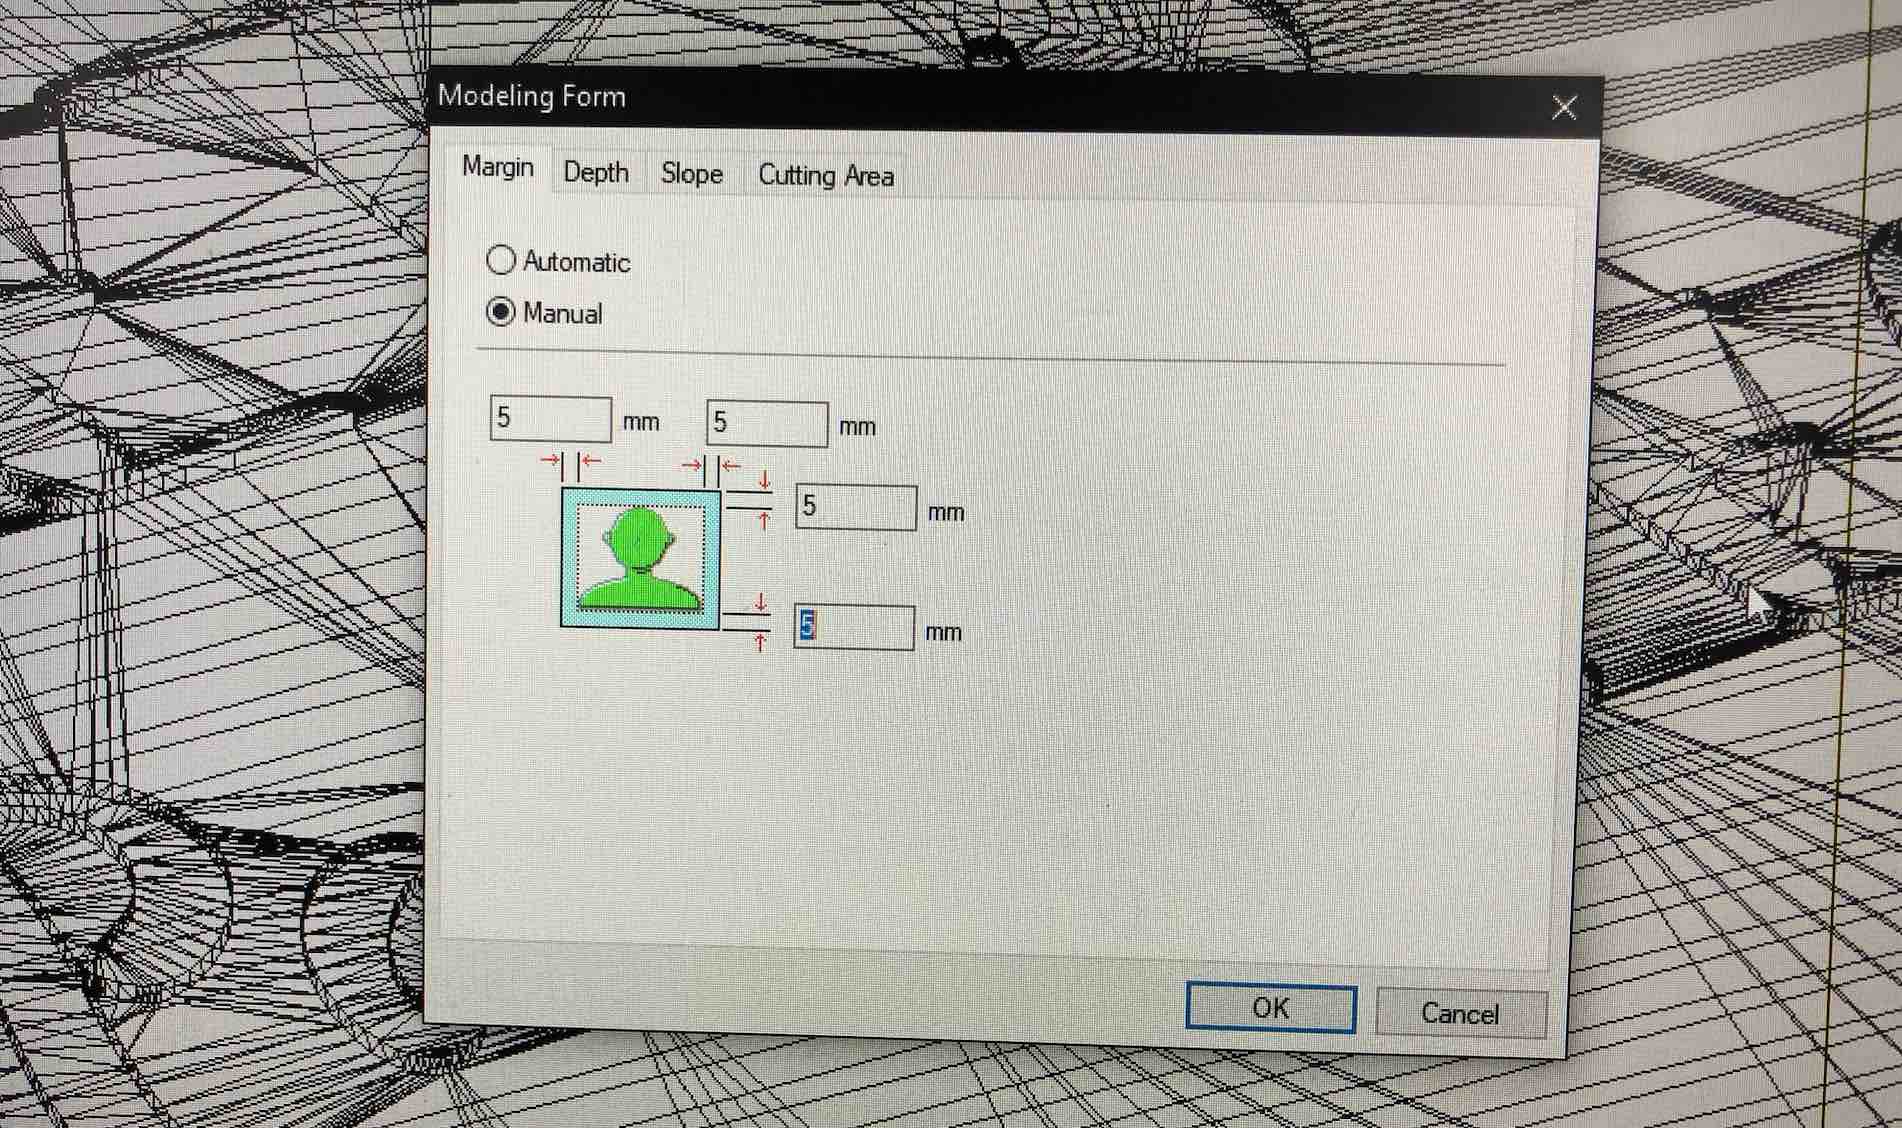
 Select the space between your design and mold walls. In my case I chose 5mm.
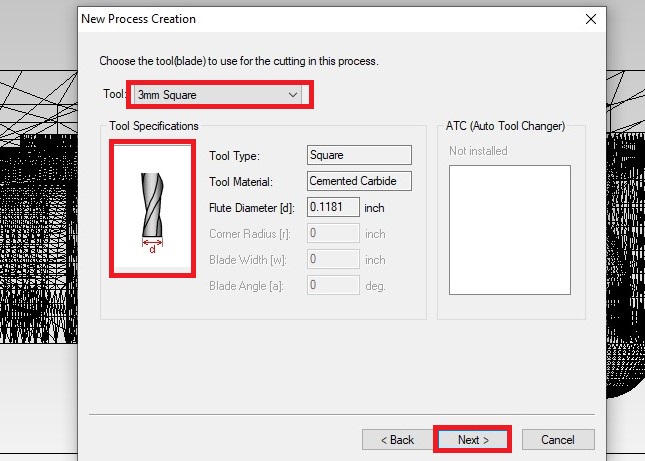
Roughing- square end mill.
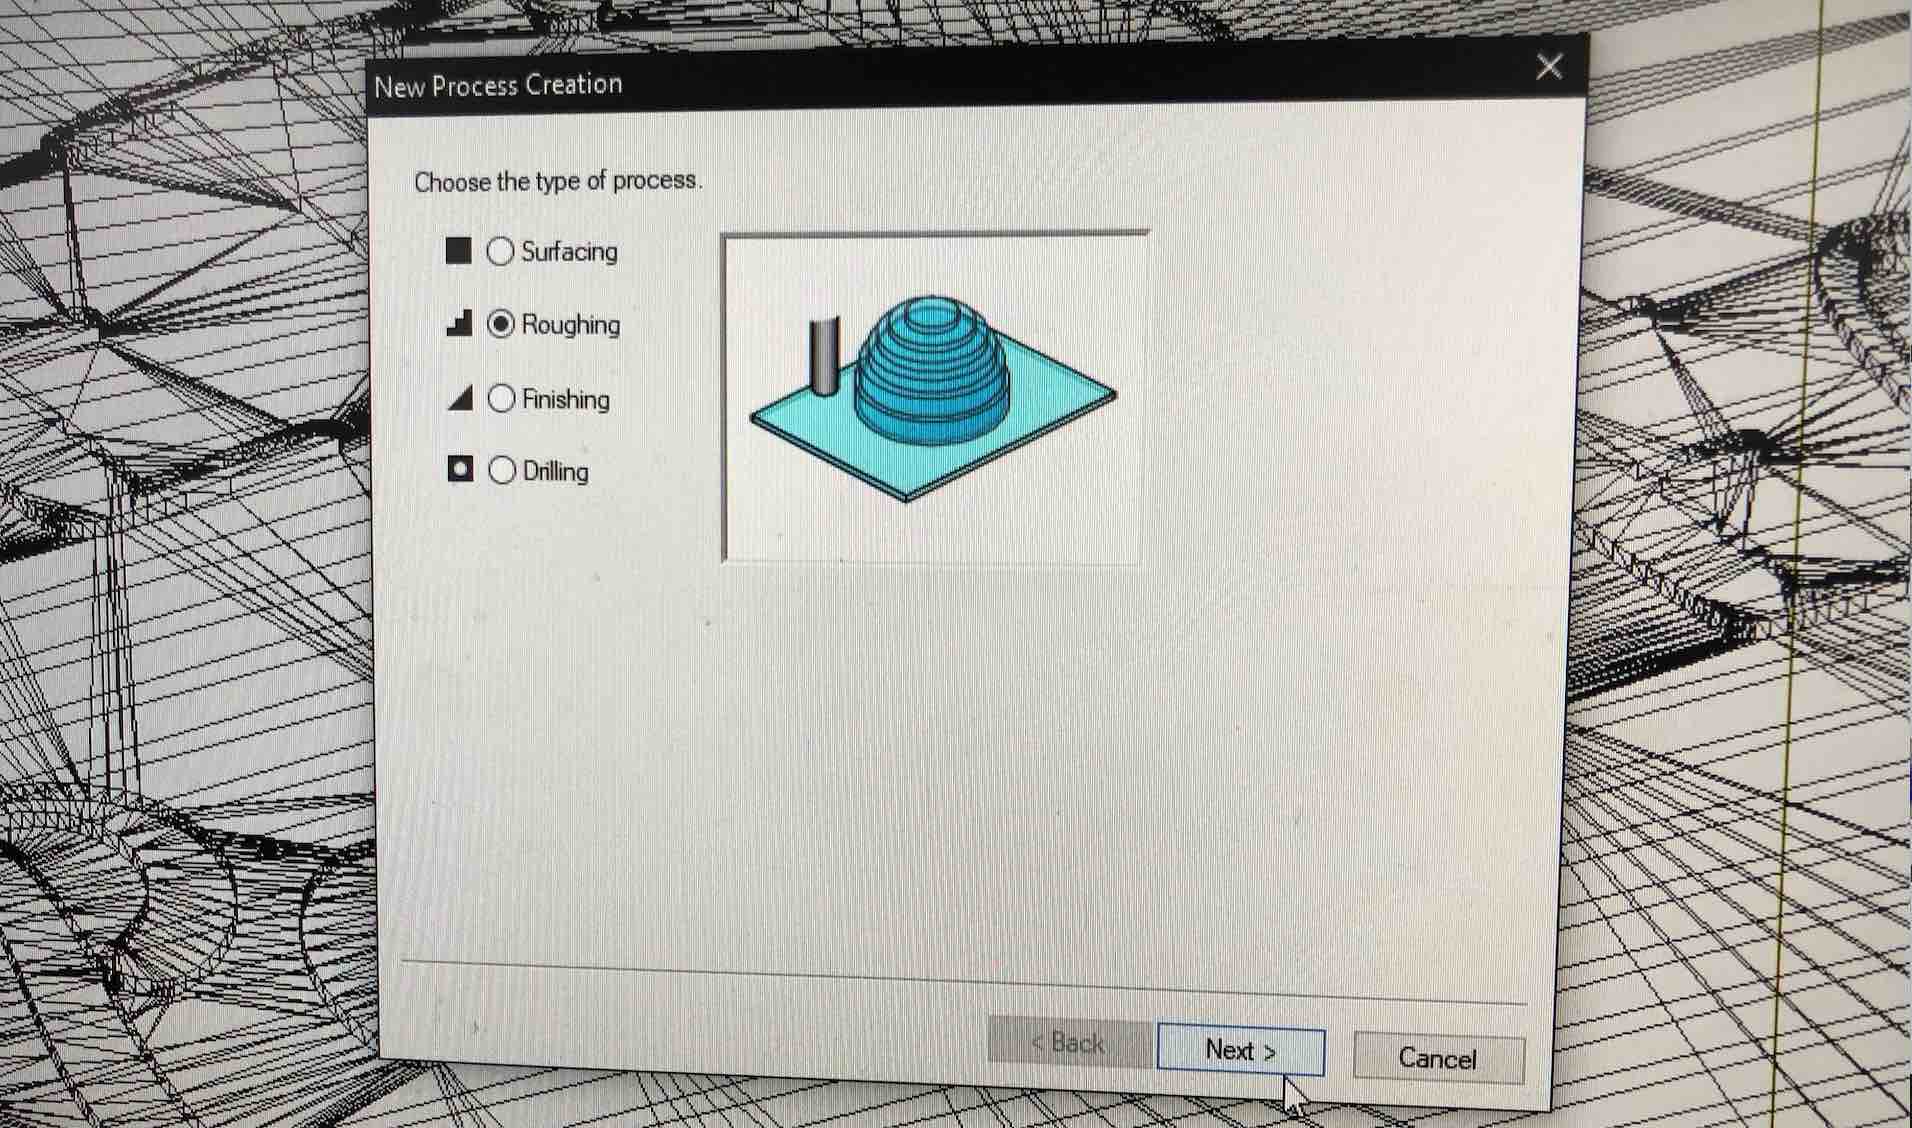 To rough cut the design, change the bit and click next.
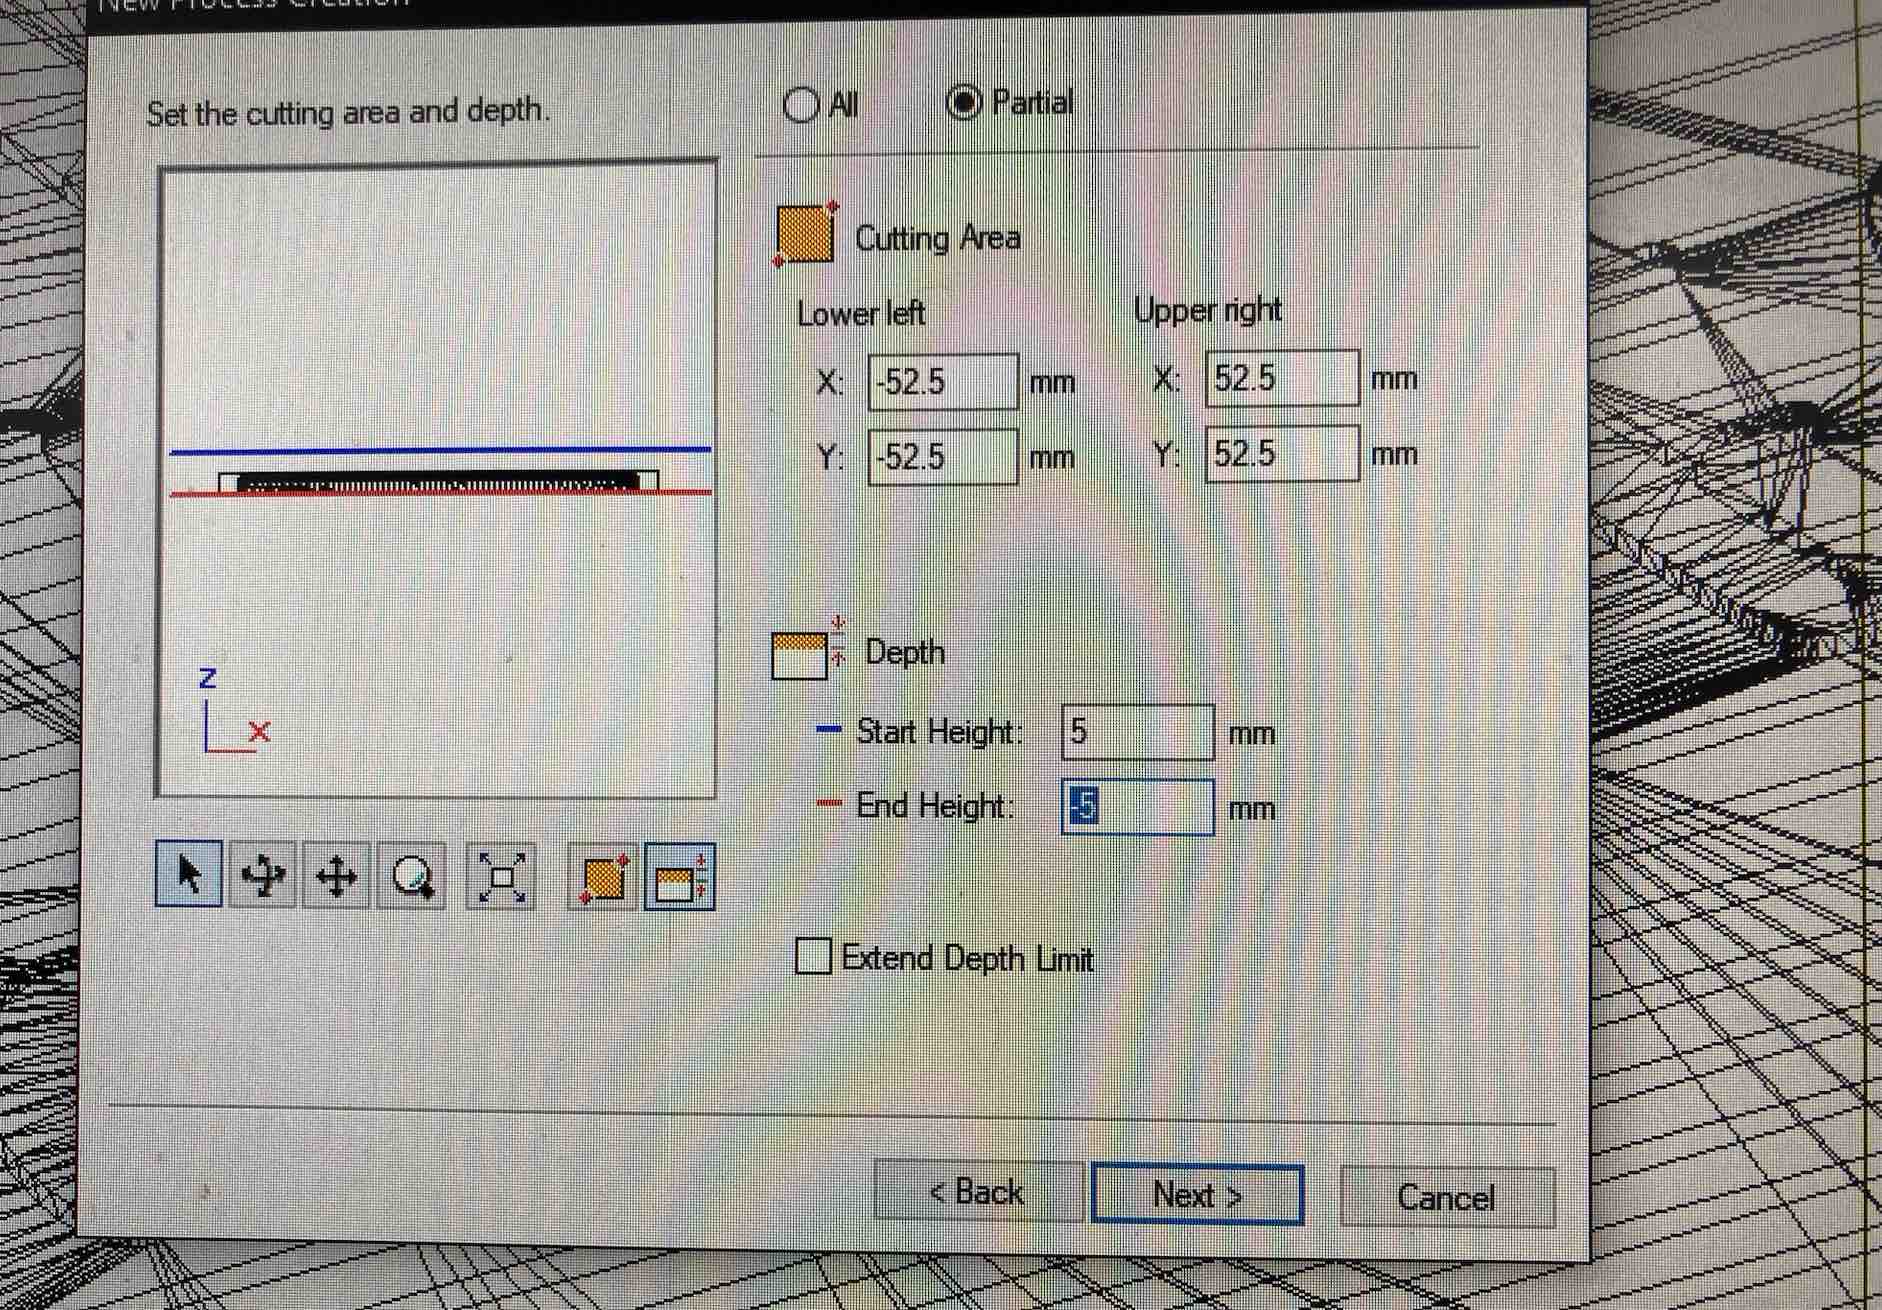
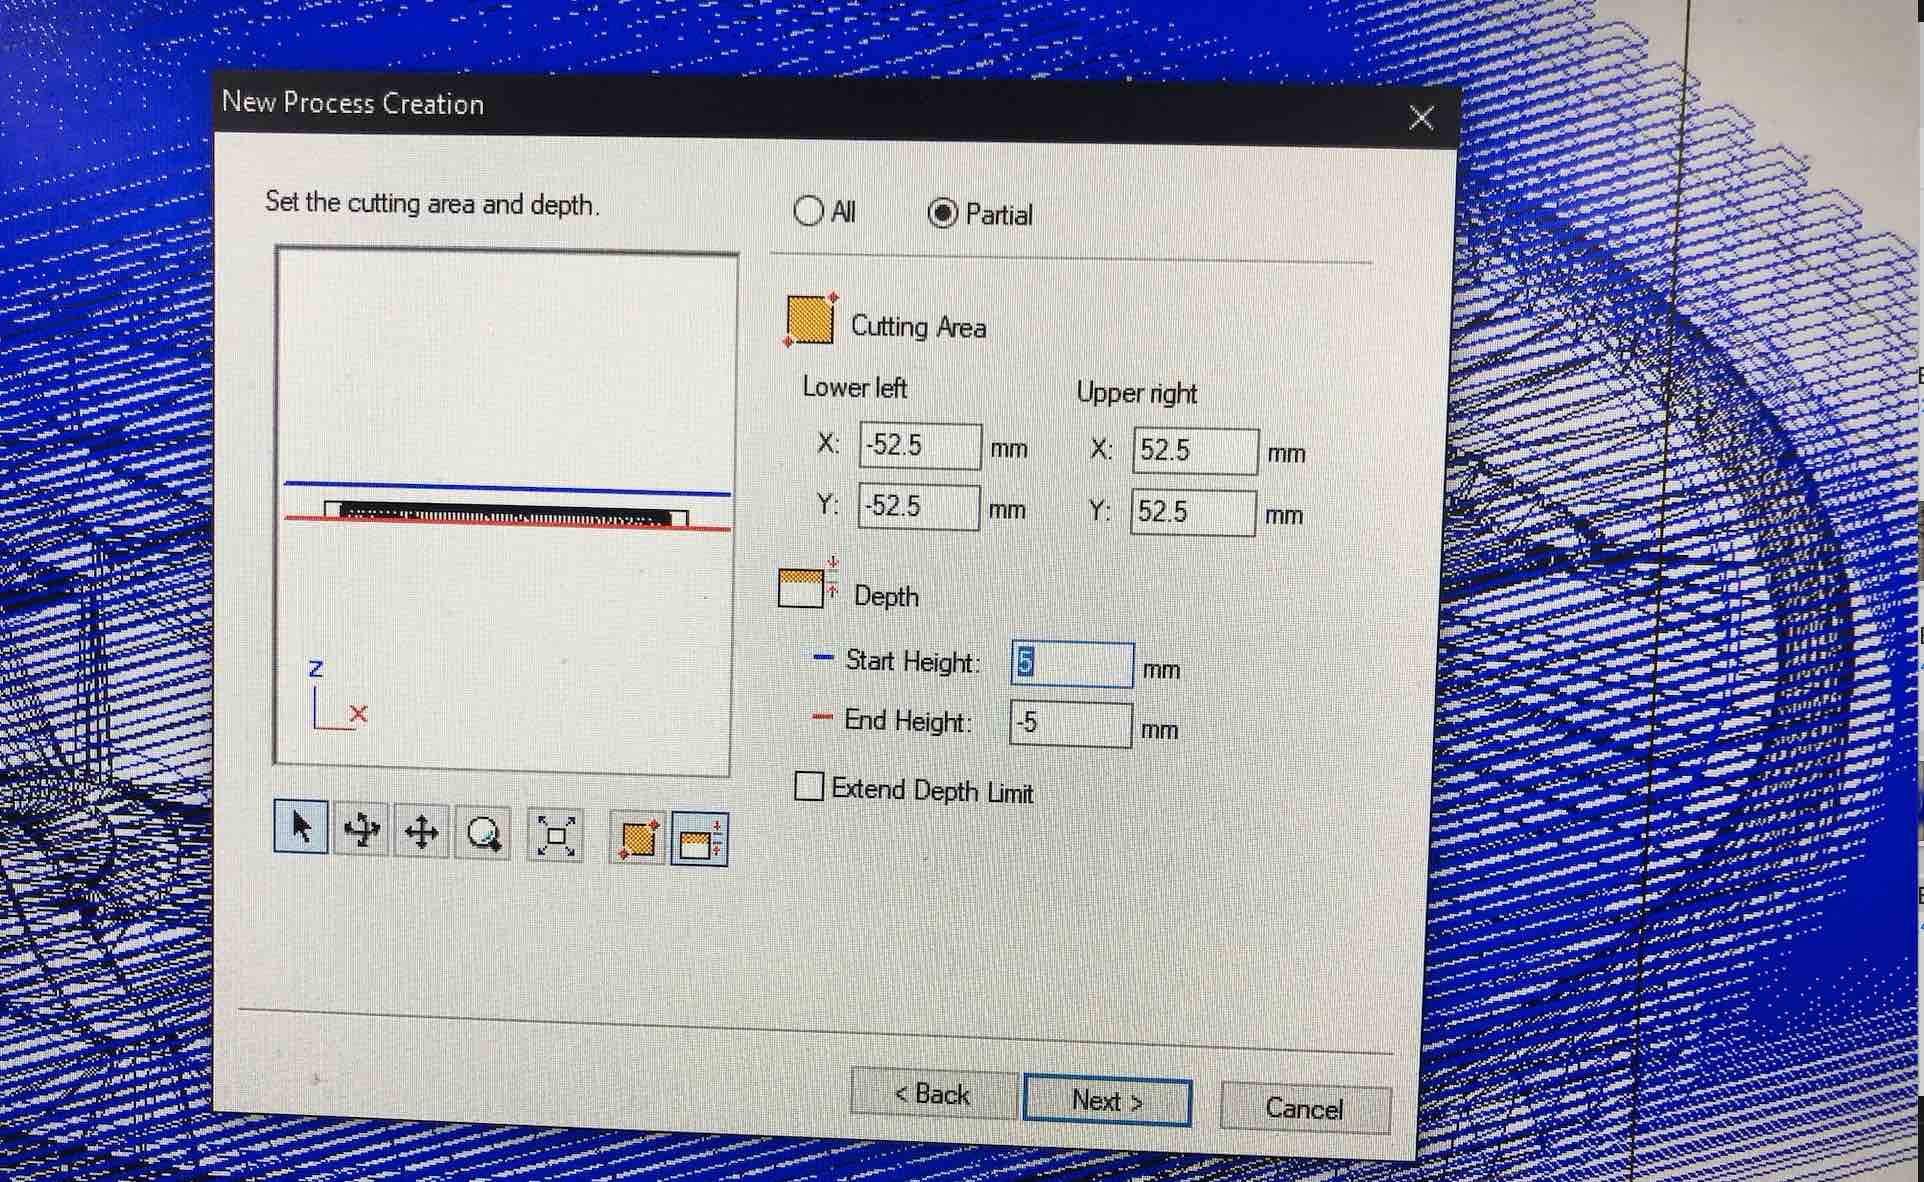
 Select the height of about 5mm. This is how deep the end mill will cut down the model.
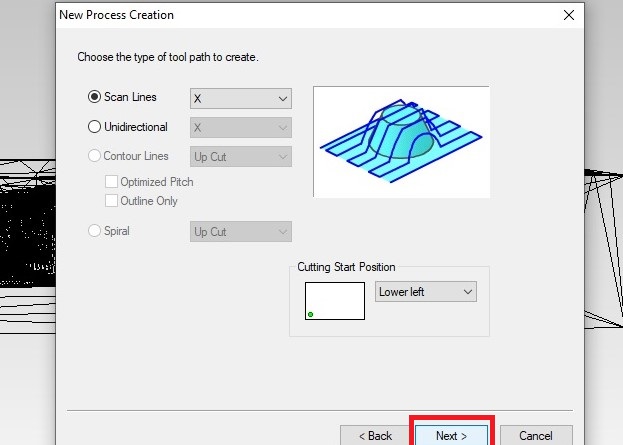
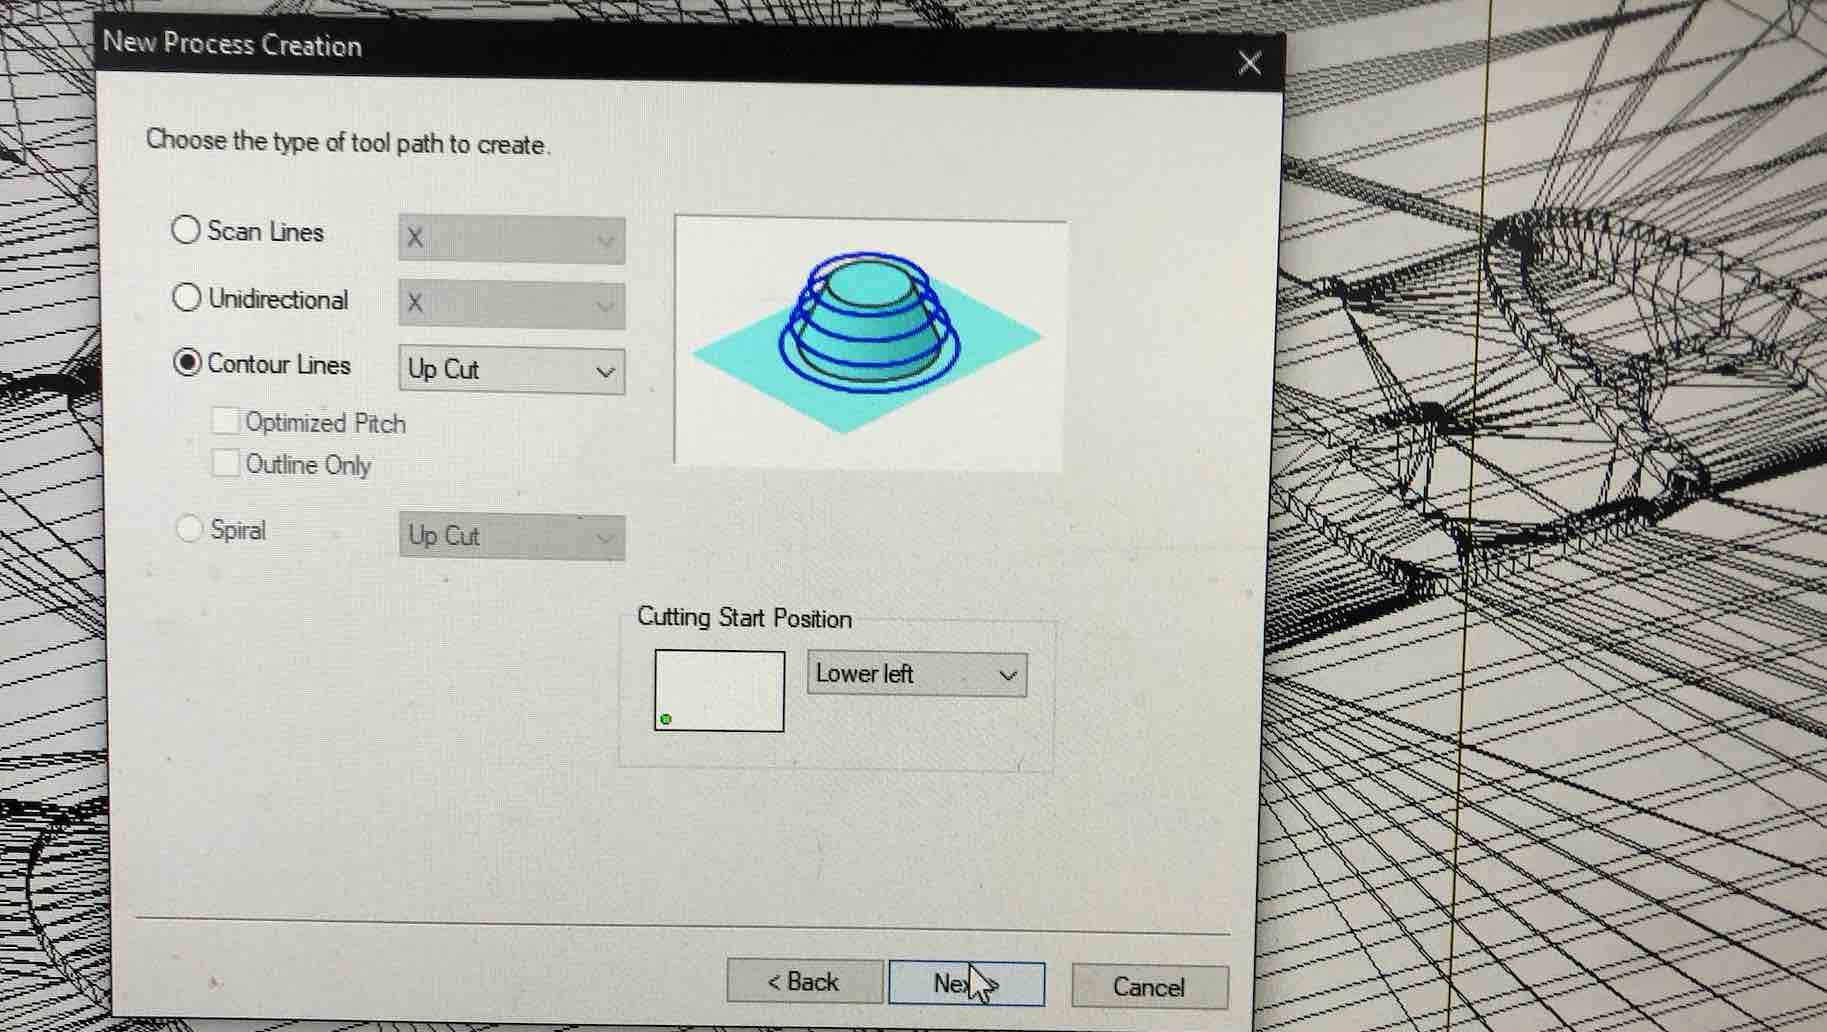
 Choose the type of tool path to create and cutting start position.
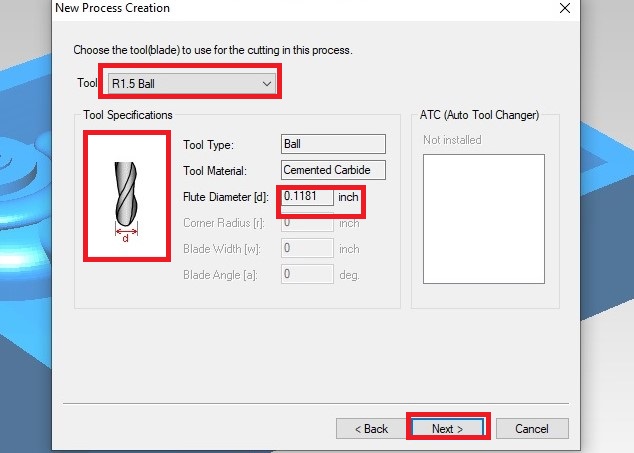
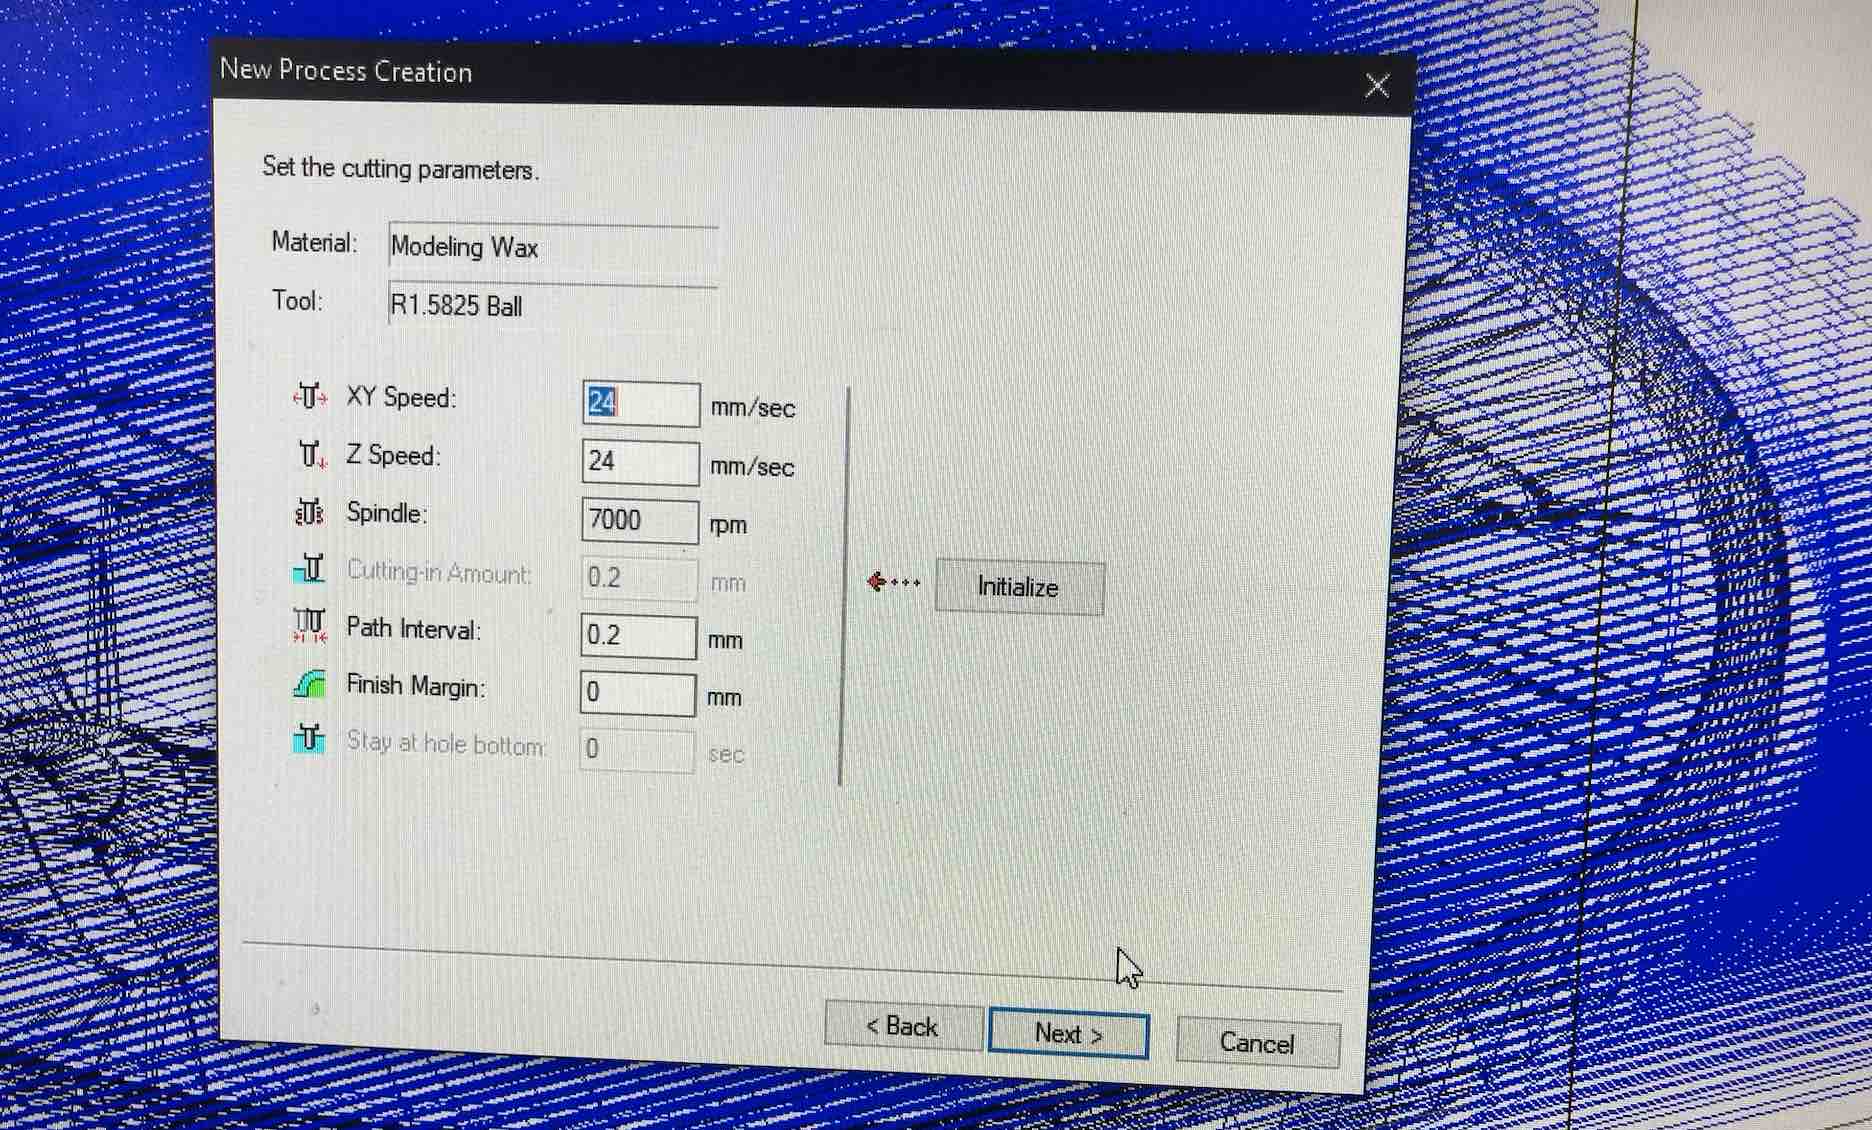
 Select the material and put in the parameters. Click next.
Click the preview button to preview your job and if everything is good, save the file in .prn format.
Now proceed with creating the finishing file.
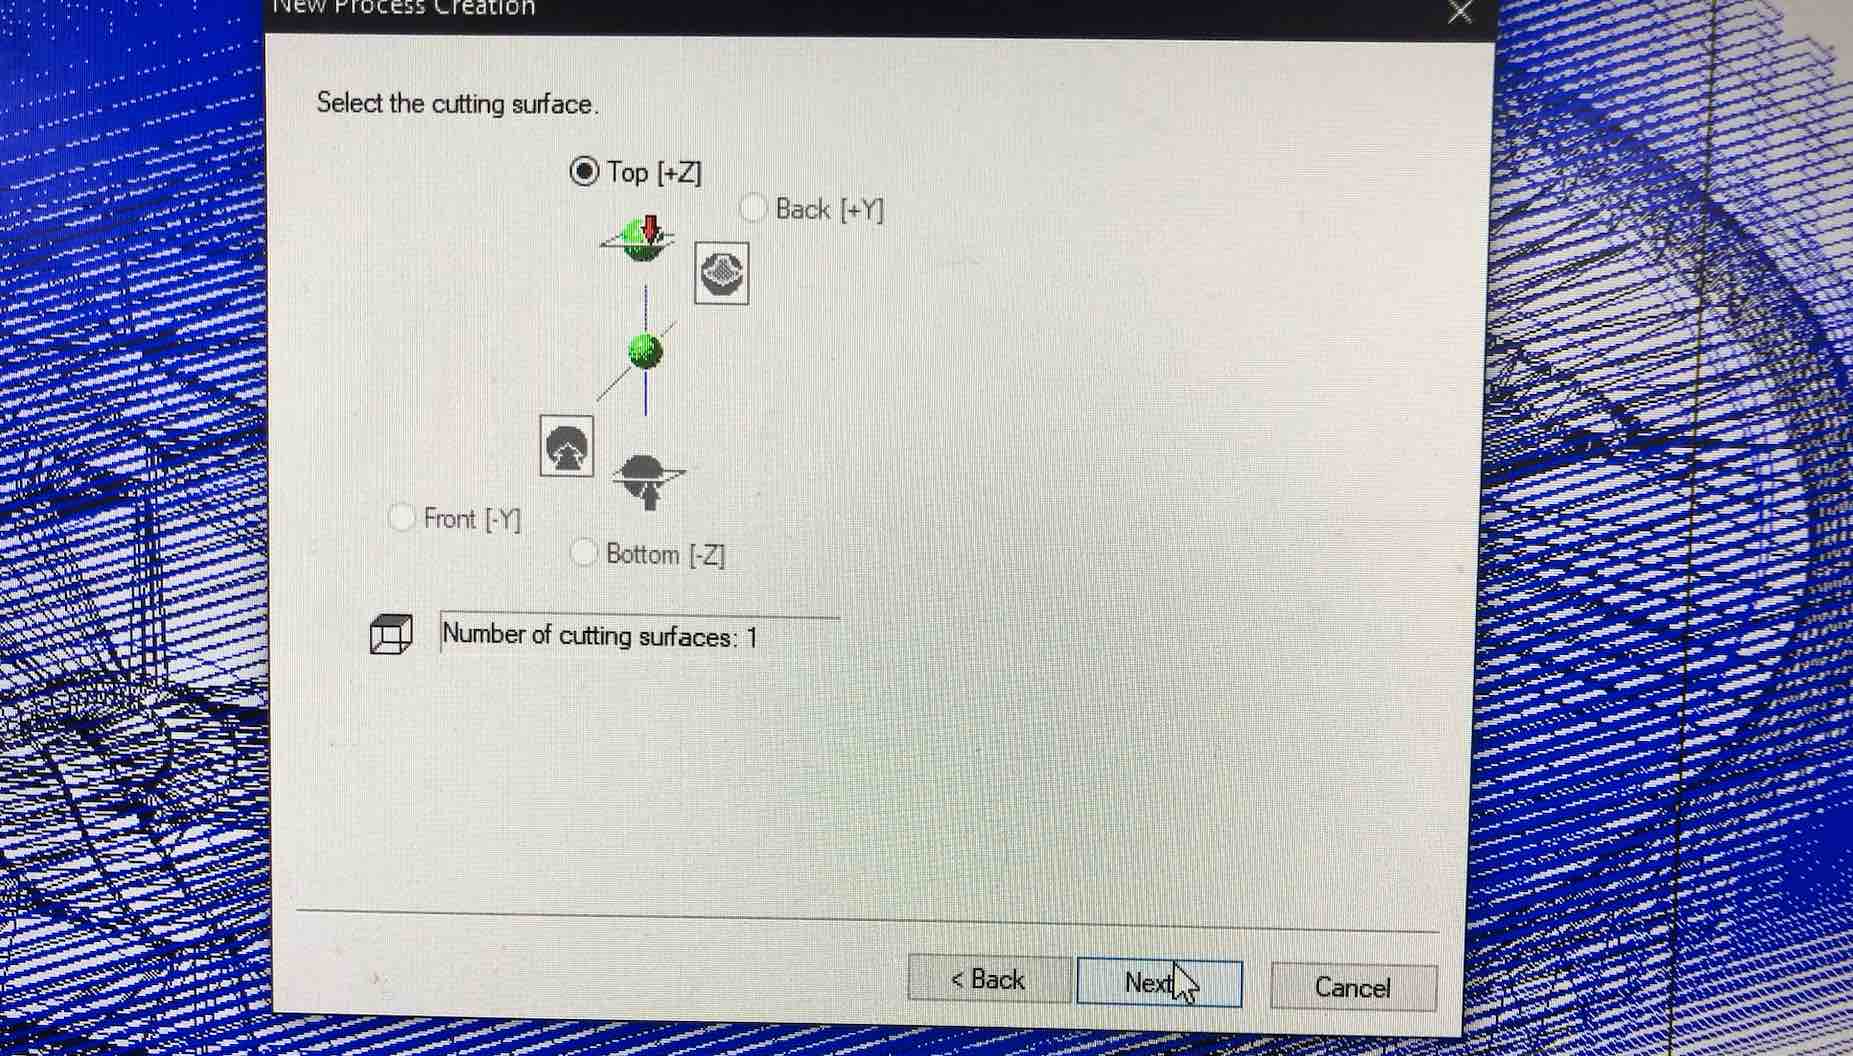
 Select the same cutting surface and select the Ball nose end mill
 Change the start height and set in the cutting parameters. Now finish the processes and save the file.
MILLING.
Types of bits used for the assignment. 1. Roughing-bit (square end mill)
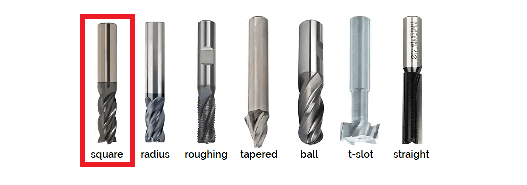
- Finishing-bit (ball nose)

First insert the roughing end mill to Srm 20 Collette and fix the molding block with double sided tape.
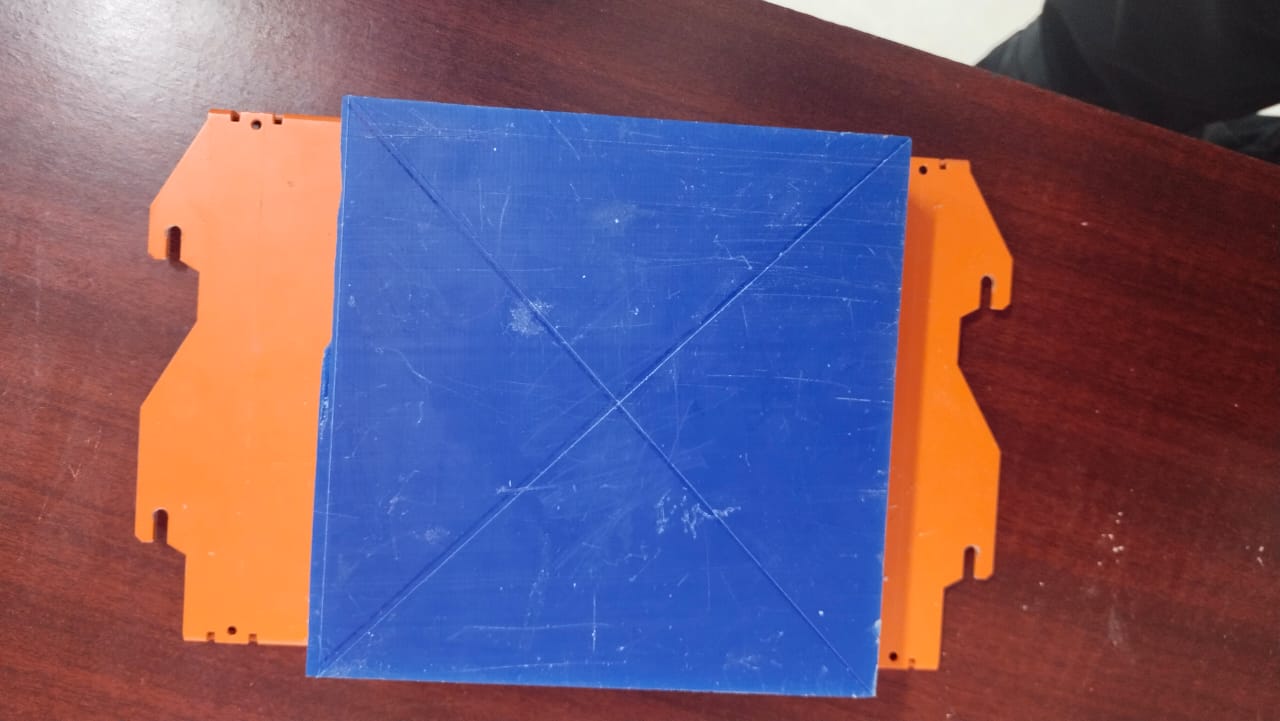
The x,y axis should be in the center of our material as we are using various dimensions of the mold block. In order to center x and y on the material, create two diagonal lines and use the intersecting point as center.
Open the V panel for Srm 20 and set the zero axis.
Once z axis is set, move up the z axis and use gravity method to touch the tip of end mill with the surface of the object.
Then open the roughing file and run it. Once finishing the roughing change the end mill to ball nose. We don’t have to change the x and y axis. Only change the z axis. Load and run the finishing file.
Complete milling process
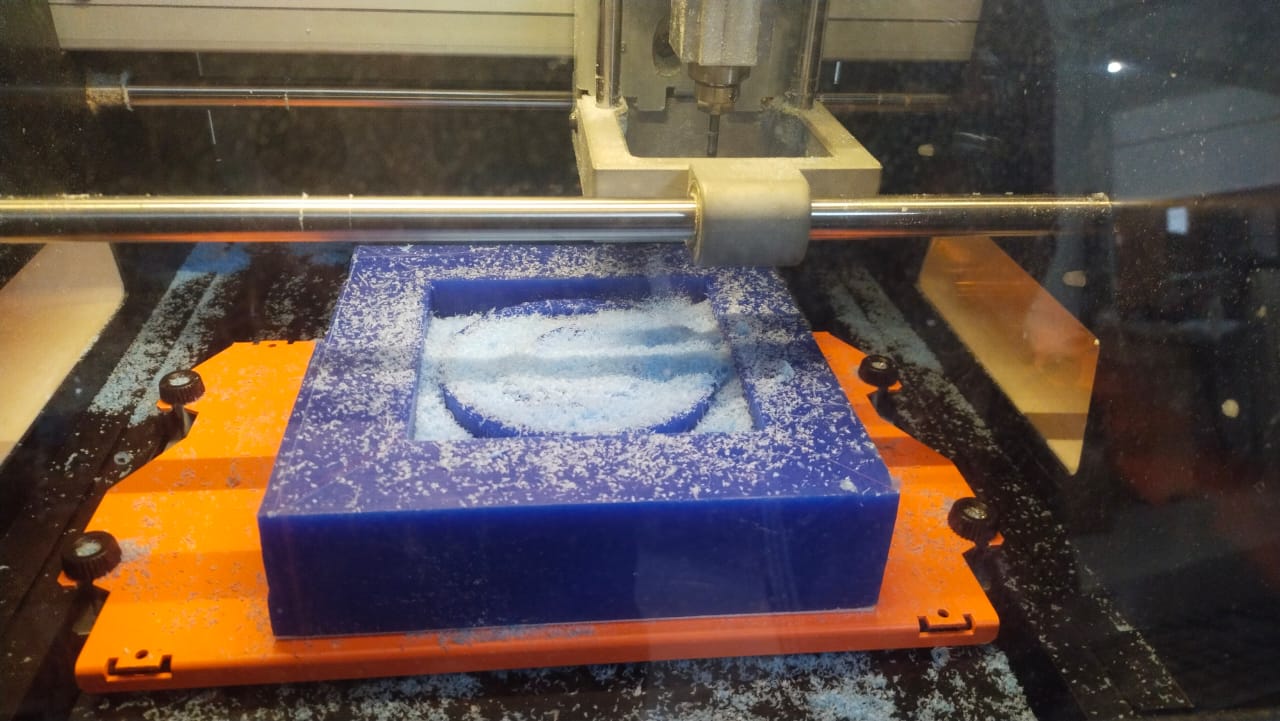
Milled Board for Molding and Casting.
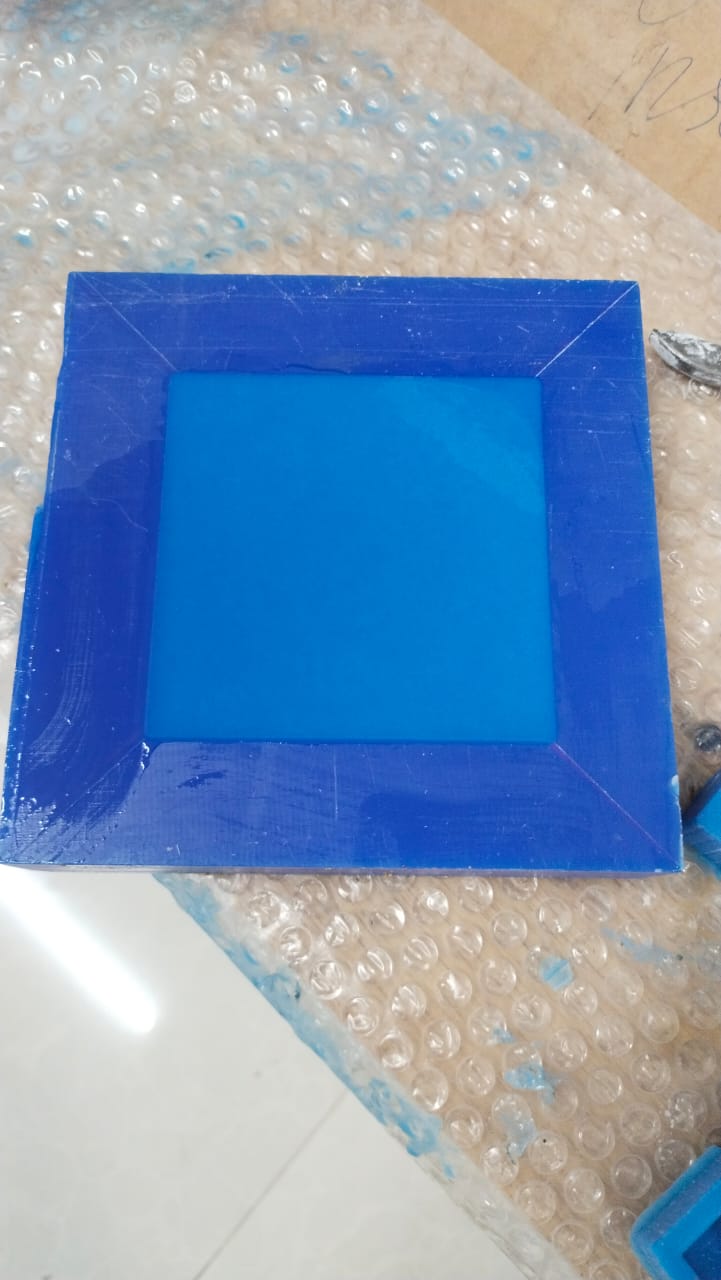
Preparation of molding.
Take out the milled wax and prepare for molding.
The material we have in lab is smooth-on mold star 30.

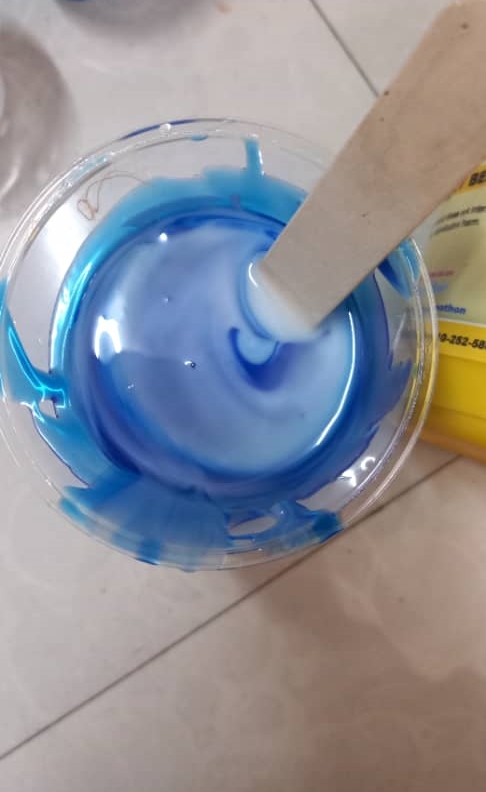
To make the mold, mix the part a and part b in equal ratio 1:1.
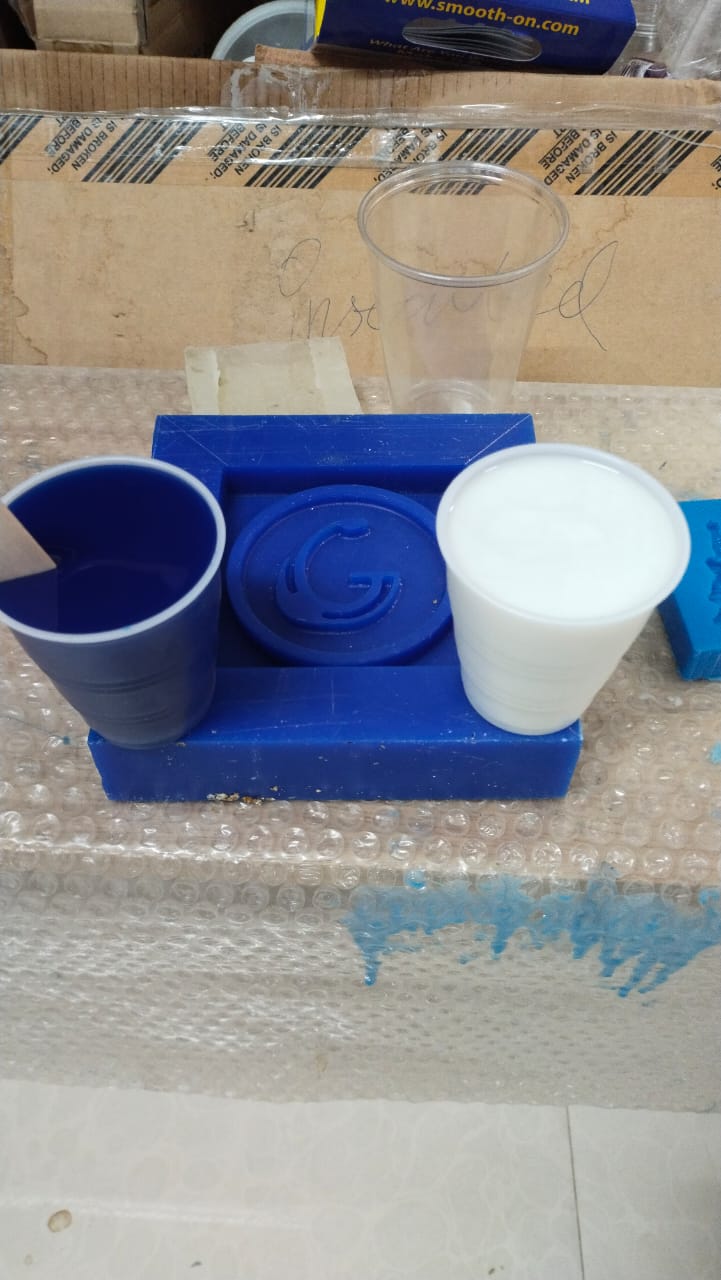
Mix it well and to release any trapped air bubbles. hit the wax block several times on the floor. Let the mold star 30 to cure for 6 hours.
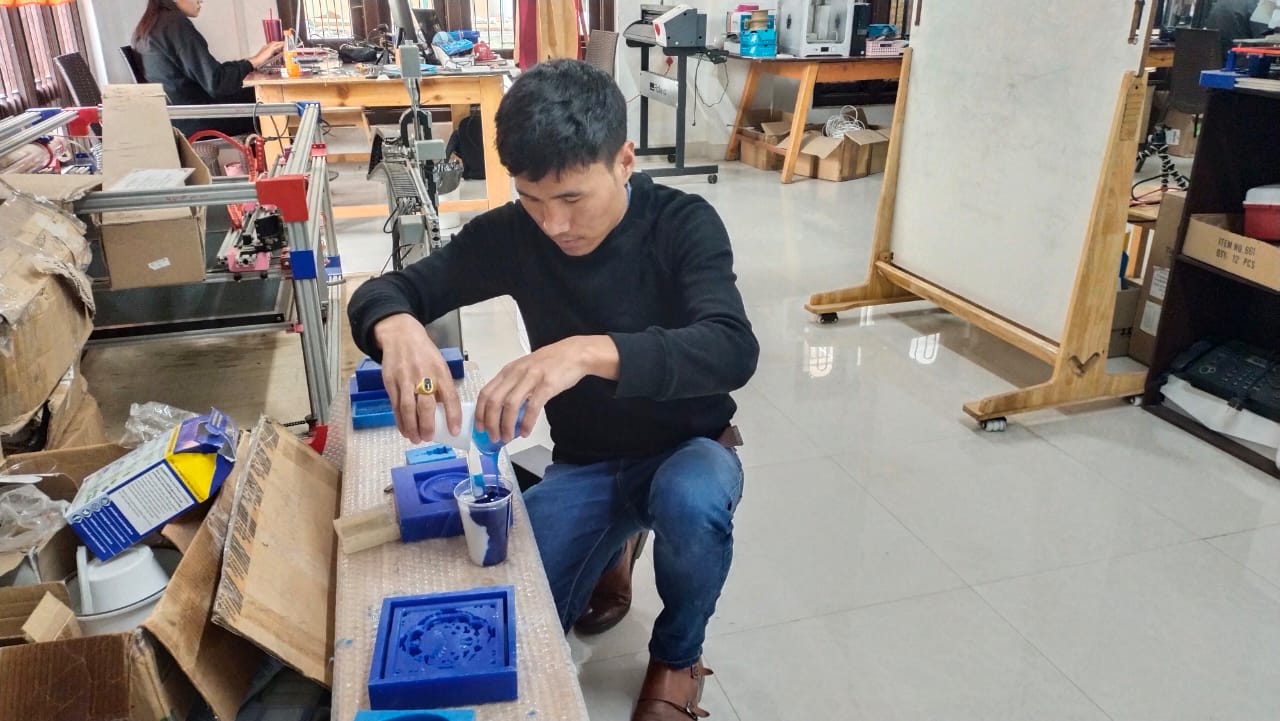
Pour the mixture from a distant height slowly and steadily.
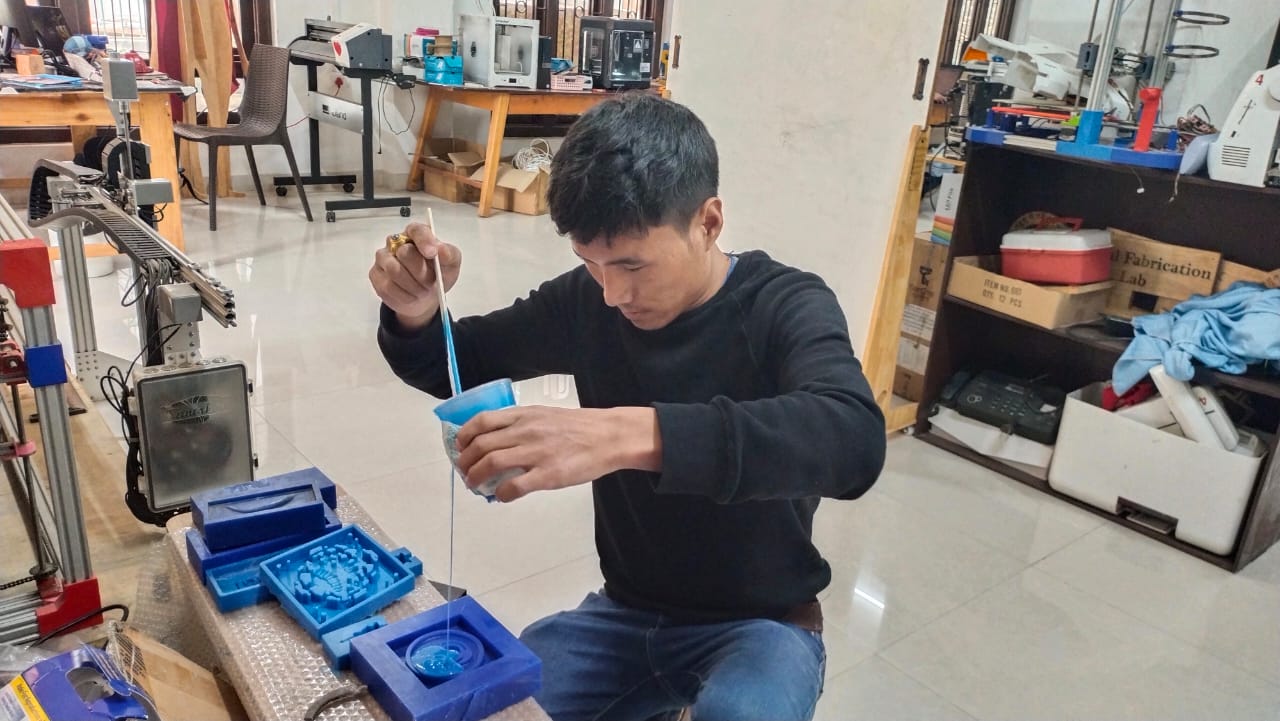
Hit the wax block several times on the floor. Let the mold star 30 to cure for 6 hours.
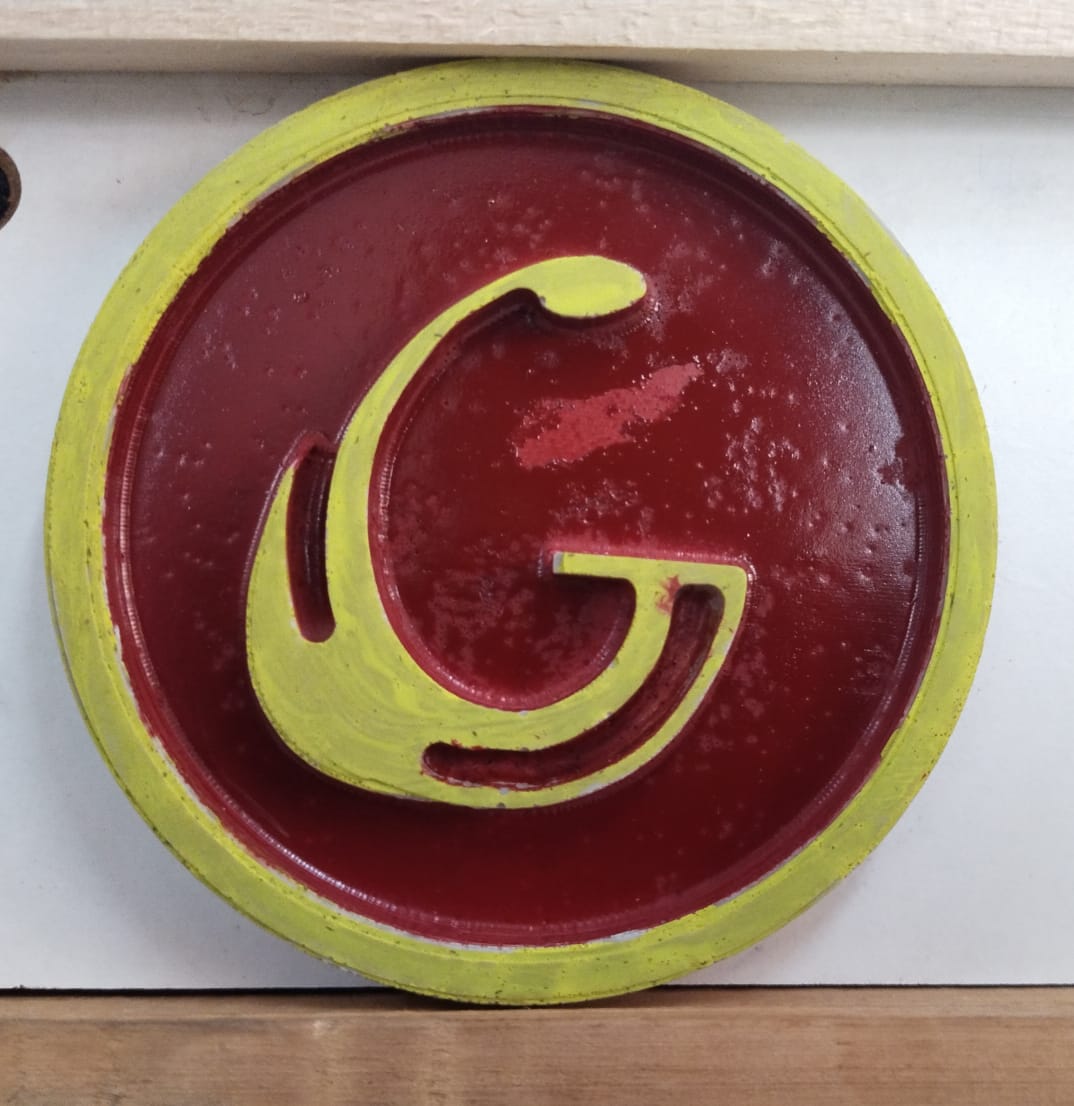
Casting
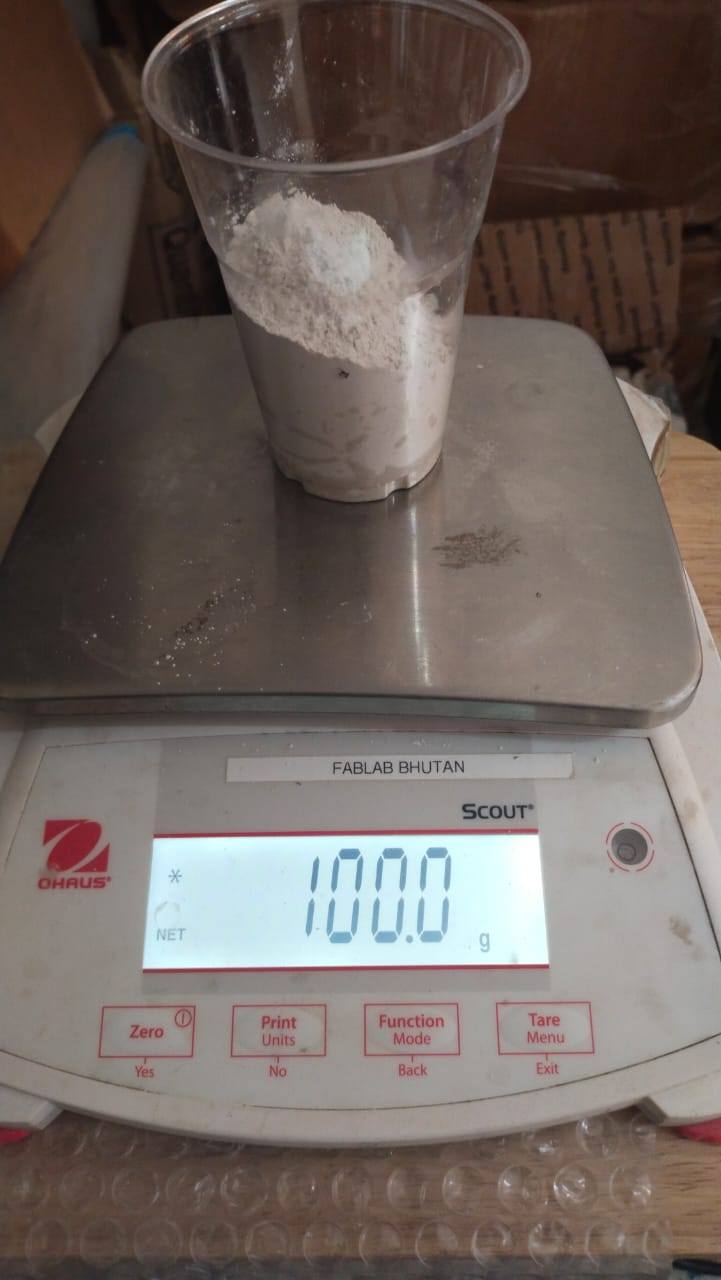
For Casting We have used Hydrostone as casting material.
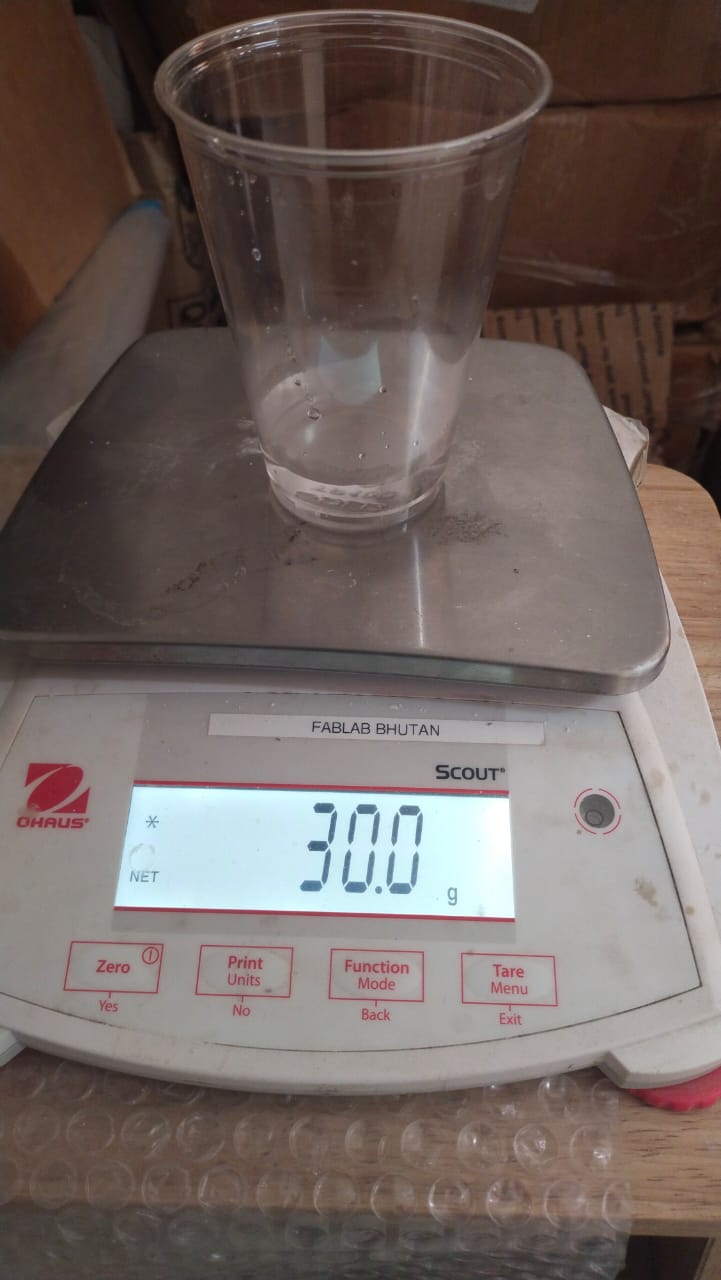
To make the casting mix 100g of Hydrostone in 30g of water and stir it for some time.
Then pour the mixture on the mold maintaining a certain distance to make sure the pouring of the mixture doesn’t form bubbles.
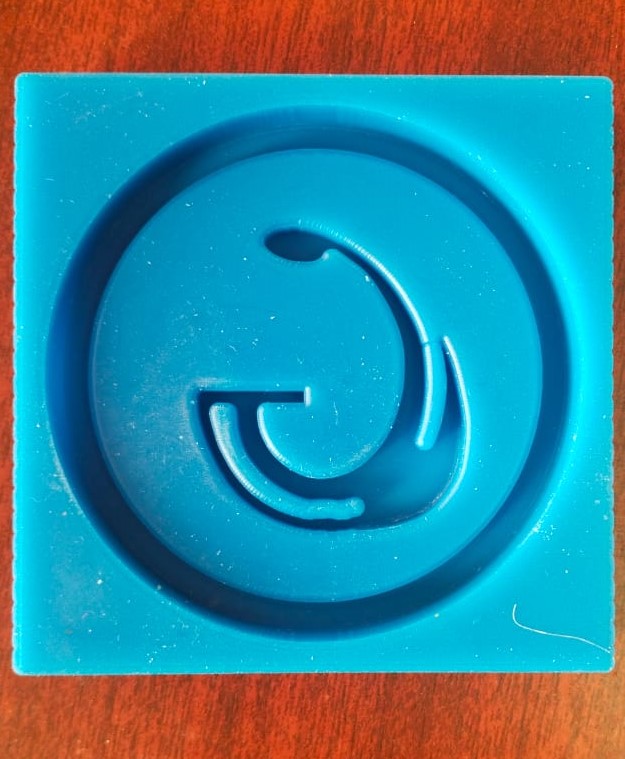
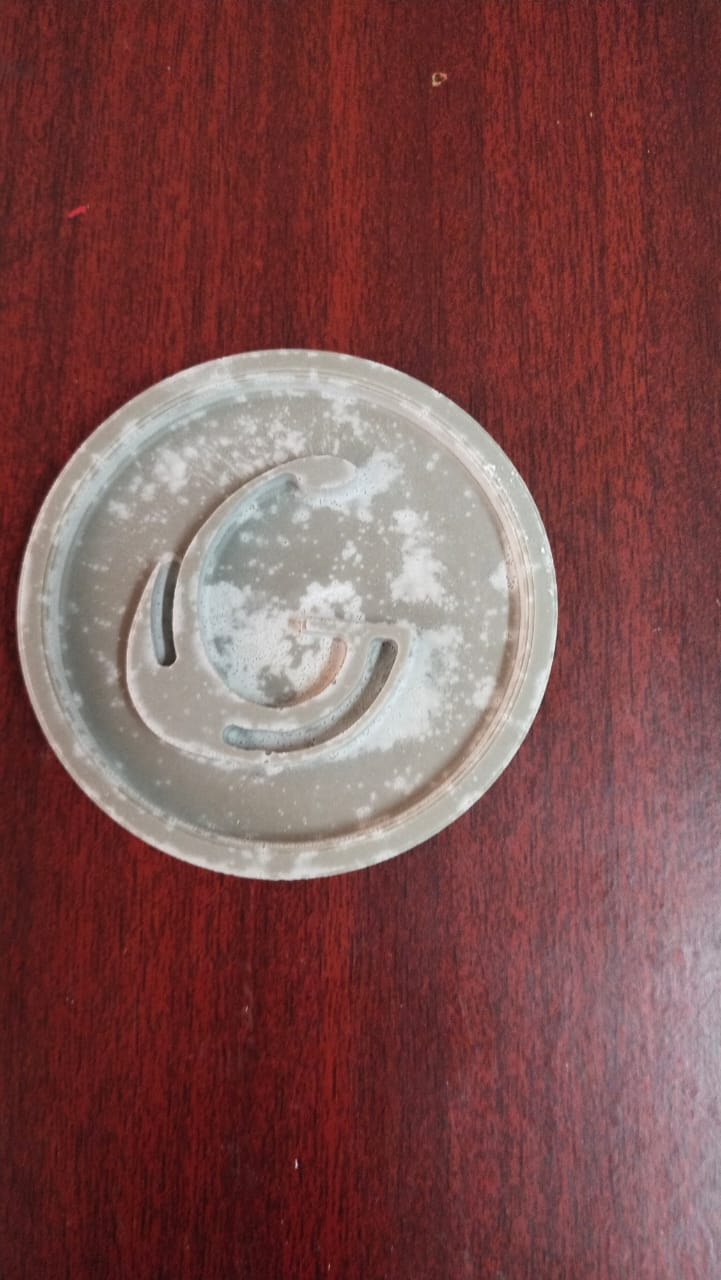
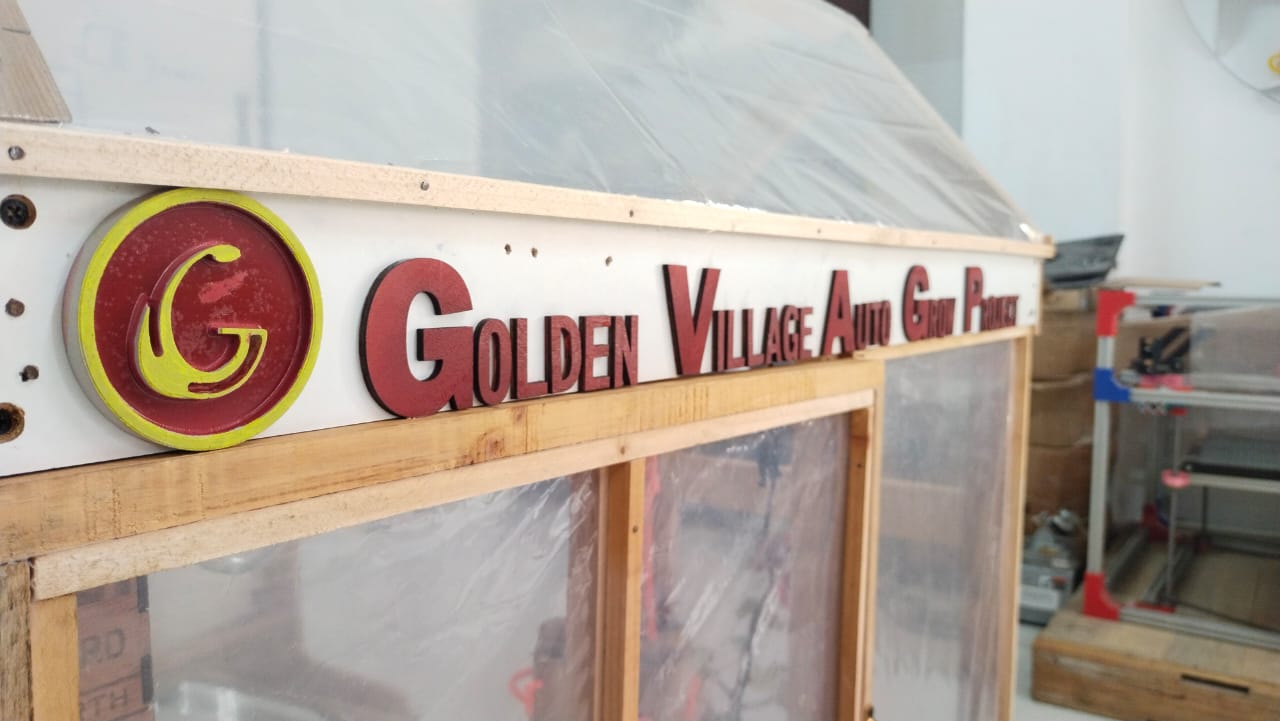
Result.
Negative silicon Mold
Cast
Learning Outcomes
- Learnt how to make mold using SRM 20
- Learnt how to do precise casting to avoid bubble formation
- Learnt how to design on fusion 360 taking reference of a canvas/ image.
- explored new softwares like Modela- 4 player and Virtual Player for Modella.
Original files
Download all the original files from here.