16. Molding and Casting
Group Assignment:
- Review the safety data sheets for each of your molding and casting materials, then make and compare test casts with each of them
Individual Assignment:
- Design a mold around the stock and tooling that you’ll be using, mill it (rough cut + (at least) three-axis finish cut), and use it to cast parts
GROUP ASSIGNMENT
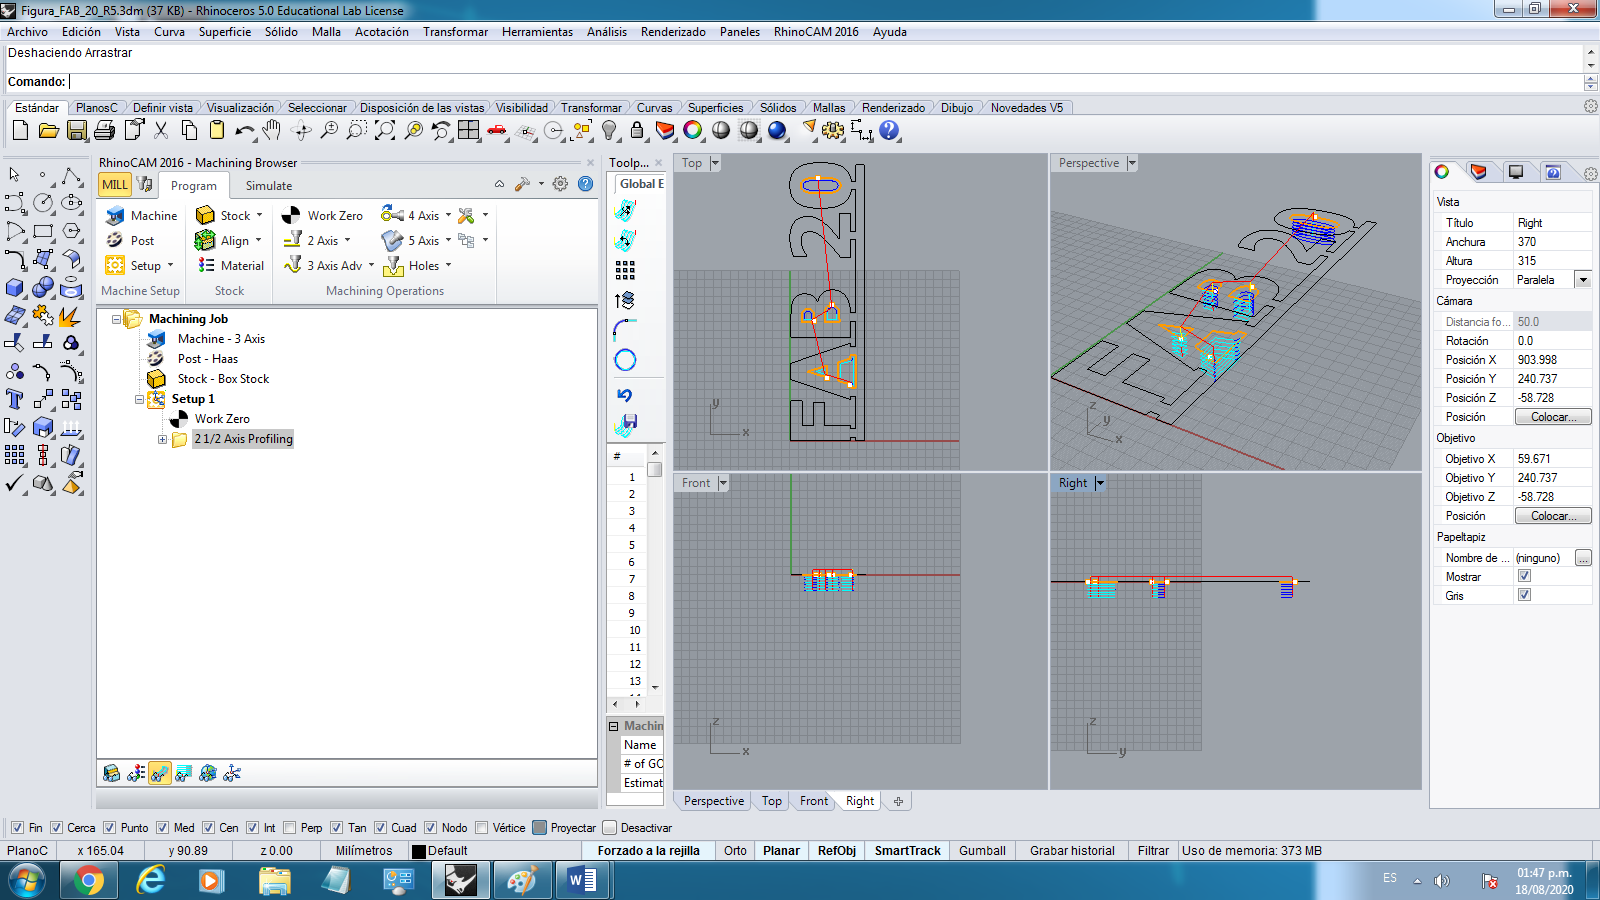
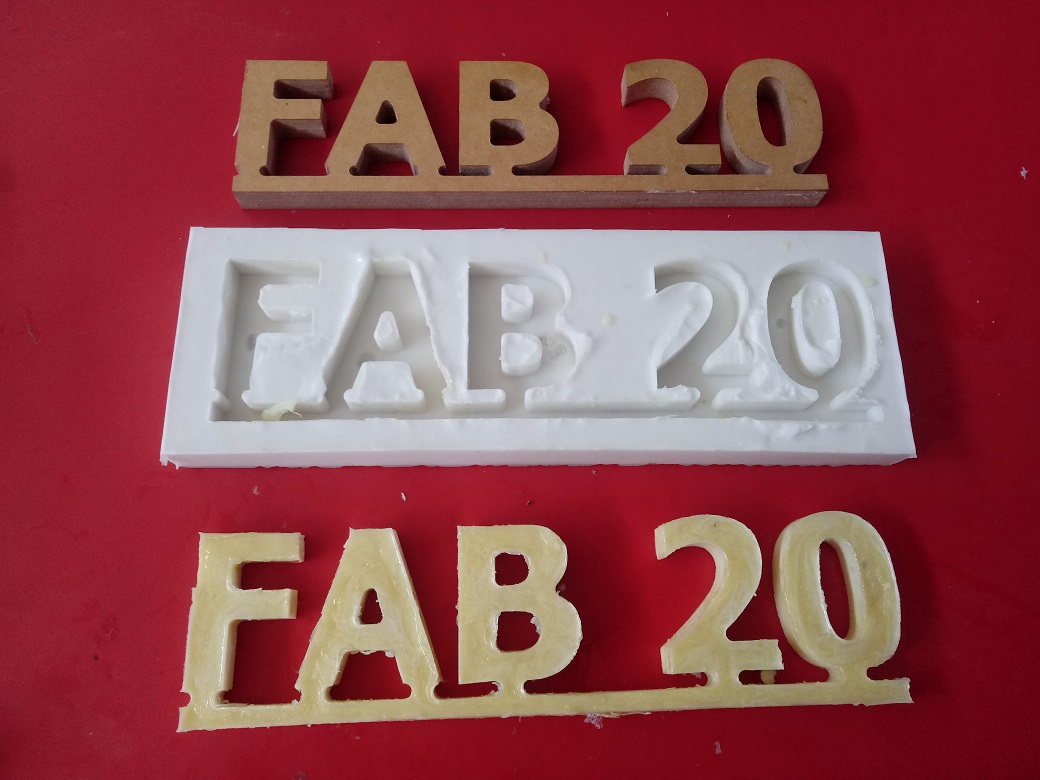
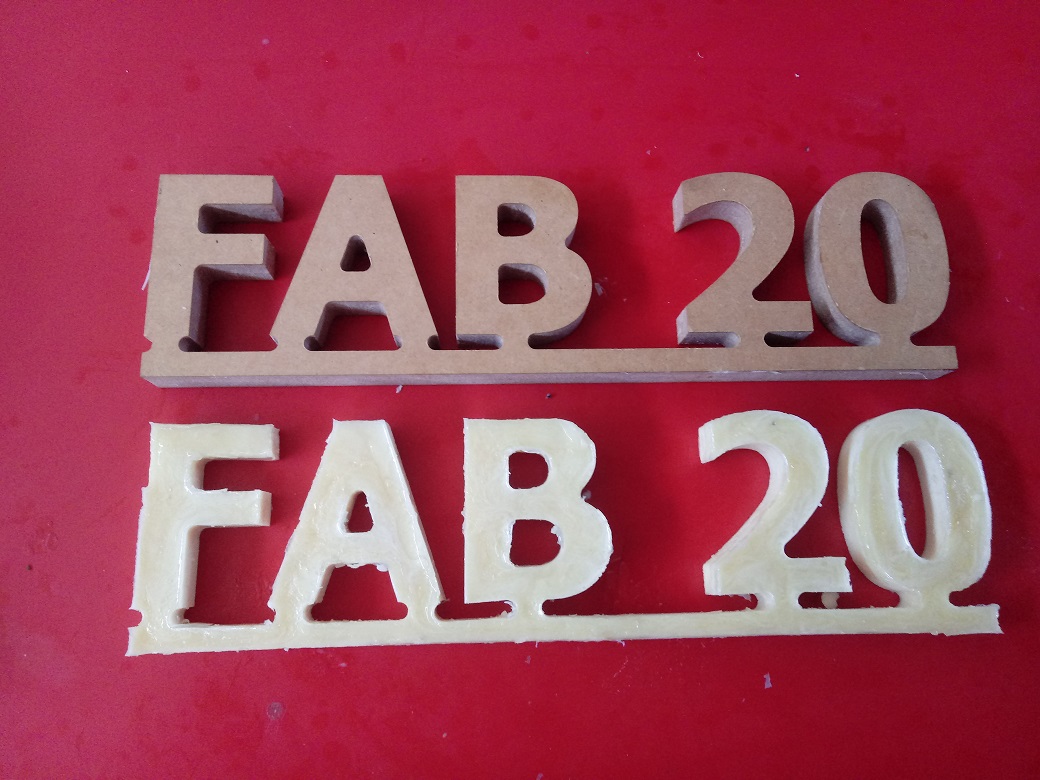
This week I will use the molding and casting materials to replicate 2 parts in the lab: a gear and a FAB 20 text cut on a 3-axis router.
Review the safety datasheet
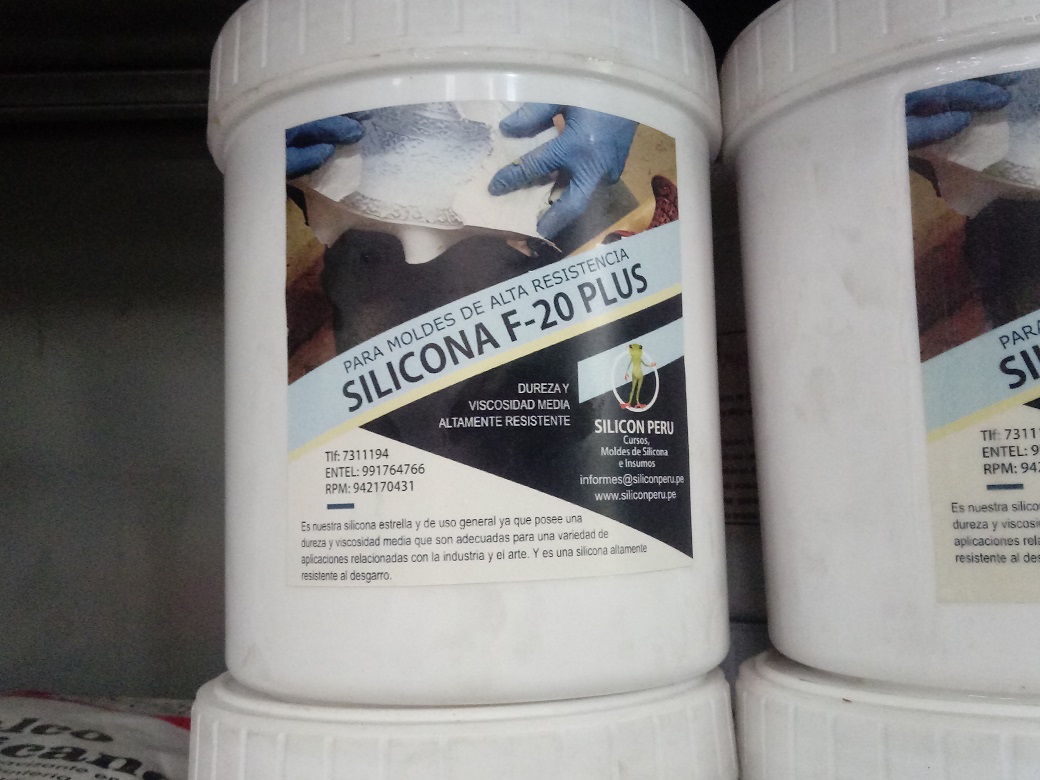
In the case of molding, the silicone F-20 plus from the Peruvian company Silicon Peru was used, and this is the silicone F-20 plus silicone
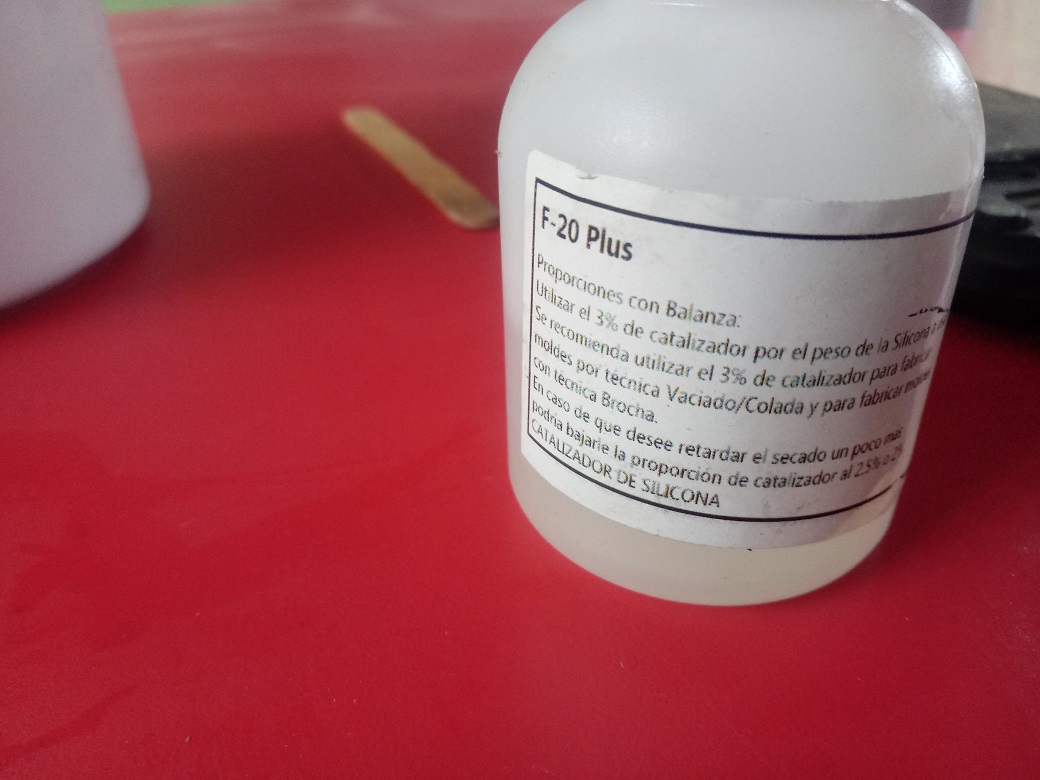
This product comes with its catalyst that is at 2% concentration, that is:
- 100gr of Silicone + 2gr of Catalyst
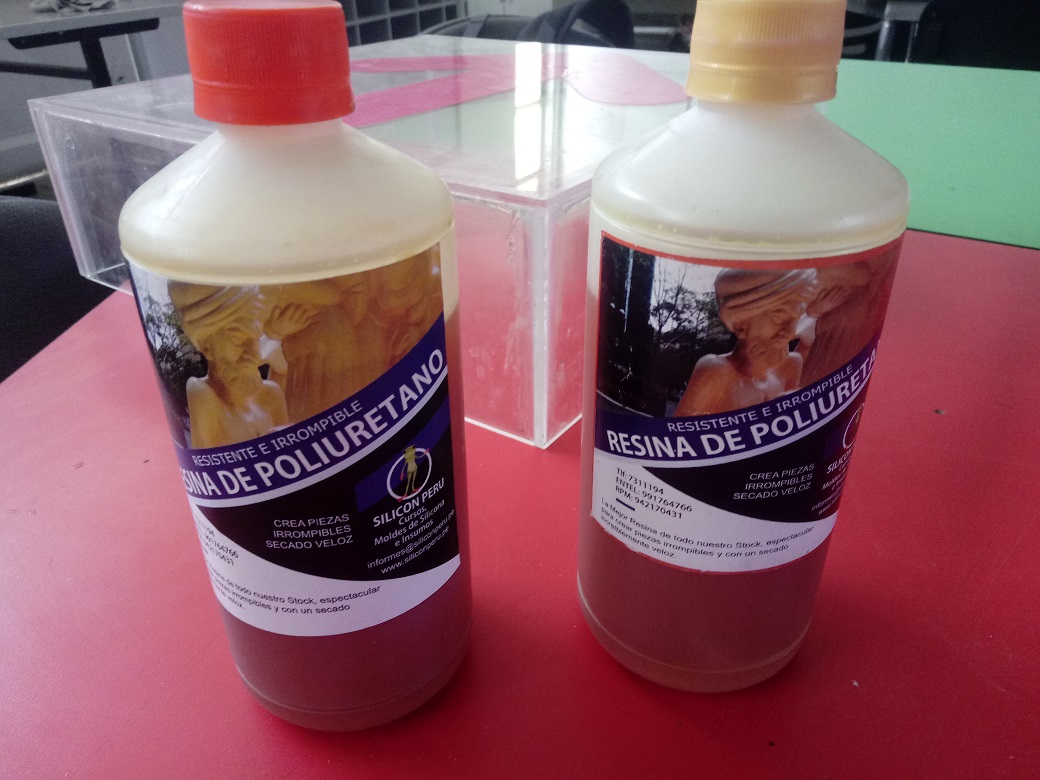
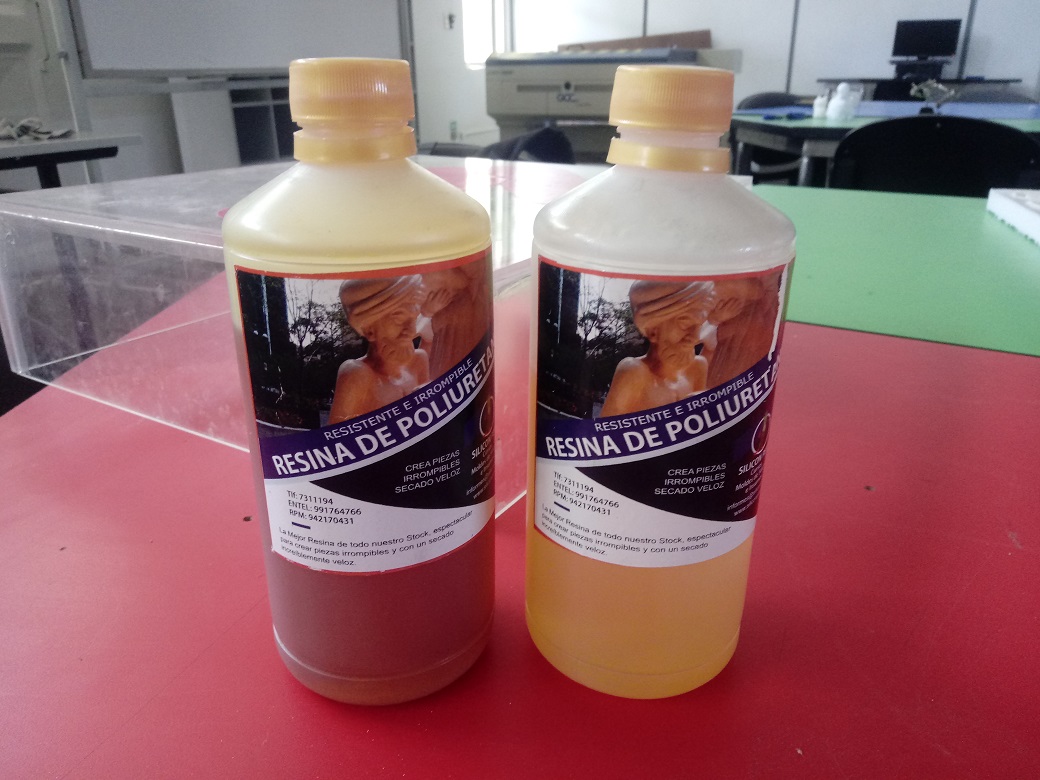
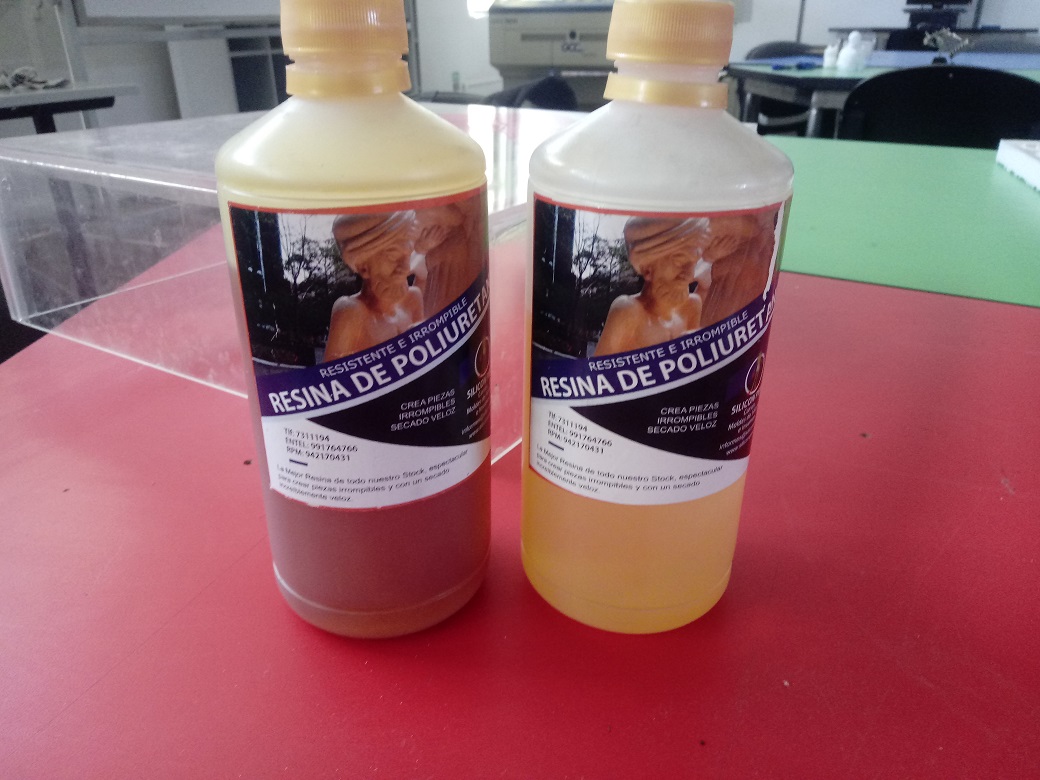
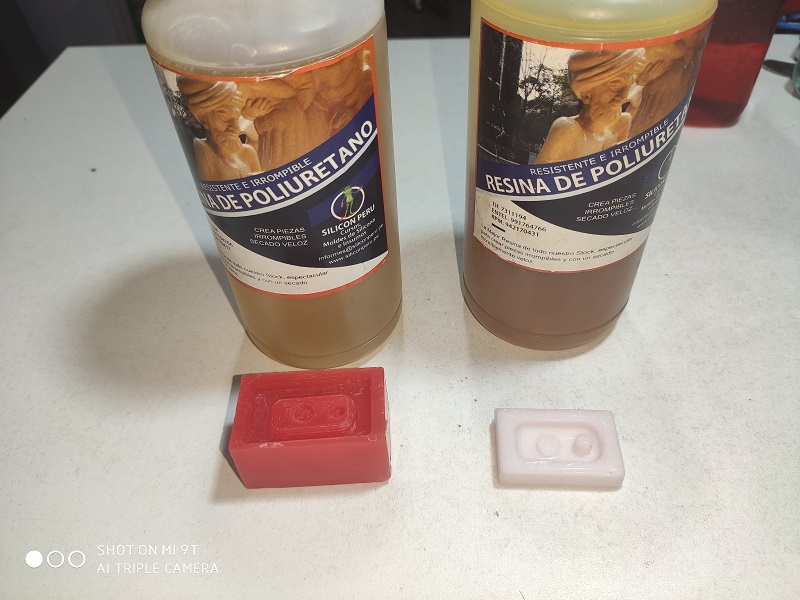
In the case of casting use polyurethane resin, this product comes in 2 bottles named A and B that must be mixed at 50% and 50% by weight. And this is the Polyurethane Resin
The way to apply would be:
- 100gr of Component A + 100gr of Component B
Molding Test with Gear
For this first test we will carry out a test with a small gear, which will allow us to test the chemical inputs.
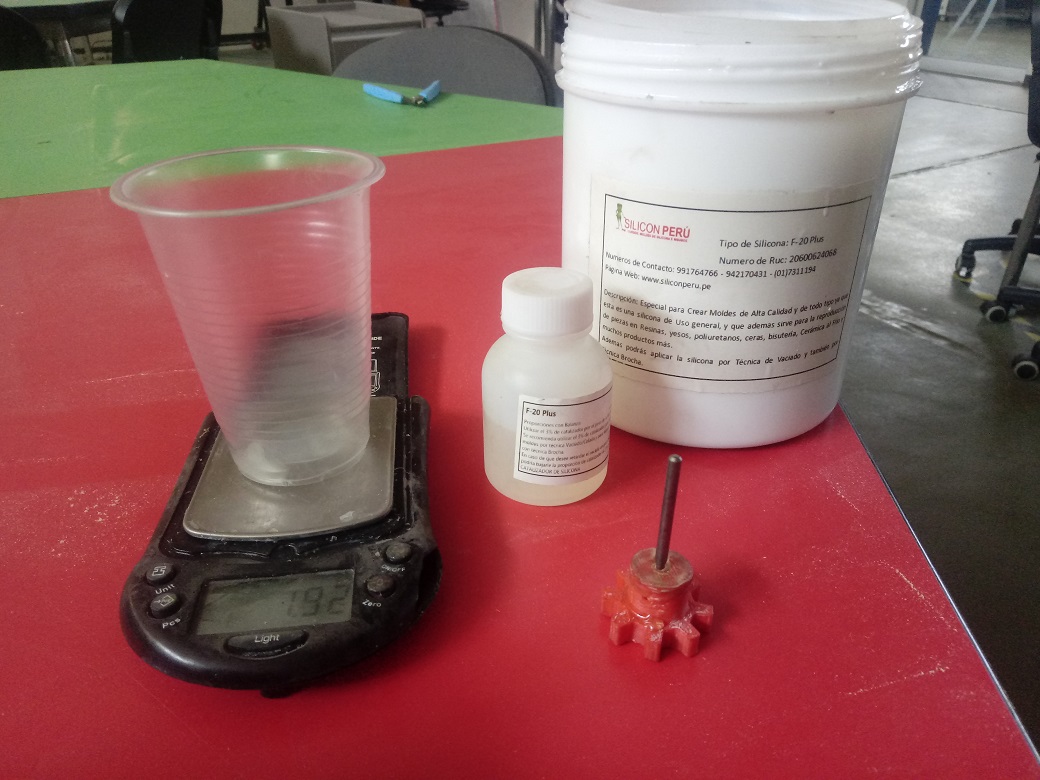
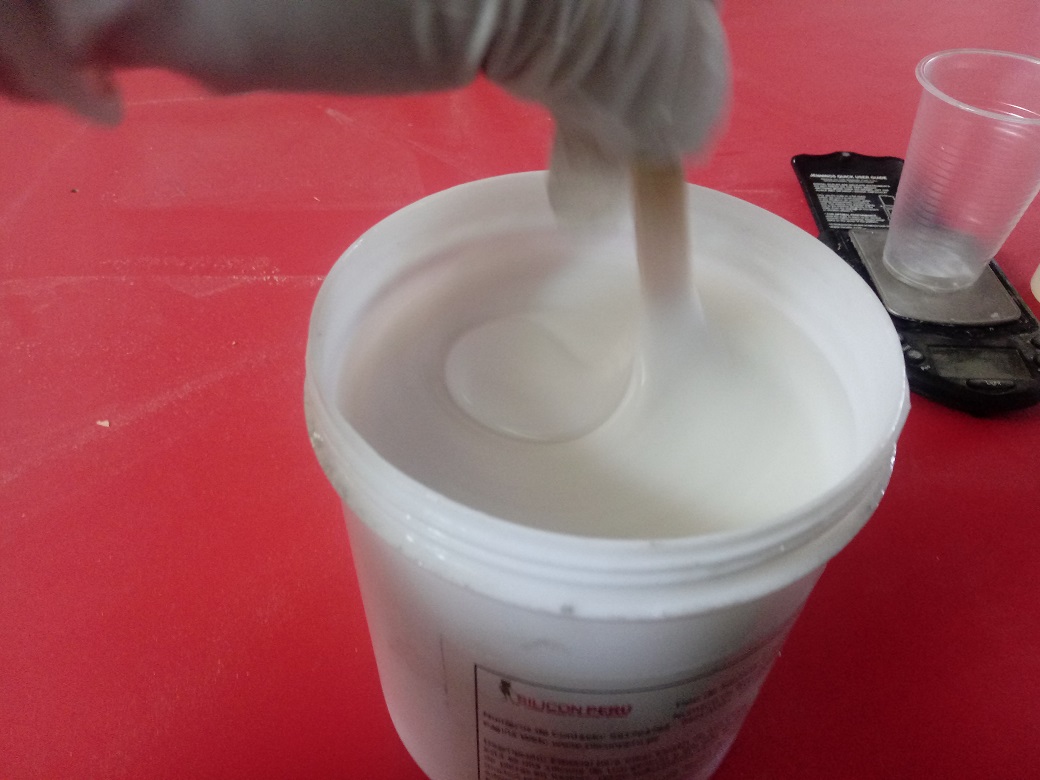
First, we prepare the silicone by beating it well for at least 1 minute, this to stir the components that could settle.
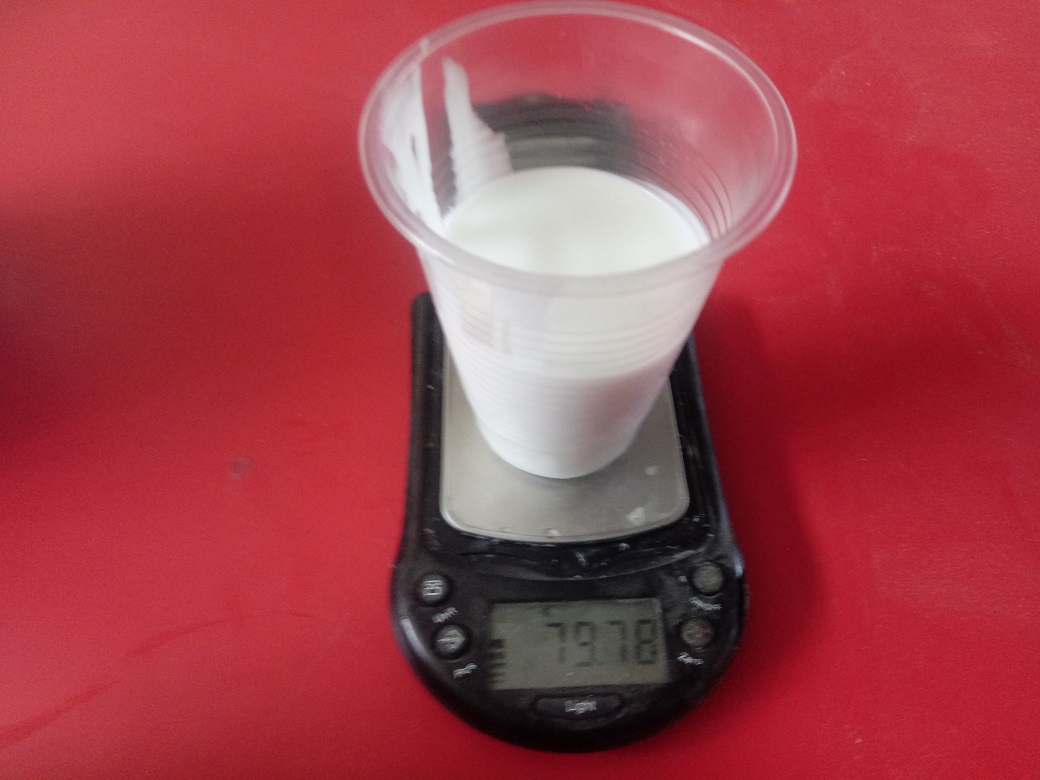
We measure 80gr of silicone.
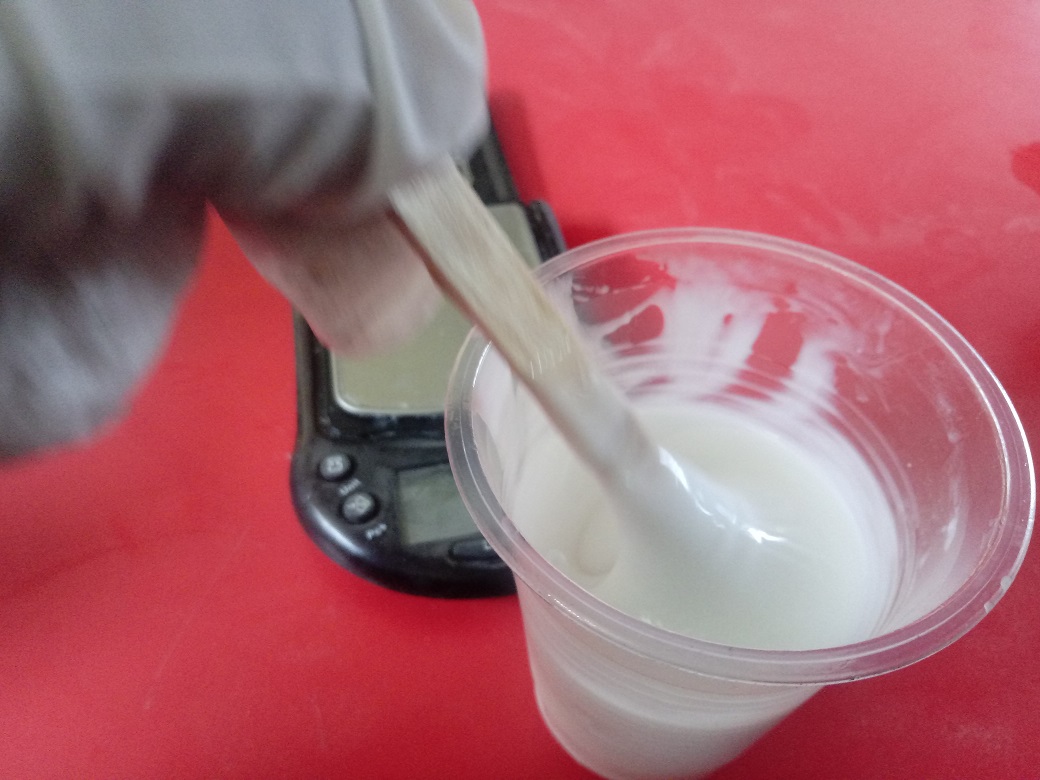
We add 2% of catalyst that would be approximately 1.6gr and we beat them well again for approximately 20 seconds
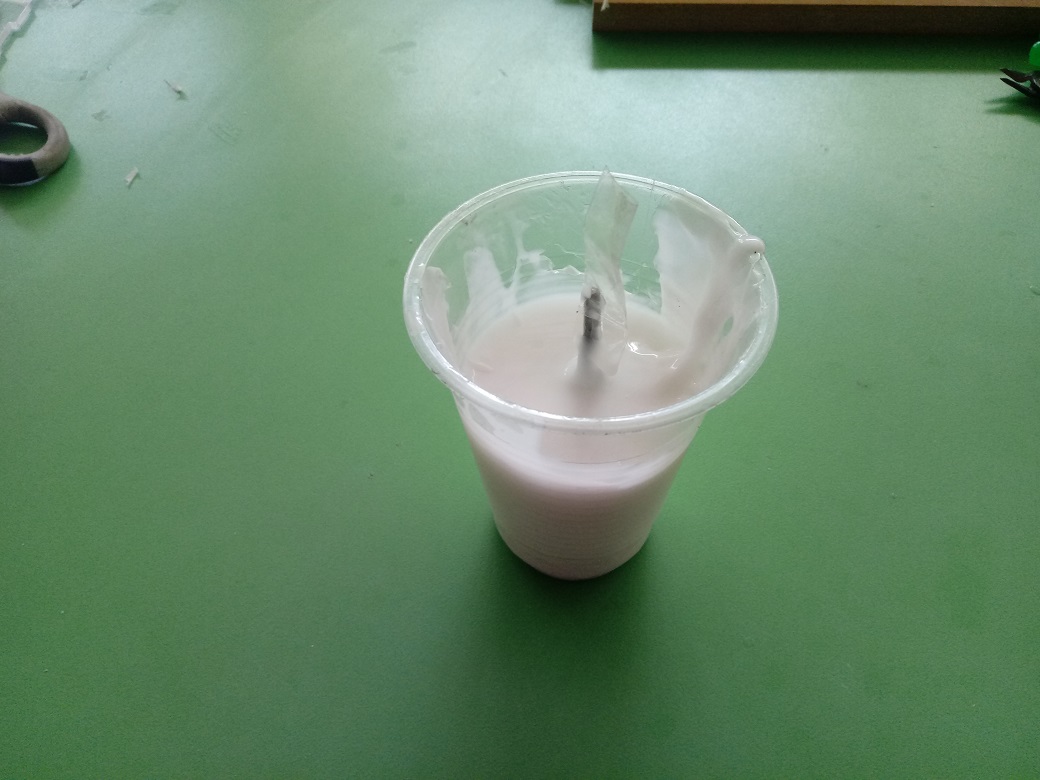
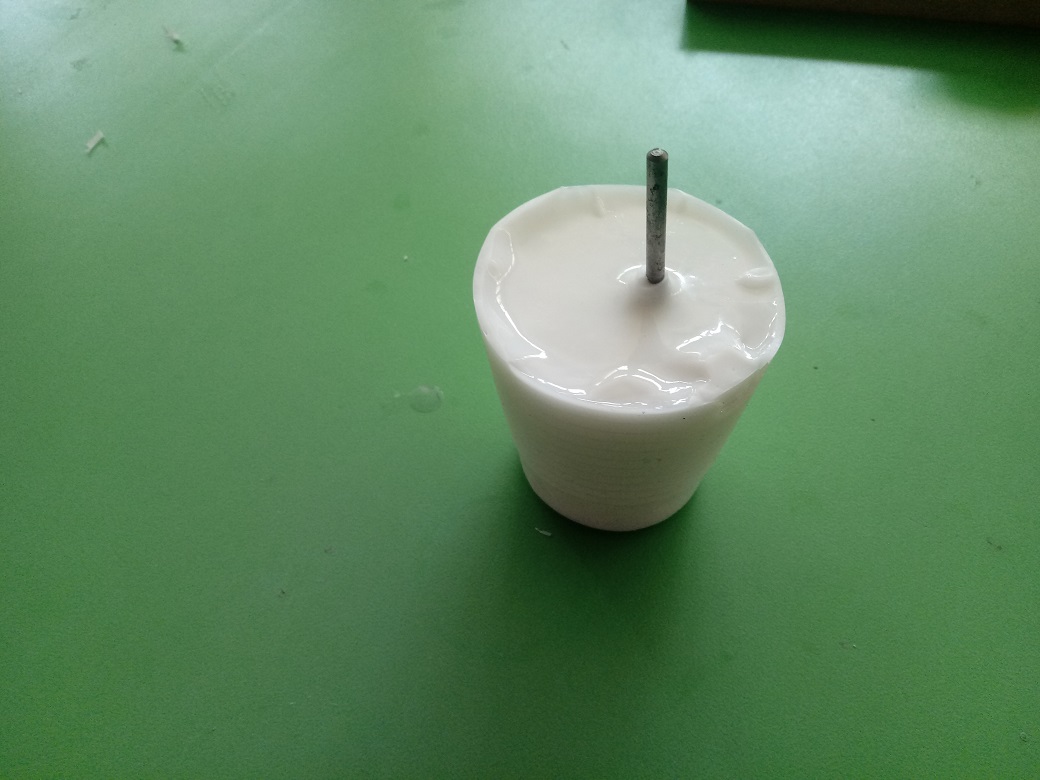
Then we pour it into a container together with the gear part. In our case we put a metal support to hold and act as a guide for the casting.
After drying 8 hours as indicated by the manufacturer, in our case we leave it until the next day, we obtain the dry silicone, ready to unmold:
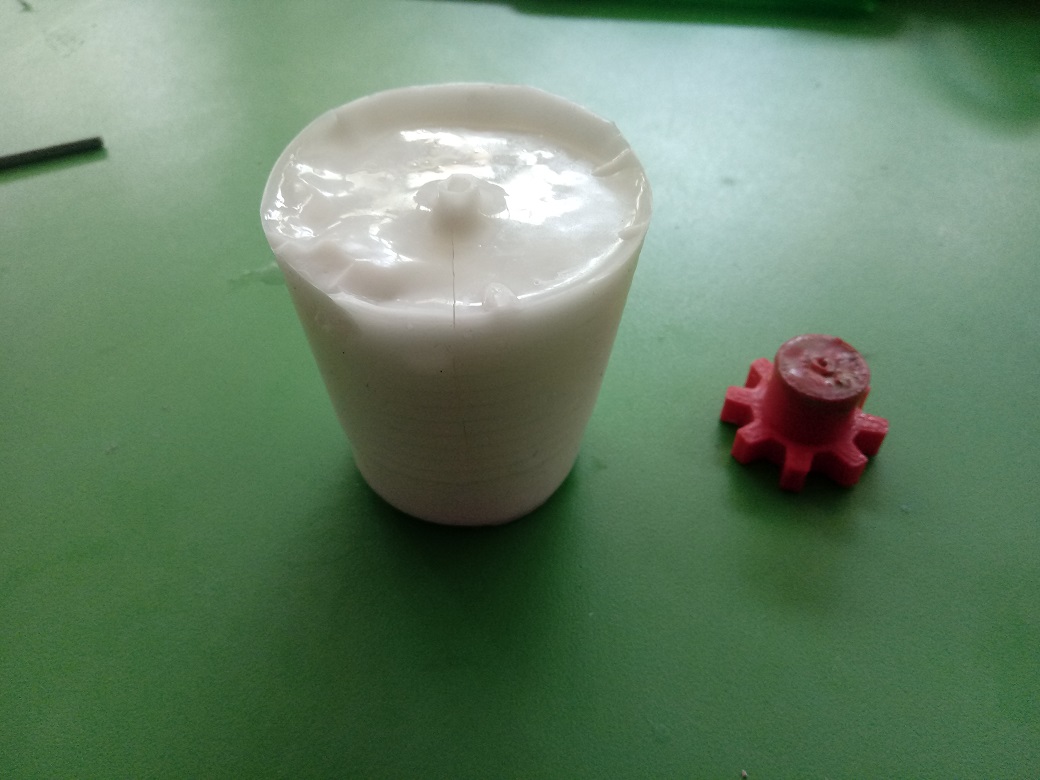
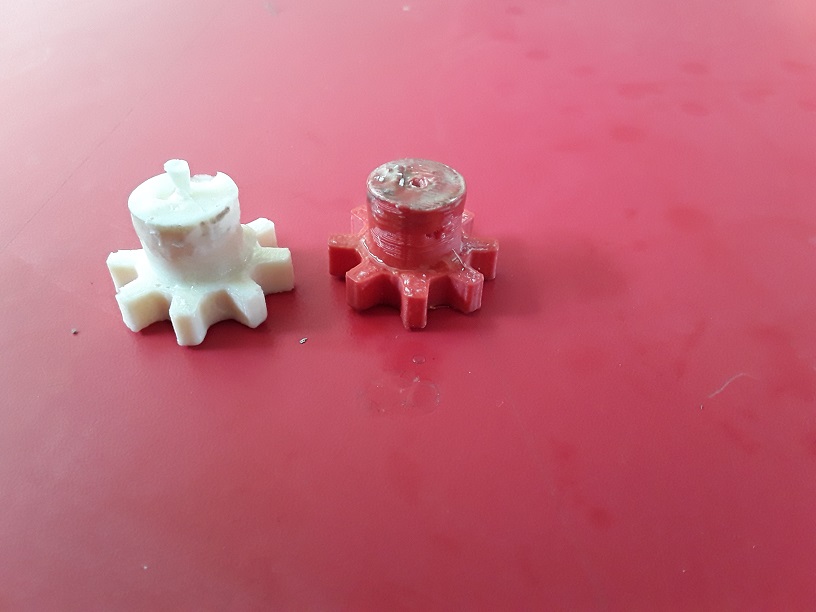
Here we have the blank mold and the part that we mold, which would be our 3D printing gear:
Casting Test with Gear
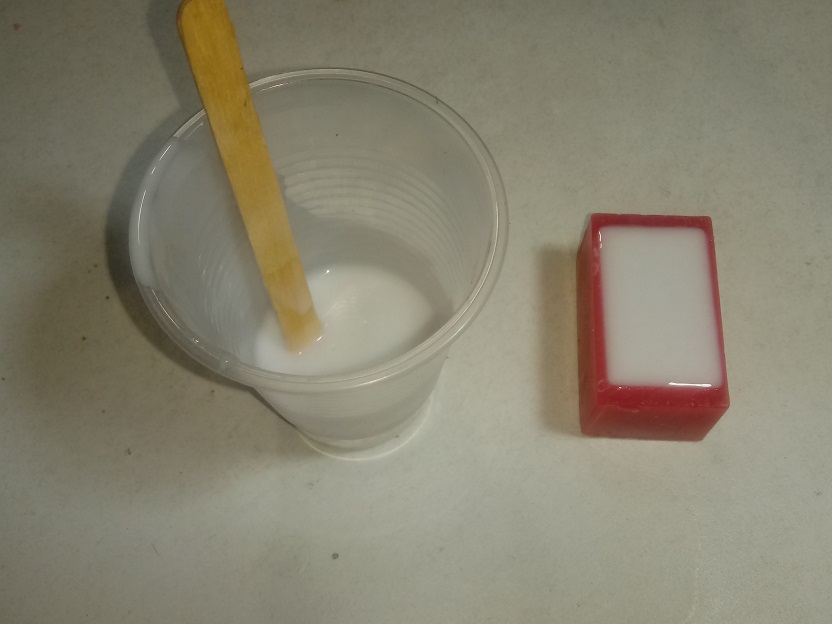
First we prepare components A and B of the polyurethane resin, we must shake well, at least one minute before working, to shake the settled components.
We must use safety implements as it is a highly harmful chemical.
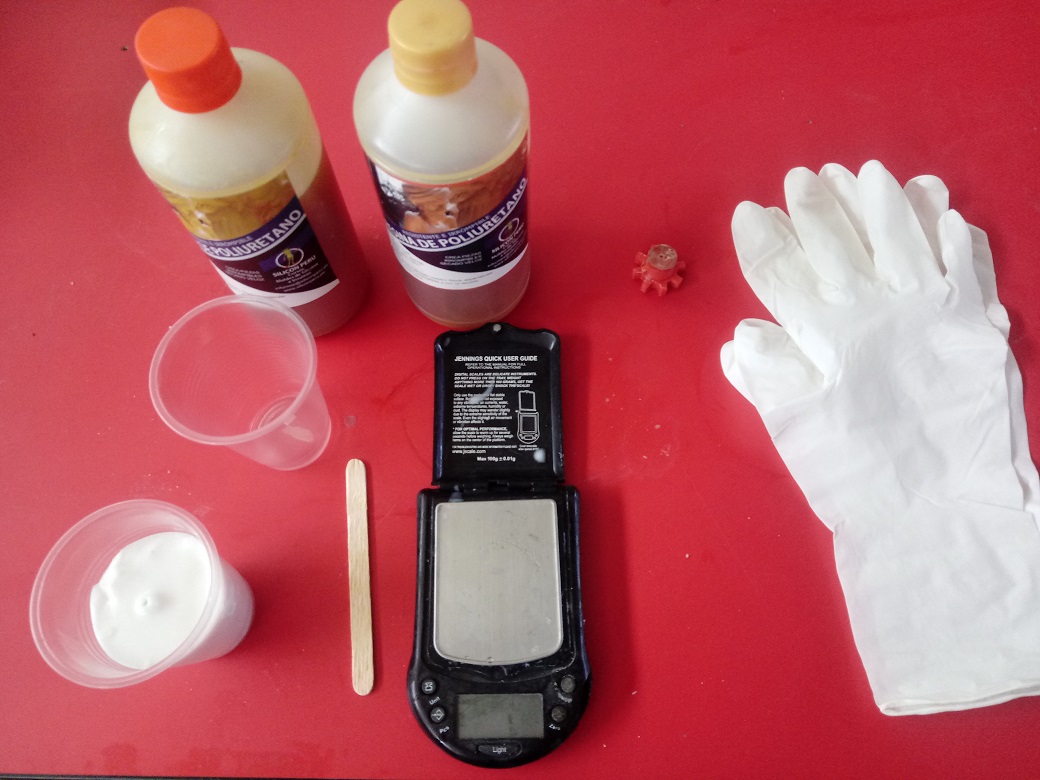
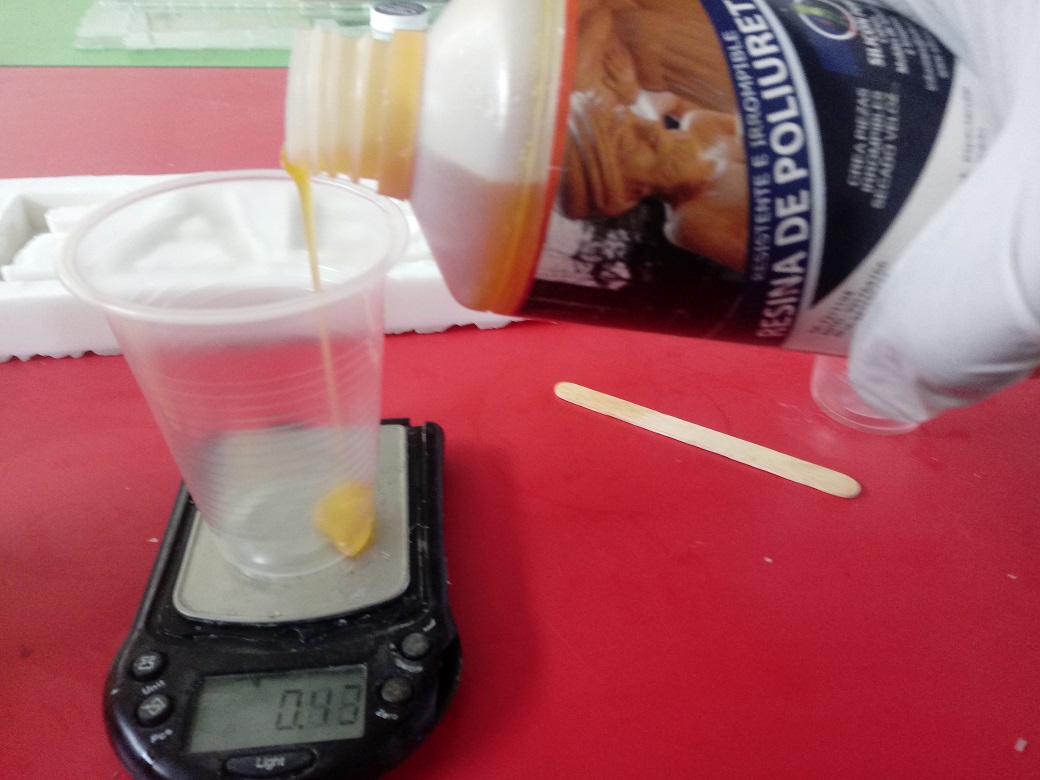
We add component A to our plastic container:
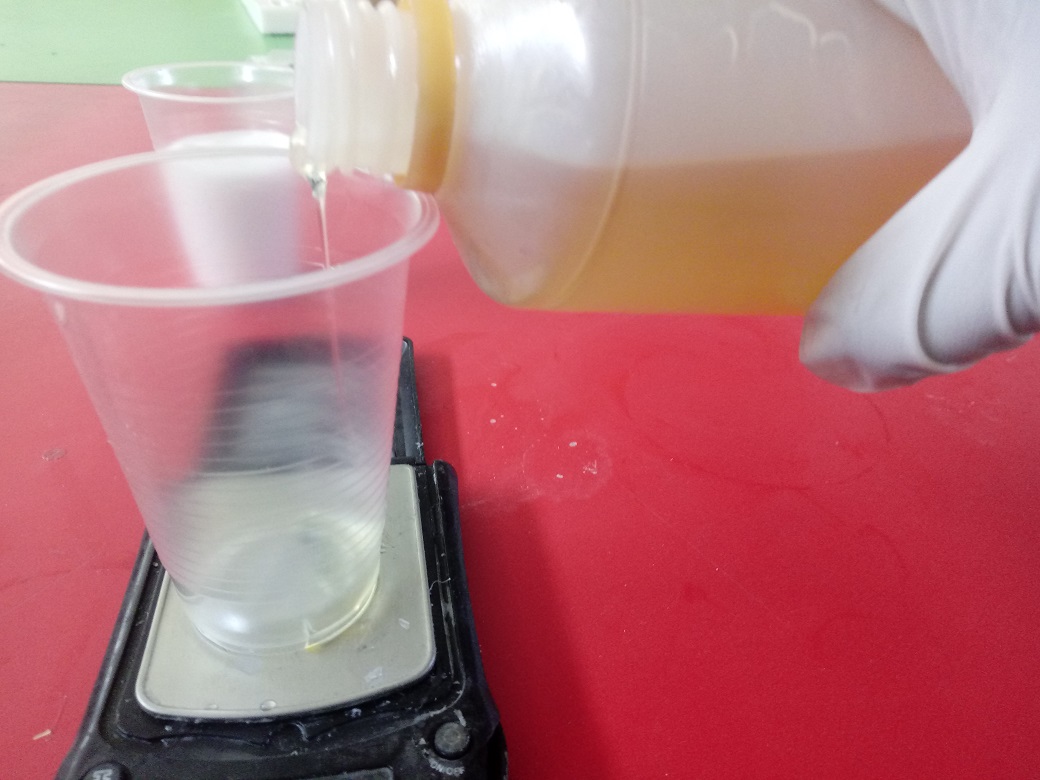
Due to the size of the piece to be cast, we will use a 50% concentration by weight, which in our case will be approximately 20gr.
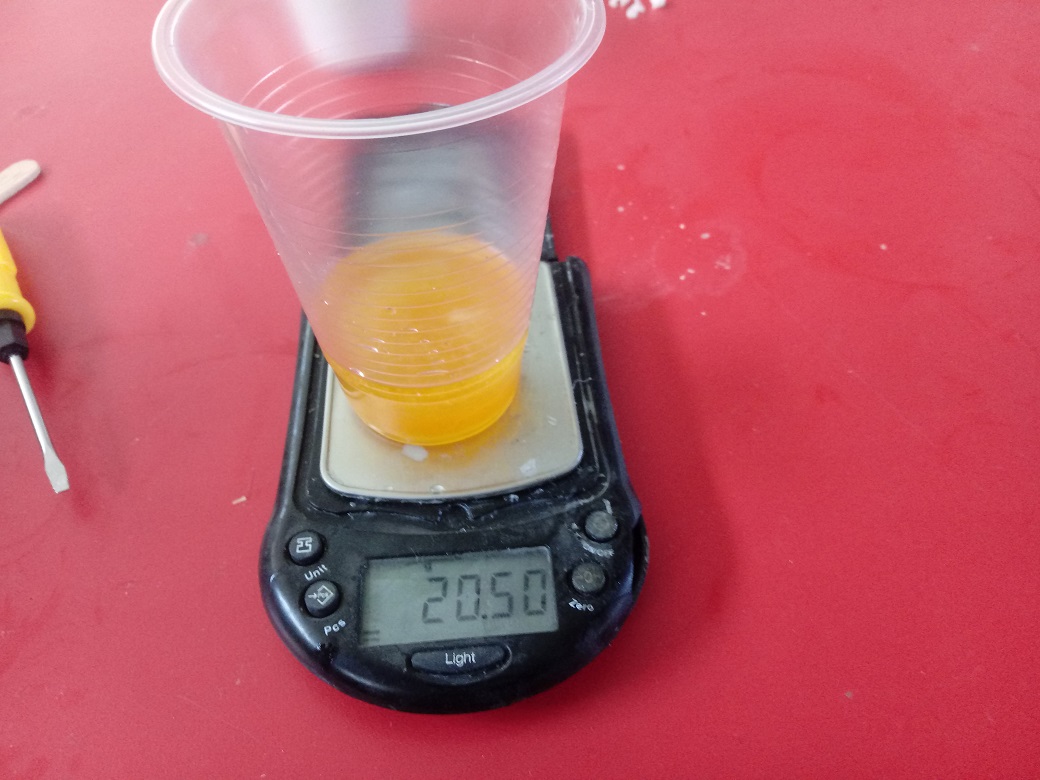
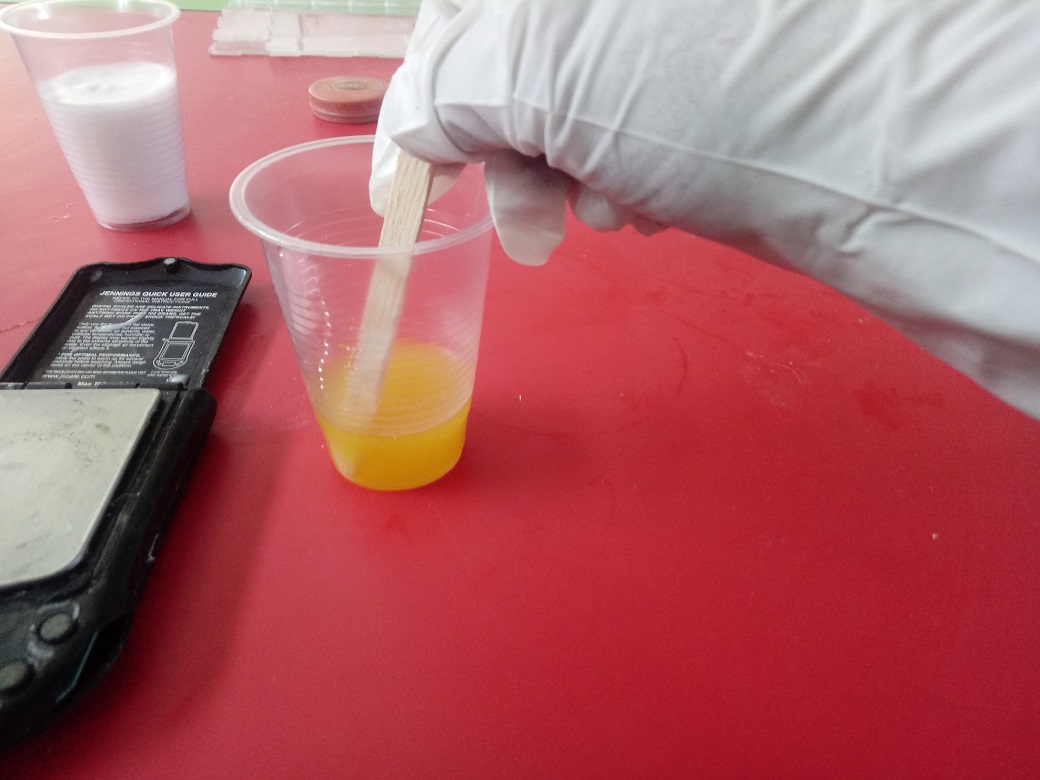
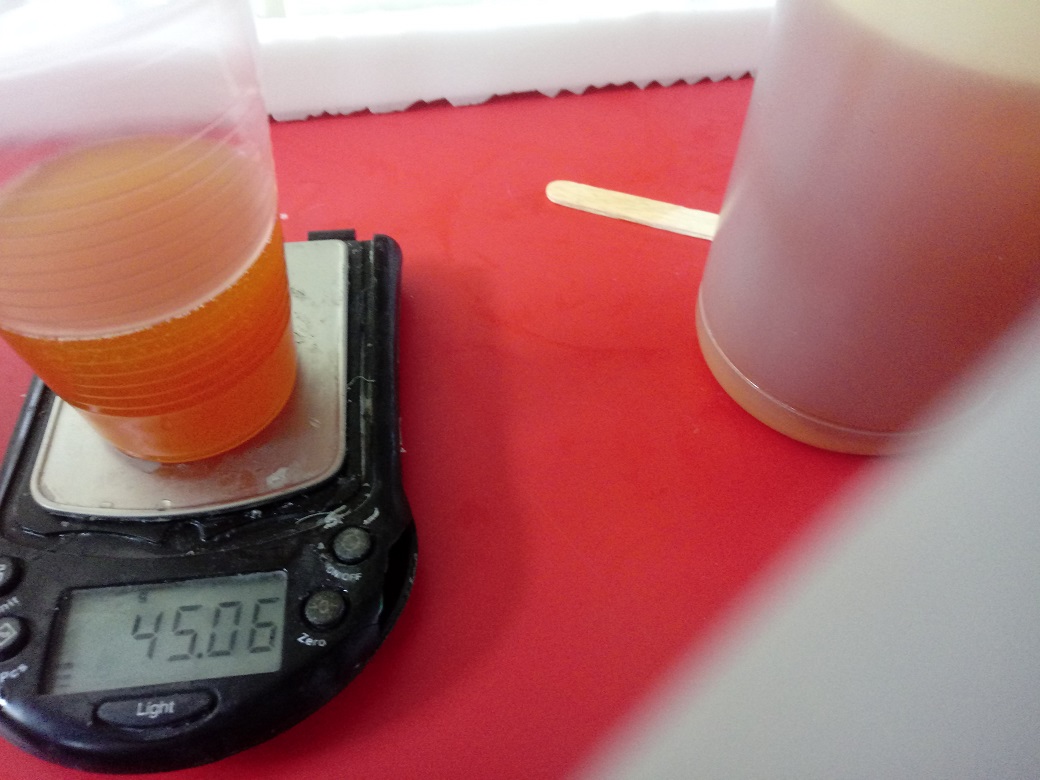
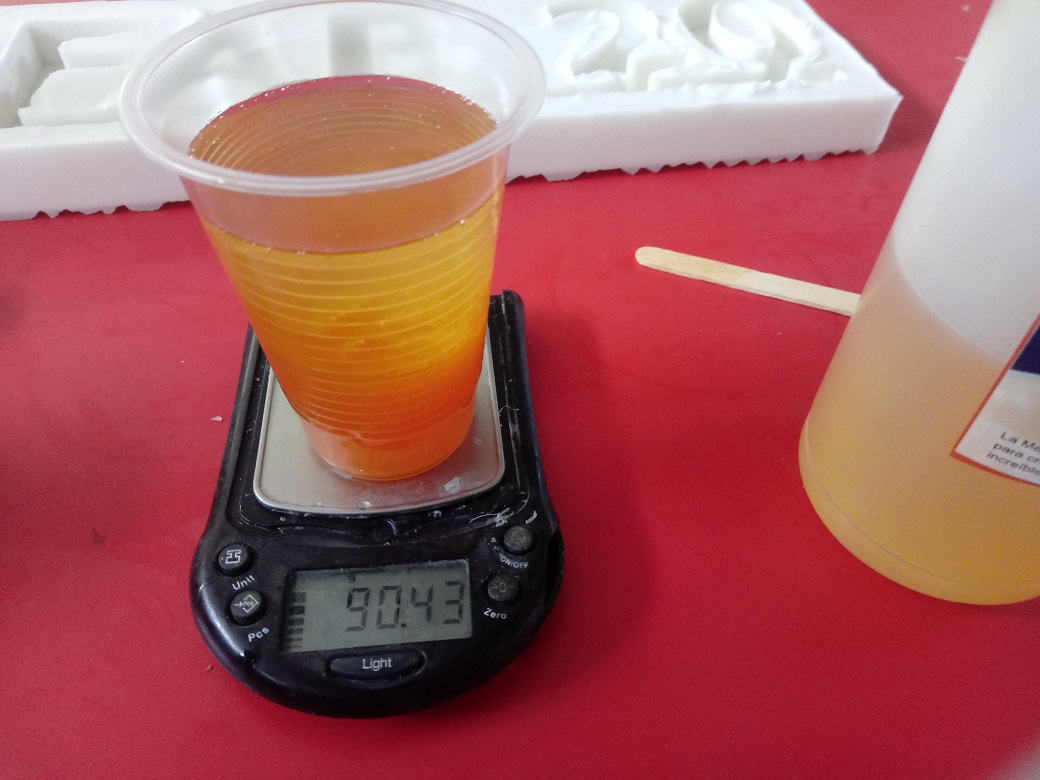
Then we add the other 50% of component B in our case it will also be 20gr, we beat well for at least about 30 seconds, it has to be fast because as soon as the components come into contact, the extraction or hardening process begins.
We pour the mixture inside the mold through the hole that we add with the metal piece to our gear.
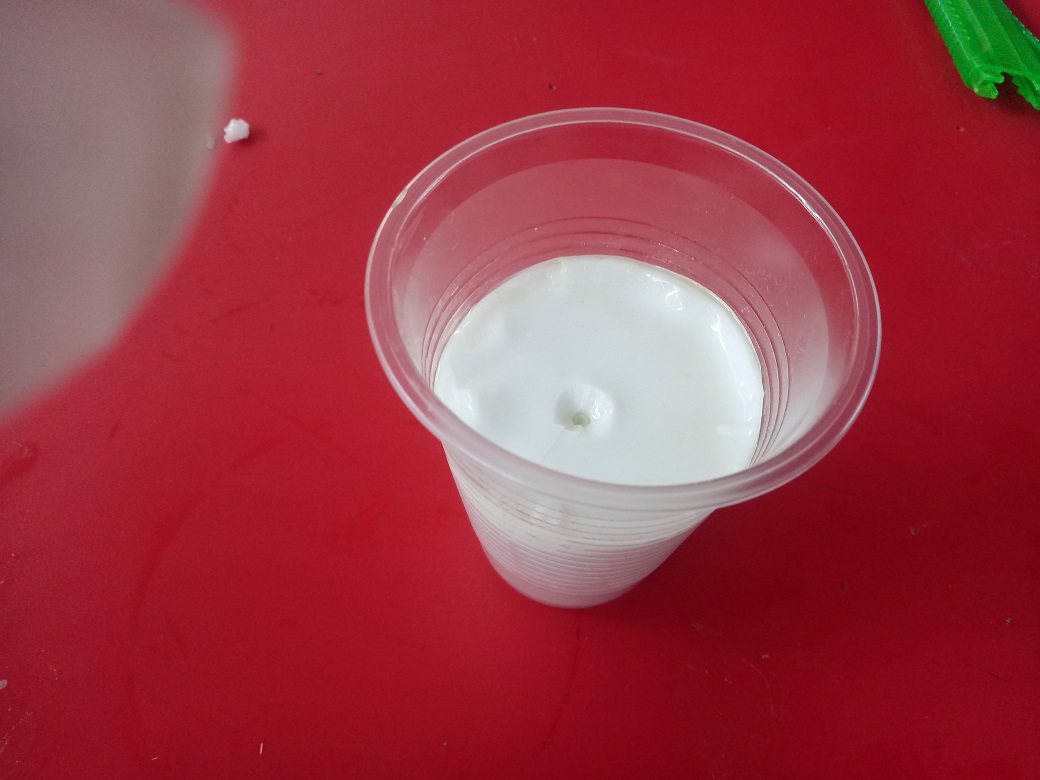
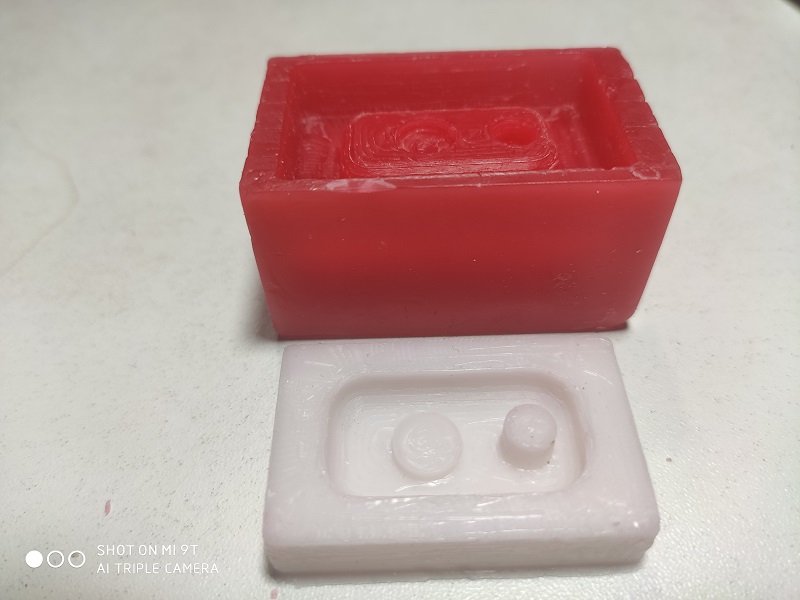
After 20 minutes we should have the resin mixture dry or hardened, in our case we gave it 30 minutes to make sure, and we can unmold:
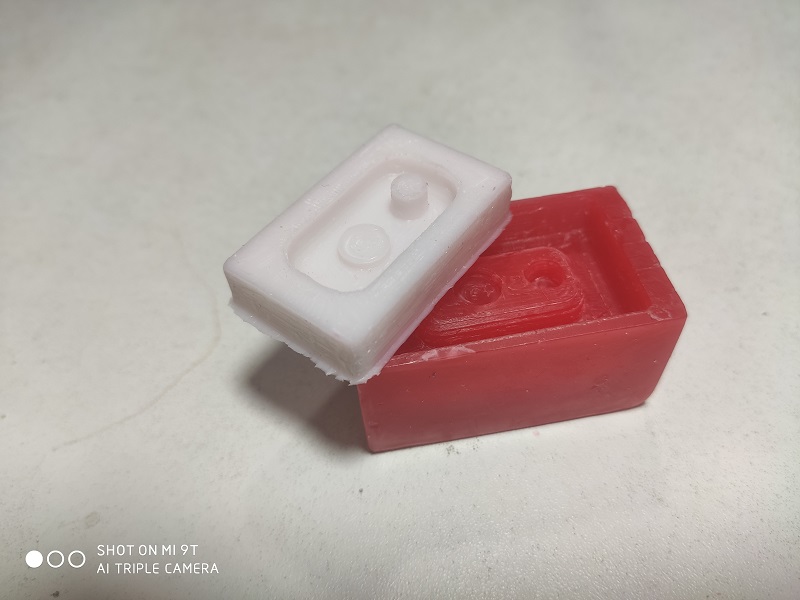
Here we have the original piece in red and the copy by model and foundry:
Analyzing the result
The result of both molding and casting processes were good, there was no non-drying or non-hardened residue. The silicone was very good, and the resin hardened in the set time, it sure helped the additional time we gave them, but it gave us good results.
On the detail of the copied piece, the mold and the resin copied even the layers of 3D printing manufacturing, I copy down to the smallest detail:
Designing the Name:
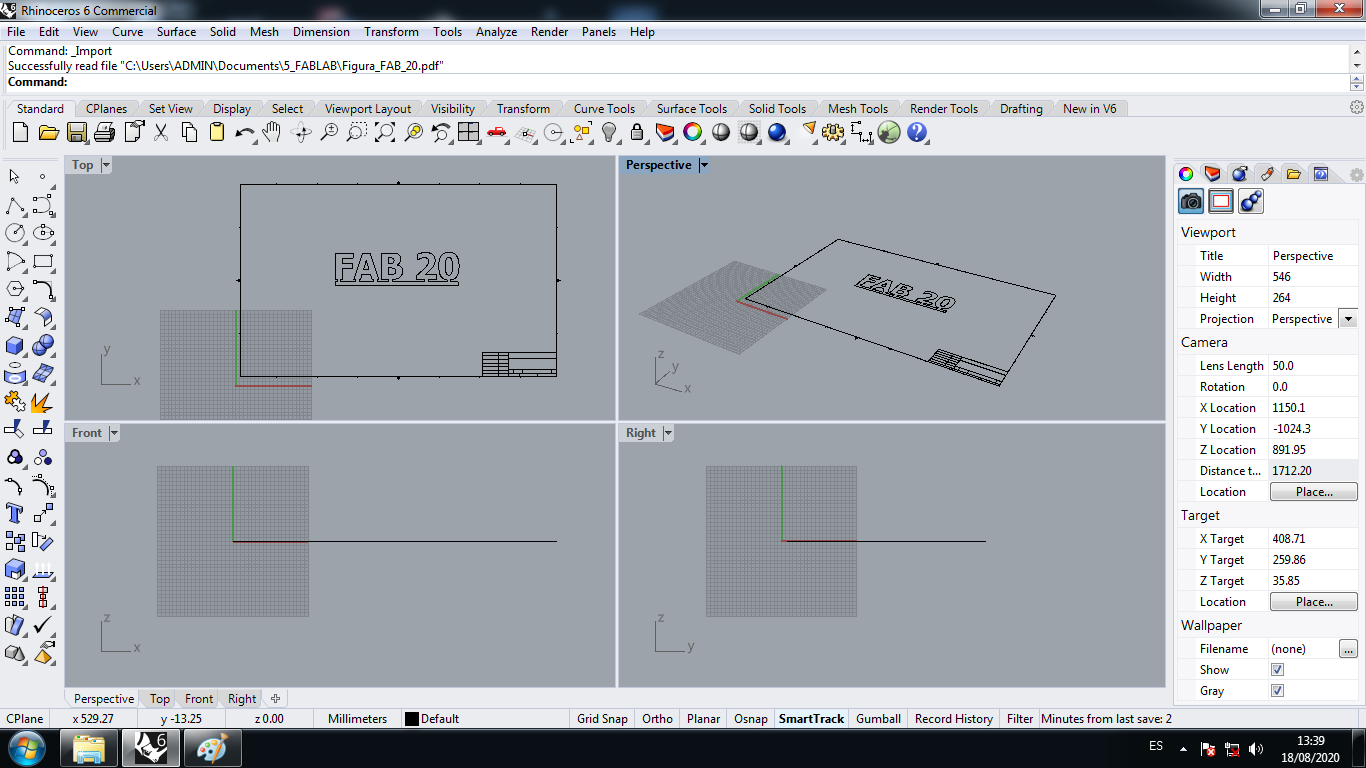
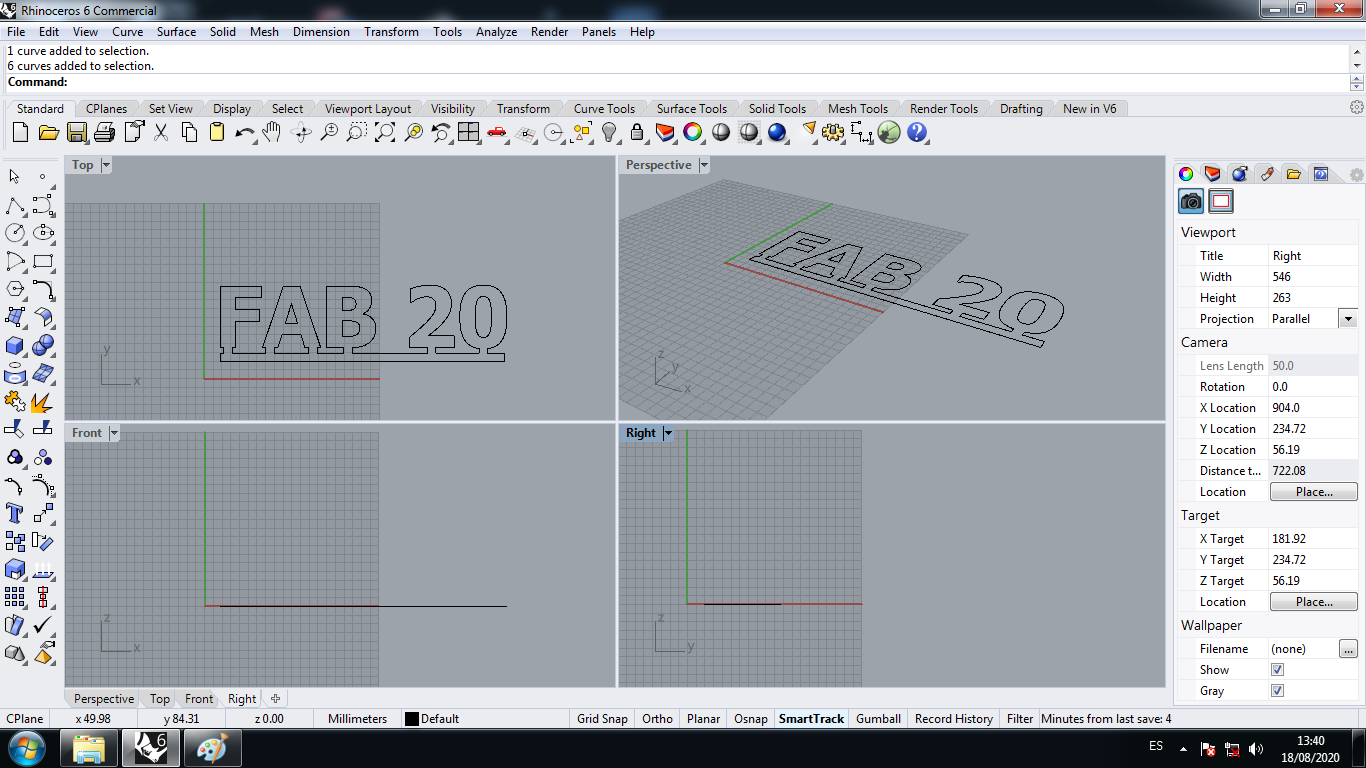
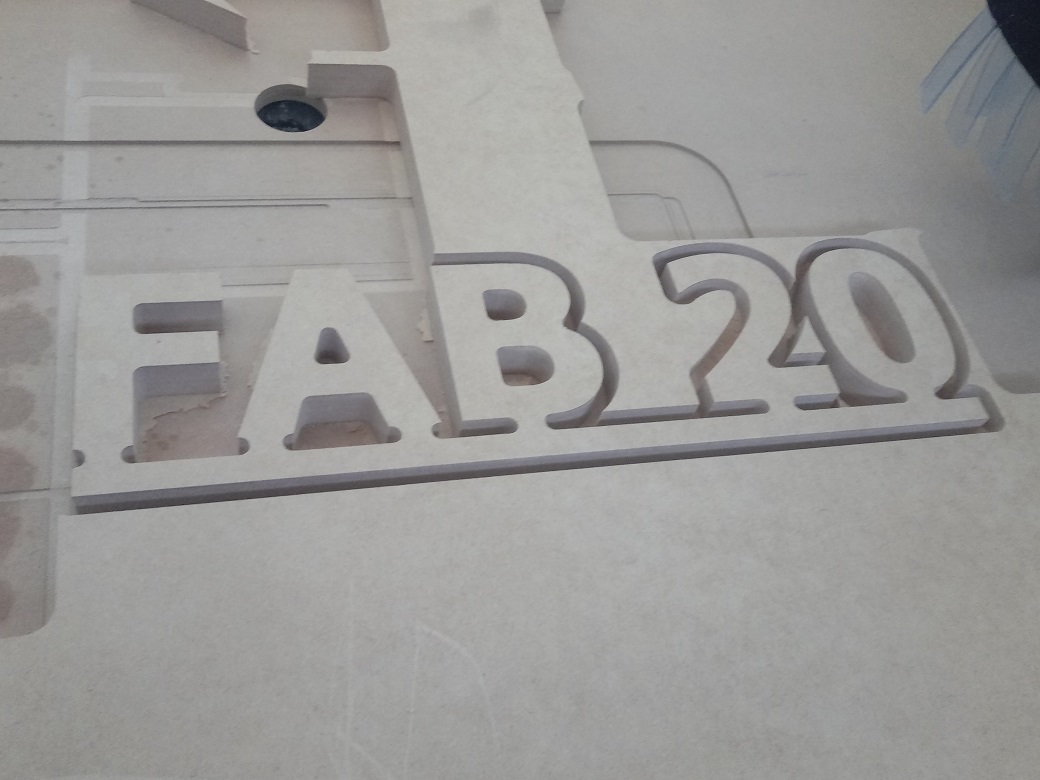
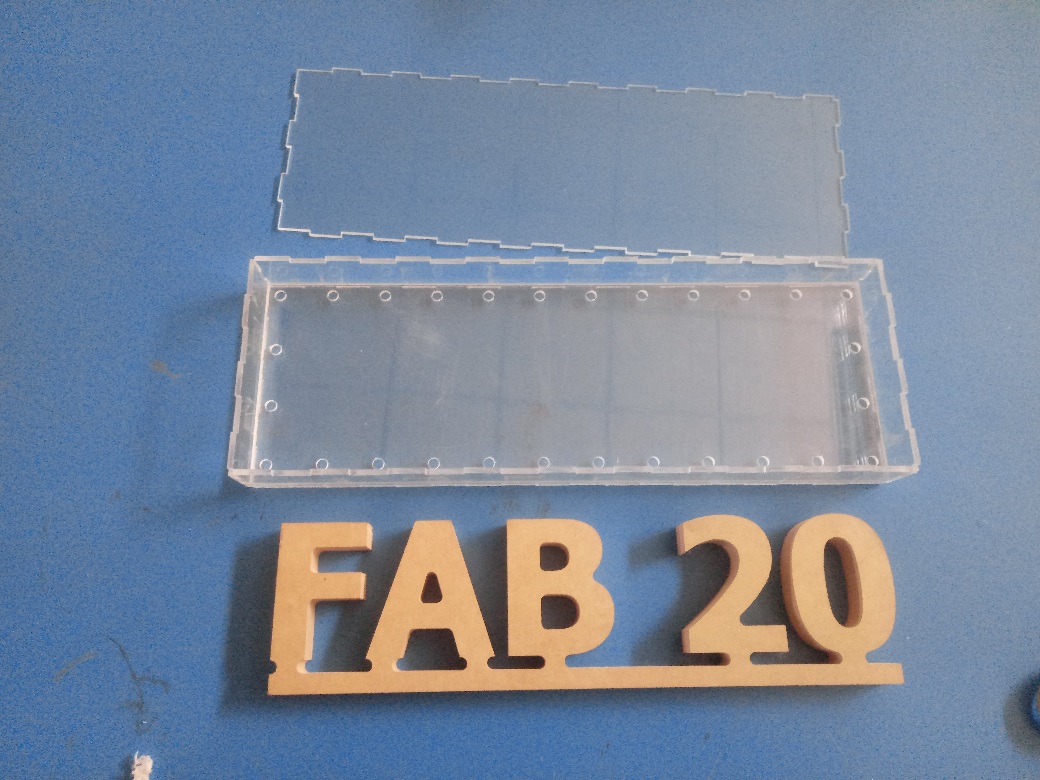
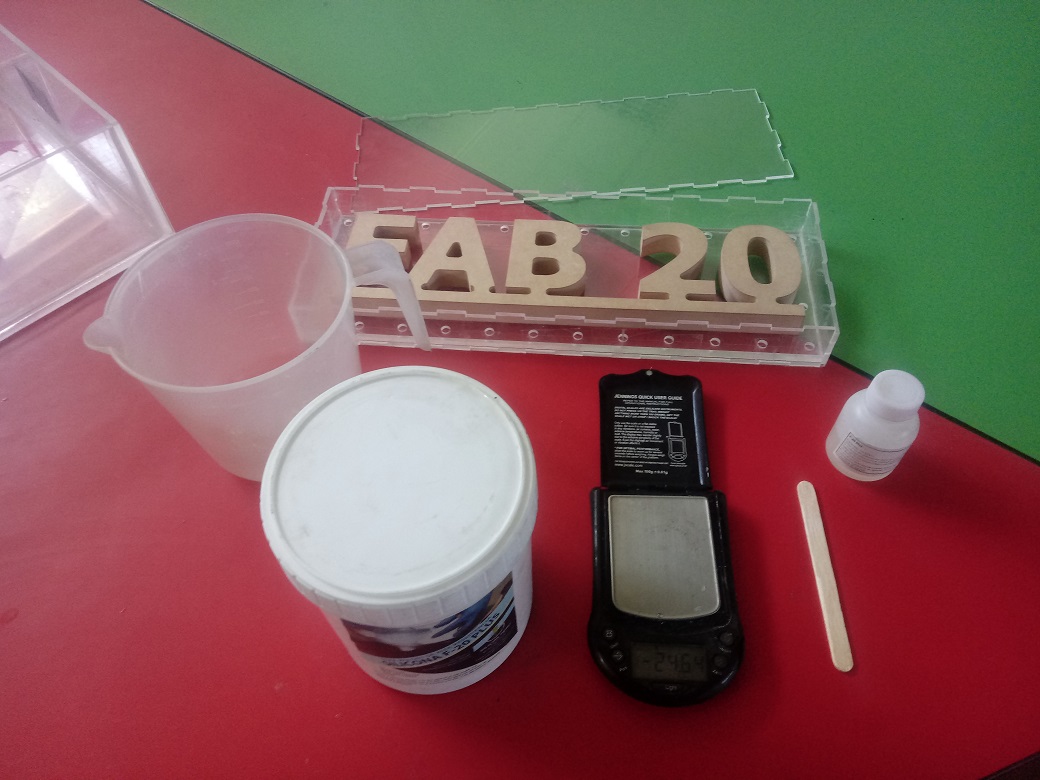
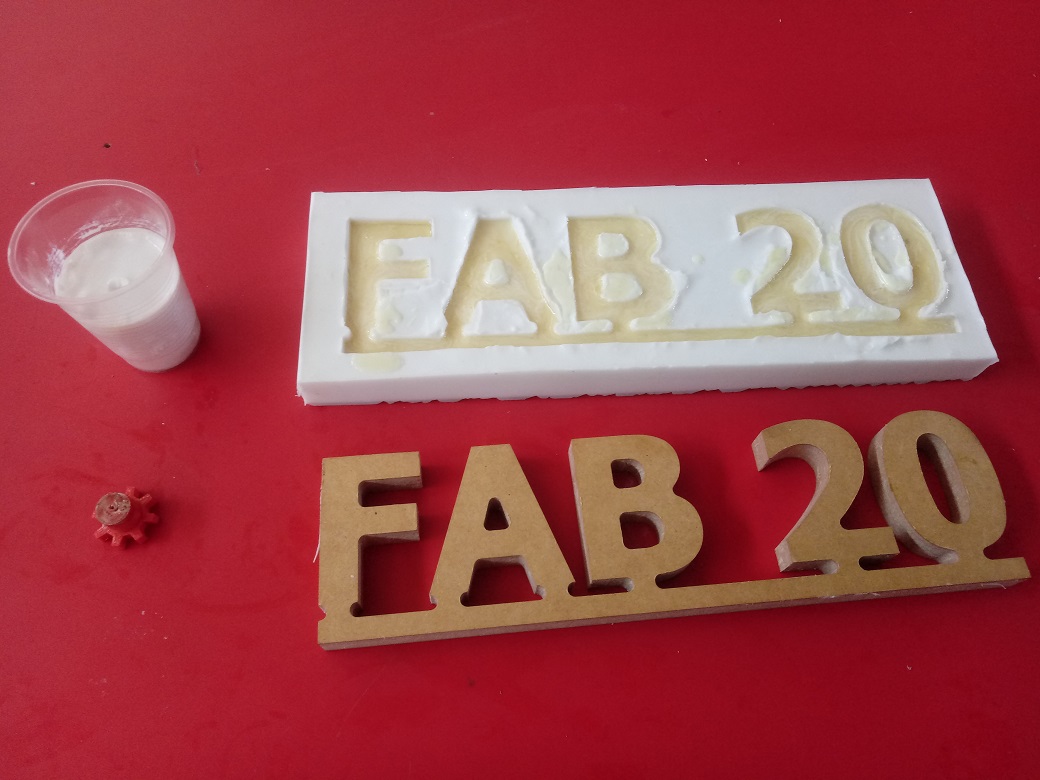
For the molding and casting of the task, make the copy of the name of my final project, in this case it is FAB 20
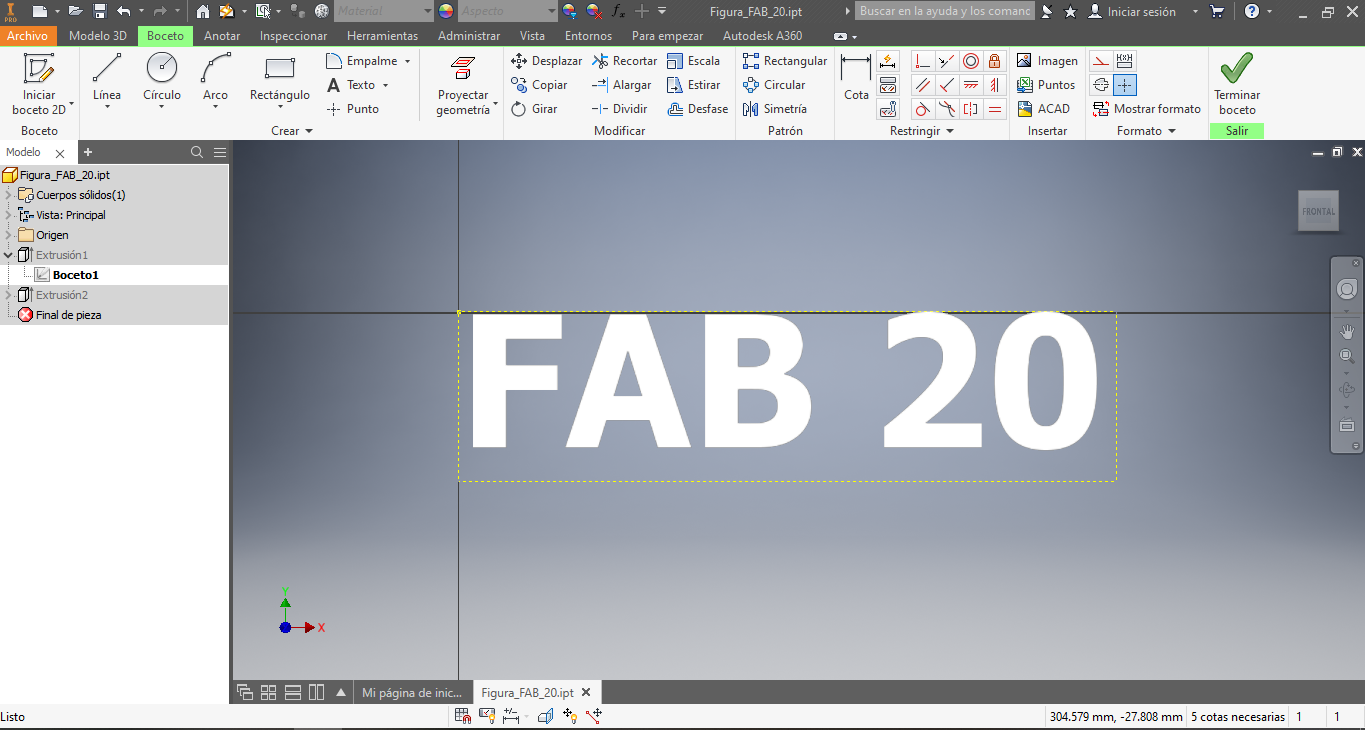
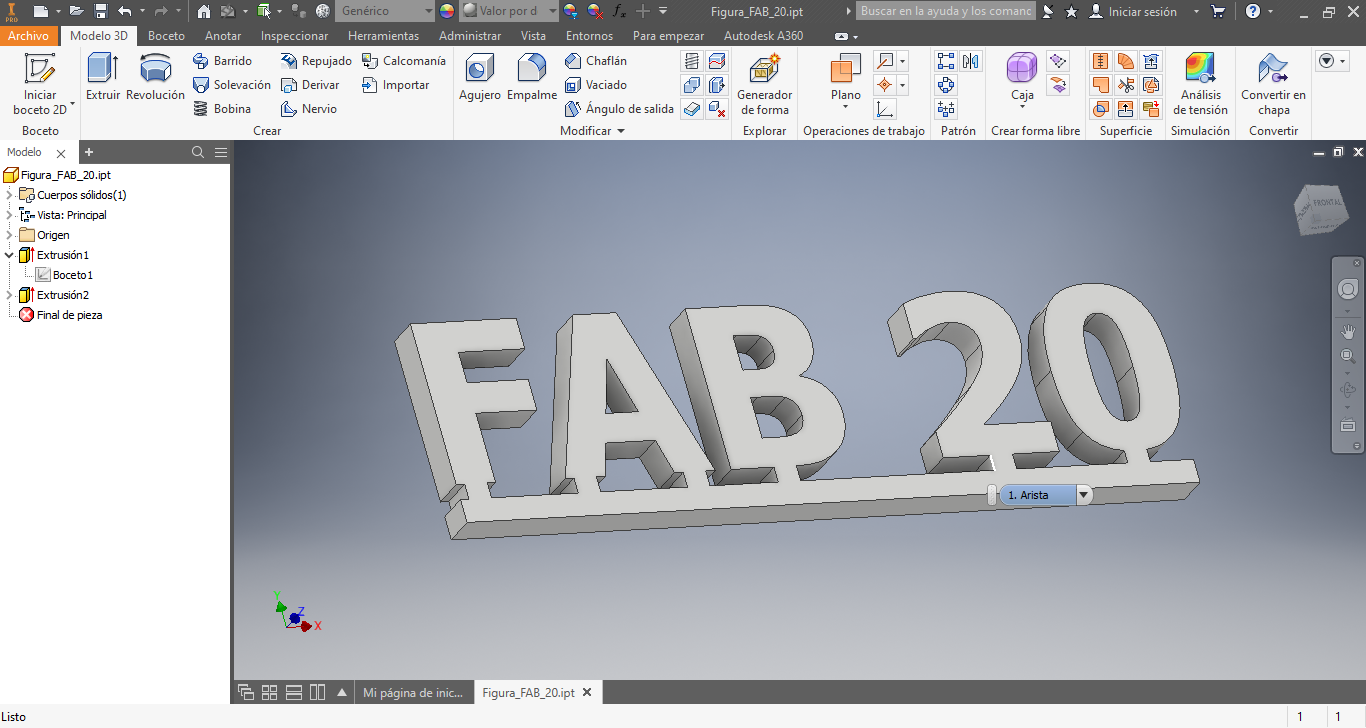
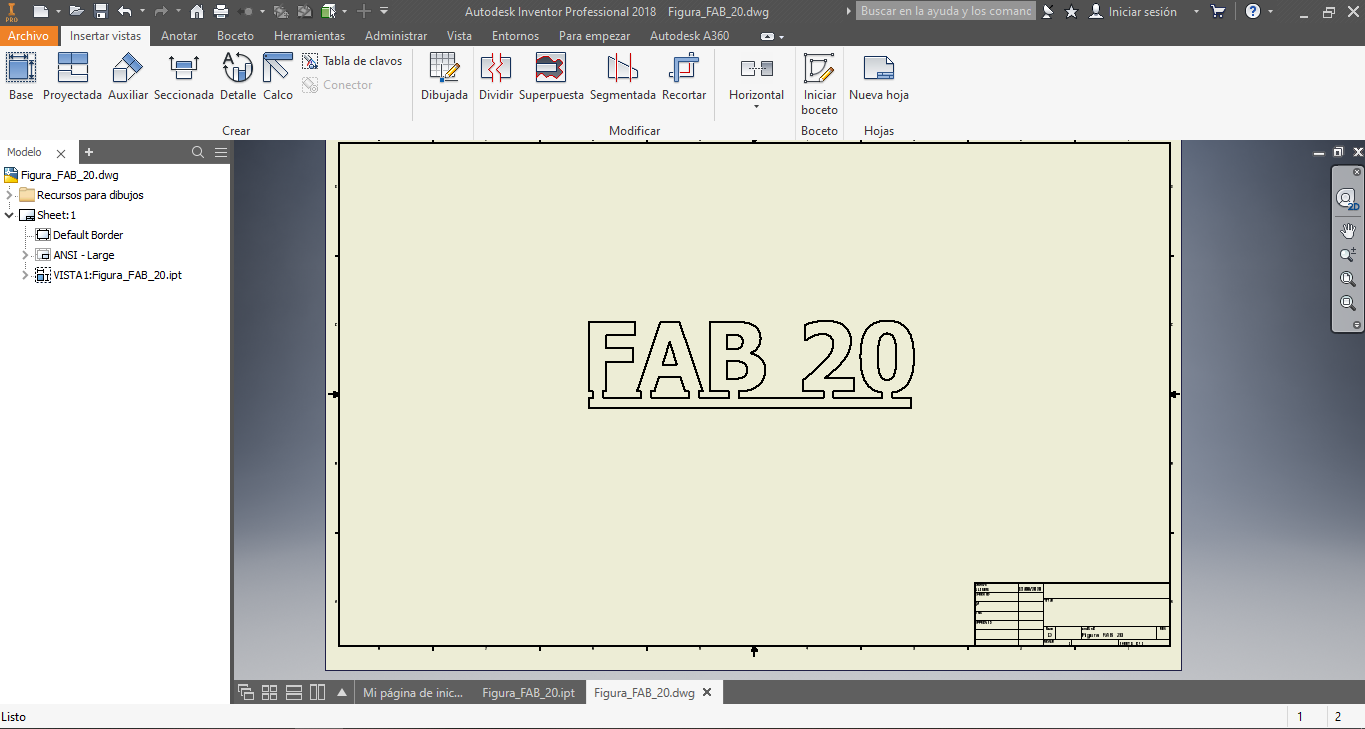
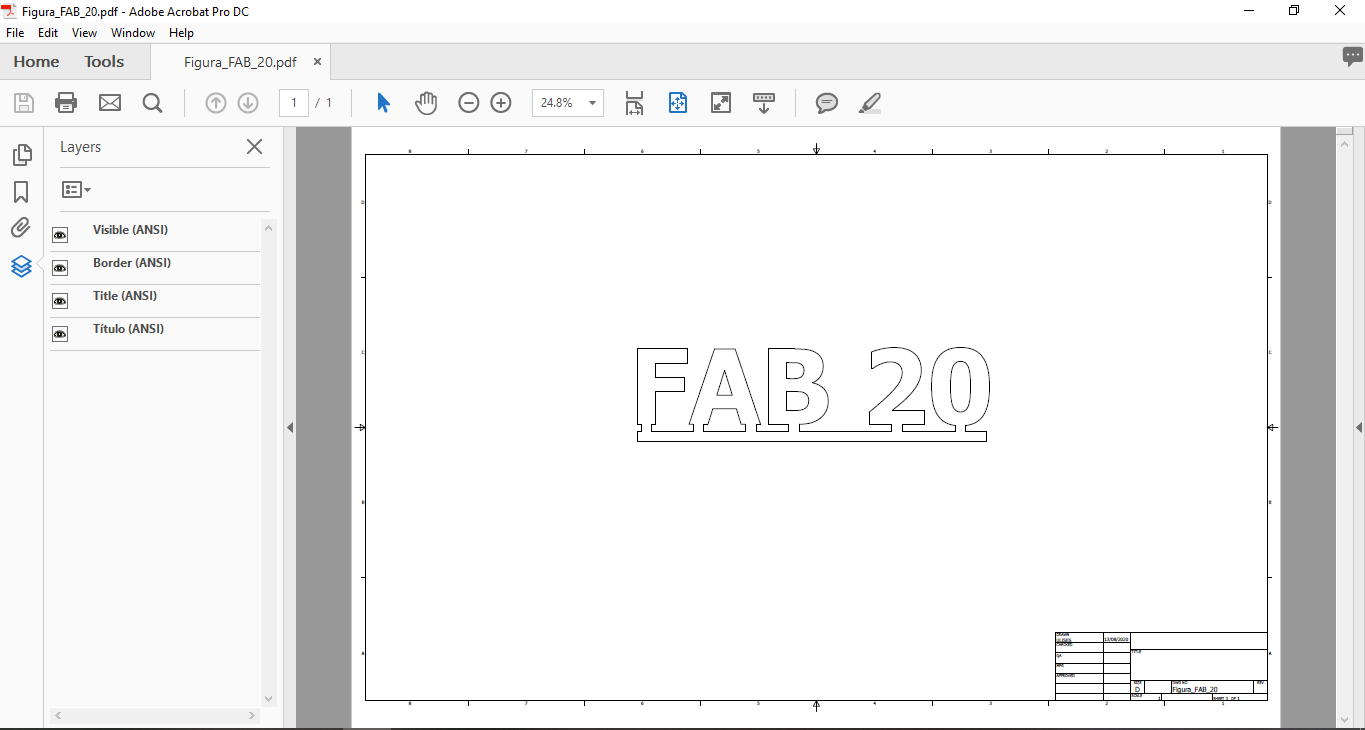
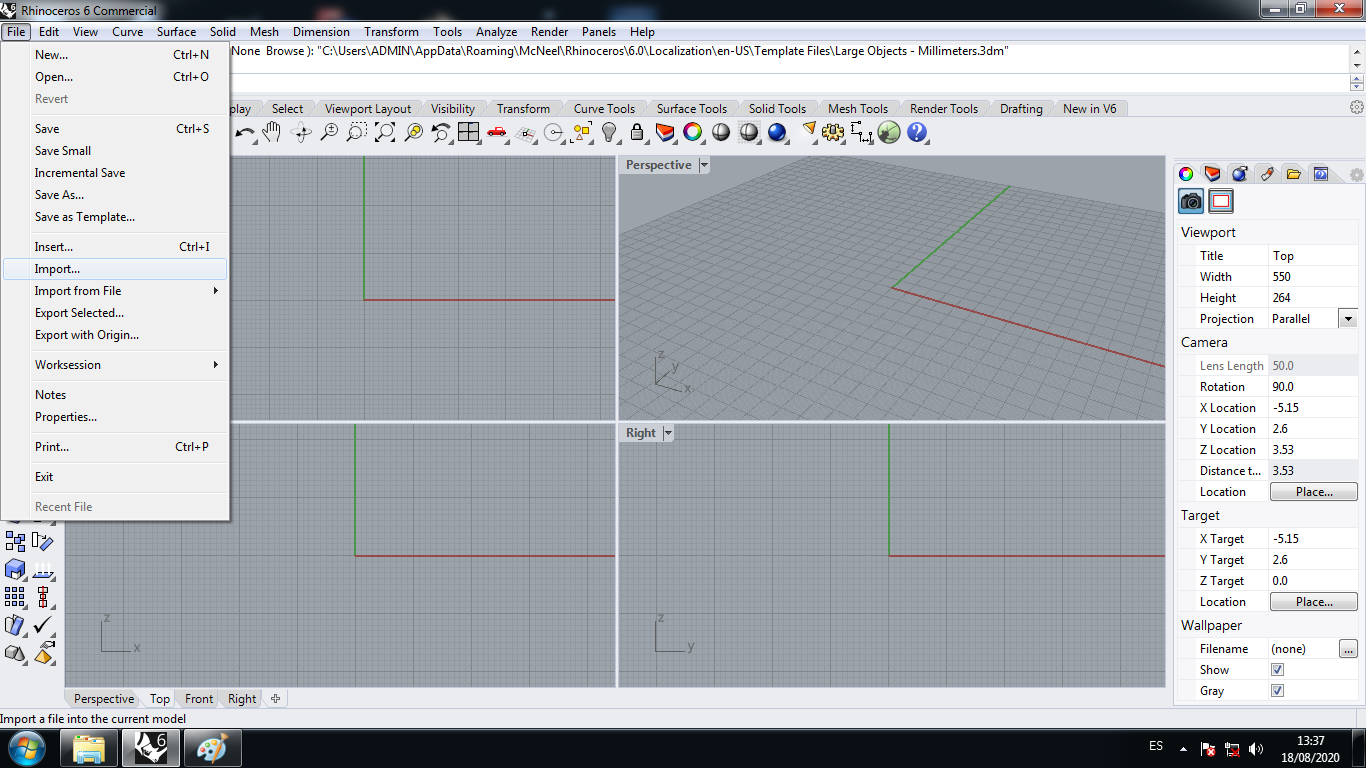
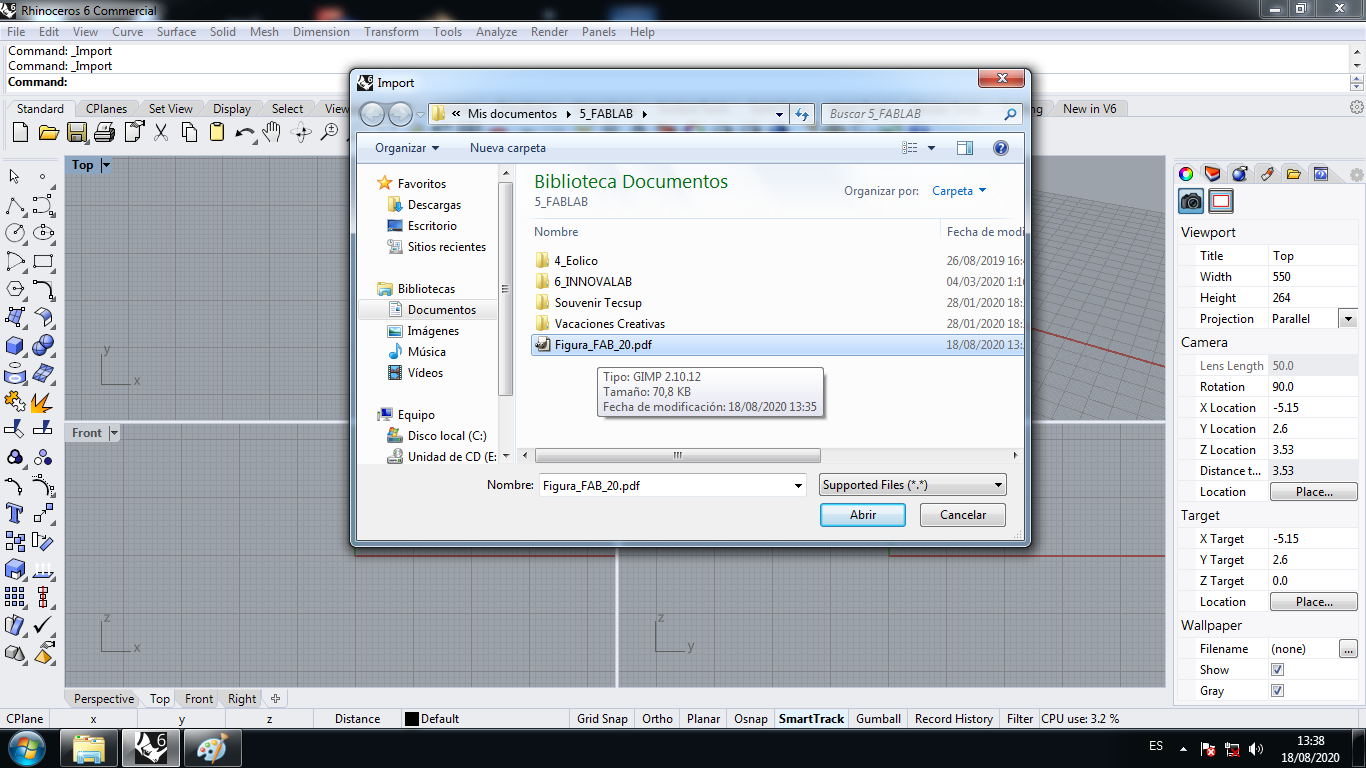
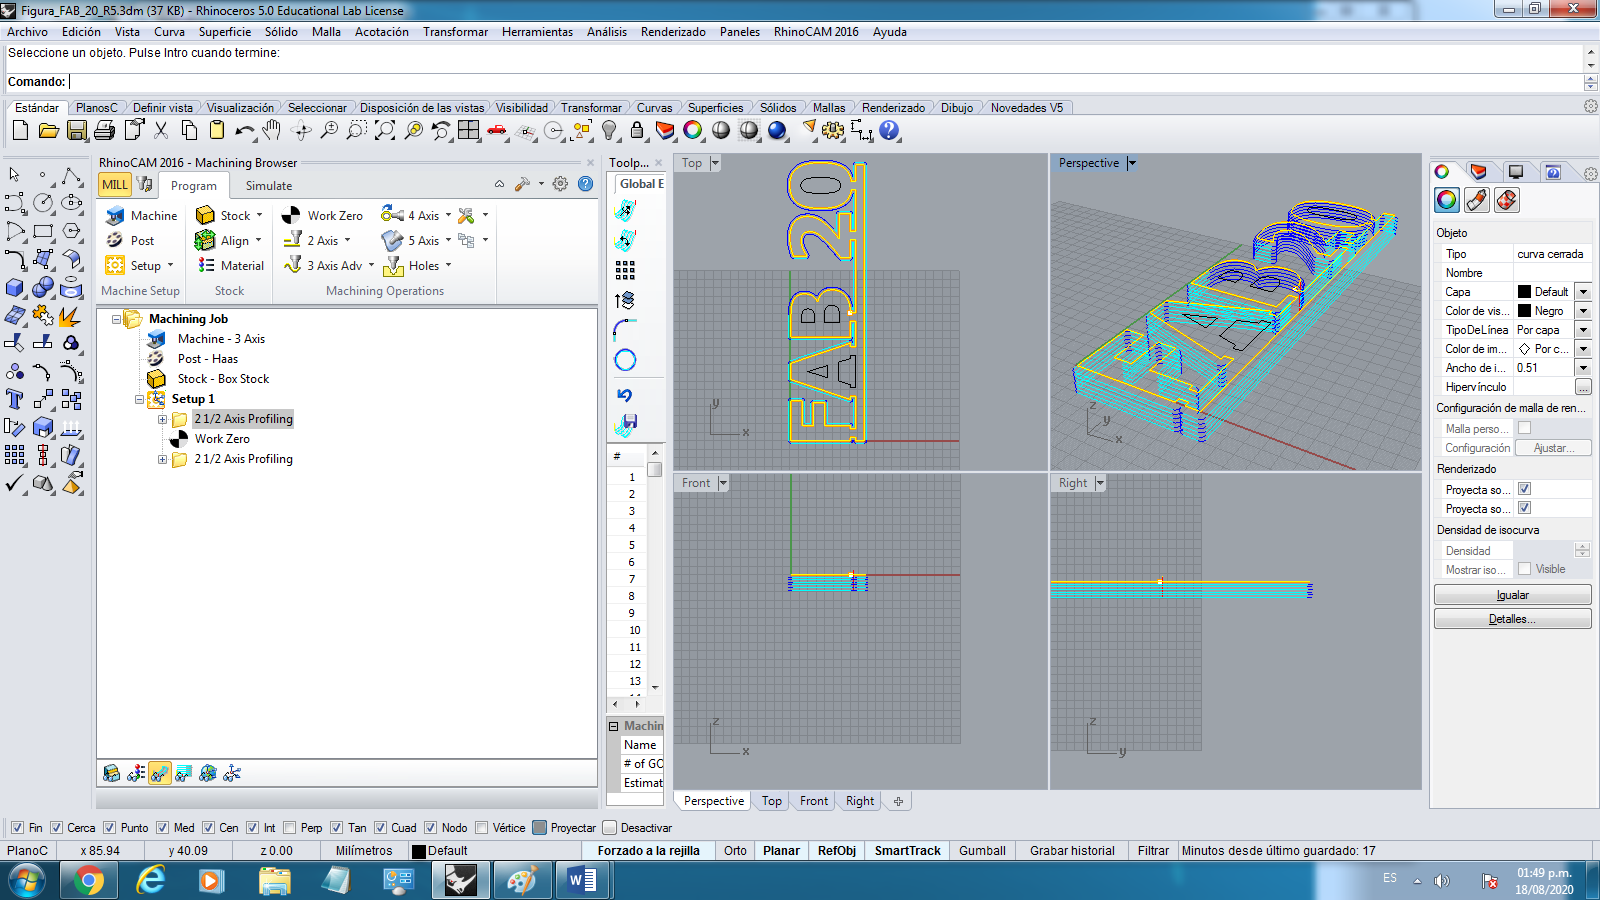
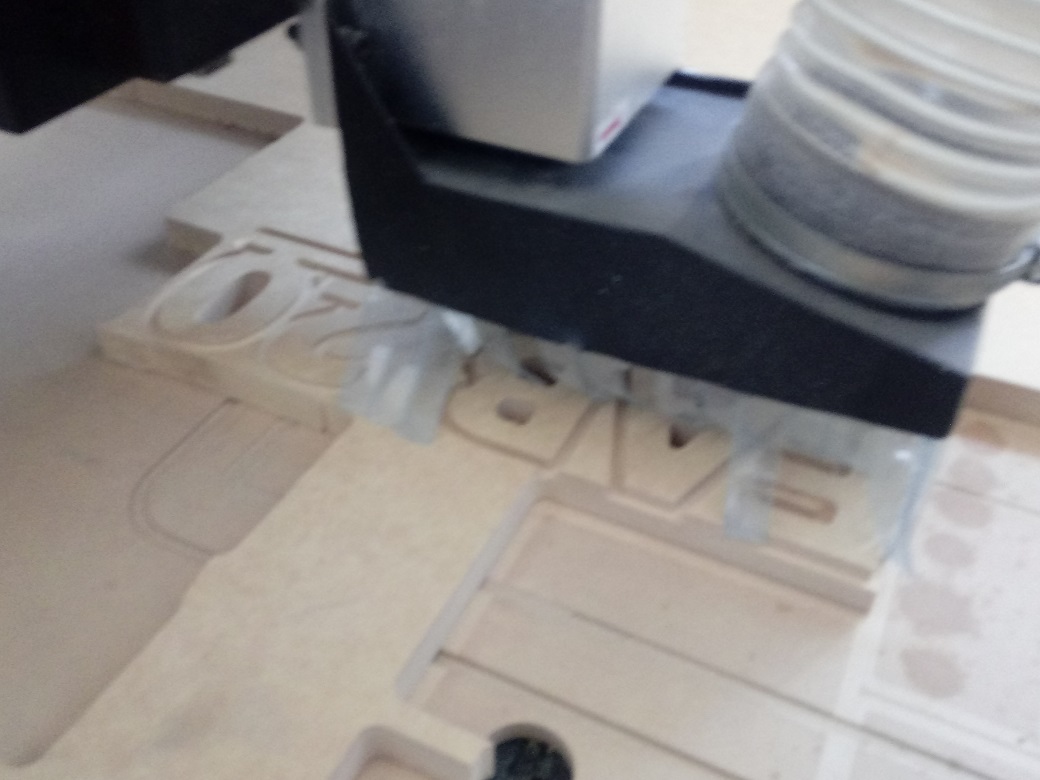
Fabricating the Design:
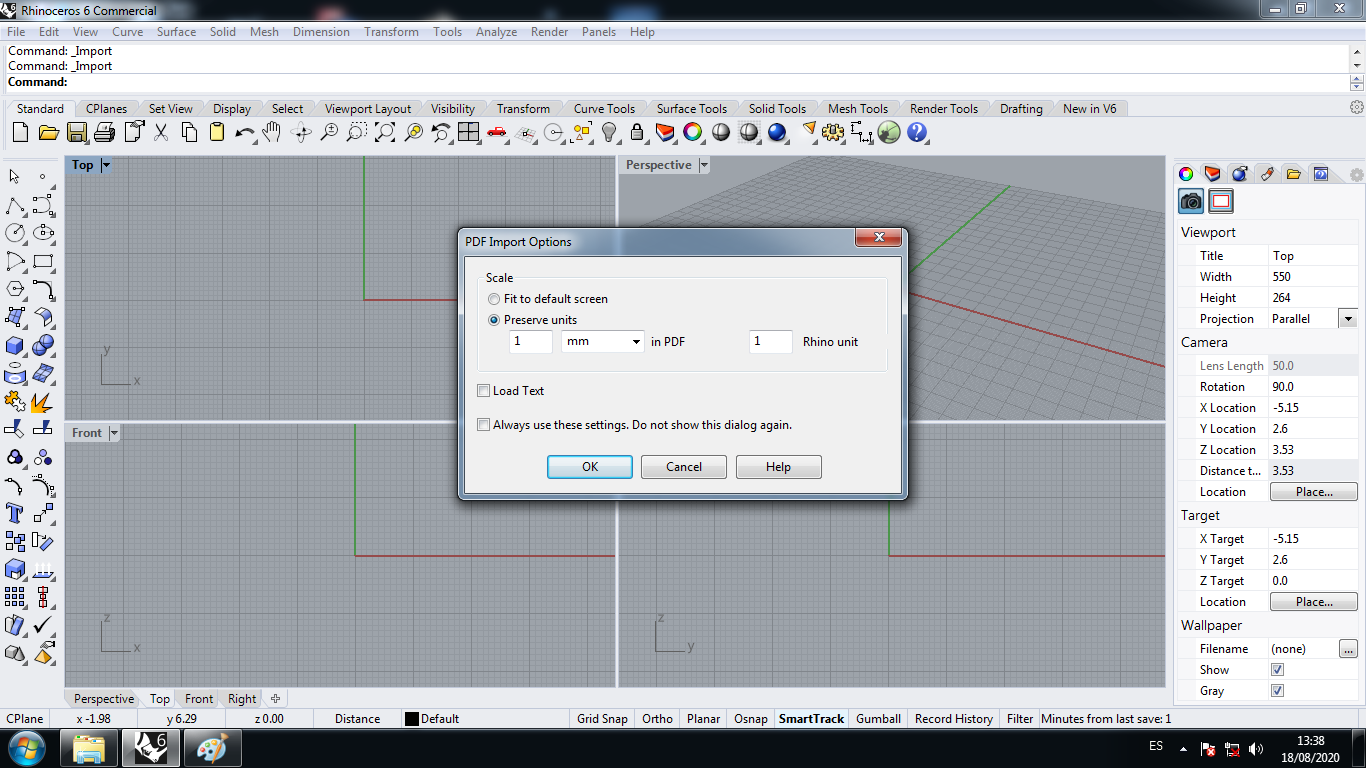
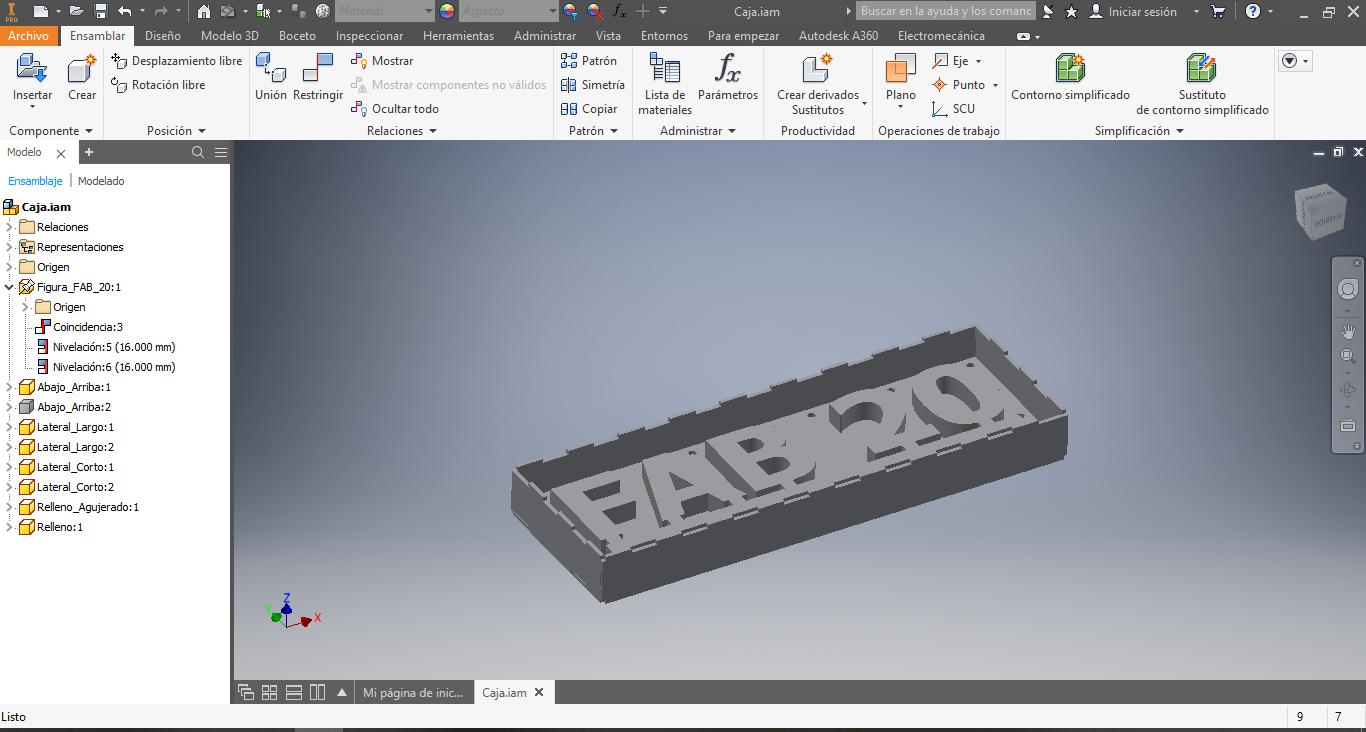
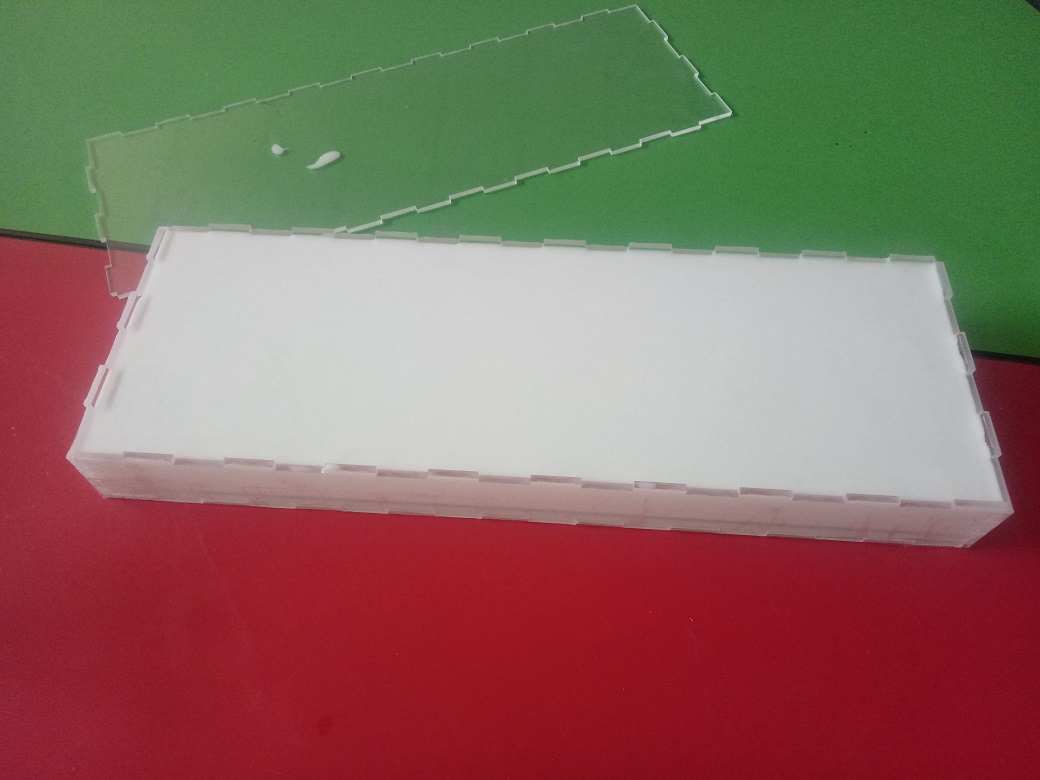
Designing theBox to Mold:
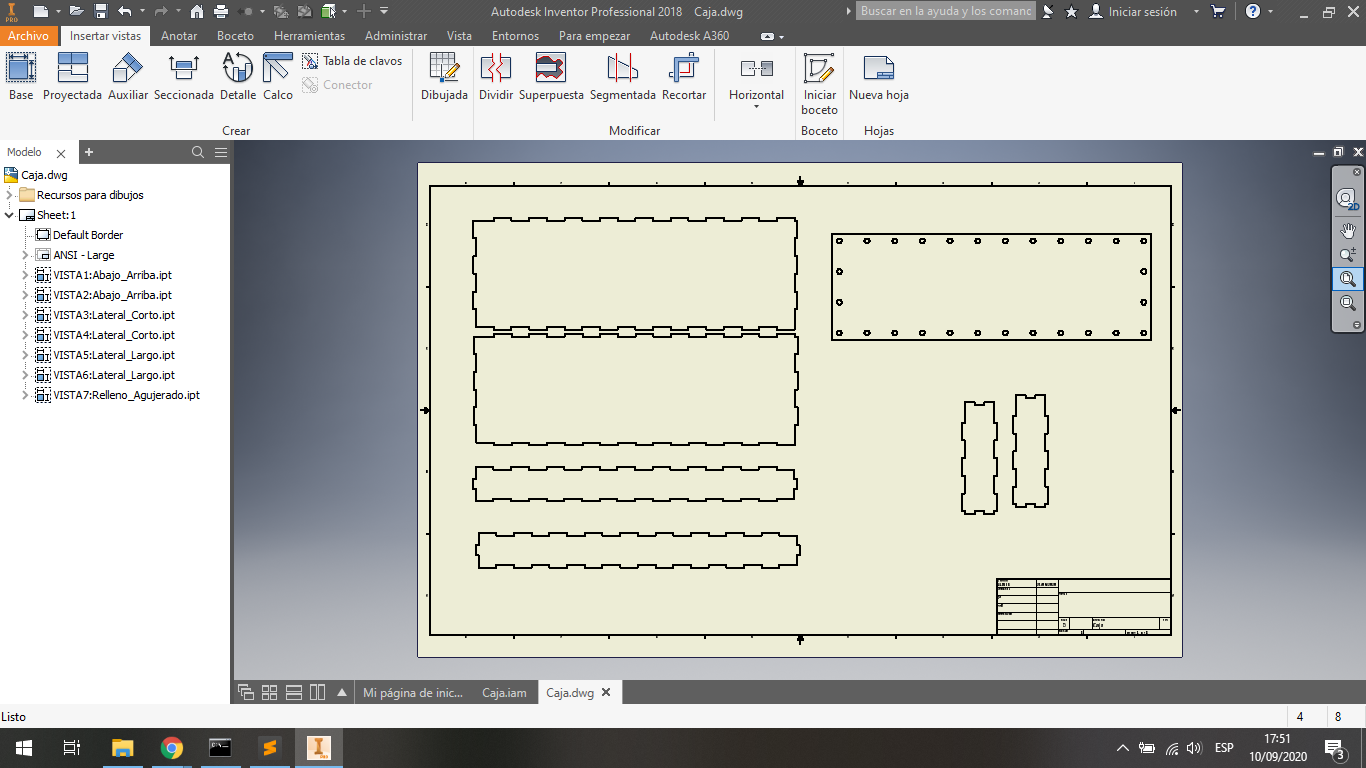
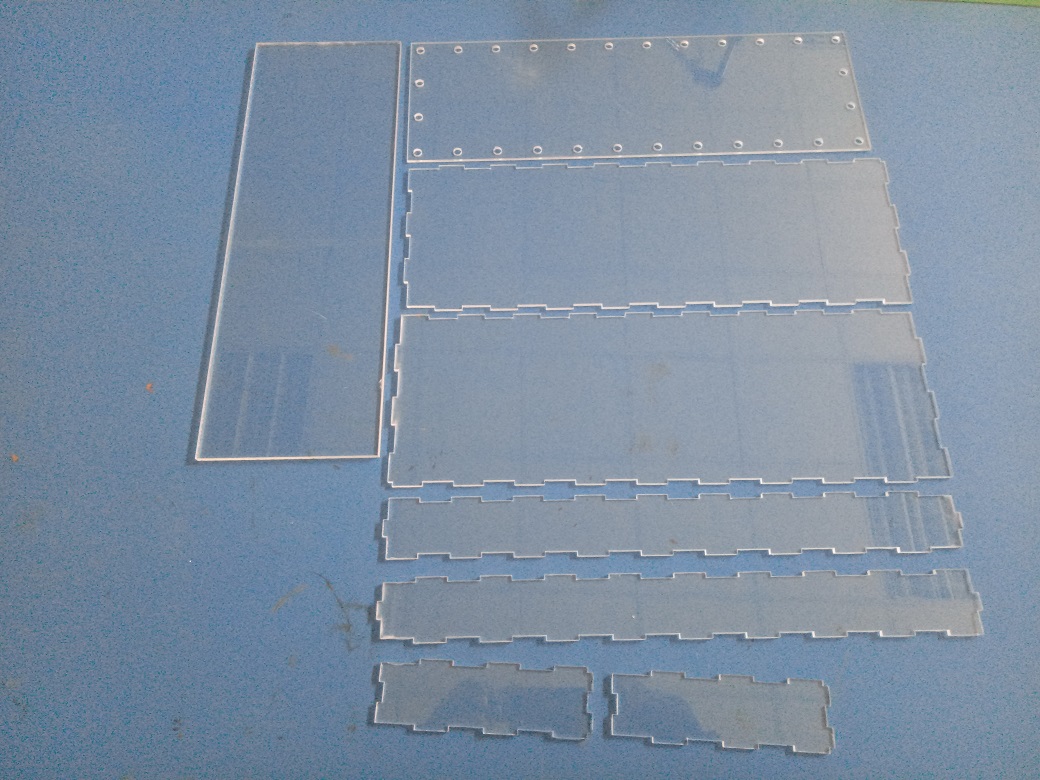
Fabricating the Box to Mold:
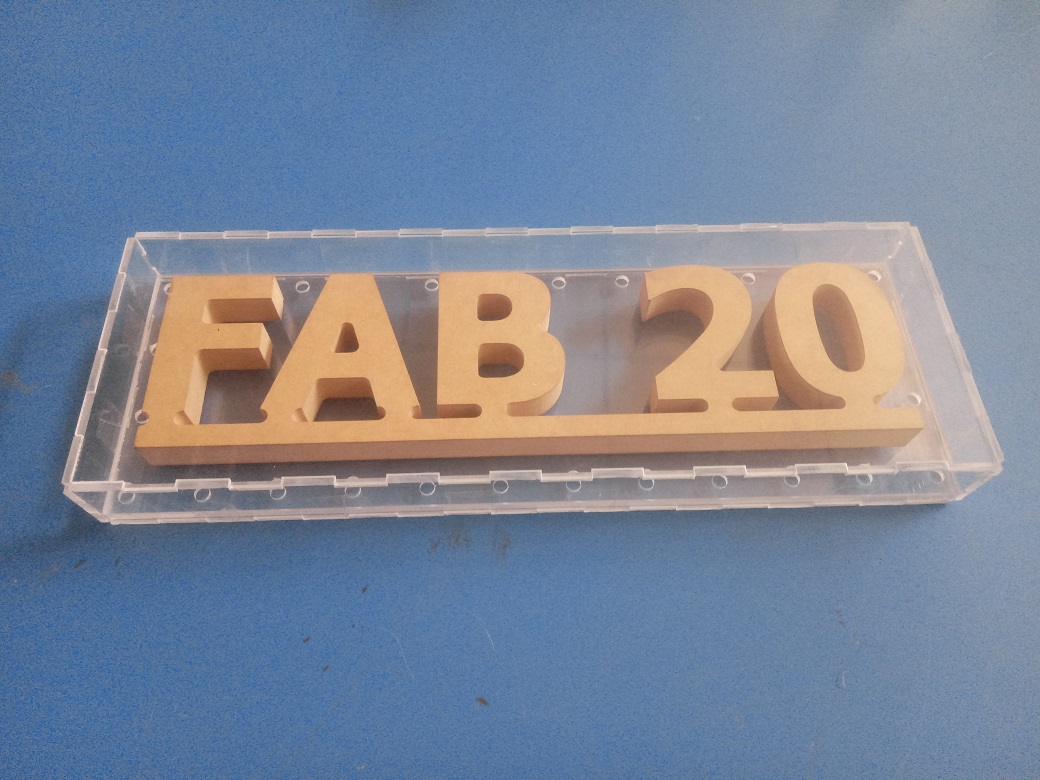
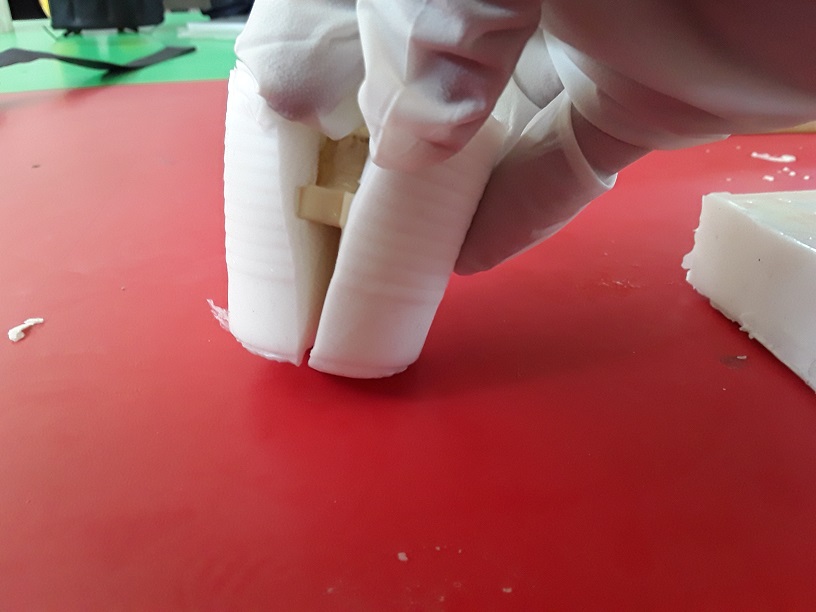
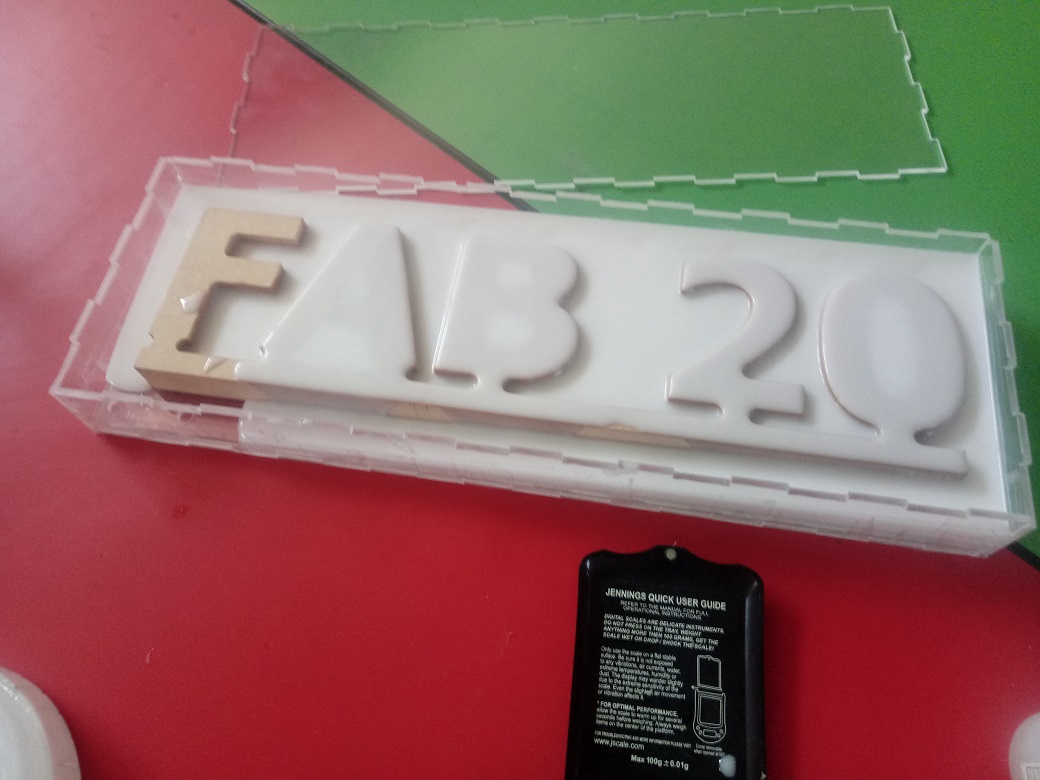
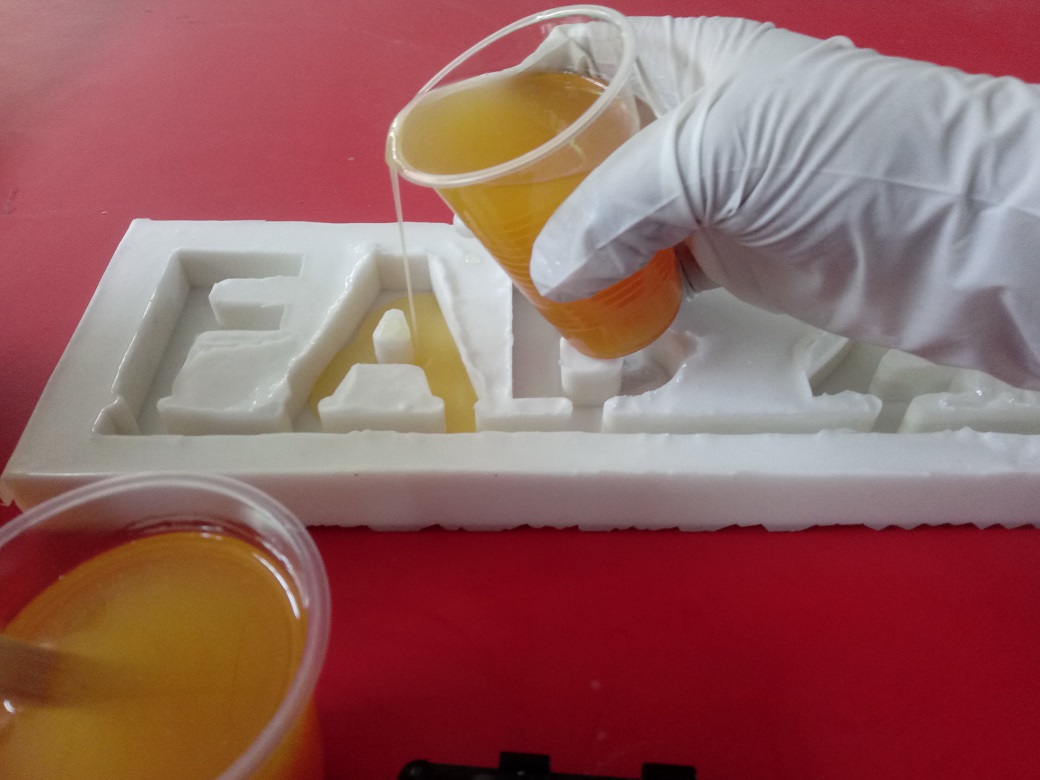
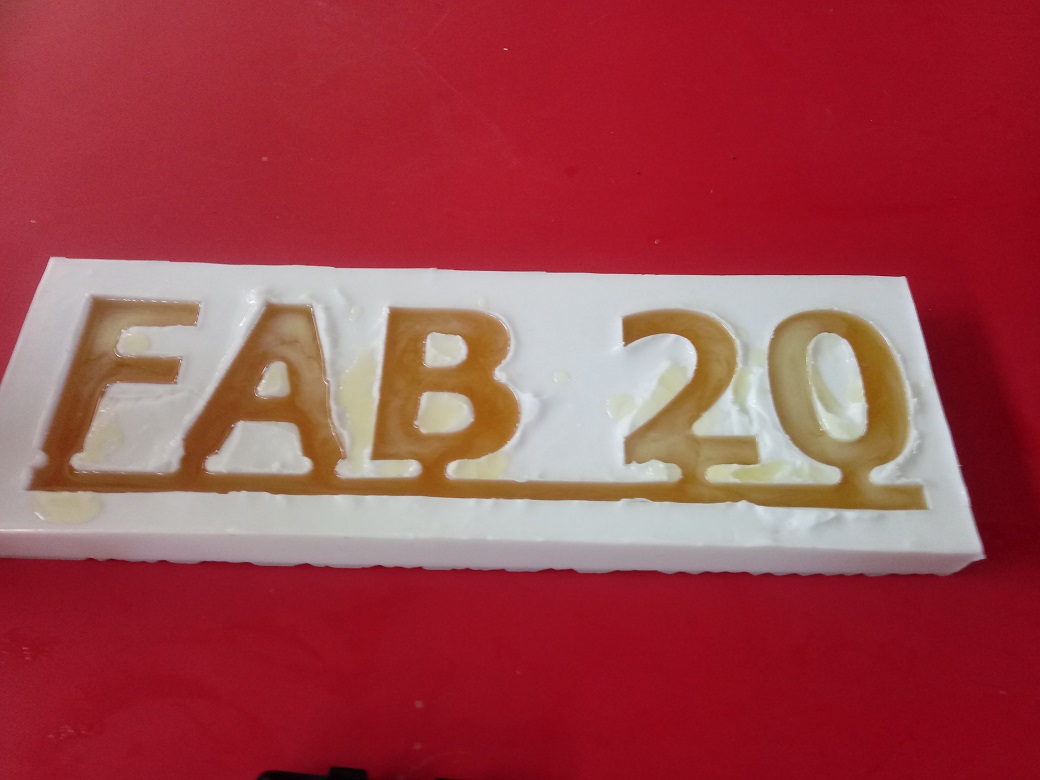
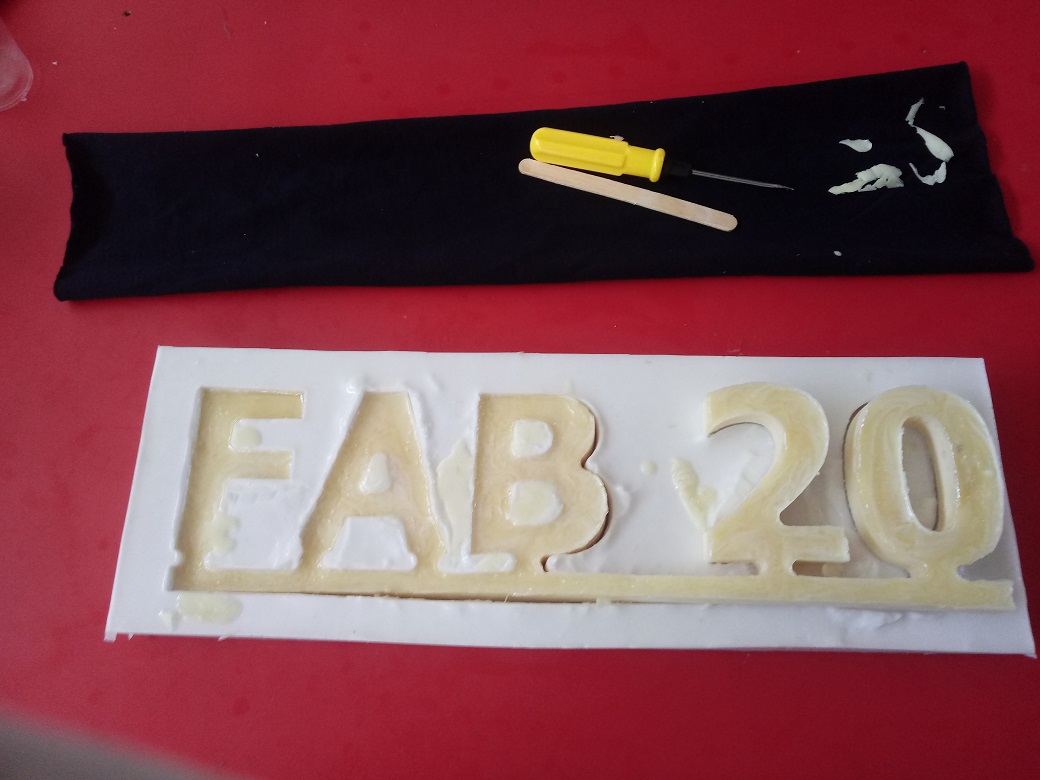
Molding the Design:

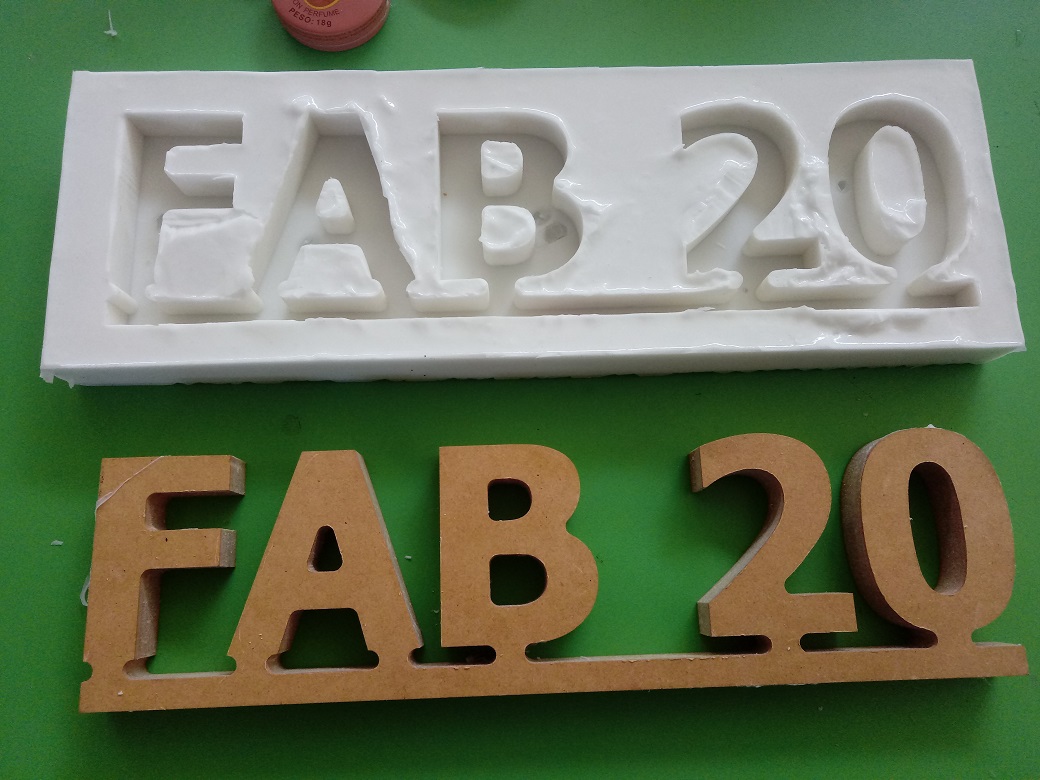
Casting the Design:


INDIVIDUAL ASSIGNMENT
Molding the Piece:
For this work we will design, mold and cast a keychain, we will use molding wax and a precision milling machine.
Let’s start with the design:
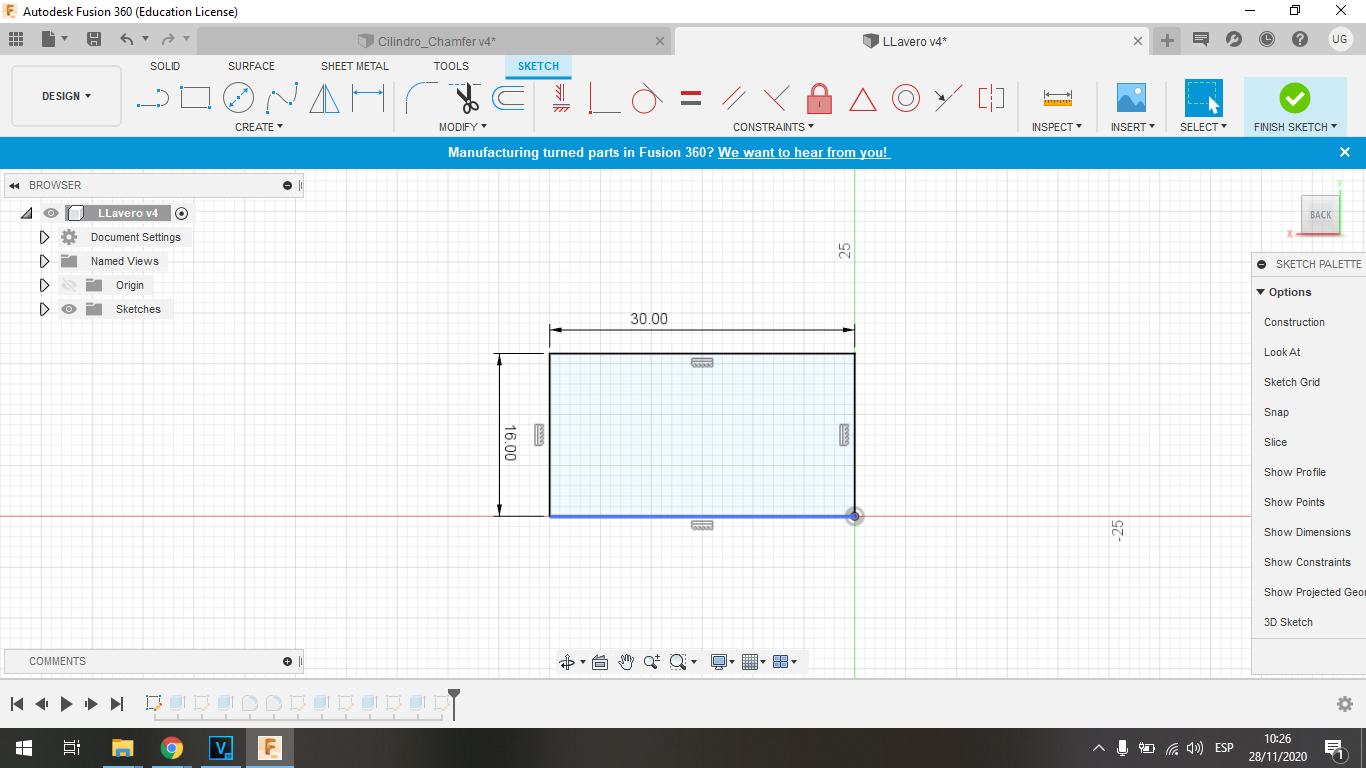
We design the object and the container base for the mold, we do this in the Autodesk Fusion 360 software
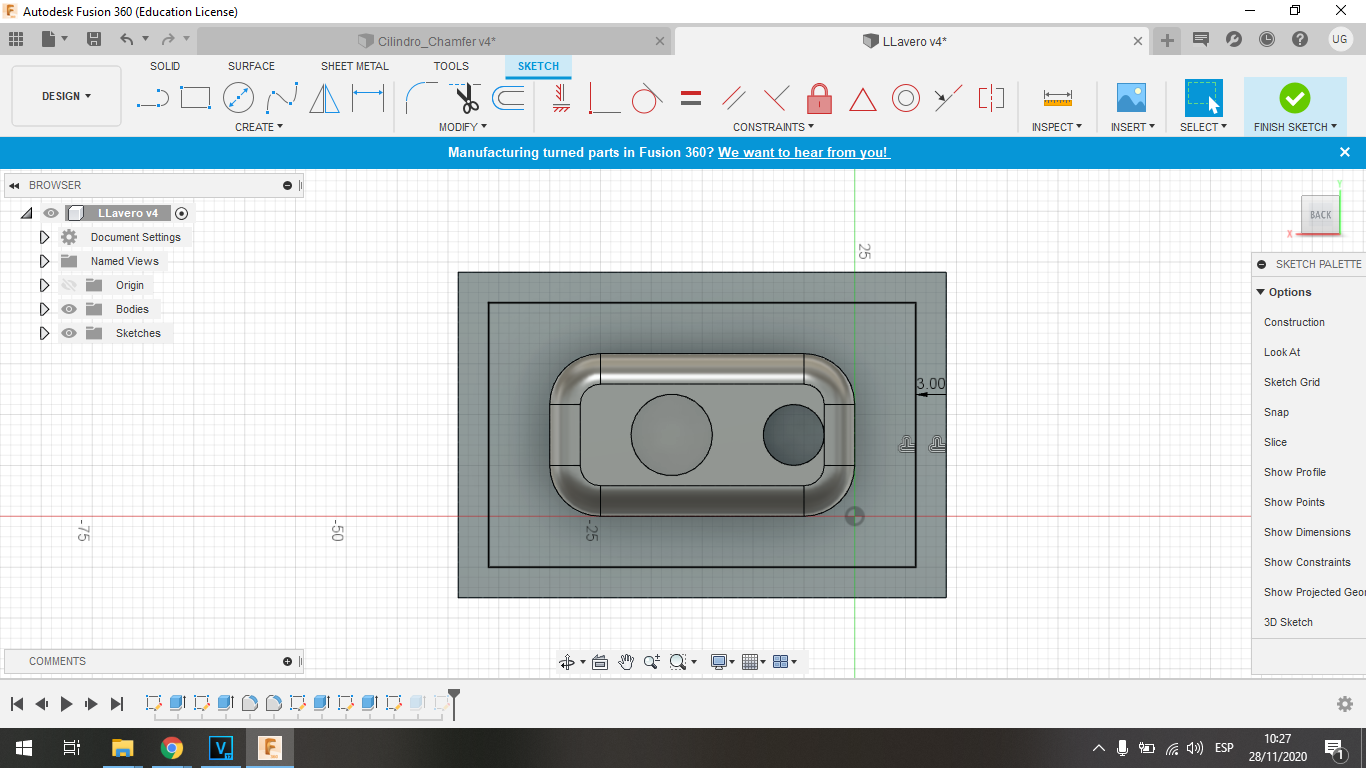
This would be the design of the mold that we must mill in the milling machine:

Setting up the milling strategy, we will use 3 milling stages:
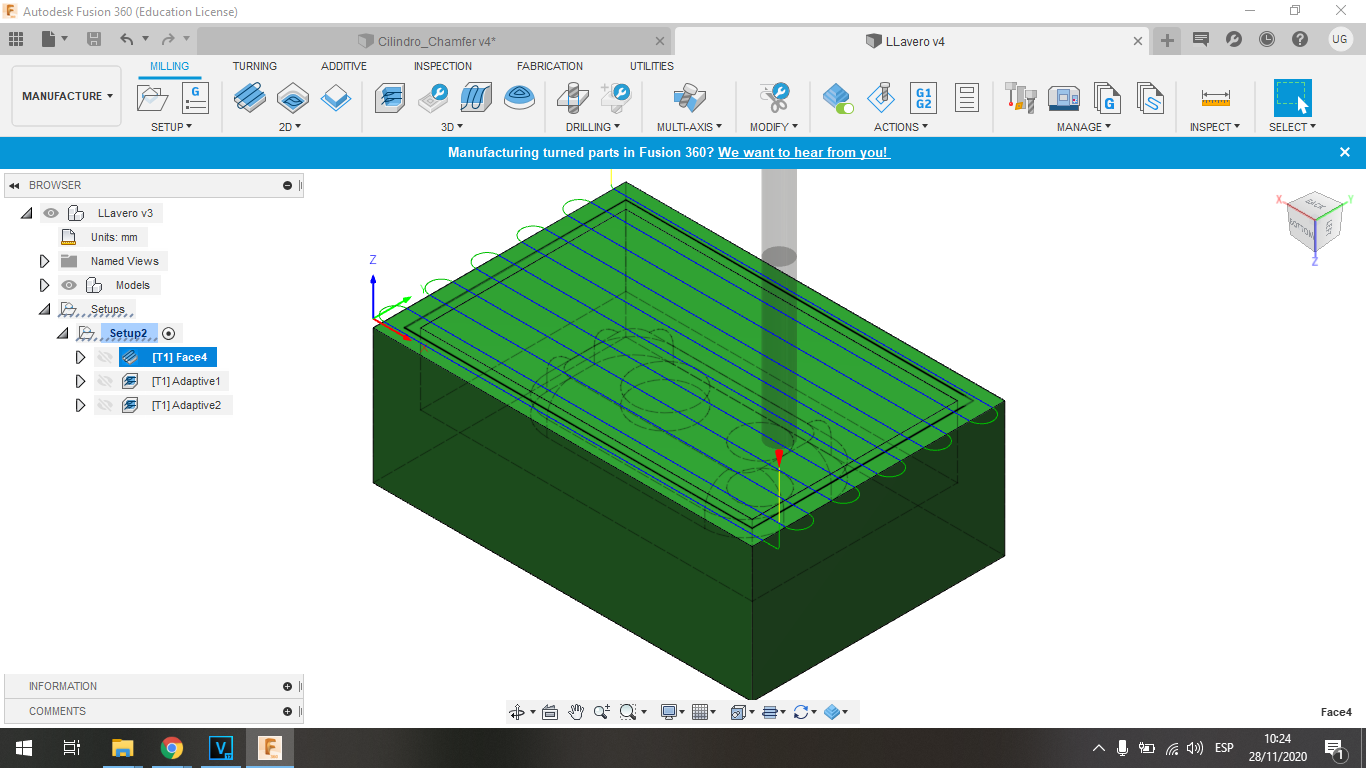
- First, face milling
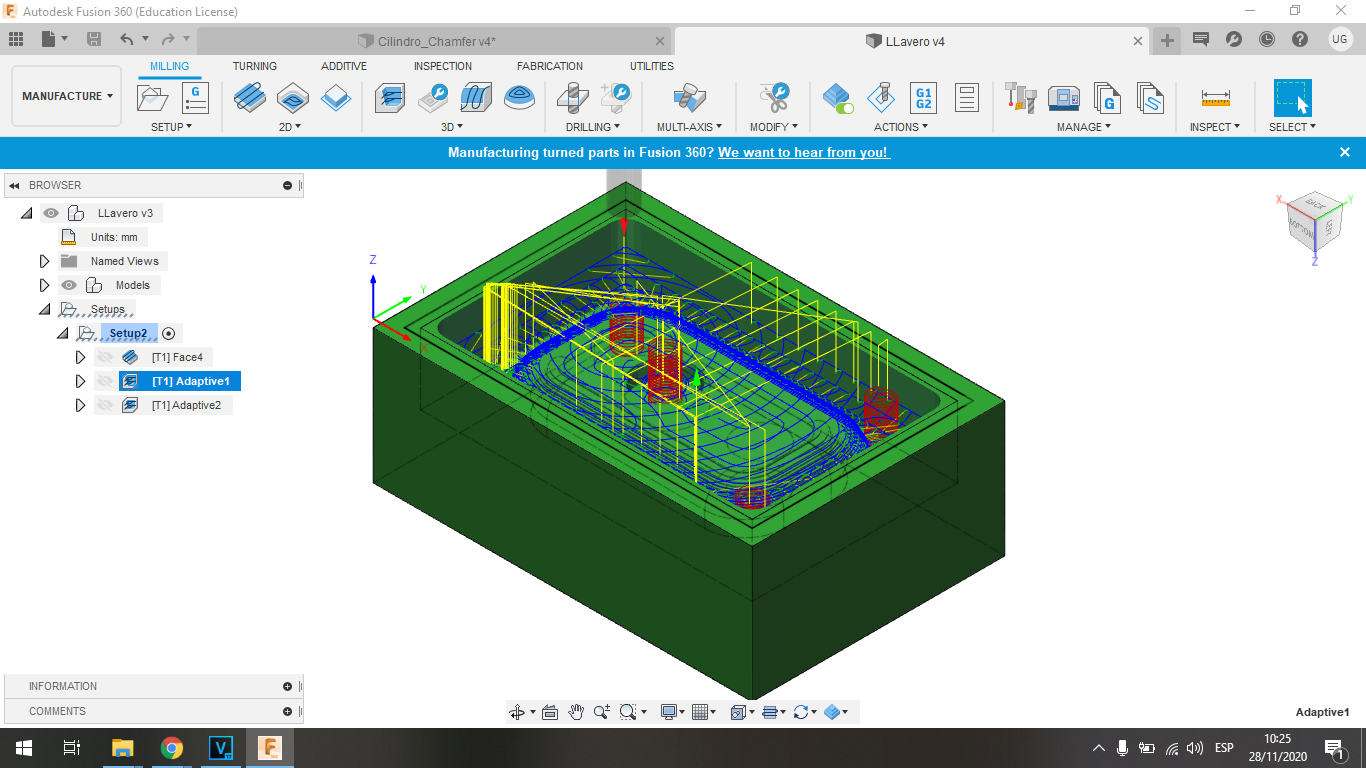
- Second, coarse milling
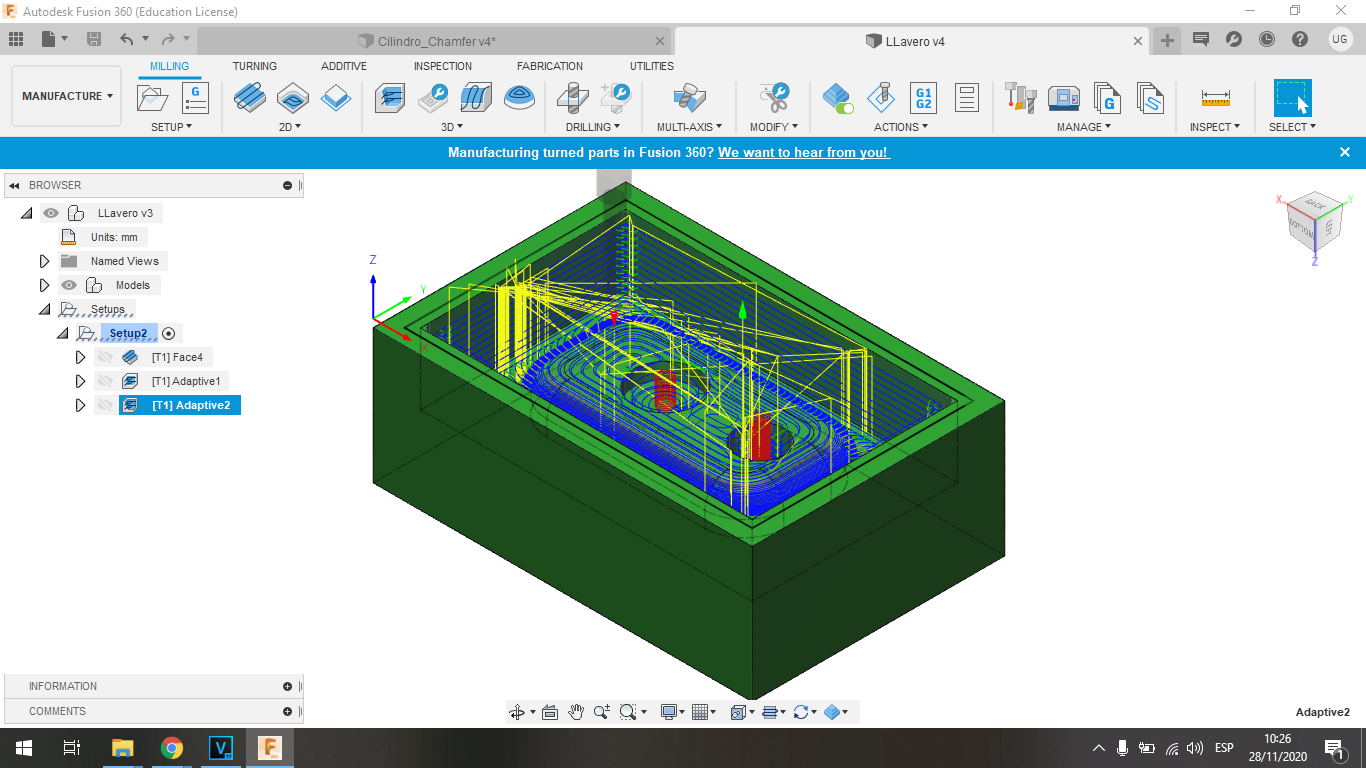
- Third, fine milled
We prepare the milling face, and this is the simulation:
We prepare the coarse milling, and this is the simulation
To prepare the fine milling we have the following parameters:
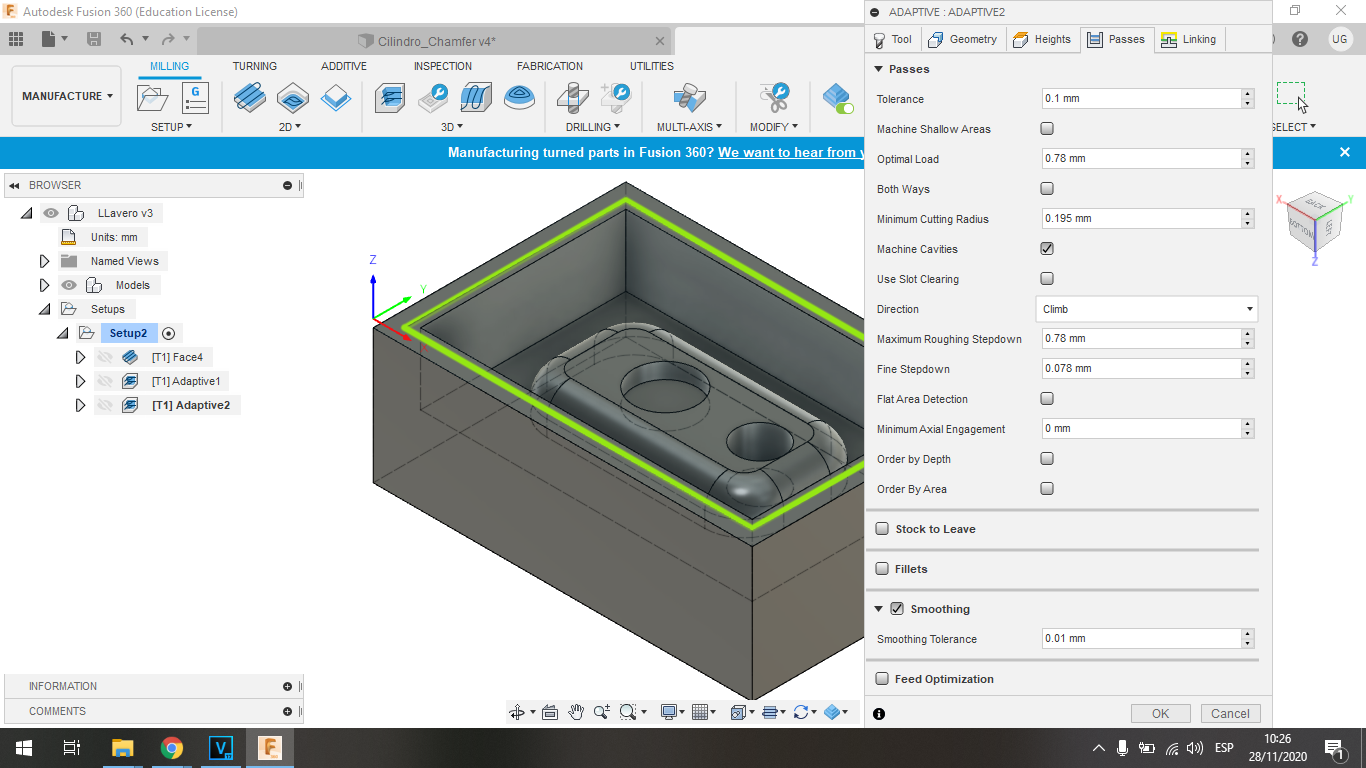
We prepare the fine milling, and this is the simulation
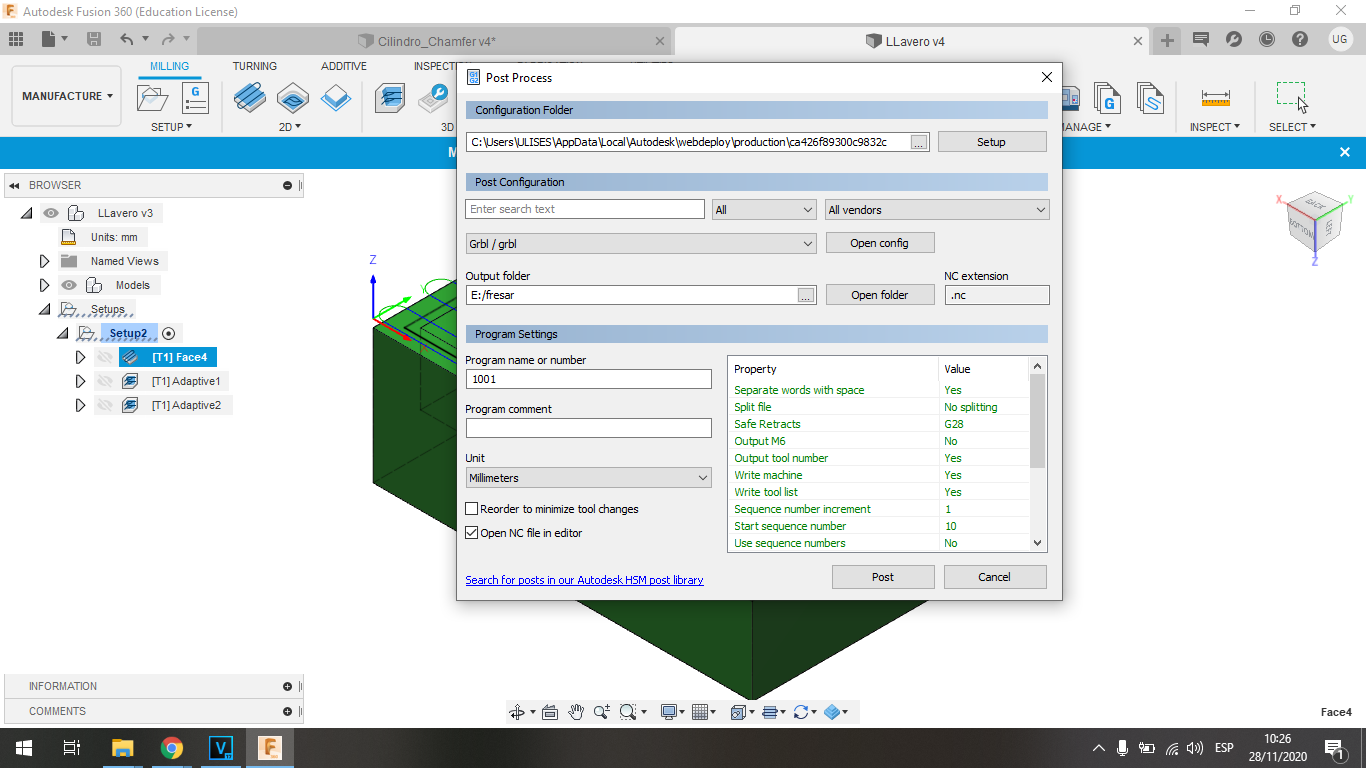
We prepare the files for the milling machine, we choose for a GRBL firmware, which is the REPRAP community milling machine based on an arduino board.
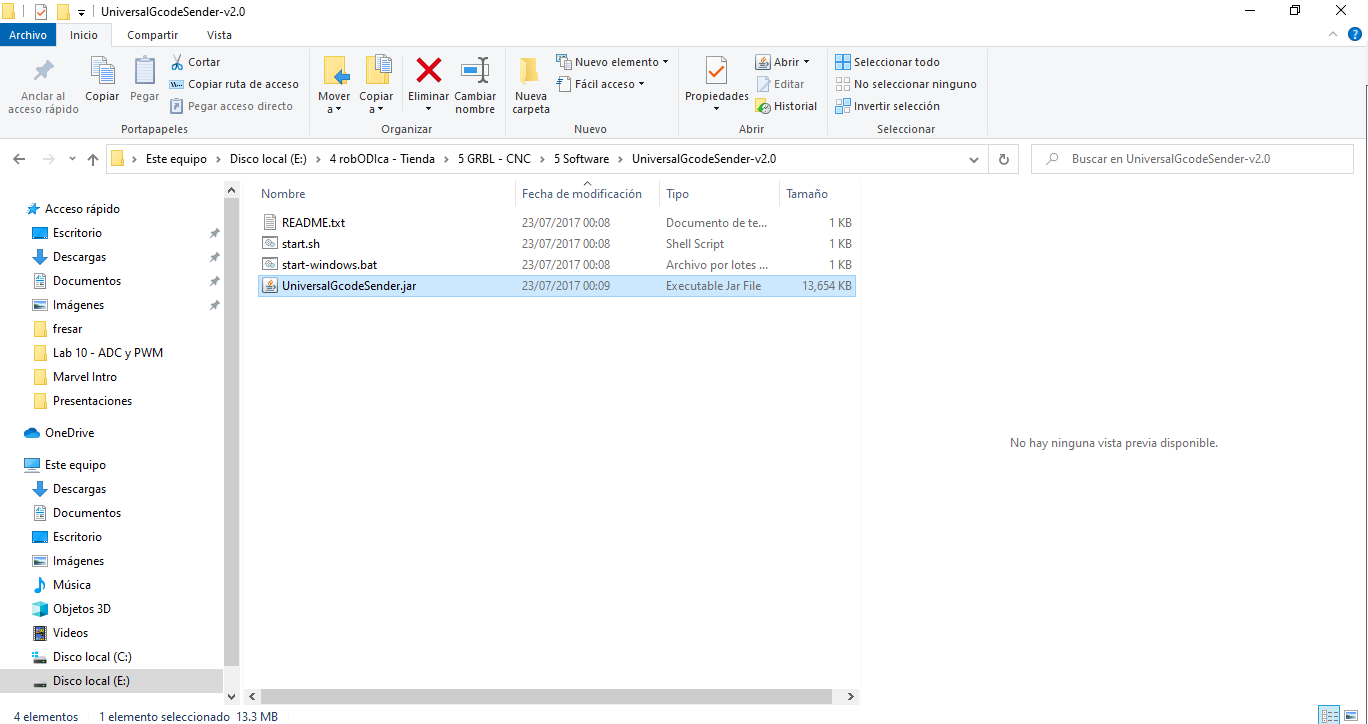
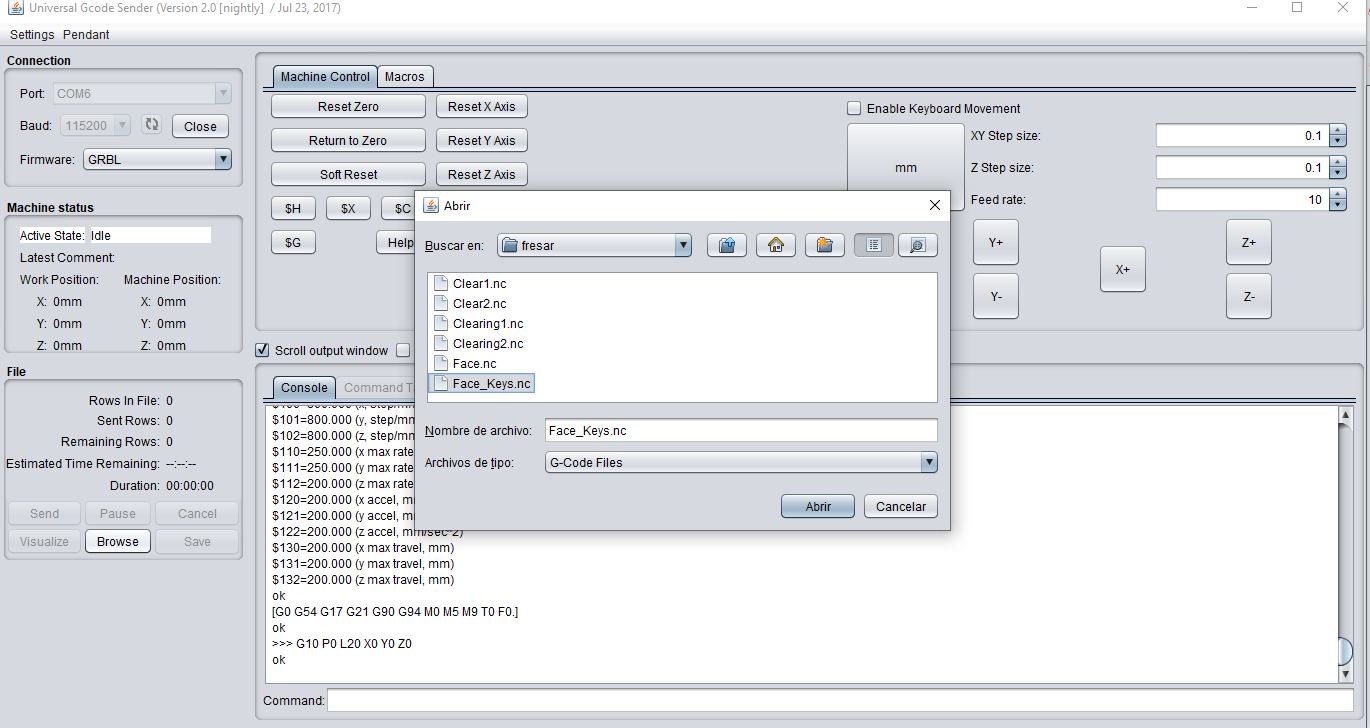
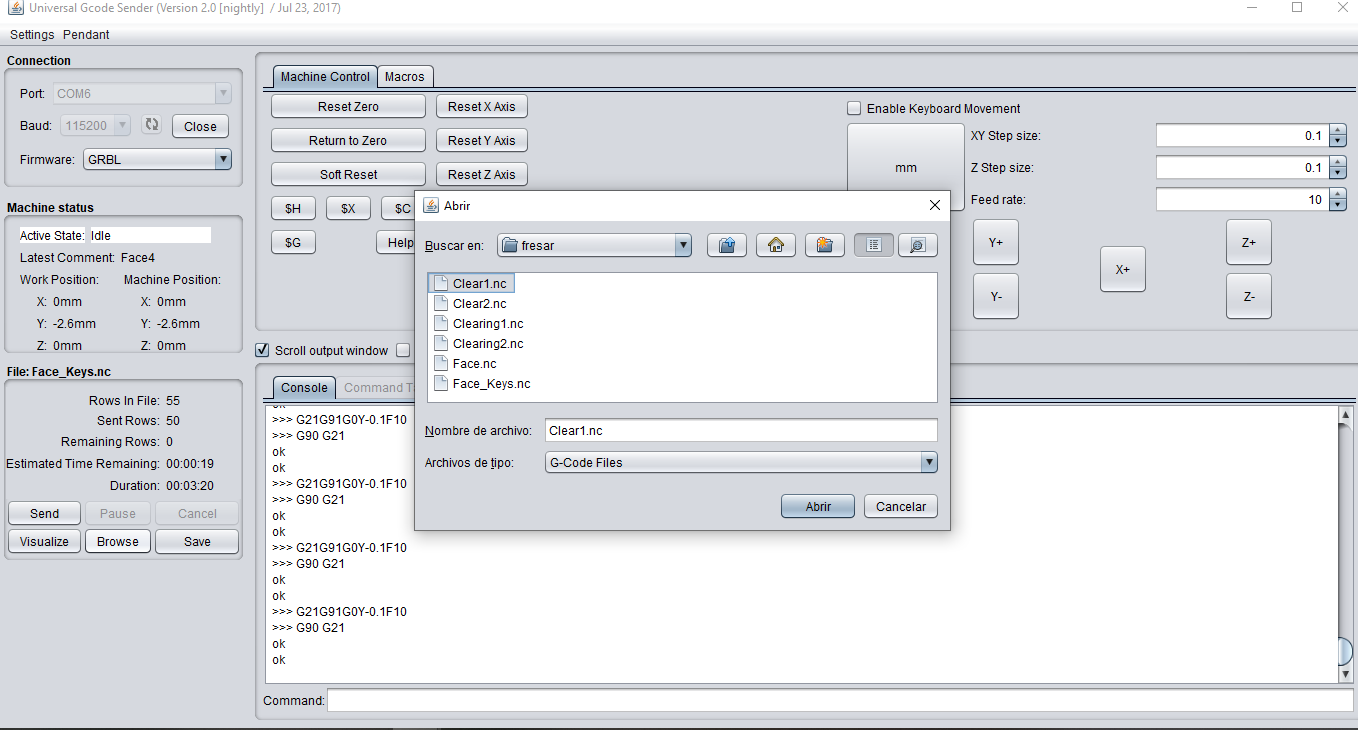
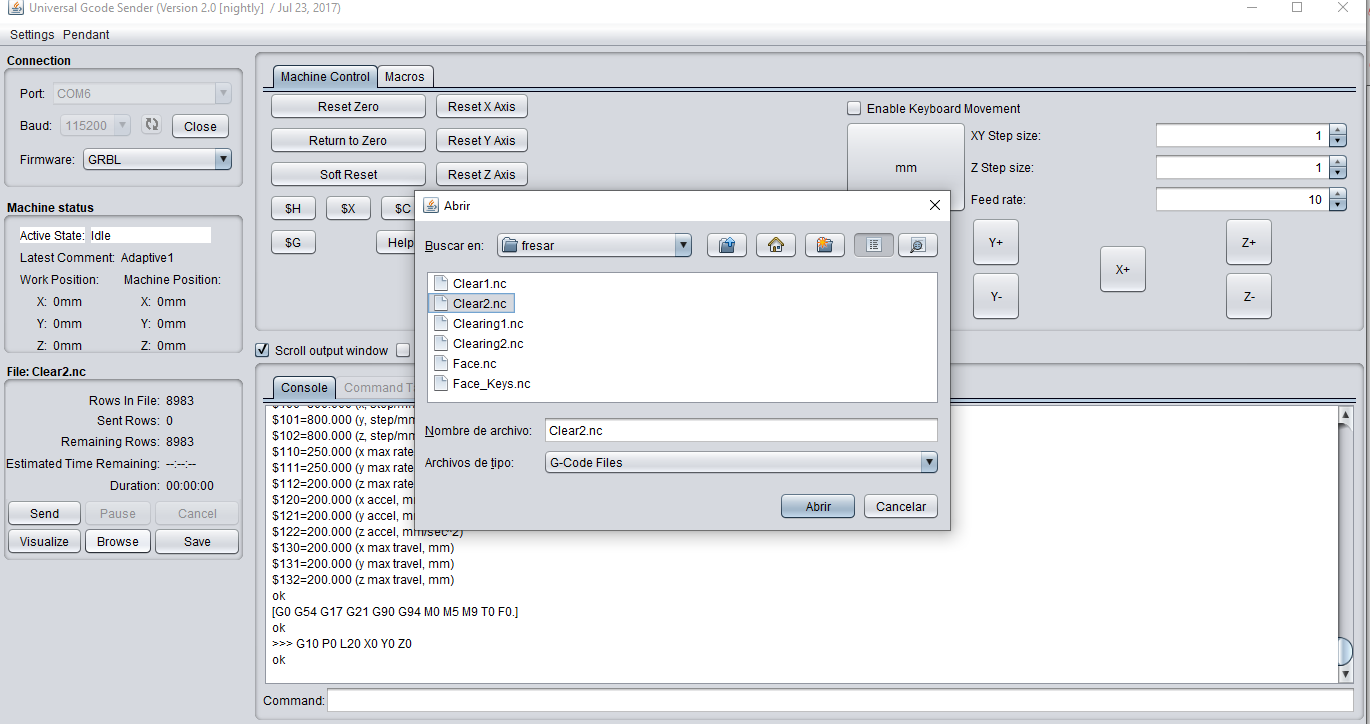
To control the milling machine, we will use the Universal G-Code Sender (UGS) software
We download and run the software:
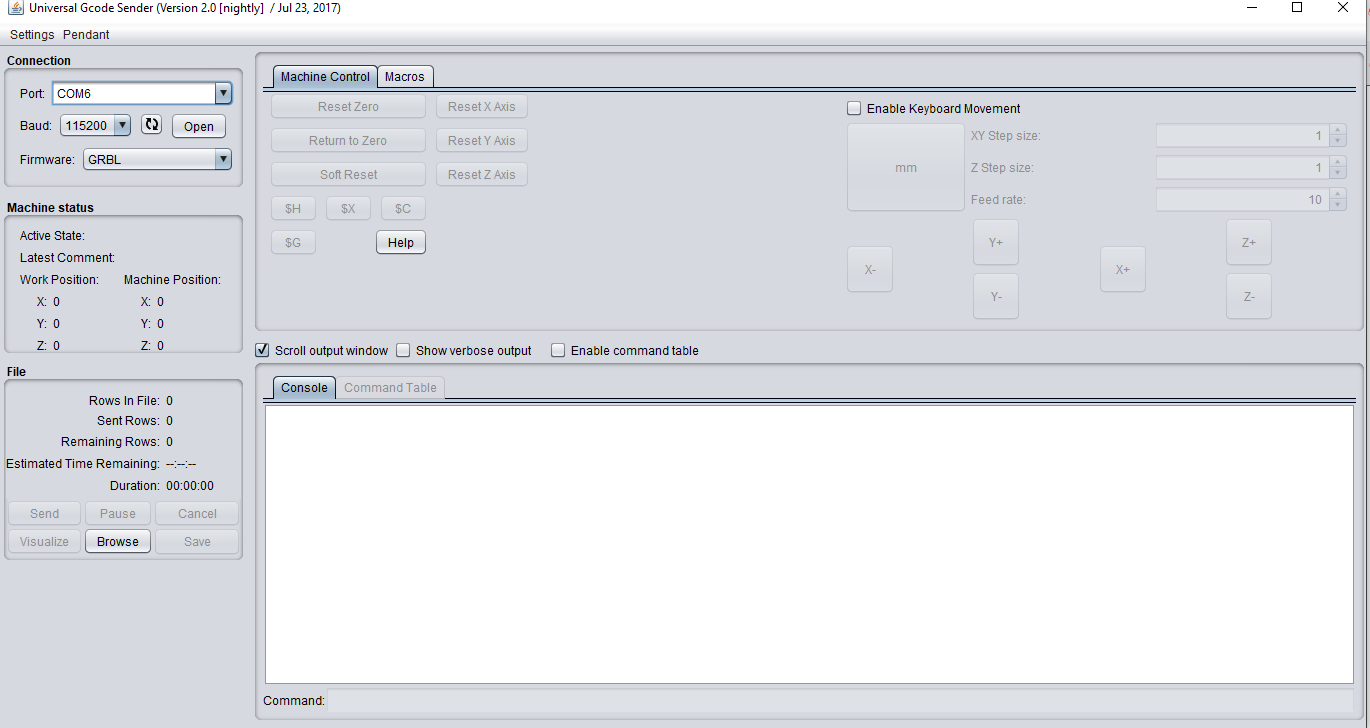
This would be the software interface:
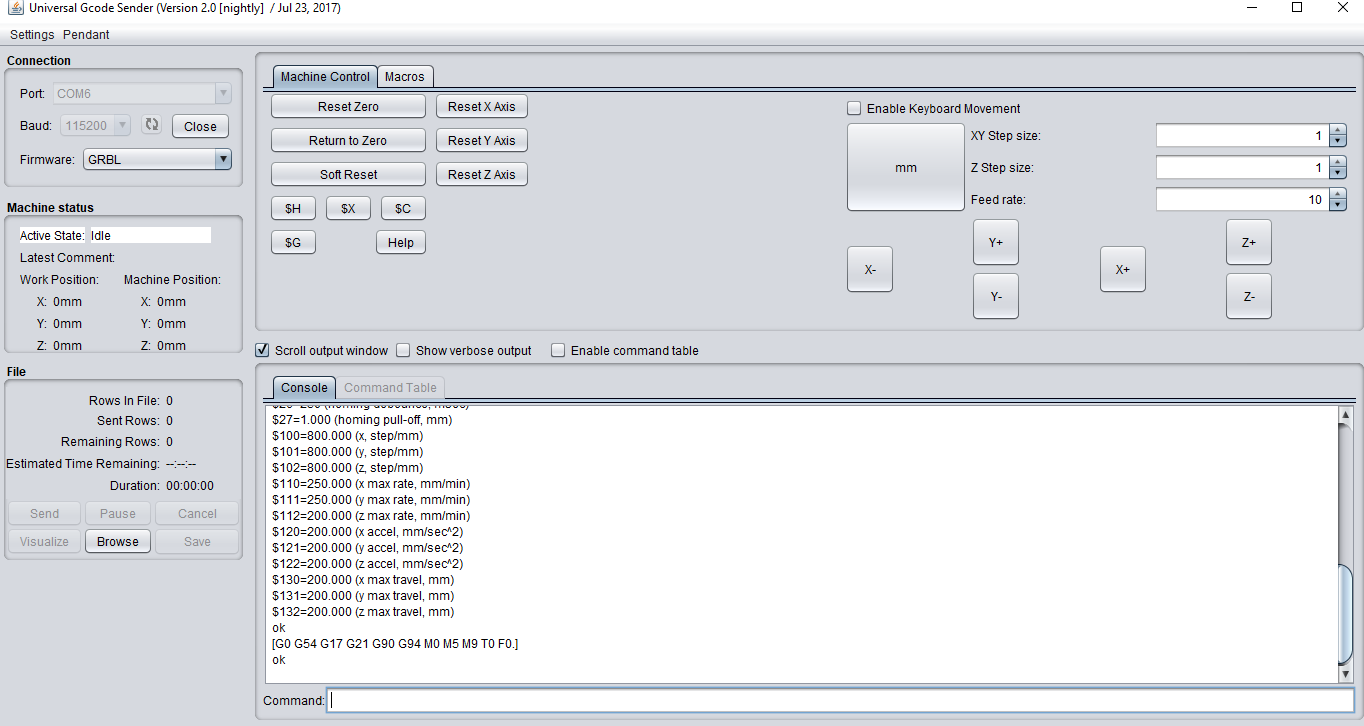
We select the serial communication port and the 115200 baud rate, since it is with these parameters that communication occurs:
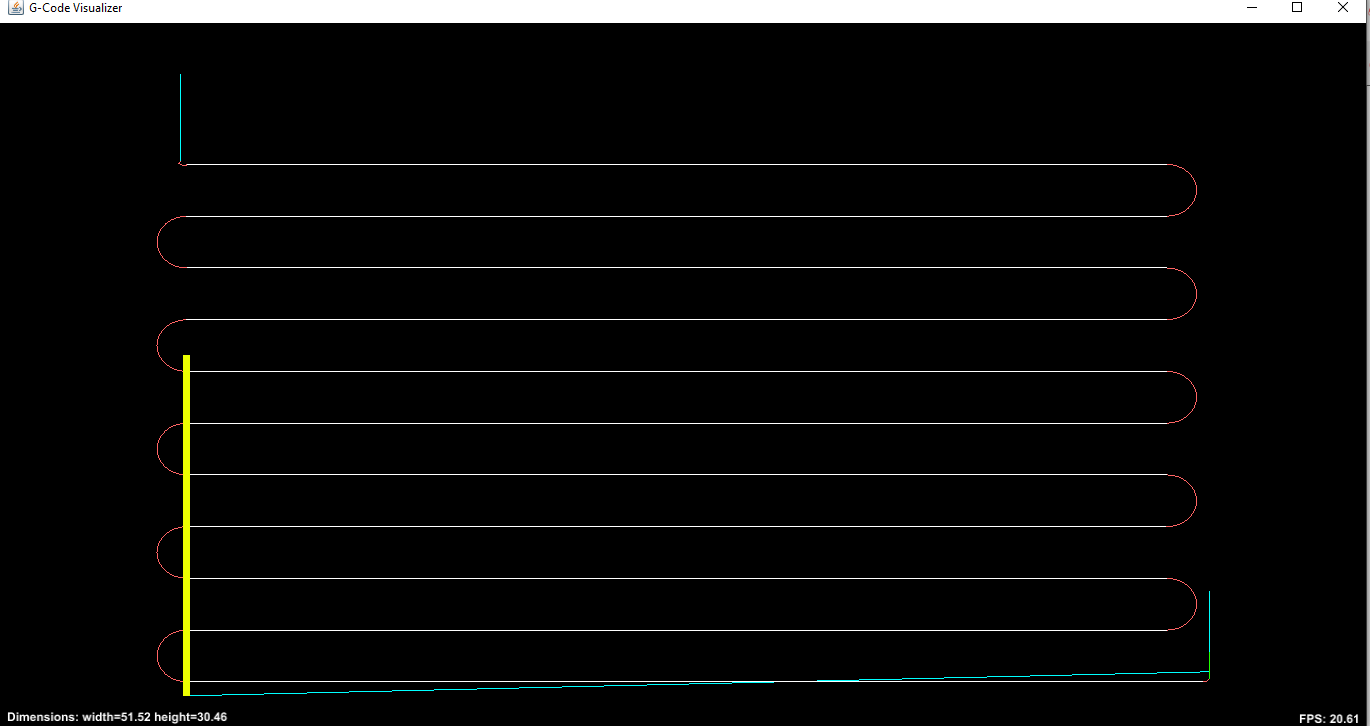
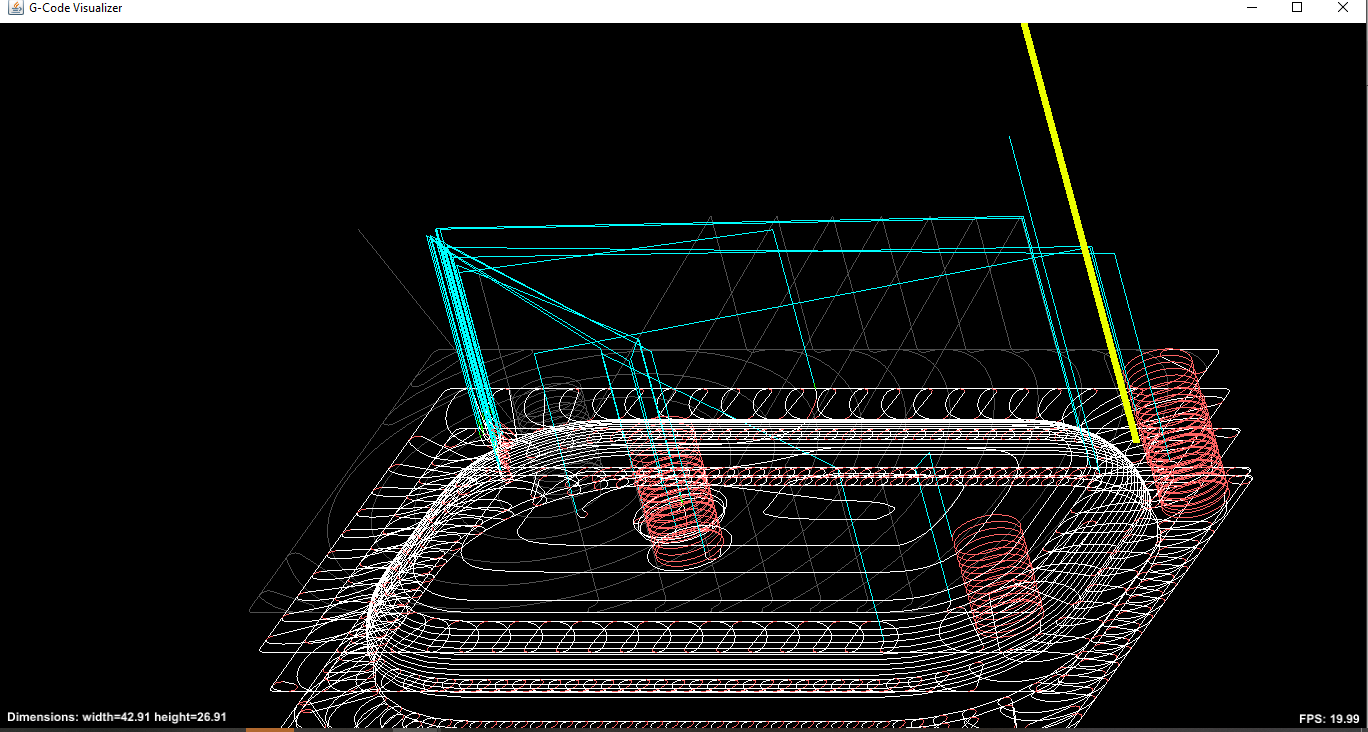
With the direction buttons we can locate the machine in the left-front corner, and we can load the file to work, which in this first case is the file for Face_keys.nc.
This would be the visualization of the work to be done, shown in the UGS software
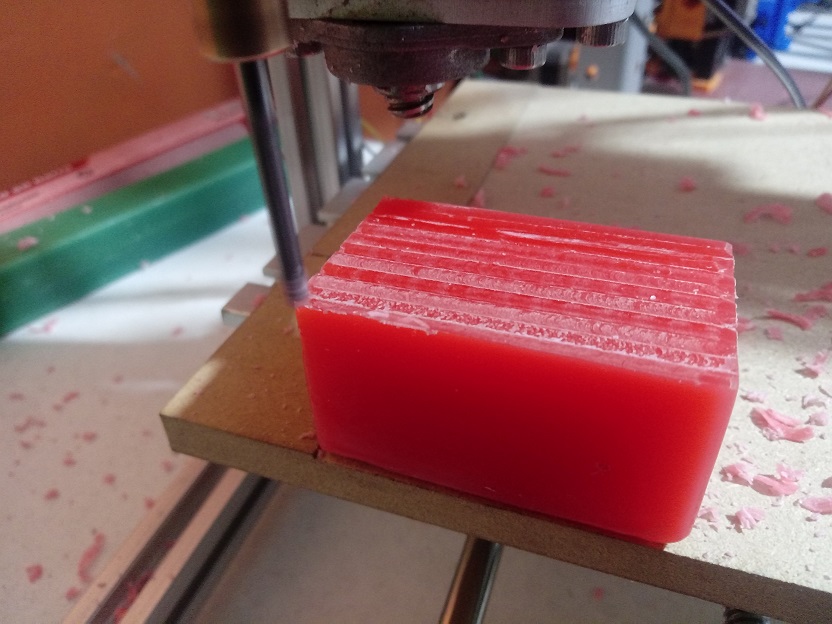
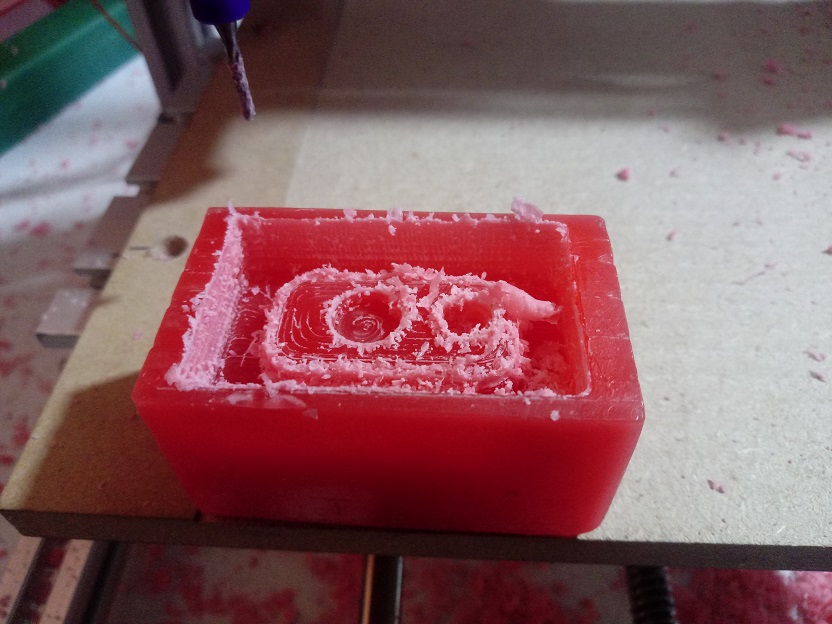
We prepare the solid block of wax for molding, bought in a jewelry supply store.
Using double contact adhesive tape we glue it to the work platform.
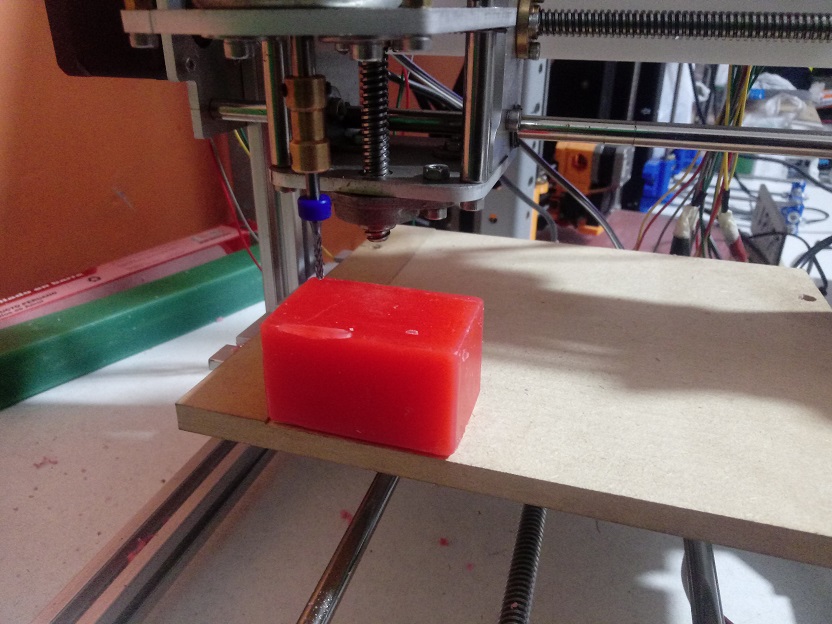
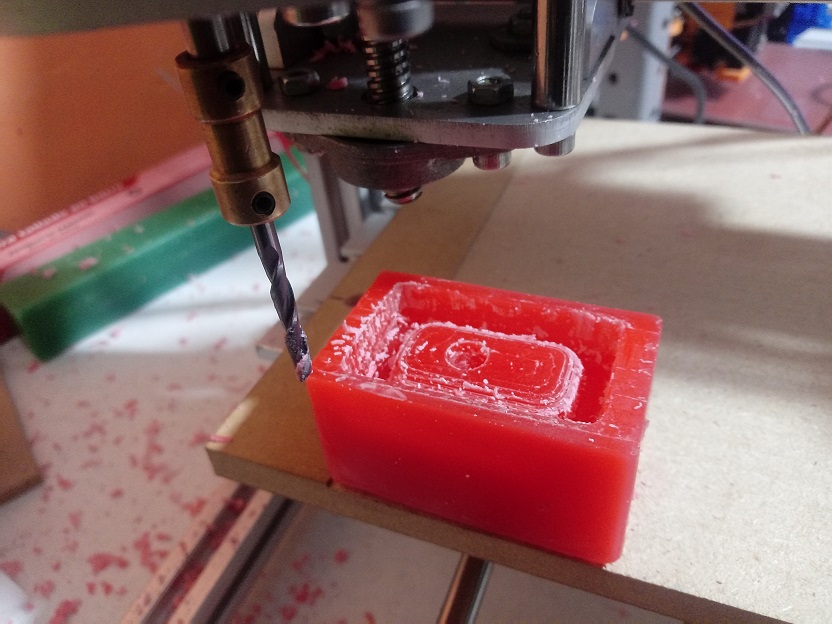
We send the file to work, and we achieve the next job, the part is level to achieve the milling work.
Now we load the file to work the coarse milling, which in this first case is the file for Clear1.nc.
This would be the visualization of the work to be done, shown in the UGS software
We send the job to run in a similar way to the first step, always keeping the same starting point:
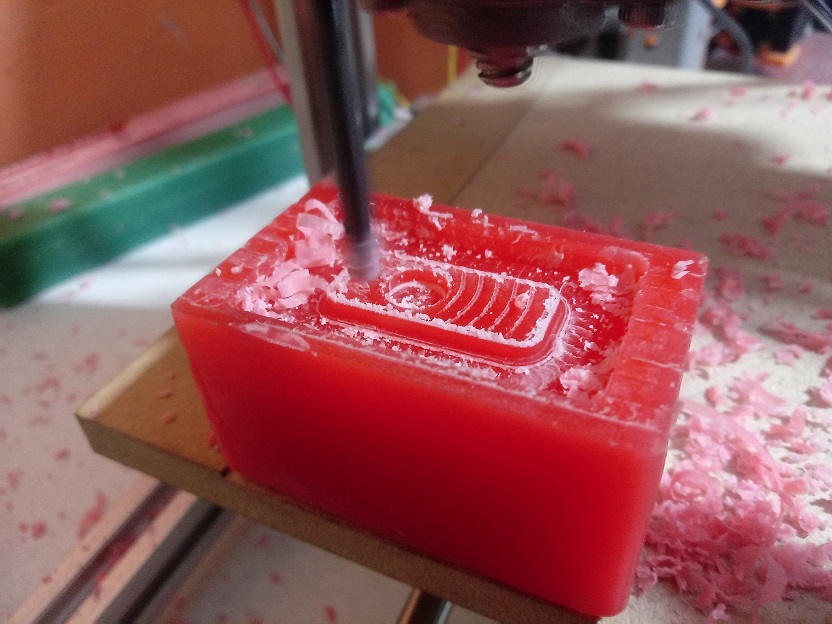
We can see the finished work of the coarse milling:
Now we load the fine milling file, in this case it will be the Clear2.nc file:
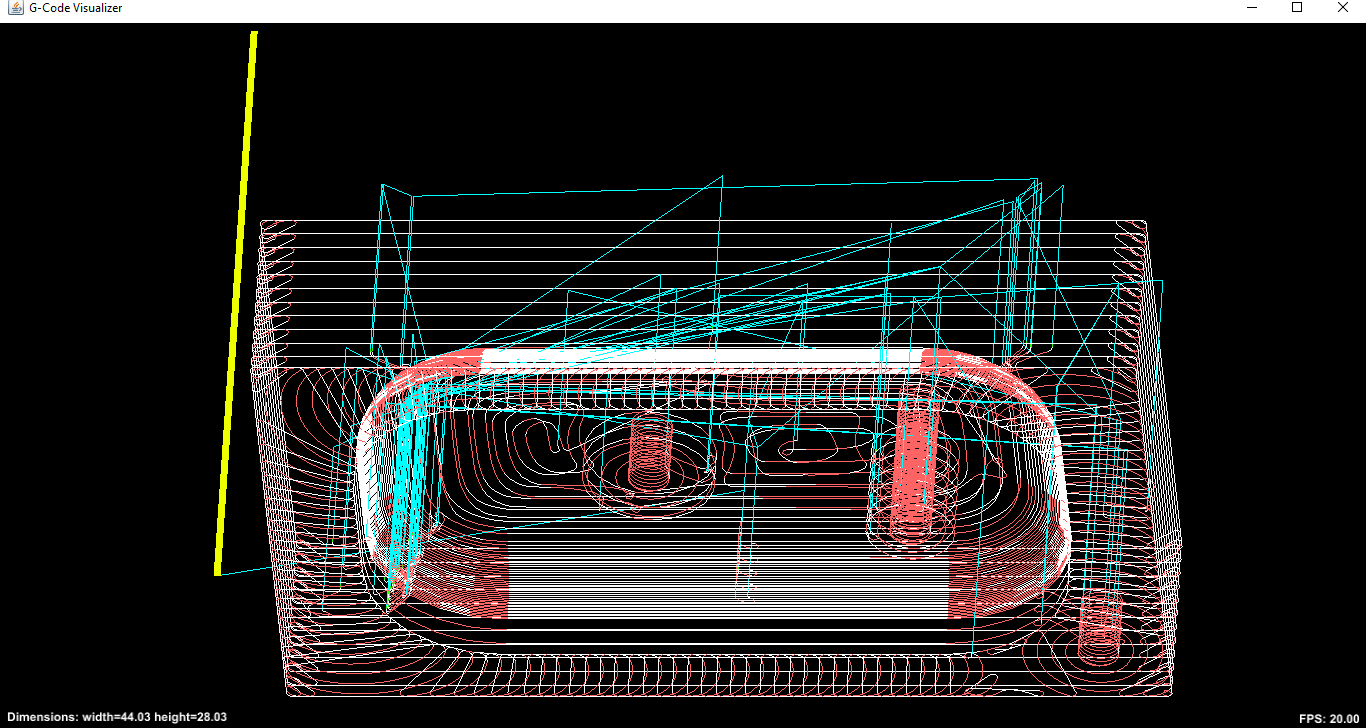
This would be the visualization of the work to be done, shown in the UGS software
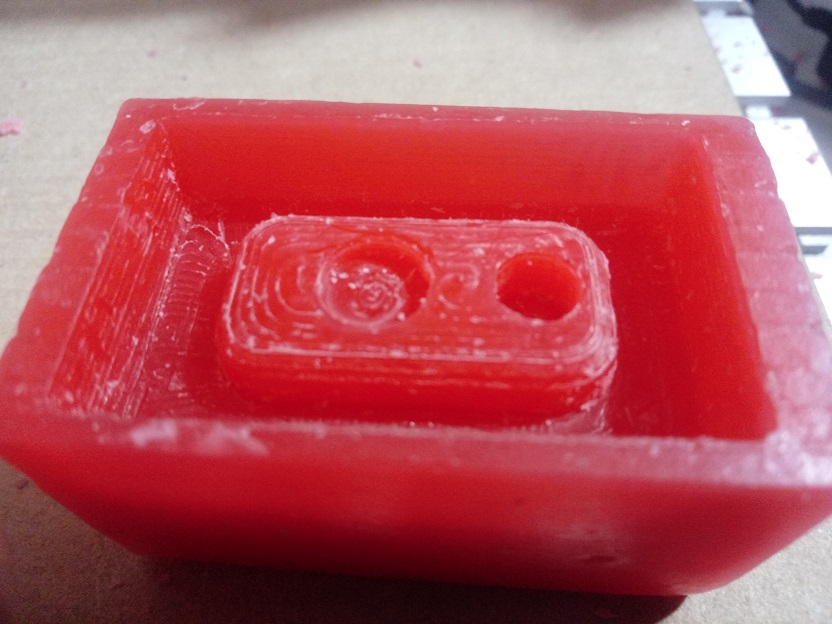
We can see the finished work of the fine milling:
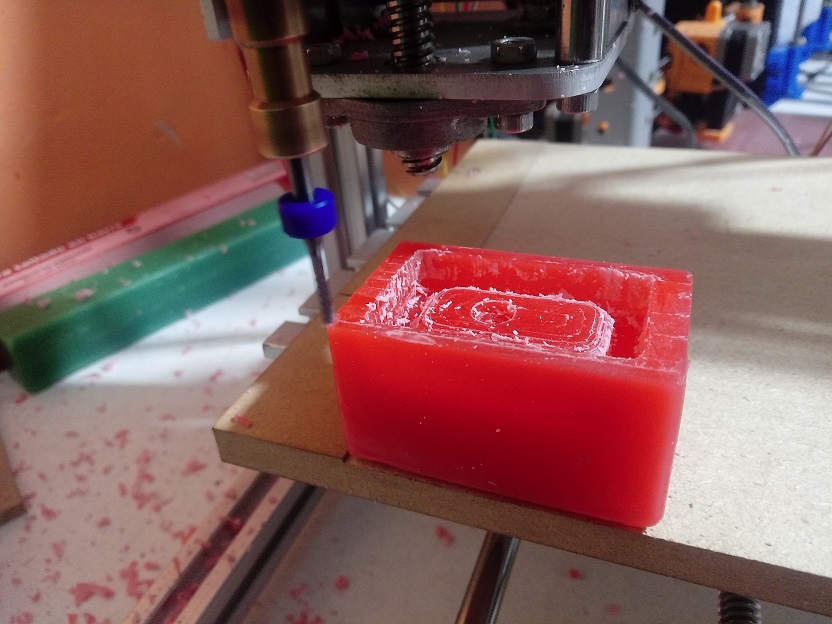
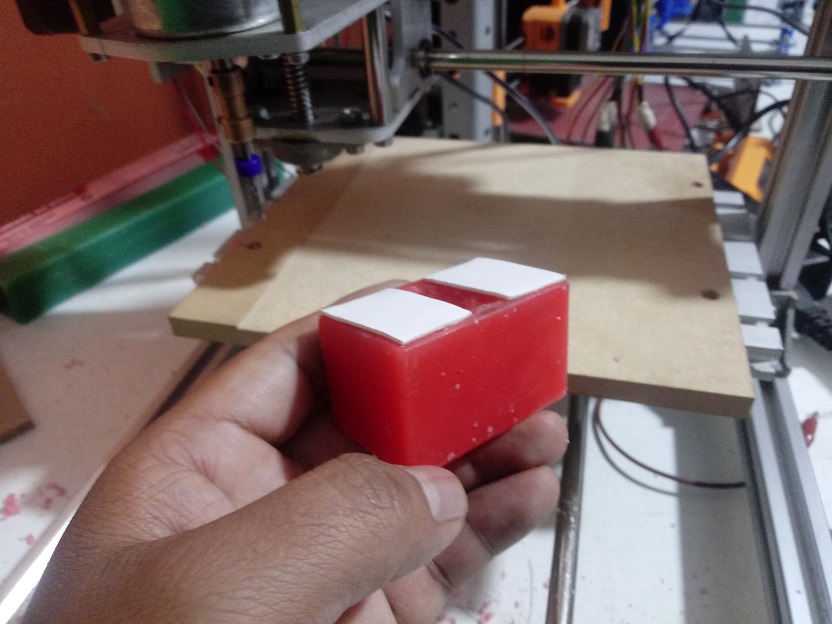
We can see the finish from another view:
This would be the design of the piece to mold our keychain, after cleaning it from residues:
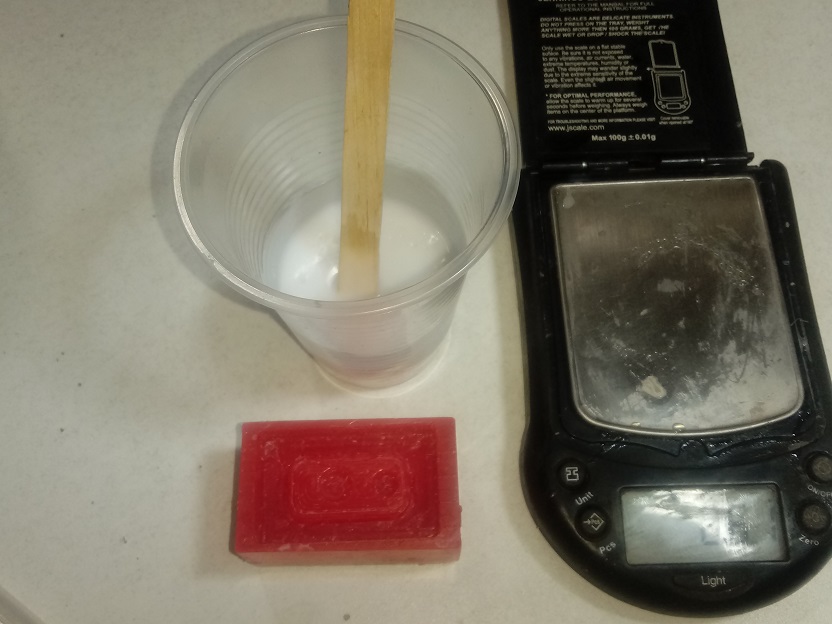
We prepare the silicone F-20 plus for molding with the proportions of 100% silicin and 2% catalyst:
Mix the components well for at least 1 minute, and pour the mixture into the wax design:
We make the average silicone harden in 6 to 8 hours:
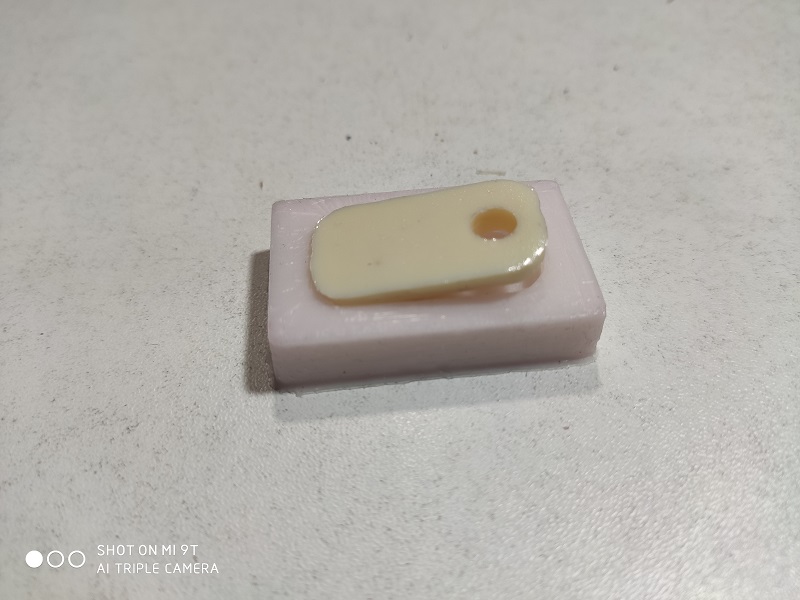
We remove the mold generated with the silicone carefully without breaking the mold:
Here we have the design and the mold created for our keychain:
Casting the Piece:
To cast the keychain designed in polyurethane resin, we use the resins shown in the figure:
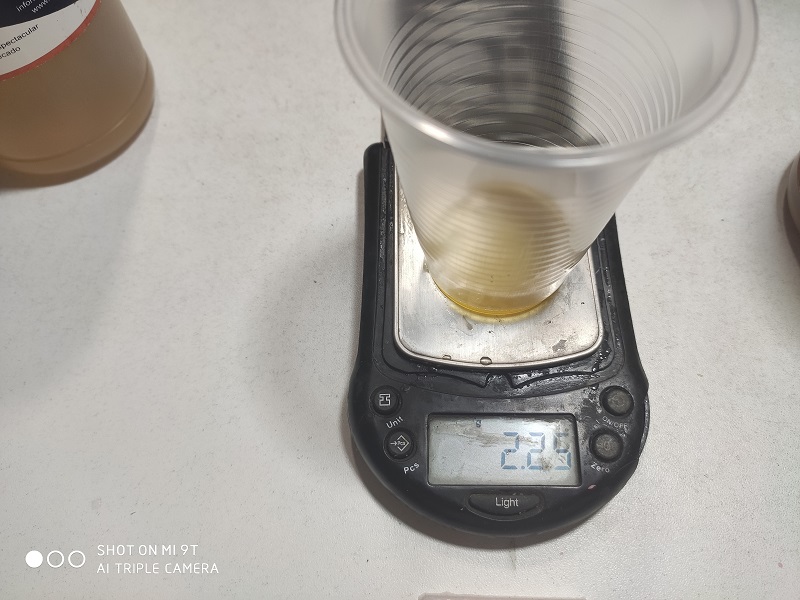
Let’s prepare the mixture of 50% by weight of component A and 50% by weight of component B, in our case 2.52 grams for each:
Added with component B we would have:
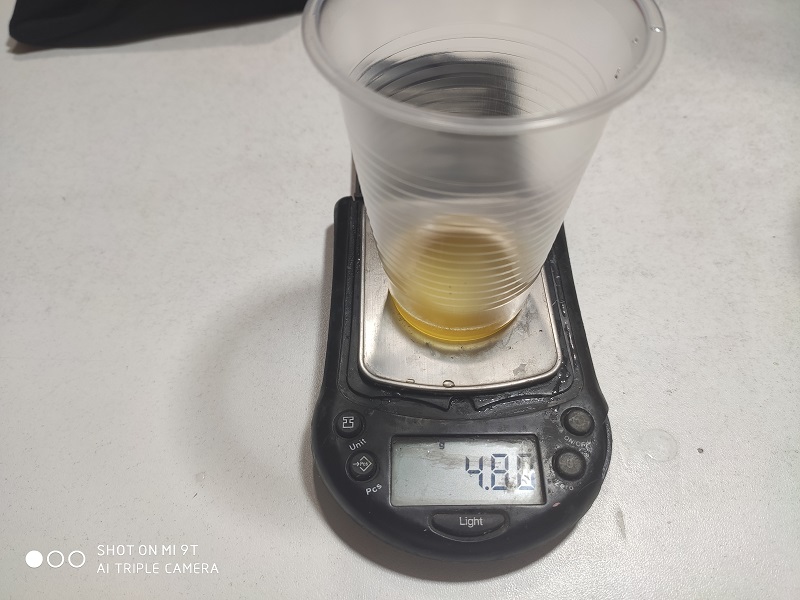
Added with component B we would have, 4.80 grams, the difference only accelerates the hardening process:
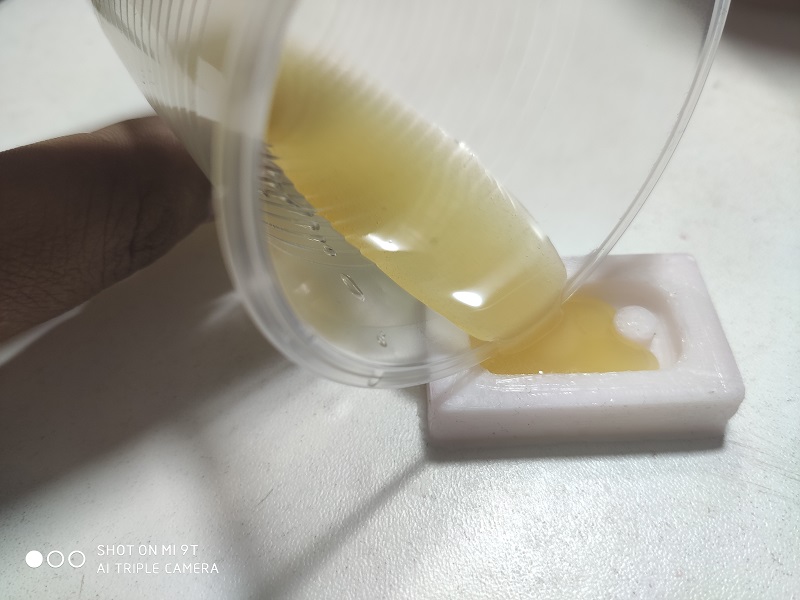
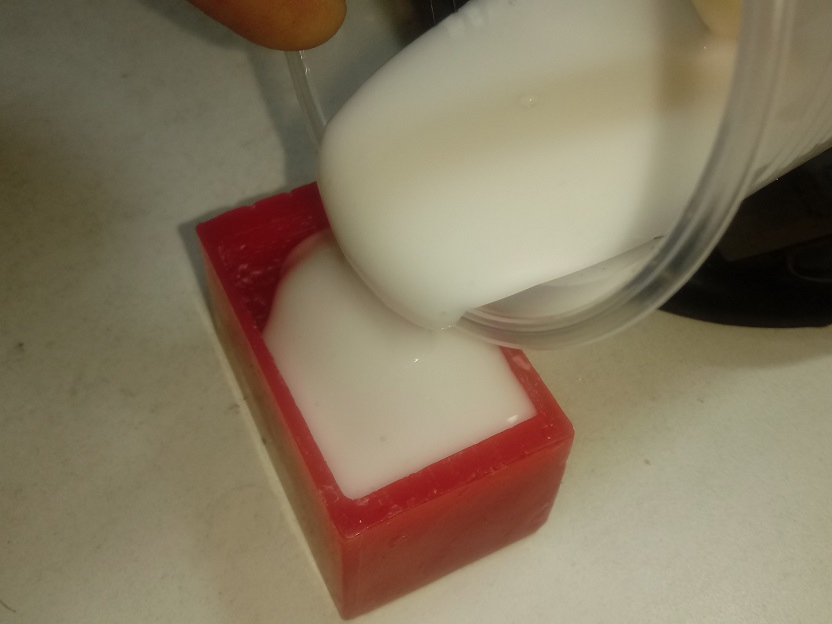
We move the mixture of the components well, and pour into the mold created in the molding process:
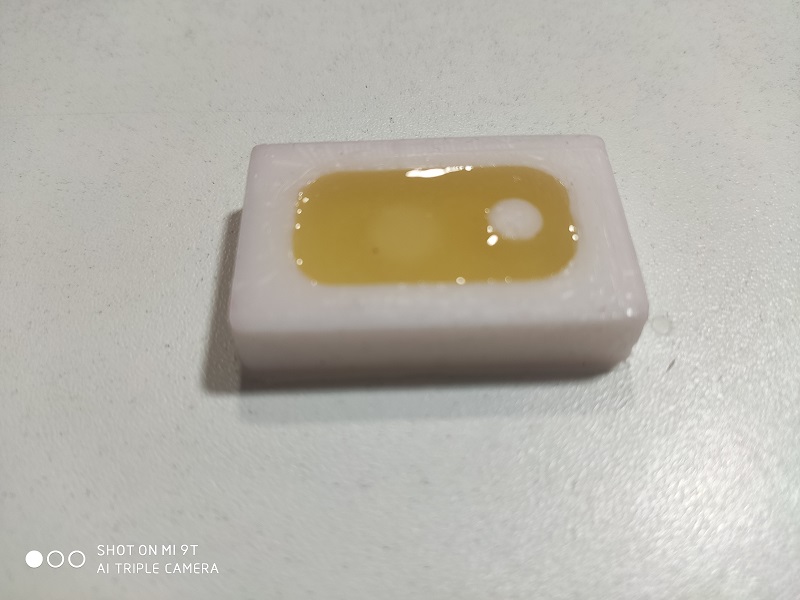
The amount of resin is to cover the entire mold:
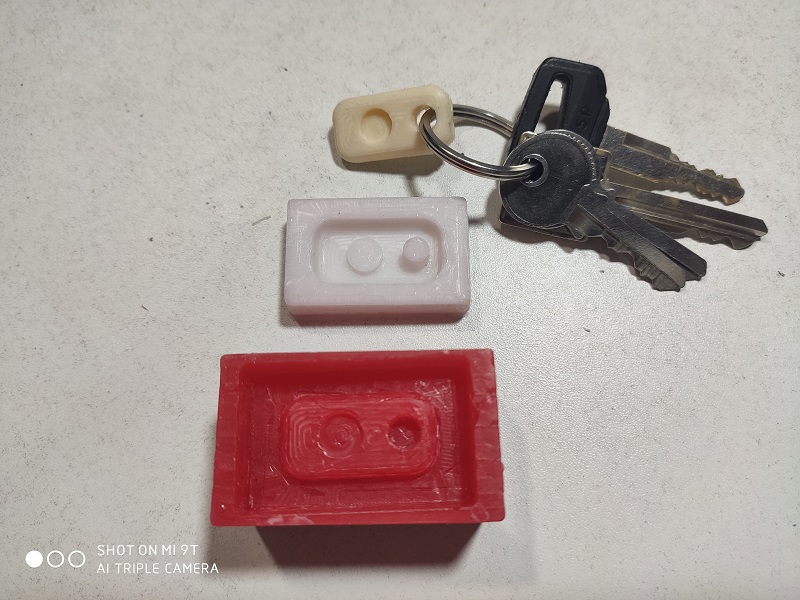
After 30 minutes we have the hardened resin and we can remove it:
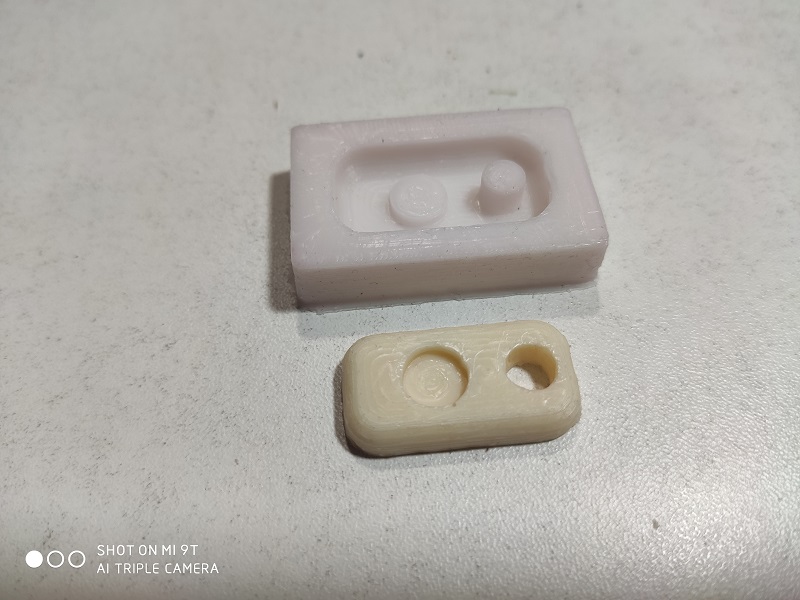
So we have the layout used with the keys:
| Description | Files |
|---|---|
| Keychain Design | LLavero.f3d |
| Short Side of Box | Lateral_Corto.ipt |
| Long Side of Box | Lateral_Largo.ipt |
| Base box | Relleno_Agujerado.ipt |
| Text FAB 20 | Figura_FAB_20.ipt |