6. 3D Scanning and Printing
Group Assignment:
- Test the design rules for your 3D printer(s)
Individual Assignment:
- Design and 3D print an object (small, few cm3, limited by printer time) that could not be made subtractively
- 3D scan an object (and optionally print it)
GROUP ASSIGNMENT
This week I worked on calibrate the 3D Printer Machine and 3D Scanner Machine, test the design rules for your 3D printer(s)
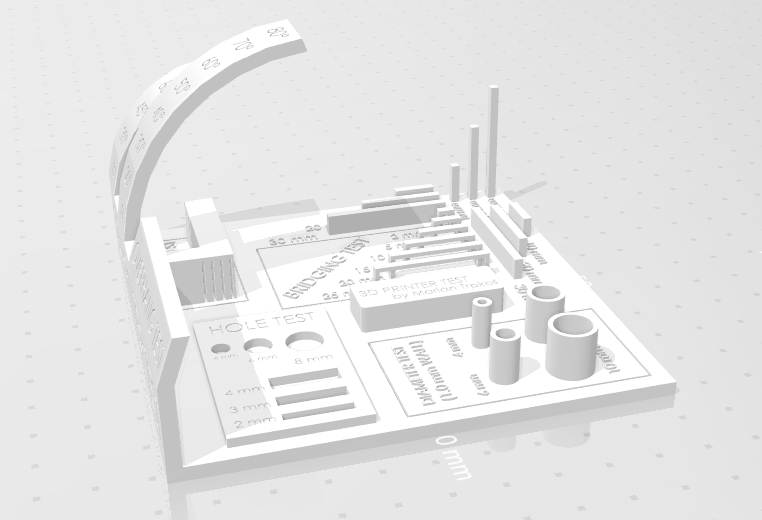
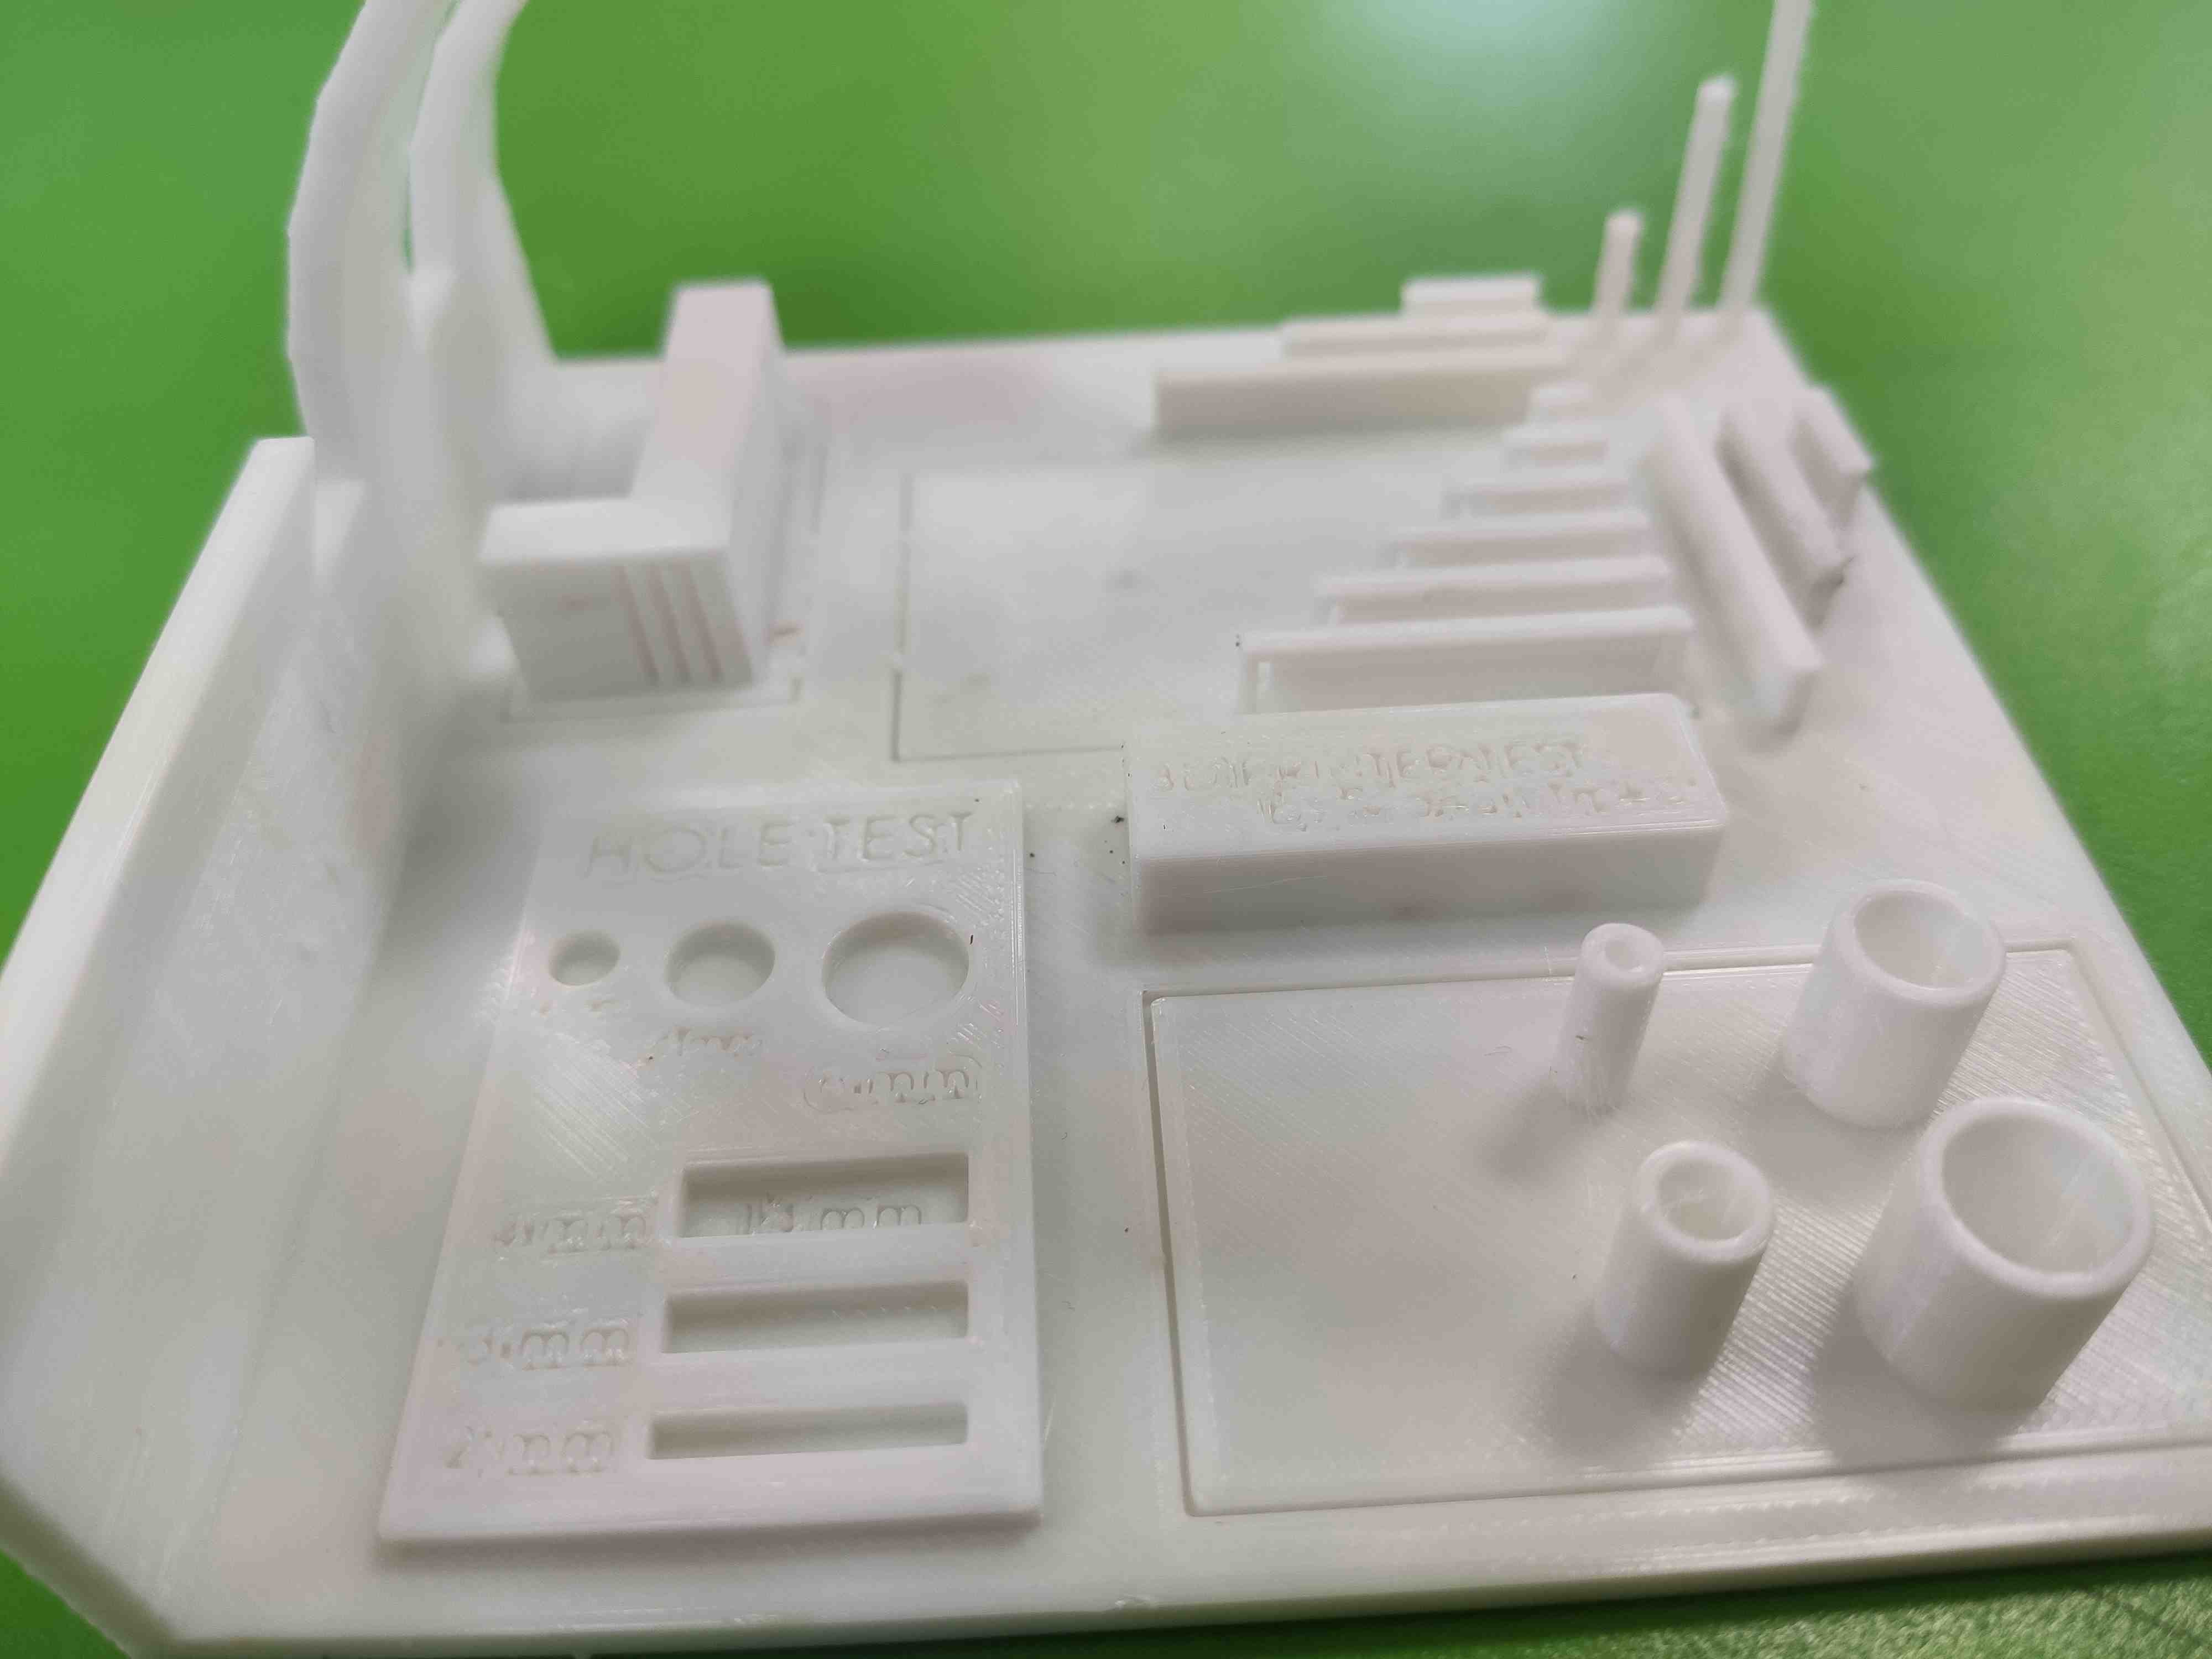
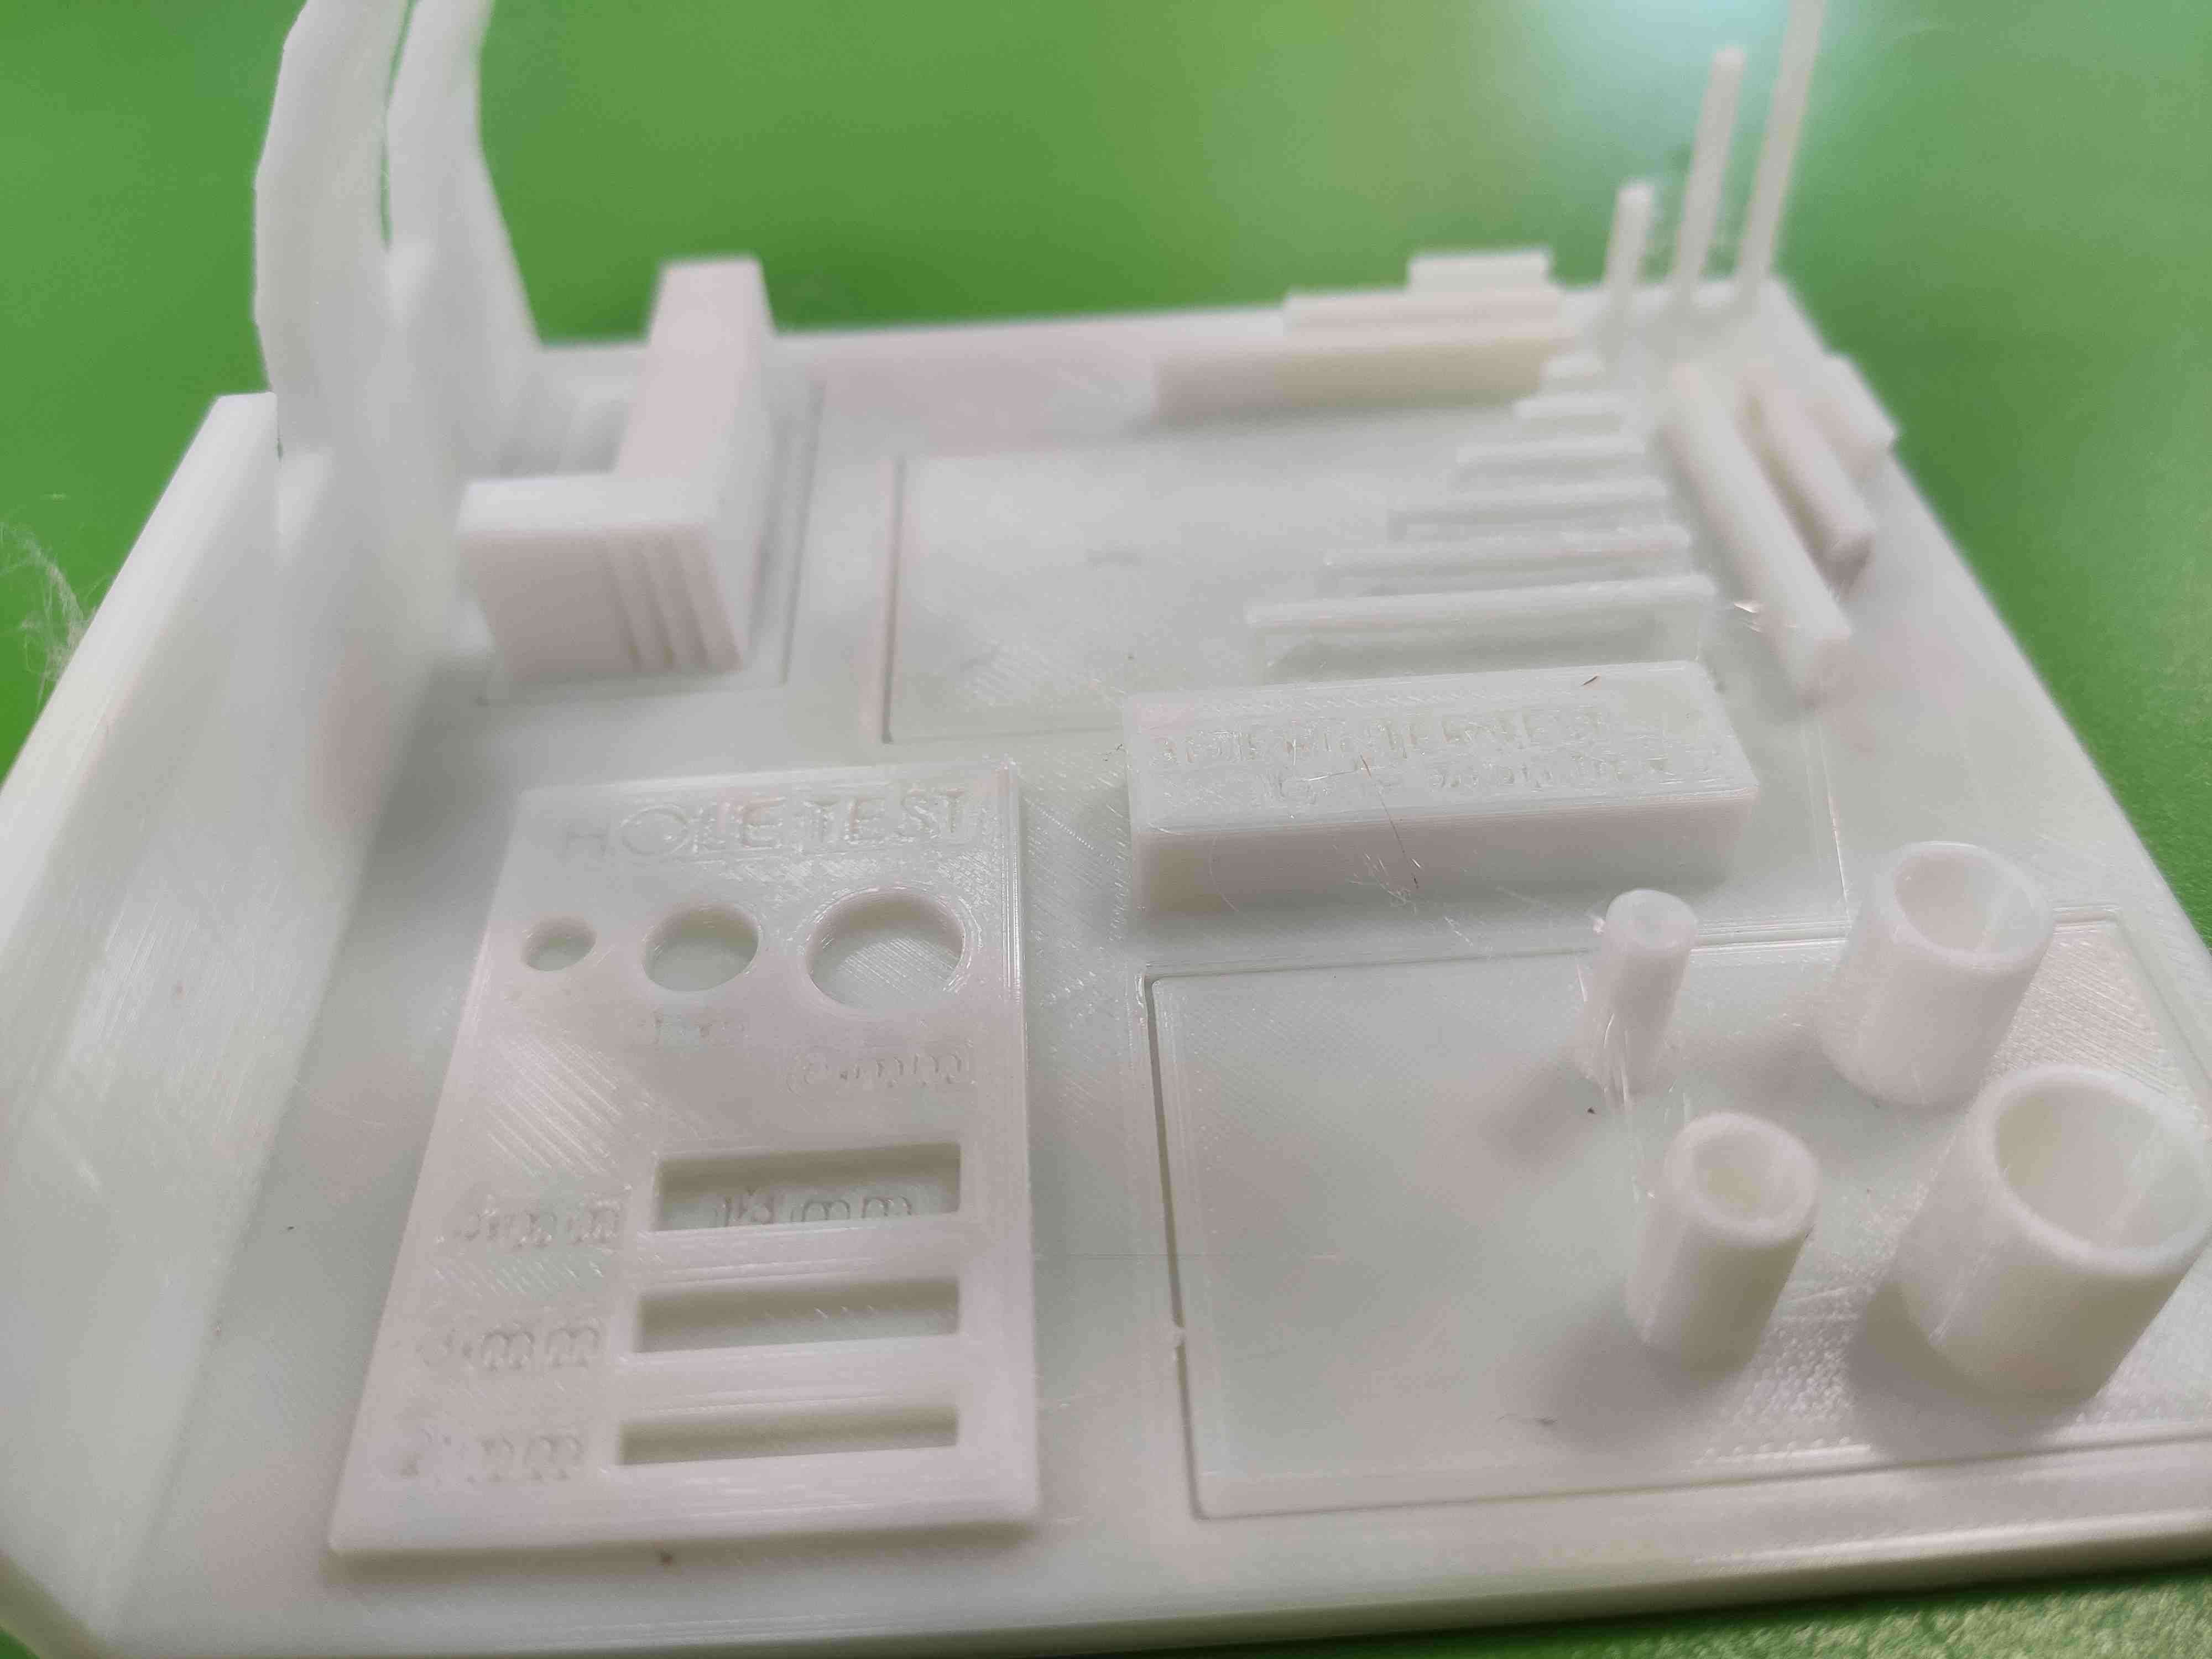
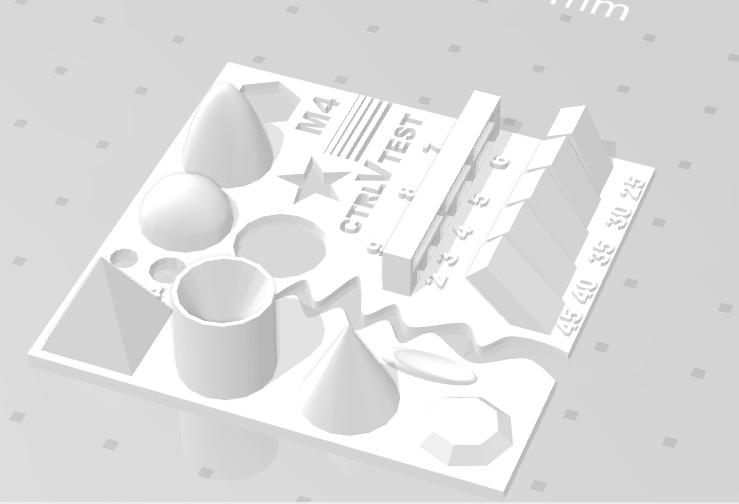
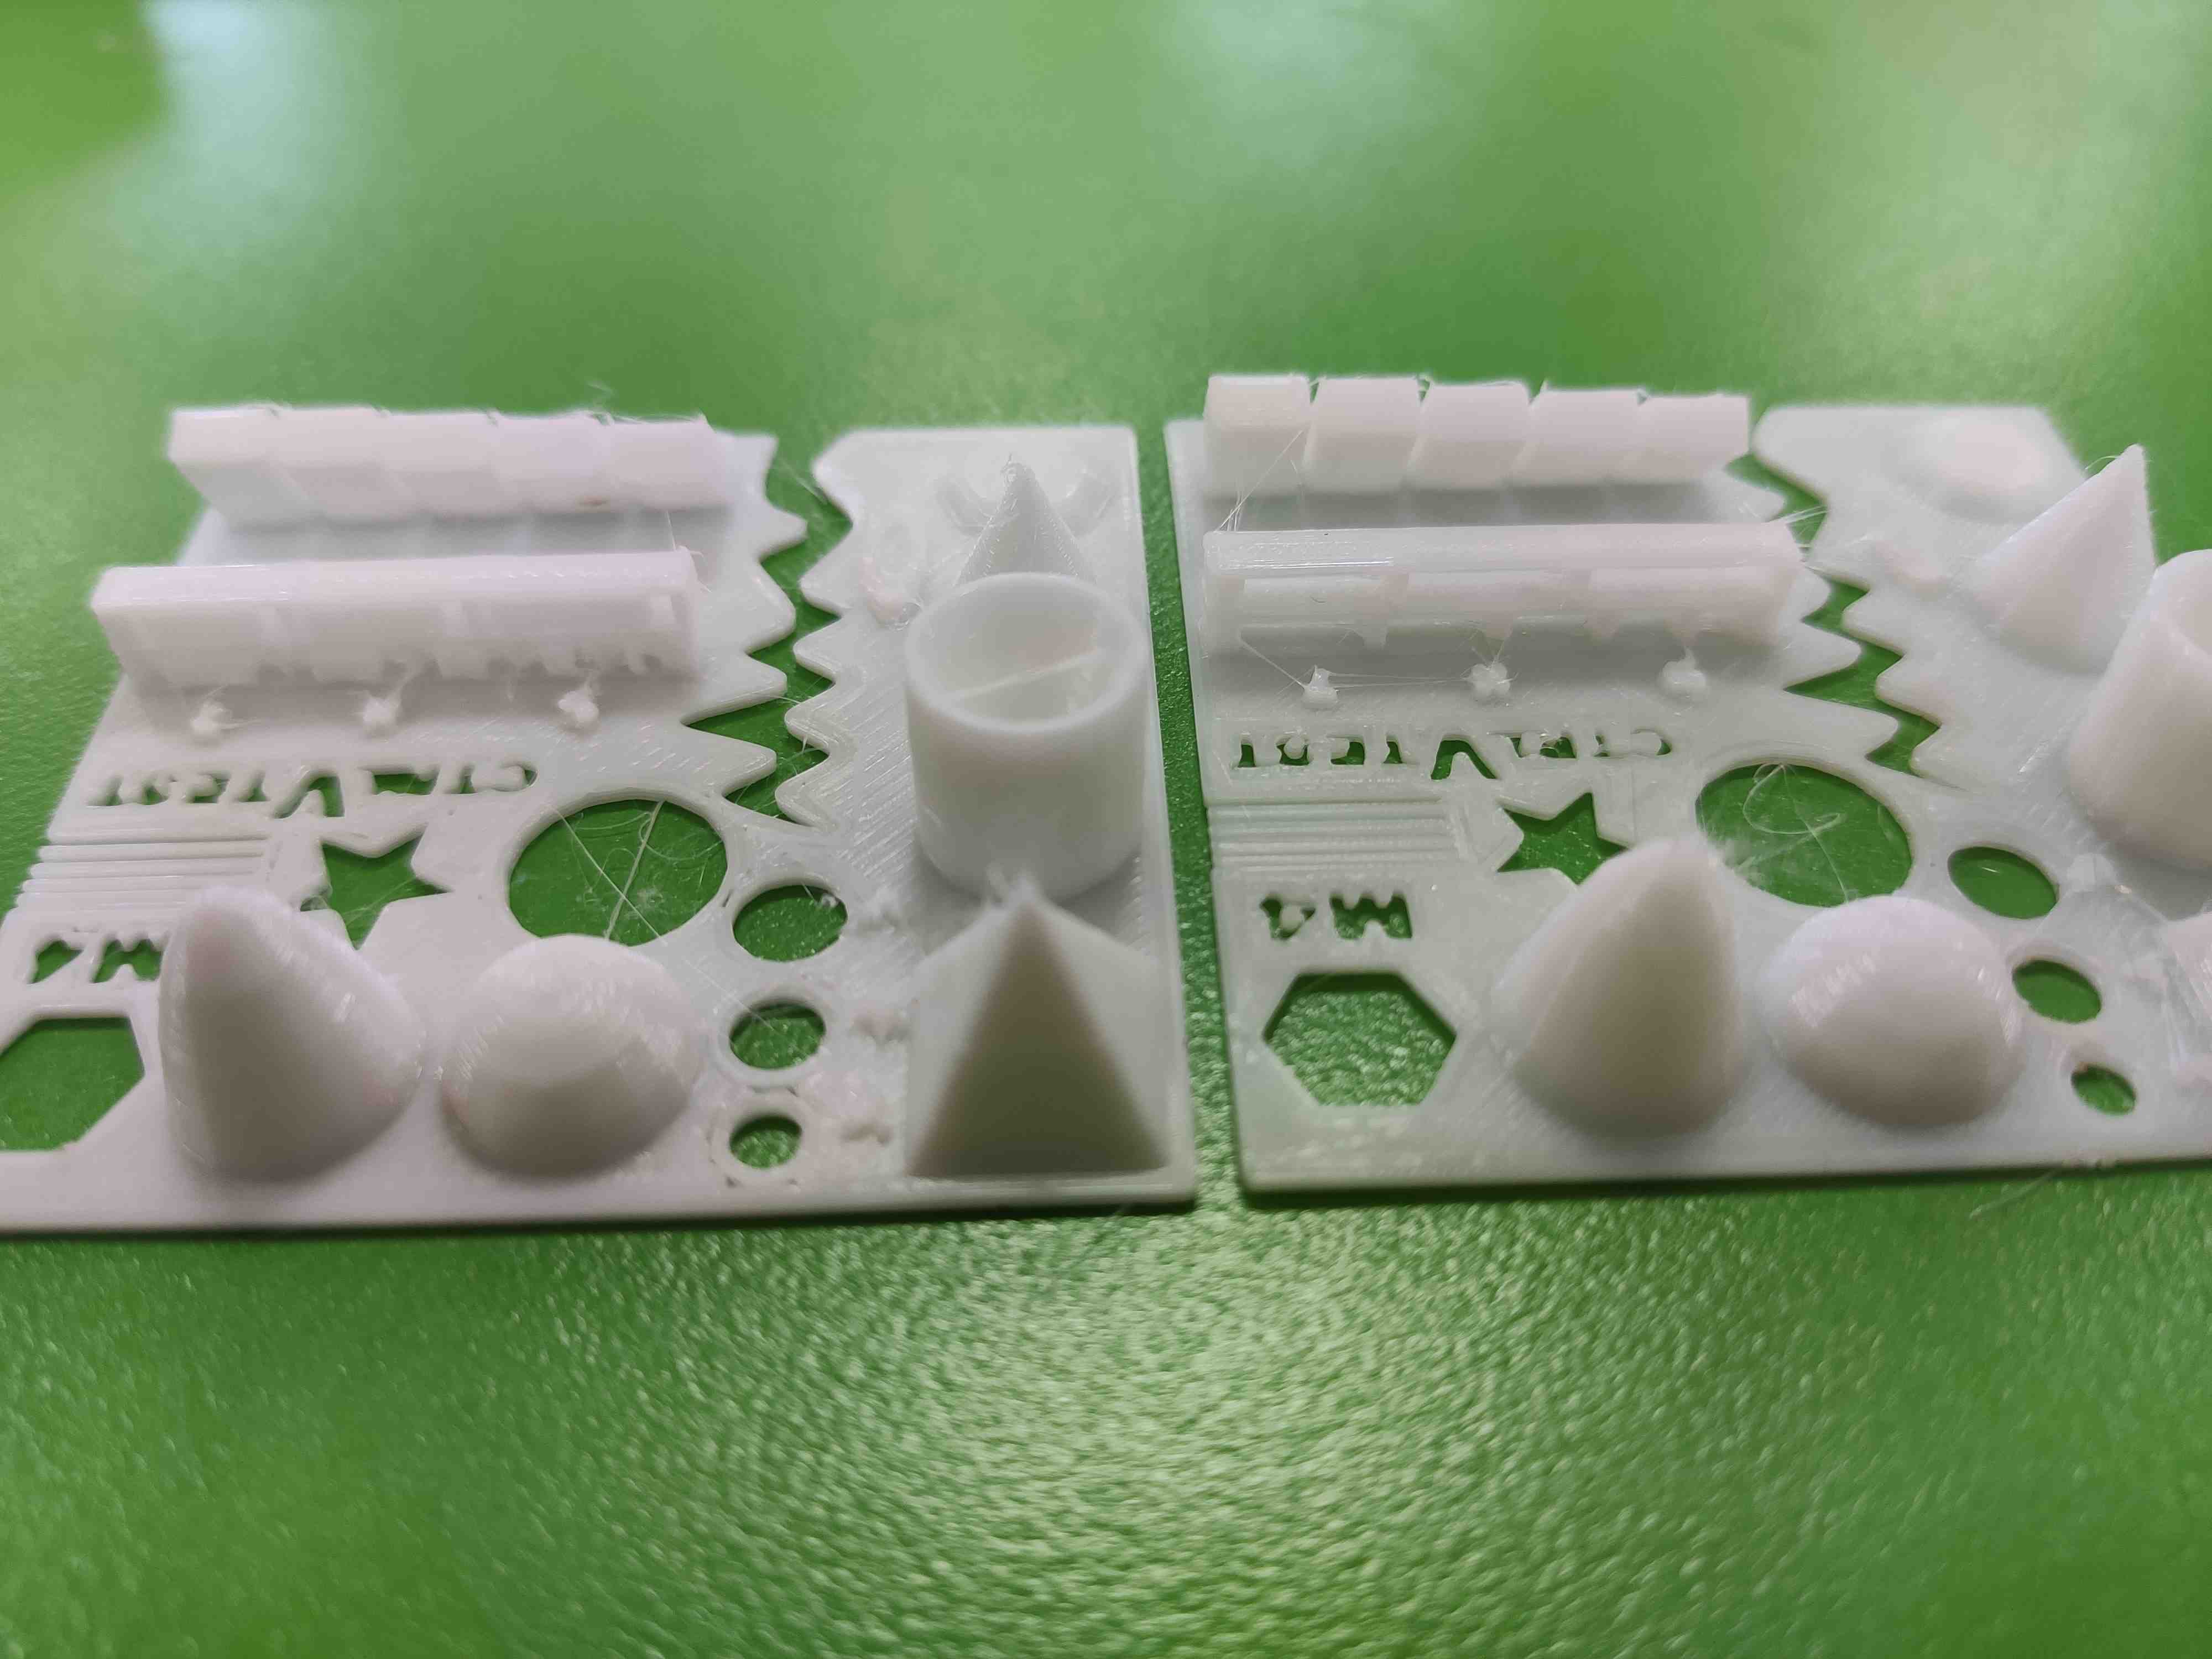
1. Testing with Pattern 1
Test File download of Thingiverse:
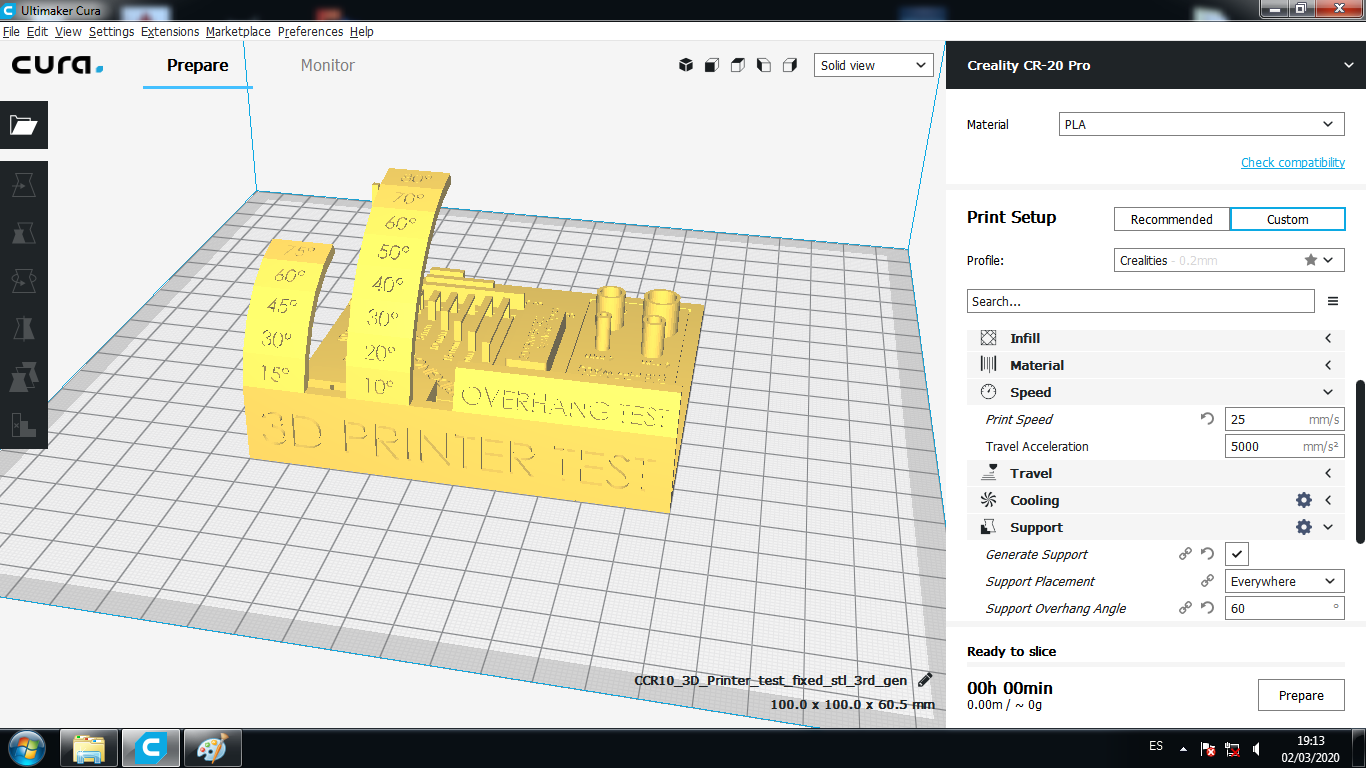
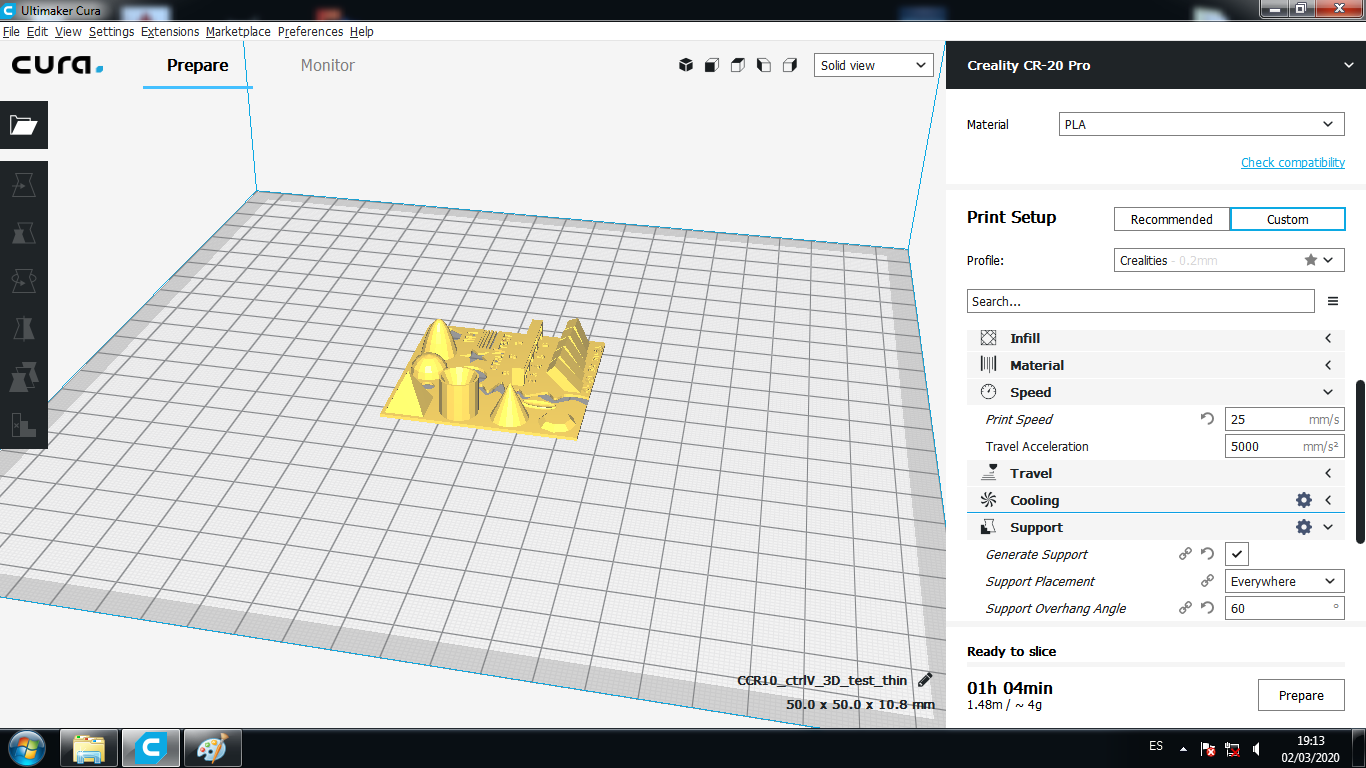
Preparate the file GCODE:
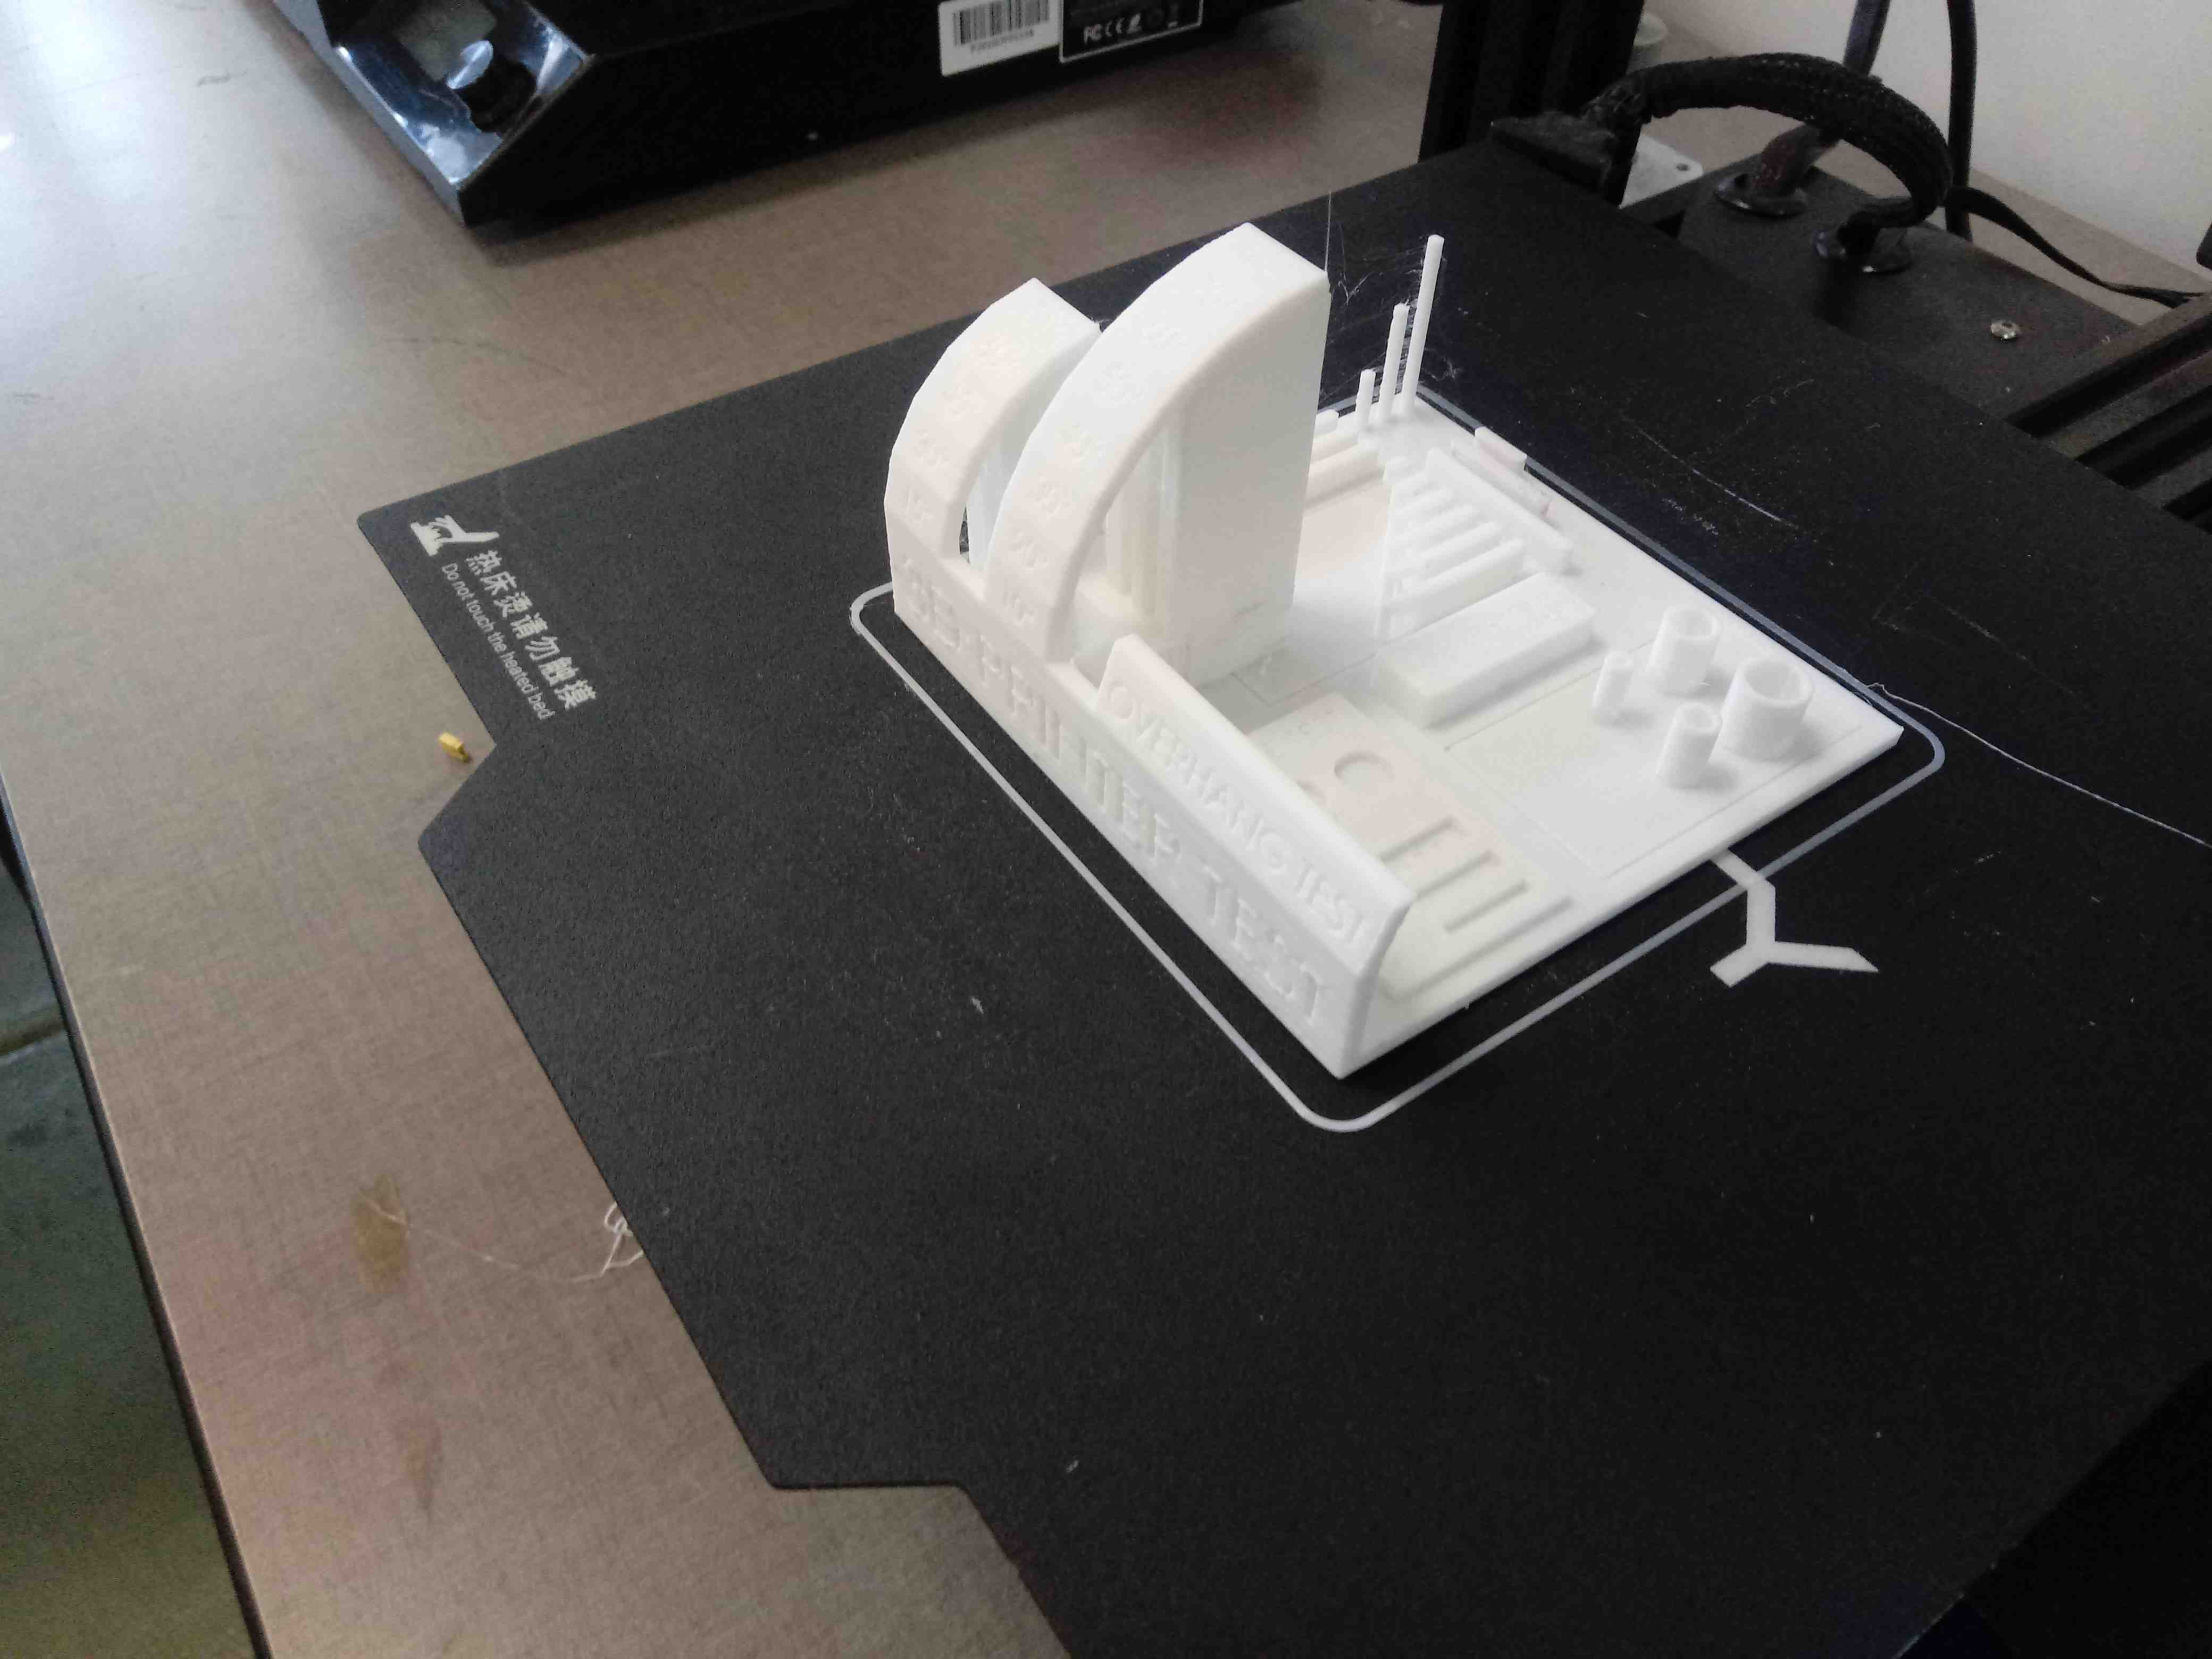
Printing the file of Test File:
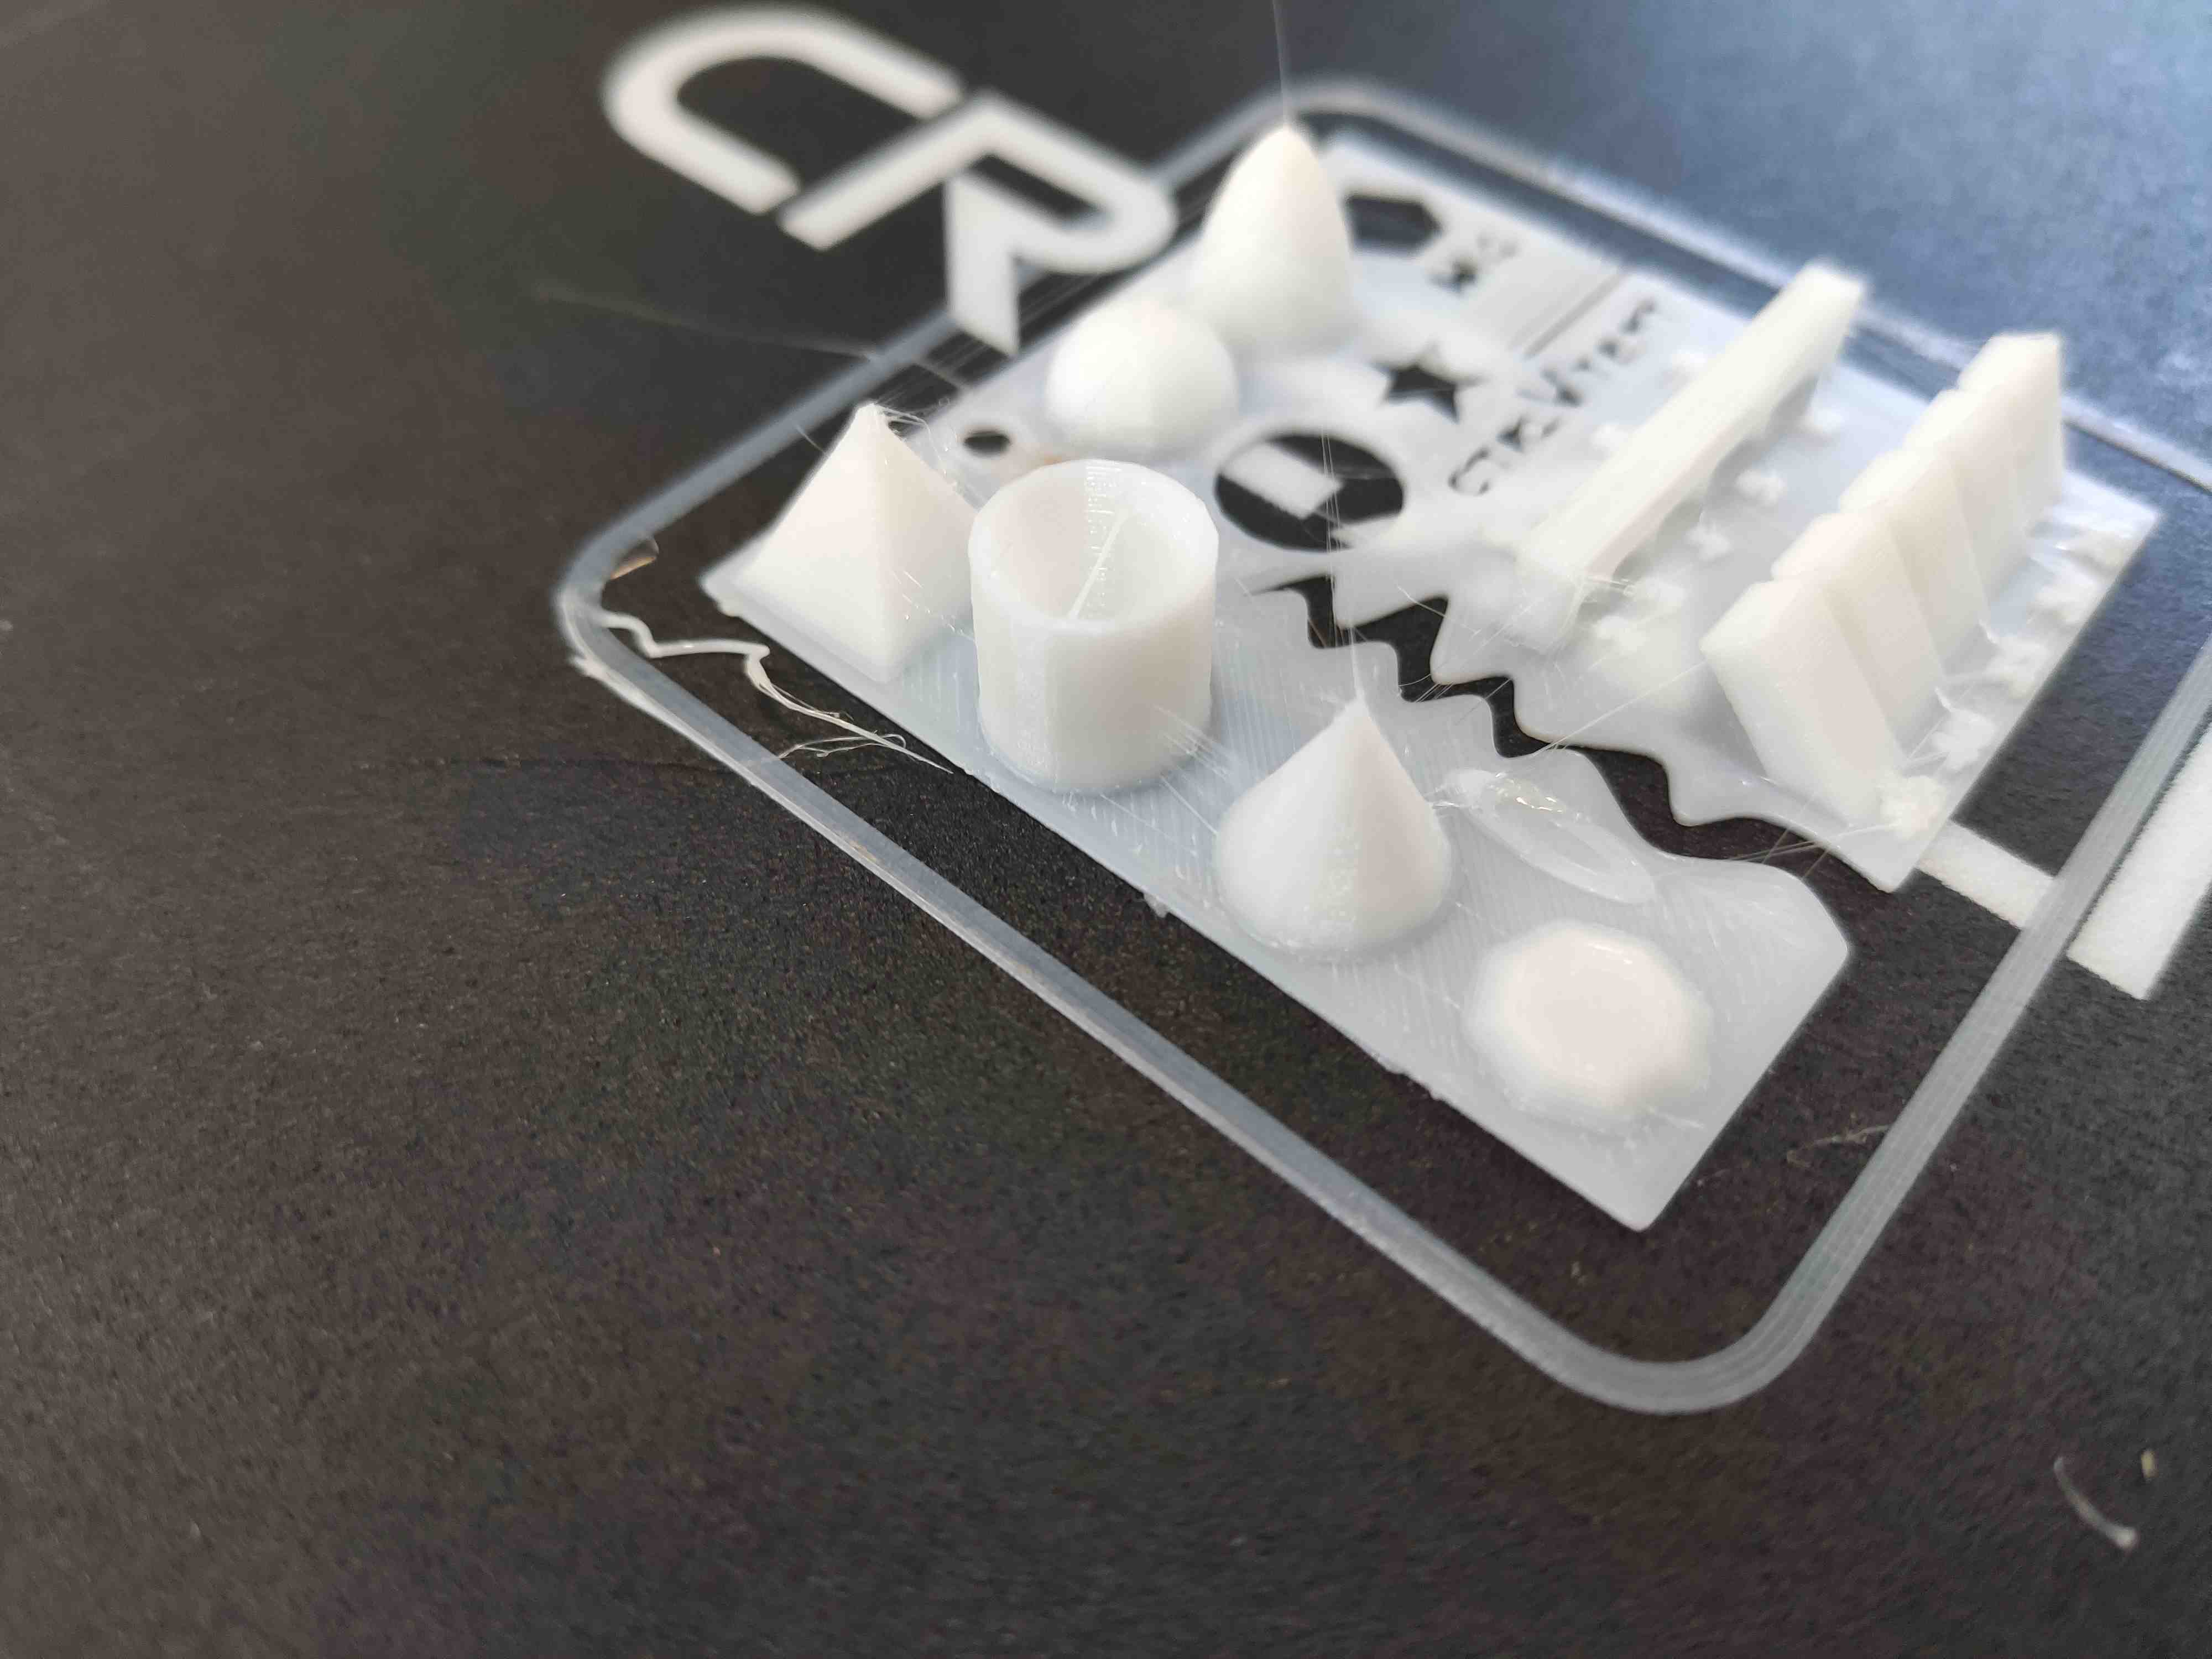
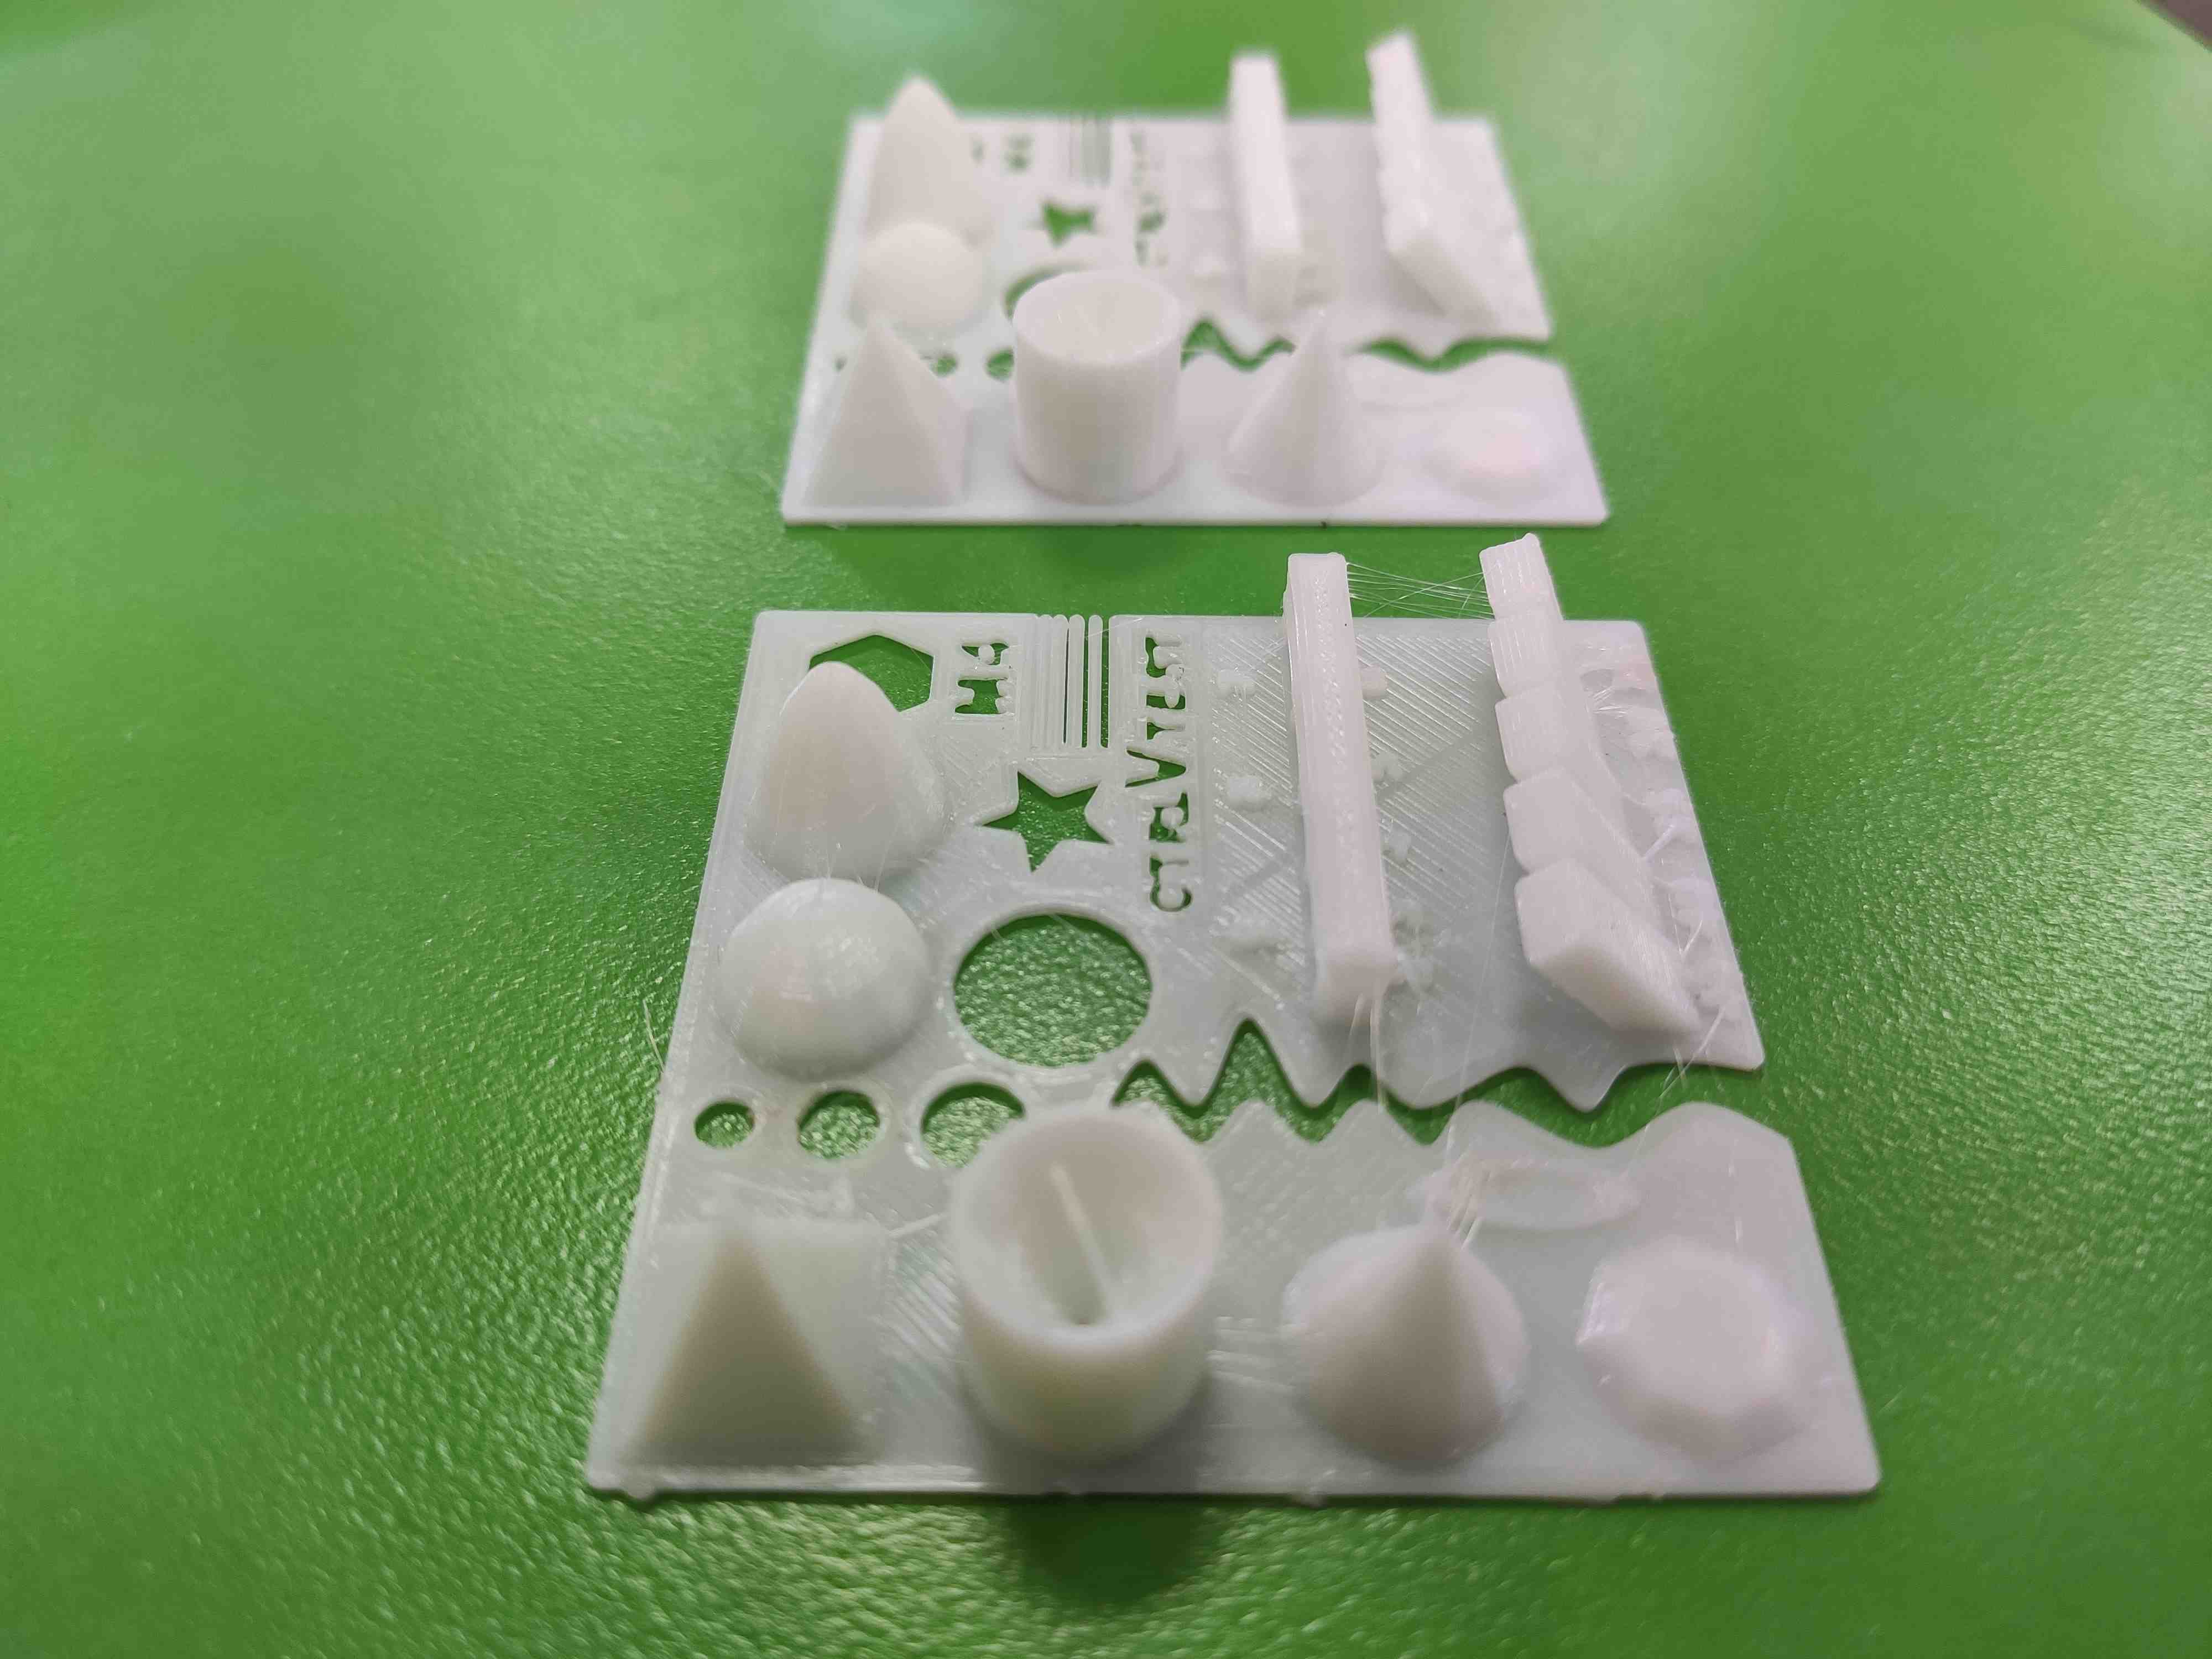
Two printed object, one is with support and the second is without support:
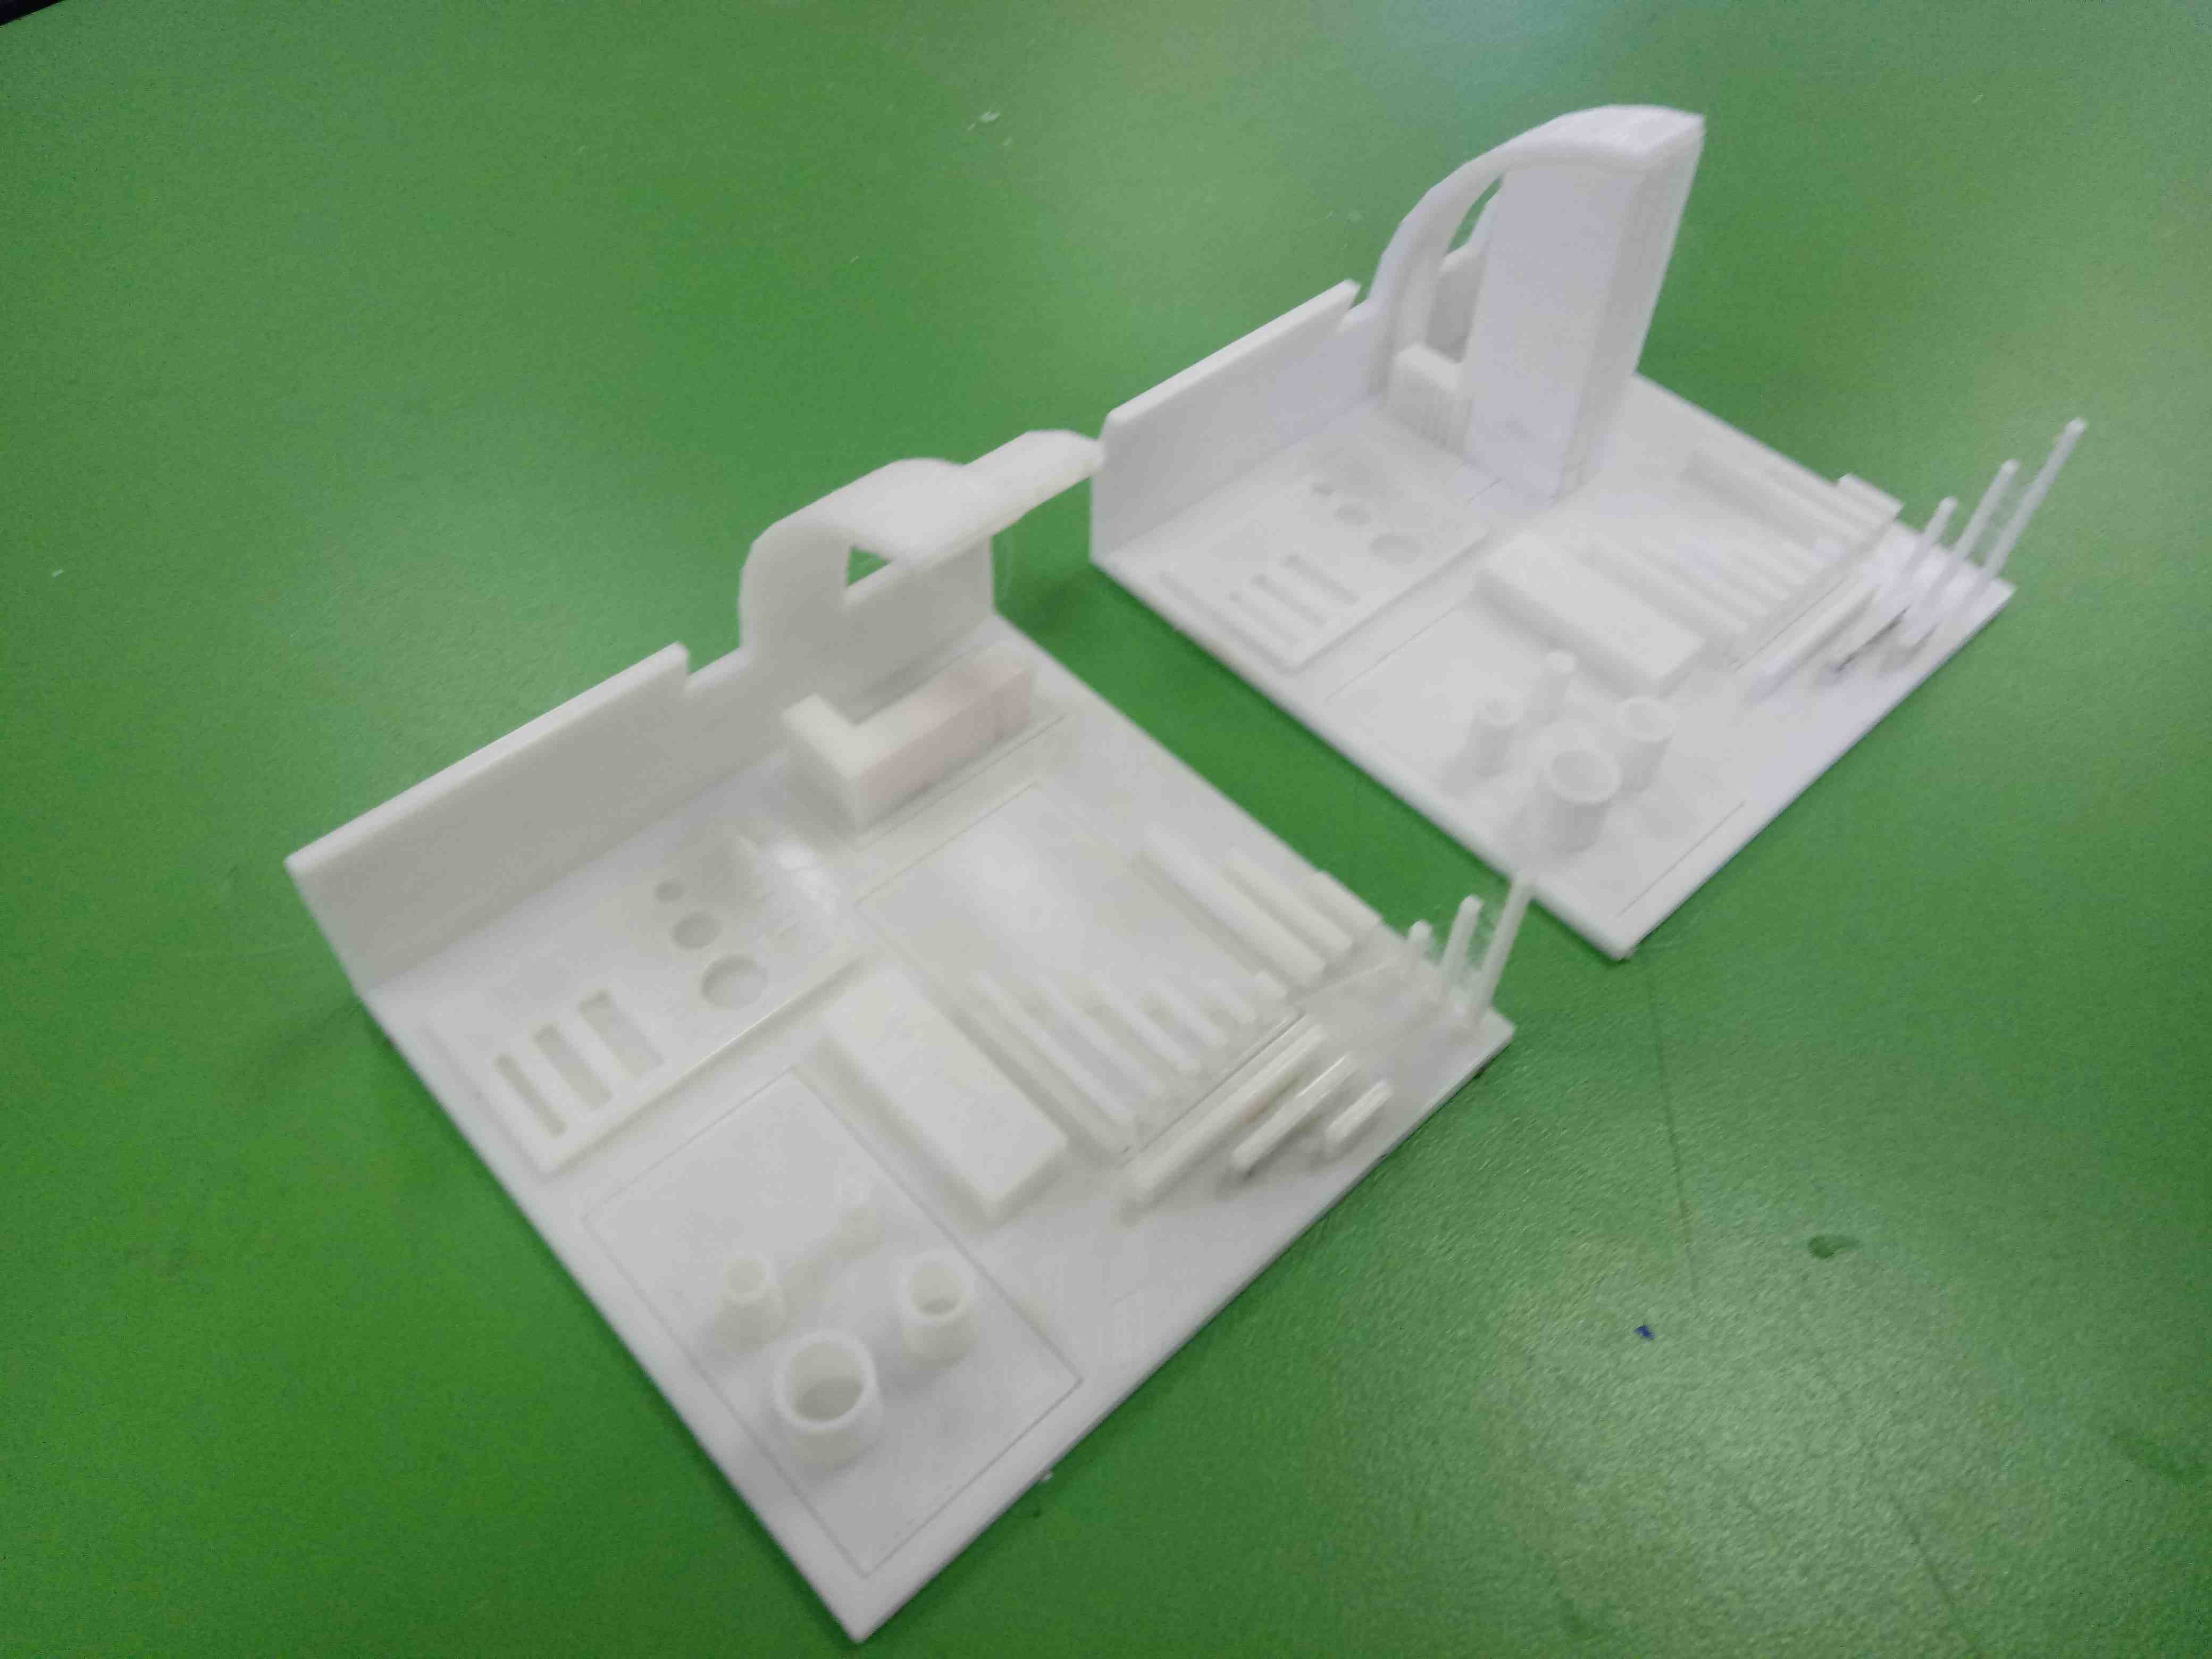
Compare the detail of printed object with support:
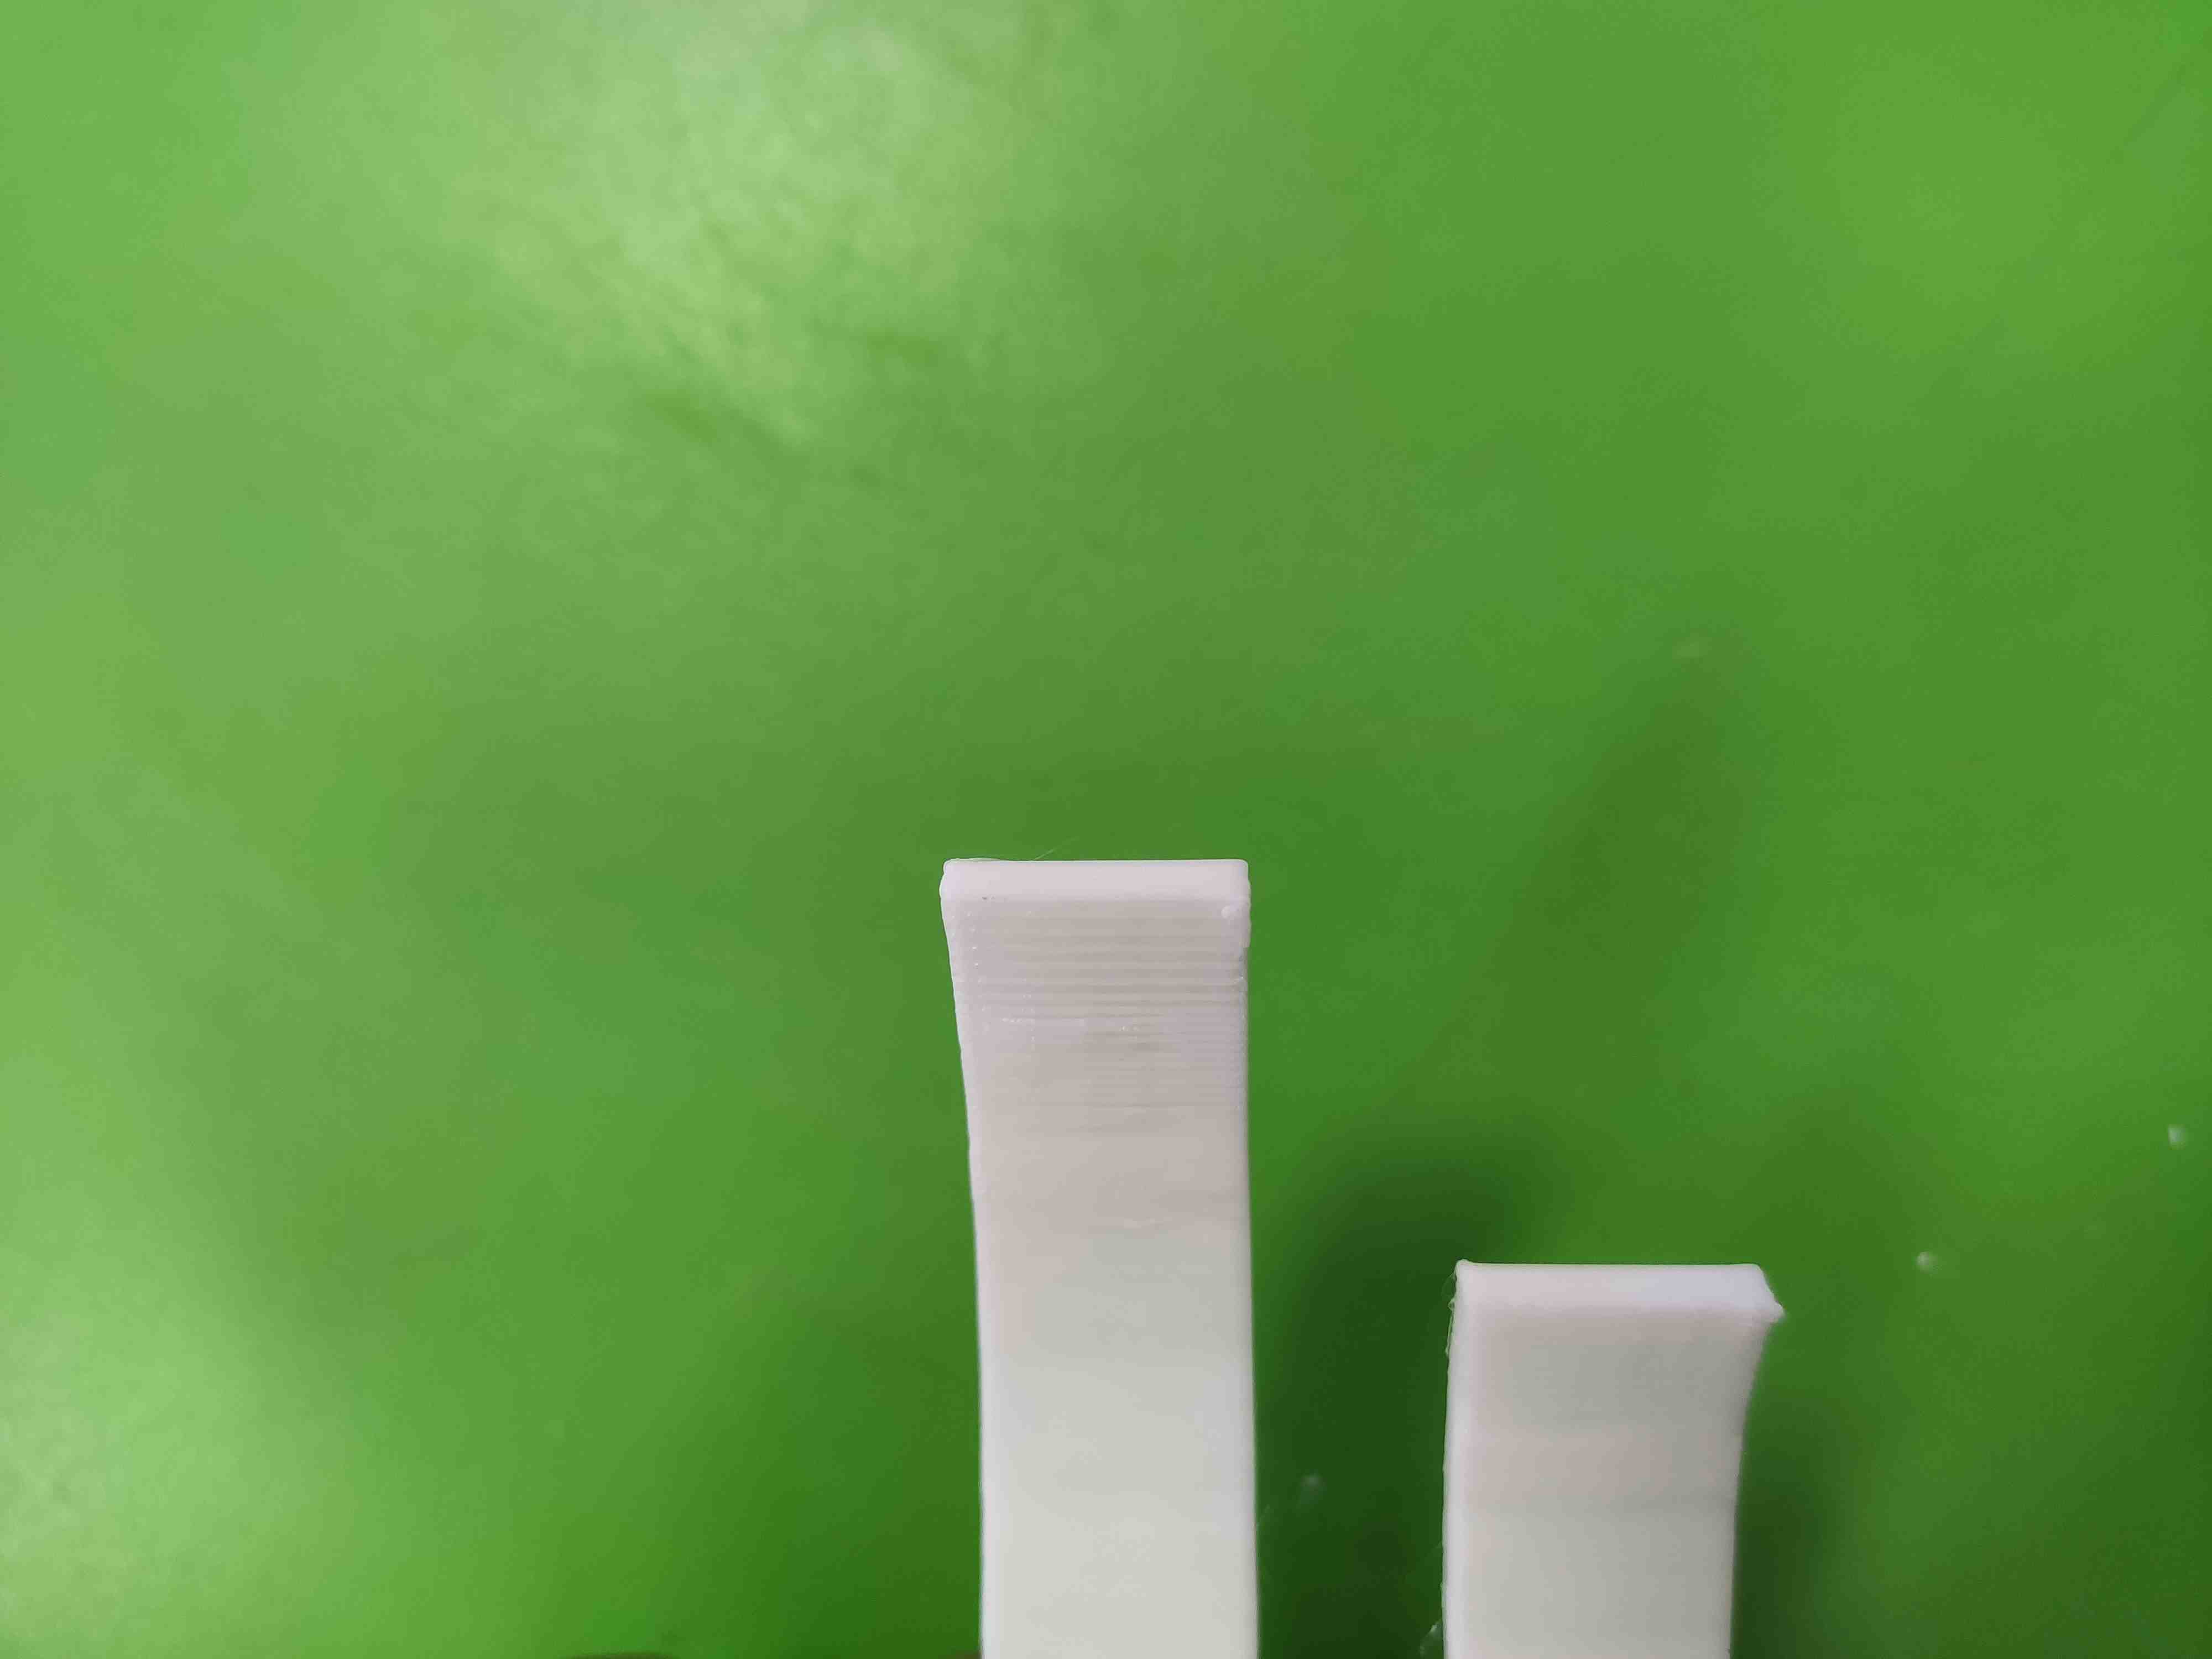
Compare the detail of printed object without support:
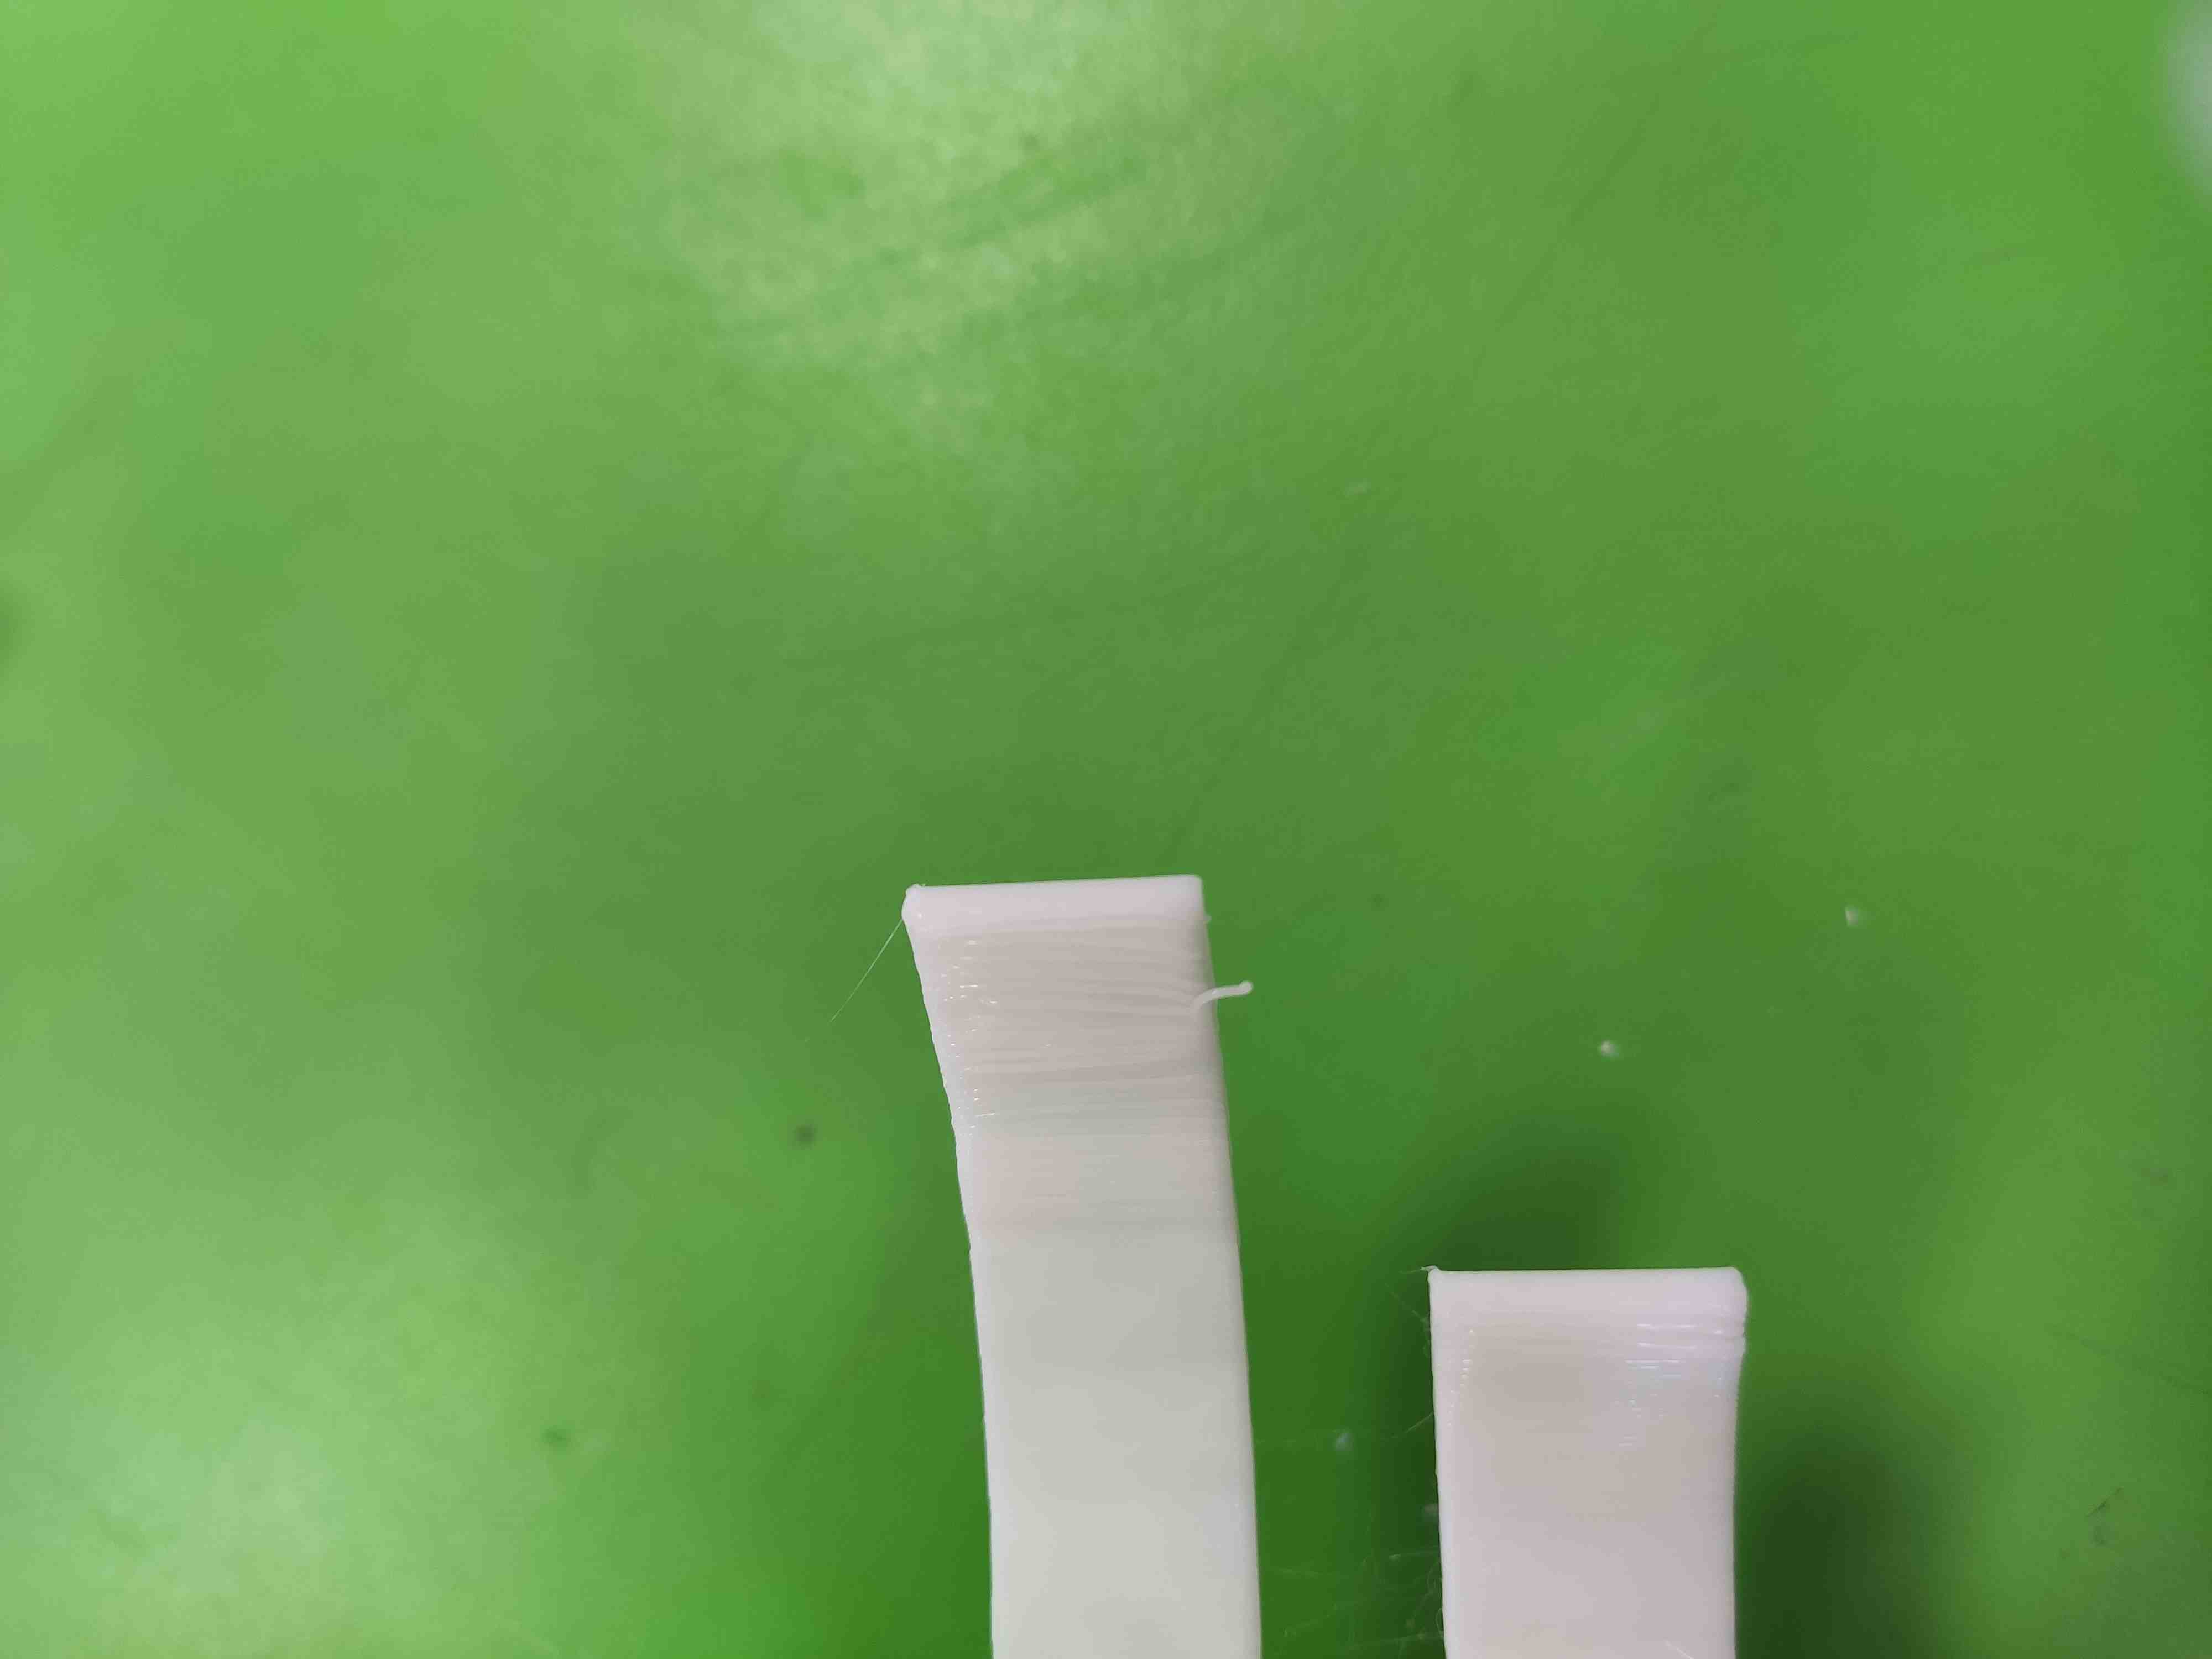
Compare the detail of printed object with support:
Compare the detail of printed object without support:
2. Testing with Pattern 2
Test File download of Thingiverse:
Preparate the file GCODE:
Printed Object of Test File:
Two printed object, one is with support and the second is without support:
INDIVIDUAL ASSIGNMENT
-
Design and 3D print an object (small, few cm3, limited by printer time) that could not be made subtractively
-
3D scan an object (and optionally print it)
1. 3D Object that could not be made Subtractively
In my final project I will need a main base of the cold extruder of the impression materials such as mashed potatoes, delicacy and whipped cream.
That is why we start from a sketch that we will take as a start.
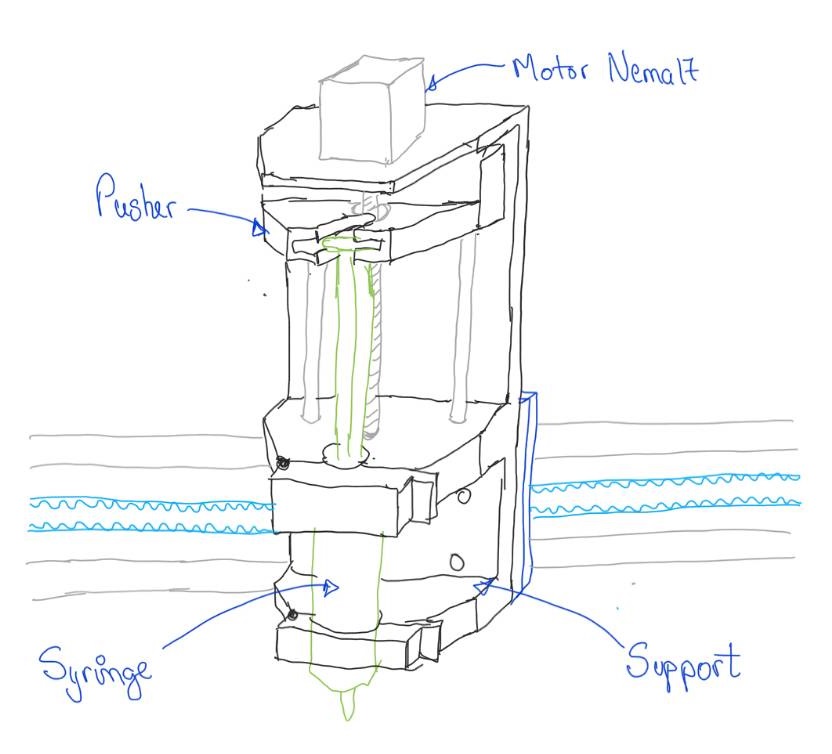
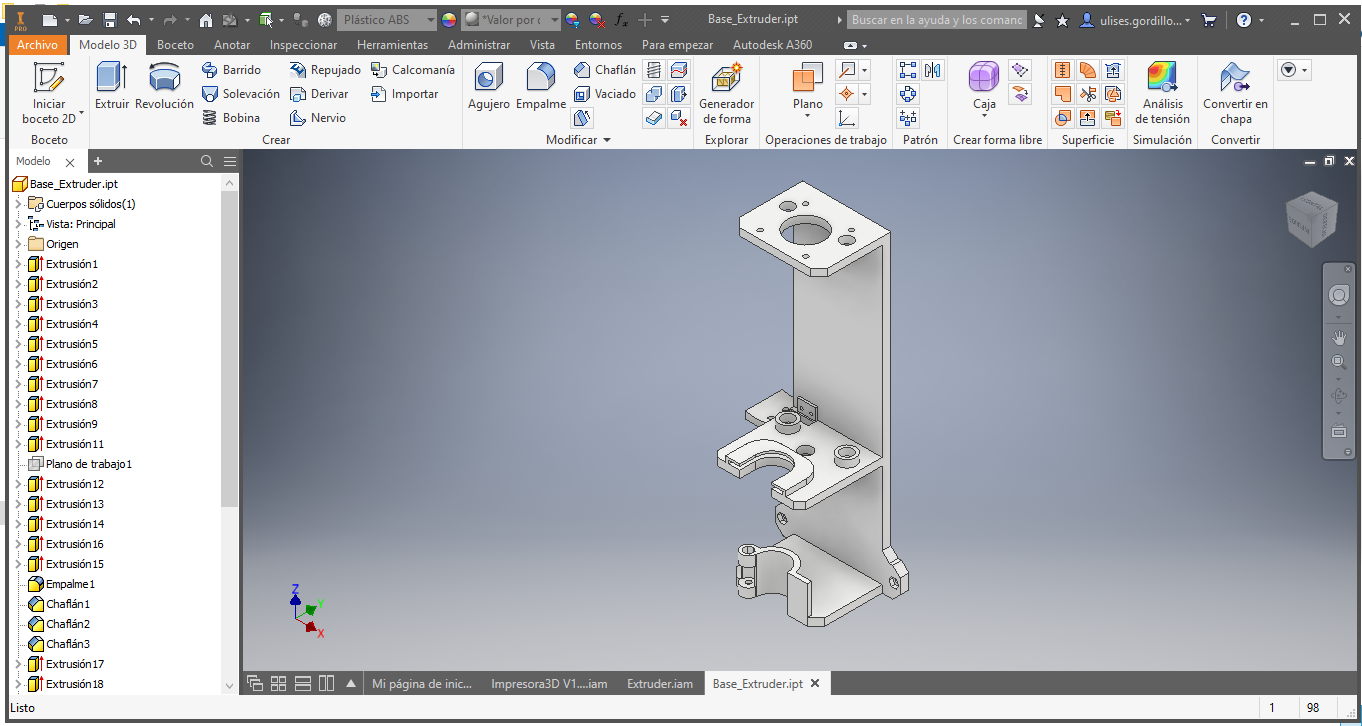
We started by designing the main base of the extruder
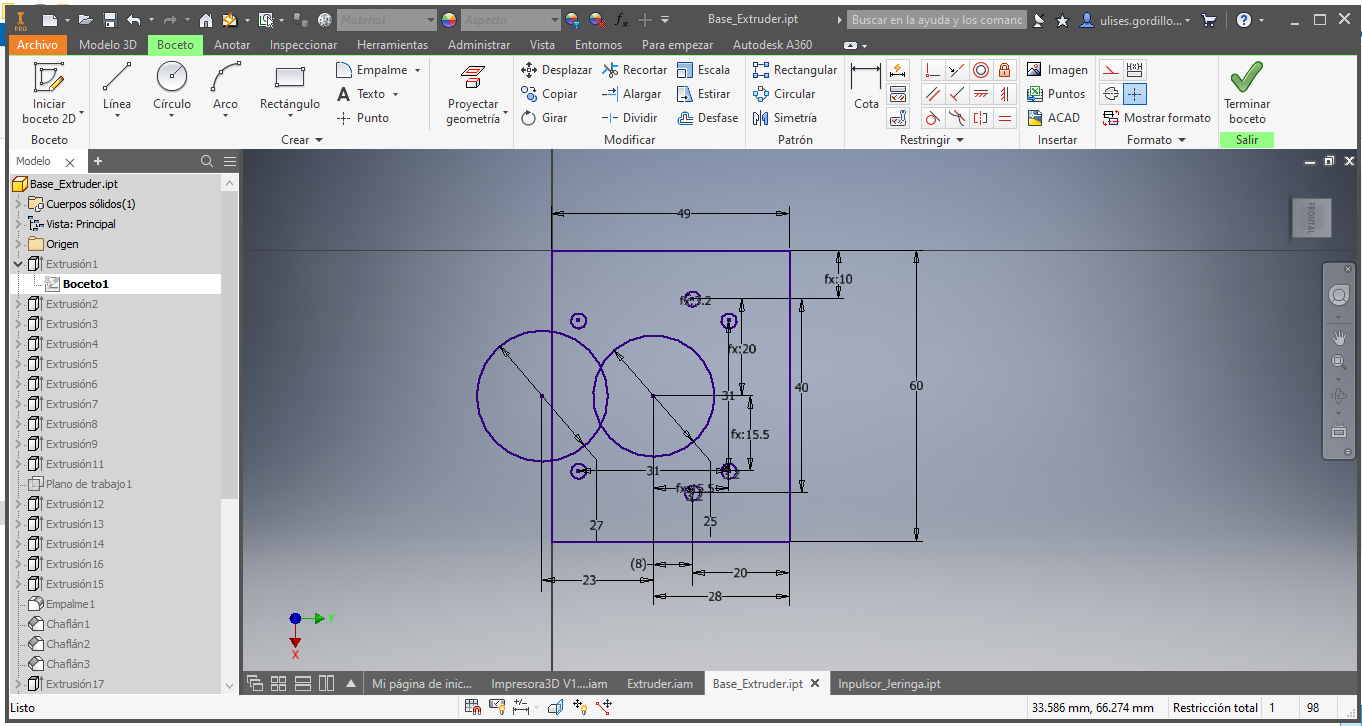
Now we add the long part of the base:
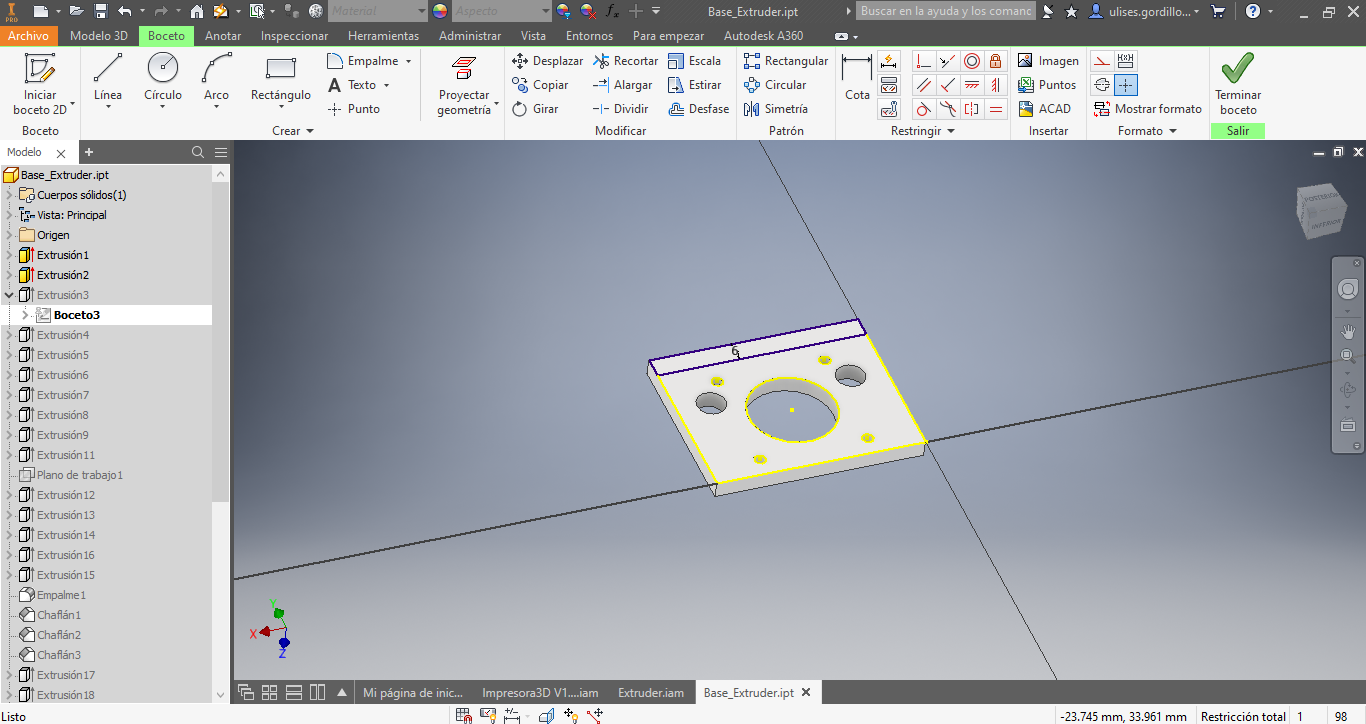
Now we add the central part of the base:
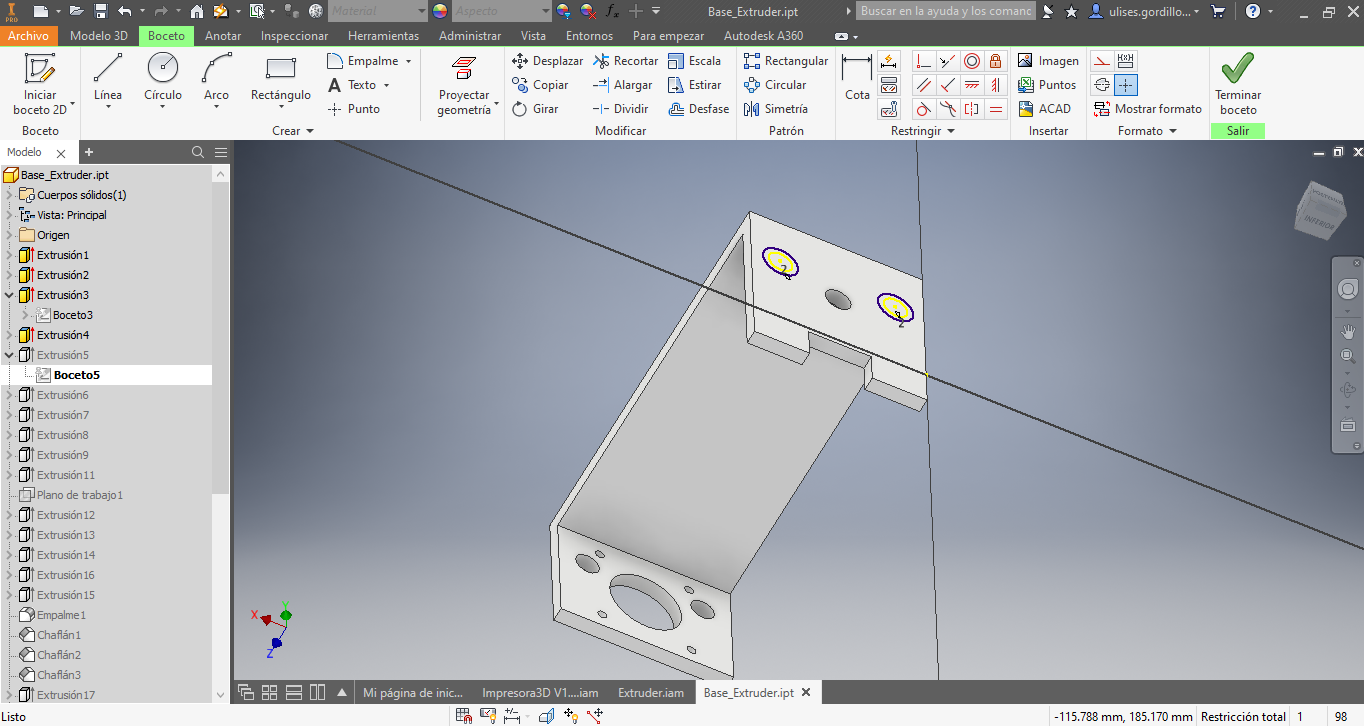
Here we have the base of the extruder
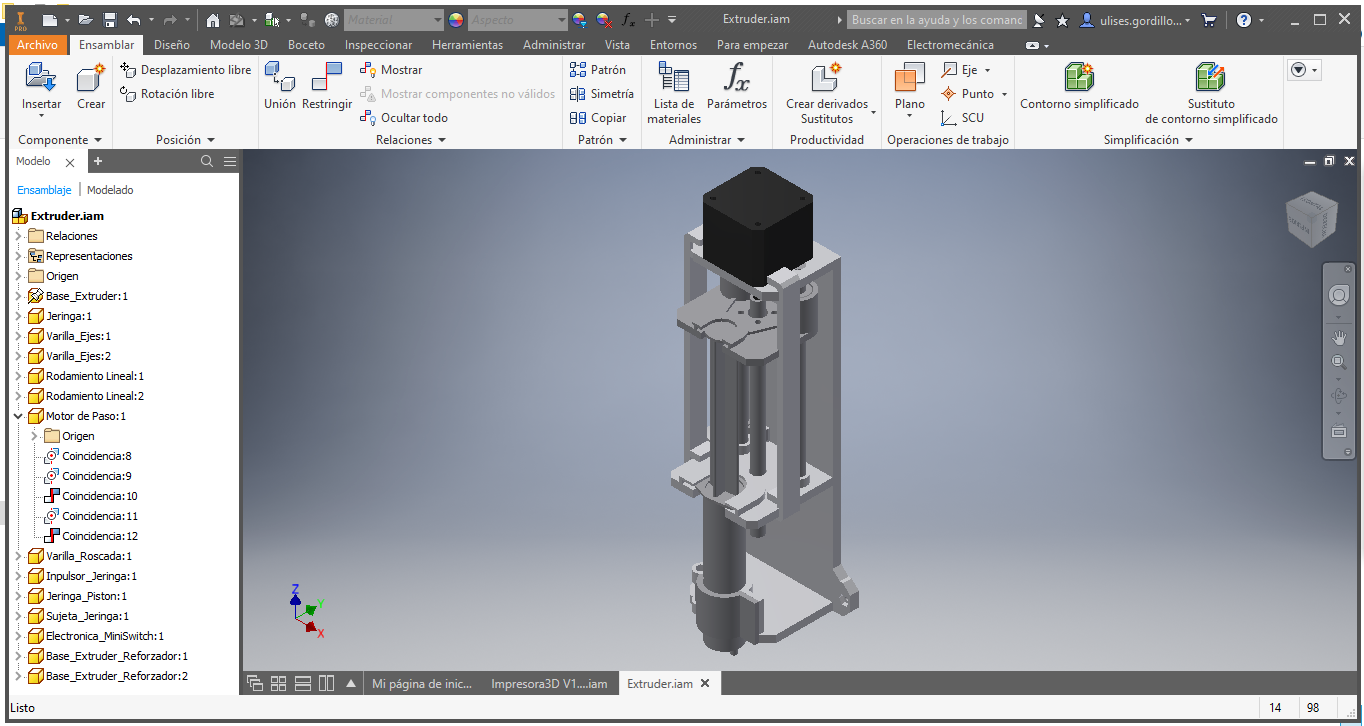
This would be the assembly of all the extruder parts:
We export in STL file of Autodesk Inventor, we open Ultimaker Cura software to load the exported Inventor file:
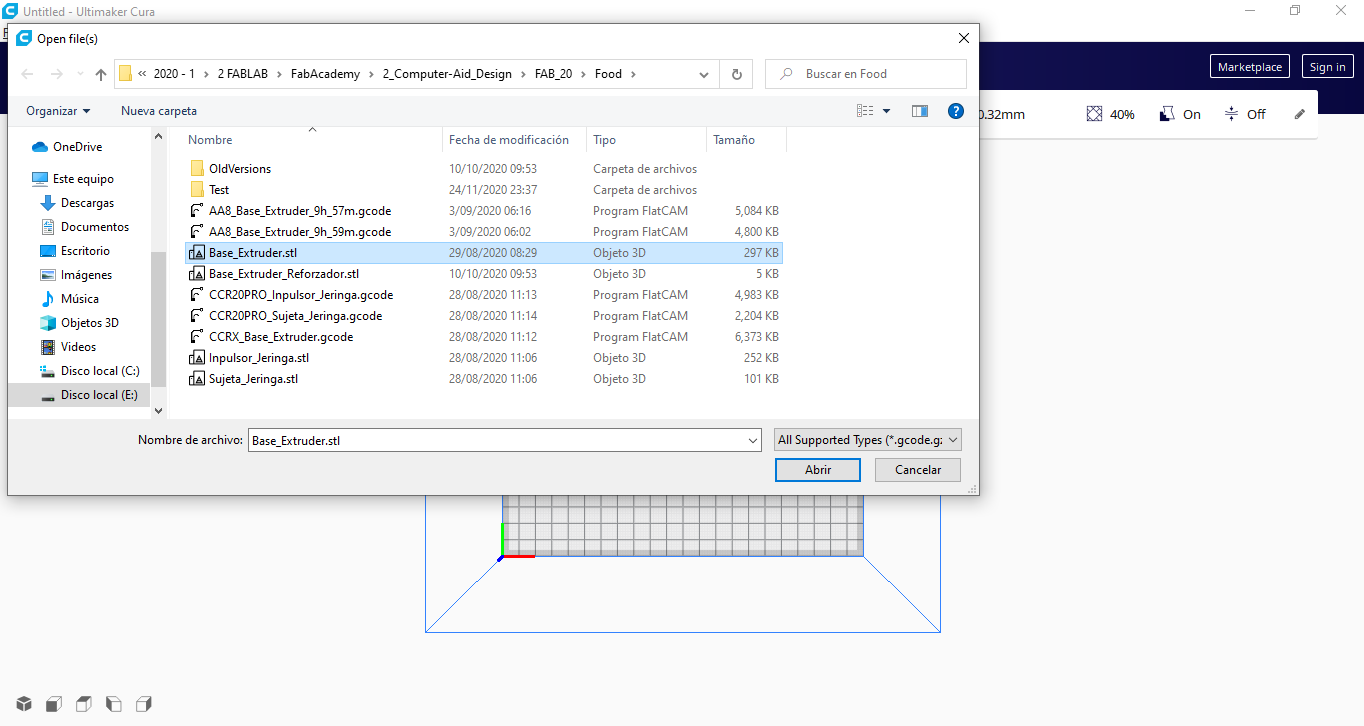
There we have the file designed and loaded in Ultimaker Cura:
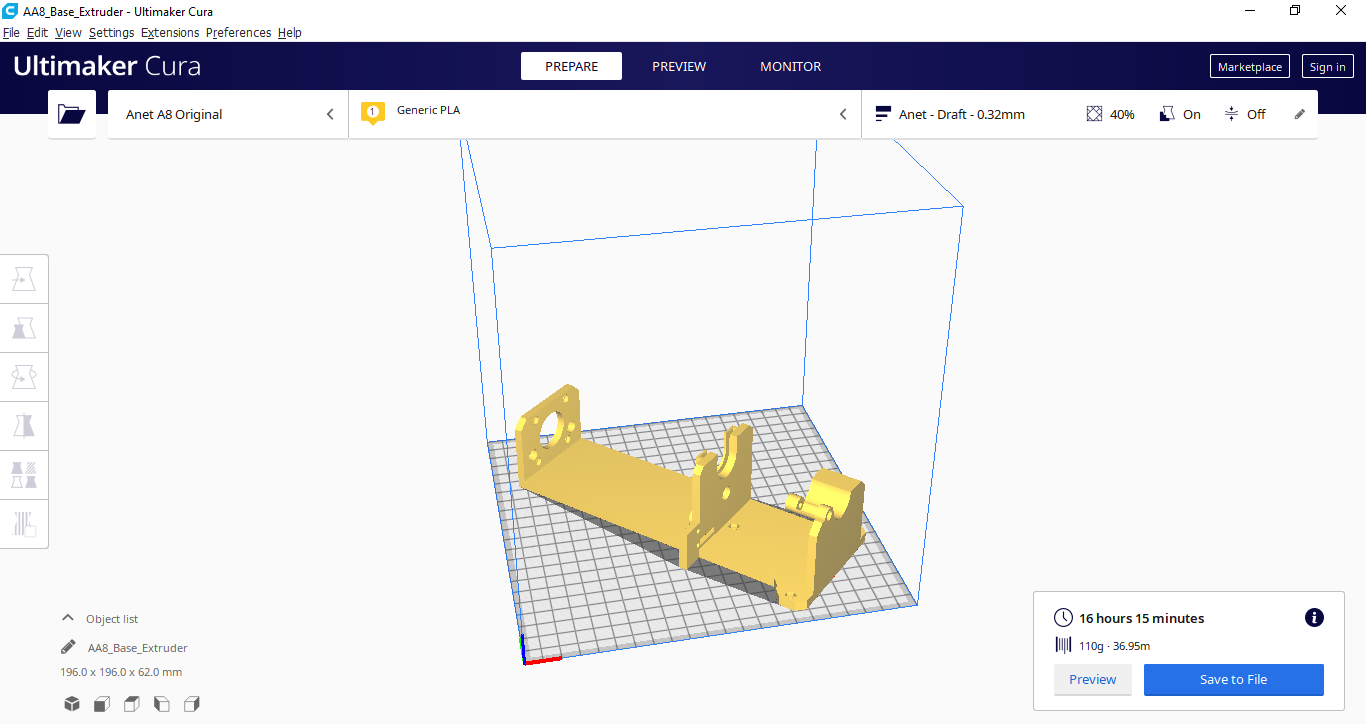
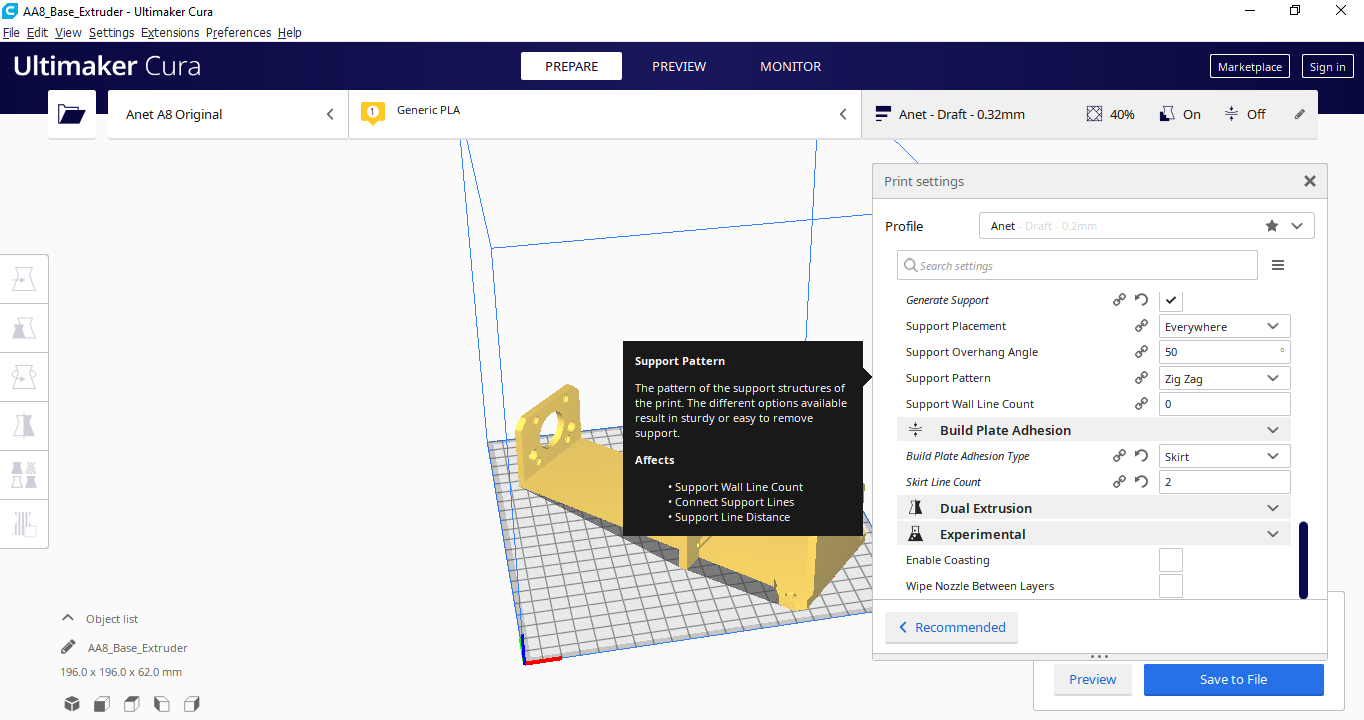
We configure the printing parameters or the manufacturing strategies of the object:
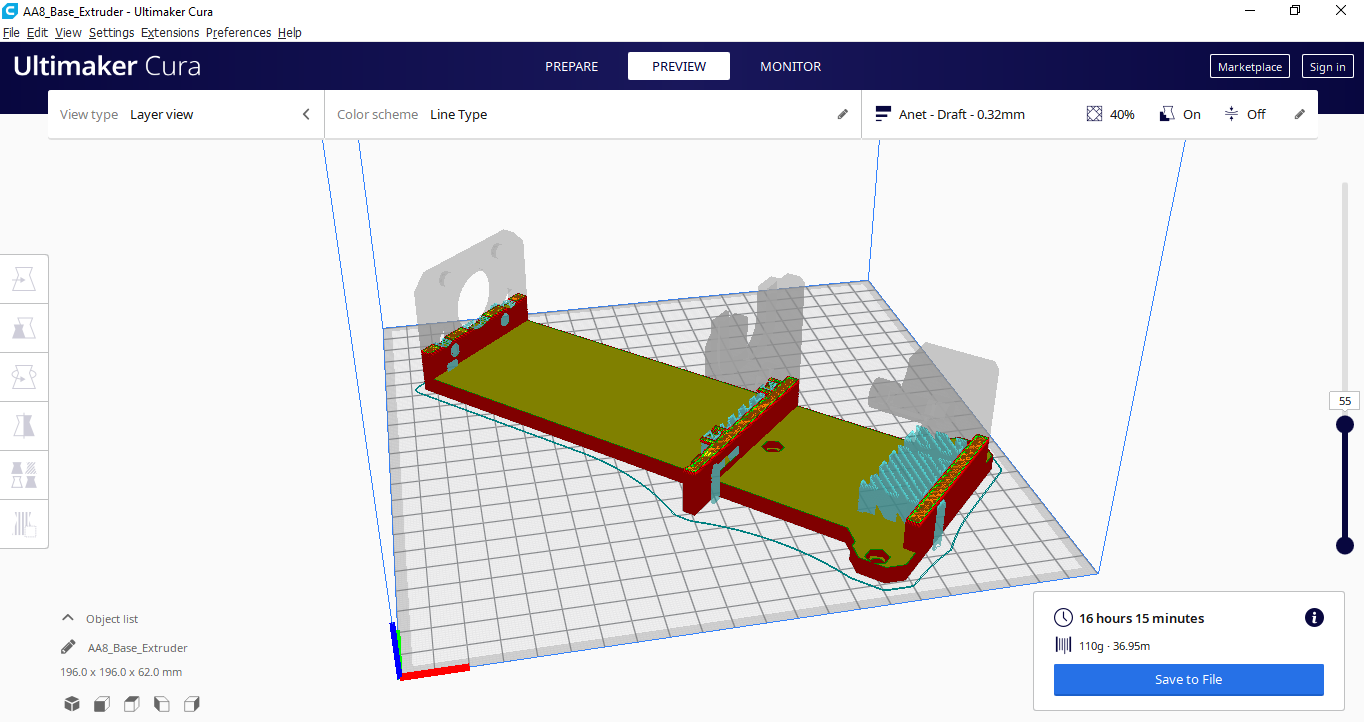
We can see the slice processing to export the GCODE file
We start to print the piece:

There we have the advance of the printing:
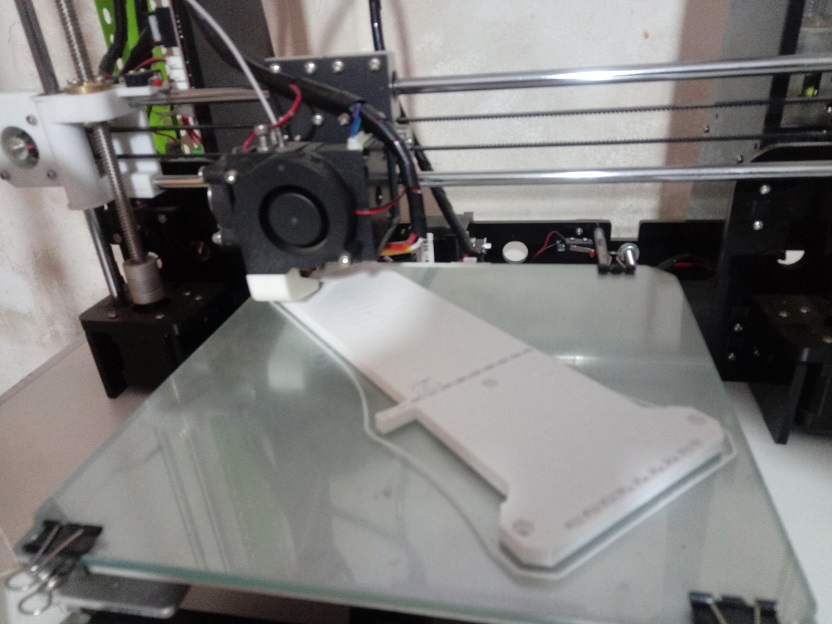
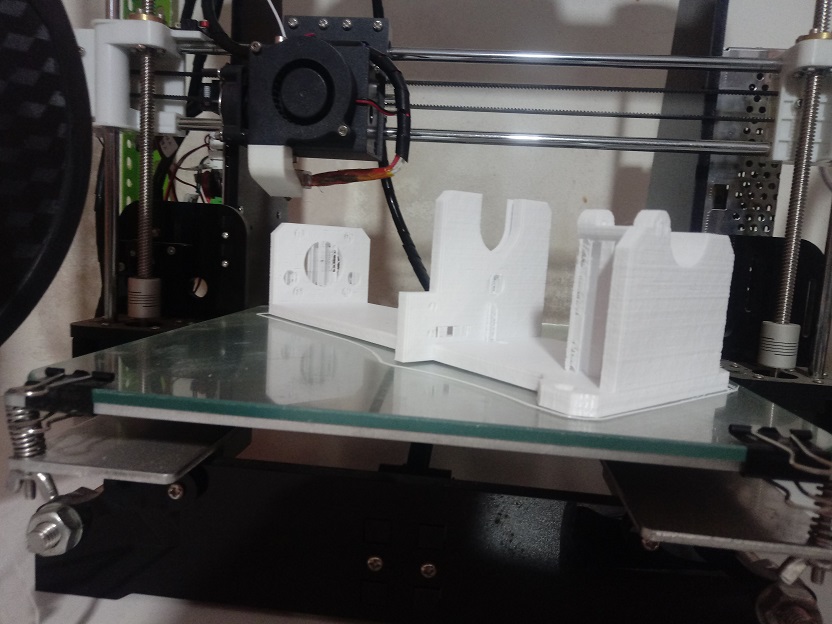
There we have the finished printing design:
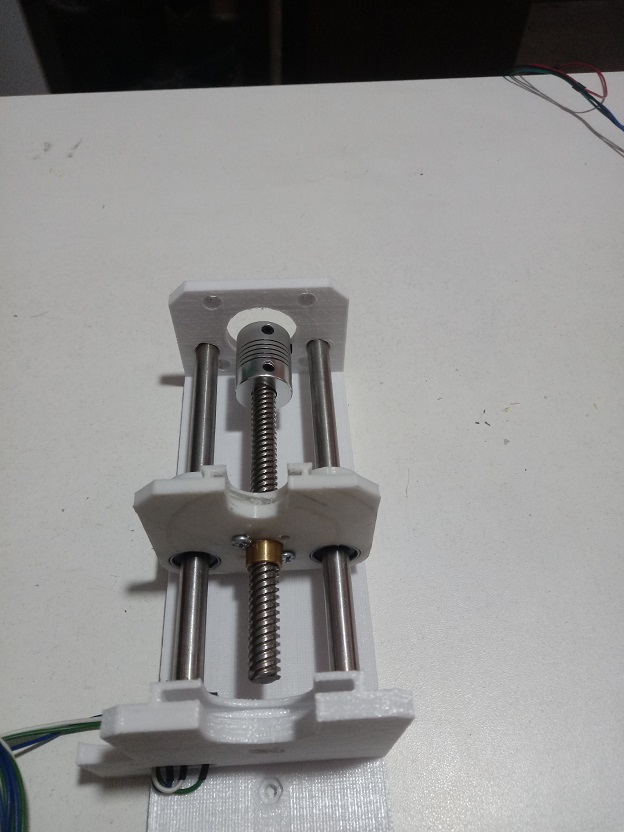
We began to test and install it in conjunction with the other parts that were designed.
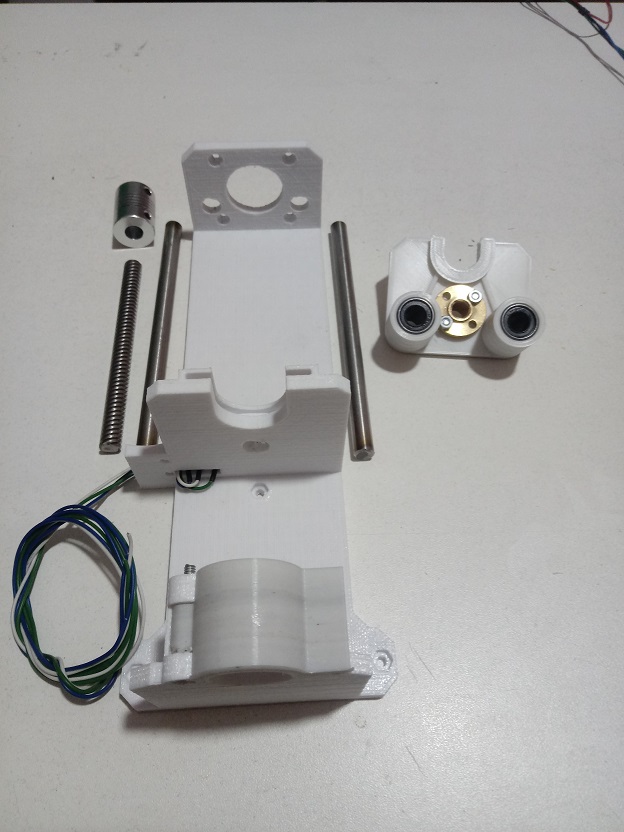
There we have the complete installation of the extruder:
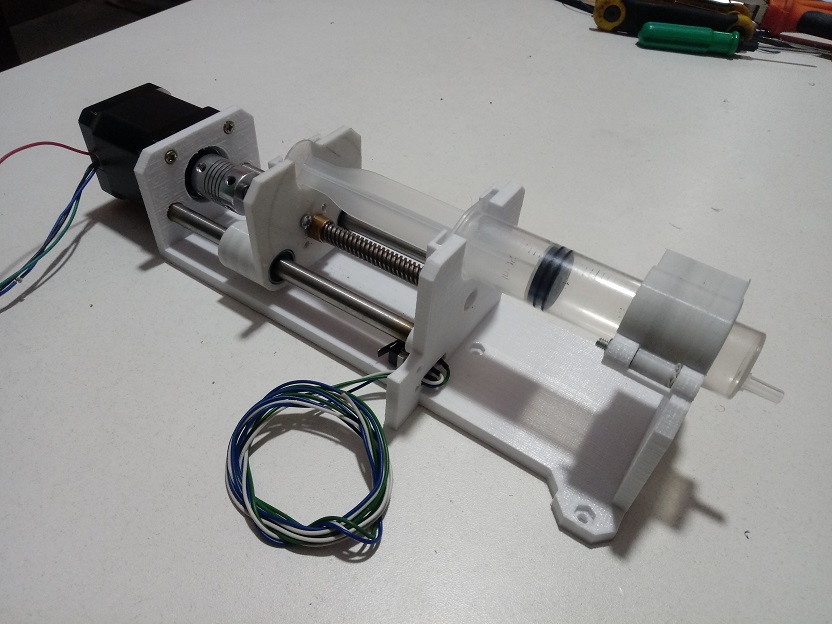
Now we can add the syringe, since the purpose of the extruder will be to hold the material and control the advance of the printing material:
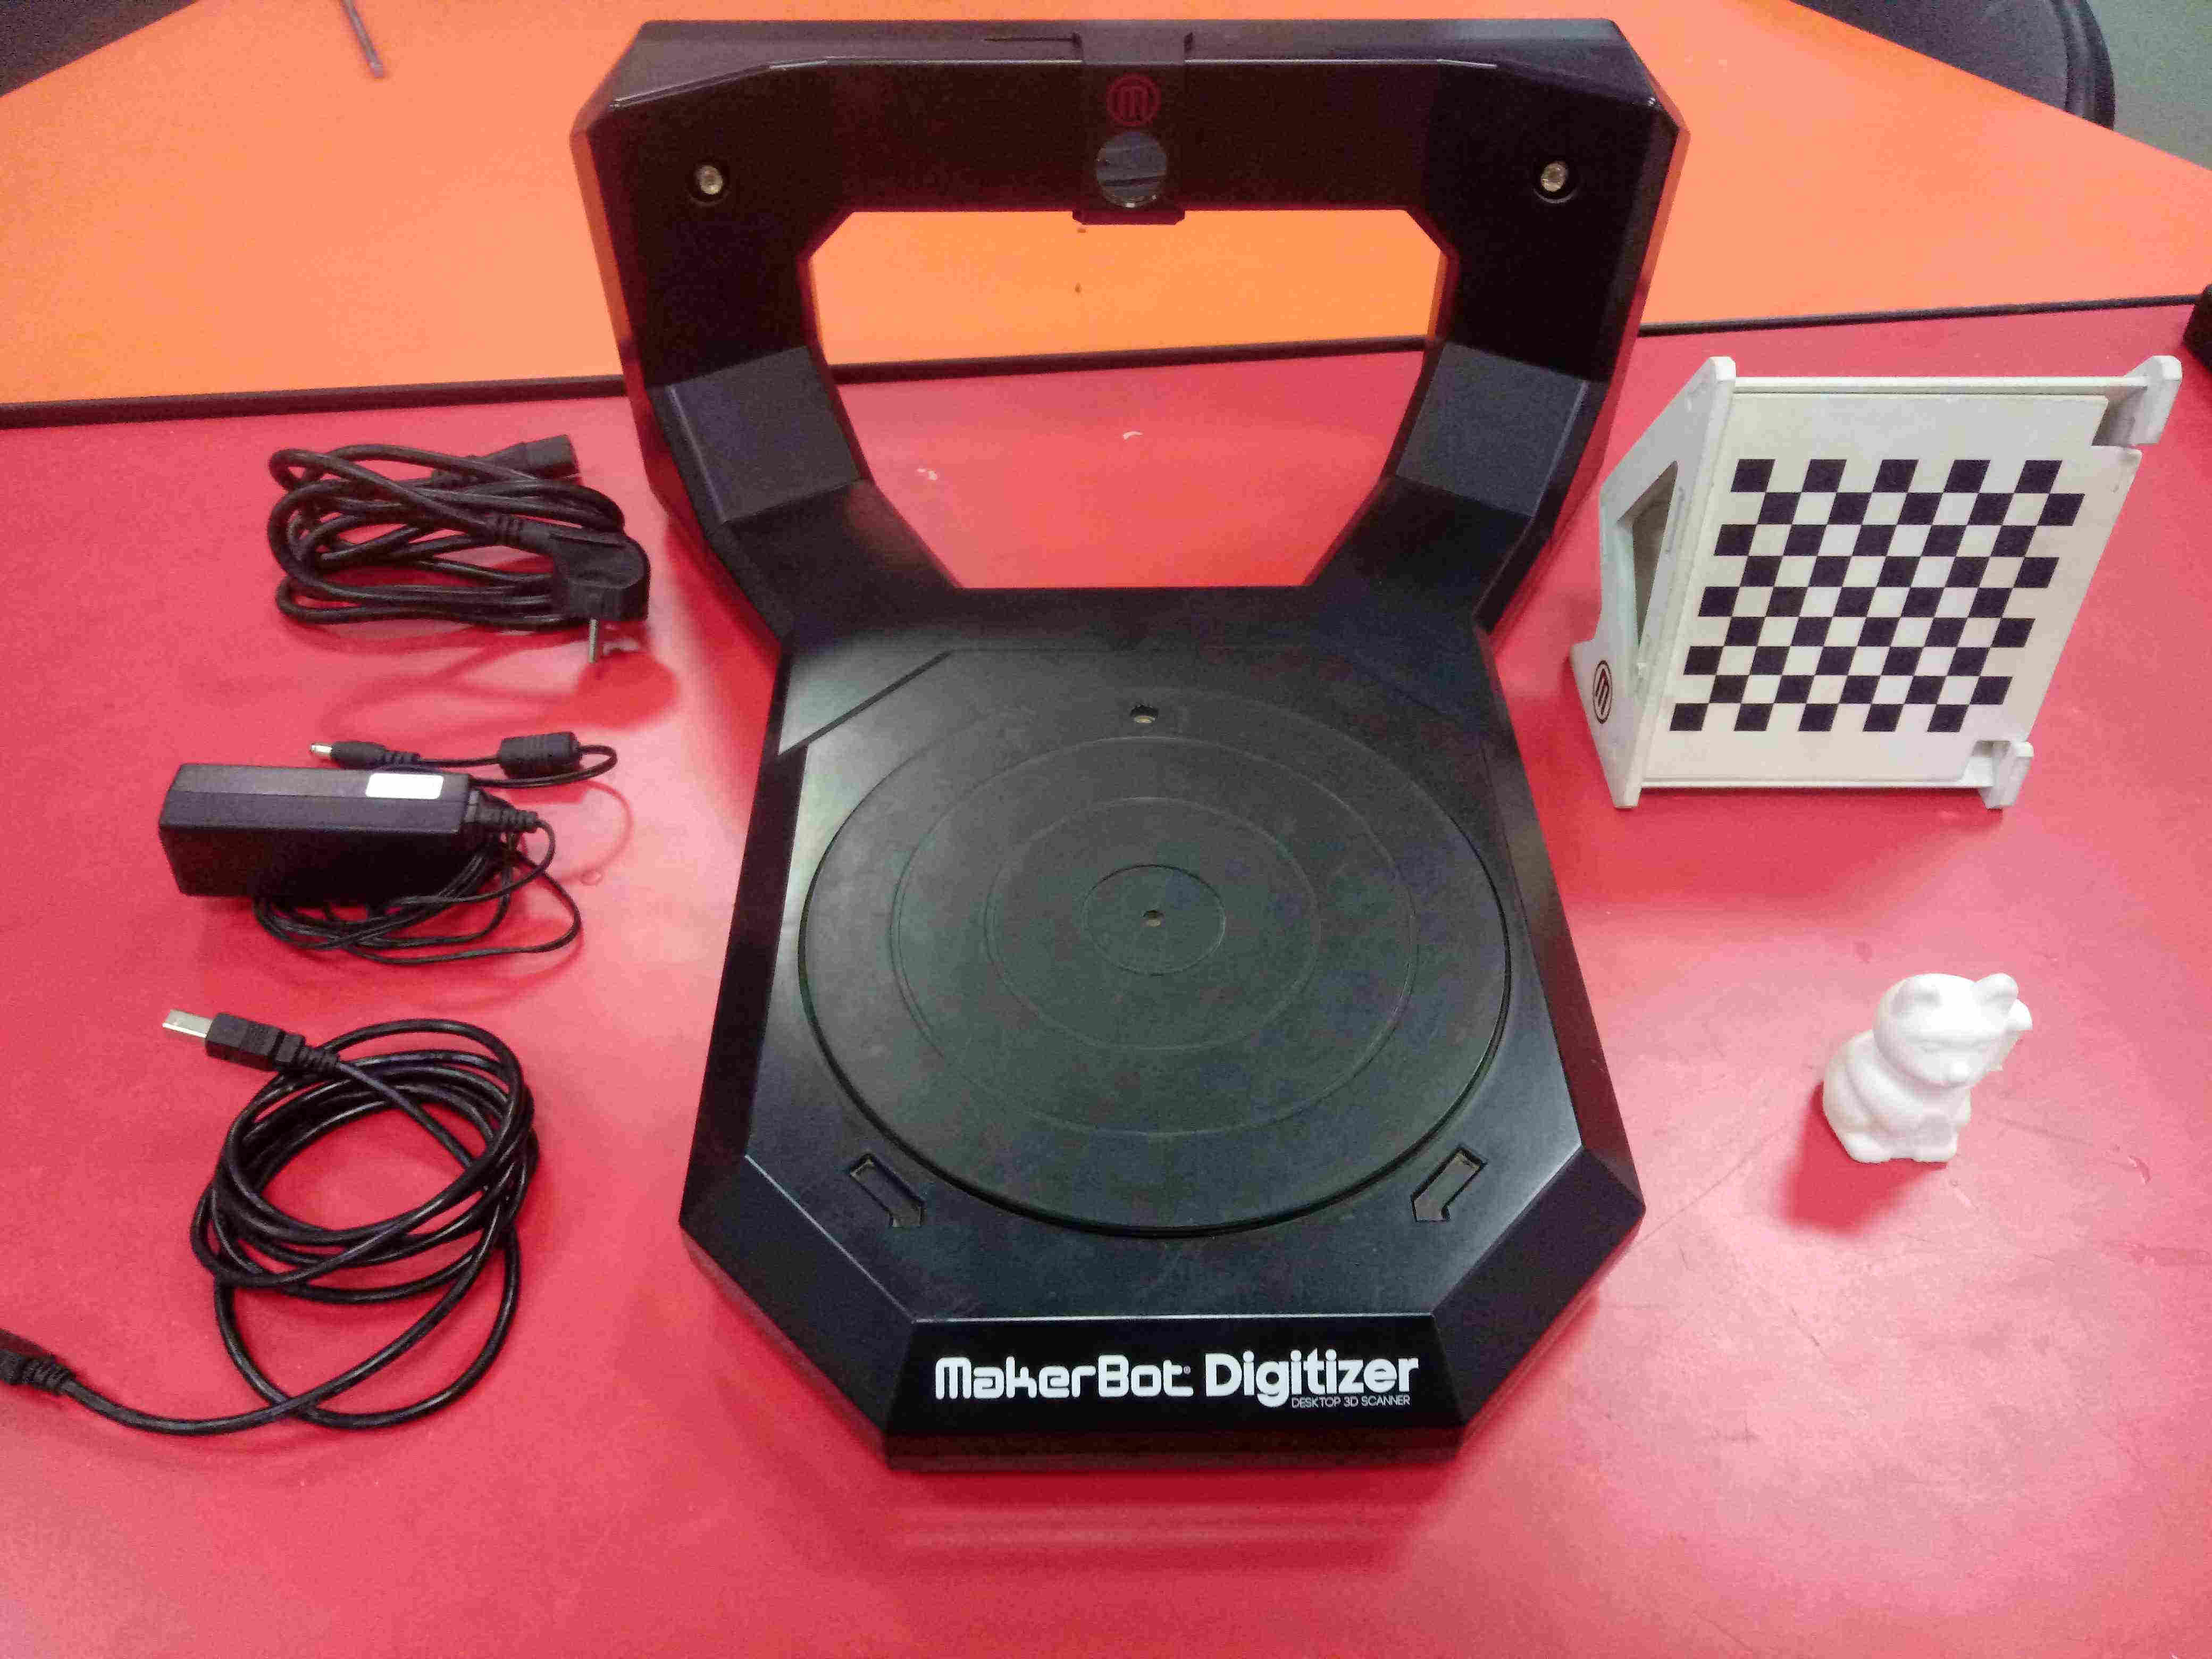
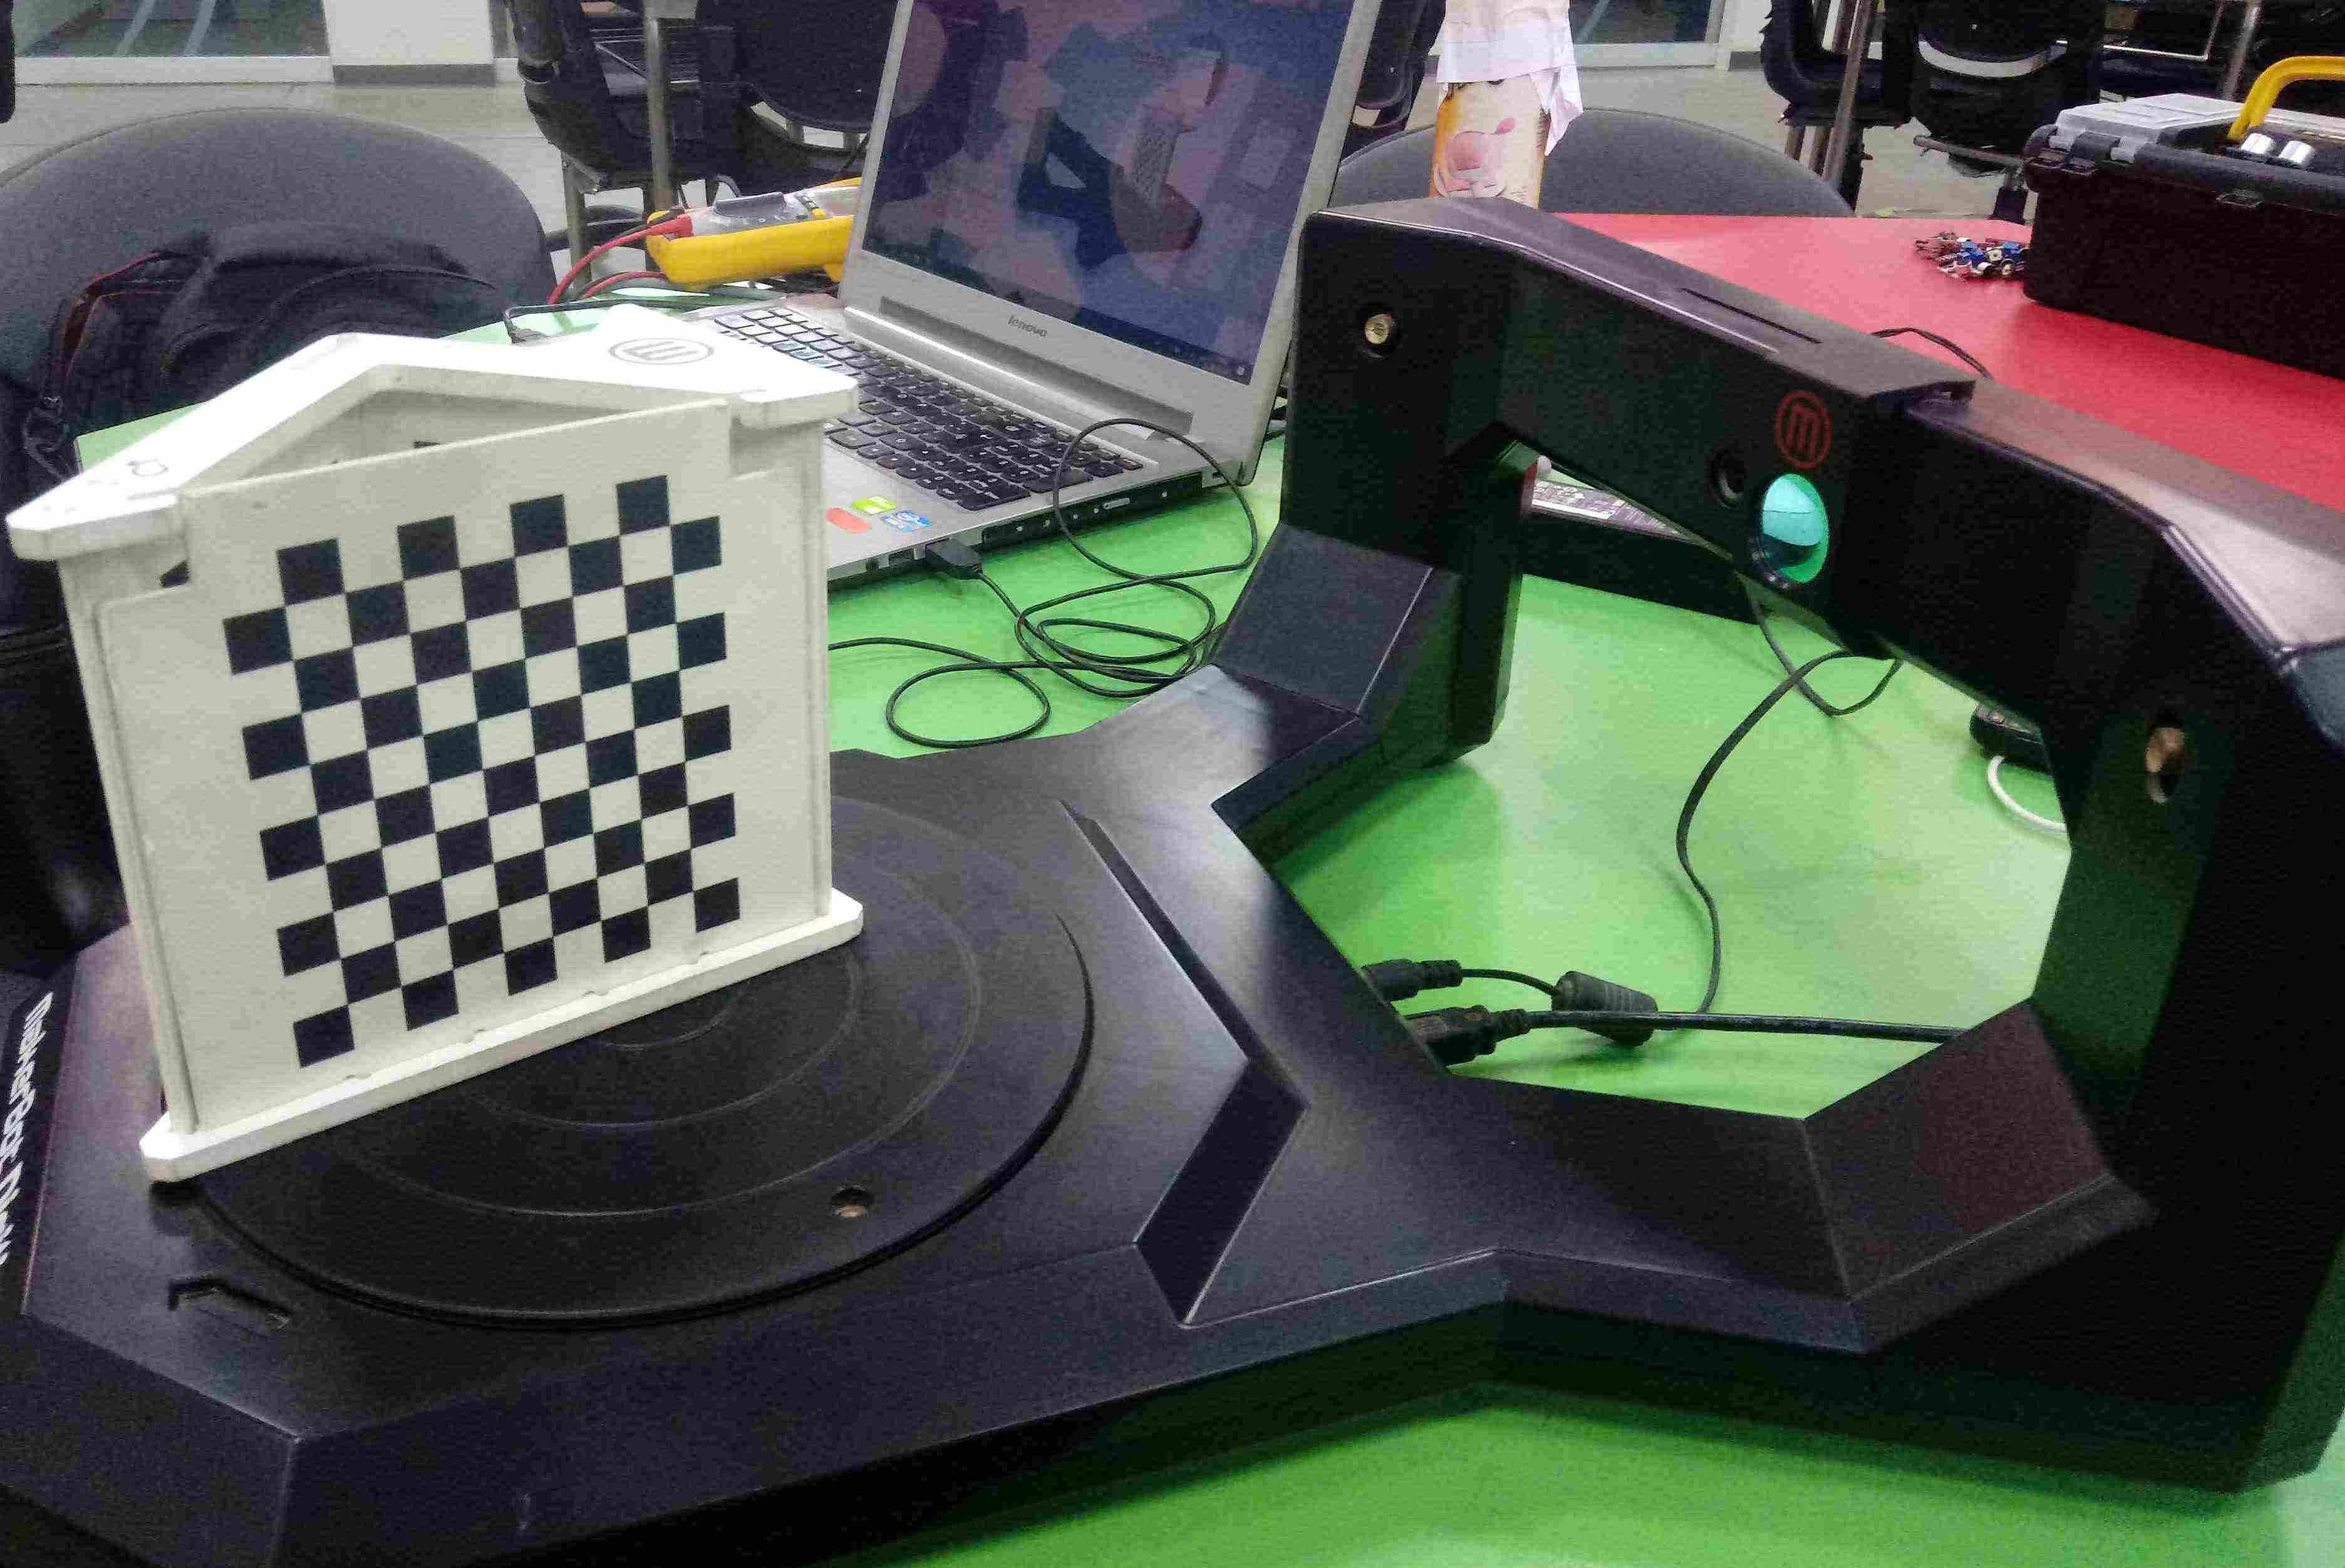
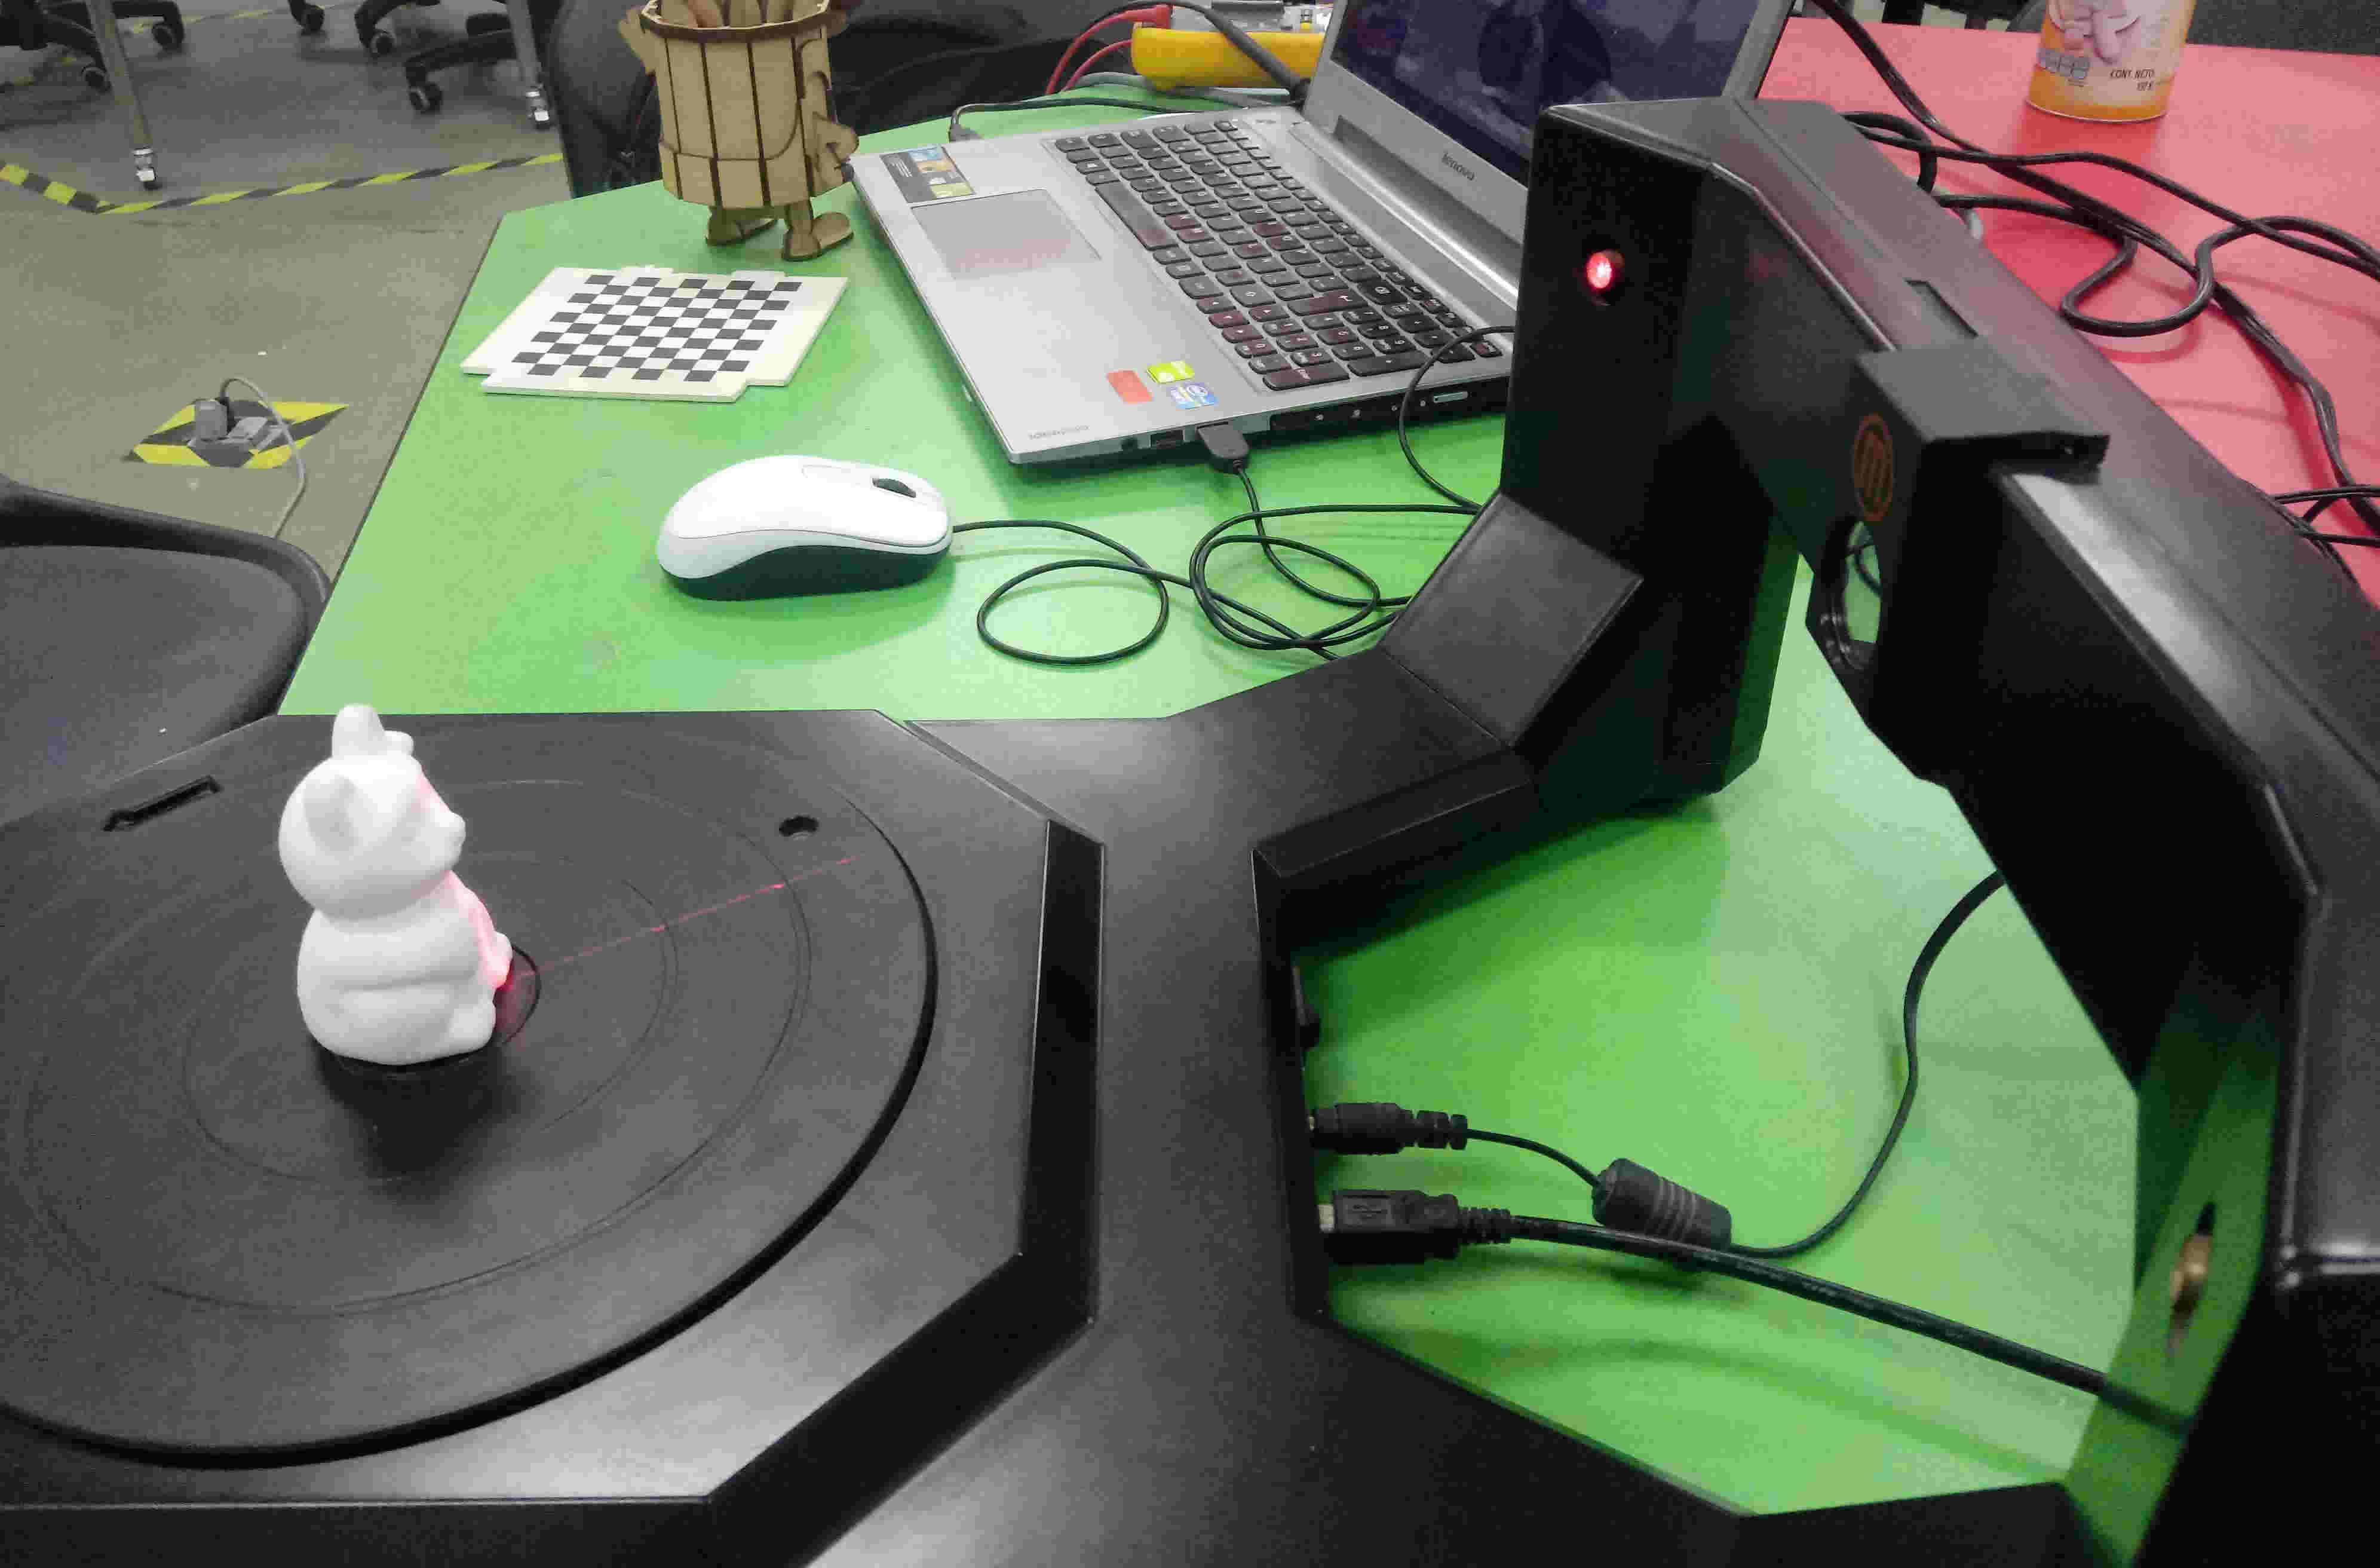
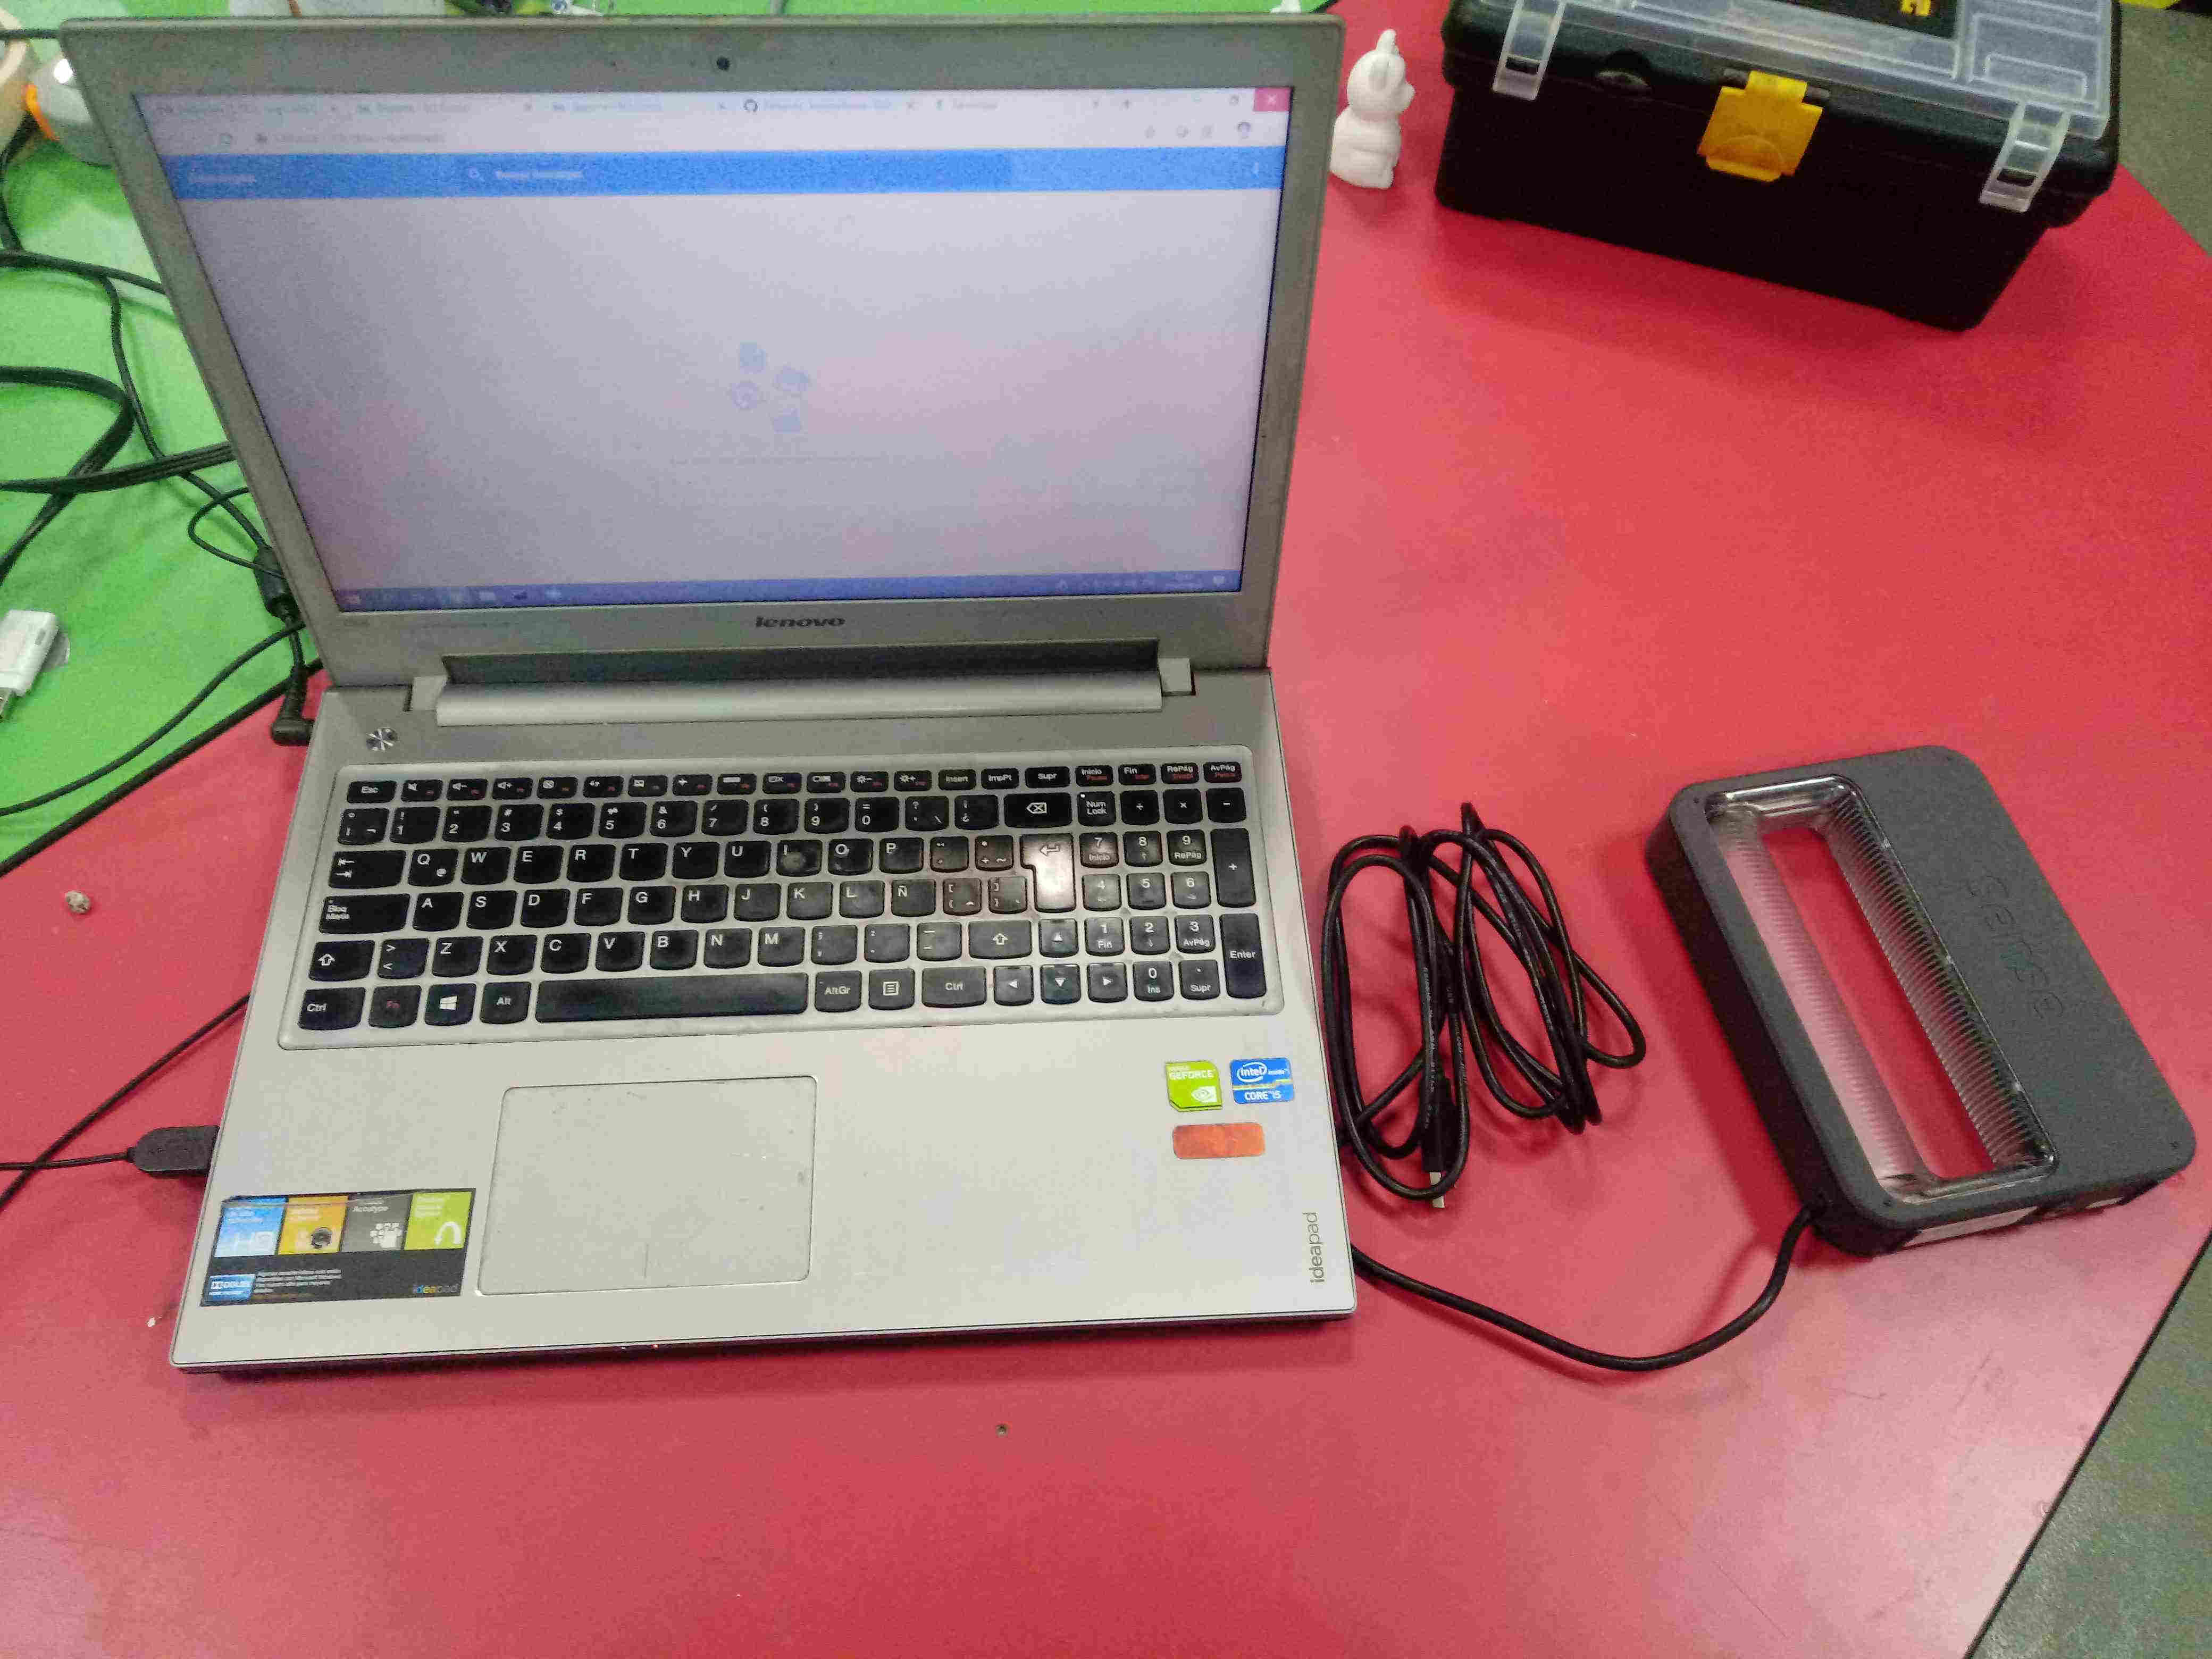
2. Scannig with DIGITIZER MAKERBOT
The Digitizer Makerbot scanner:
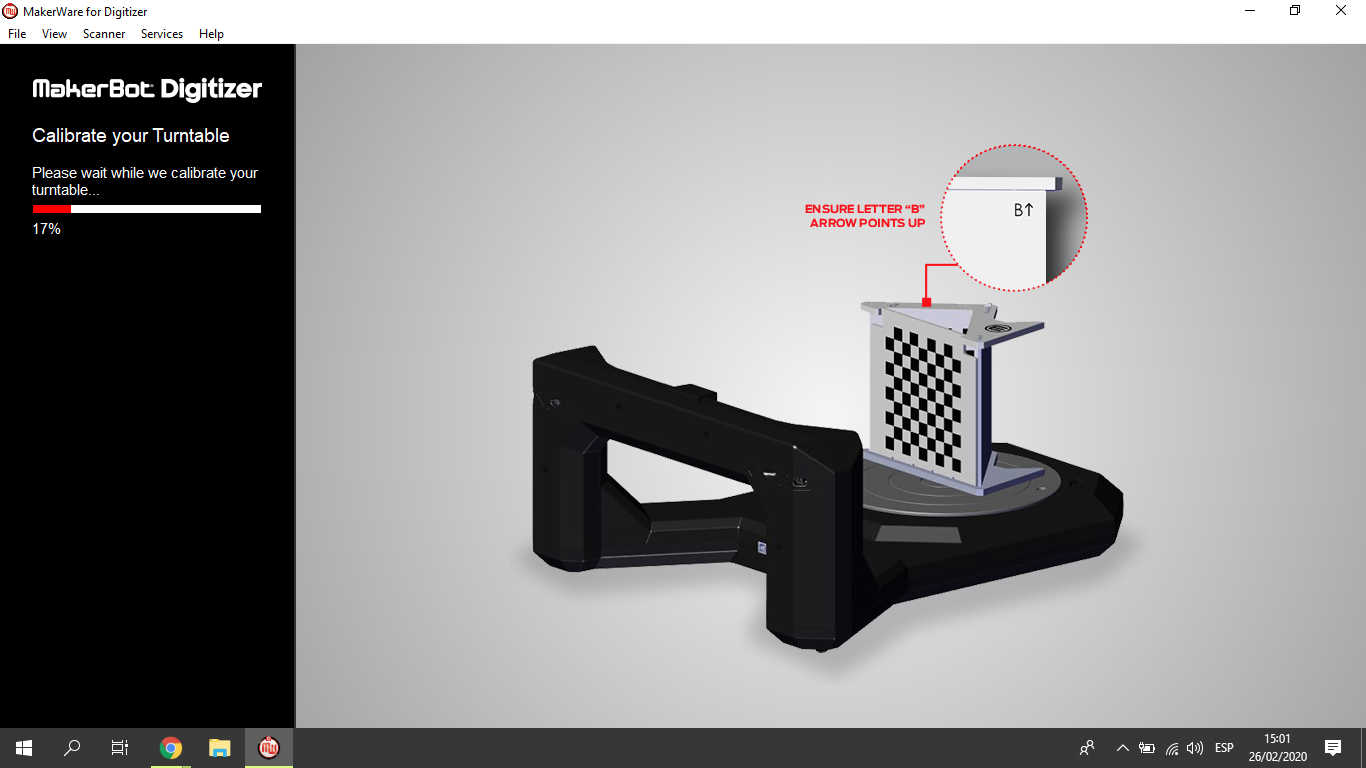
I calibrated the scanner Digitizer
We wait the process to calibrate is finished:
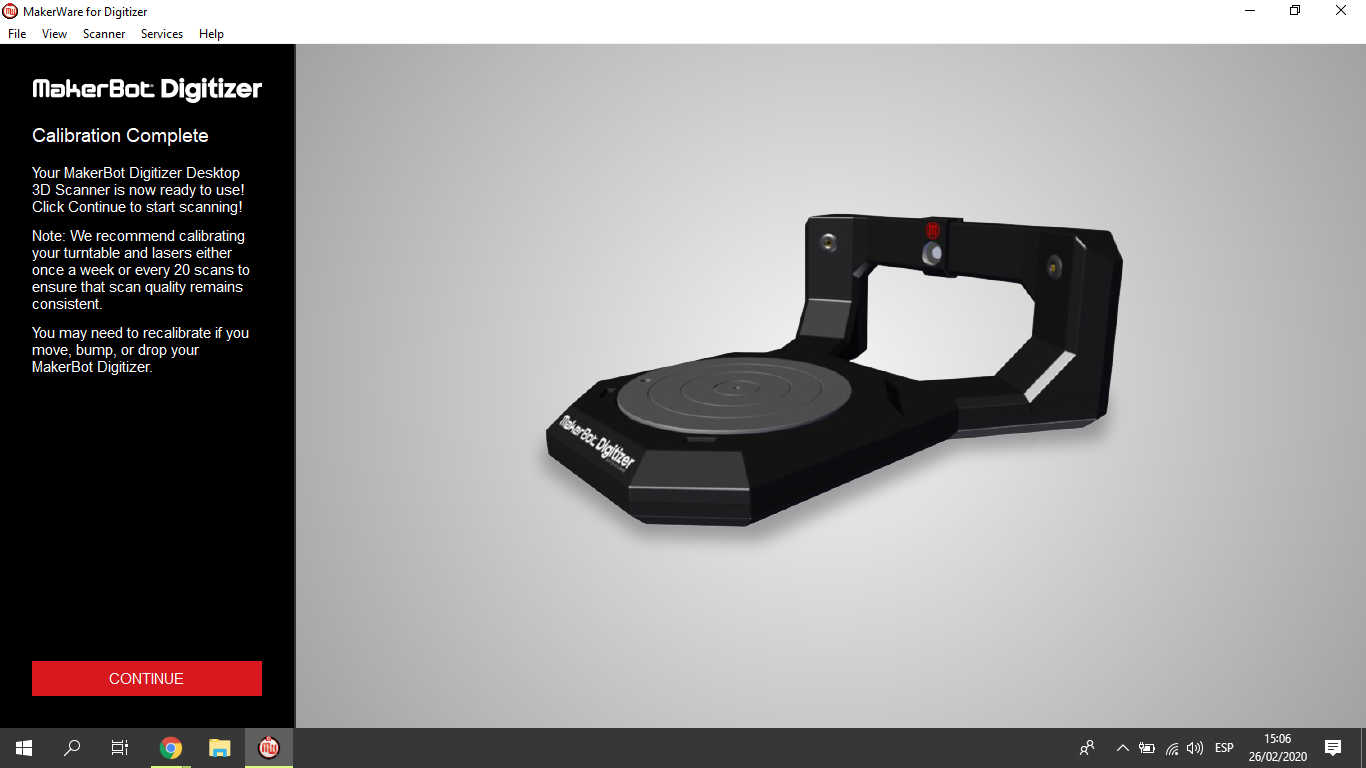
Finished, the scanner is calibrated
I colocated the CAT over the plataform to scan:
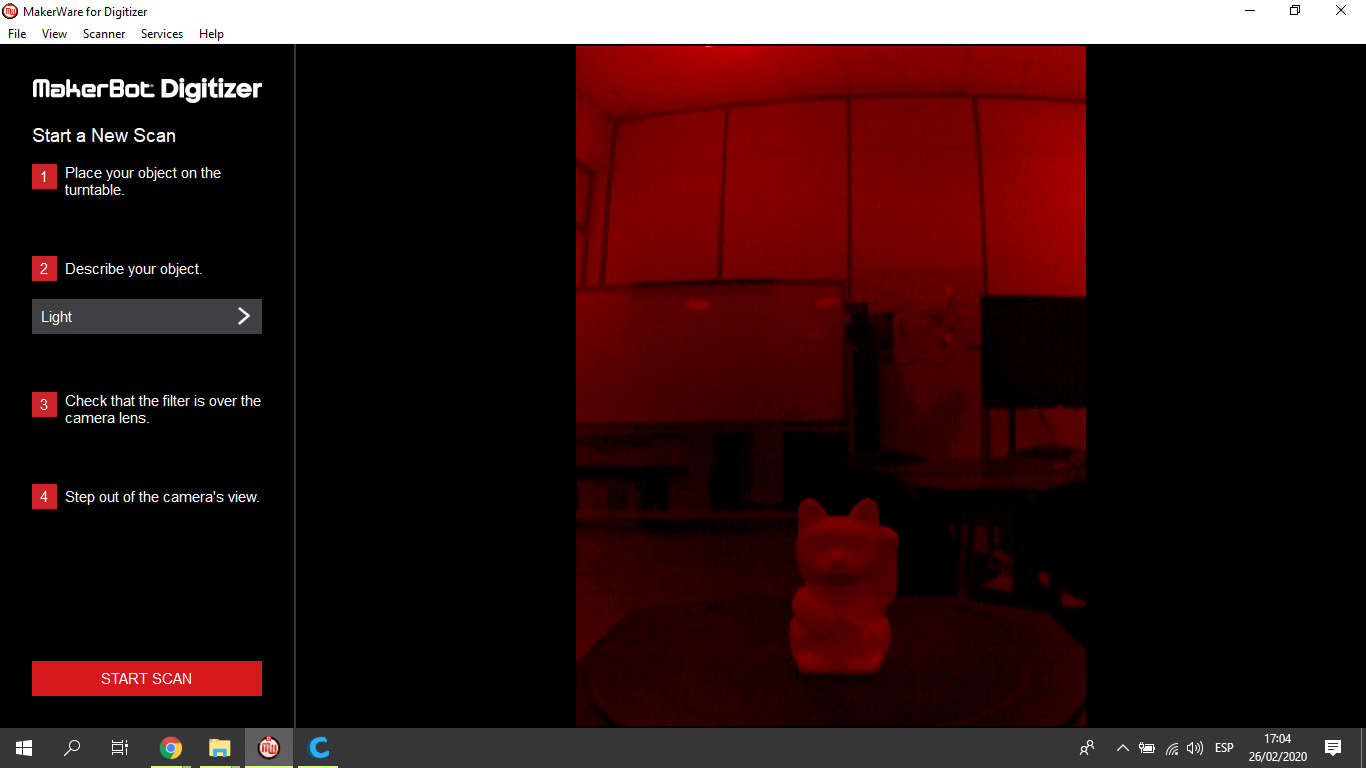
I read the scan step, and close the filter of the camera:
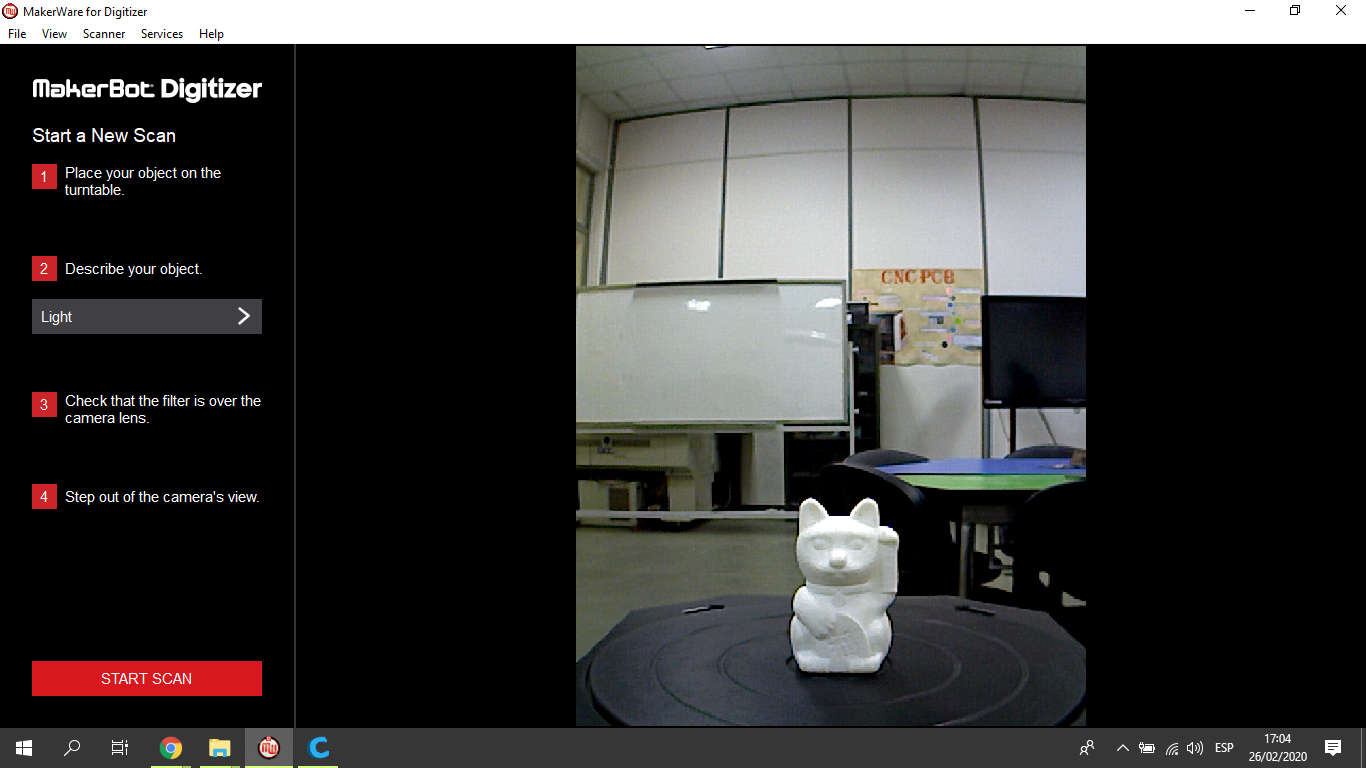
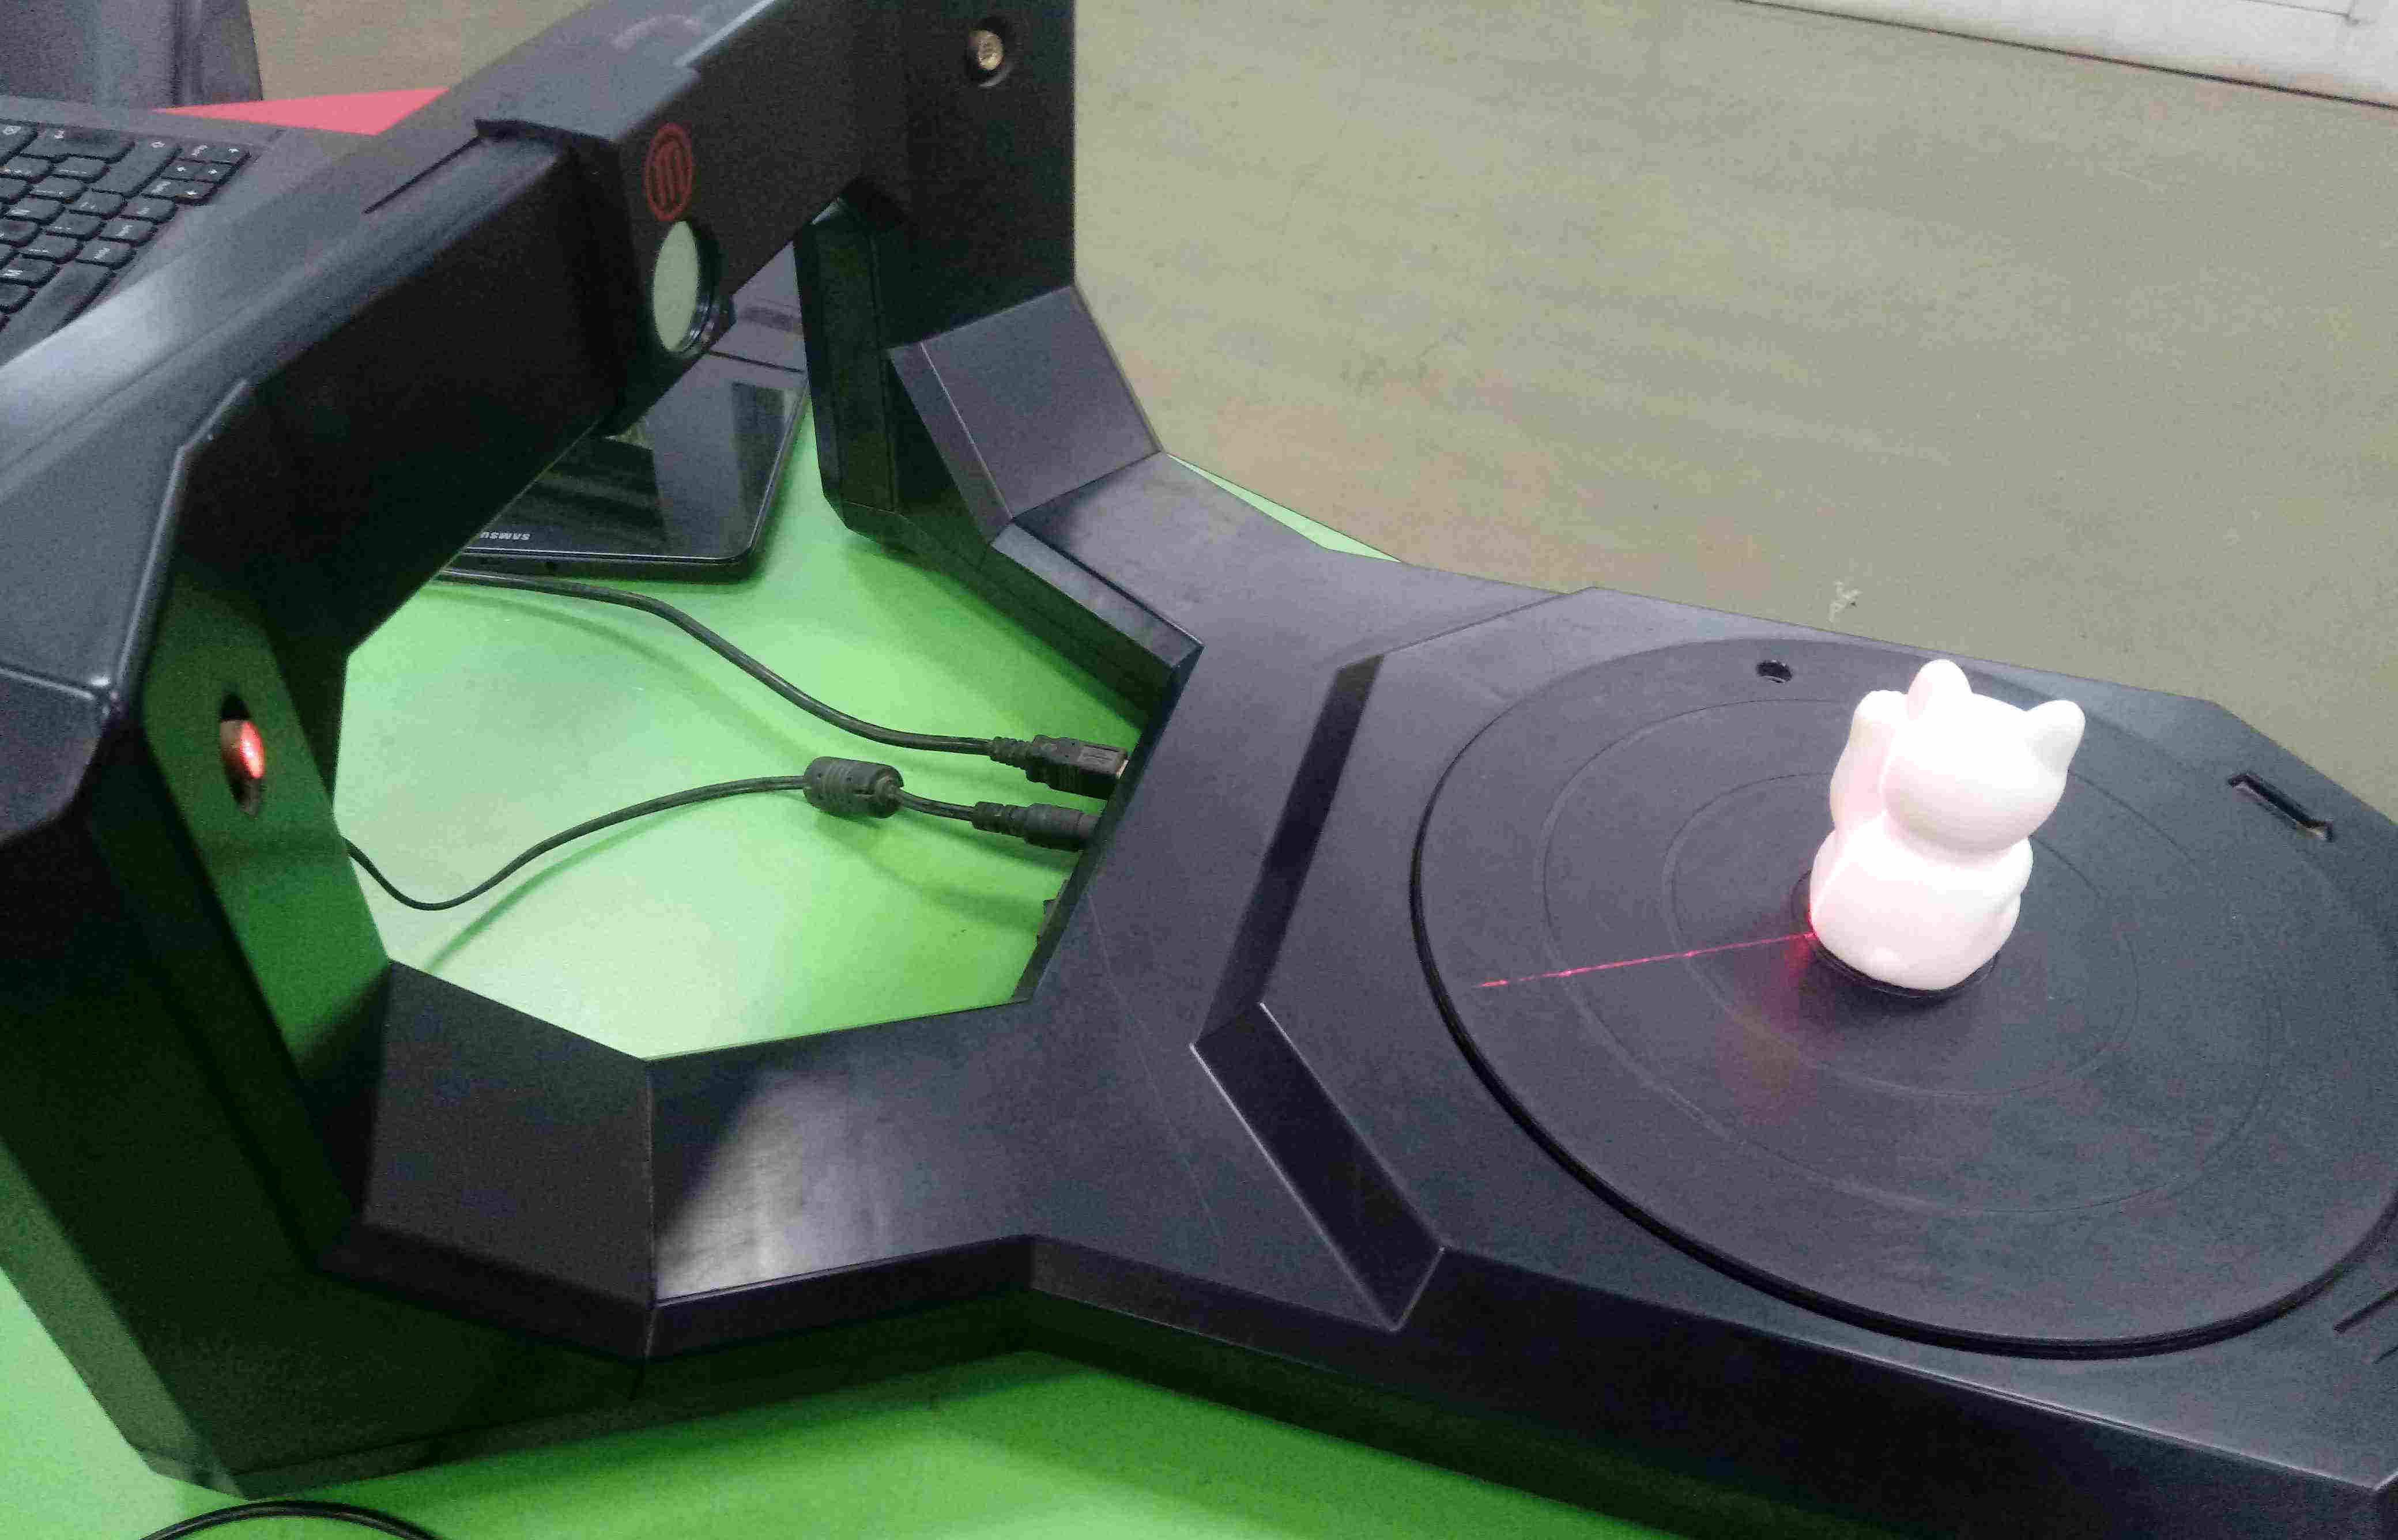
It is ready to scan, we view with the filter of scanner:
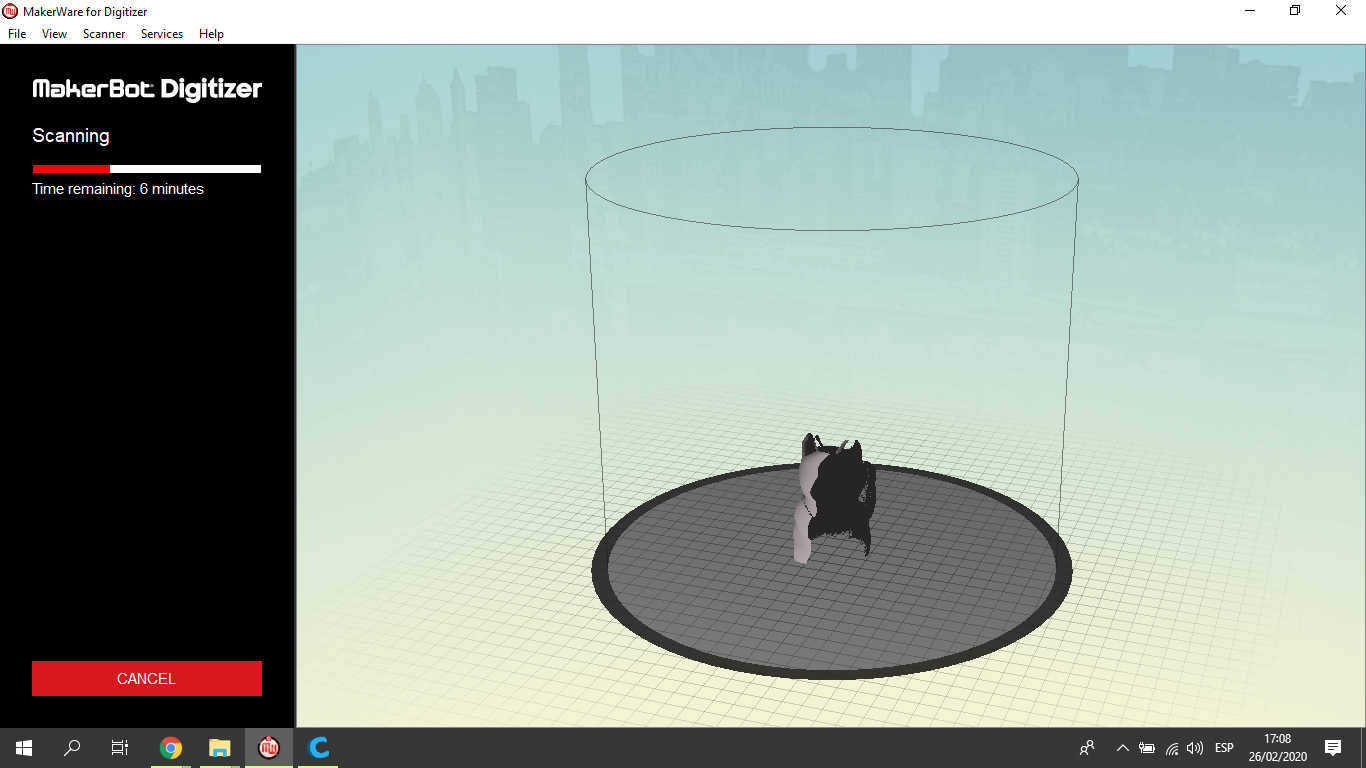
We scanning the CAT:
In the computer we can see how the software crearte the 3D design line to line for the final object:
We can see the scanning process in the video:
When the process is finishing we can se the 3D design before to finished
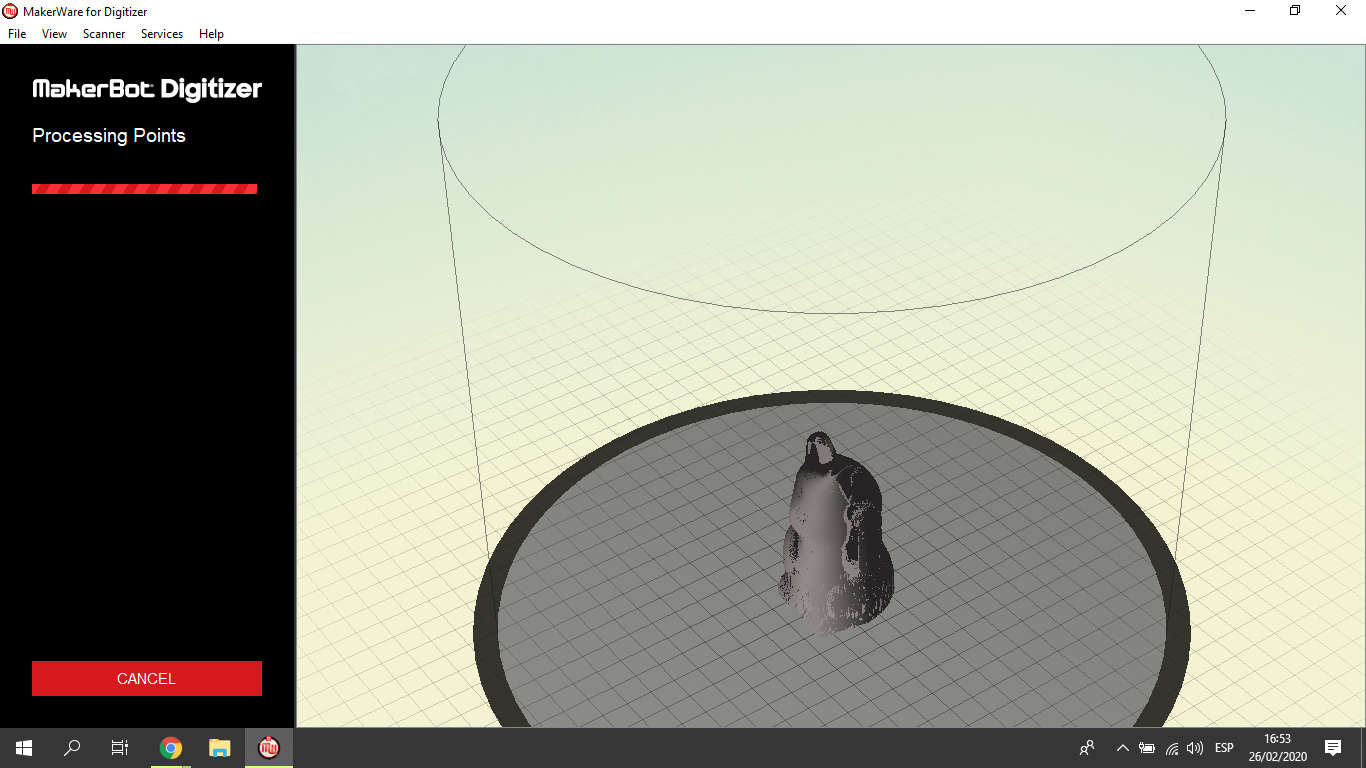
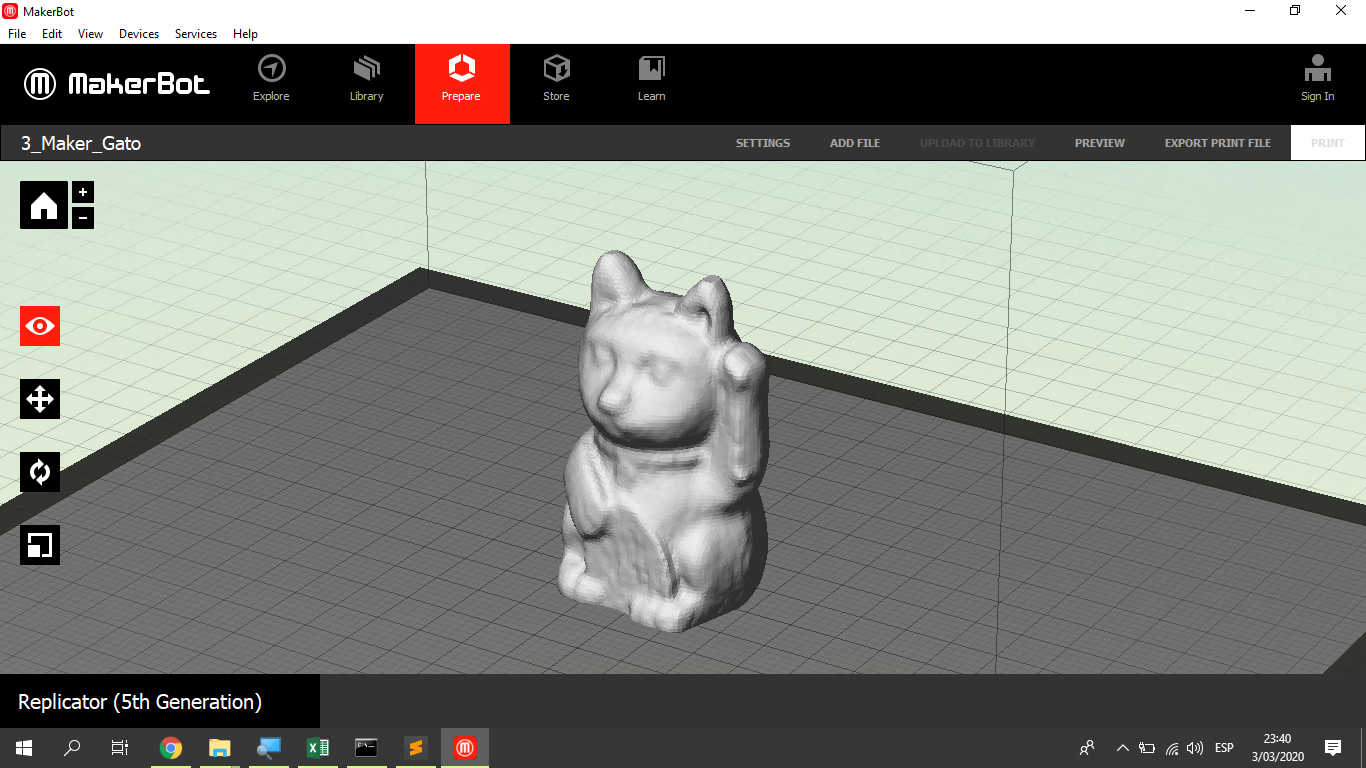
Finally the process finished, the object is scanned and we have the STL file, I saved the file in the computer to print after:
3. Scanning with SENSE
Now I use a scanner with the largest area, the scanner is the SENSE of DIGITAL SYSTEM
Licensing the Sense Software to use
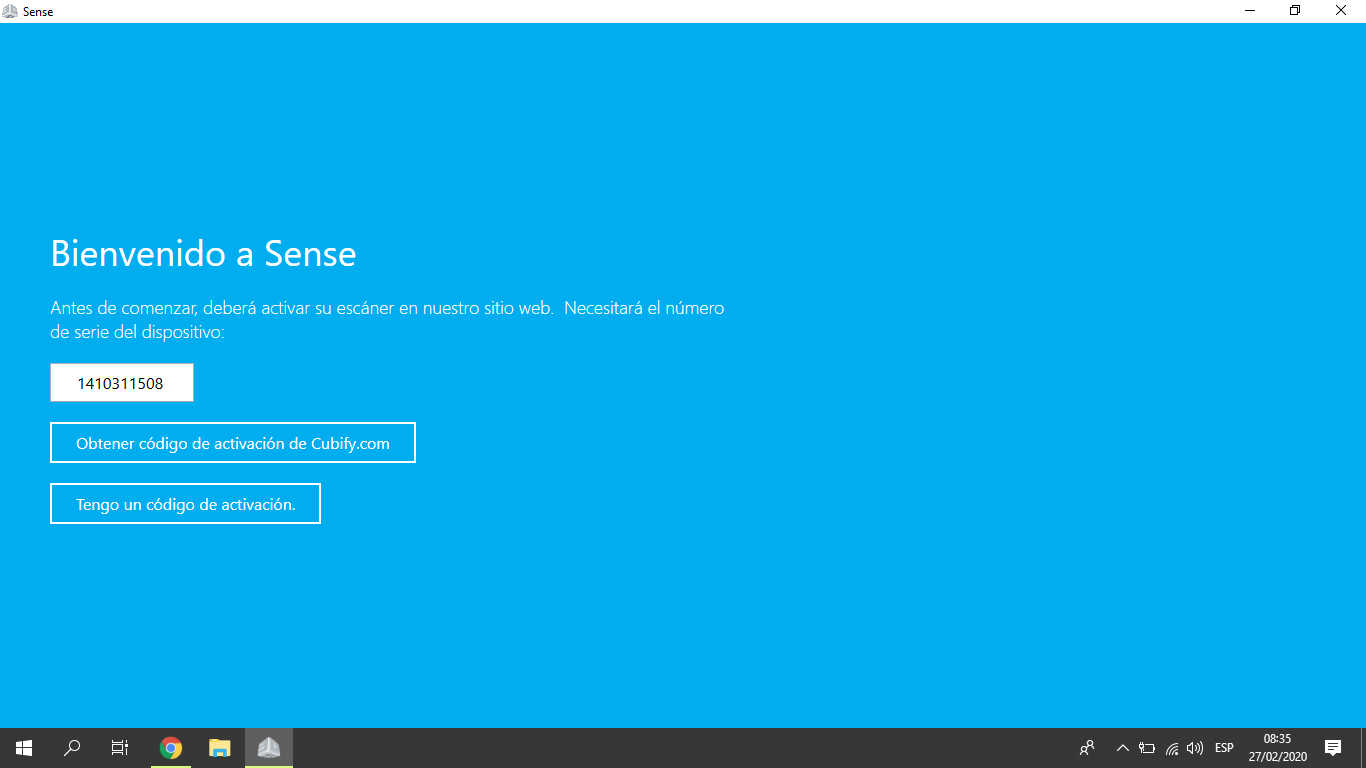
I input the license number
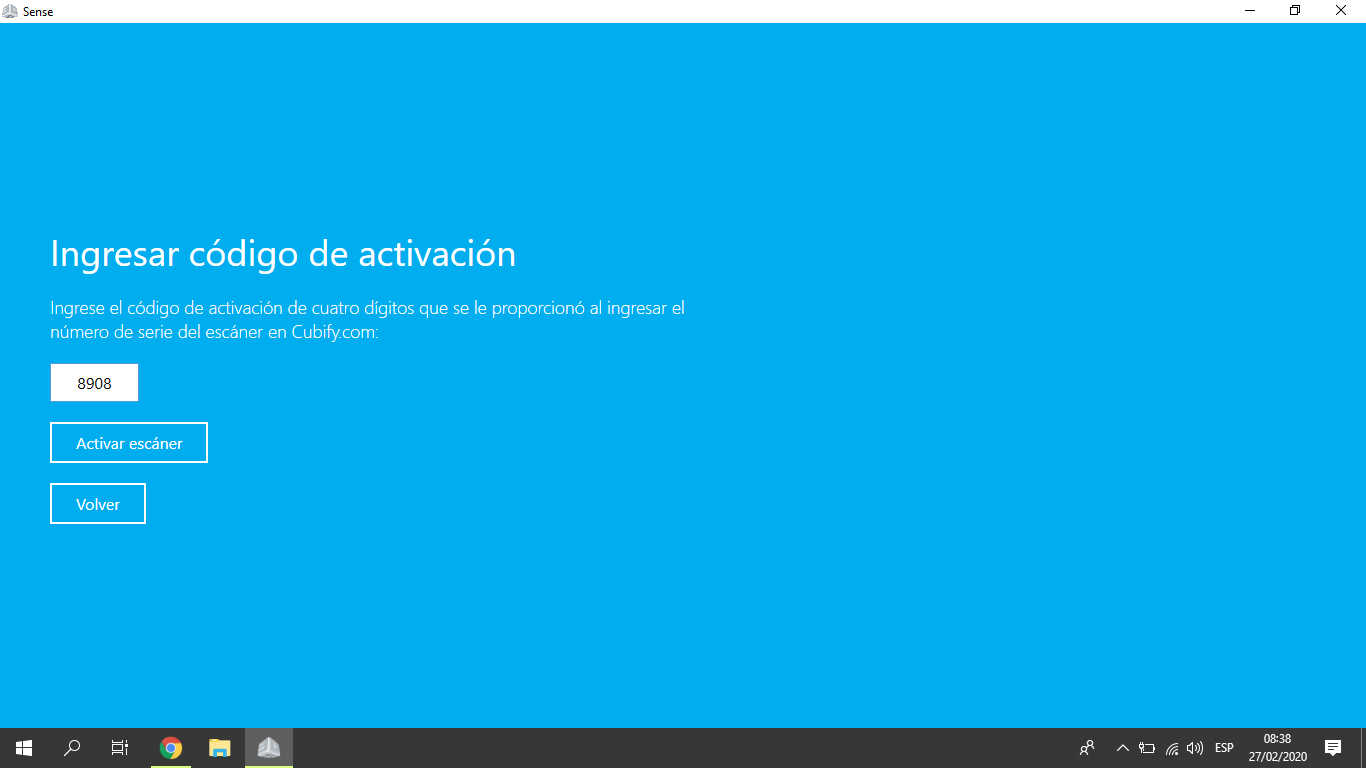
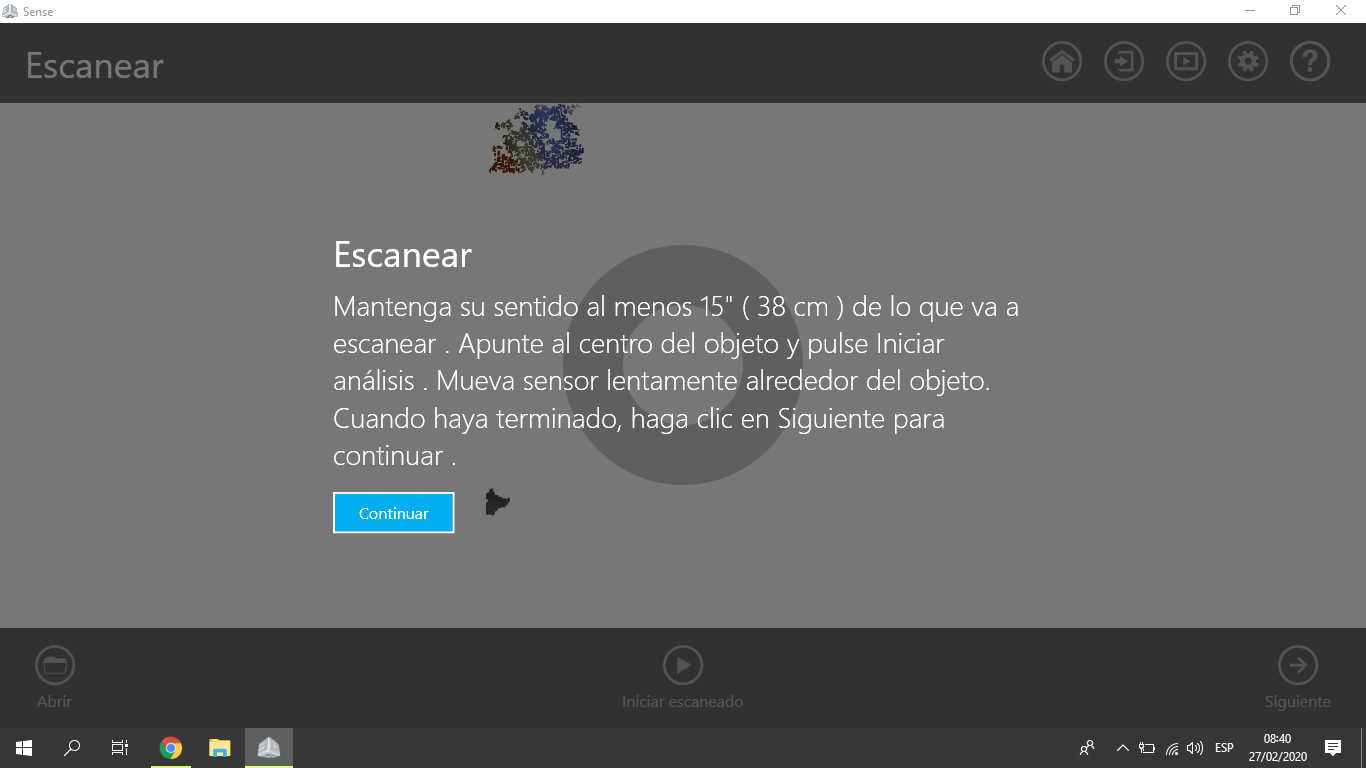
I start the proccess scan:
I choose the object to scan that in my case is person:
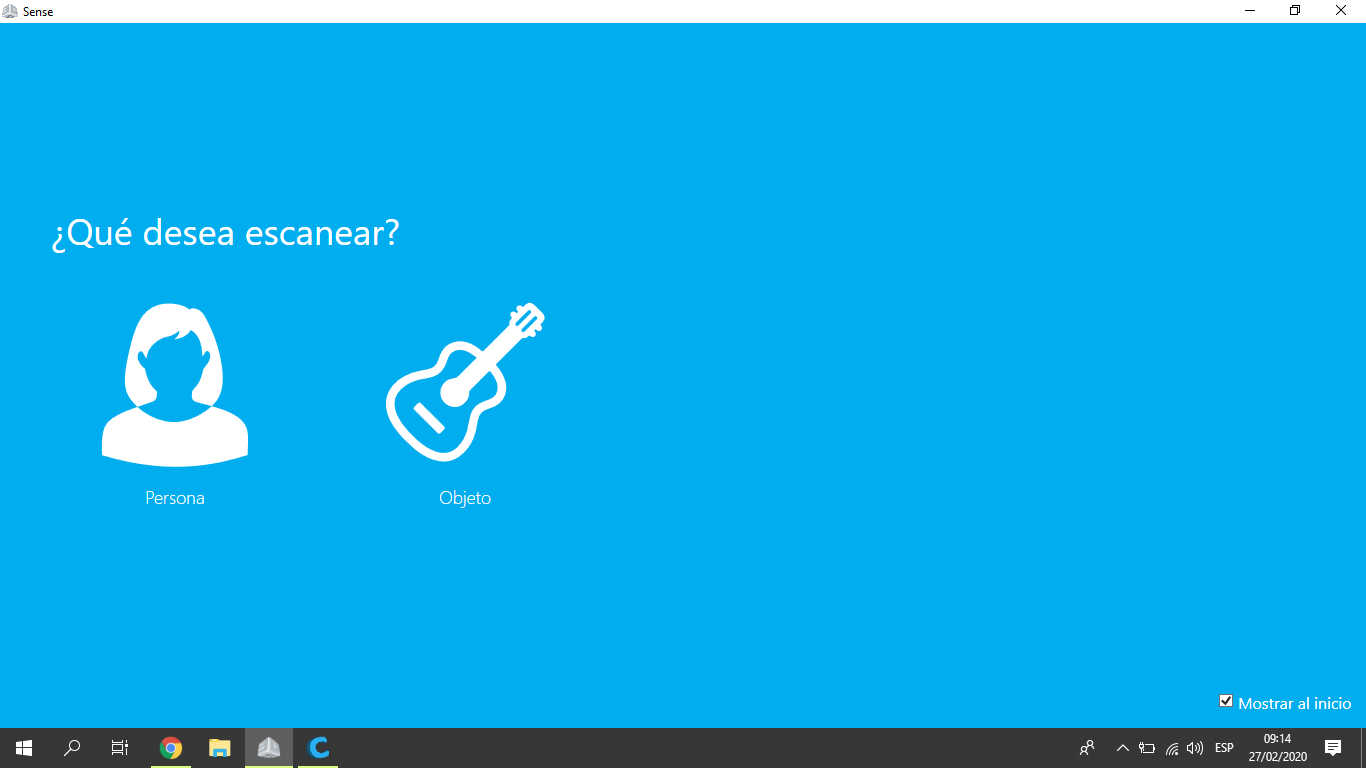
Then I scanned to my Jhon’s friend
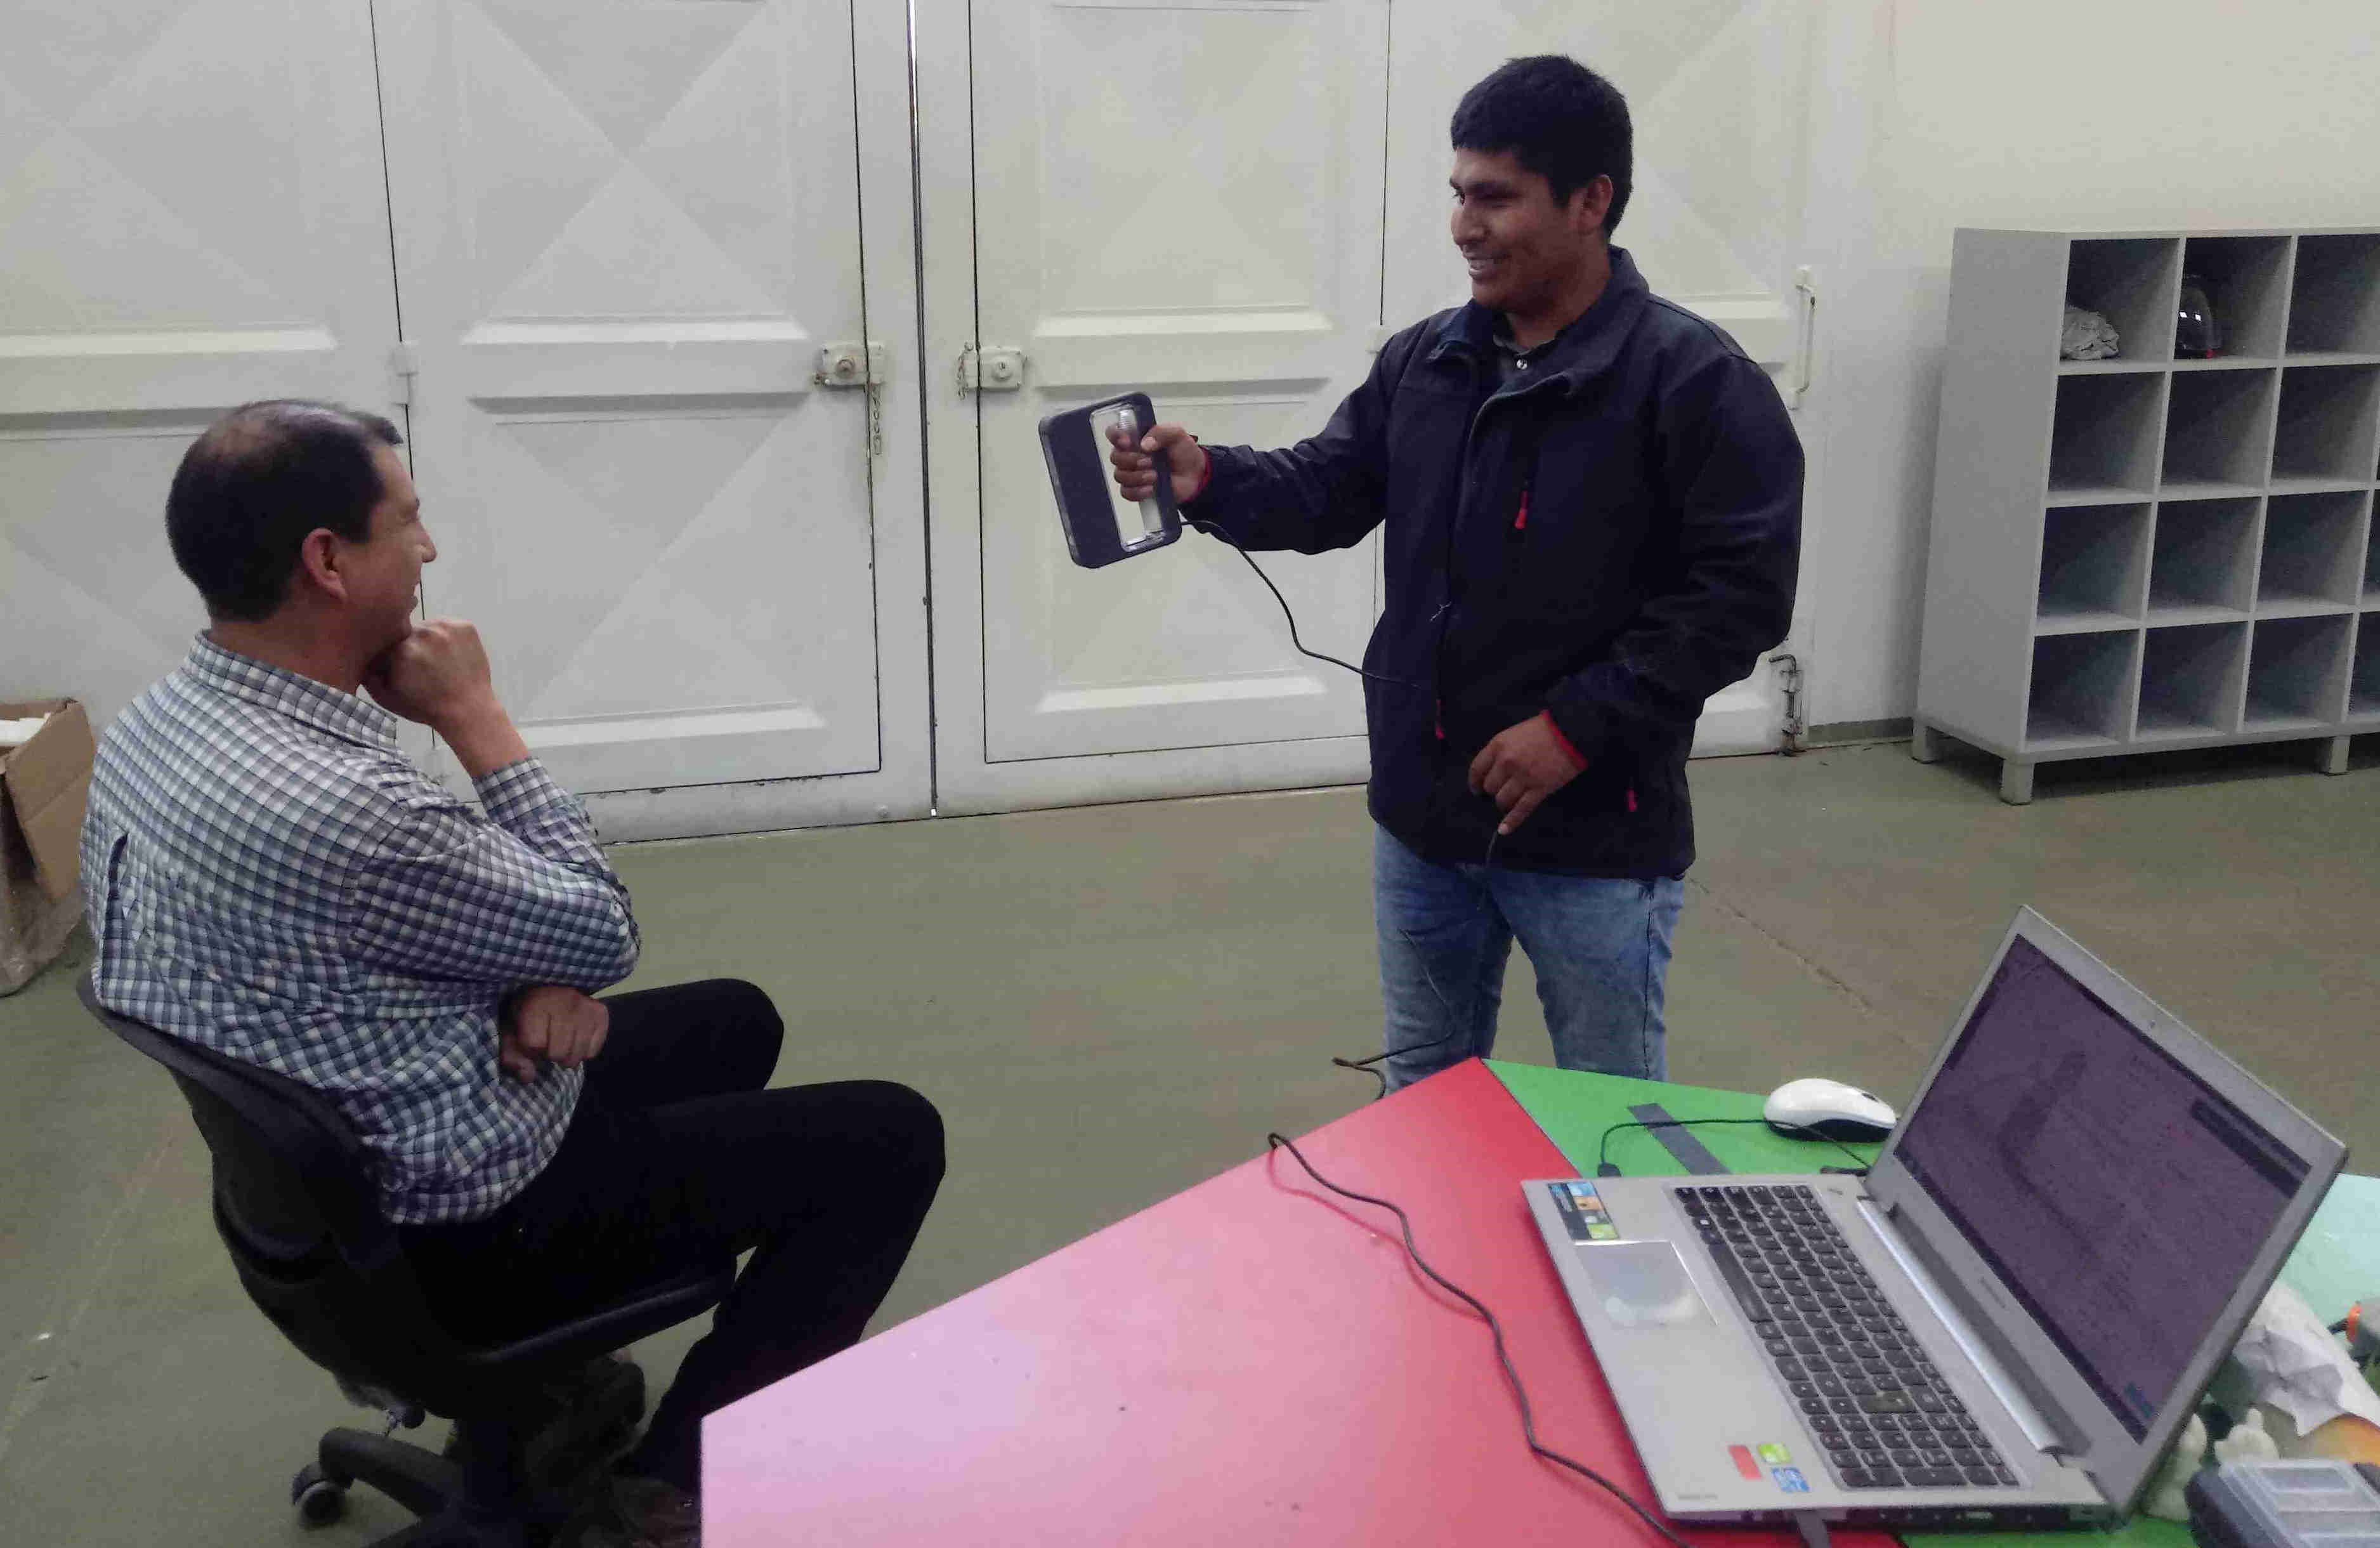
The process is similar, I must move around the person capturing all parts, after I edited the scanned file:
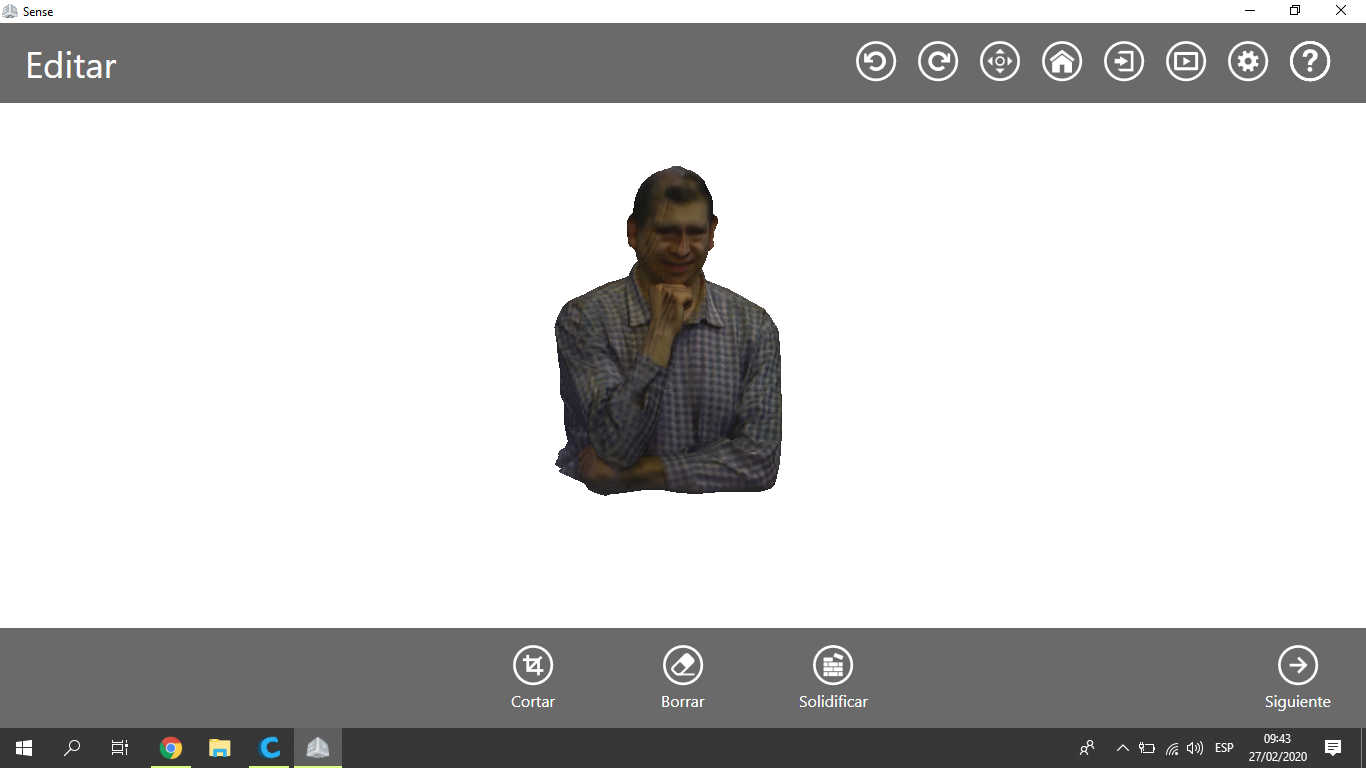
I cut the parts which did not scan well and the parts are not importants:
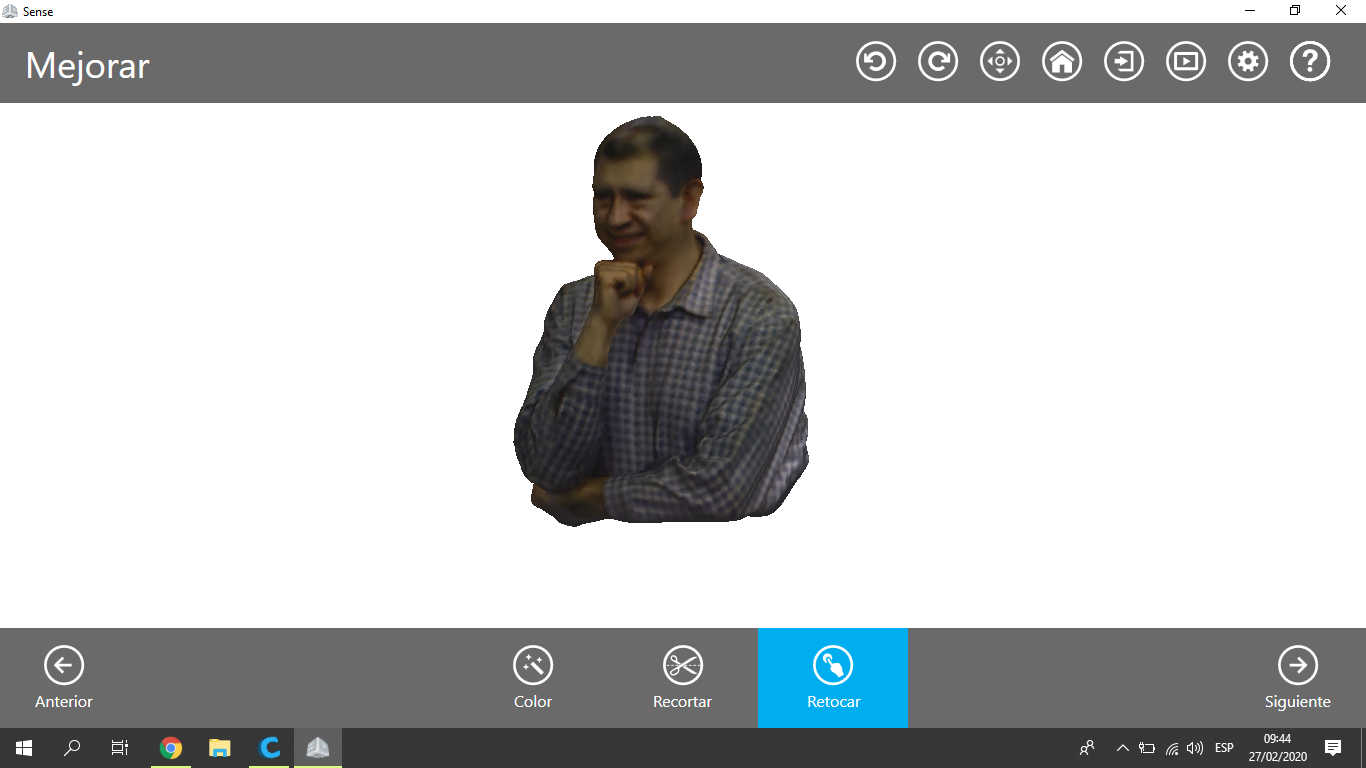
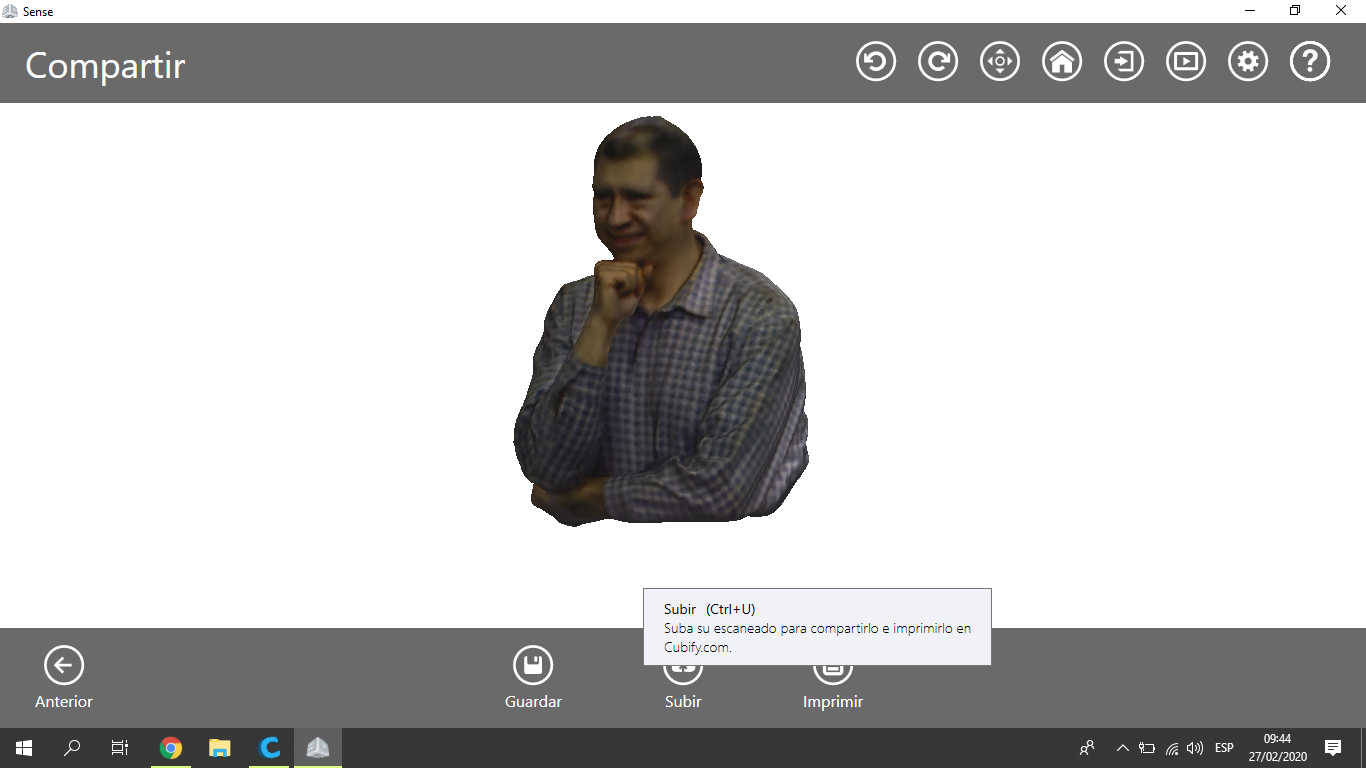
Finally I export the scanned file to STL file, and saved in my computer to print after:
4. Printing the SCANNED CAT
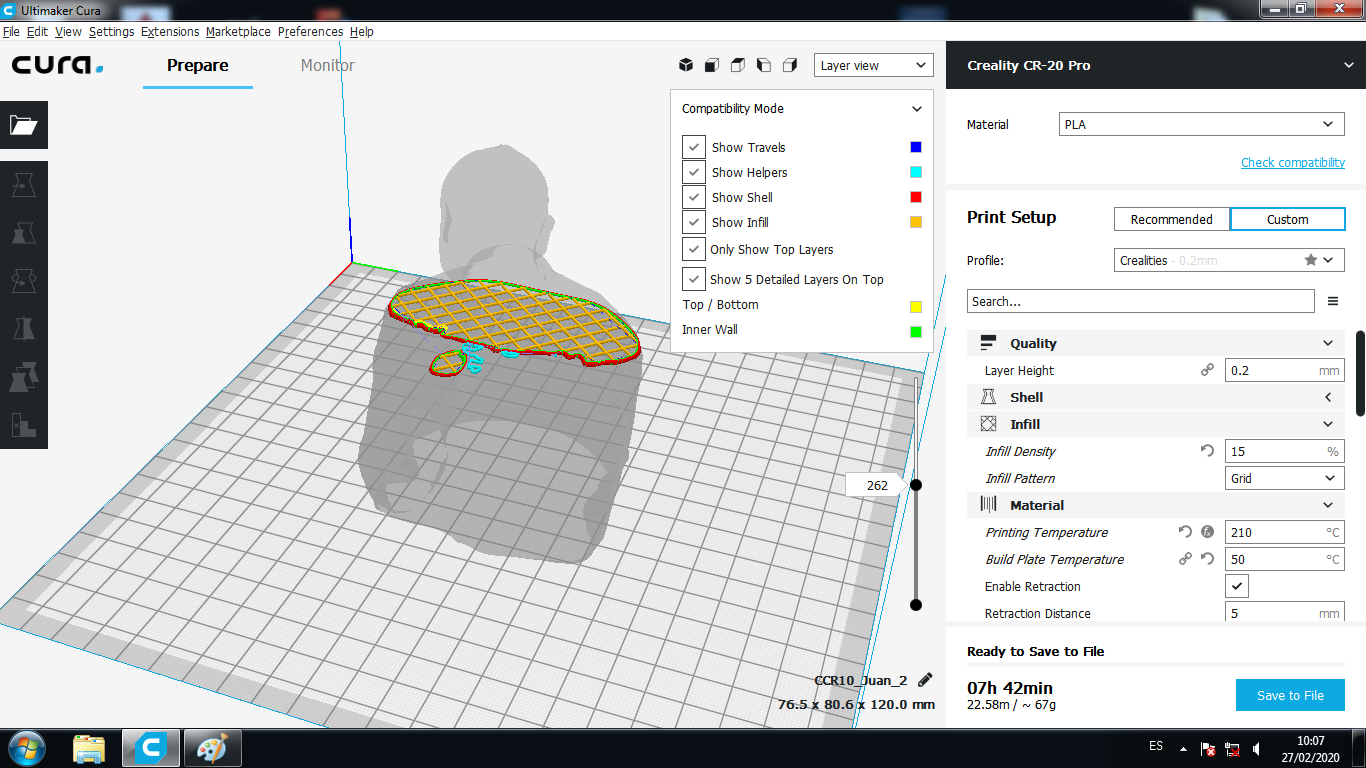
I use the Ultimaker Cura Sotware to print; I preparated the Scanned CAT with the STL file, the principal parameters to configurate are:
    Layer Height = 0.1mm
    Printing Temperature = 210°C
    Build Plate Temperature = 50°C

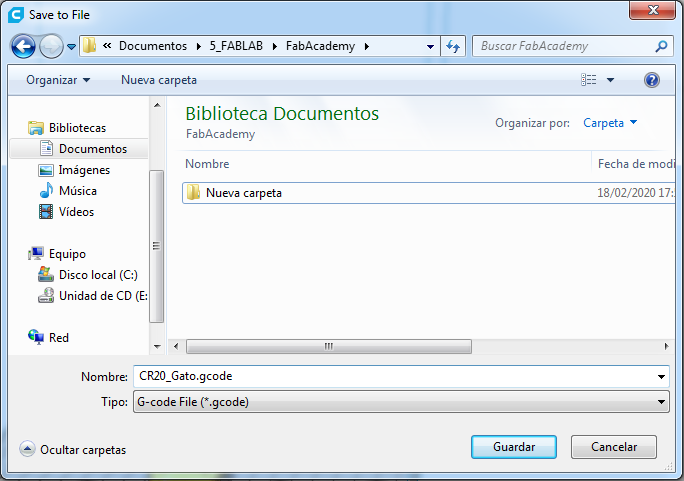
I saved the GCODE file which copied to SD memory from CR20 Printer, the printer is from CREALITY company:
Preparating the 3D printer
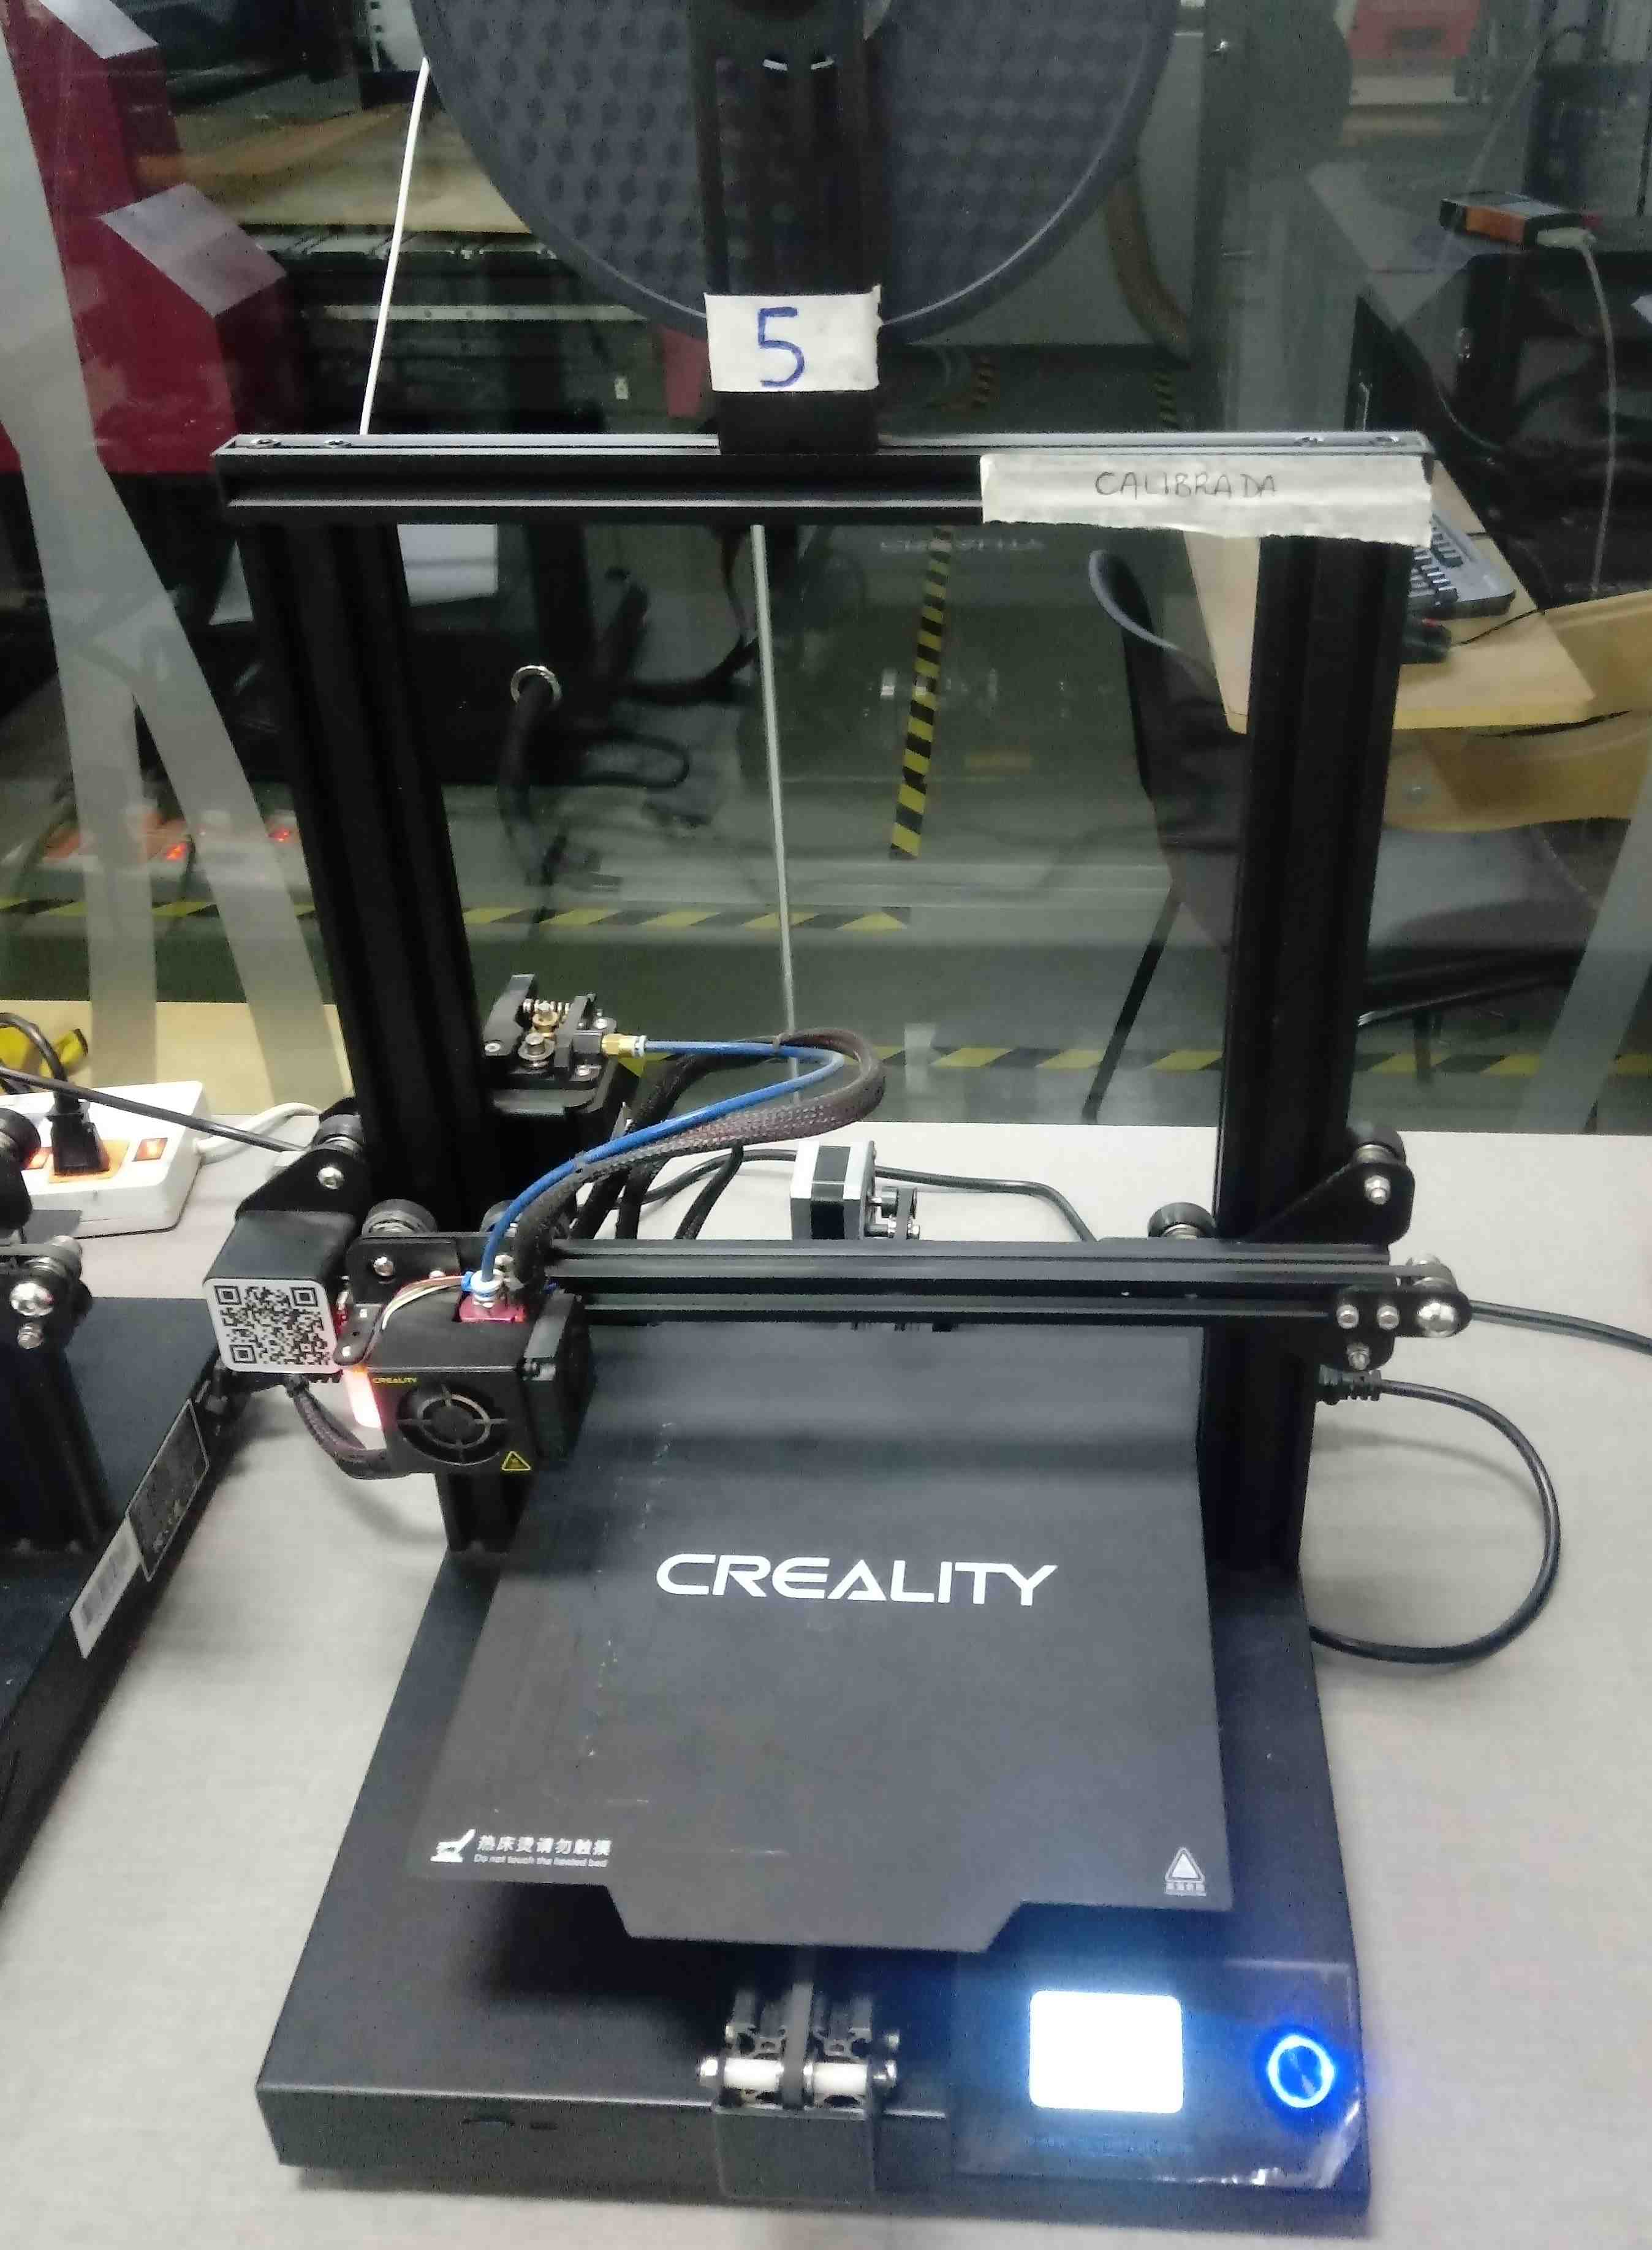
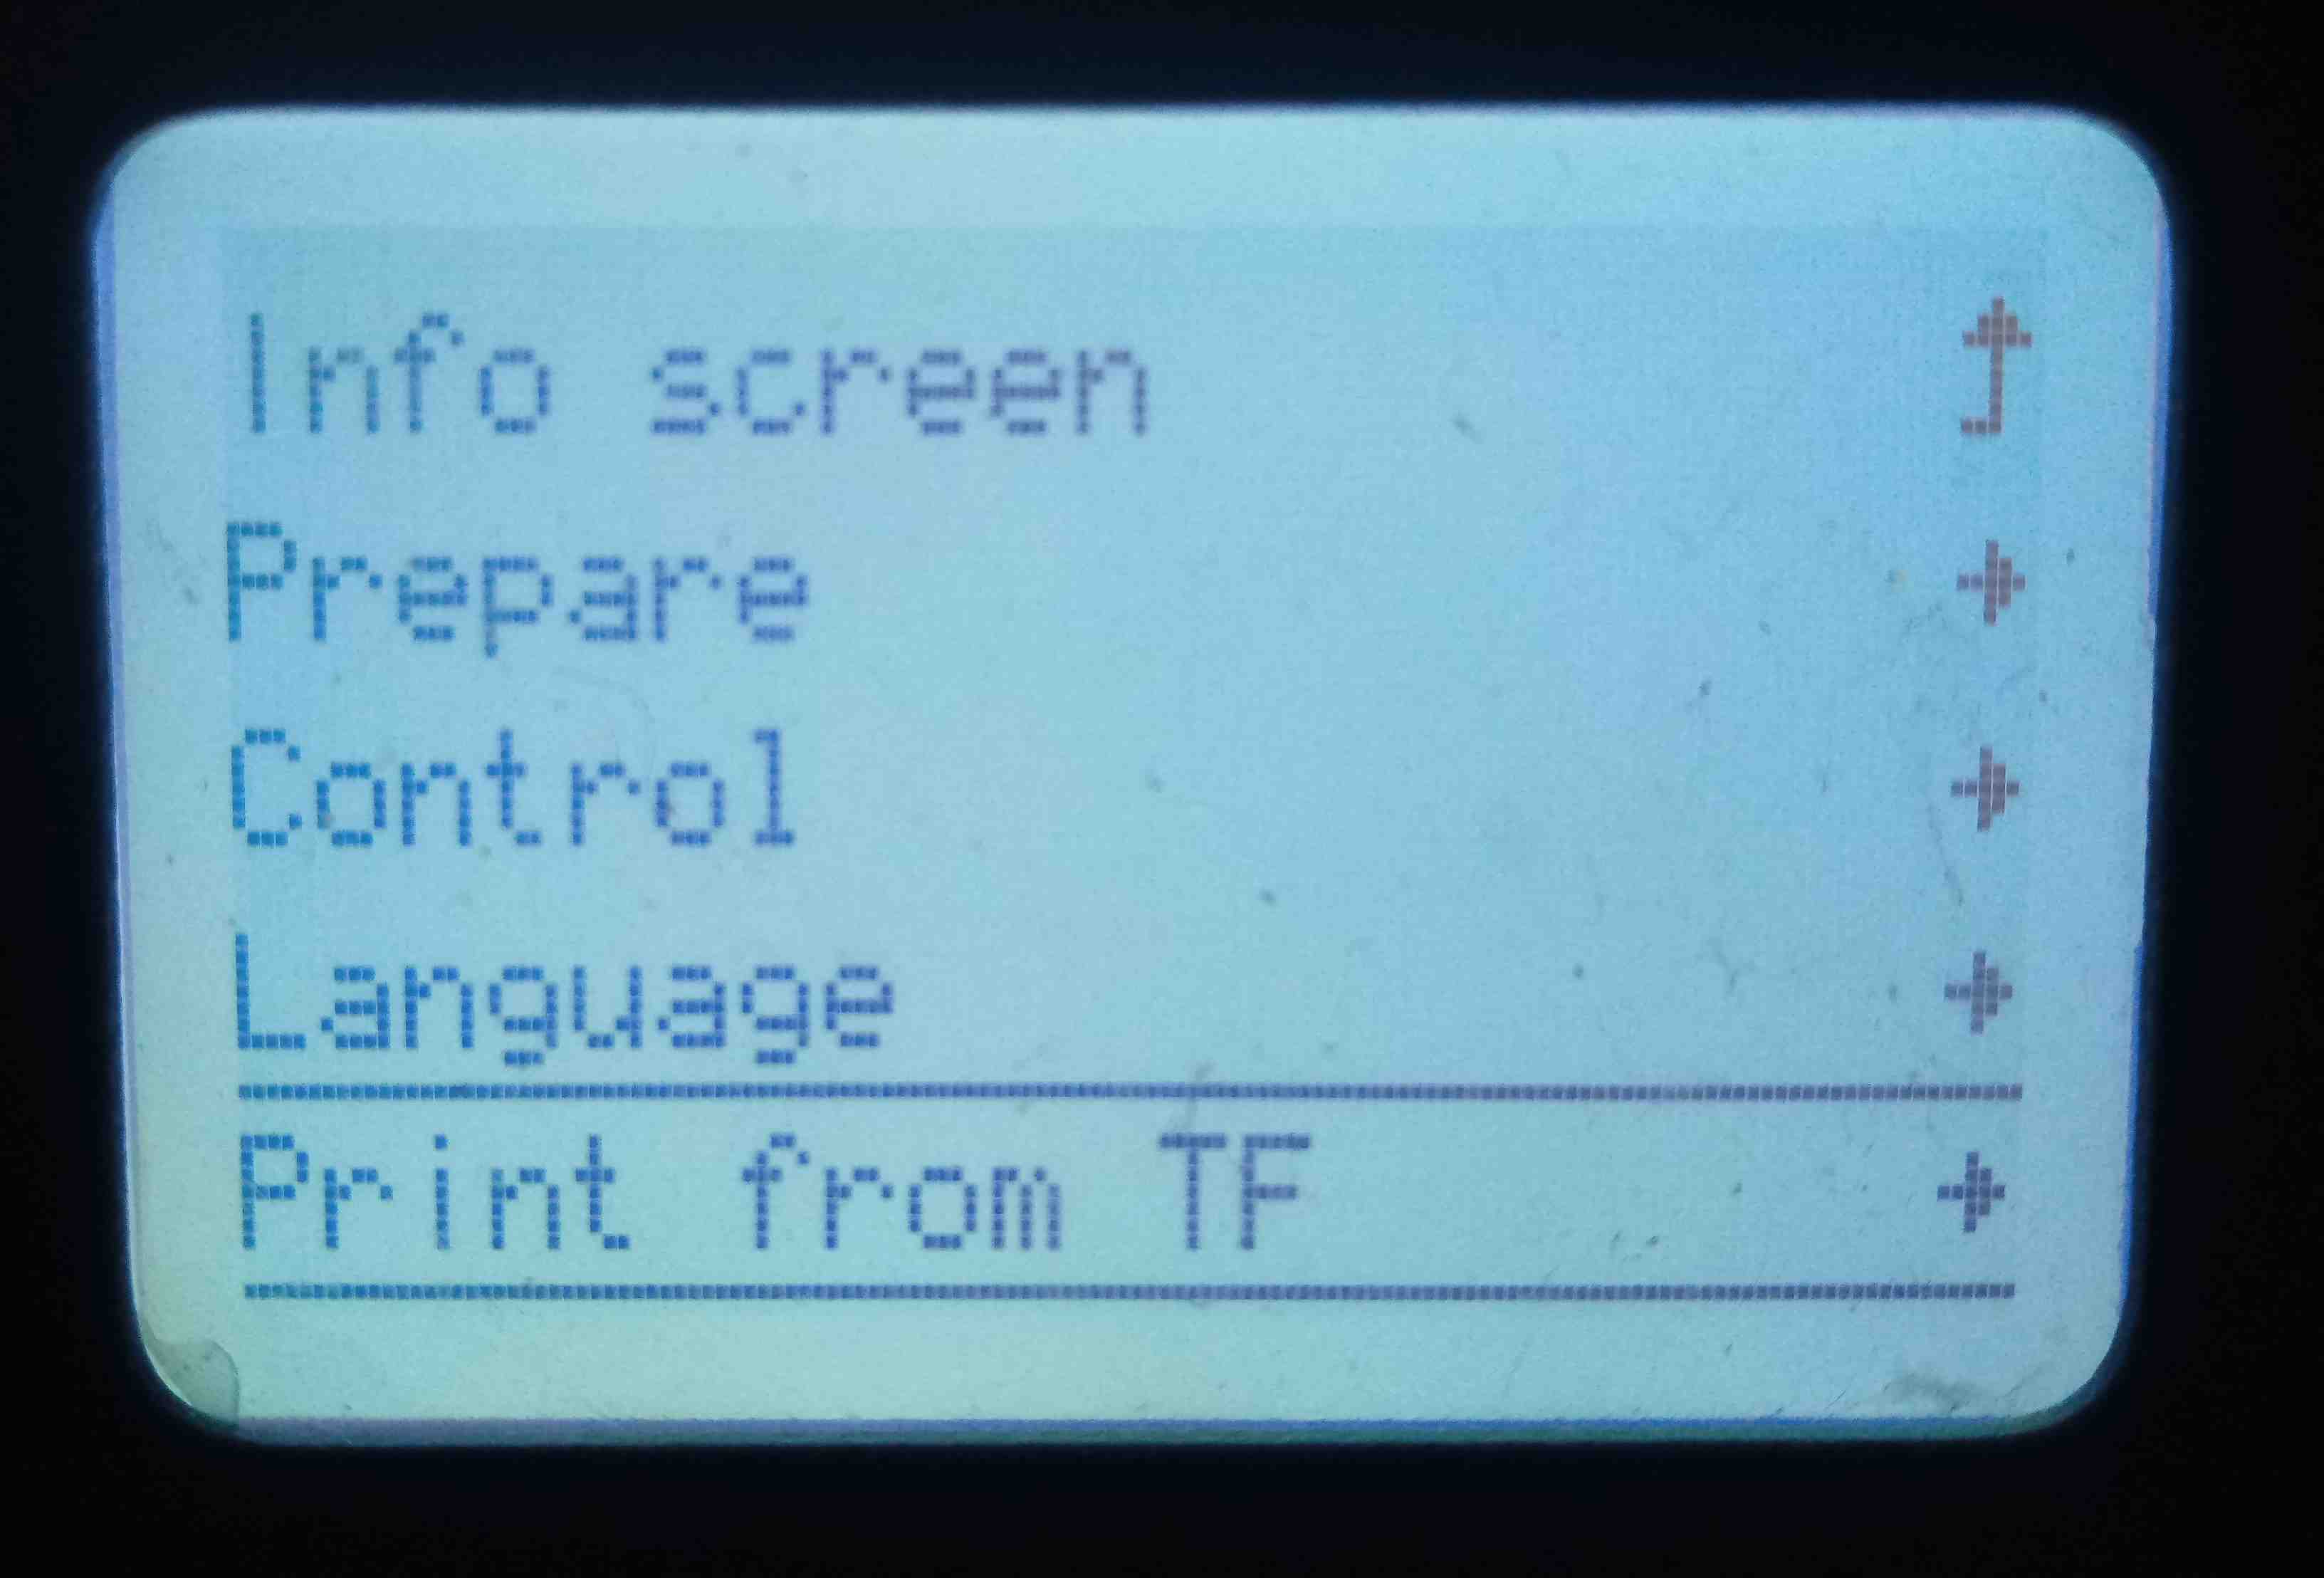
After Turn on the 3D printer, we see the next screen:

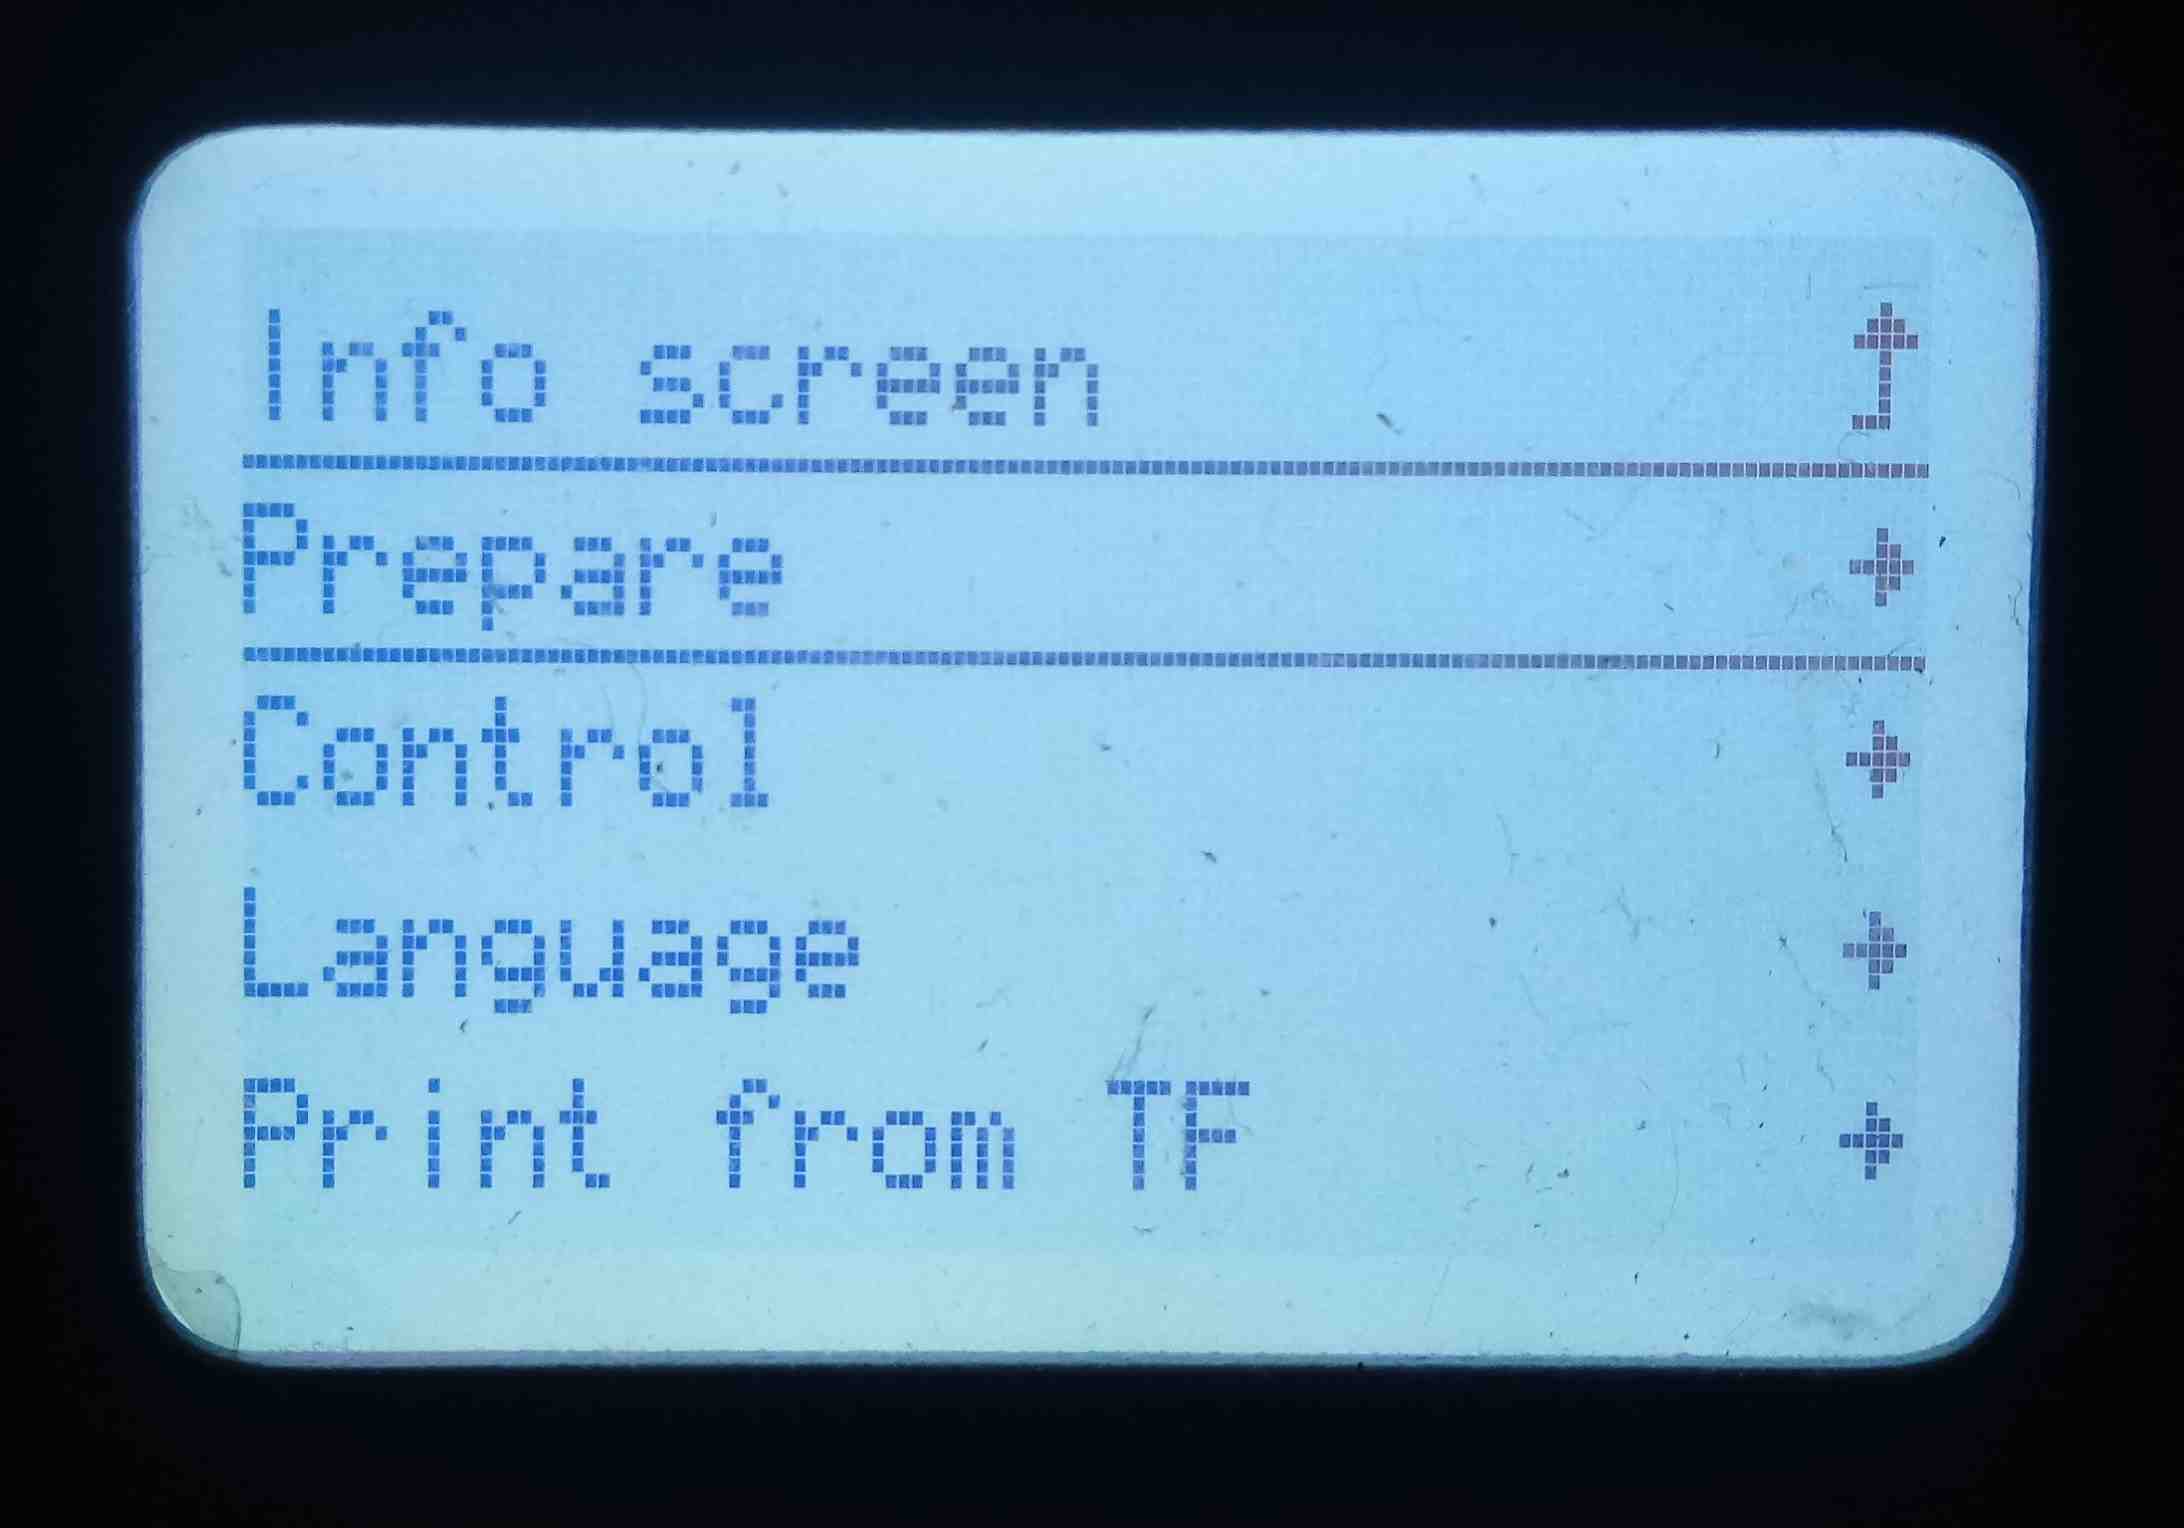
To calibrating the bed level, press the principal button, the LCD show the list, I choose Prepare:
Press the principal button and choose Bed Leveling:
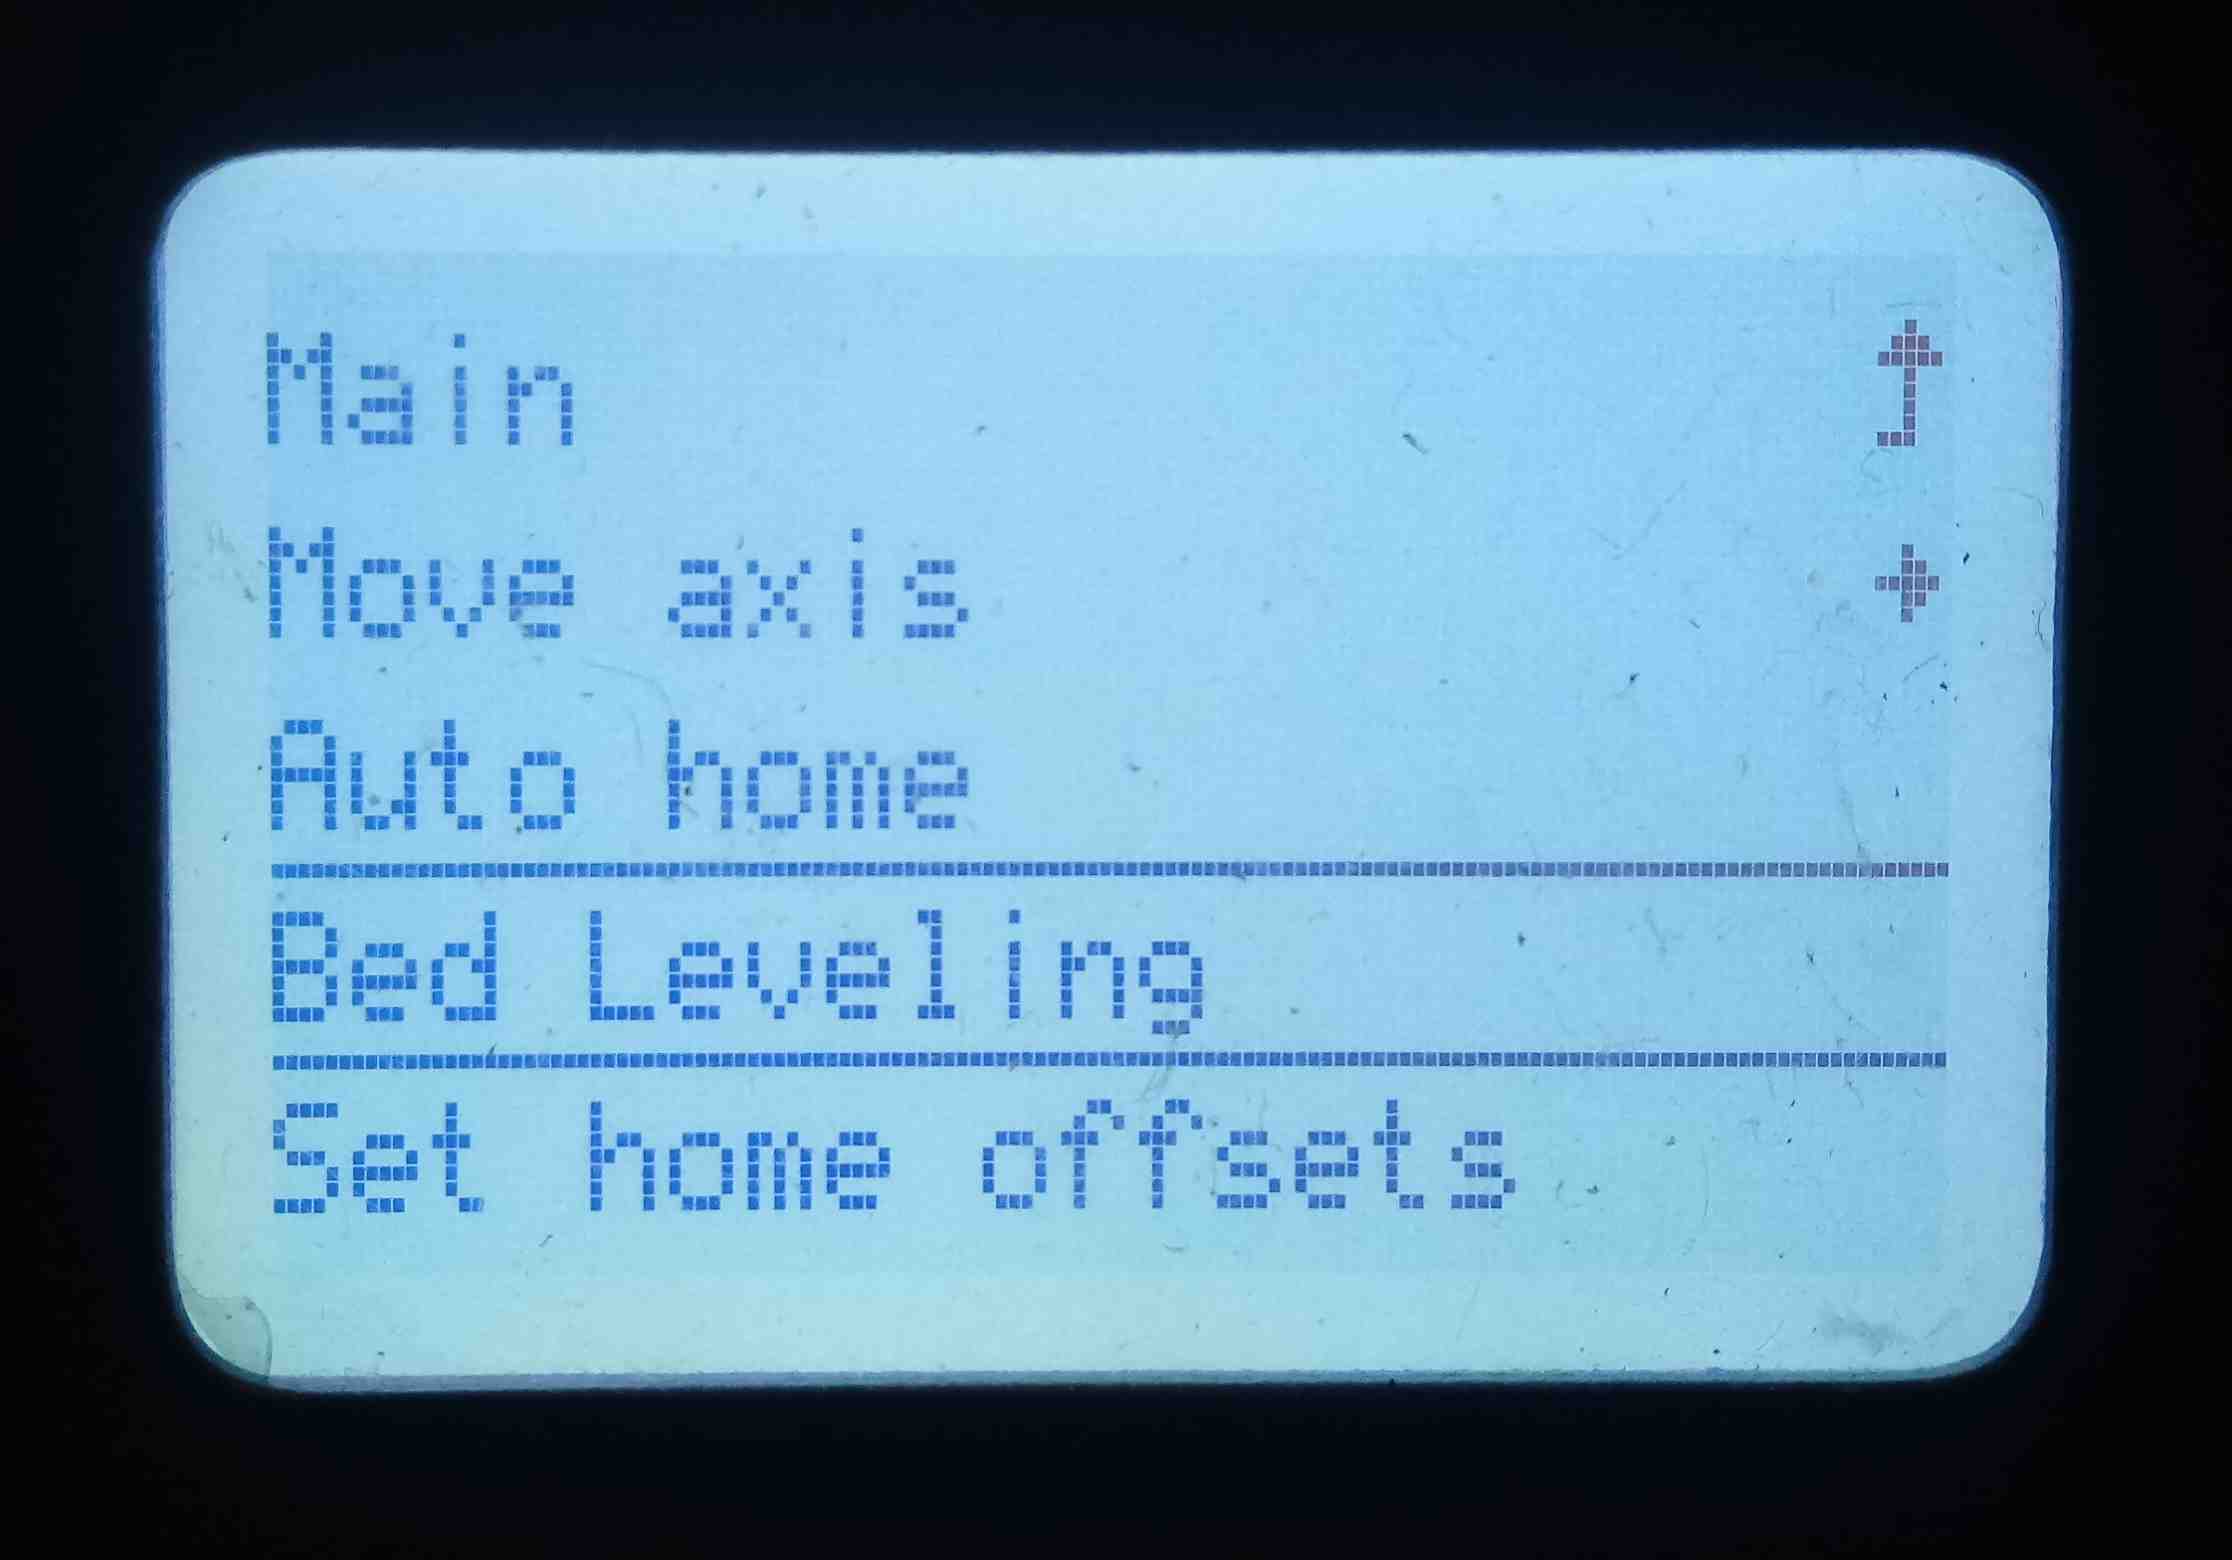
Then the 3D printer will do the bed leveling routine, it will take about 1.5 minutes, it will check the nine points in the bed.
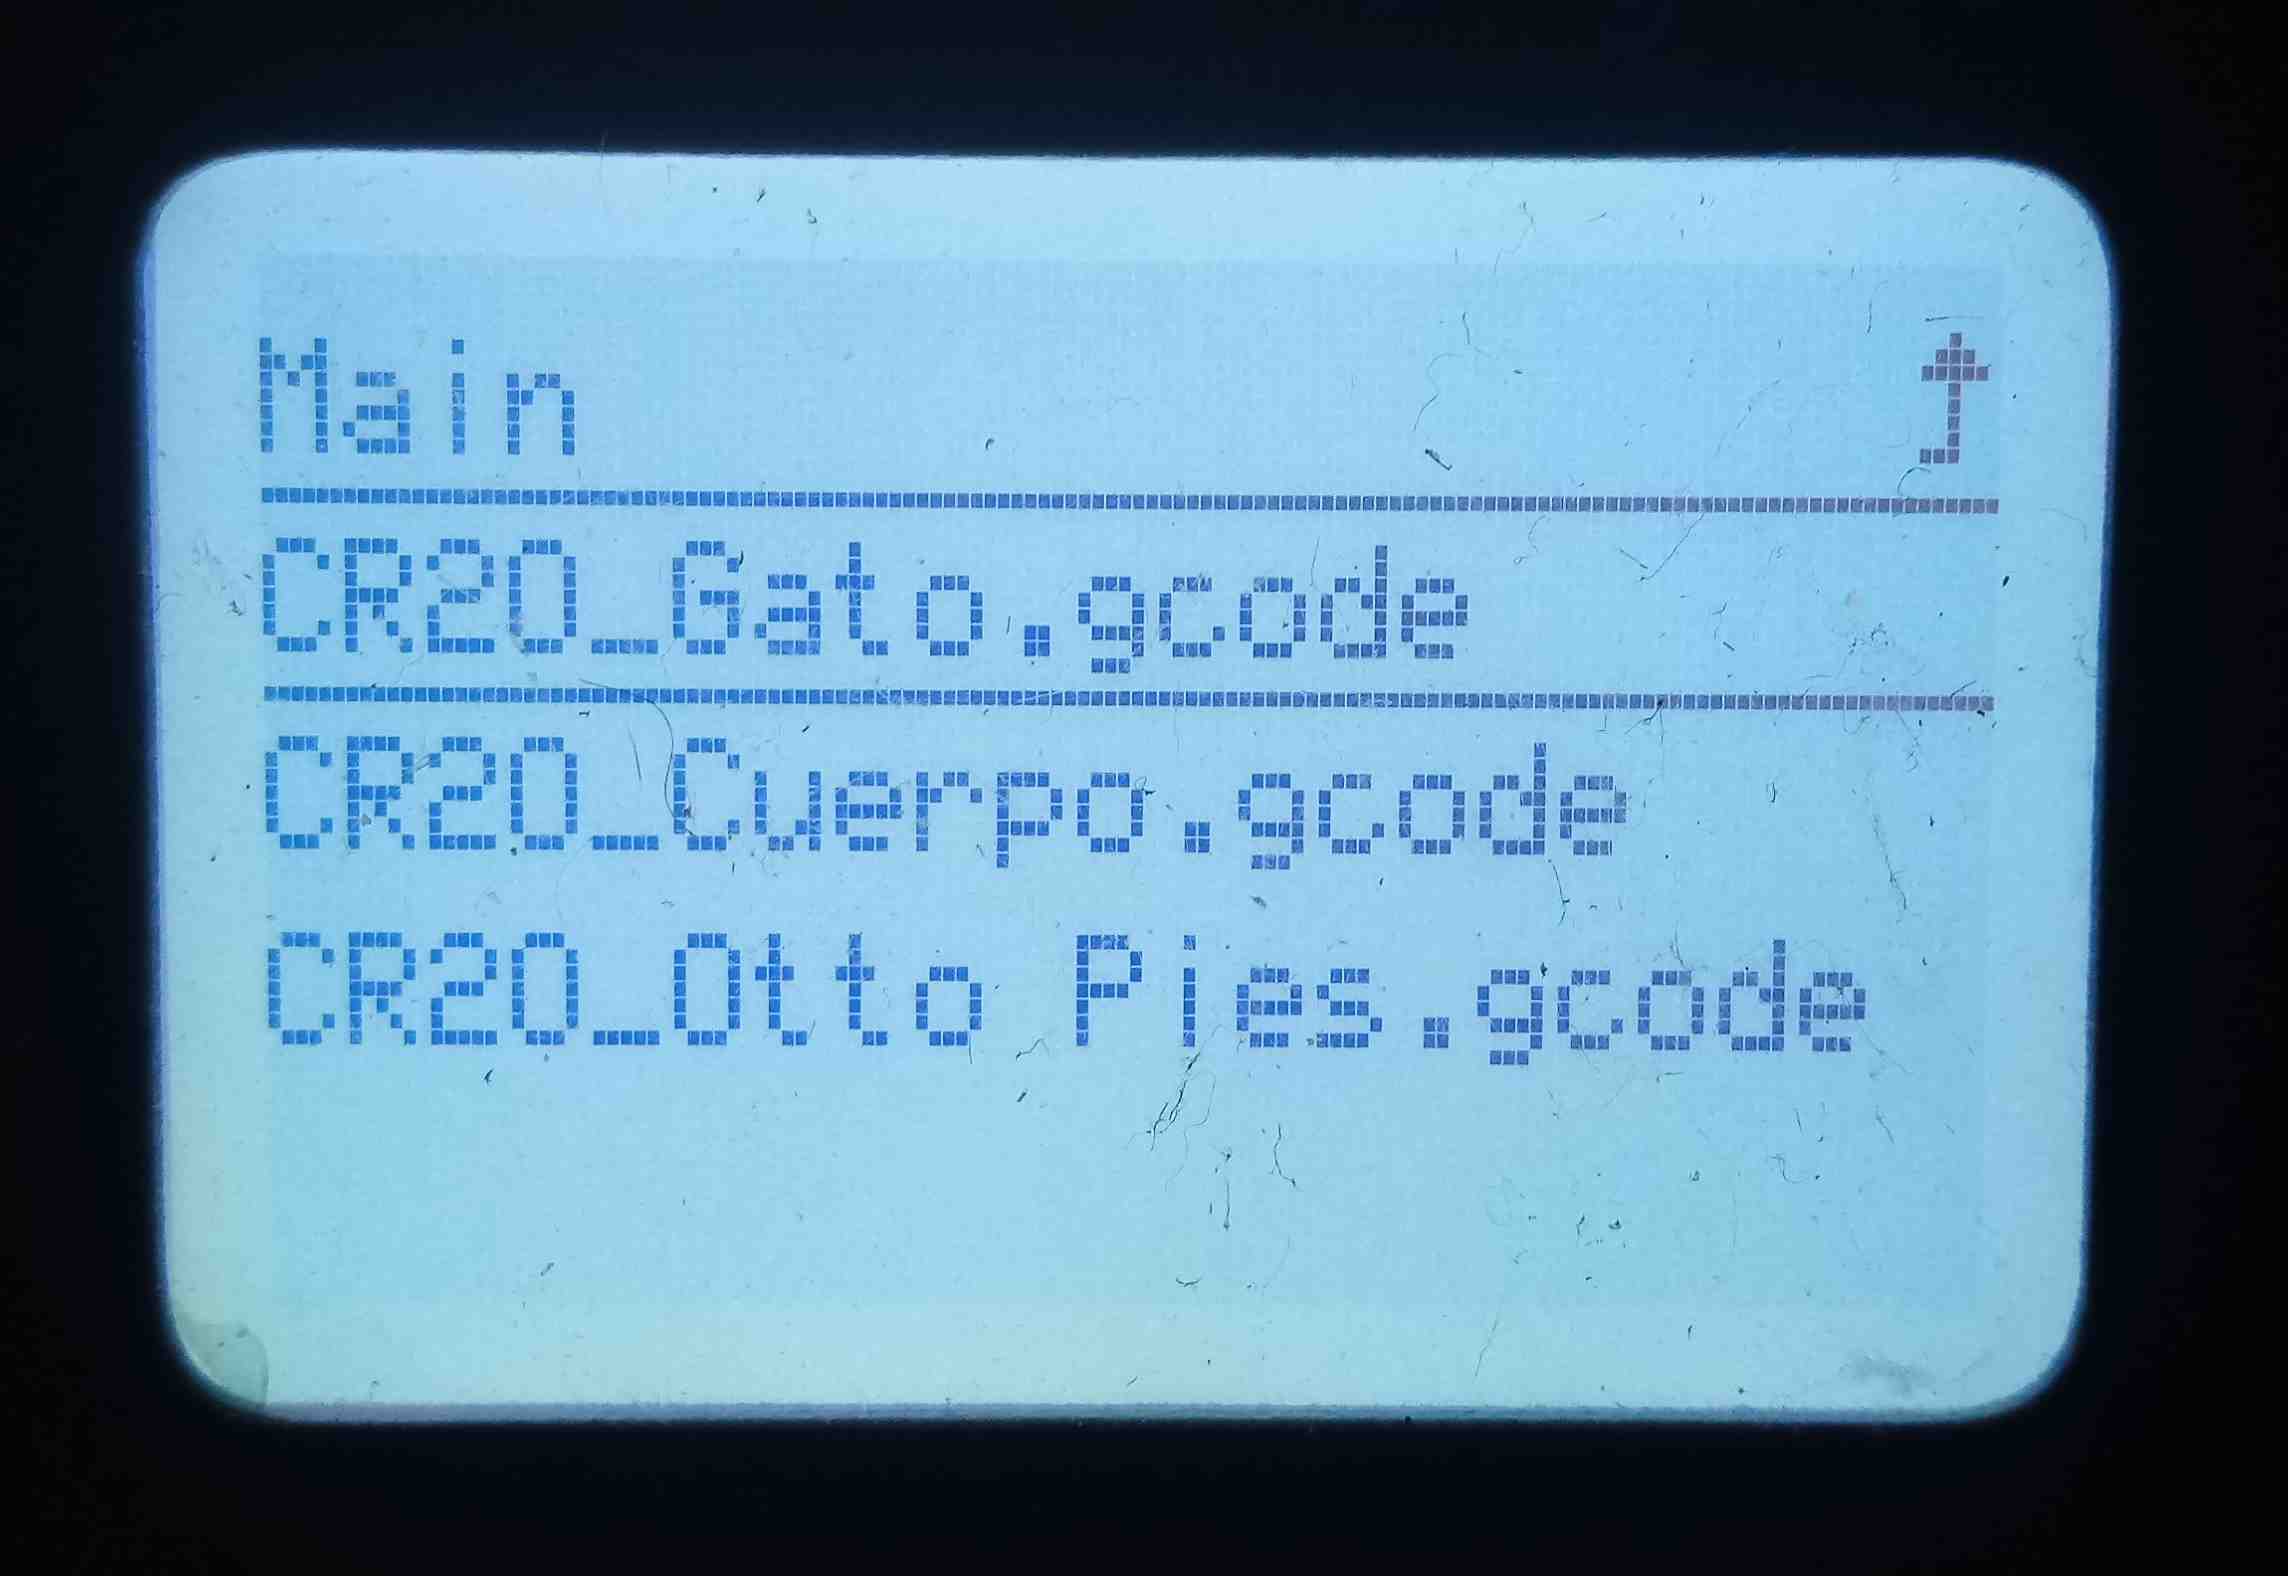
Press the principal button, of the list choose the Print from TF option:
Of the list choose the correct GCODE file, in our case is CR20_Gato.gcode
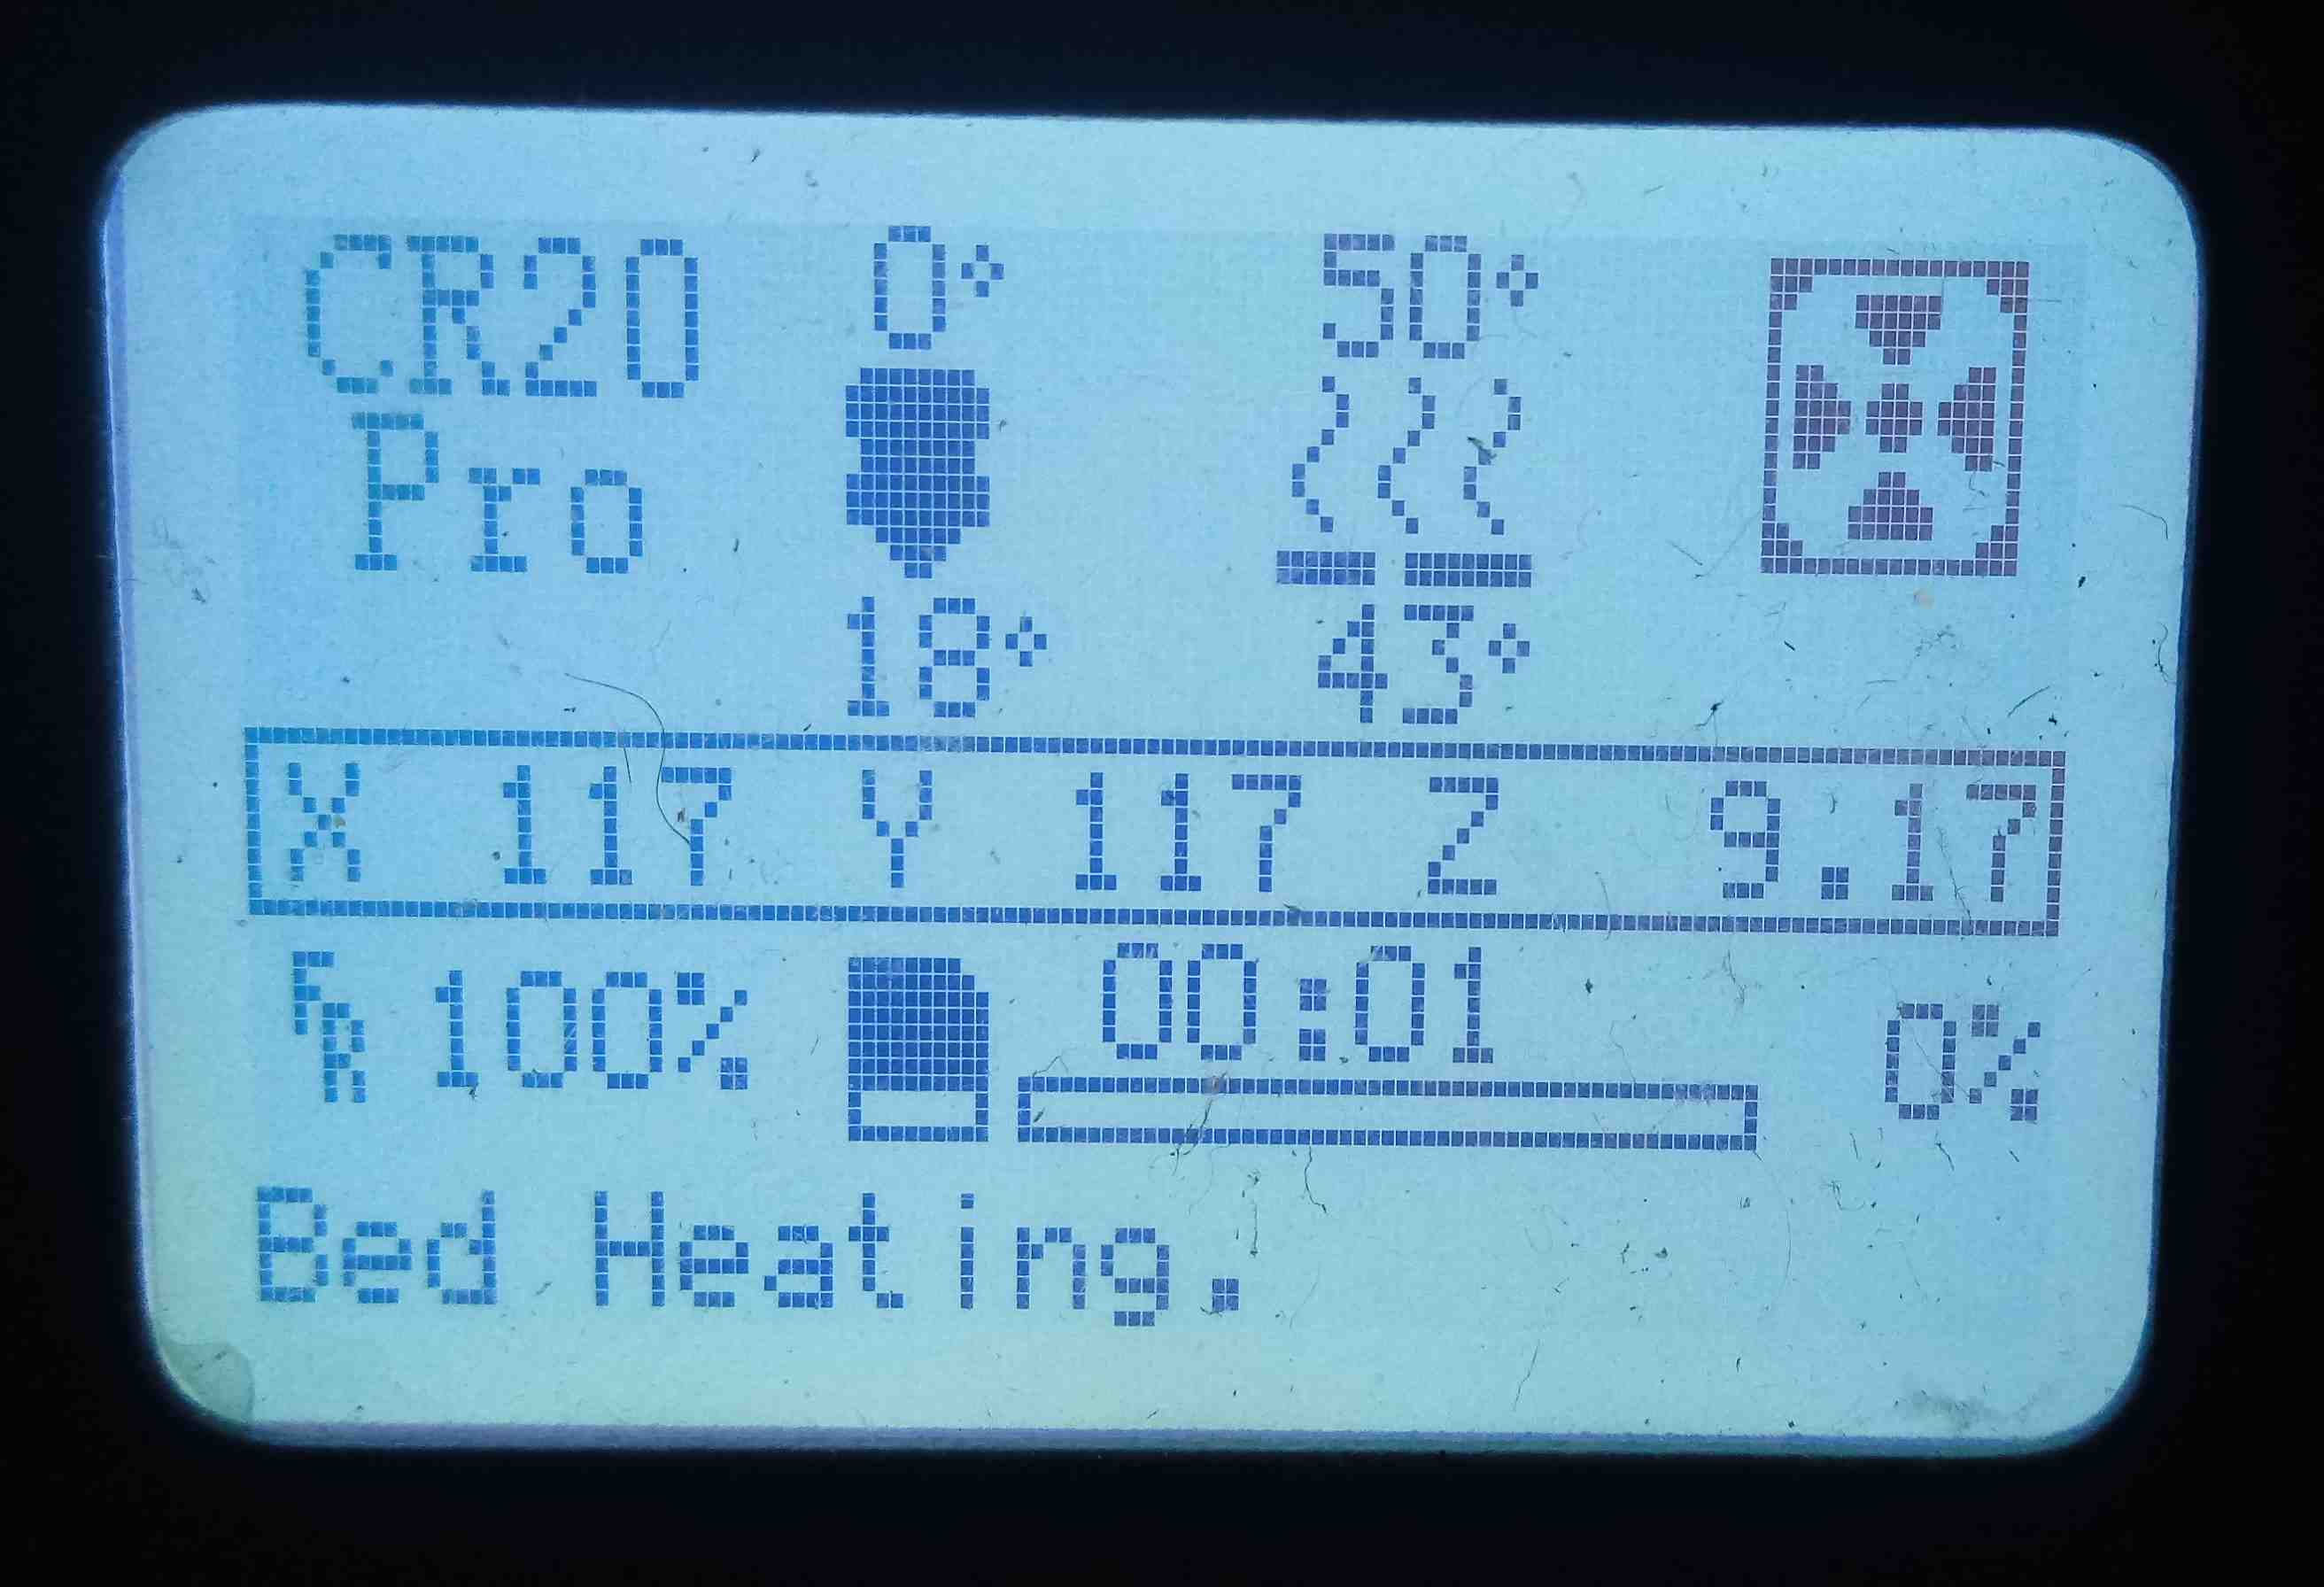
First, Wait the heating of the Bed, in our case it will heat until 50 grades centigrades:
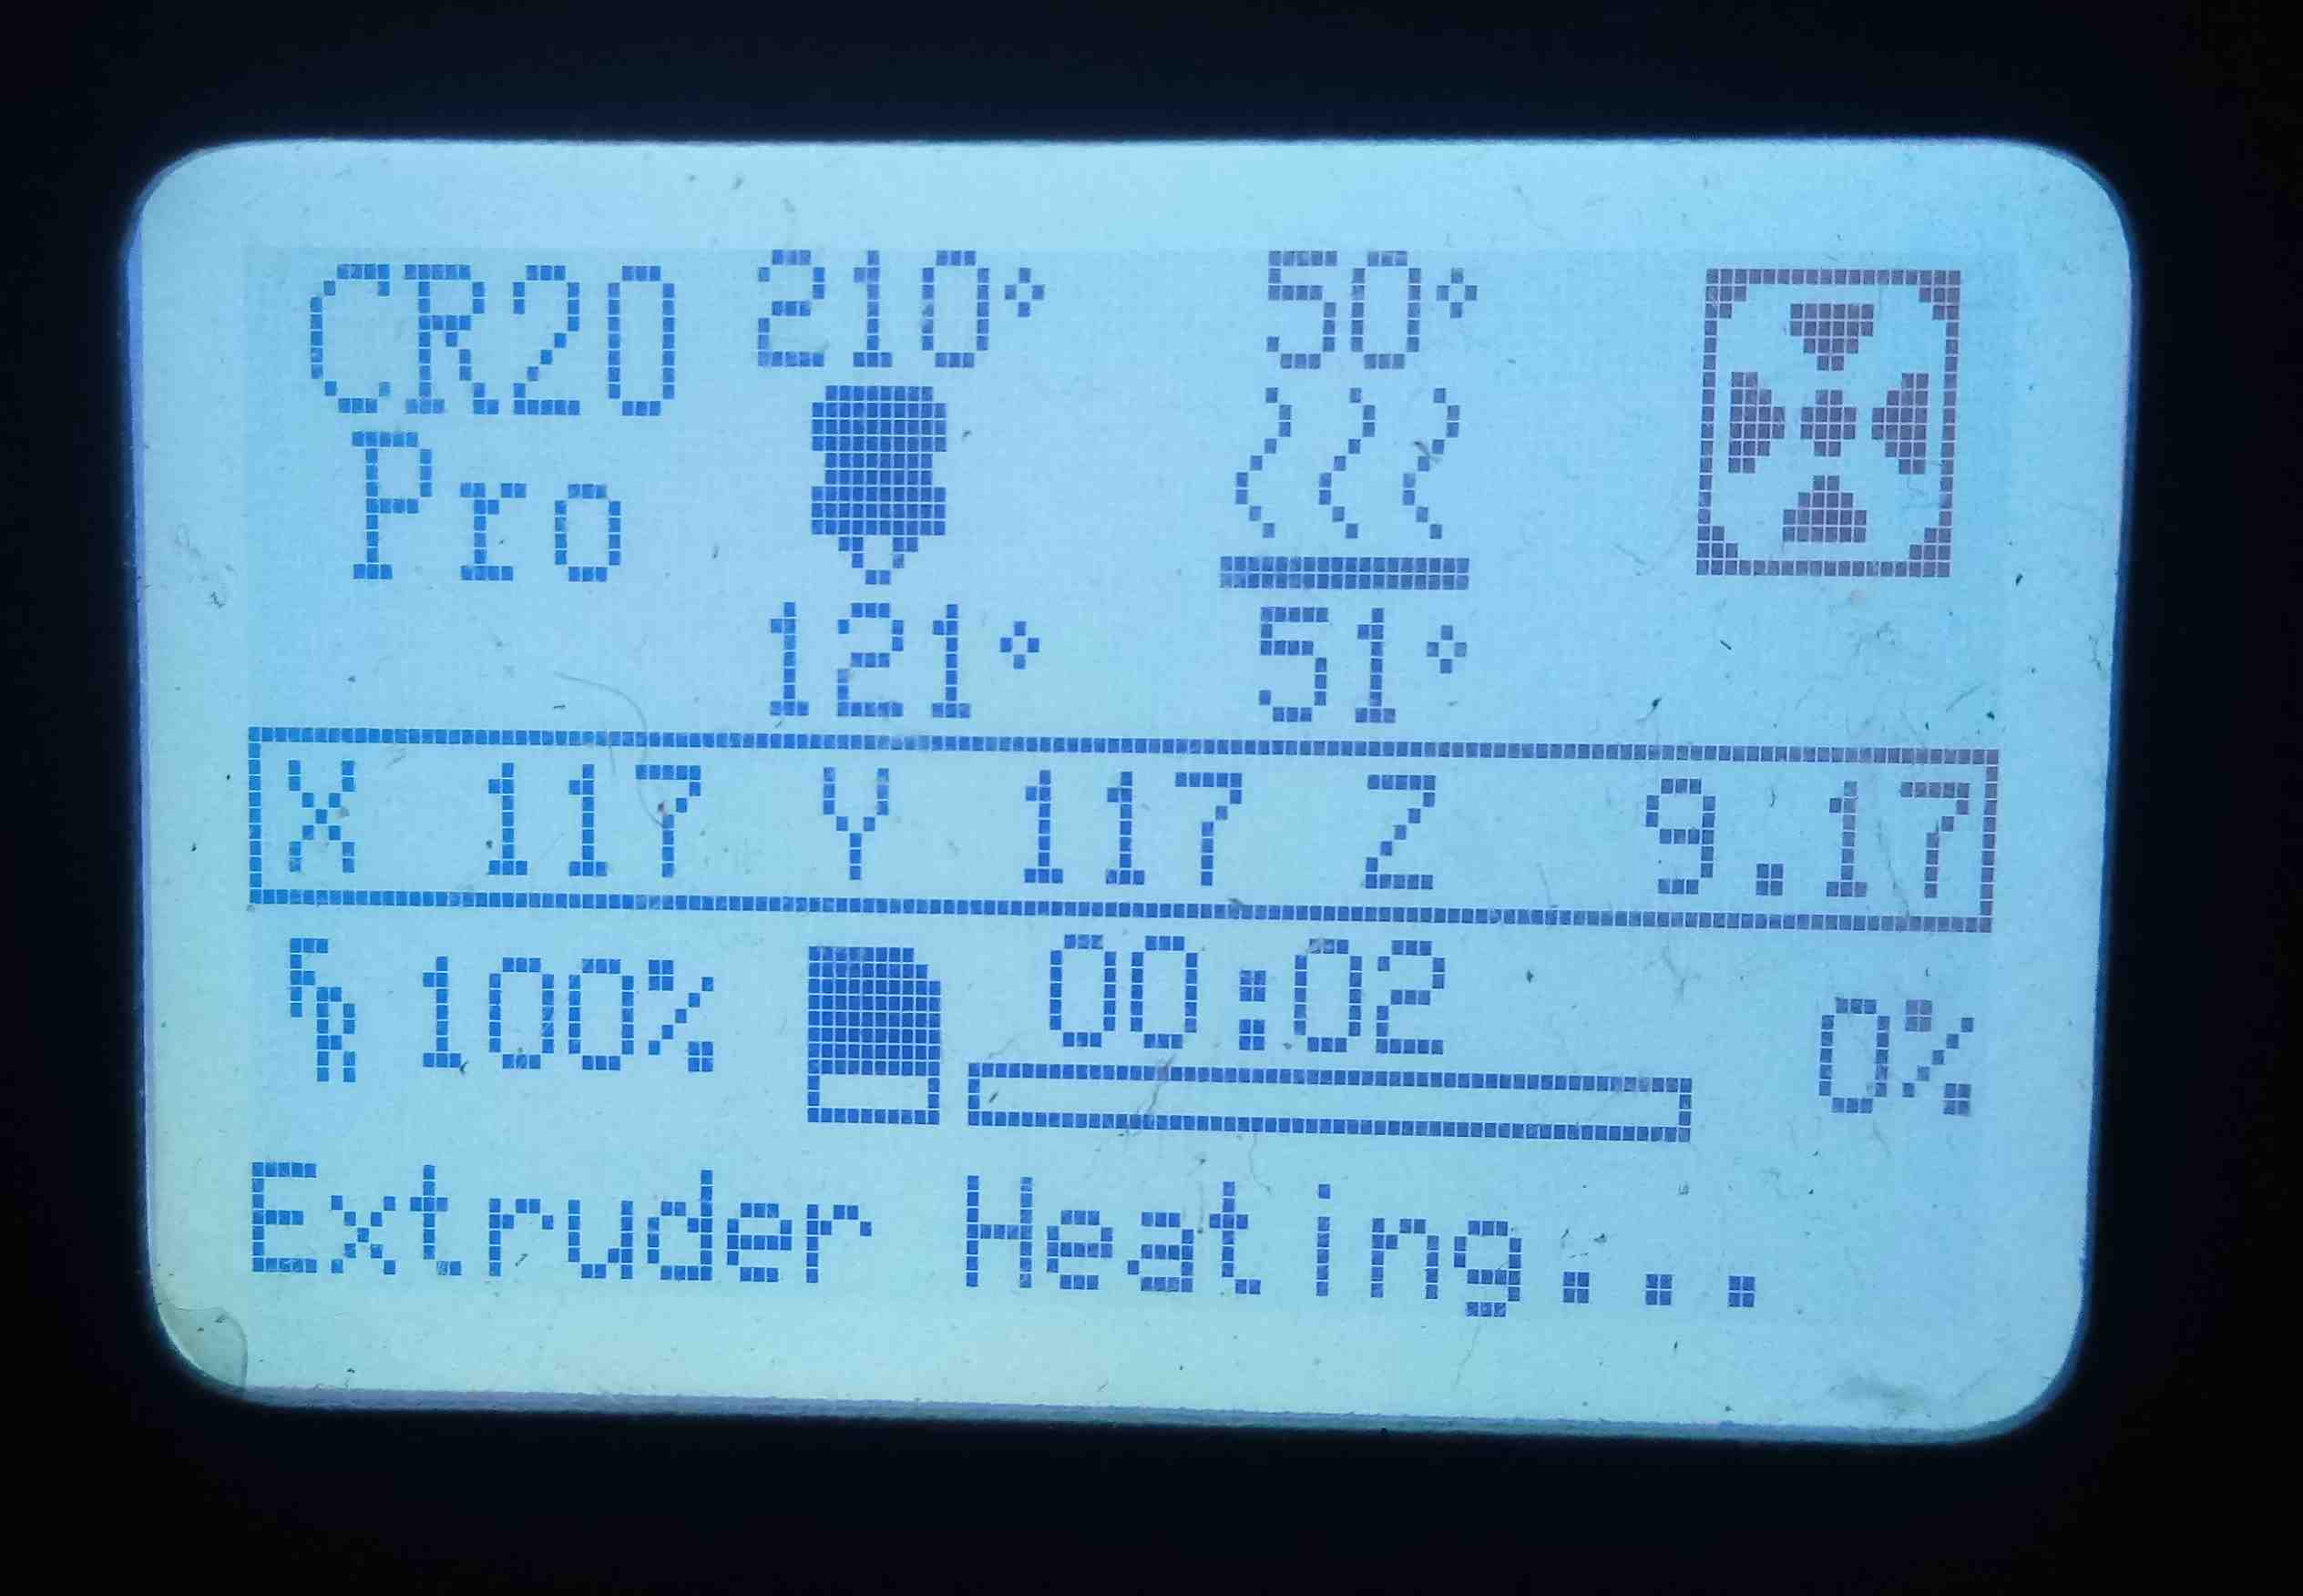
Second, Wait the heating of the Nozzle, in our case it will heat until 210 grades centigrades:
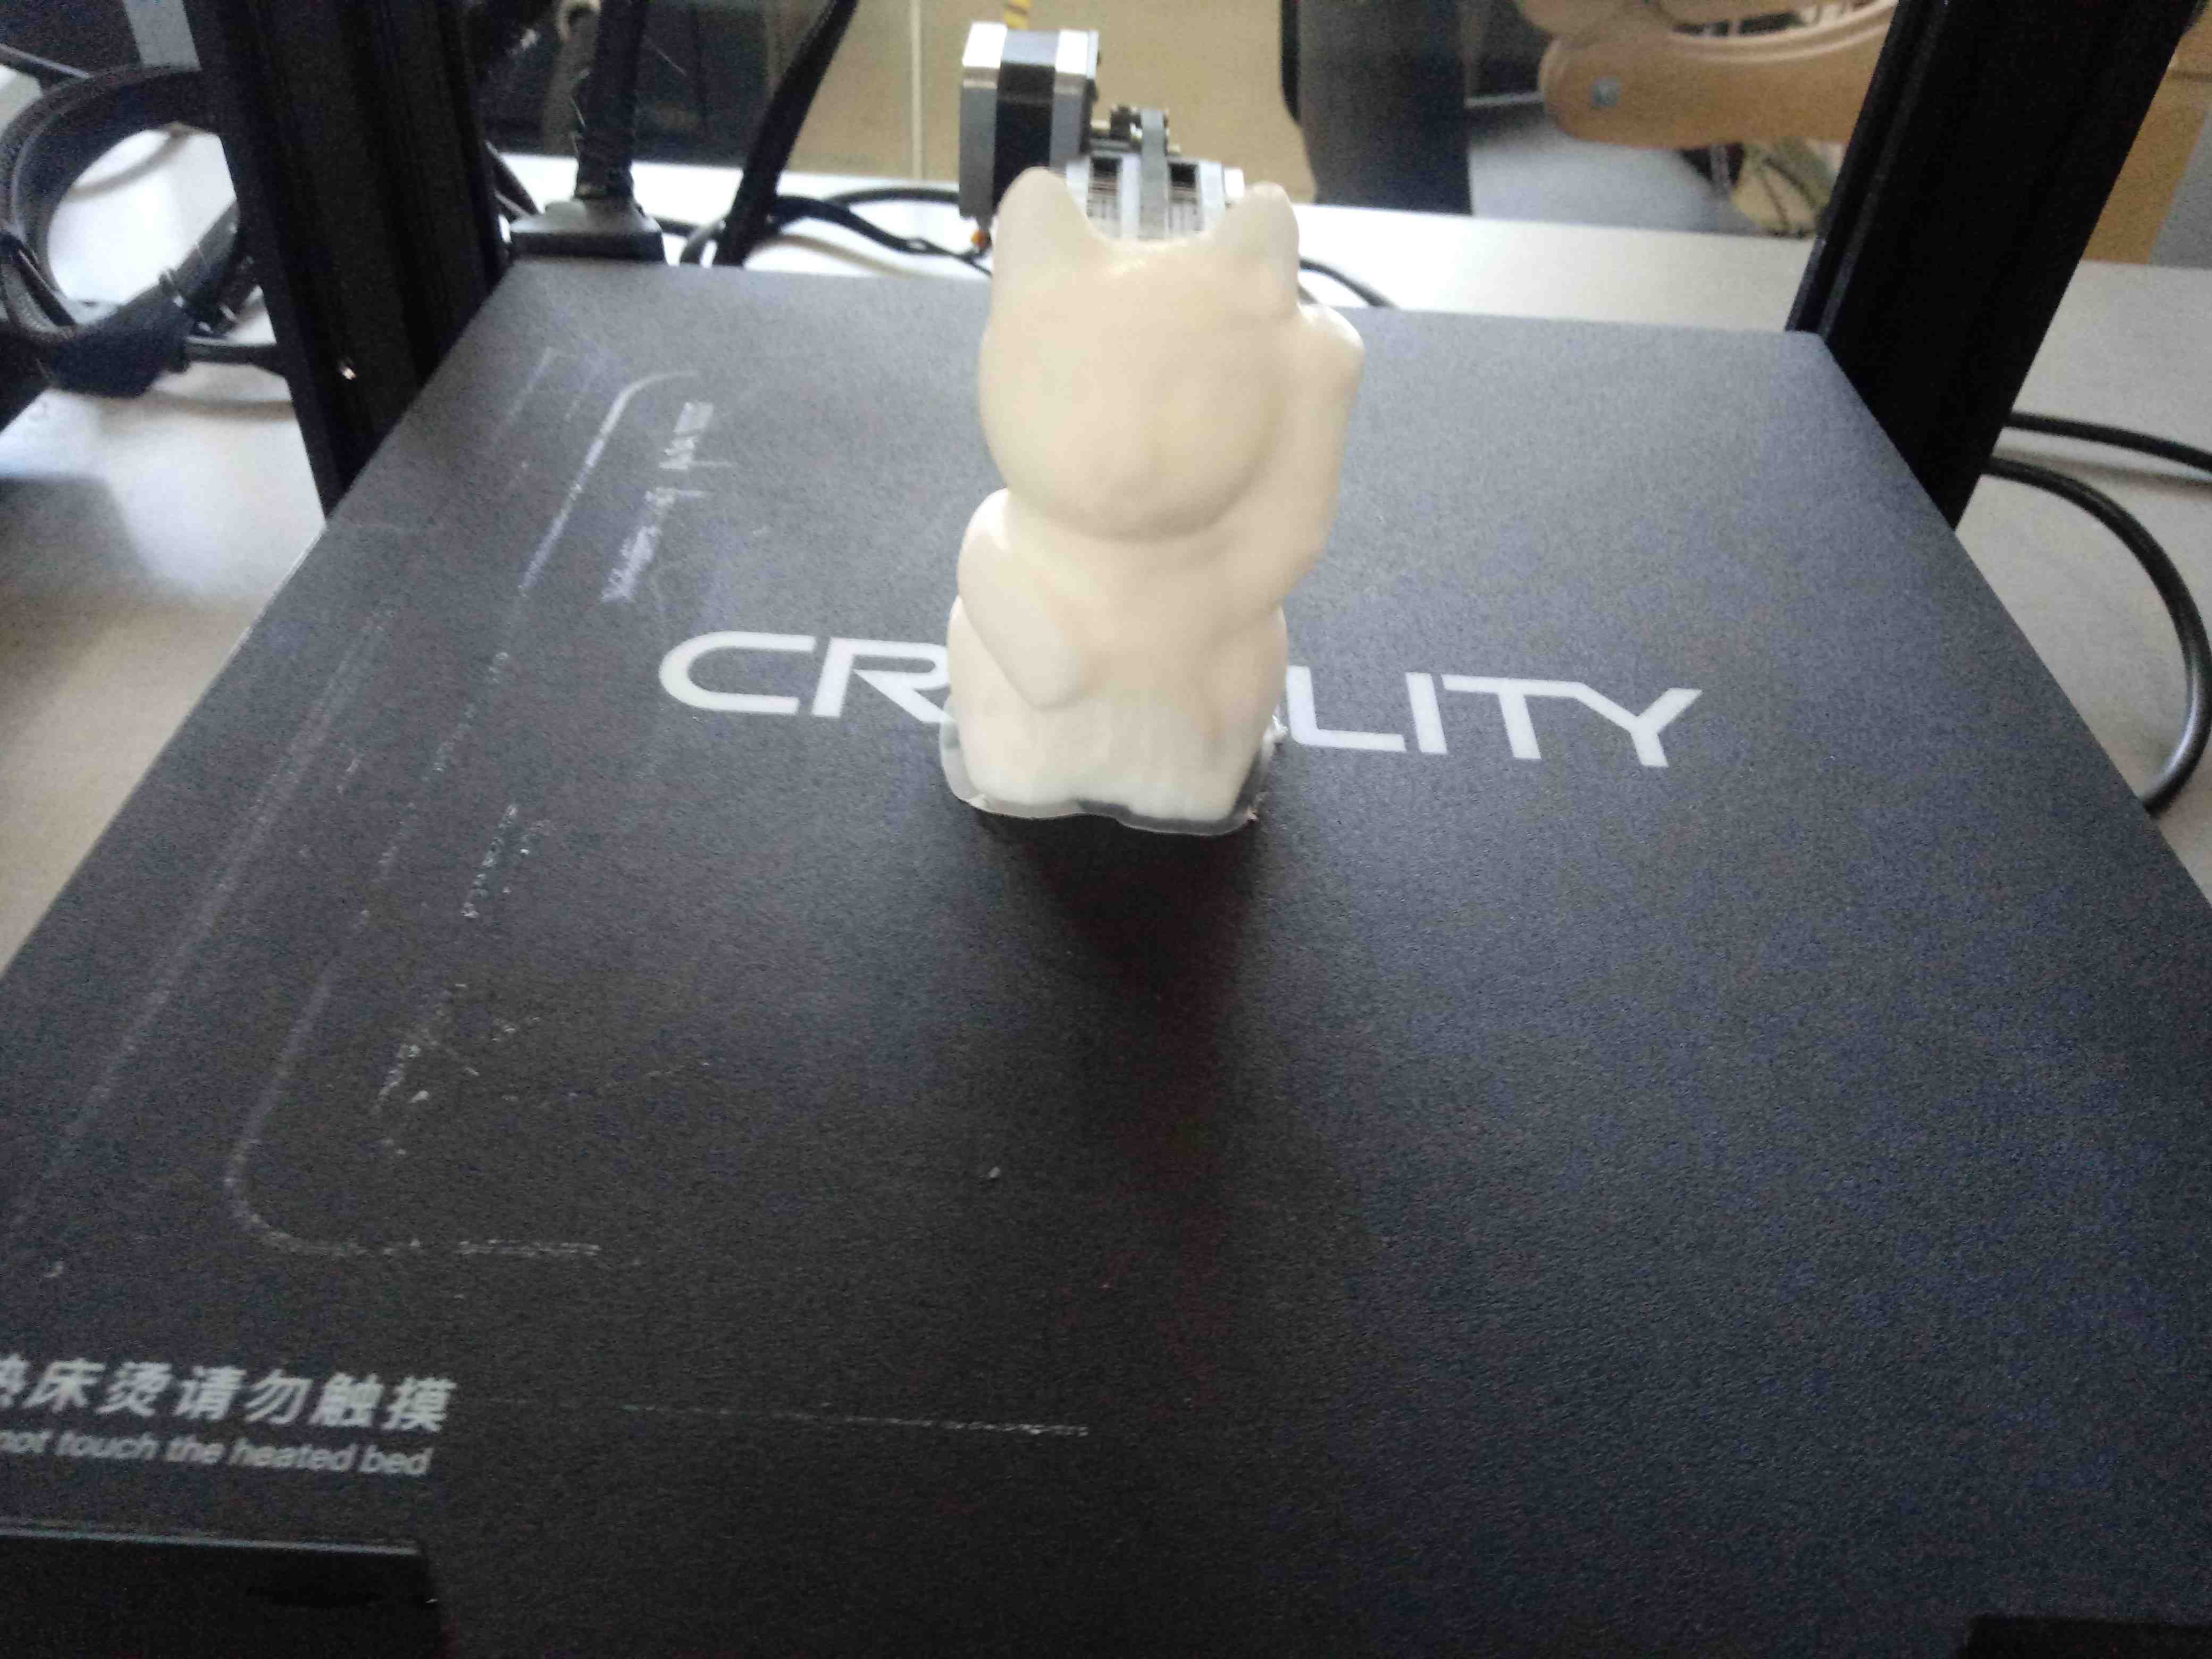
Printed Object
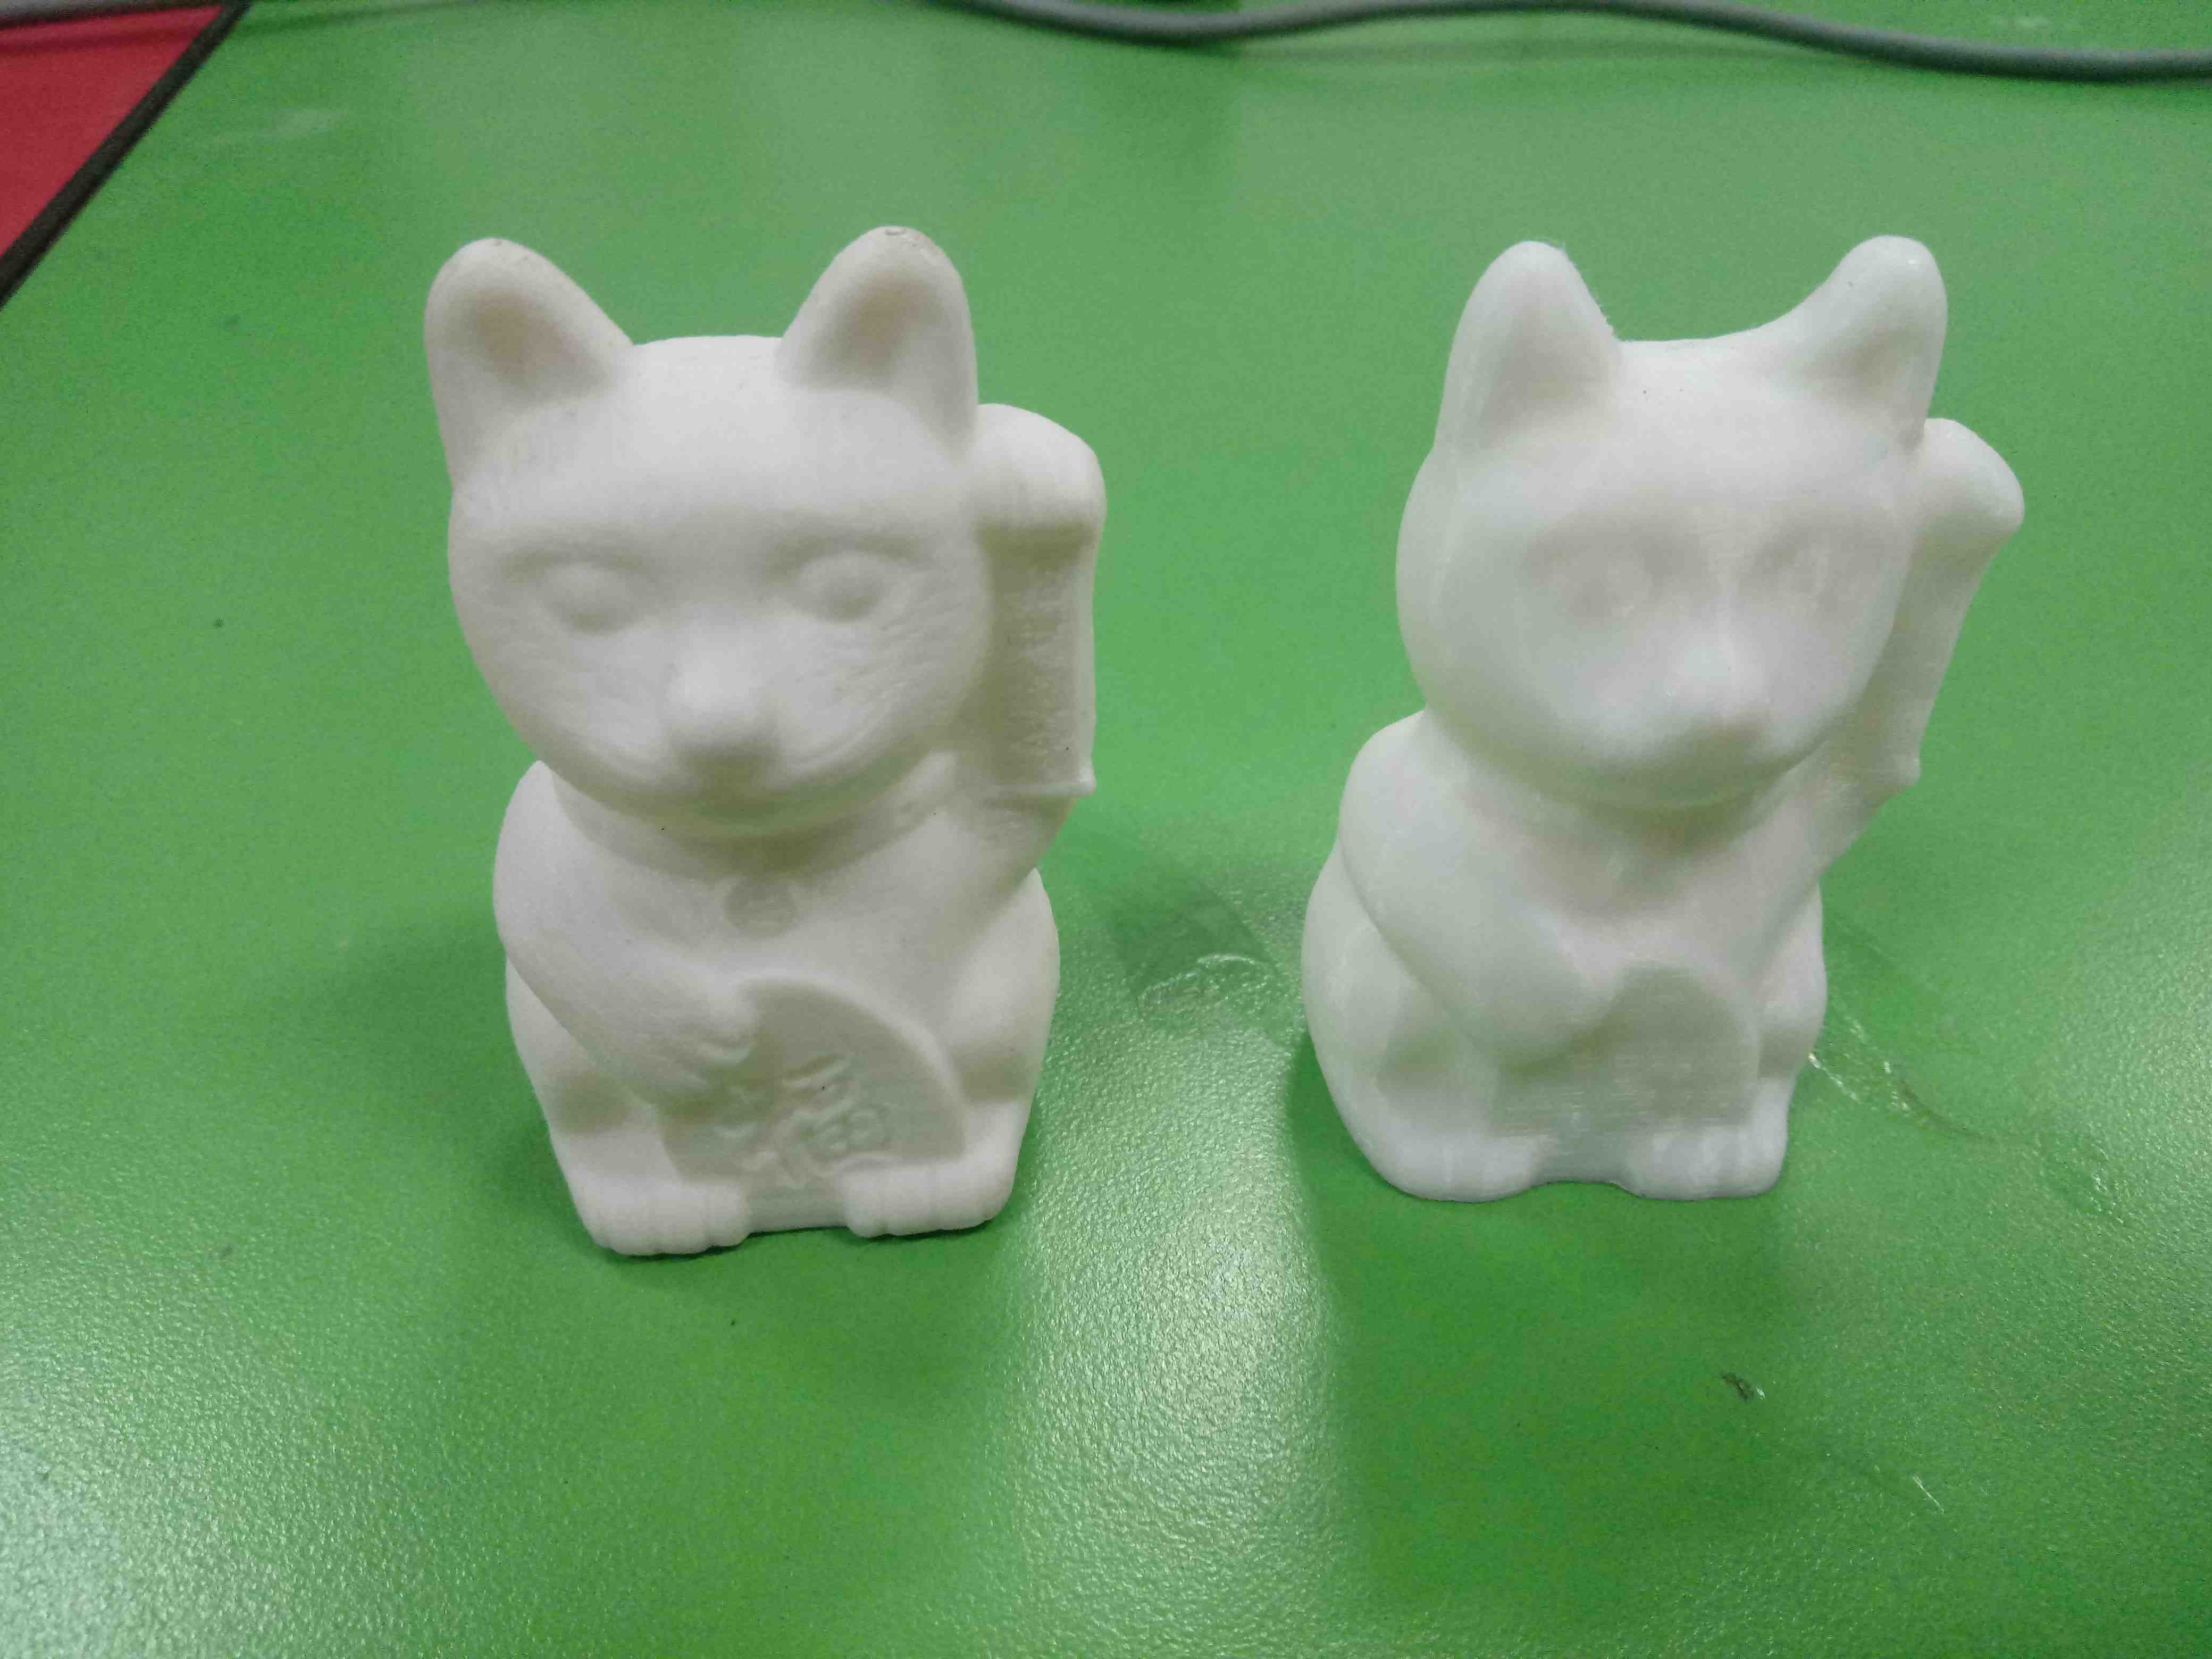
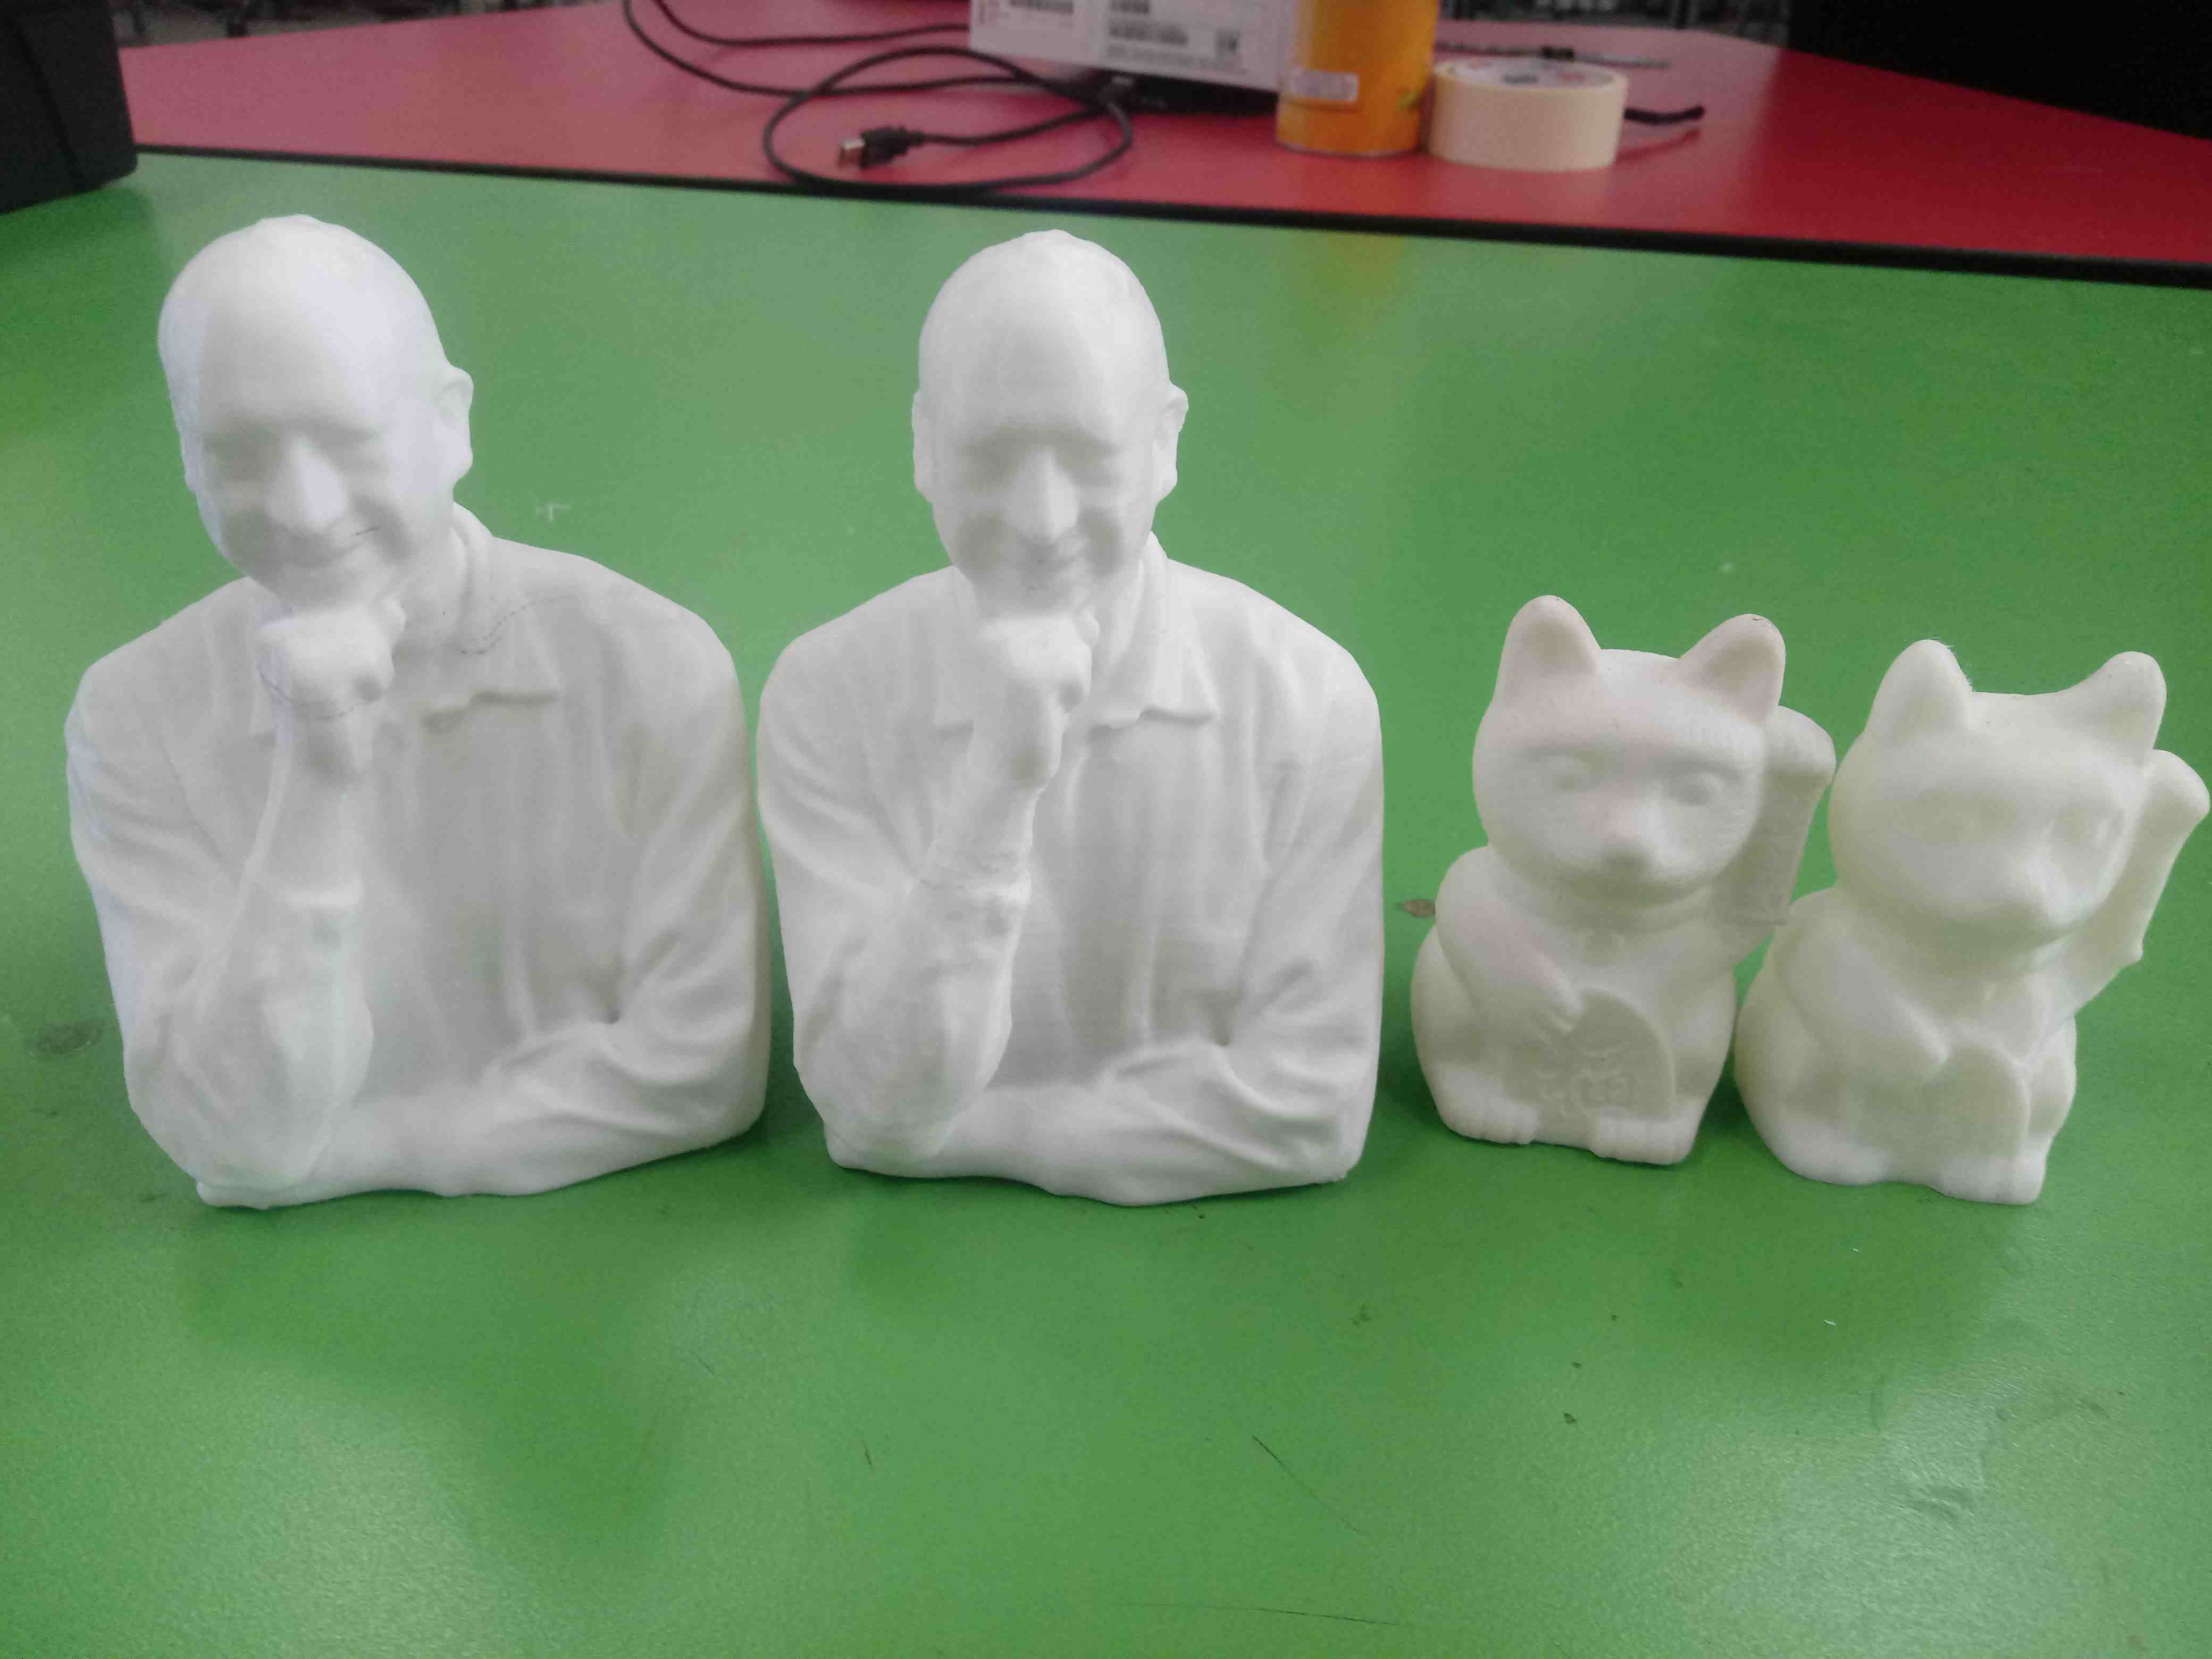
Compare the two objects, the original cat and the scanned/printed cat:
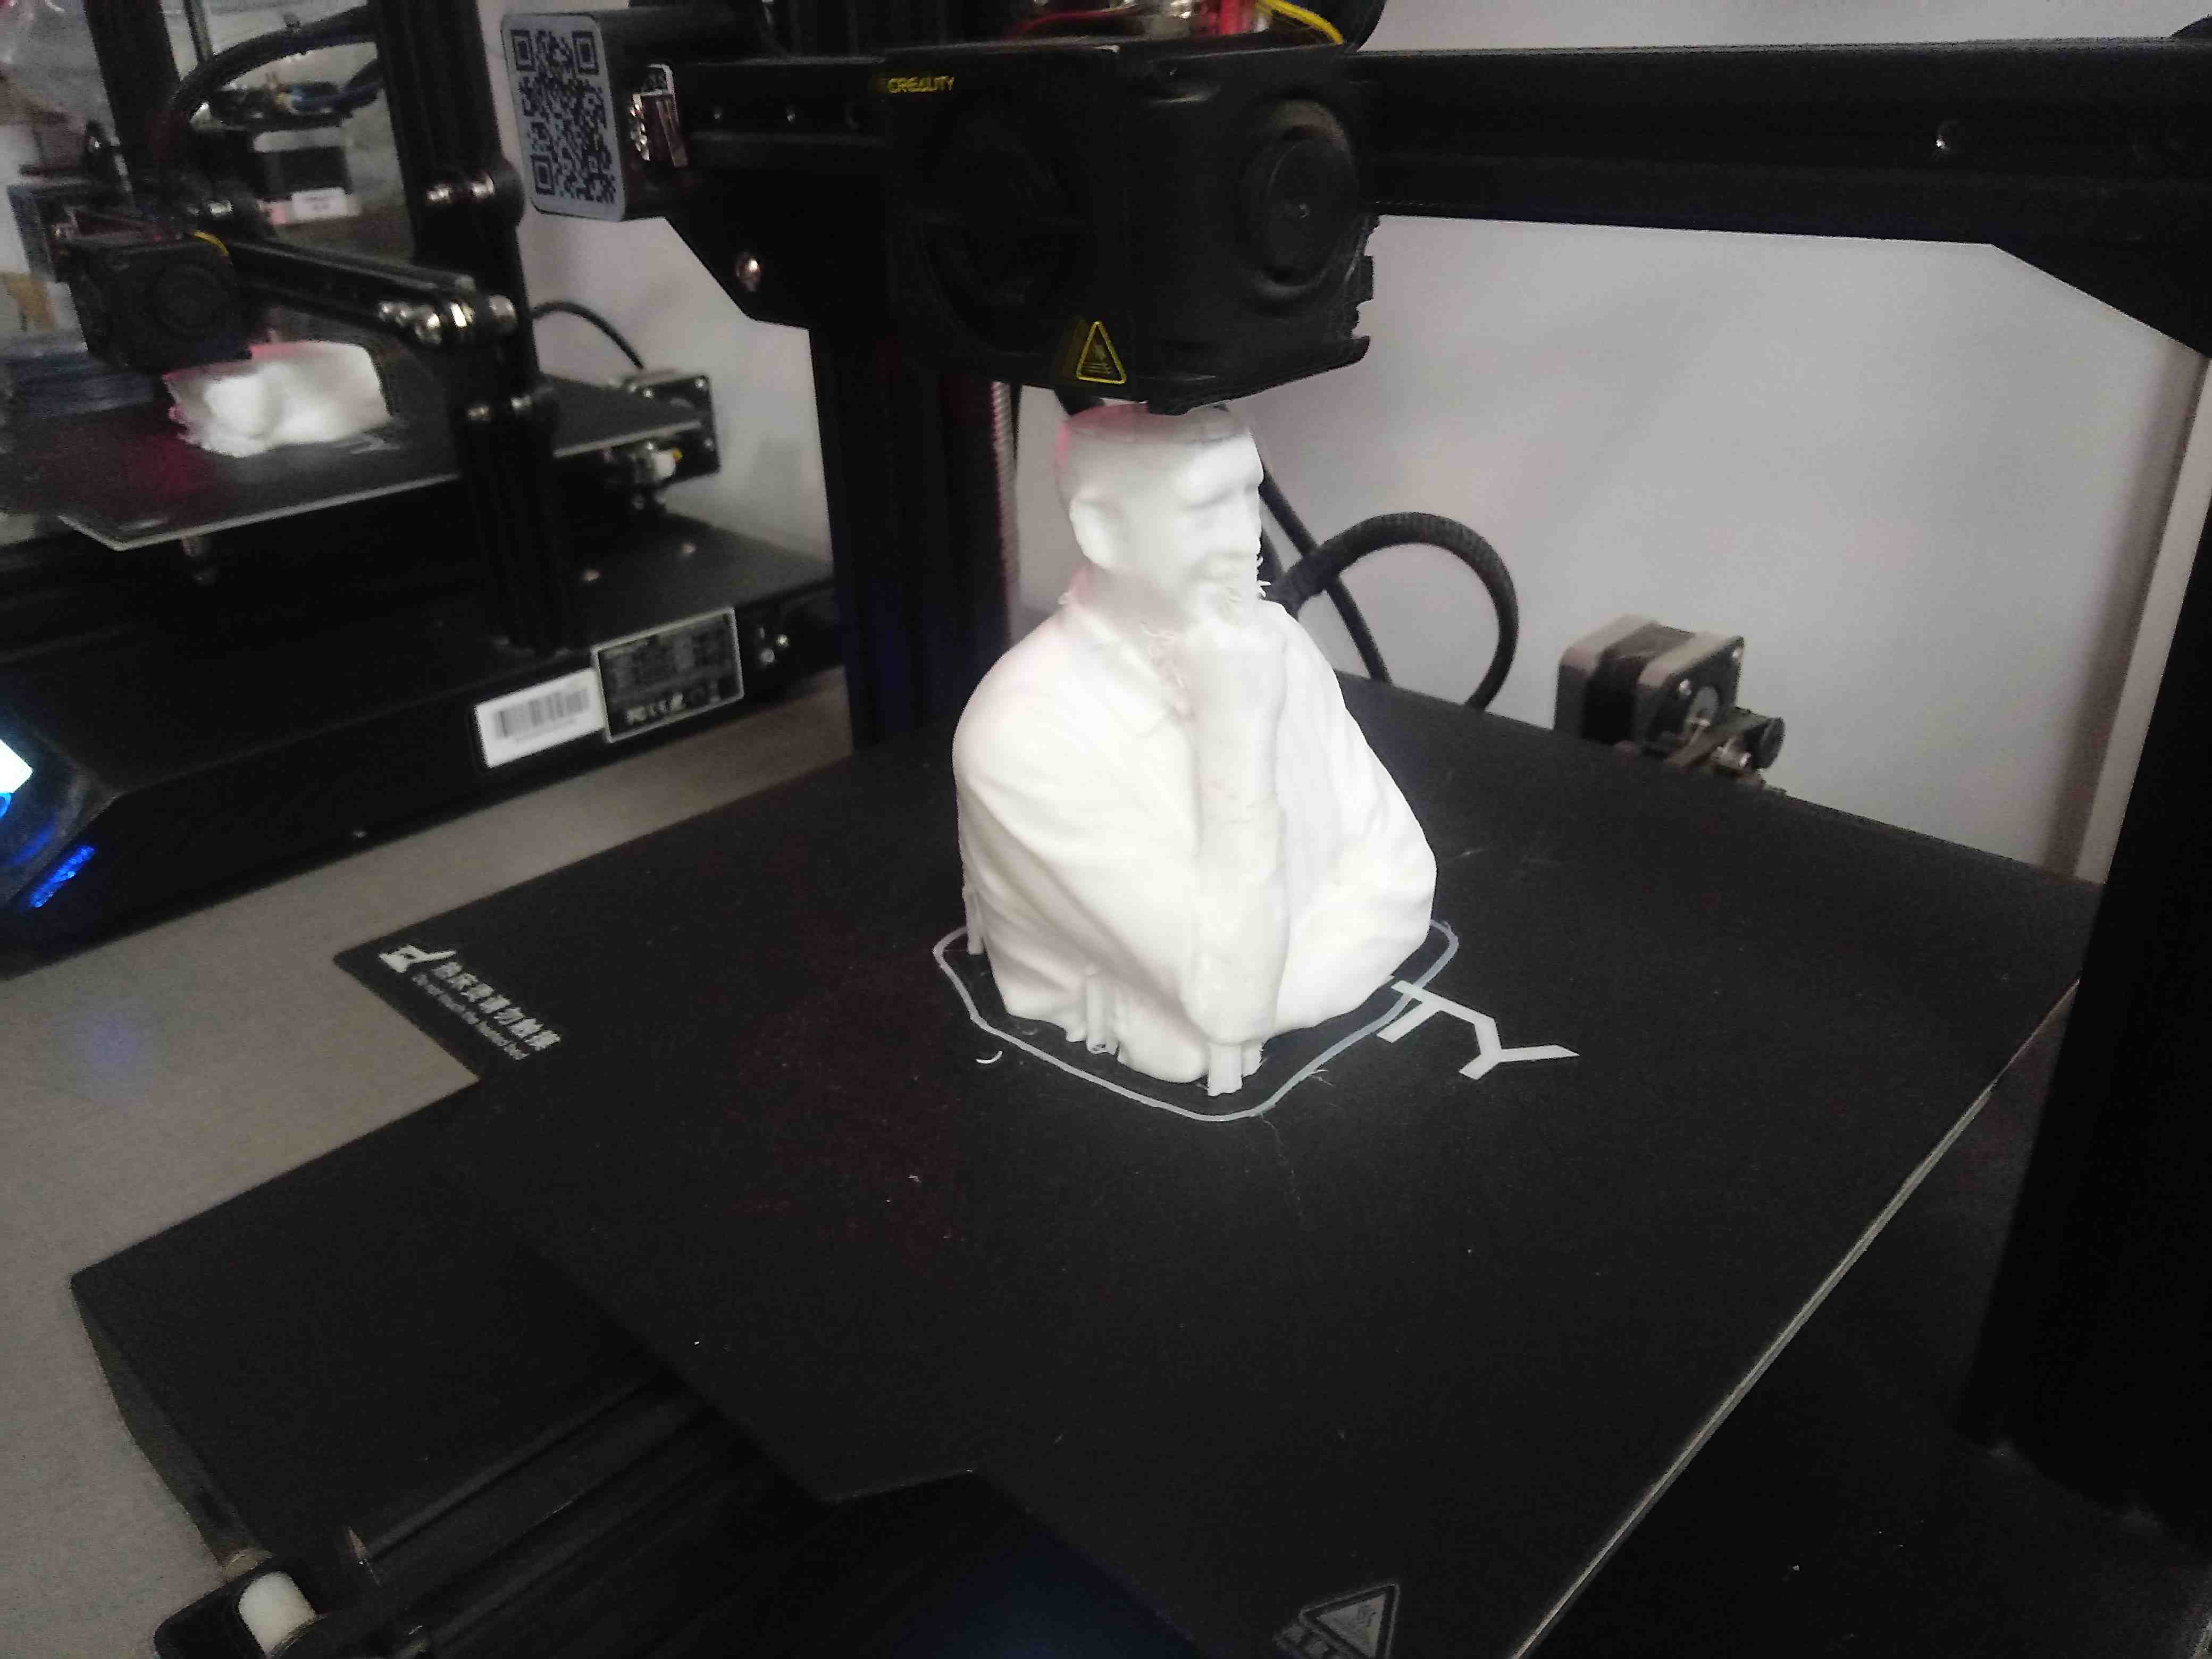
5. Printing the SCANNED JHON
Preparating the Scanned JHON with the STL file
Printing the Scanned JHON:
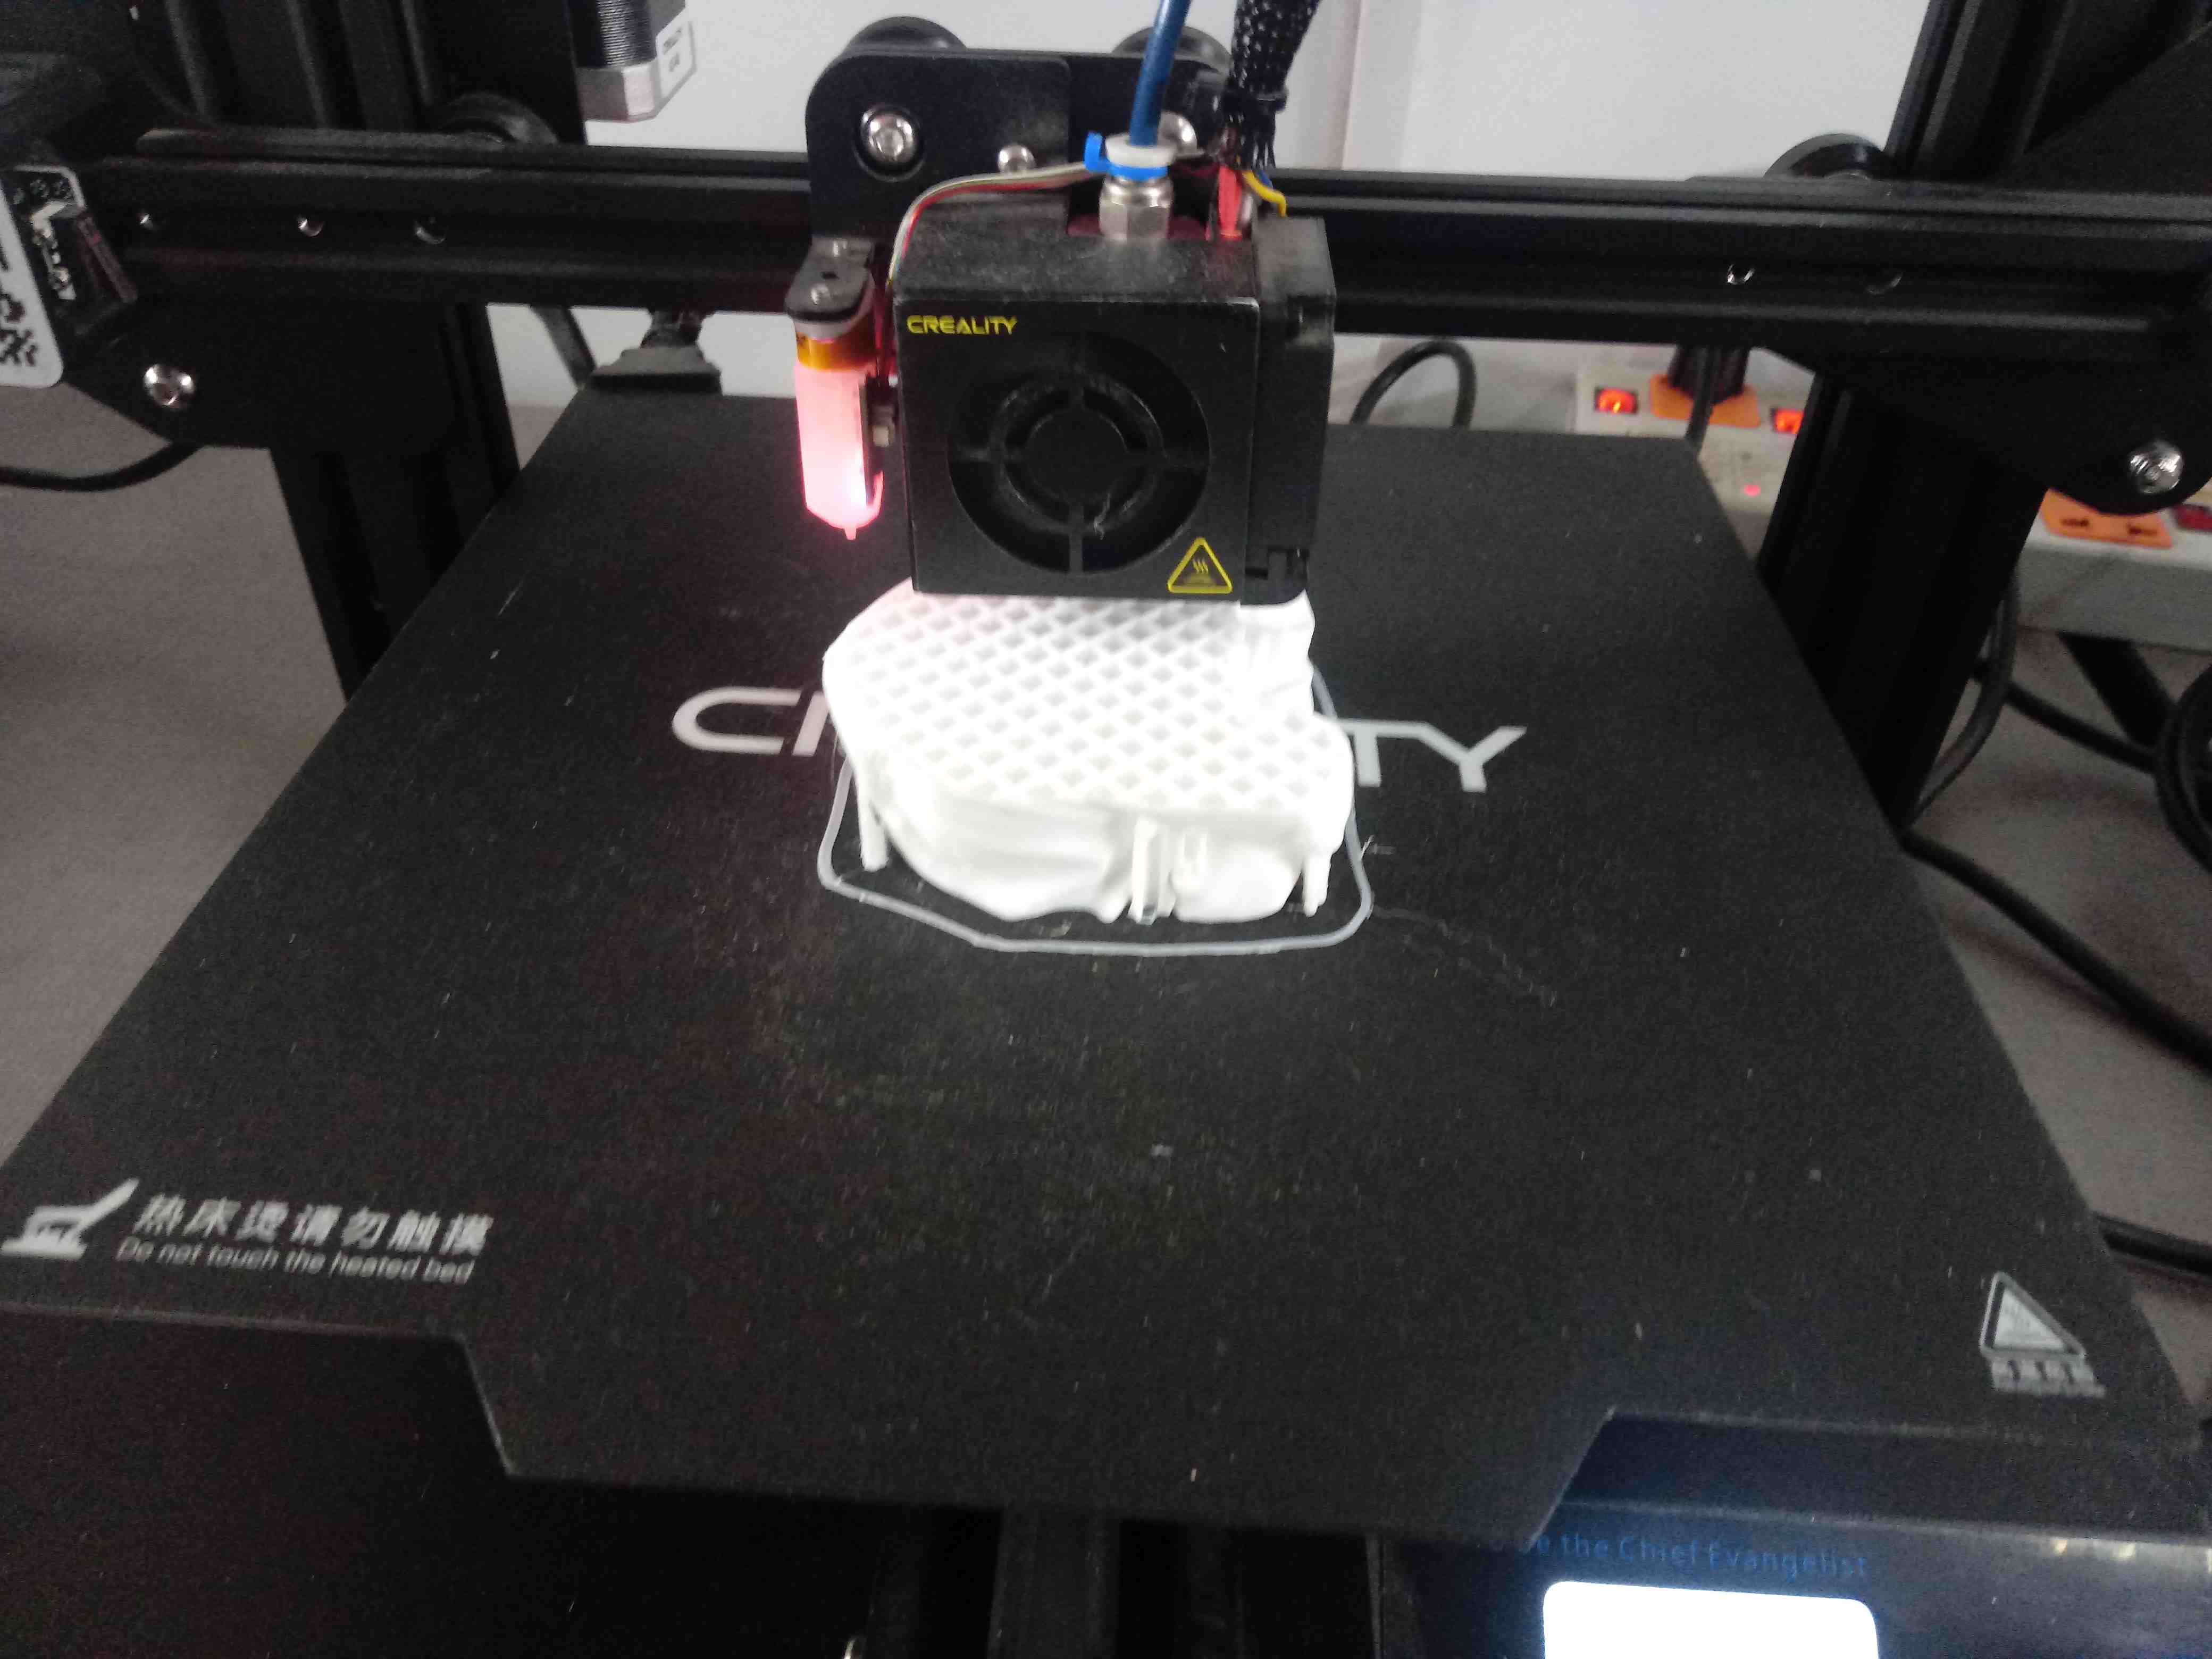
We can see the printing process:
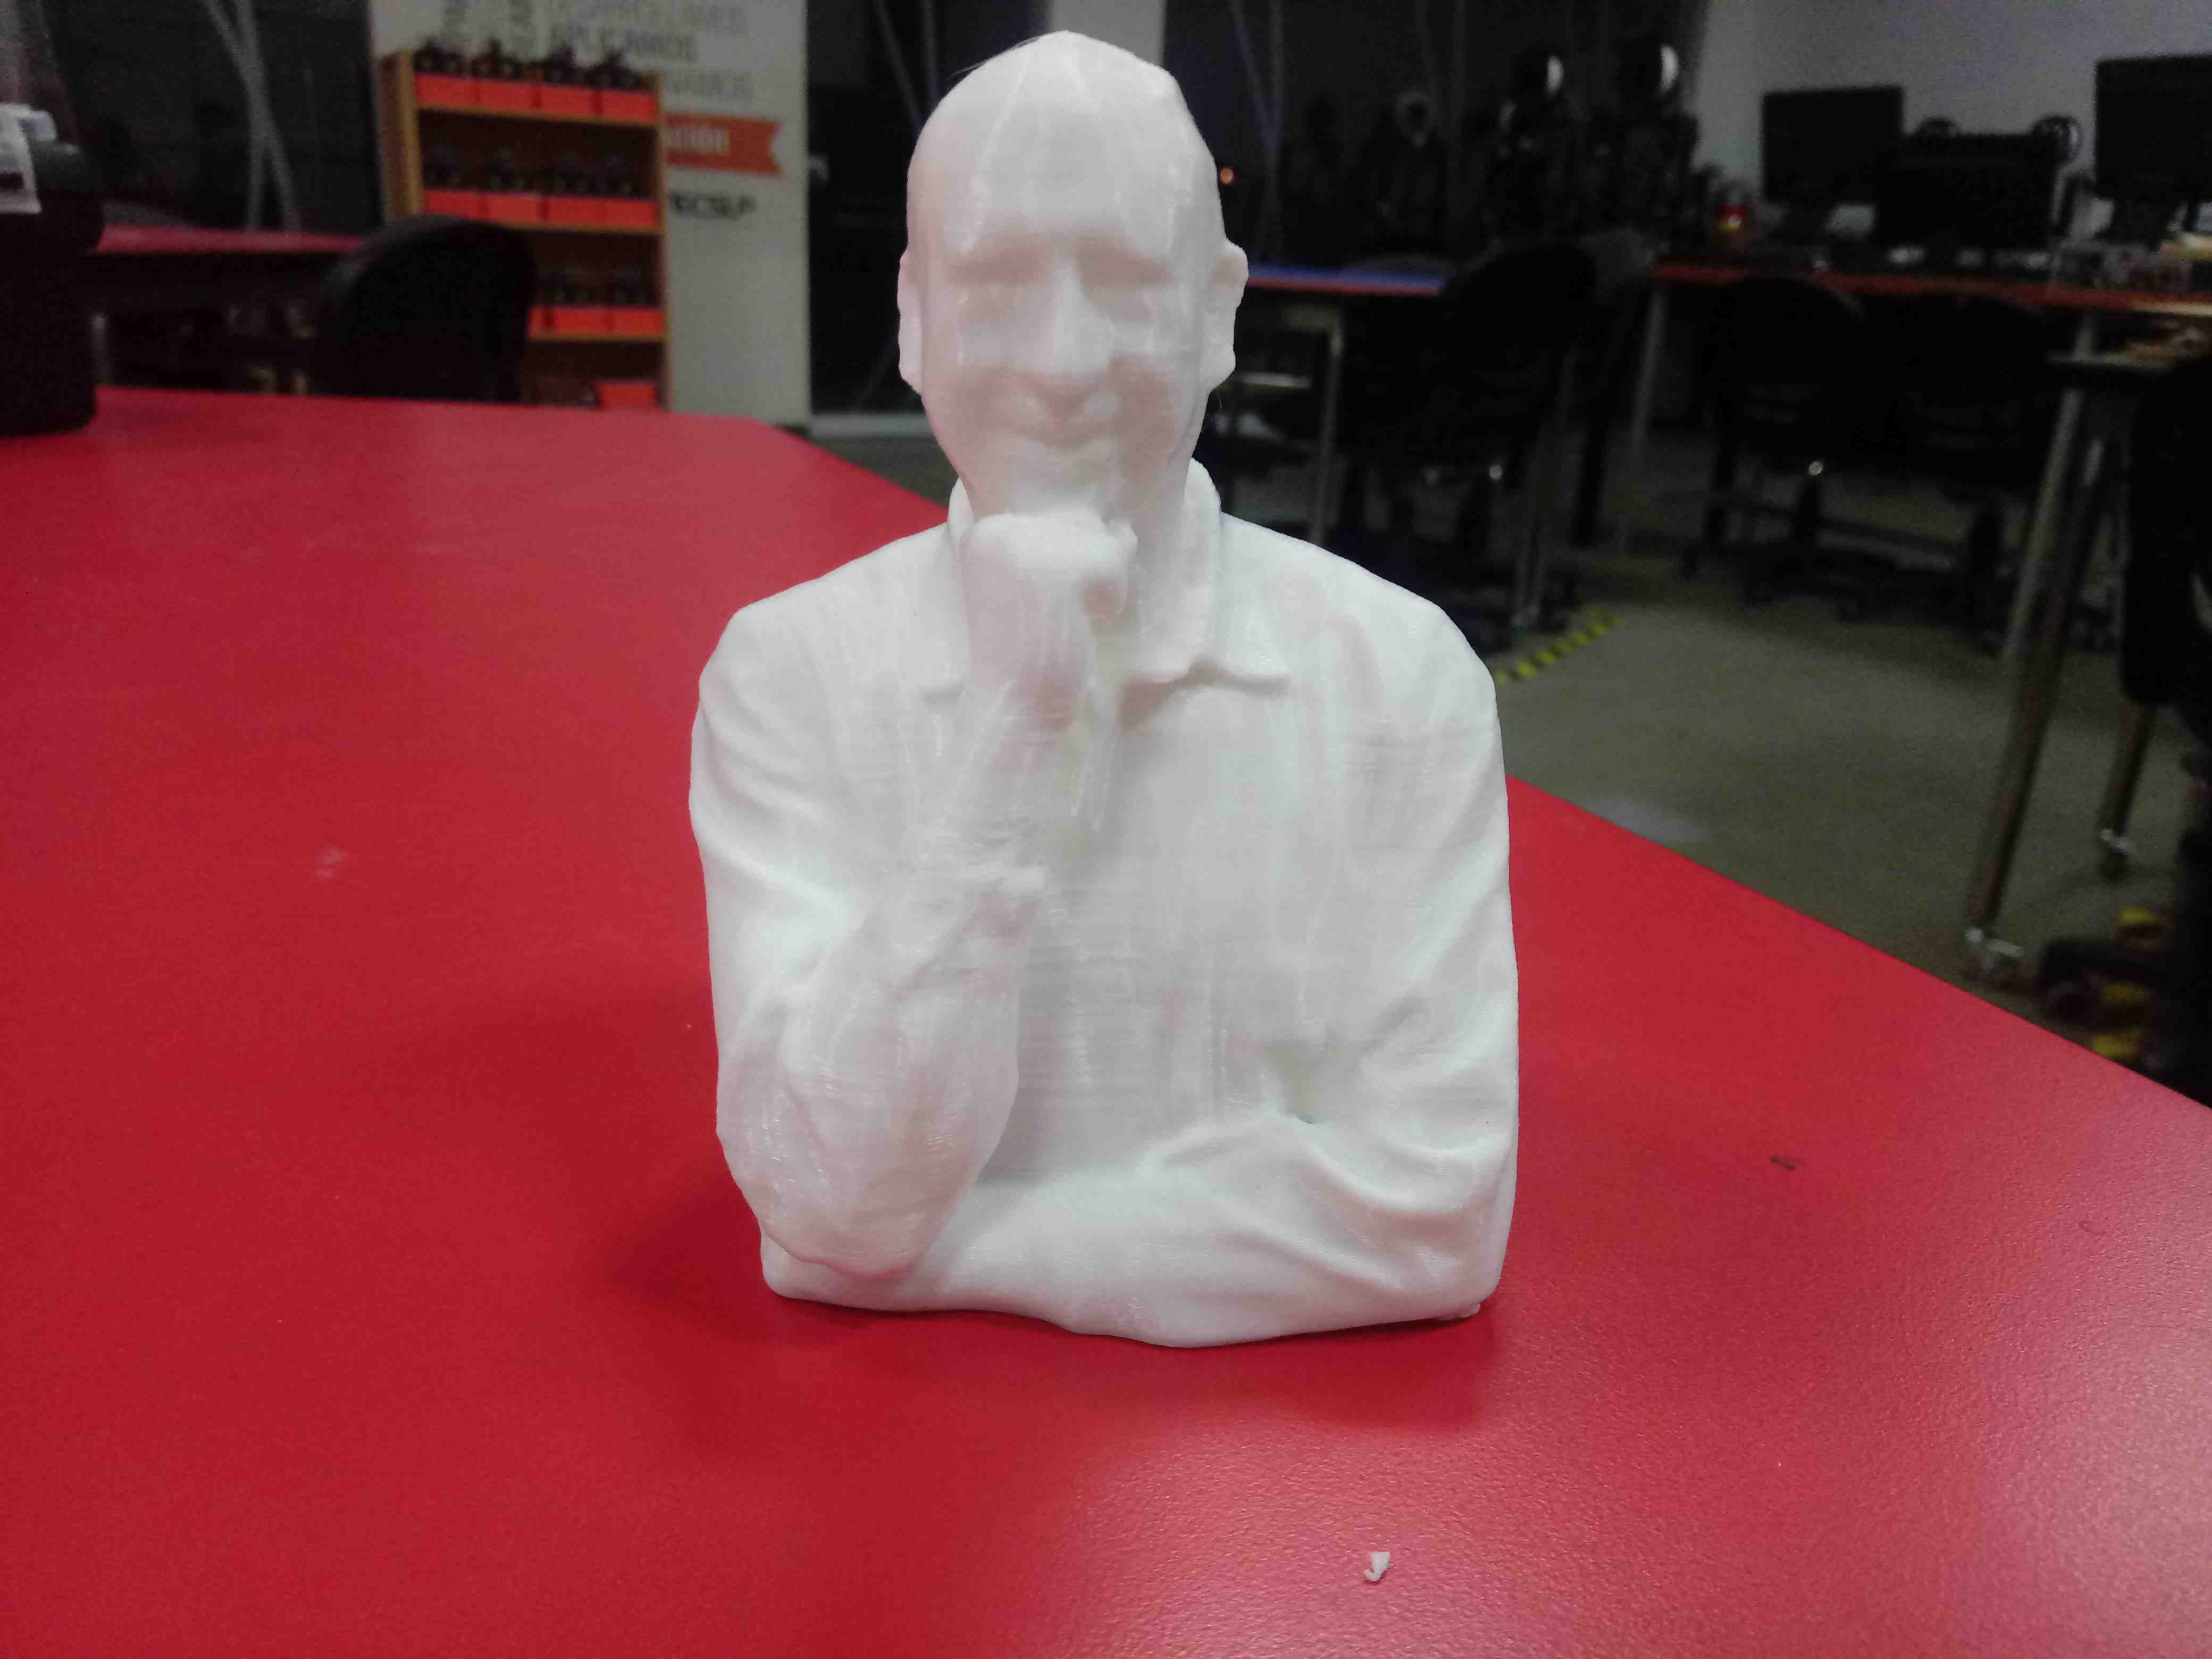
Printed JHON:
View the detail of Printed JHON:
Compare the original and the scanned/printed JHON in front:
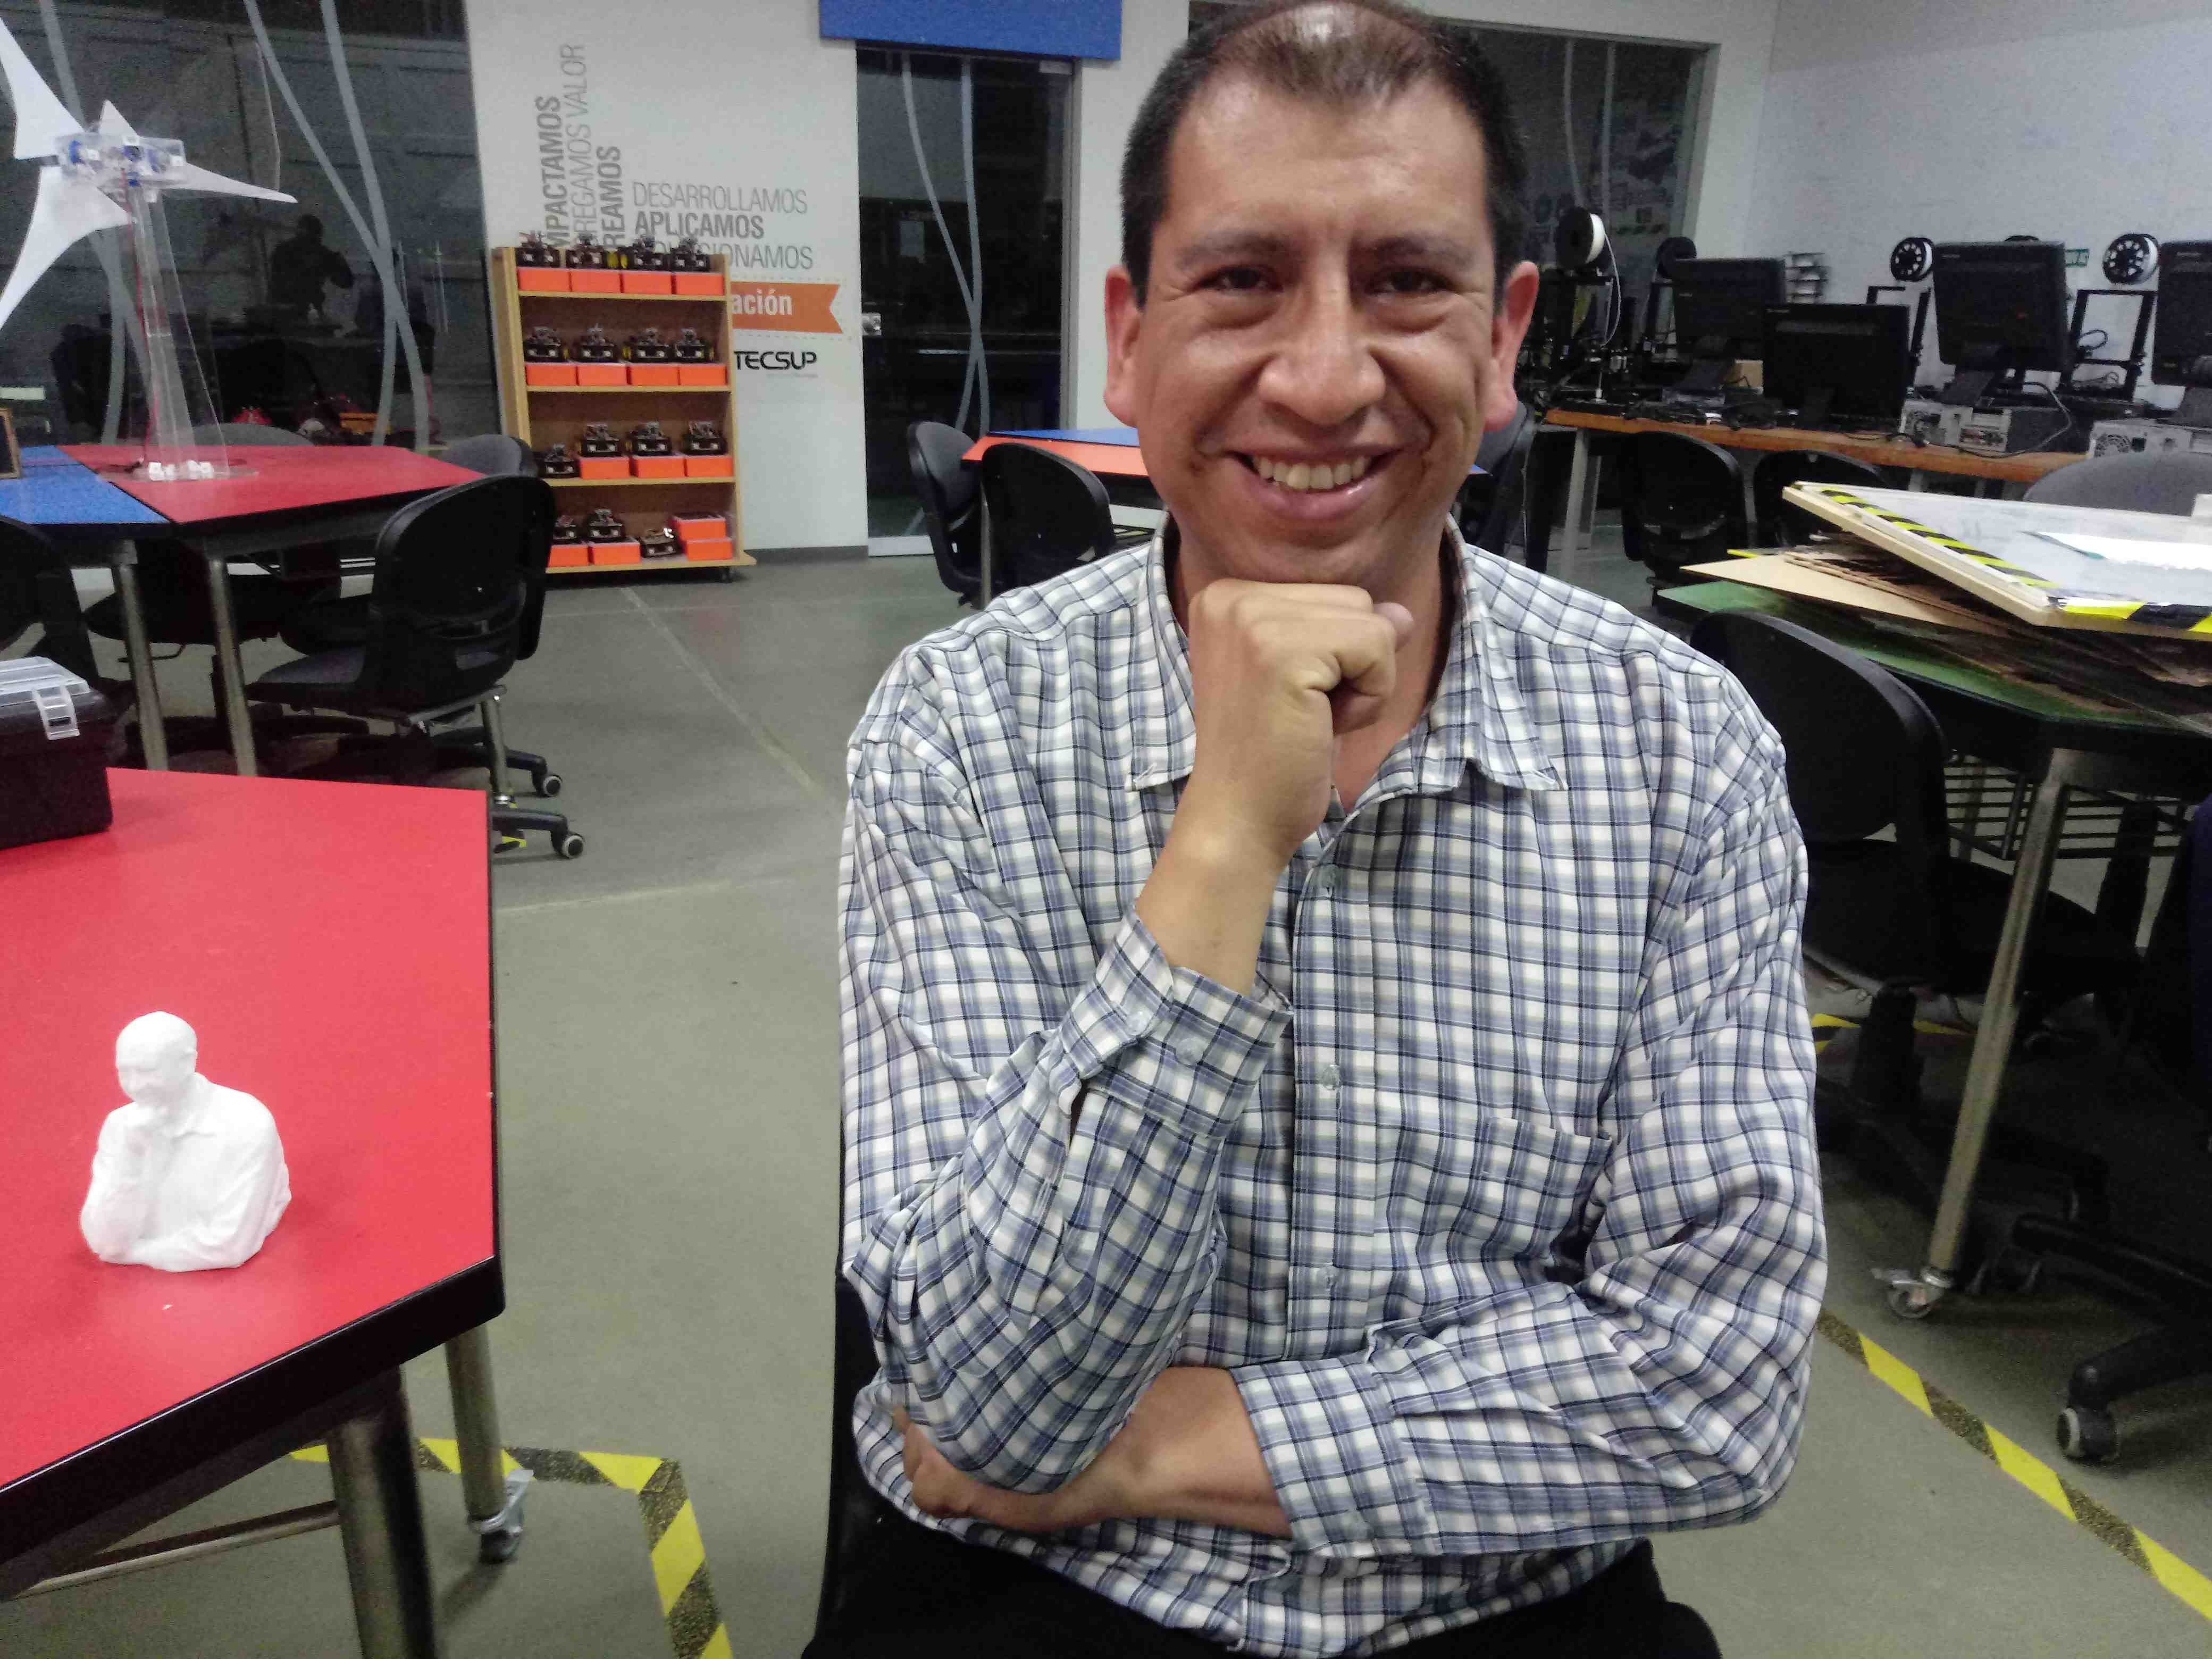
Compare the original and the scanned/printed JHON:
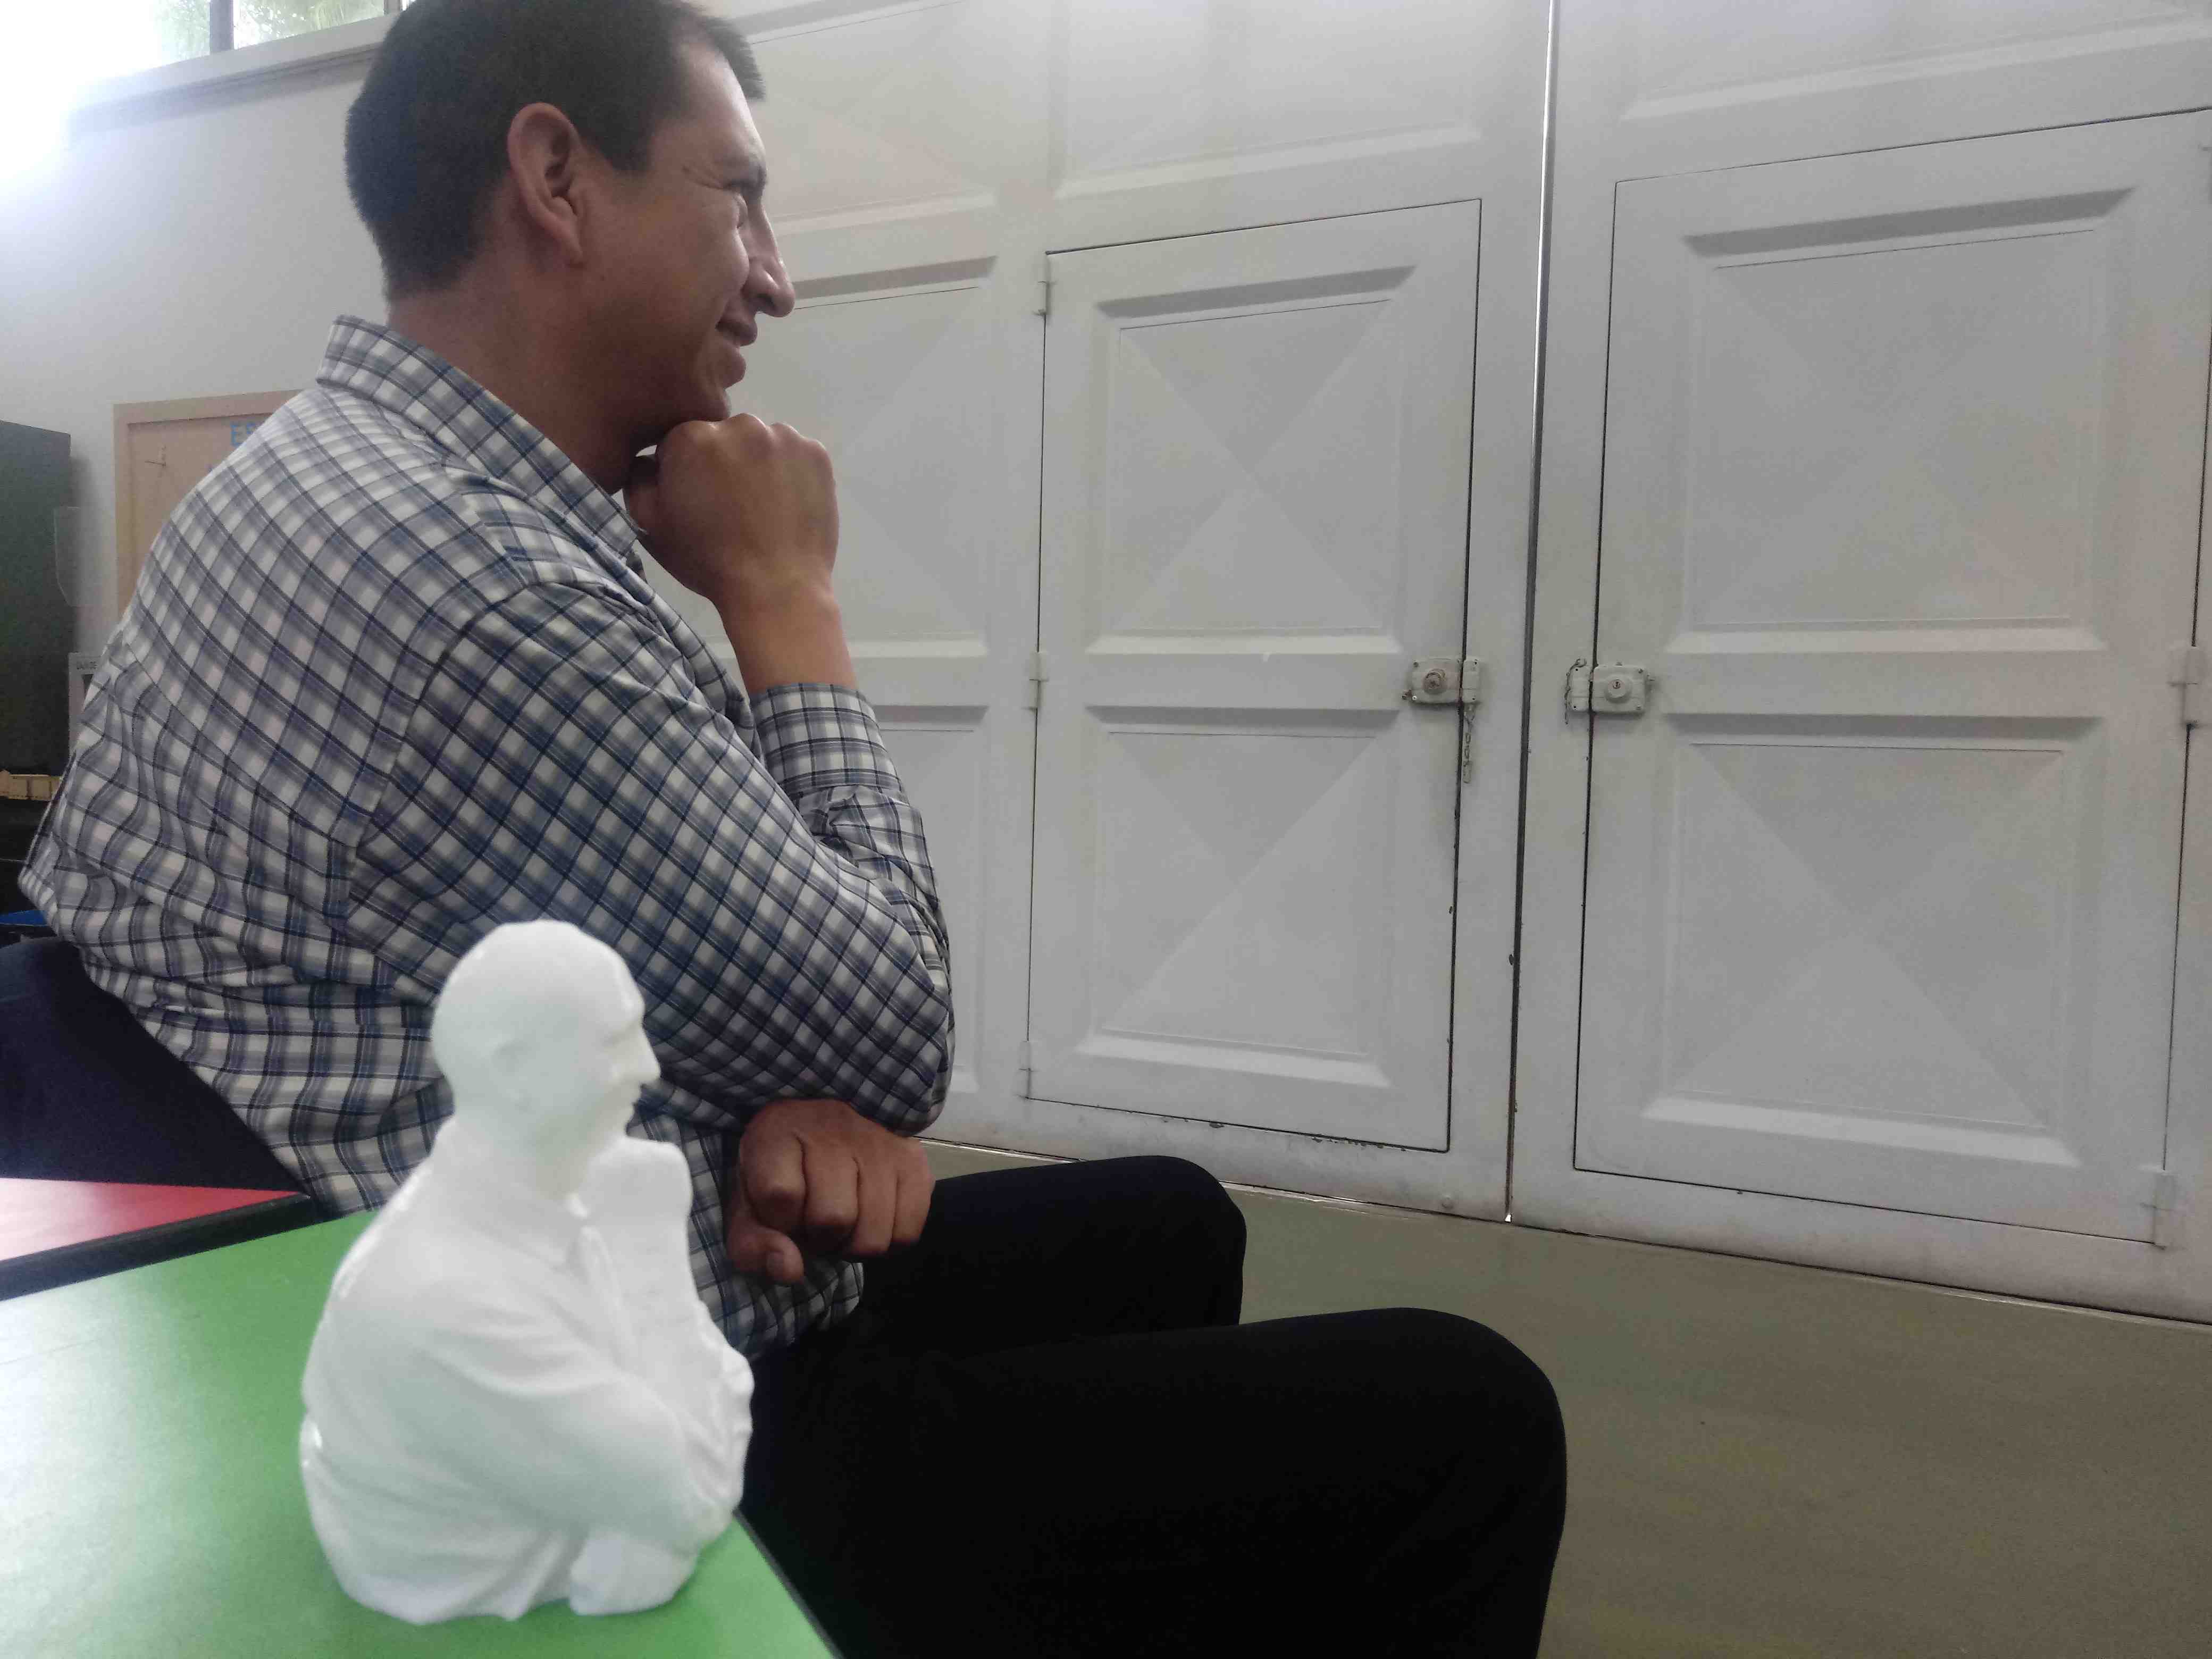
You can view all objects the originals and the printed:
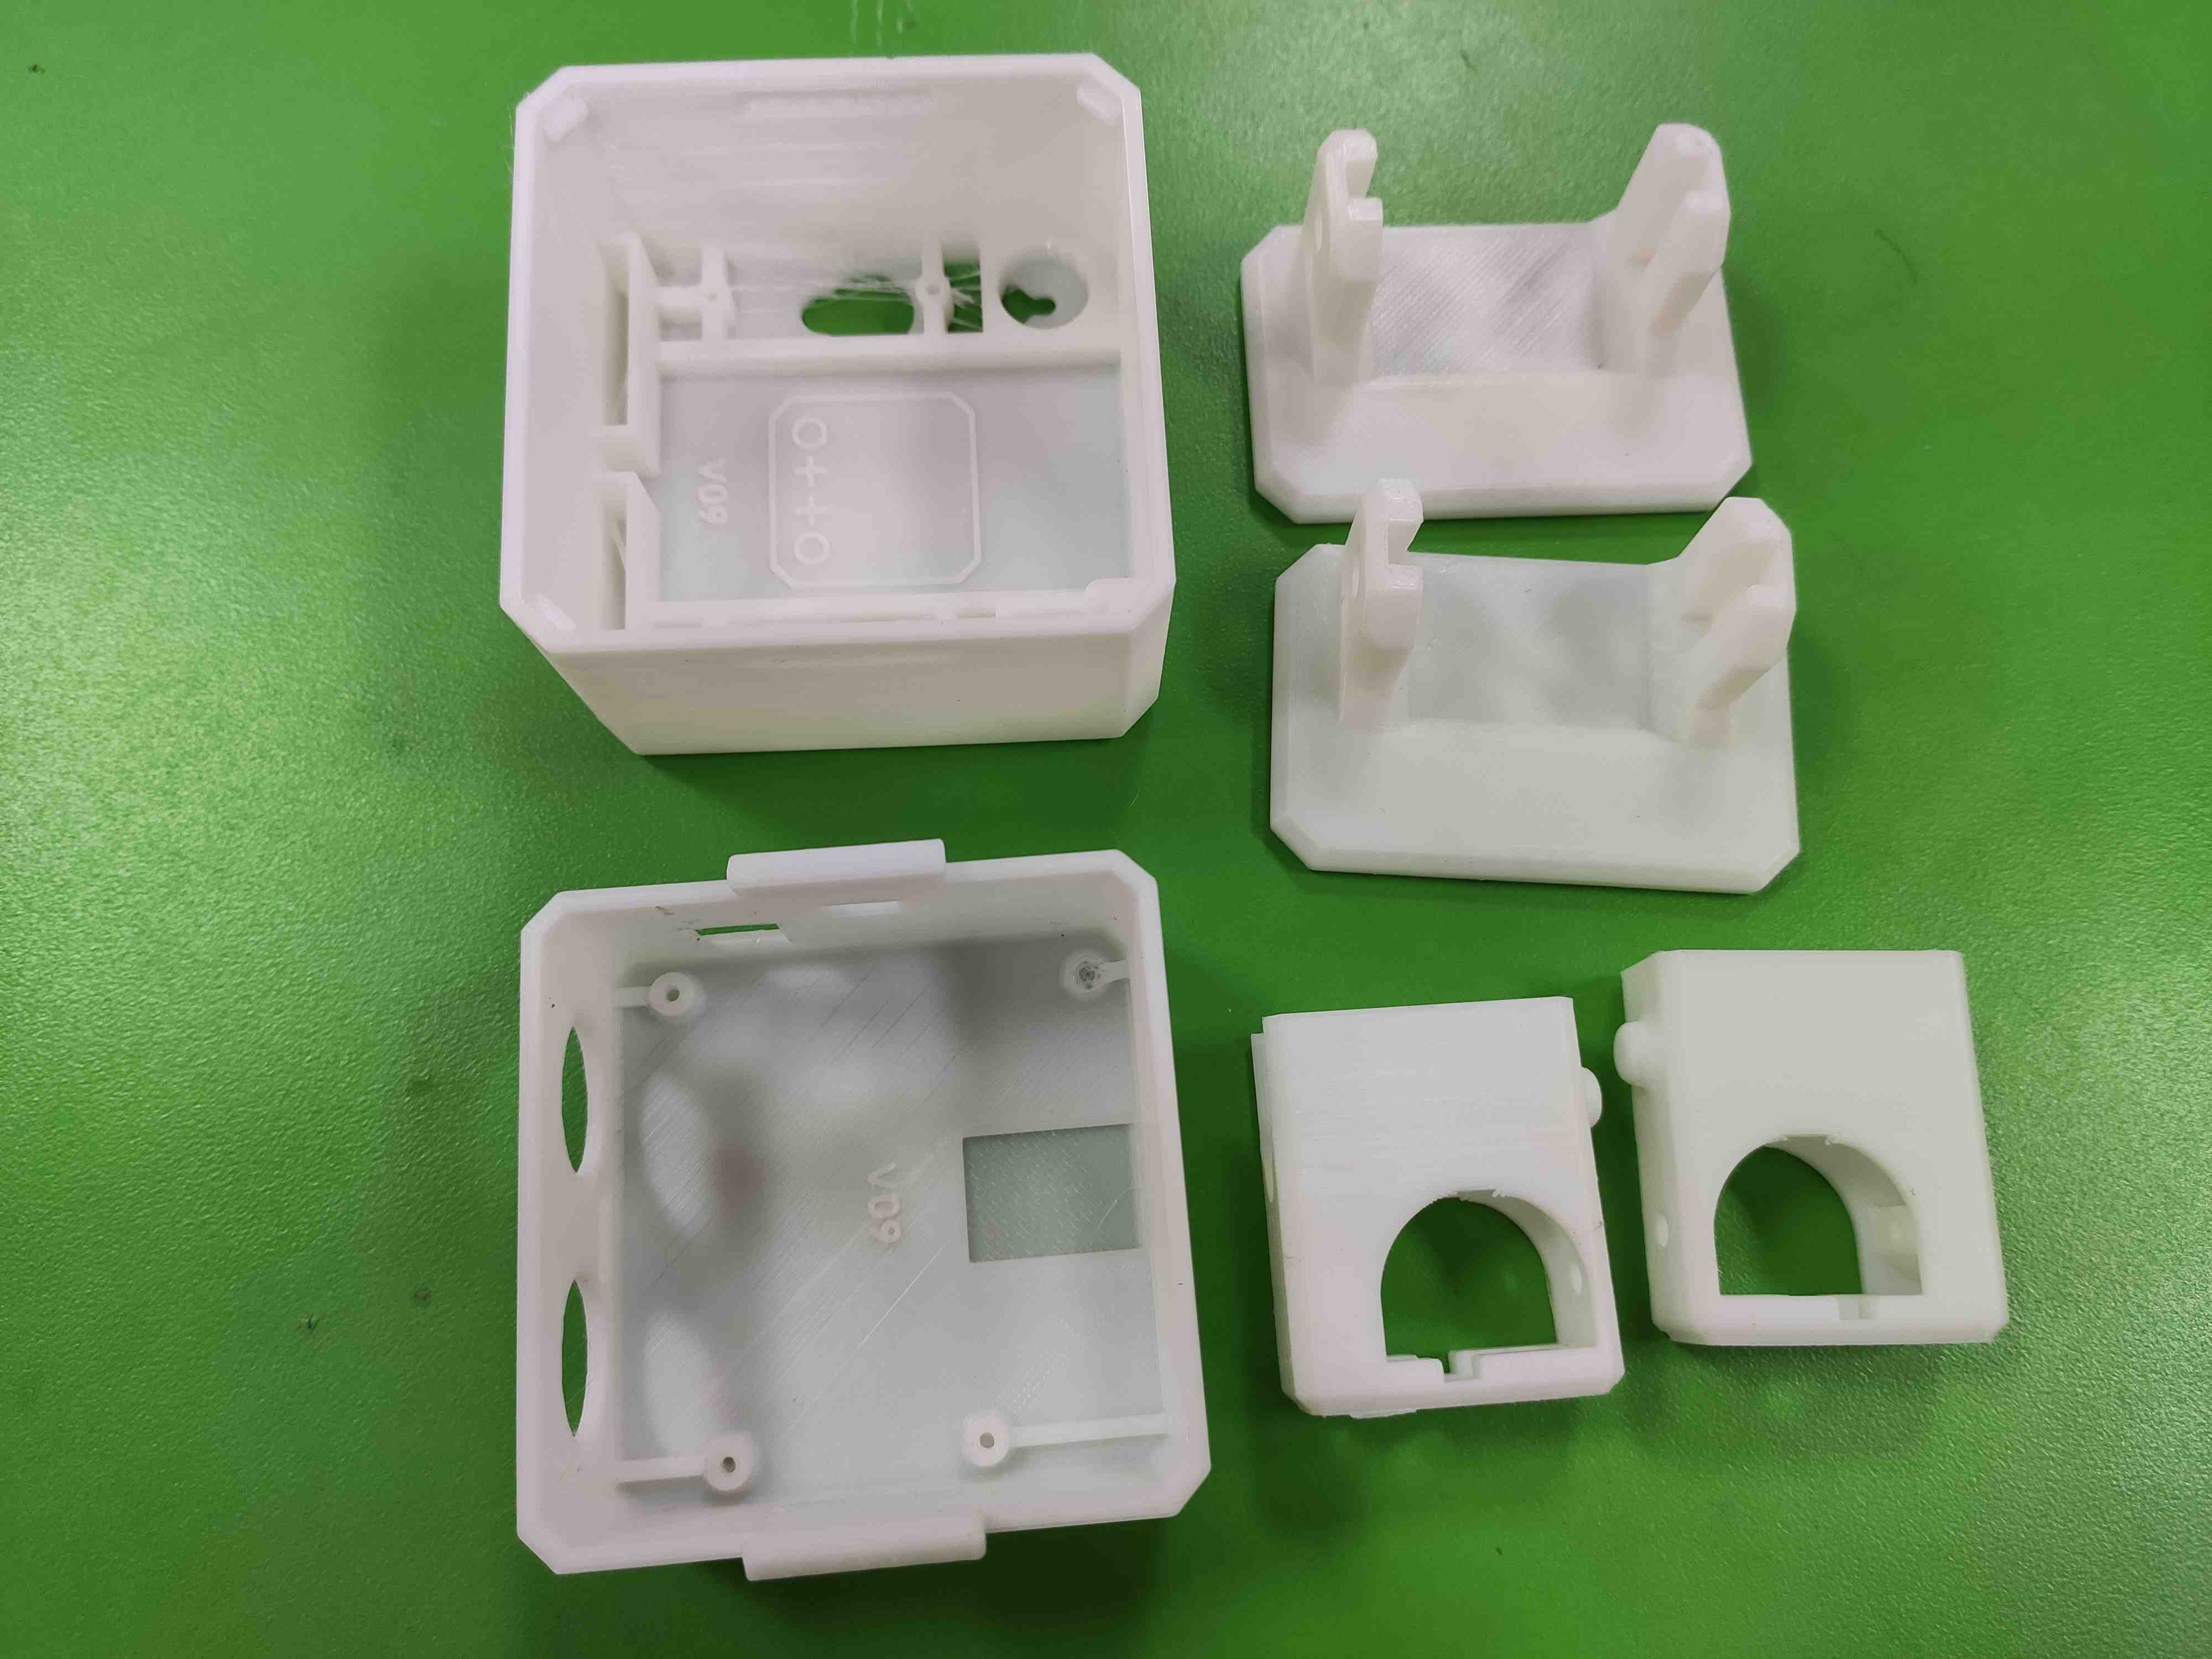
6. Printing Otto Biped Robot
The OTTO biped Robot is open source, it is used around the world of many educational institution.
Similar the original, I design the robot parts in Autodesk Fusion 360:
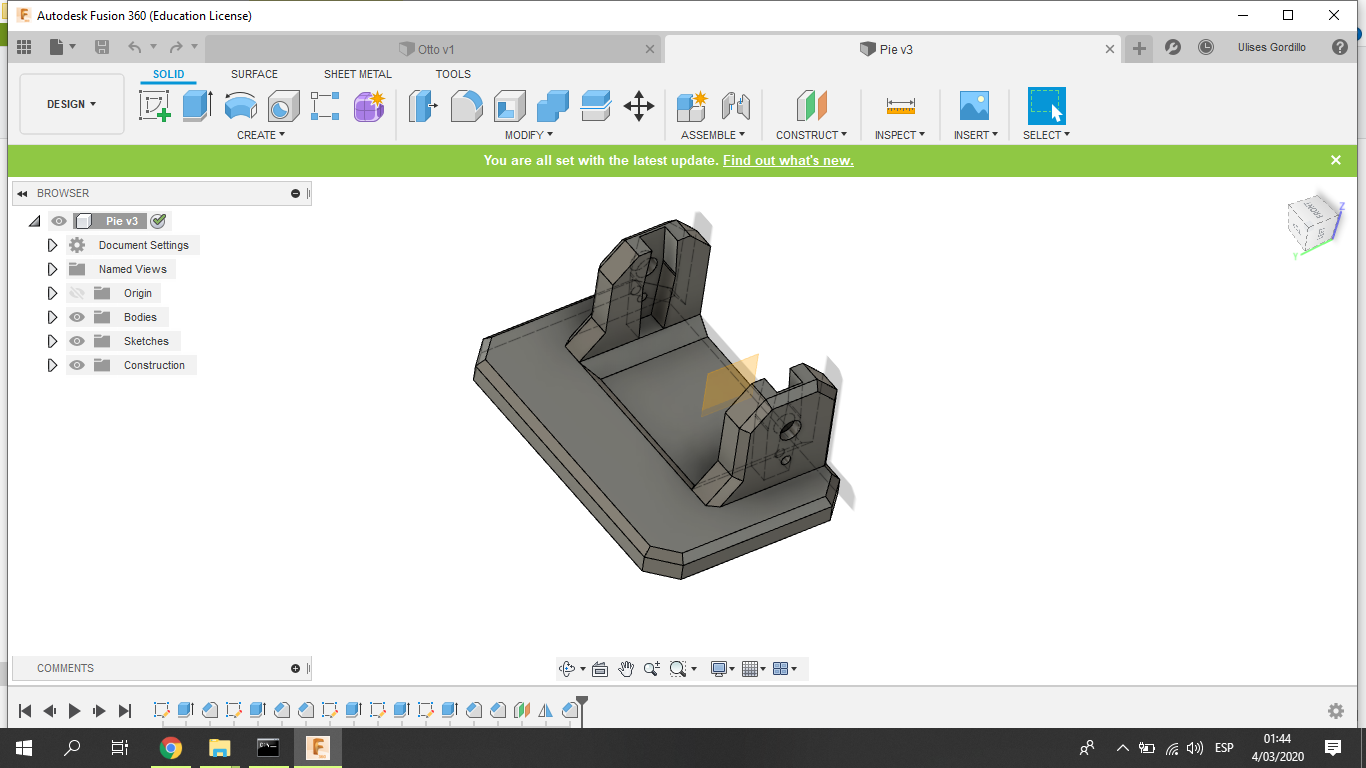
Preparating the designed file of the Otto robot:
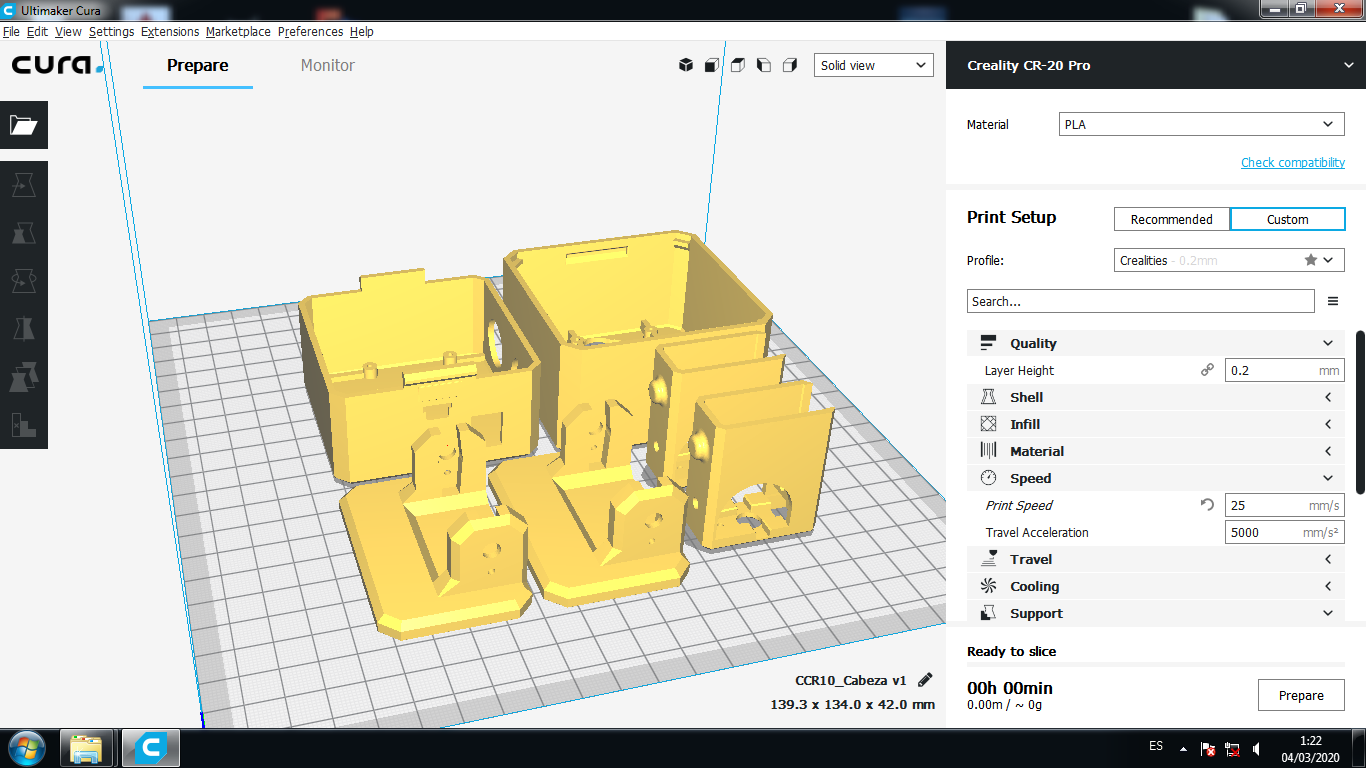
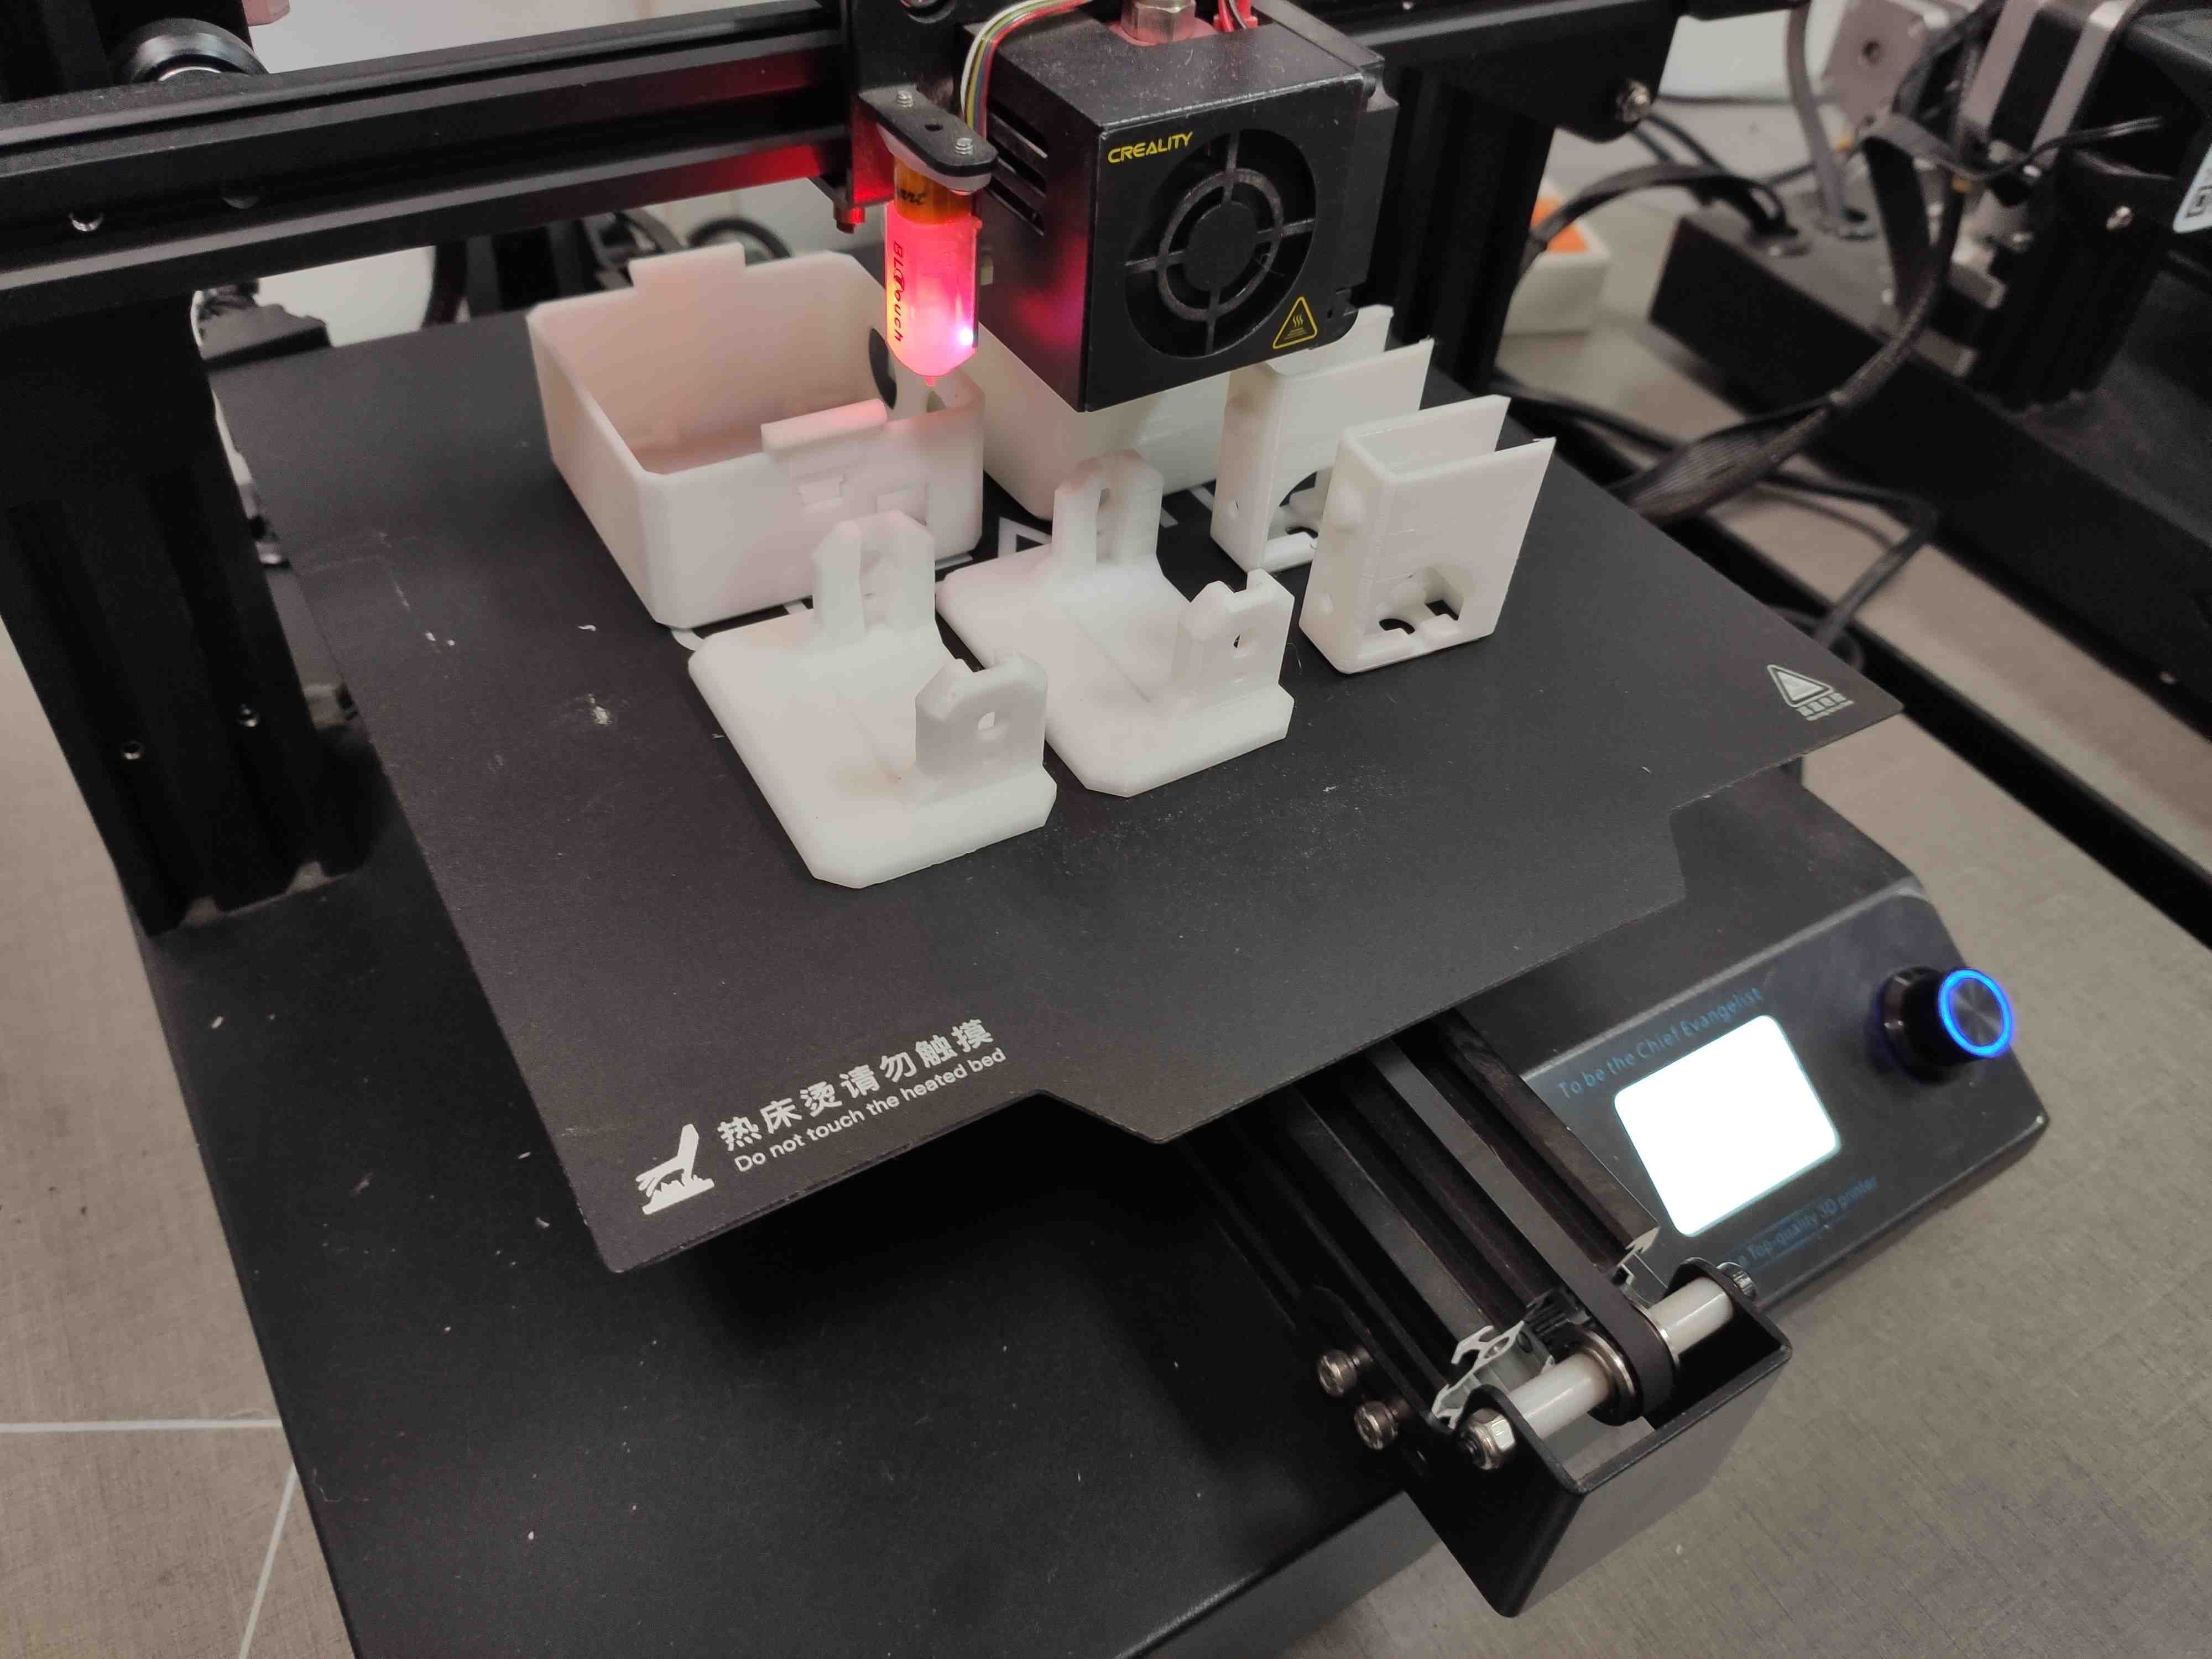
Printed object to the Otto Robot:
Ensamblying the Otto Robot:
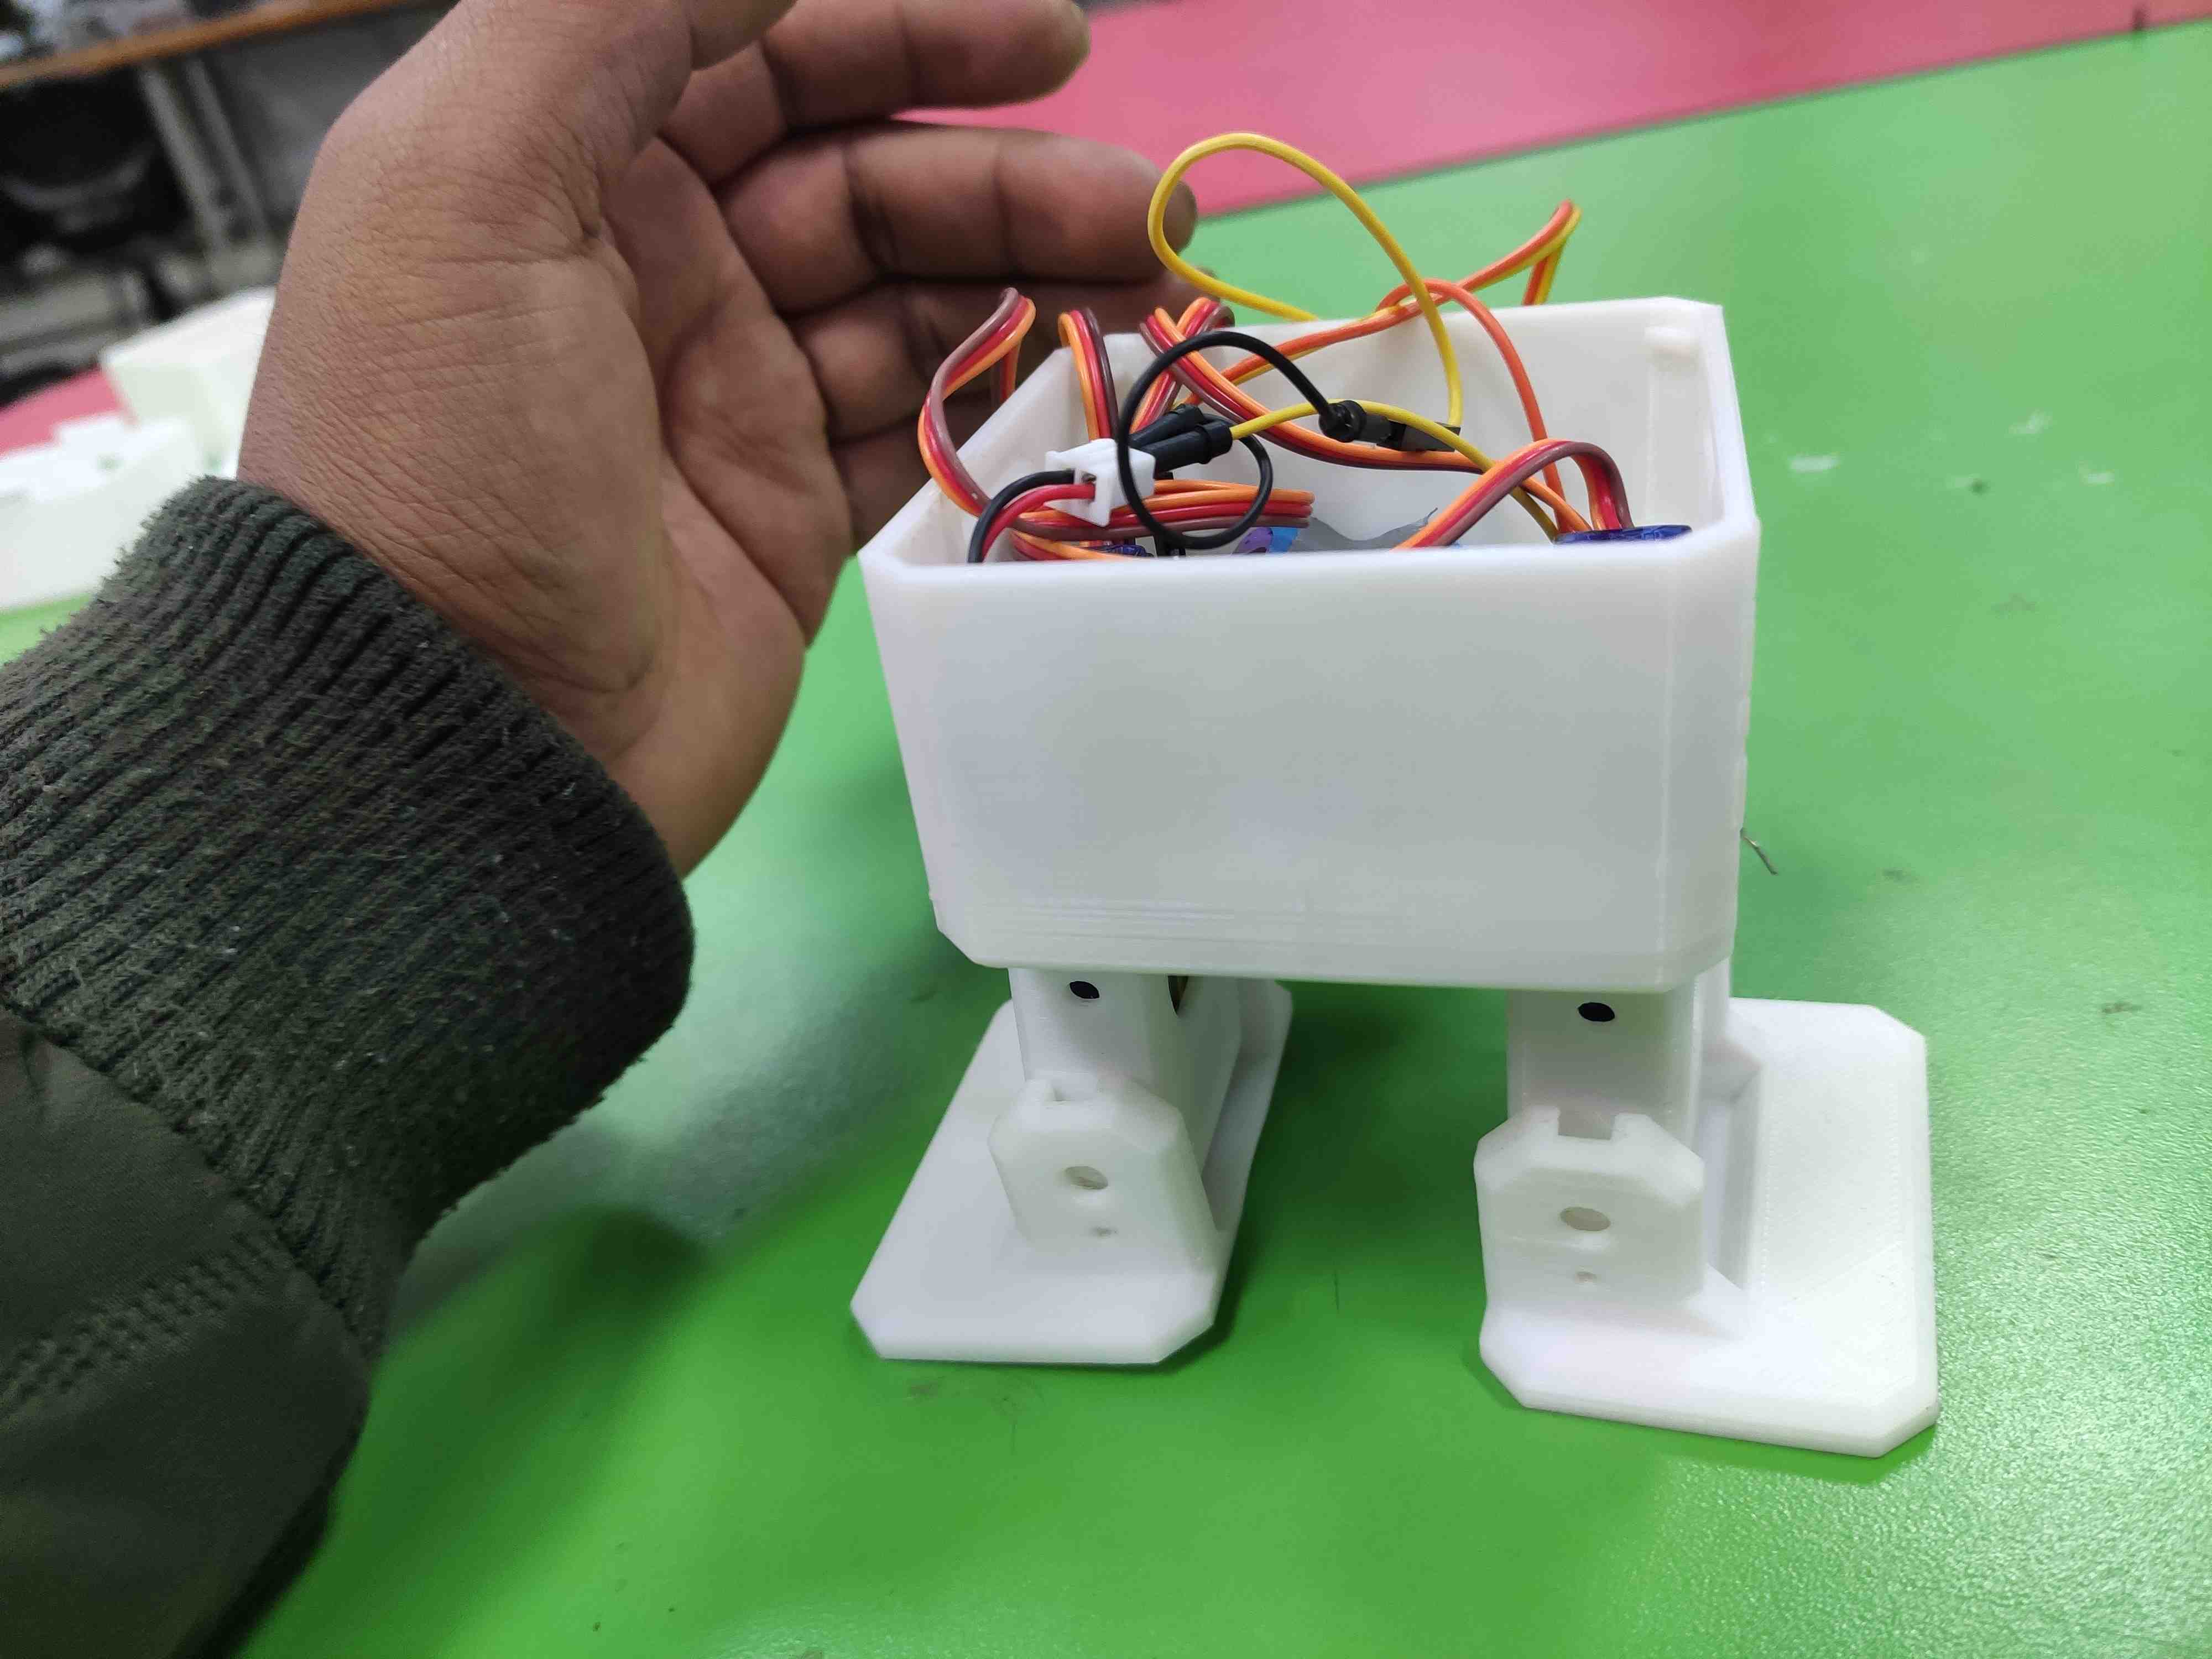
Wiring the Otto Robot:
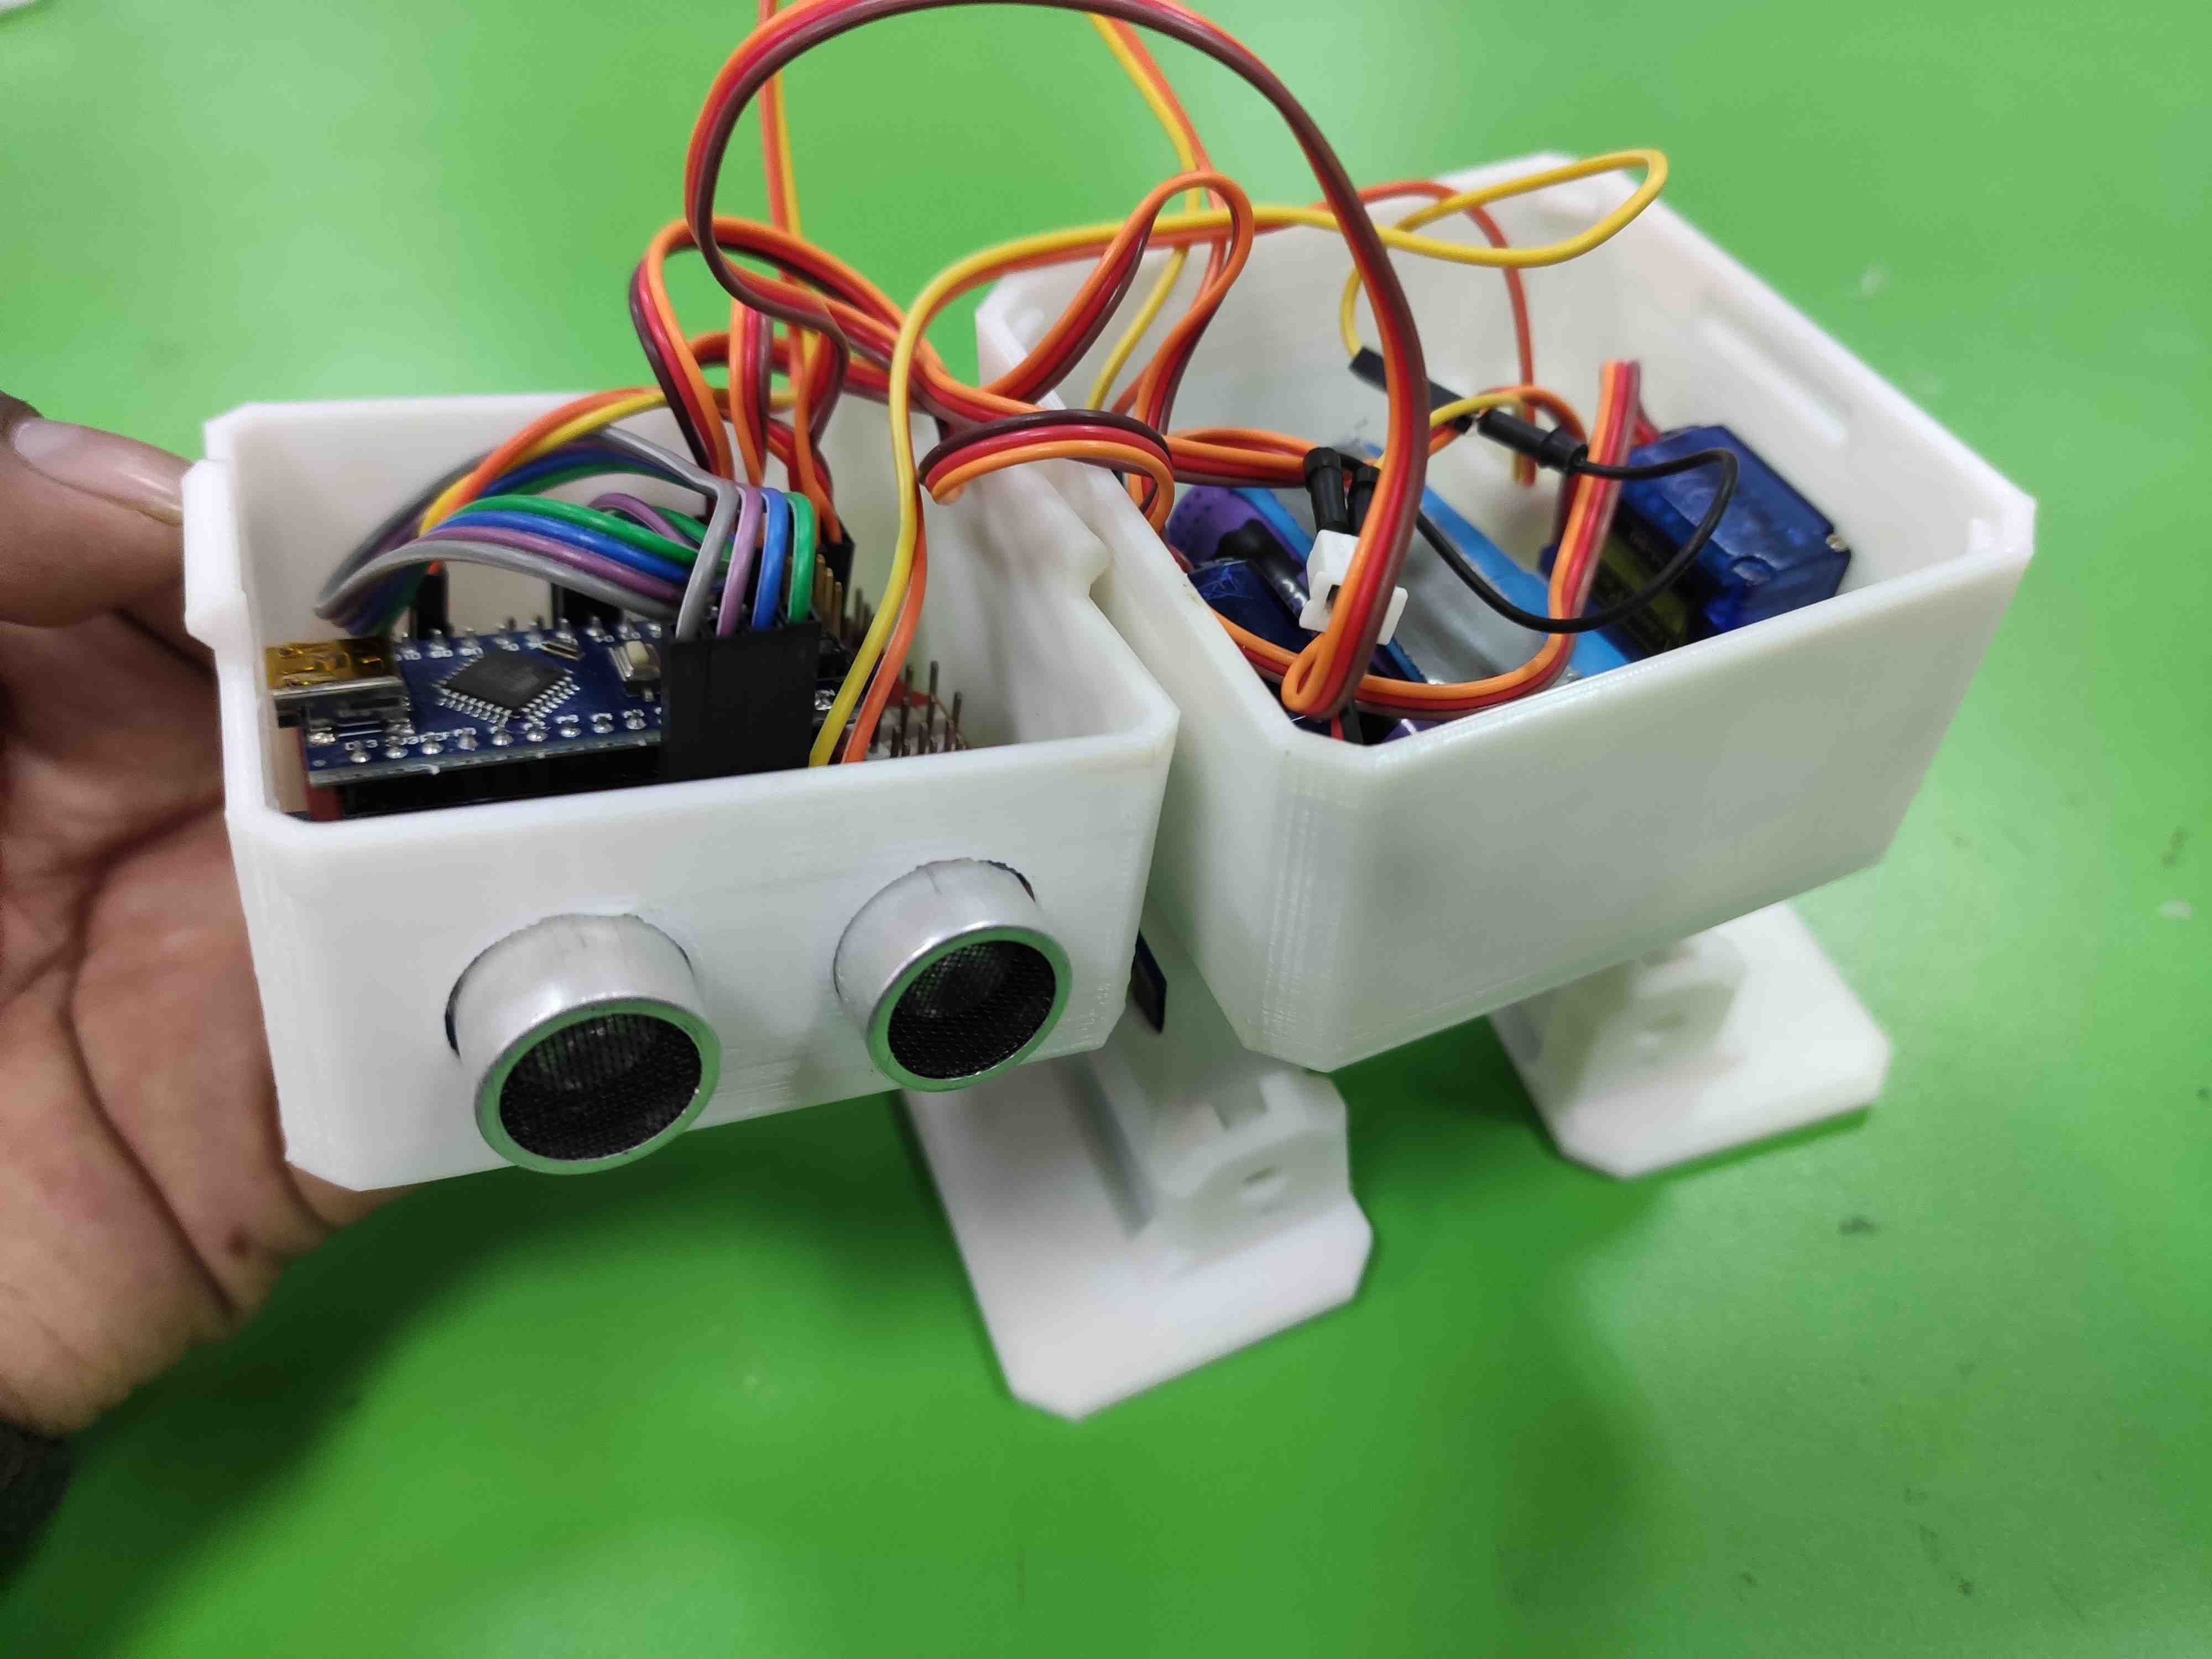
Showing the ensamblyed Otto robot:
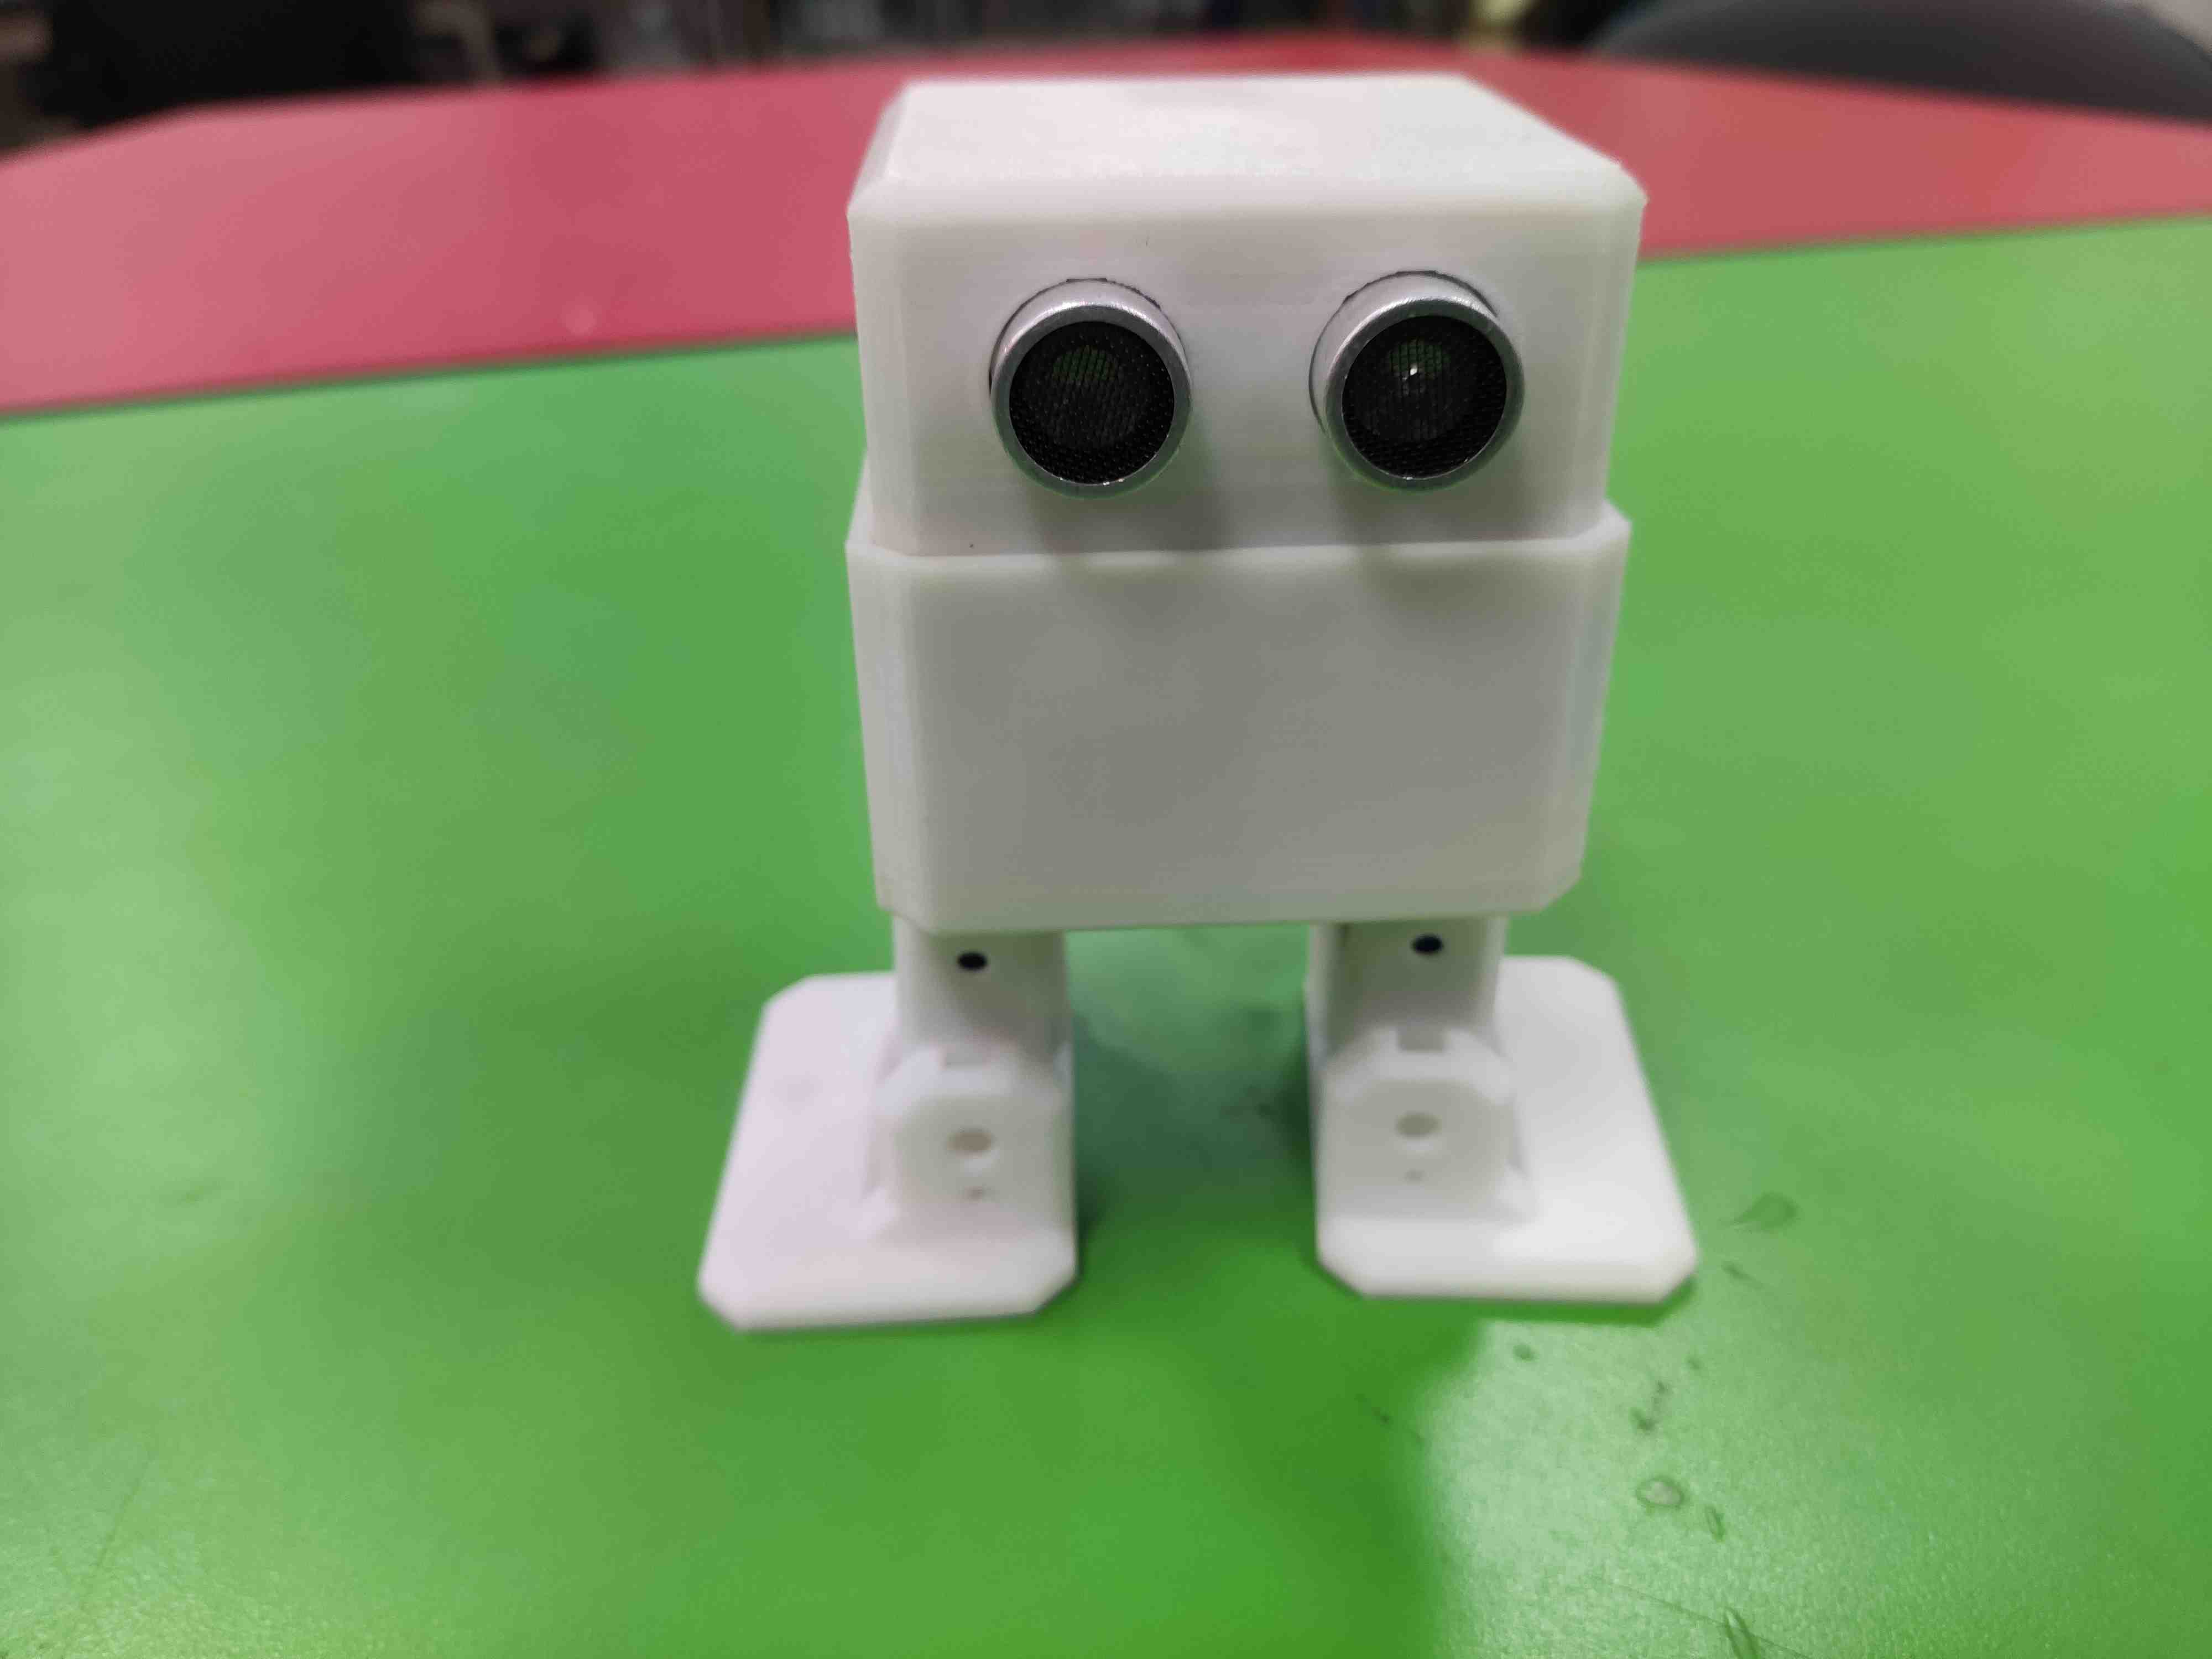
We can see the demostration video:
Designed Files
All the Files are very high size in MB then I save the files in external drive to download.
| Description | Files |
|---|---|
| 3D Object to fabricate | Base_Extruder.stl |
| Test 1 Design | ctrlV_3D_test.stl |
| Test 2 Design | 3D_Printer_test.stl |
| Scanned Cat | 4_Maker_Gato.stl |