16. Interface and application programming
Learning outcomes
- Interpret and implement design and programming protocols to create a Graphic User Interface (GUI).
Have you?
- Linked to the group assignment page
- Documented your process
- Explained the UI that you made and how you did it
- Outlined problems and how you fixed them
- Included original code (or a screenshot of the app code if that’s not possible)
- Included a ‘hero shot/video’ of your application running with your board
Group assignment
For the group documentation, please check group assignment page here: Interface and application programming (Group page)
Individual assignment
For this week assignment i choose to develop a mobile app that can controll a servo and led light connected to an Arduino Uno. The idea is to have a simple interface to rotate servo in a 0 to 180º range and turn on/off the led. The arduino for now is connected to MacBook laptop running a small server that handles requests from the mobile app and sends/receives to Arduino via serial communication (both laptop and mobile device are connected to the same wifi network, they communicate via IP).
Arduino implementation and connection
For this i used previous week work on Output devices and added into the arduino code the necessary instructions to read from serial a command and pass it to the arduino code. This command can be “on”, “off” or angle (0 to 180) that then is used to rotate the servo. It’s a simple “protocol”.
void loop(){
  if (Serial.available() > 0) {
    incomingByte = Serial.read();

    if (incomingByte == '\n'){
      if(command == "on"){
        digitalWrite(LED_PIN, HIGH);
      } else if (command == "off"){
        digitalWrite(LED_PIN, LOW);
      } else{
        angle = command.toInt();
        OCR1A = rotate_to(angle);
      }
      command = "";
    }else{
      command += incomingByte;
    }
  }
}
Because the Arduino Uno doesn’t have any communication module it needs to be connected to a host via usb to provide serial communication. The host is running a TCP/IP server in Ruby. The server only purpose is to receive a command and forward it to Arduino.
To run the server install ruby, run “gem install rubyserial” and configured the serial config so that it knows where the arduino serial port is on the host.
# server.rb
require 'socket'
require 'rubyserial' # https://github.com/hybridgroup/rubyserial

server = TCPServer.new 6123

serial = Serial.new '/dev/tty.usbmodem143401' # baud rate default is 9600

while (session = server.accept)
  command = session.gets
  puts "#{Time.now}: #{command}"

  serial.write(command)

  session.puts command

  session.close
end
To tun the server:
ruby server.rb
Flutter Interface implementation and connetion
Now for the client side, the interface to controll the servo and led was built in Flutter. On Flutter everything is a widget and the app is build by creating a tree of widgets. It also builds from same code base for iOS and Android with native performance. To develop i use Visual Studio Code with Flutter extension.
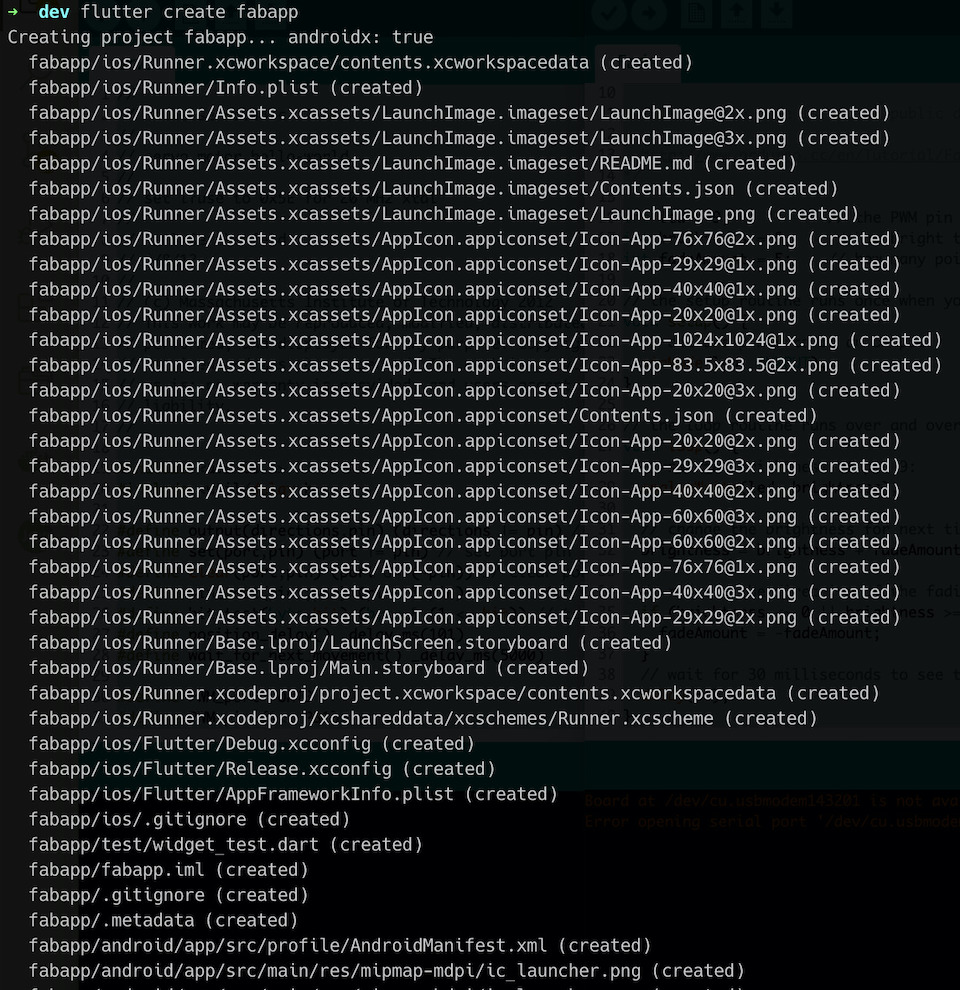
To create a Flutter app i executed the following command
flutter create fabapp
Warning
Currently i’m using:
- Flutter 1.12.13+hotfix.9 • channel stable • https://github.com/flutter/flutter.git
- Framework • revision f139b11009 (4 weeks ago) • 2020-03-30 13:57:30 -0700
- Engine • revision af51afceb8
- Tools • Dart 2.7.2
So after creating the app, compiling to iOS wasn’t working. Needed to do these fixes to have app compiling and running on iOS simulator and on iPhone.
Running flutter demo app for the 1st time. This app counts the number of time “+” button is pushed.
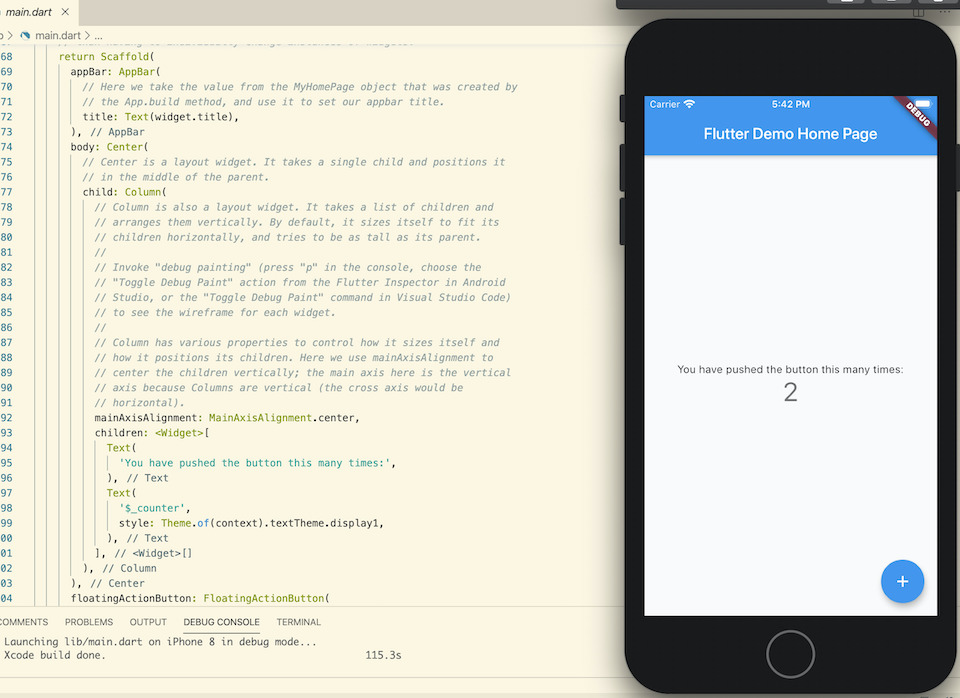
Any flutter app starts by executing “main()” like a C programm, this is usually inside “lib/main.dart” file.
So from this running flutter demo app i started to make changes to have an interface input to allow to send 0 to 180 degree values to the servo and an on/off switch to turn led on/off.
To create a knob button i used flutter knob package. For the switch button used toggle_switch package. This allows to have a simple toggle button to switch the led on and off.
In flutter packages need to be added as dependencies in “pubspec.yaml”
dependencies:
  flutter:
    sdk: flutter
  flutter_knob:
  toggle_switch: "^0.1.4"
Note
When using simple text editor to develop the app without integration with flutter commands, after changing pubspec.yaml it’s required to tell flutter to get the new packages: flutter pub get
and importing it into lib/main.dart
import 'package:flutter_knob/flutter_knob.dart';
import 'package:toggle_switch/toggle_switch.dart';
After this changed the _InterfacesPageState class by adding variables to manage the knob value and state. And to send the angle value to the TCP/IP server where Arduino Uno was connected.
  double  _value = 0.0;
  String _arduinoValue = "0";
  void _setValue(double value) {
    setState((){
      _value = value;
      _arduinoValue = value.toStringAsFixed(0);
    });

    sendToArduino(_arduinoValue);
  }

  static const String arduino_host = "192.168.0.56";
  static const int arduino_host_port = 6123;

  // connect to TCP/IP server on local network ip address and send string value
  void sendToArduino(String value){
    Socket.connect(arduino_host, arduino_host_port).then((socket) {
      socket.writeln(value);
      socket.destroy();
    });
  }
Added the widget for the flutter knob by replacing Column children with:
children: <Widget>[
            Knob(
              value: _value,
              color: Colors.deepPurpleAccent,
              onChanged: _setValue,
              min: minValue,
              max: maxValue,
              size: 50
            ),
            Slider(
                value: _value,
                onChanged: _setValue,
                min: minValue,
                max: maxValue
            ),
            ...
This allowed to have a basic slider to build servo interface on top.
For the the switch added after the Slider widget the ToggleSwitch. Once switch is toggled the function on “onToggle” property is executed and on/off is sent to Arduino Uno.
ToggleSwitch(
  minWidth: 90.0,
  initialLabelIndex: 1,
  activeBgColor: Colors.redAccent,
  activeTextColor: Colors.white,
  inactiveBgColor: Colors.grey,
  inactiveTextColor: Colors.grey[900],
  labels: ['On', 'Off'],
  onToggle: (index) {
    if (index == 0){
      sendToArduino('on');
    }else{
      sendToArduino('off');
    }
  },
)
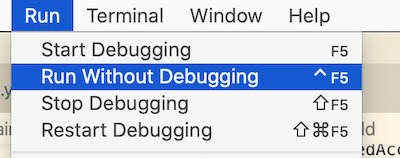
To run the the app from VS Code just click “Run” -> “Start Debugging” or “Run Without Debugging”.
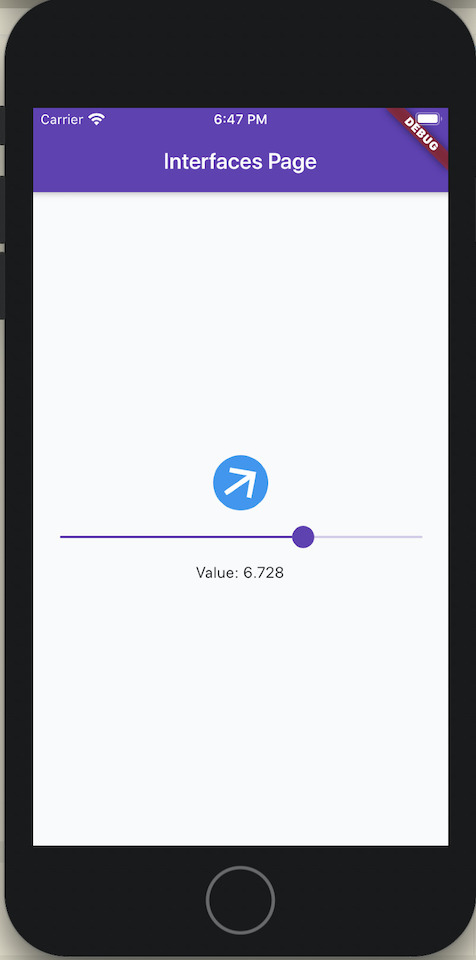
After selecting to run on phone or simulator the app is compiled and executes. This is how the Fab app looks.
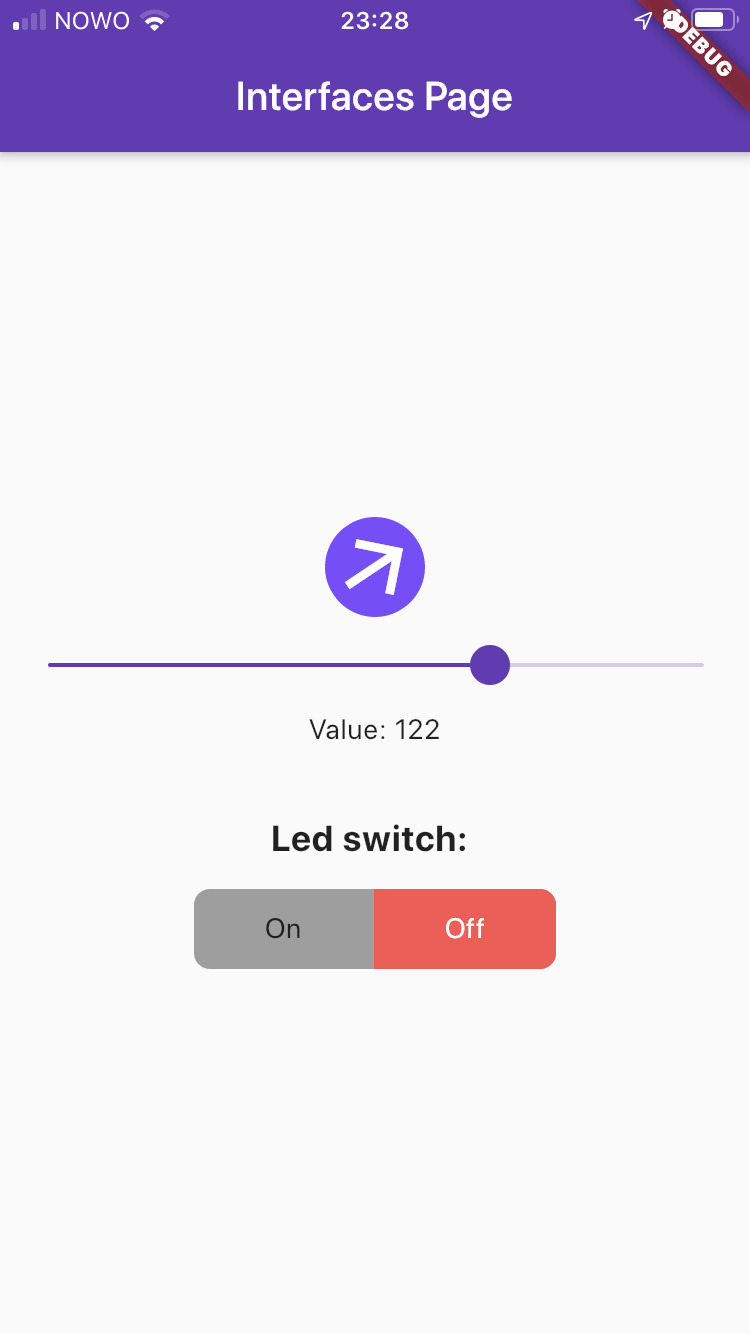
Made a small demo video showing the Fab app being used to turn servo connected to Arduino and turning on/off the led.
Here is the link to the pubspec.yaml (pubspec.lock) and lib/main.dart files that can be used to compile the flutter app.
The complete code also includes change made to use phone accelerometer to set the servo angle. Added sensors package into the app and the following code in the end of _InterfacesPageState class to listen for accelerometers values and set the new angle of the servo.
  @override
  void initState(){
    super.initState();

    _streamSubscriptions.add(accelerometerEvents.listen((AccelerometerEvent event) {
      setState(() {
        _gyroscopeValues = <double>[event.x, event.y, event.z];
      });

      double newAngle = event.y * 20;

      if (newAngle>=minValue && newAngle<=maxValue){
        _setValue(newAngle);
      }
    }));
  }
Mods implementation and connection
Next i decided to experiment/test-drive Mods with same idea of having a slider controlling the servo.
So for this i needed a slider, mods connecting to host server. Mods have support to connect to WebSocket server, so used a Rubame to create the websocket server that would connect to Arduino via serial.
Installed rubame gem:
gem install rubame
Created websocket-server.rb:
require 'rubame'
require 'rubyserial' # https://github.com/hybridgroup/rubyserial

server = Rubame::Server.new("0.0.0.0", 6123)
serial = Serial.new '/dev/tty.usbmodem143401'

while true
  server.run do |client|
    client.onmessage do |command|
      puts "#{Time.now}, command:  #{command}"
      serial.write("#{command}\n")

      # message sent back to mods
      client.send "Servo rotation to #{command}."
    end
  end
end
to run server executed:
ruby websocket-server.rb
Then for the interface, in Mods page i added slider module, WebSocket module and label module. Connected the 3 modules:
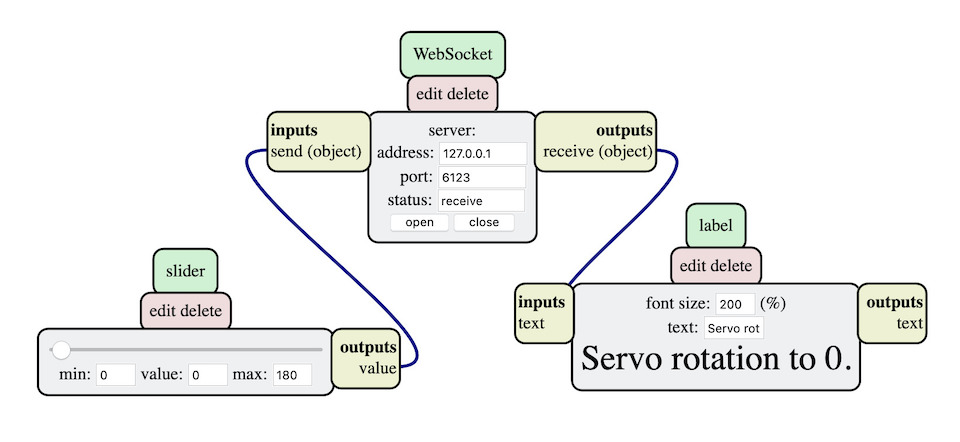
The WebSocket module was configured to connect to localhost on port 6123 where websocket server was running. Websockets works on top of TCP and allows to have full-duplex communication, so for this example server the Mods label module us used to display the message that serve writes back to client.
Below is the video showing it running.