6. 3D Scanning and printing
Learning outcomes
- Identify the advantages and limitations of 3D printing
- Apply design methods and production processes to show your understanding of 3D printing.
- Demonstrate how scanning technology can be used to digitize object(s)
Have you
- Linked to the group assignment page
- Explained what you learned from testing the 3D printers
- Documented how you designed and made your object and explained why it could not be easily made subtractively
- Documented how you scanned and prepared an object (for 3D printing)
- Included your original design files for 3D printing (both CAD and common format for 3D printing)
- Included your hero shots
3D Printing
3D printing allows to create prototypes of object with good detail to allow to test, handle and see if it works before going into production. It allows to accelarate product development. On disavantage of 3d printing is that it is still slow compared with other processes like laser cutting.
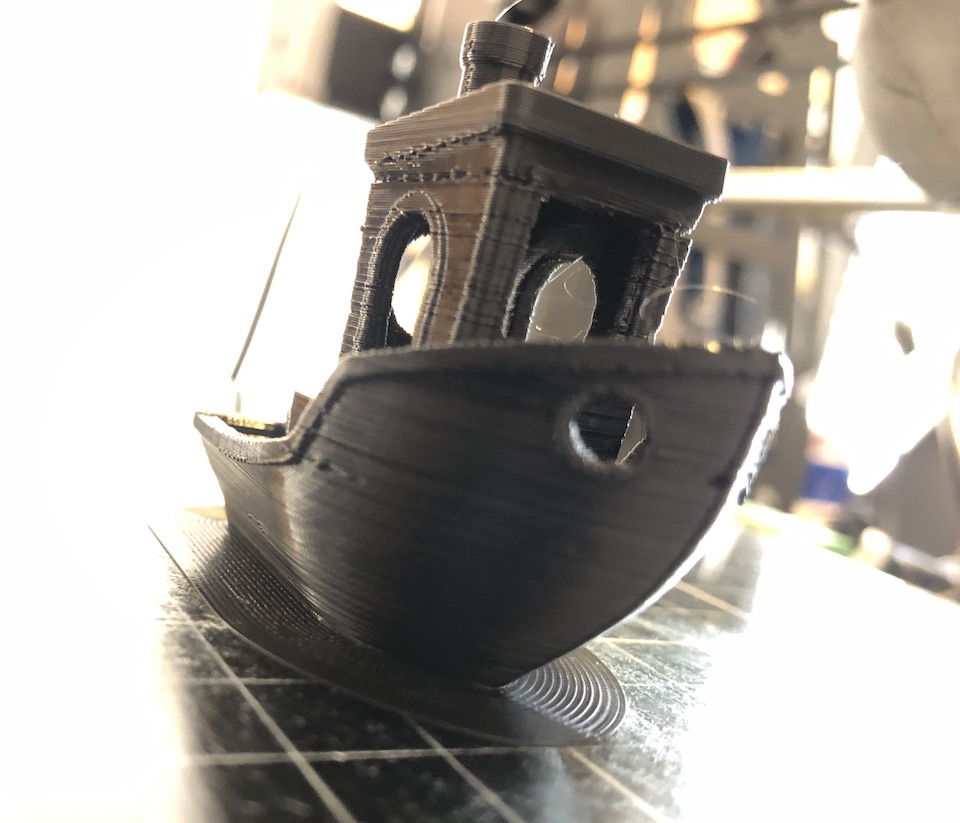
For 3D print i started by printing the 3D benchy test boat to test and evaluate printer calibration and params. After downloading the stl file added it to Ultimaker Cura slicing application and used these settings:
- Layer height: 0,2 mm
- Infill: 10%
- Print speed (extrusion): 20 mm/s
- Print speed (travel): 100 mm/s
- Print nozzle diameter: 0,4 mm
- Build Plate Adhesion Type: Brim
- Brim width: 8mm
The rest of the settings i left as they were defined by the B2X300 printer profile.
3D Printer
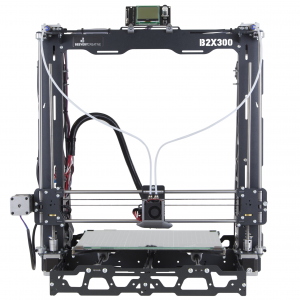
Specs:
- Dual extrusion with easy offset calibration
- Print Volume 300x200x300mm
- Silent Trinamic stepper drivers (TMC2130)
- Power loss detection and recovery
- Filament end detection
- Print resolution 50 – 300 microns
- Auto bed leveling
- Easy offset calibration
Site: B2X300
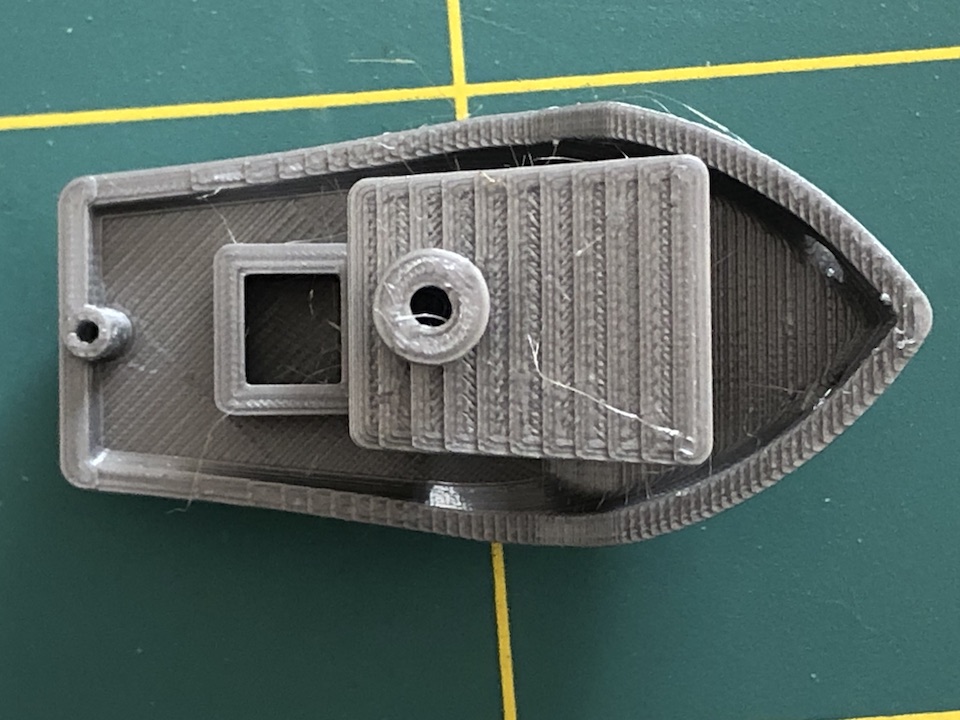
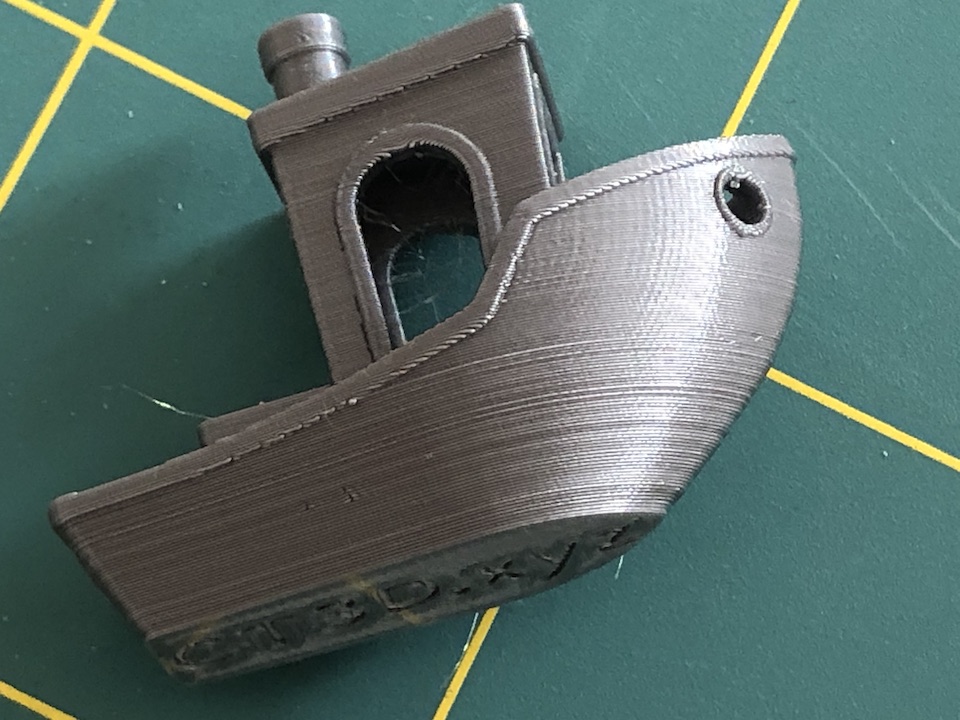
The result was a 3Dbenchy boad with few little points that show that printer might need a nozzle clean but most of the details and dimensions of the board are ok.

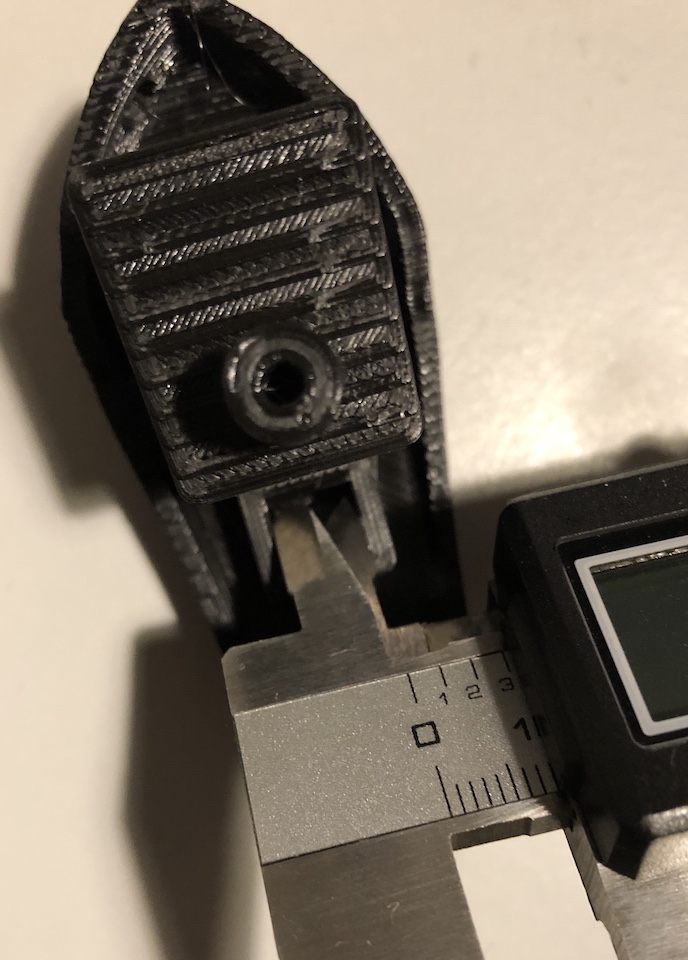
Did measure the boad to check dimentions against 3DBenchy Measure and calibrate. All measues were ok and detail almost all ok. There was an issue with “Small-detail stern nameplate extruded” with 0.1mm, it’s unreadable :/ and some misalignment on straight lines.

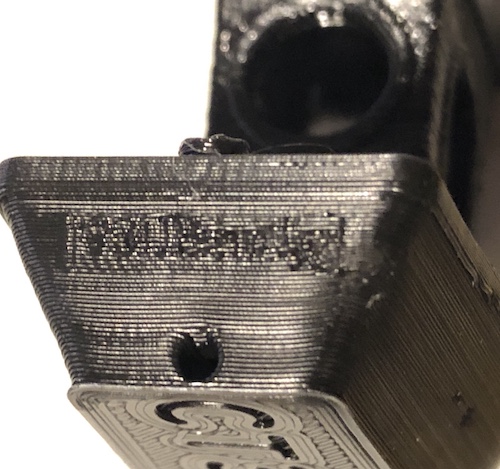
This took me to check belt tension and in the end it was needing some more tension on Y axis (used Easy Tension) mobile app to measure final tension, around 66hz). Also the X axis was needing more tension and belt align. After setting again the nozzle height have tested by printing 3dbenchy.
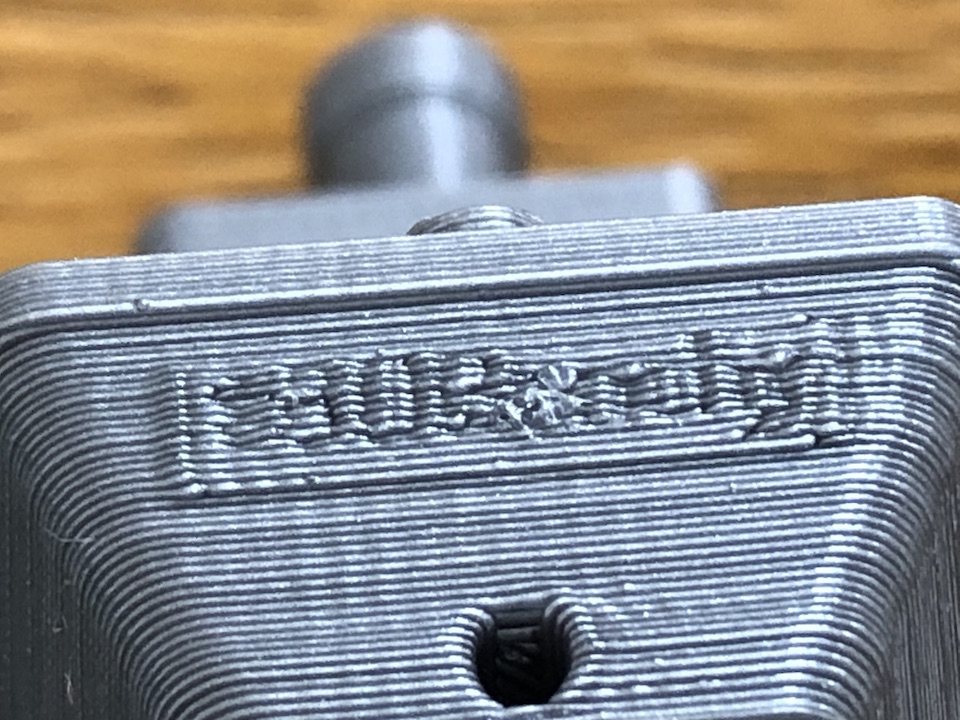
The quality of detail has improved! :)
Group assignment
For the group documentation, please check group assignment page here: 3D Scanning and printing (Group page)
Individual assignment
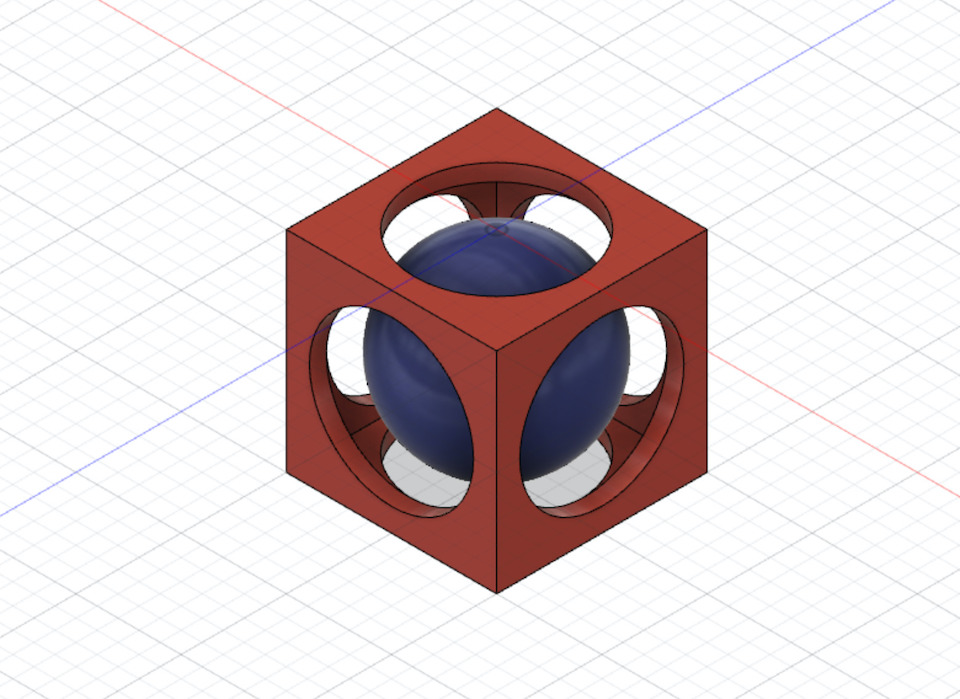
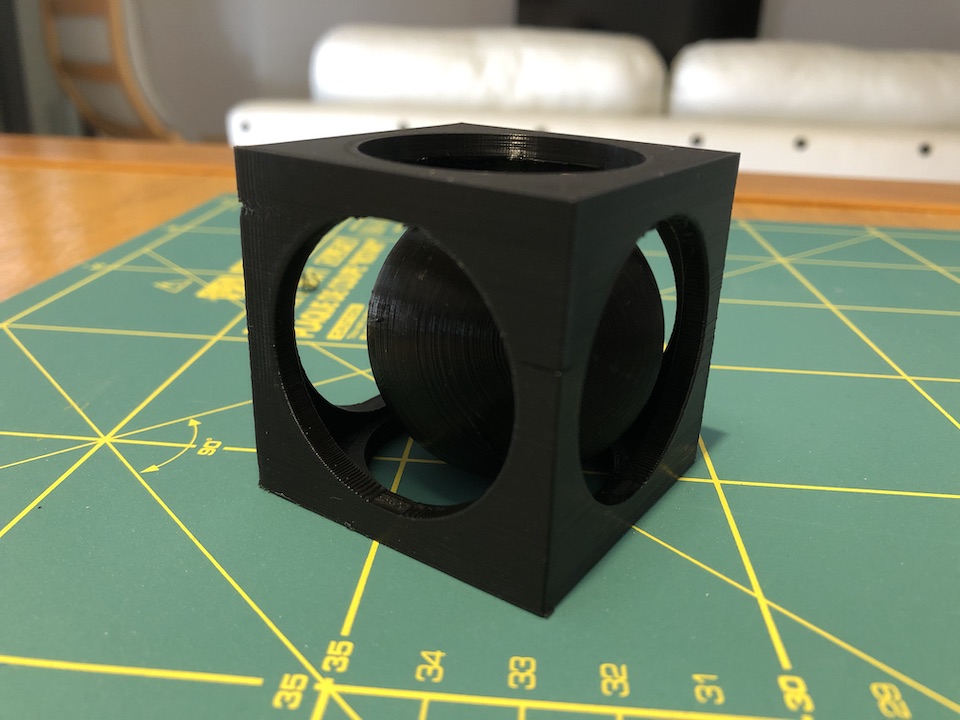
For this assignment i choose to design a cube with a free sphere inside. This cube is dificult make subtractively because the inside is square and each face has a round hole. This make dificult to move a CNC drill into it and substract 90° angles and straight lines inside.
Designed a cube in fusion, then another cube inside and used it as tool to create space inside main cube. Opened holes on cube fazes and added a sphere inside. This sphere is bigger than the face holes and can move inside the cube.
The 3D printed cube
Fusion 360 file: Impossible_cube_v2.f3d
Note: To print the cube i have tested an experimental feature of Ultimaker Cura, so i used Tree support. This support builds from the plate into the place that needs to support the extrusion.

To enable tree support in Cura, search for “tree” in parameters and in the “Support Structure” select “Tree”.
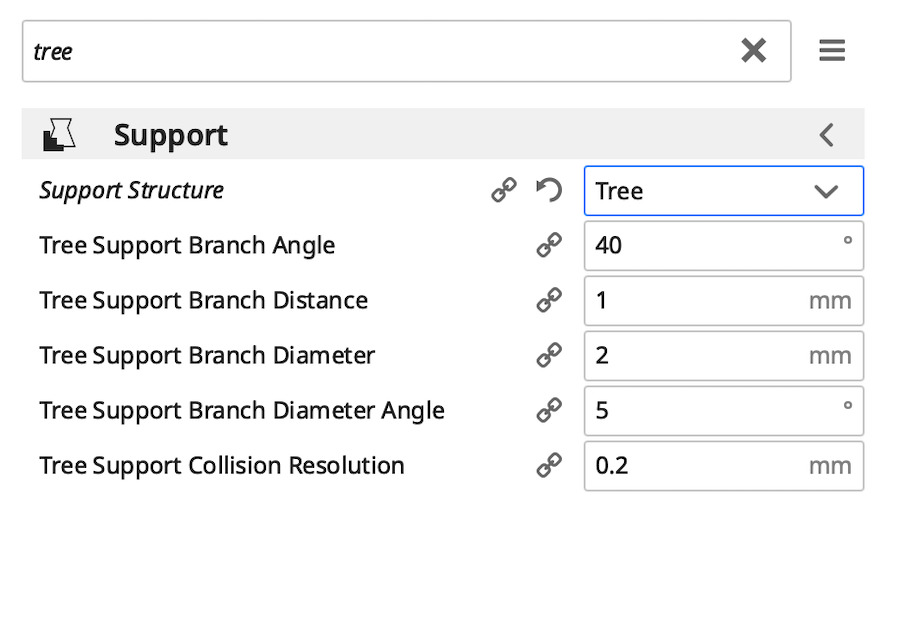
Some advantages of this type of support is using less material (tree can have low density infill) and less print time.
Links
- How to design parts for FDM 3D Printing
- CNC milling sphere inside cube, everything is round around the sphere. The inside can’t be made squared easily.
- Benefits of 3D Printing: Impossible Designs and Internal Channels
- Cura Tree Support
3D Scanning
3D Scan object
For 3D scan tried to experiment some of the software from class list:openMVG, Meshroom and QLone.
From these the only one that i could produce a result for now is QLone.
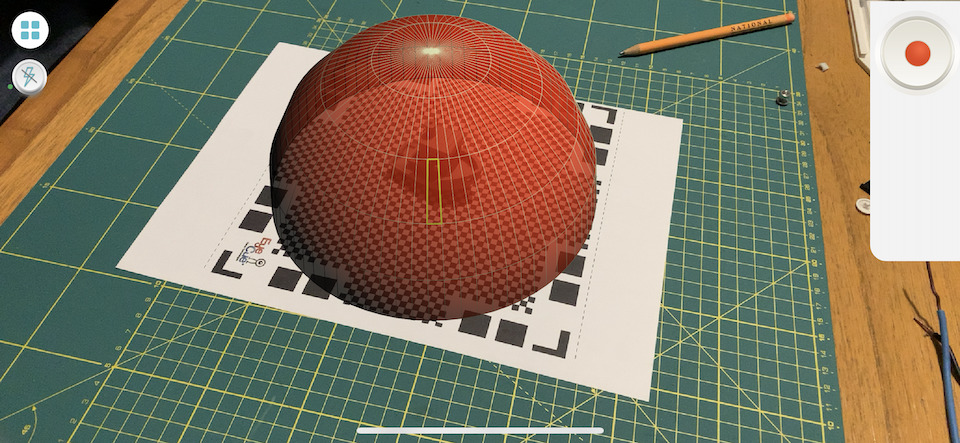
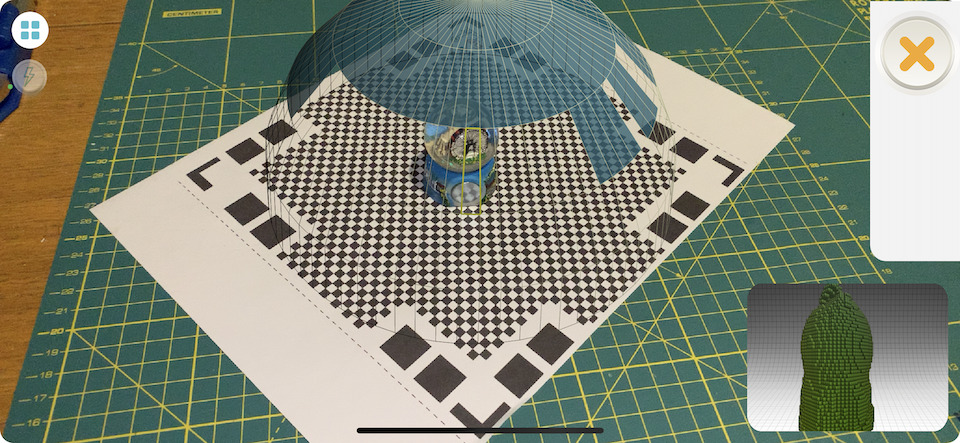
So how does QLone work?
QLone used the printed mat to localize the object to scan. It takes 360º photos, section by section (virtual dome), top and lower picture images to reconstruct the object. Once QLone processes all pictures it generates a model that we can use to export a movie.
You need to download the QLONE Mat from their (site) and print it.

So you move the phone around the object until the dome sections are all processed.
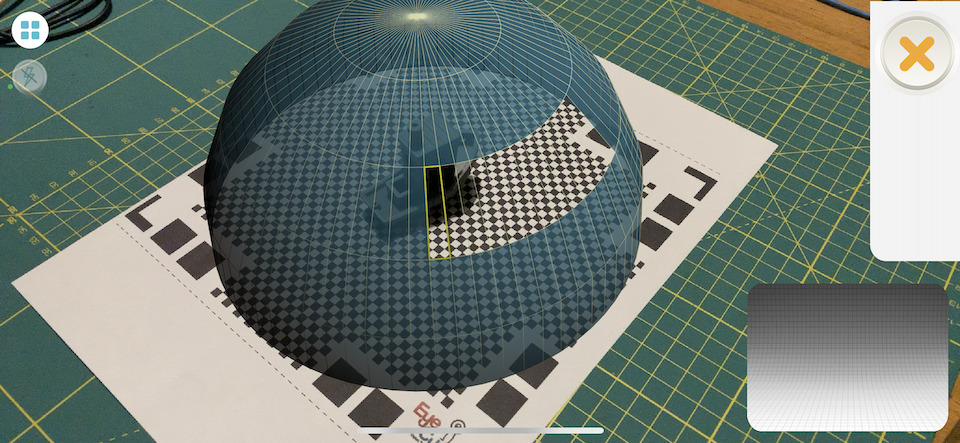
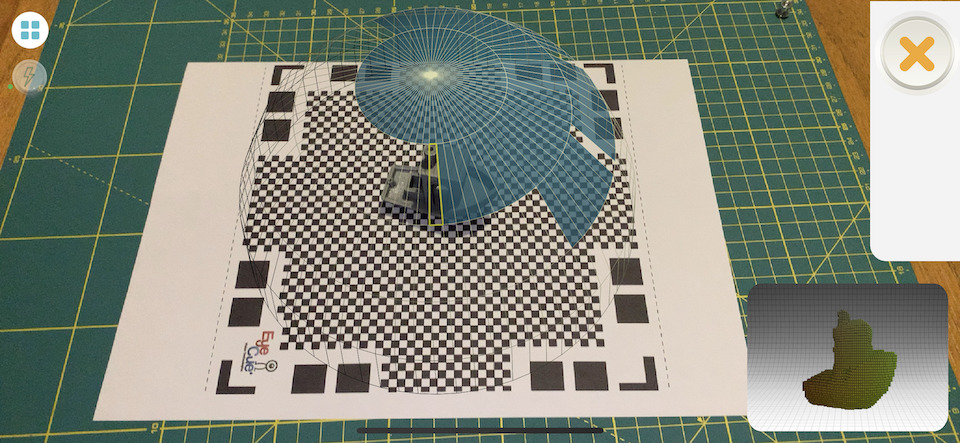
it keeps track of the distance to the mat, so if you get to far it shows in red or stops displaying the zones that are still missing to take a picture/scan.
tried to scan different objects
After some tries and light improvements i could scan an object on top of the A4 “mat”.
The object:
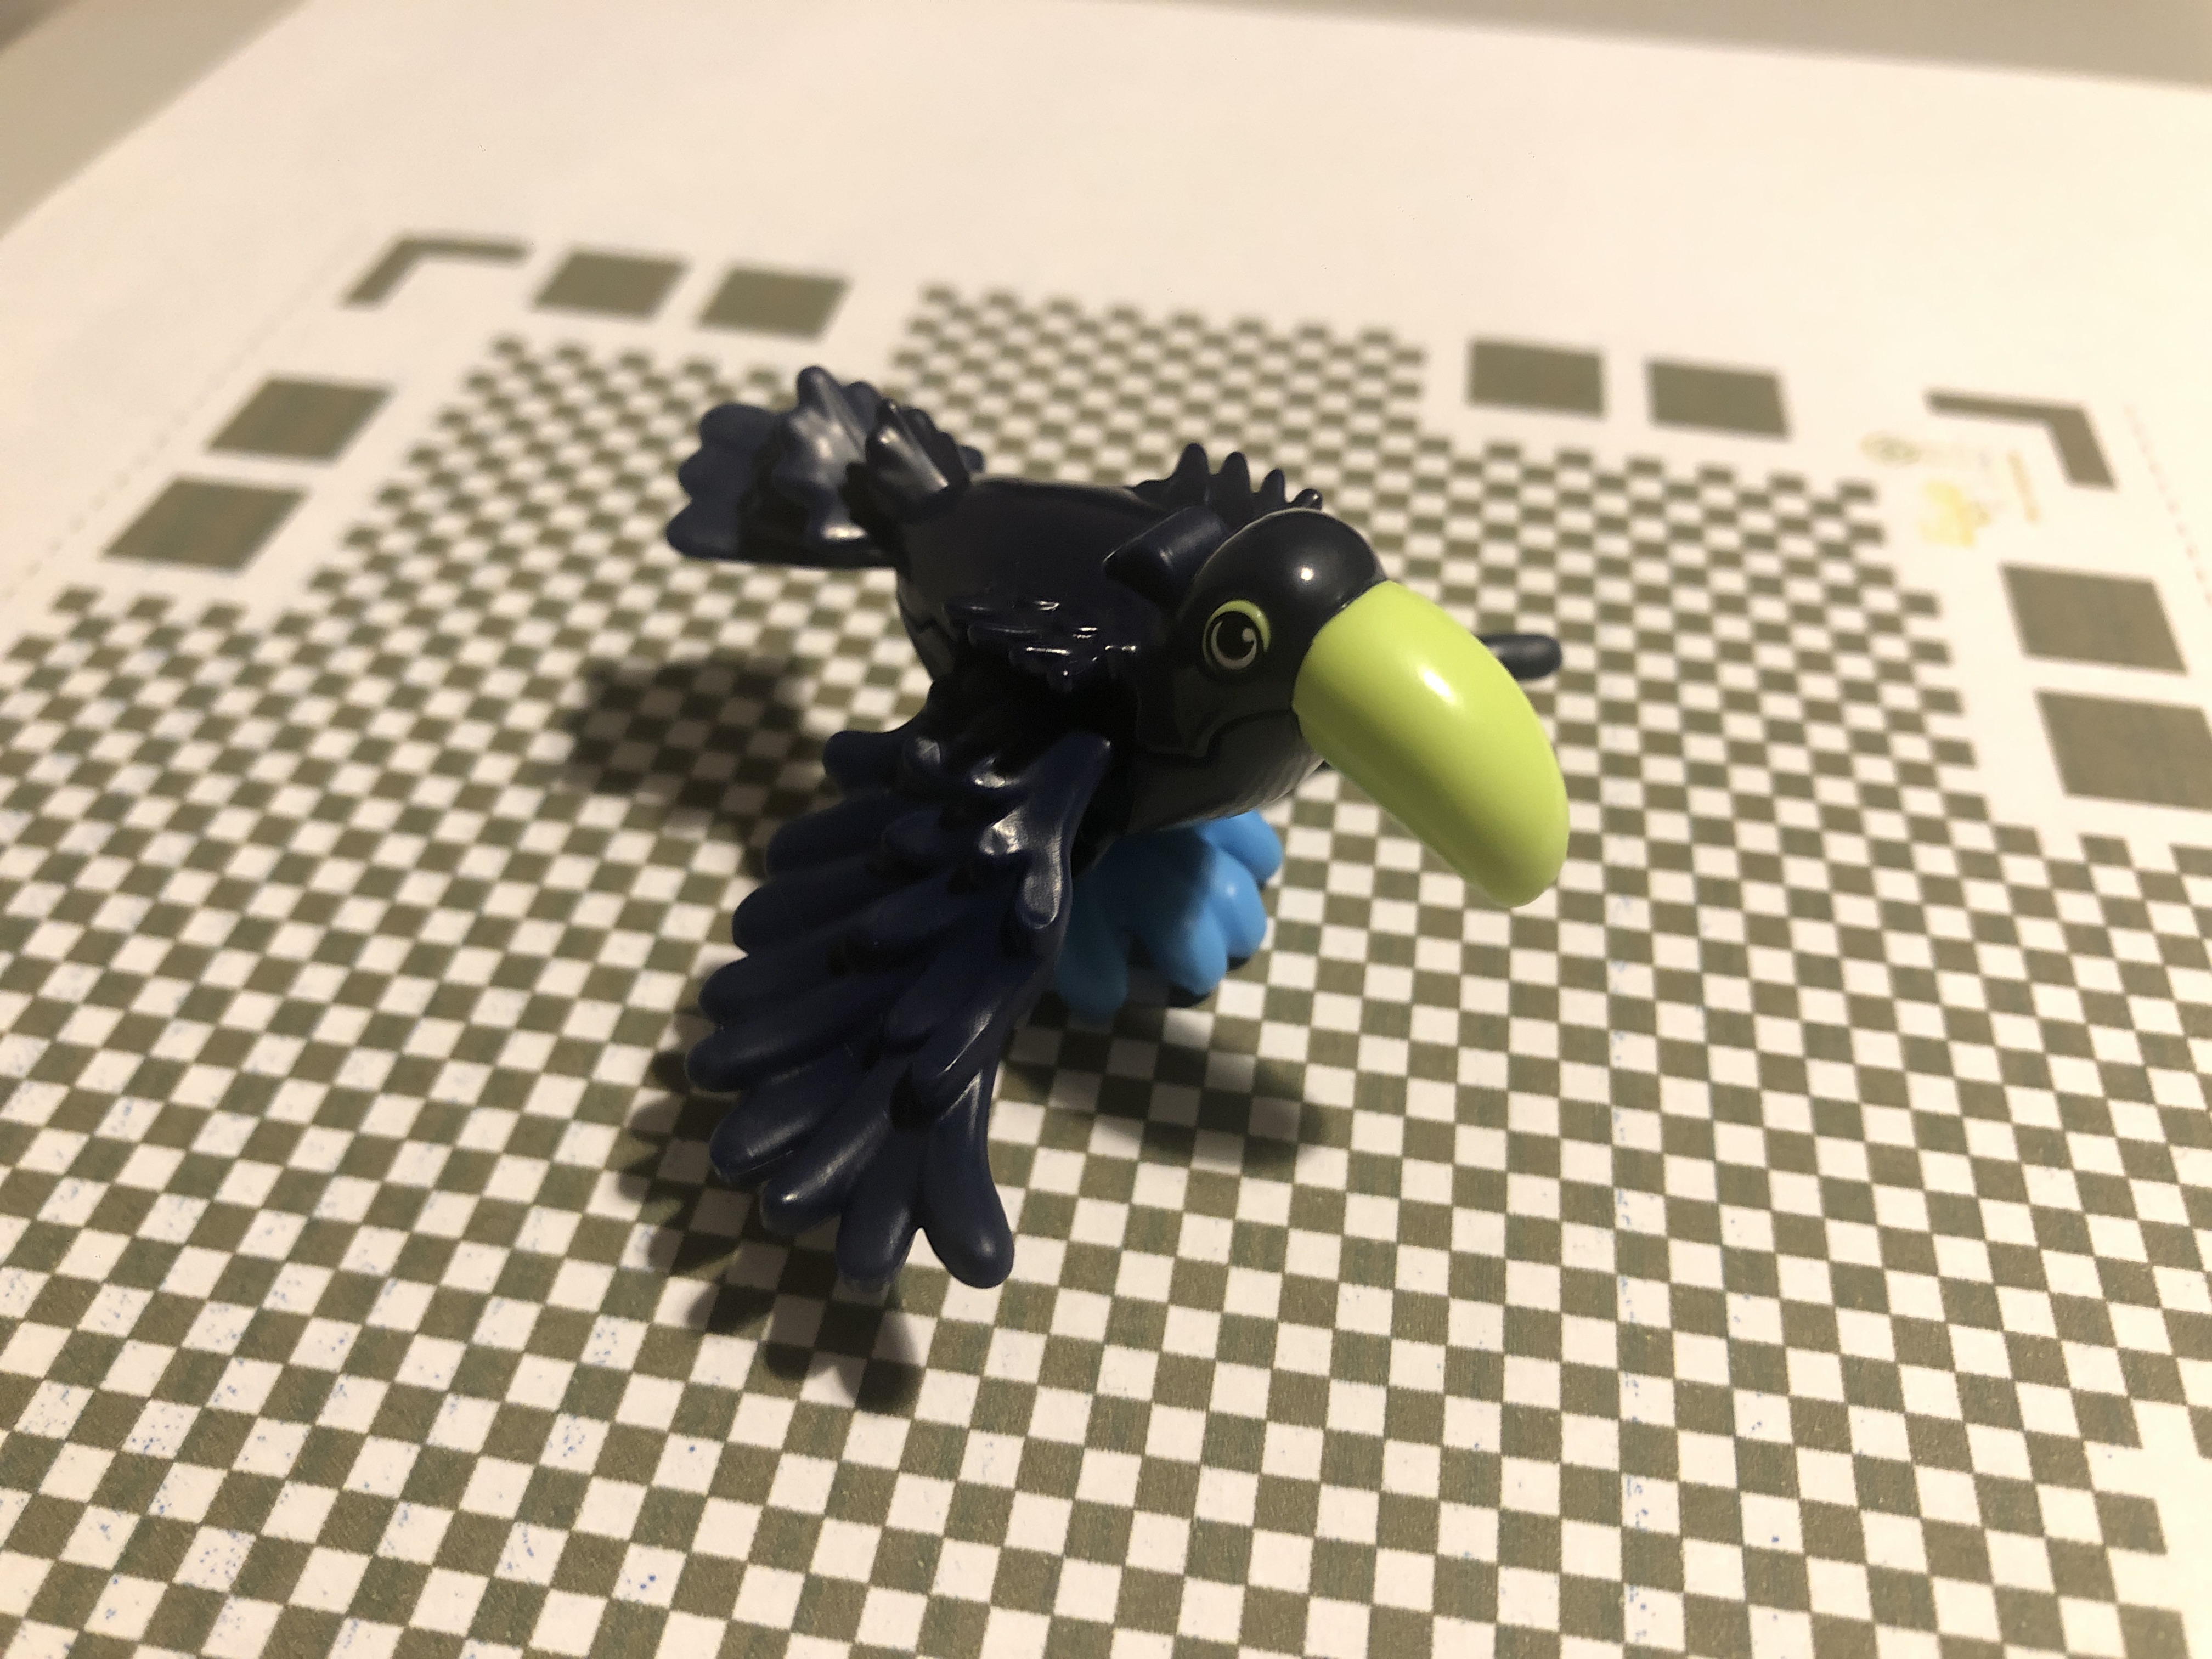
The result isn’t bad, but could be improved mainly with better light source.
Other examples:
Travel Gift Magnet.
Objects with glass aren’t easy :)
Coffee Mug
The inside of the cup became wasn’t ok, white ceramic with light reflecting and some light/shadow, didn’t help on the finish of this scan.