2. Project management
This week I worked on defining my final project idea and started to make changes to the documentation/website.
The following application are used for project management.
Week Topics
Learning outcomes
- Explore and use website development tools
- Identify and utilise version control protocols
Have you?
- Made a website and described how you did it
- Introduced yourself
- Documented steps for uploading files to archive
- Pushed to the class archive
- Signed and uploaded Student Agreement
Getting to know Gitlab
The process of working with gitlab was easy, i already use github and git. So after login into Gitlab i opened my Fab Academy 2020 repository.
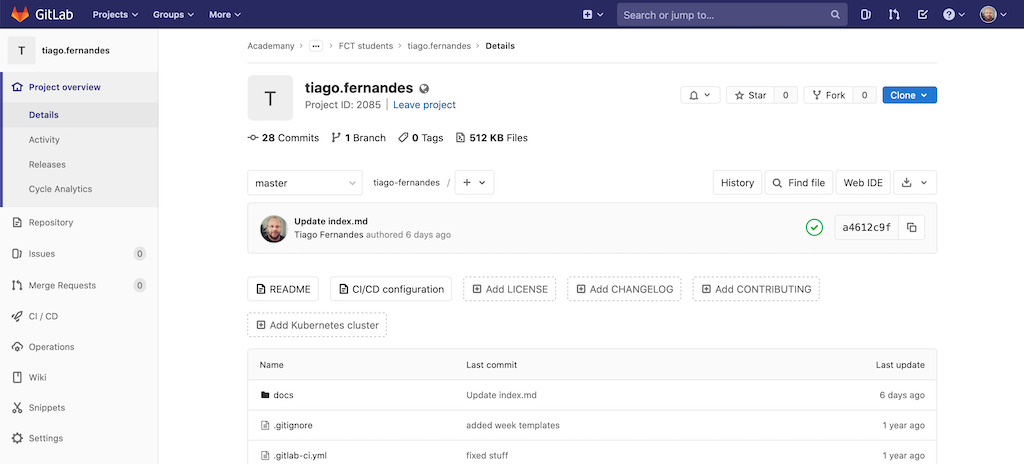
With Gitlab we can make changes to the repository via the interface by clicking on “+” (to add files) or “Edit” after opening an existing file. The other way, the one i prefer, is to use it via SSH to clone my gitlab repository and work from my local machine.
In order to use SSH i need to setup the SSH key on my Gitlab account. The reason for this is because SSH implements RSA cryptosystem to authenticate and transmit data in a secure way. This cryptosystem generates a private and public key so that any information encrypted with the public key can only be decrypted by the one who knows the private key (never share your private key!).
Setup my Gitlab SSH key
I already had ssh key pairs on my machine. For anyone that needs to generate them you can check GitLab and SSH keys or Fab Academy tutorials.
So first need to get my public key, so i open the terminal in macOS and run the command
pbcopy < ~/.ssh/id_rsa.pub
Adding a key is easy, just go to Profile picture then Settings.
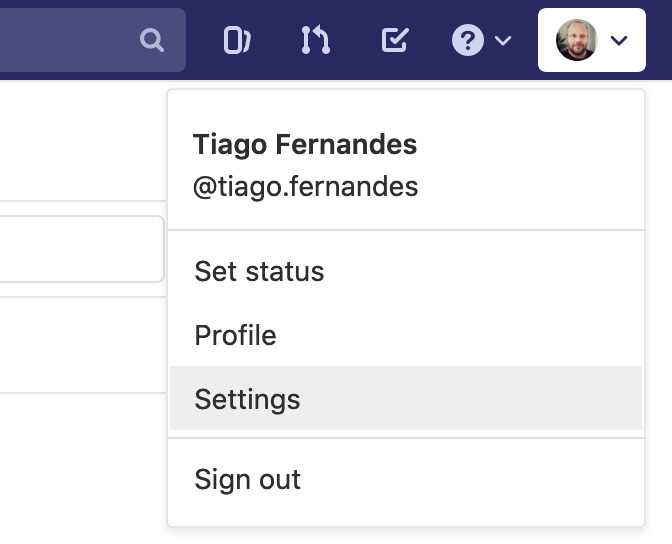
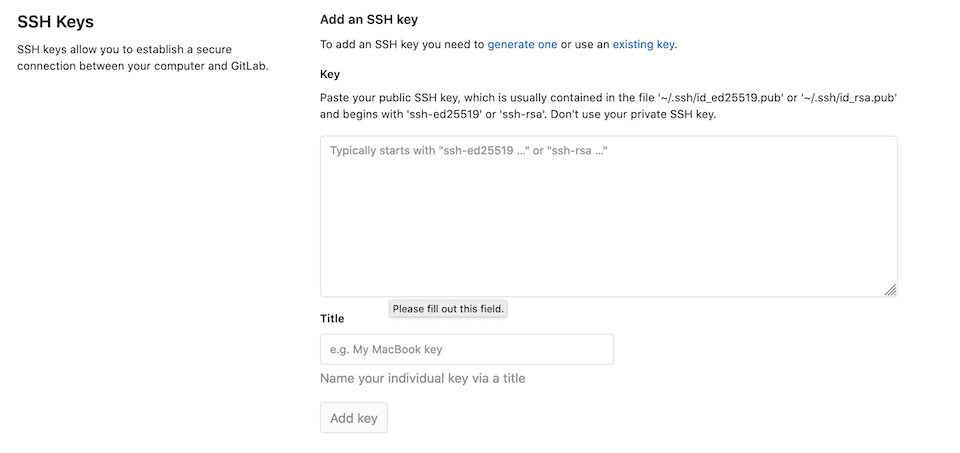
Then click on the left navigation menu, “SSH Keys”.
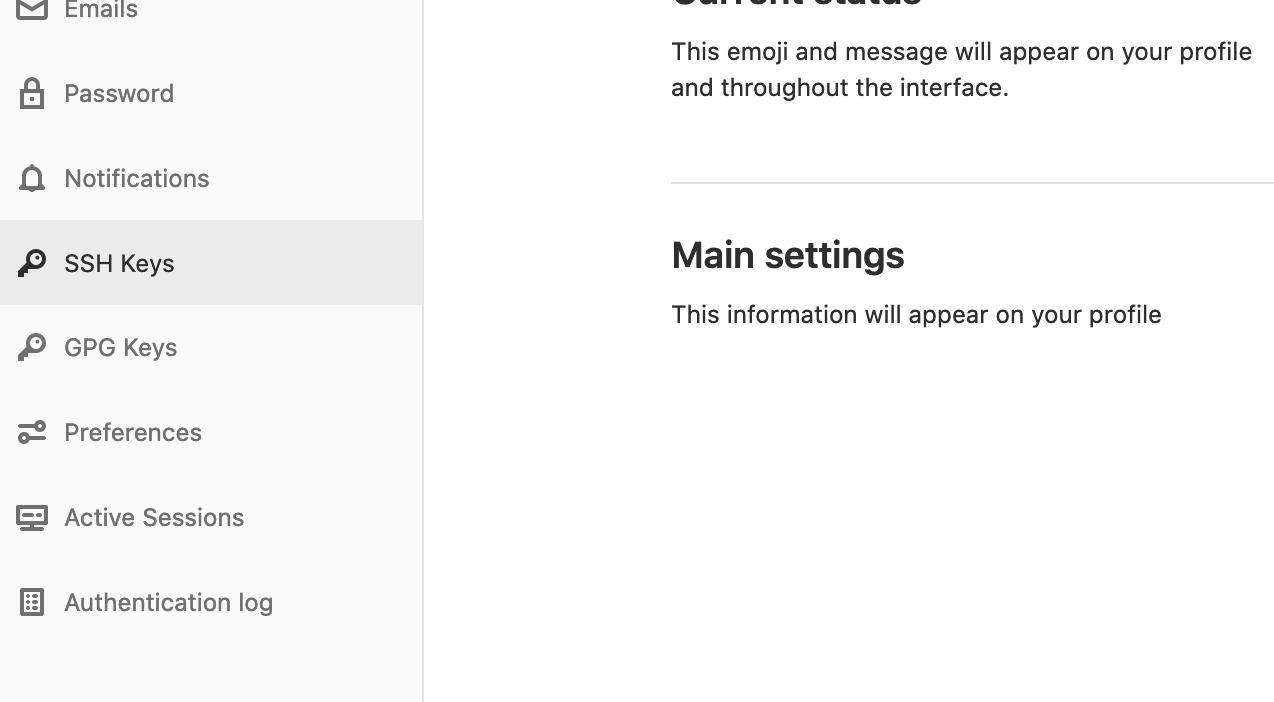
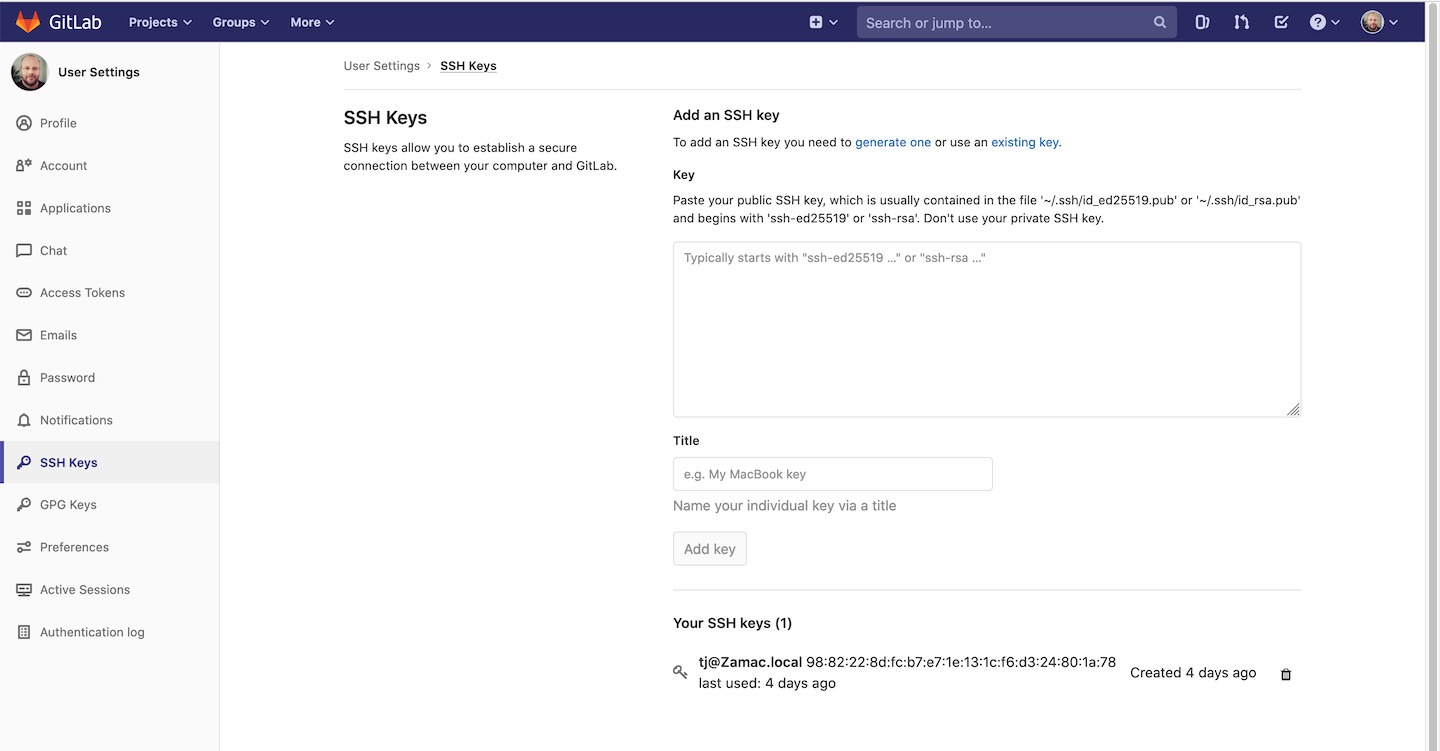
Paste your key inside the Key text area (click on text area and CMD+v), give it a Title and click “Add key” button to save it.
The key is saved and now it should be possible to clone the gitlab repository via SSH.
Testing the repository cloning to my computer
To clone a repository it’s necessary to have repository url. You can get this from the repository page by clicking “clone” button and then “copy url”.
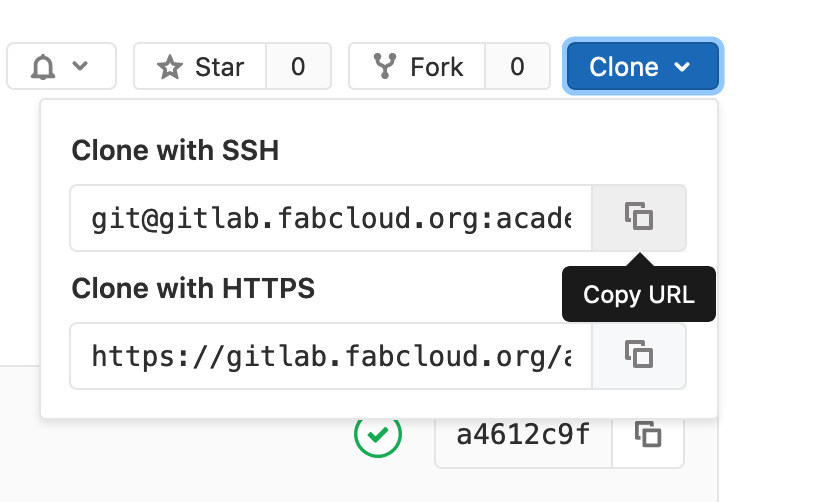
Then in the macOS i opened the terminal, cd into my fabacademy directory and run the command
git clone git@gitlab.fabcloud.org:academany/fabacademy/2020/labs/fct/students/tiago-fernandes.git
This downloaded a copy of my gitlab fabacademy repository to my machine.
Tested 1st change/commit via GitLab interface
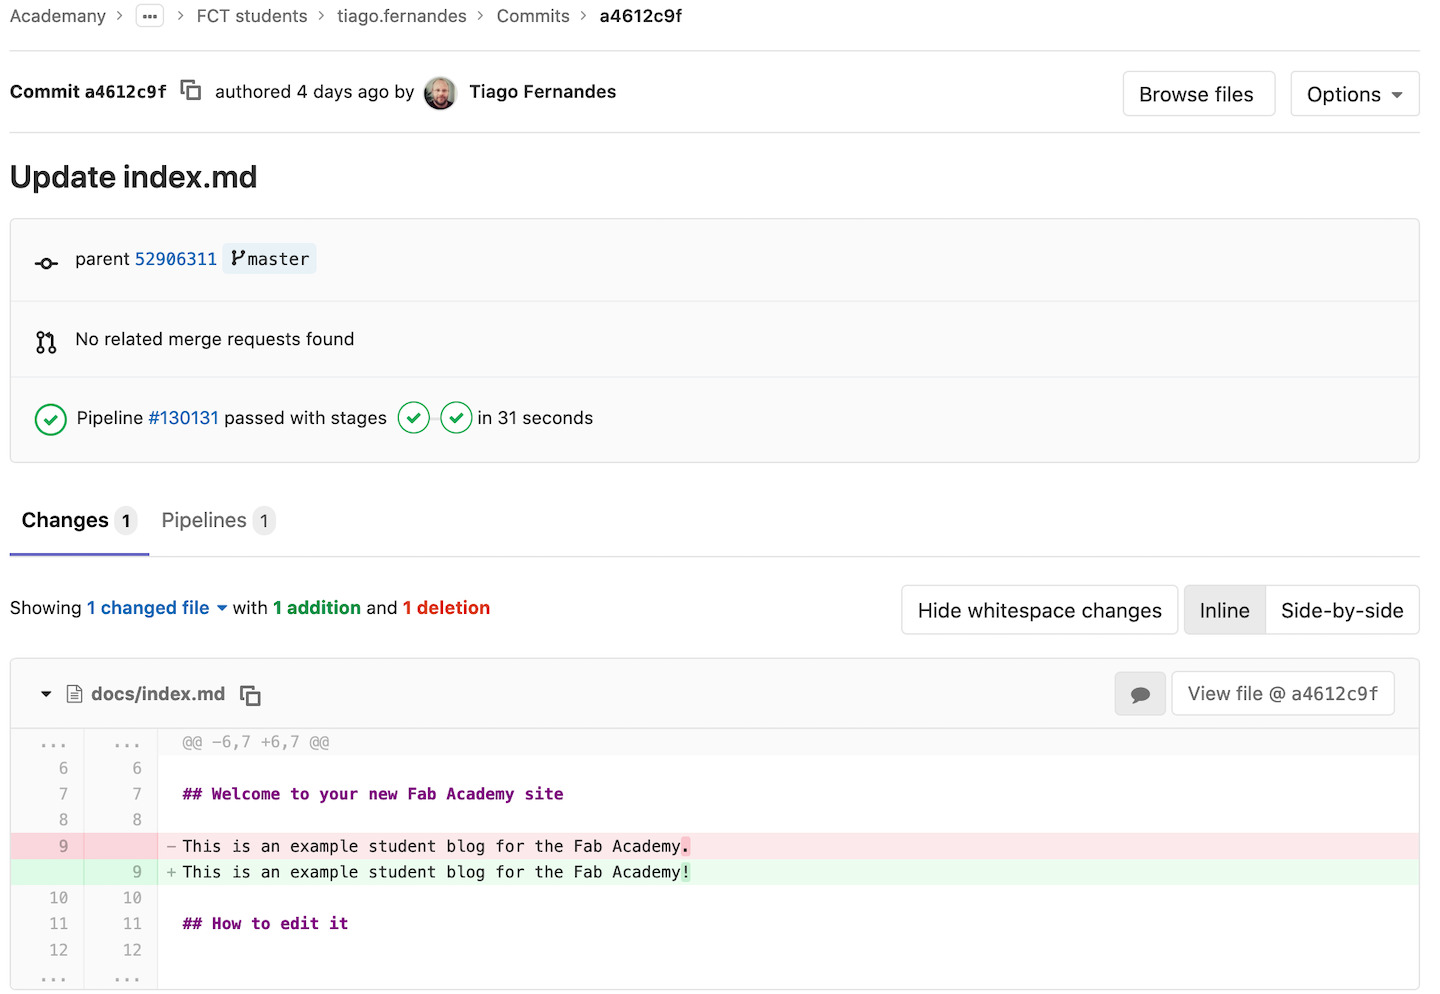
The GitLab interface allows to directly edit files, for example: index.md file
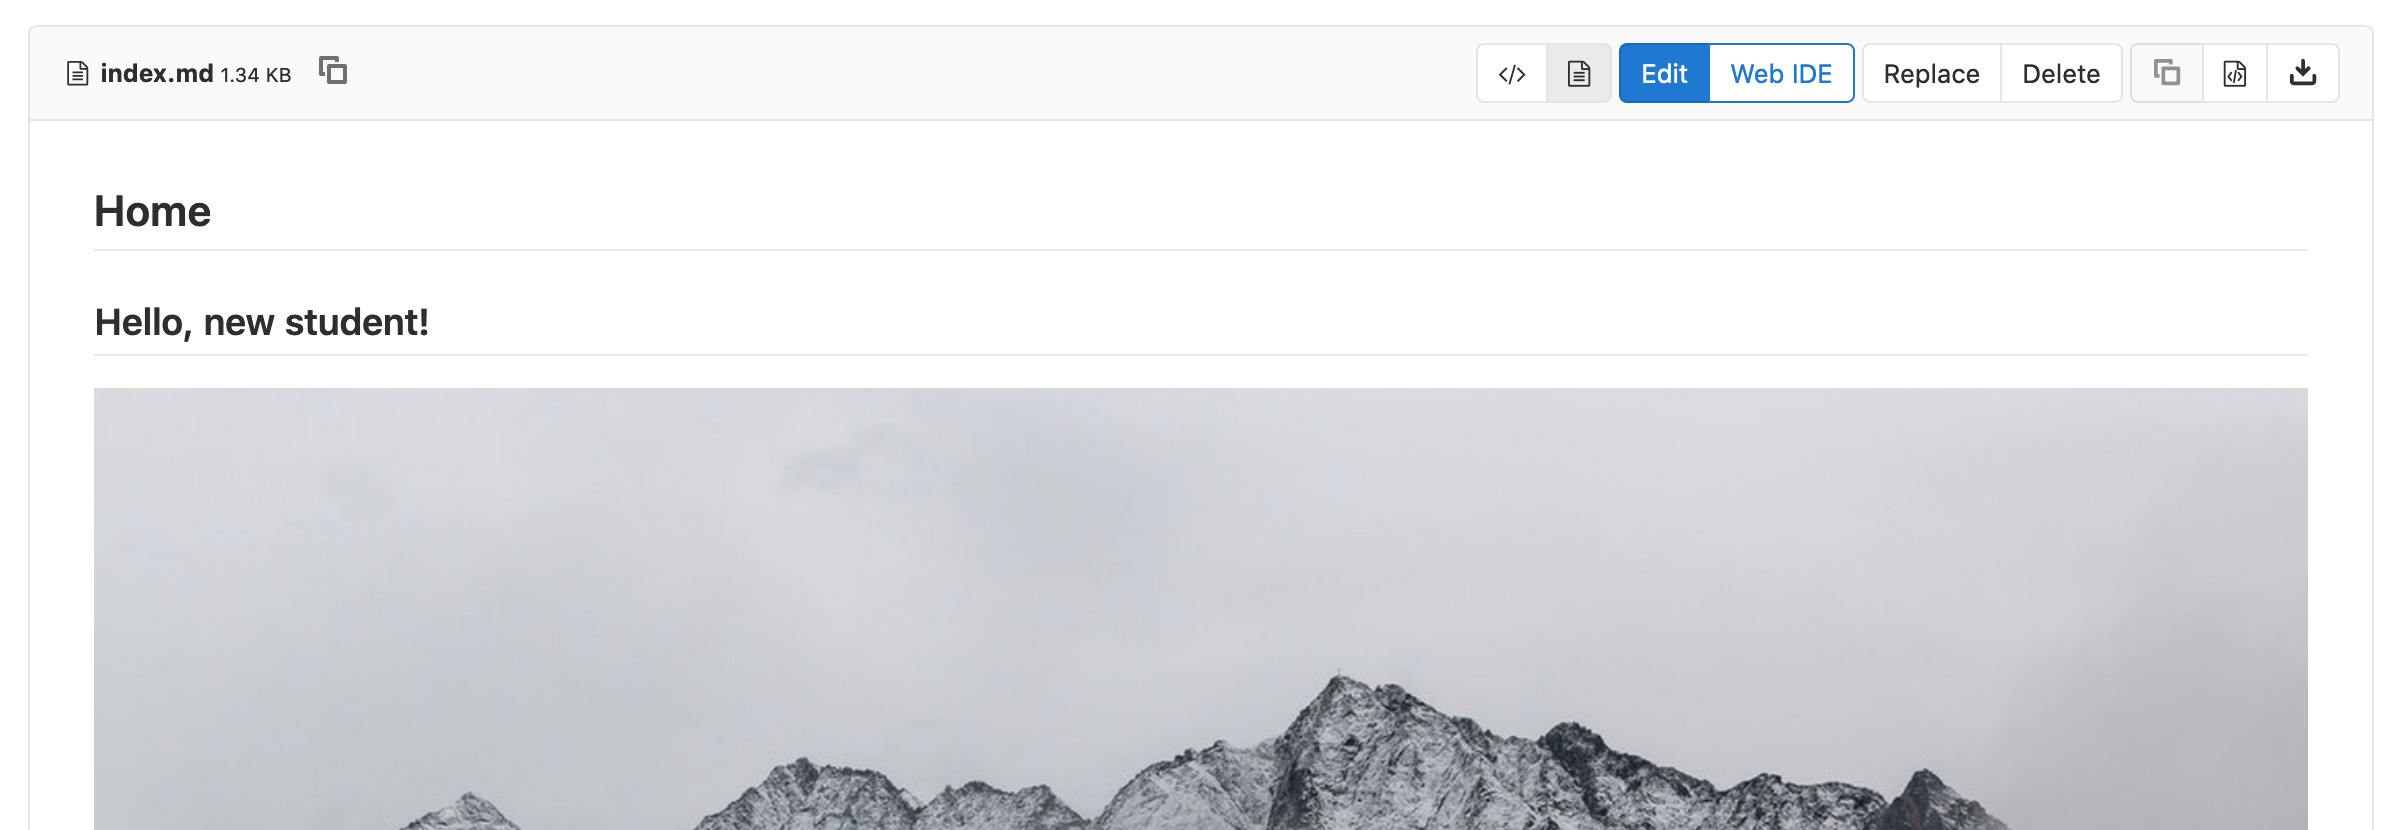
So a first change/commit was made just to try the Gitlab interface.
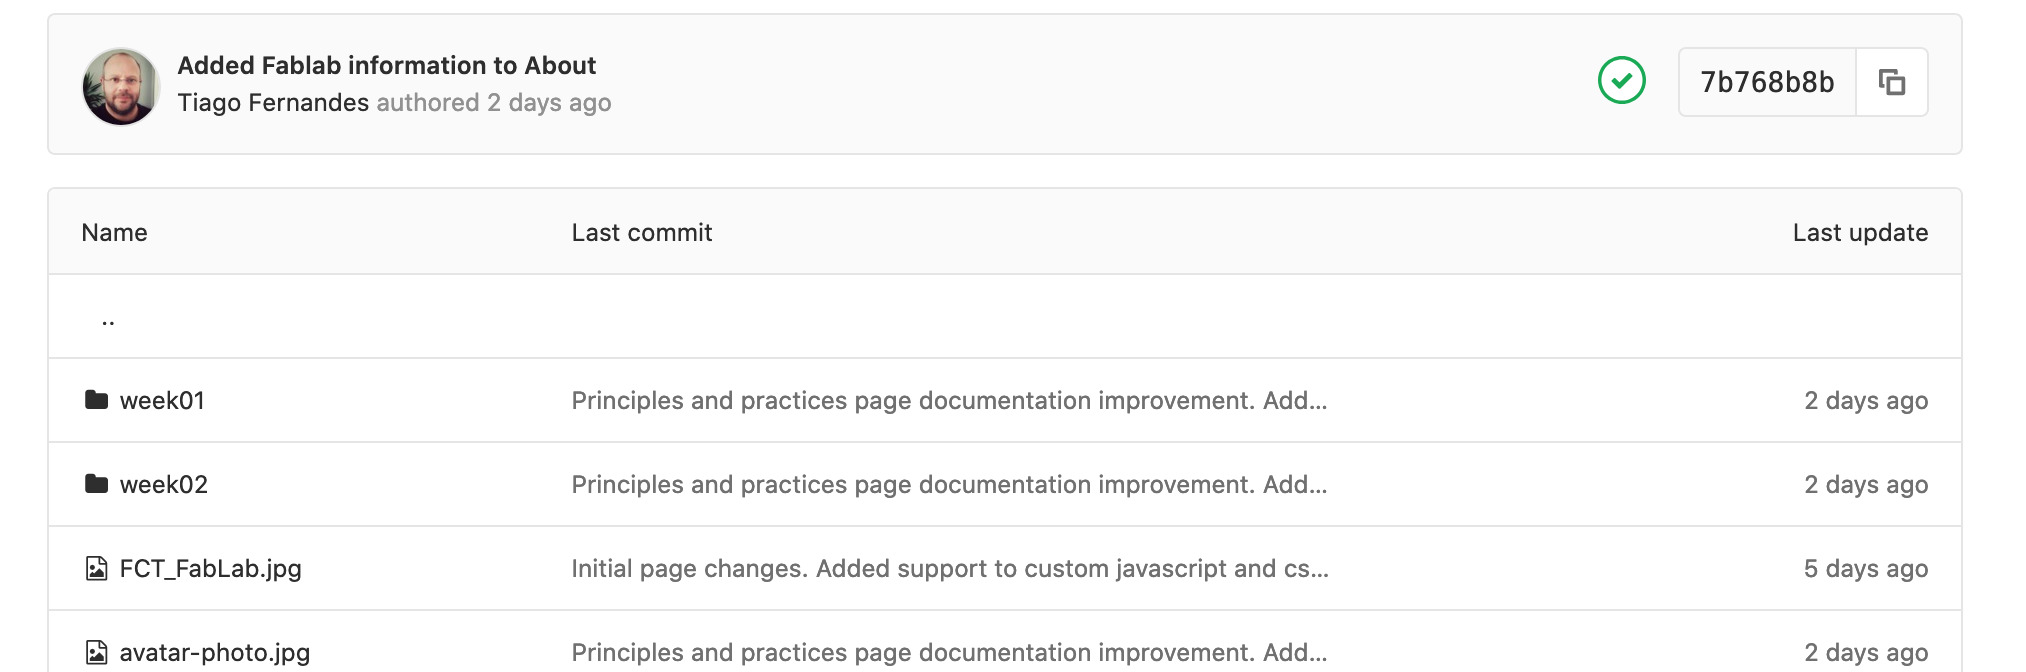
Updated my local computer repository and checked log
After making the online change, i used the following commands to update my local machine repository (tiago-fernandes):
git pull
git log
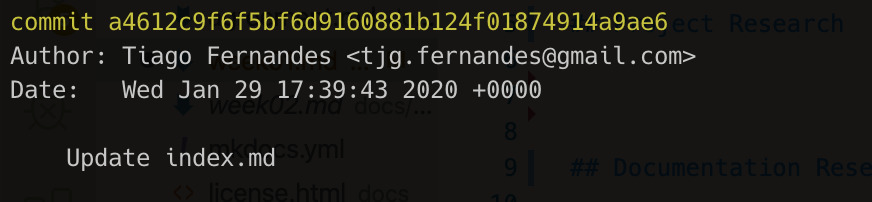
And confirmed that the change was pulled from gitlab remote repository into my local machine repository.
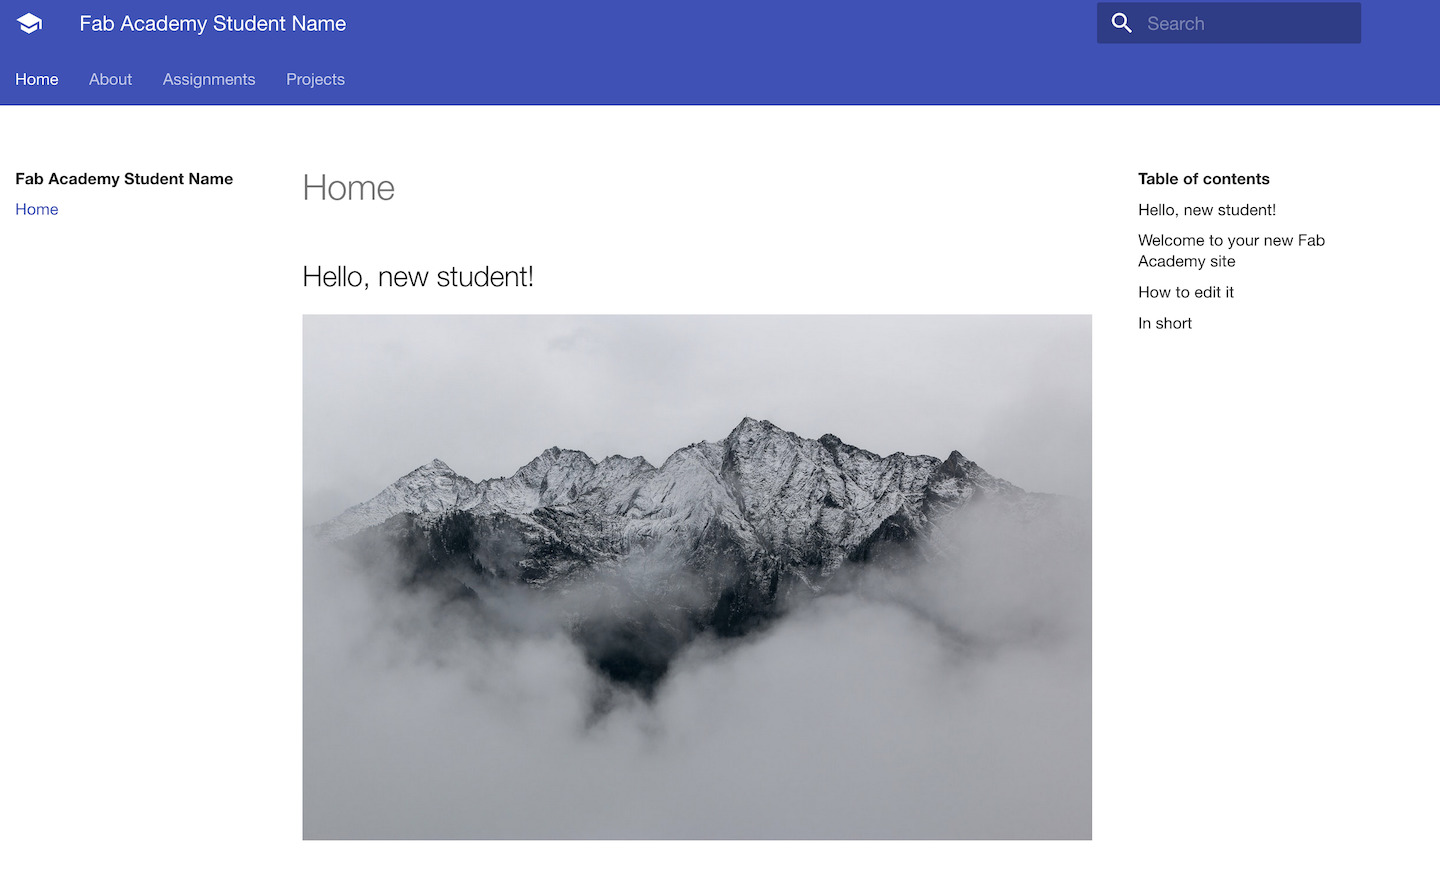
Initial Page
The change on gitlab repository triggered the build of my initial student page. Showed on FCT Students - Tiago Fernandes
Website
For this website i’m using the current MkDocs version that was made available via Gitlab repository. This is a easy way to document work and show to anyone.
MkDocs, simple static site generator is a simple static site generator. It uses Markdown to declare the site content and a YAML file to configure how the site is generated.
For example declaring a title in Markdown like the code below will generate a H1 html tag:
# A Title
Example of how to generate H2 html tag:
## A Title
It’s easy to create links like Fab Academy:
[Fab Academy](https://www.fabacademy.org){target=_blank}
Adding an image:

Even a table is easy to create with Markdown and it always generates correct HTML:
First Header | Second Header | Third Header
------------ | ------------- | ------------
Content Cell | Content Cell  | Content Cell
Content Cell | Content Cell  | Content Cell
So for this site i started by learning a bit of Markdown and how to style a bit the layout.
Installed Mkdocs on my local machine so that i could generate the site locally and see it in the browser how it was looking as i worked on it.
I already had python installed, so just needed to run the commands below.
pip install mkdocs
pip install mkdocs-material
If you need to install Python, please check MkDocs installation or Fab Academy Tutorial, it depends on your system.
Then i updated mydocs.yml configuration file to have correct information, different fonts, color and added extra css and javascript files.
# Replace the text below to customize your site
site_name: Tiago Fernandes
site_description: Fab Academy 2020

site_author: Tiago Fernandes
docs_dir: docs
site_dir: _site
copyright: Creative Commons Attribution Non Commercial
theme:
  name: material
  # see https://squidfunk.github.io/mkdocs-material/getting-started/#color-palette
  palette:
    primary: "blue"
    accent: "indigo"
  font:
    text: "Roboto"
    code: "Roboto Mono"
  feature:
    tabs: true
extra_css:
  - 'stylesheets/app.css'
extra_javascript:
  - 'https://ajax.googleapis.com/ajax/libs/jquery/3.4.1/jquery.min.js'
  - 'https://www.gstatic.com/charts/loader.js'
  - 'javascripts/draw-gantt.js'
  - 'javascripts/app.js'
extra:
  social:
    - type: "github"
      link: "https://github.com/academany"
    - type: "twitter"
      link: "https://twitter.com/fabacademany"
    - type: "linkedin"
      link: "https://linkedin.com/in/academany"
    - type: "instagram"
      link: "https://instagram.com/fabacademany"

markdown_extensions:
  - extra
  - smarty
  - admonition
  - codehilite:
      guess_lang: false
  - toc:
      permalink: true
From here i started to really build the page. Started with About and Agreement, then followed some research for “Principle and Practices” and how to document it. Created the page based on my research and experimentation on Gitlab. Moved to “Project Management” page, where i try to details a bit more git usage and how i build the page, for example on using Google Gantt Charts.
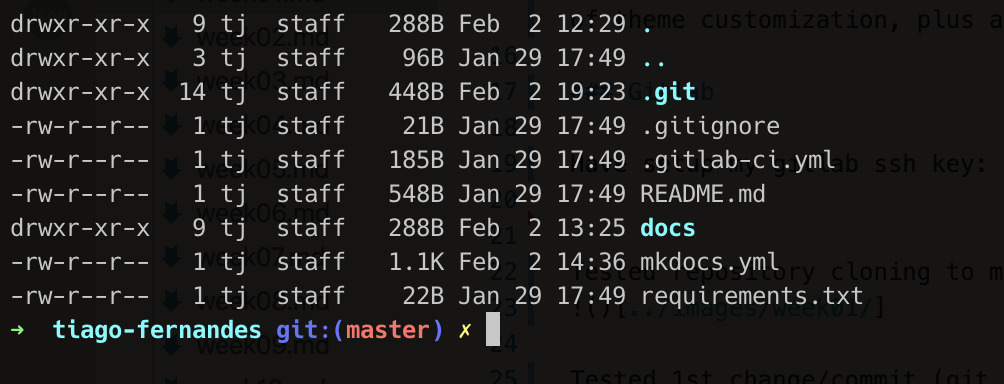
Directory structure
The archive structure is based on the mkdocs repository. So have the about with About page, assignments directory with all assignment page text contents and created images directory to save images in general and sub-directories for each assignment week.
The javascripts and stylesheets directory are used to keep libraries used to extend the website in terms of scripting and style.
Projects directory will have final project information page.
.
├── about
├── assignments
├── images
│   ├── week01
│   ├── week02
│   └── week03
├── javascripts
├── projects
└── stylesheets
Gantt Charts
The tasks plan will be available on the website and is going to be a work in progress Gantt, being always updated as assignments and work is progressing.
I’m going to use Google Gantt Charts to integrate the Gantt chart into my website. This allow to have a more dynamic was of interacting with planning task.
The integration of Google Gantt Charts is relatively easy. In the mydocs.yml configuration file there is an entry that allows to have links to javascript files to be used by our website.
extra_javascript:
  - 'https://www.gstatic.com/charts/loader.js'
  - 'javascripts/draw-gantt.js'
So the loader.js is Google Charts library that is remotely imported and draw-gantt.js is the javascript file that i created to start the Gantt and displays it inside a DIV tag with ID “gantt_chart”. So having the following html on the page
<div style="width:100%;">
 <div id="gantt_chart"></div>
</div>
will display this Gantt chart once the javascript code inside javascripts/draw-gantt.js file is executed by the browser.
Note: this is the same chart displayed in Home page.
Links
Git Usage
While getting to know Gitlab i already have cloned my gitlab repository to my local machine.
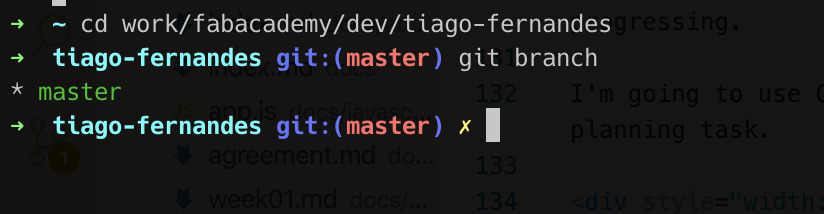
From here i could use Visual Studio code to make changes on this local repository that by default when cloned is on master branch. We can check this by executing the command:
git branch
And it will display all local branches.
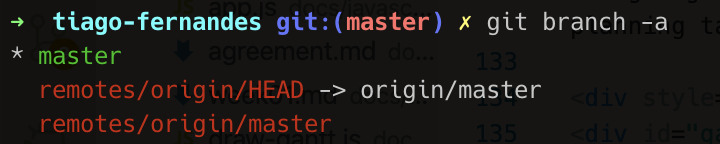
We can execute a command to see all branches, including the remote ones.
To check for changes
git status
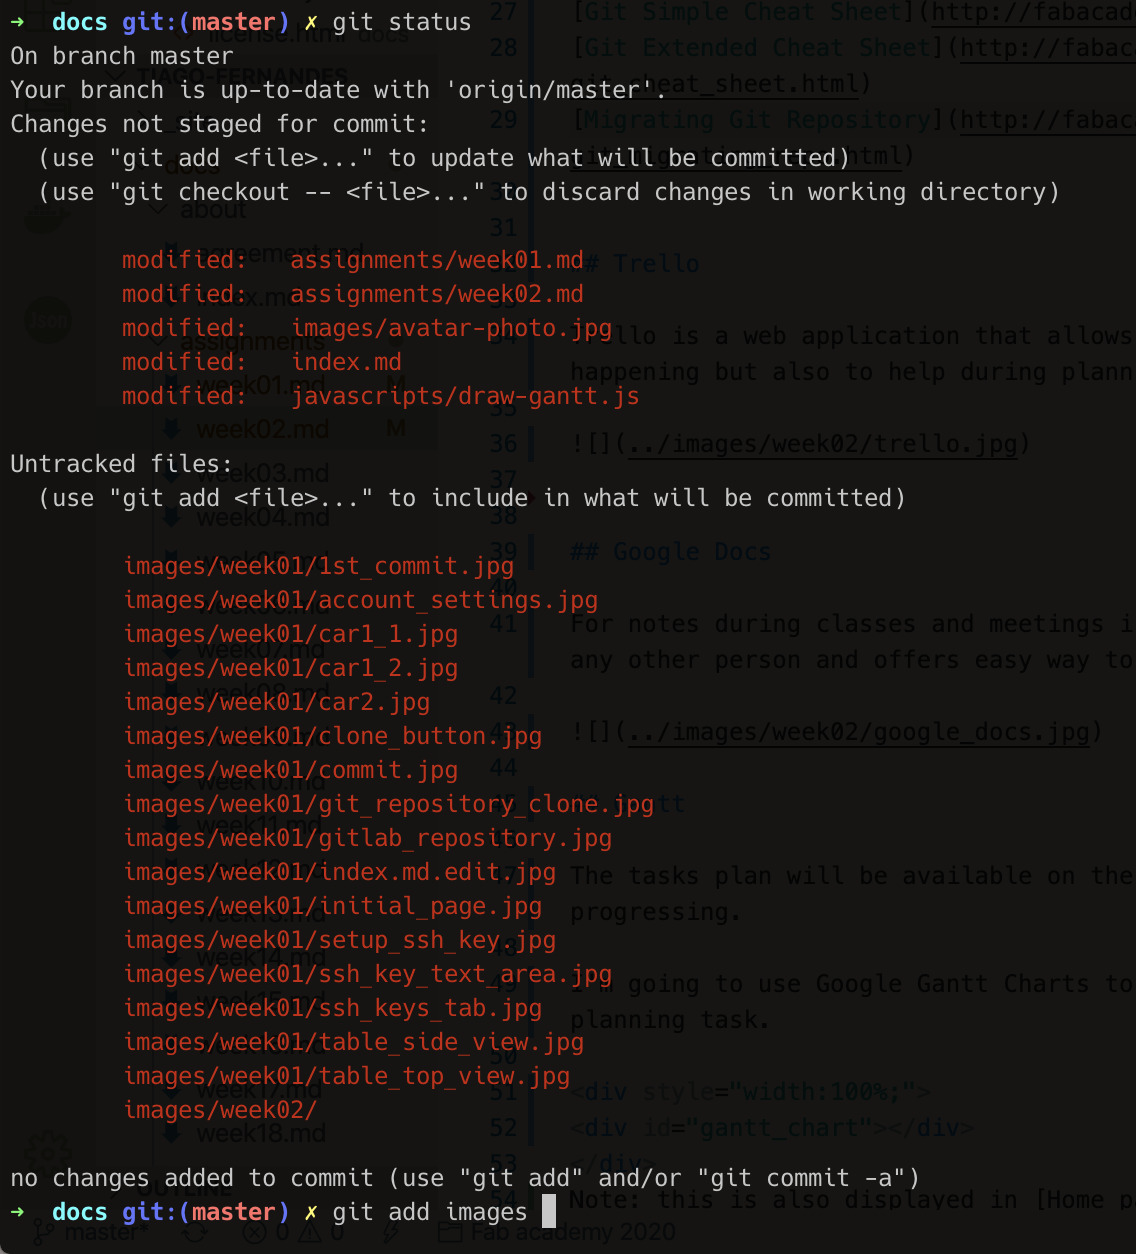
Adding images directory
git add images
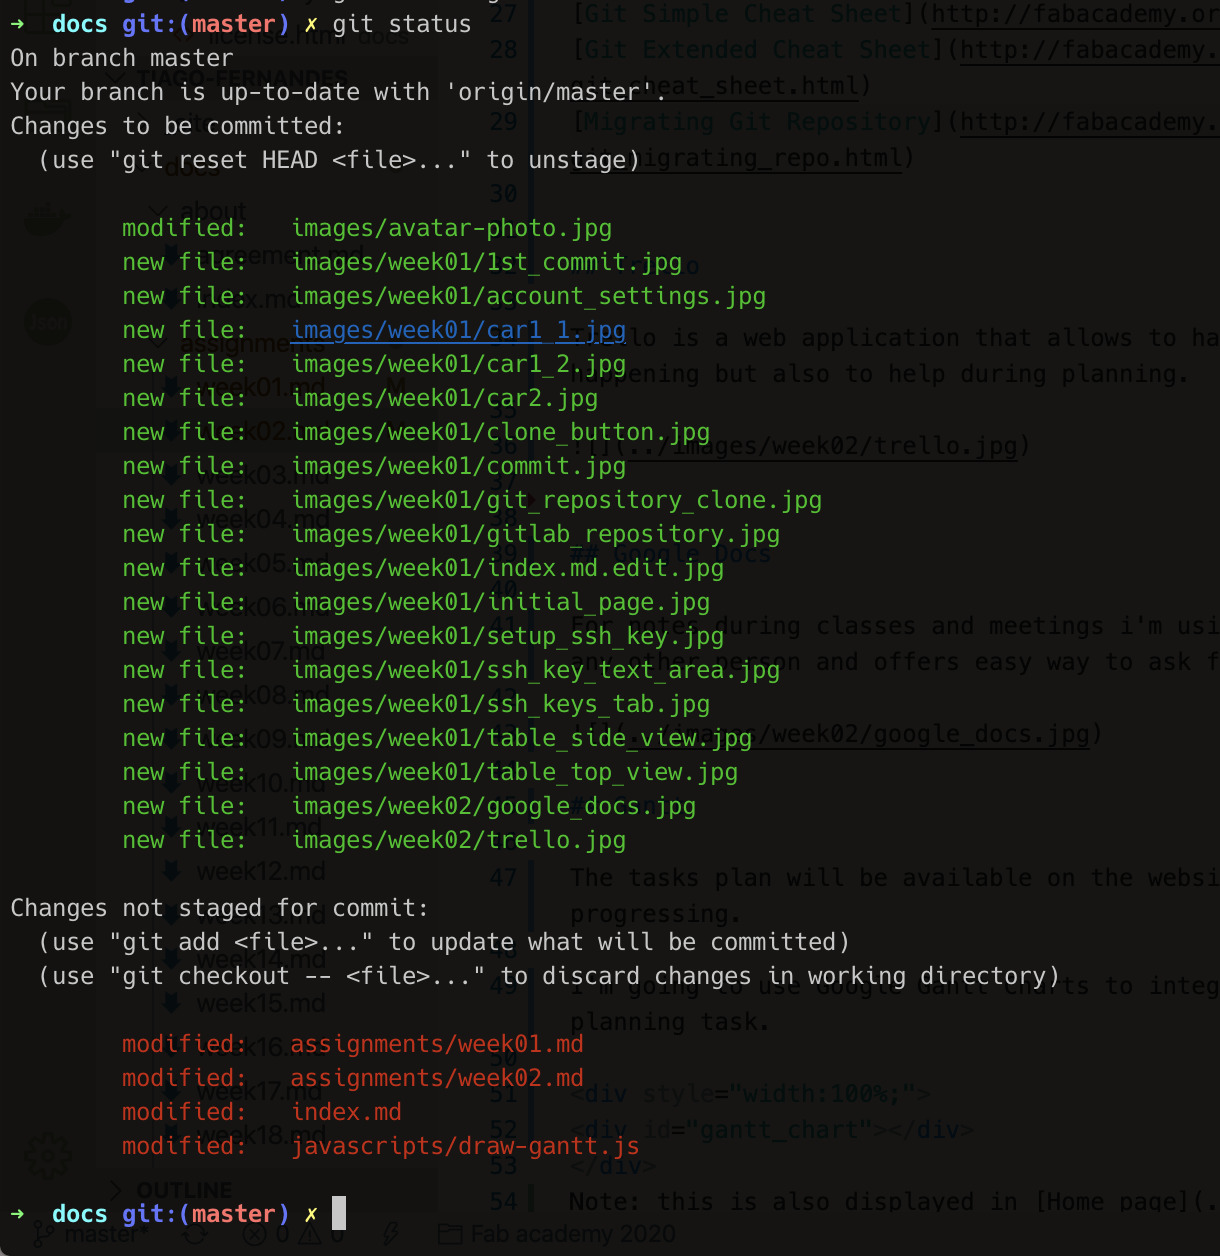
And if we only want to add the changed files, we can execute
git add -u
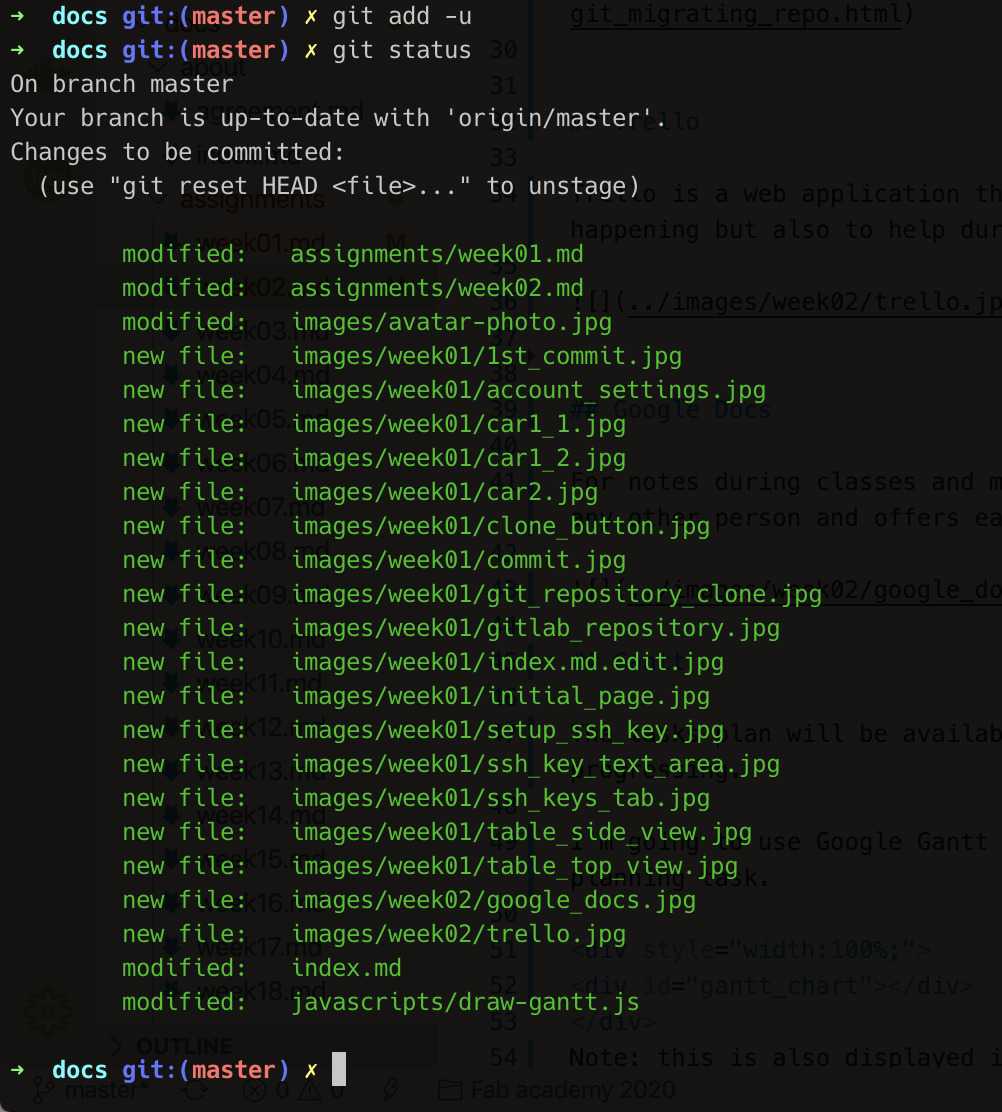
So at this point my local changes are staged and ready to be commited into local repository. This is done executing
git commit -m "Principles and practices page documentation improvement. Added week topics to with tick boxes to help to track objectives. Project management page is work in progress."
Then to share the changes with Gitlab repository (the remote repository)
git push
Now my local changes live also on Gitlab.
One very usefull command is:
git diff
It allows to see the changes made on files.
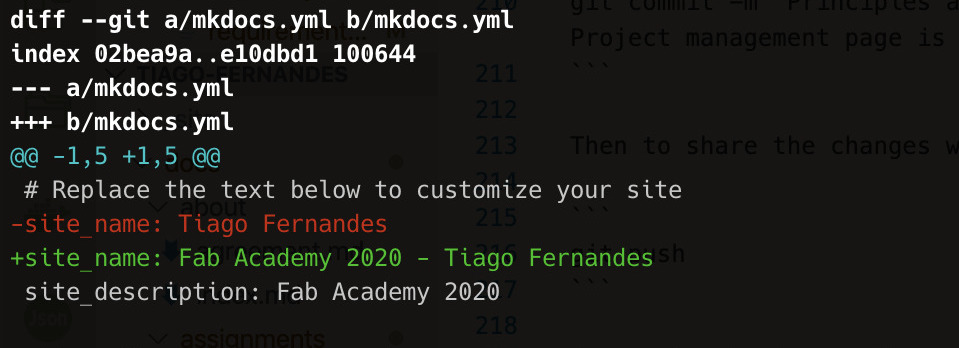
Just make a change to a file and execute the command to check :)
This resumes the use of git to manage class archive and page creation, because at every commit pushed into Gitlab, a background task runs mkdocs to update the website.
Git mantra
- cd ~tj/work/fabacademy/dev/tiago-fernandes
- git pull
- git add .
- git commit -m “short description of changes”
- git push
Using git branches
Git branches are basically a snapshot of your changes. This could be used for example to have a “week03” branch. So you create a branch with
git branch week03
Checkout that branch to work on that snapshot
git checkout week03
And start working on it. Any changes and respective commits you do while on “week03” branch will be kept on that snapshot. This allows you to checkout to “master” branch if necessary to make any update/fix/commit without interference of changes from “week03”.
Once you have “week03” ready to go into “master” branch and update page, you can run
git checkout master
git merge week03
This will ensure you are in the master branch and merging changes from week03 into it.
Please check git branch tutorial for more information.
Links
- Git origin story
- Git Simple Cheat Sheet
- Git Extended Cheat Sheet
- Migrating Git Repository
- What is version control
- Why git
- The .gitignore file
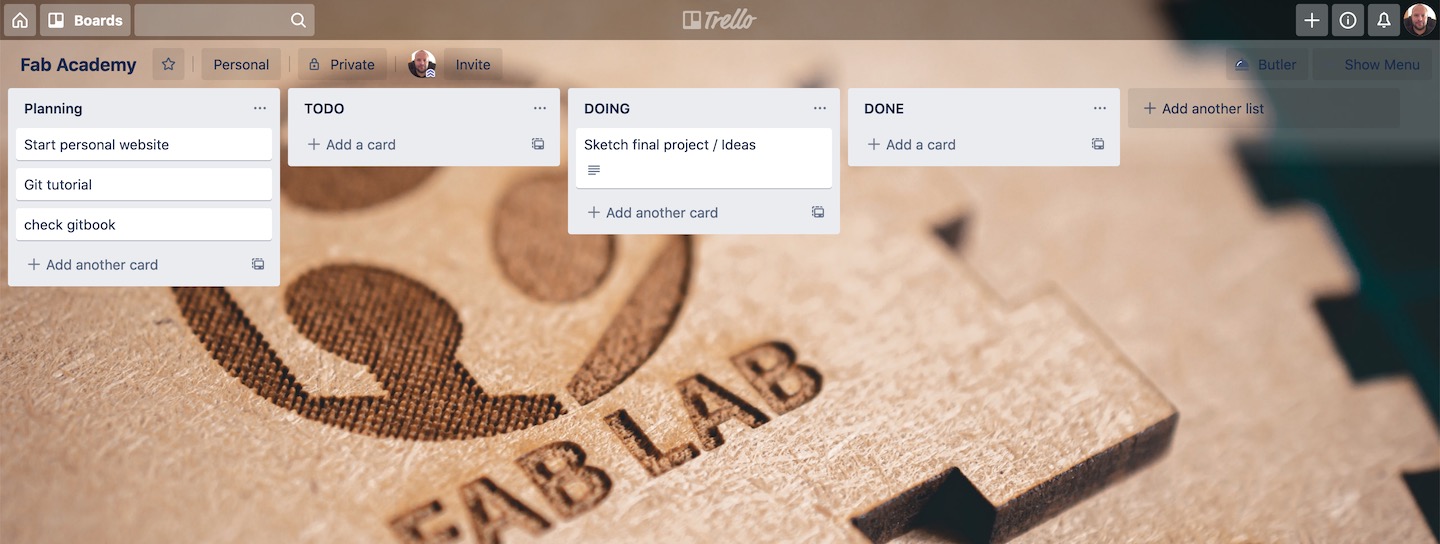
Trello
Trello is a web application that allows to have boards of tasks that are arranged in lists. This help to organize tasks while they are happening but also to help during planning.
Links
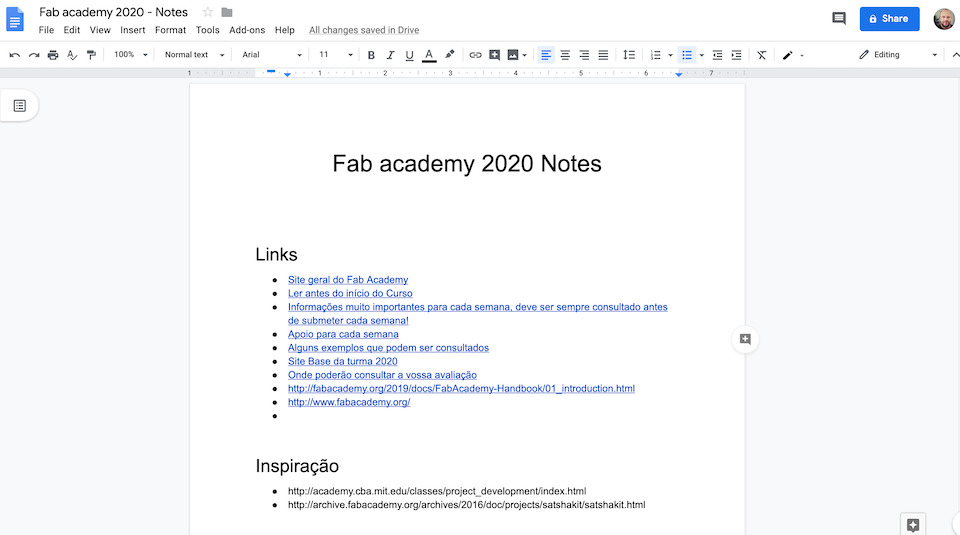
Google Docs
For notes during classes and meetings i’m using Google Docs. It’s a free and practical web word processor application, that allows to share documents with any other person and offers easy way to ask for feedback/comments.