Module 12 – Composites

Class
...
M.
In Class Tutorials
...
Luciano went over the details of machining foam on the shopbot to make our 3d mold and then working with burlap and a natural resin, and forming the whole thing with vaccuum bags.

The Assignment
design and make a 3D mold (~ft2), and produce a fiber composite part in it- design an object (about 1ft x 1ft)
- Mill the design on a foam board
- Use the mold to produce a fiber composite.
The Idea
My original idea was to try and make the mold in the shape of the hull of boat. And I fiddled around trying to figure out what size of a boat i could make within 1ft x 1ft bloc of foam... Not very big, but a nice toy.
Then Lucianotalked a little about skateboards, and inspired half of the class that physically meets in BCN FabLab. I followed the crowd (the temptation was too strong to learn from mister FabSkate himself), and started on a new design.
The Process
Making a composite is a long process that requires quite a few steps:
- Design the object you want to make.
- Design the mold for that object.
- Machine the mold on the CNC router
- Laser-cut the elements that make up your composite
- Assemble the composite elements on the mold with all protective layers
- Apply Resin mixture
- Clamp or press with a vaccuum bag
- Sand and finish.
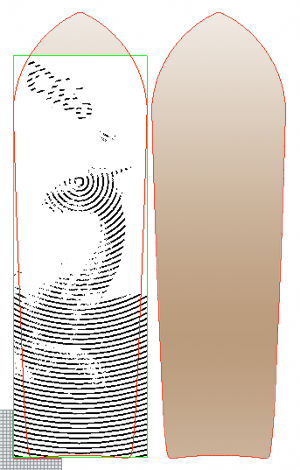
Design the object in Rhino
Making the design in Rhino is in itself a pretty chalenging feat. You should:
- Draw a 2D shape of your board
- Give relief to the 2D shape.
- Extrude to give it the volume or thickness you'd like.
- Once your pretty happy with your final shape, "unfold" it to have the cutting path for cutting your piece
- In the case of using several slabs you may have to account for the fact that the unfolded slabs will not all have the same shape.
- Export a STL of your relief to mill the mold
- Export a DXF of your cutting path to laser cut the slabs.
Machining the mold on the ShopBot
The machining is a different process from what we've done in the [make something big] assignment, because were now making a 3D shape.
The foam is rigid but bland, and machines very easily.
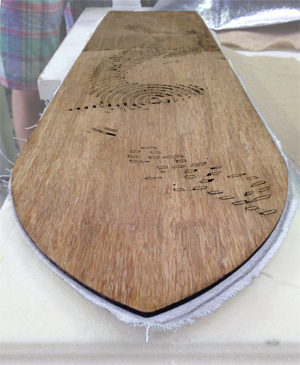
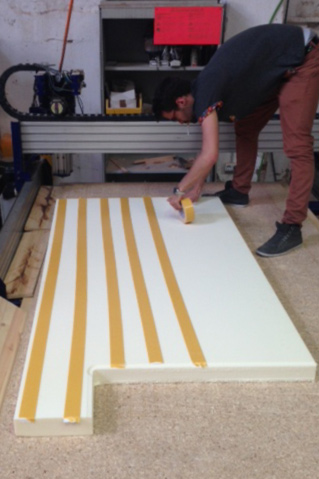
Laser-cutting and carving the slabs
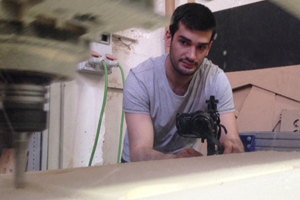
Forming and molding the composite
...
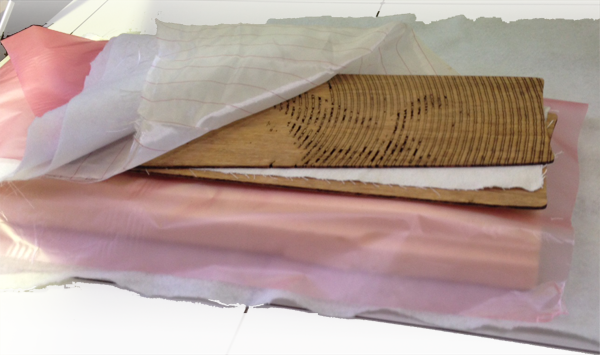
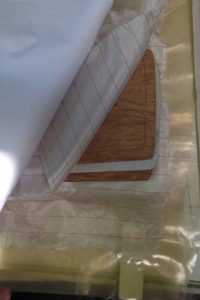
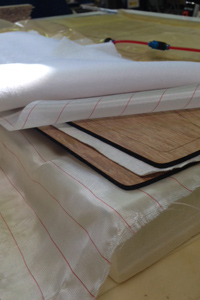
Following is the series of layers when vaccuum forming your composite (from bottom to top):
- Absorbing felt - will facilitate the circulation of air all around the mold/composite pile for a more even vaccuum.
- The Mold
- Non-perspirant plastic sheet - to protect mold and apparatus from resin overflow.
- Upper slab (as much as you can, you want the concave part of your final objectto be facing down: Your mold should be convex) → Paste resin on the face of the slab that will bond with inlay fabric
- Inlay fabric - soaked in resin and strained
- Lower slab → Paste resin on the face of the slab that will bond with inlay fabric
- Peelply - this fabric will peel off the hardened object and facilitates unmolding
- Absorbing felt - absorbs excess resin that is sqwooshed out.
- Absorbing felt - will facilitate the circulation of air all around the mold/composite pile for a more even vaccuum.
- Non-perspirant plastic sheet - to protect apparatus from resin overflow.


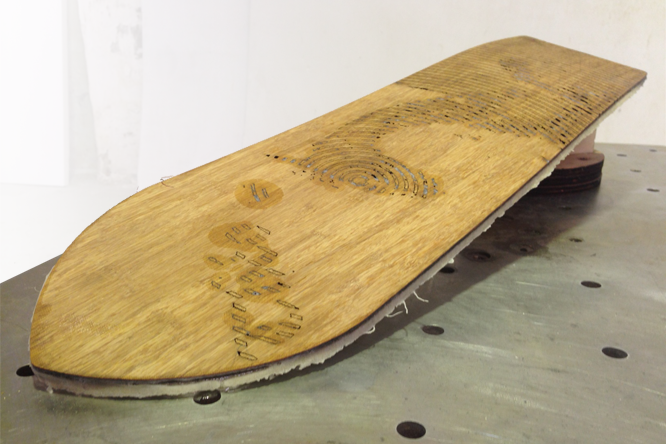
That's all Folks.