Module 10 – Molding and Casting
Class
3D printing is extremely valuable for quick prototyping but has it's own limitations when it comes to producing a series of objects...
Molding and Casting gives possibilities to make objects in series with a great finish in a variety of different materials.
In Class Tutorials

The Assignment
- design a 3D mold,
- machine it,
- cast parts from it
The idea
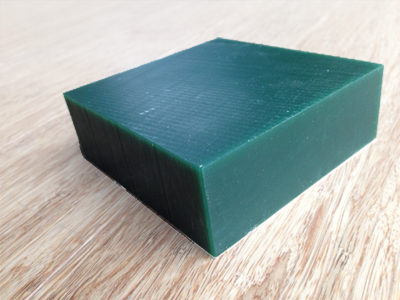
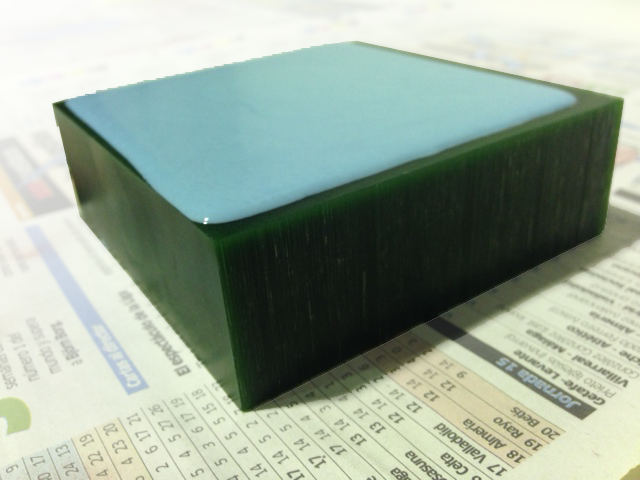
For the assignment we were given a bloc of machinable wax that to work with. It size (90mm x 90mm x 30mm) gave us the limit of the object we could create.
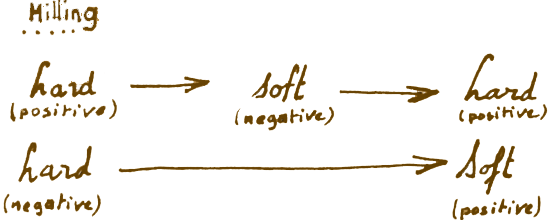
If we chose for our final object to be soft, we could make at most a 80mm x 80mm x 25mm. But if we chose to go for a hard object, given we need to make a counter-mold our max size would be reduced to 70mm x 70mm x 20mm, once you subtract the minimum mold size for each phase: something that fits in the palm of the hand.
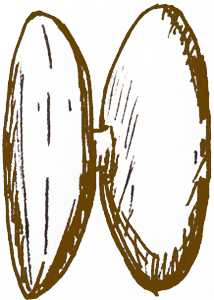
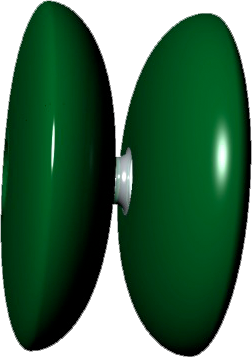
The first thing I could think of that would be about that size was a yoyo. It's actually a bit thicker but its made up of two identical parts, so I could make the two halves out of the same mold: the whole purpose of molding...
Designing the master mold in Rhino
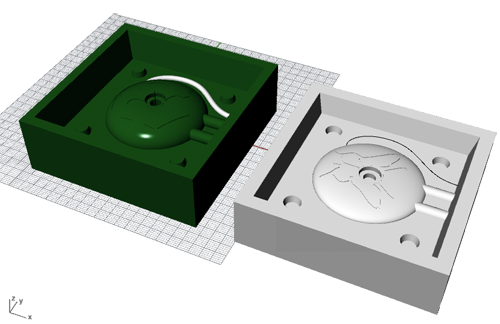
When working on the "big thing" with the ShopBot, I realized that, as interesting and powerful "OpenScad" might be, it might not always be the most appropriate software when designing free forms or complex geometries, so I decided to give Rhino a second chance. Being still at the bottom of the learning curve, I'm ready for lot's of learning ahead.
Downloadables
[ download YoYo Mold A file: "YoYo_Butterfly_side.stl" ]
[ download YoYo Mold B file: "YoYo_Fab_side.stl" ]

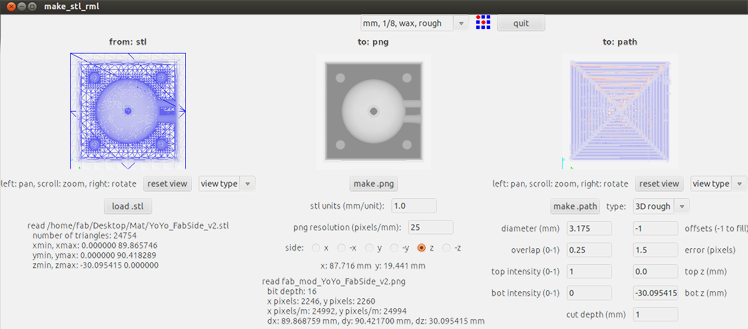
Milling the wax
The file finished

My "blink" code:
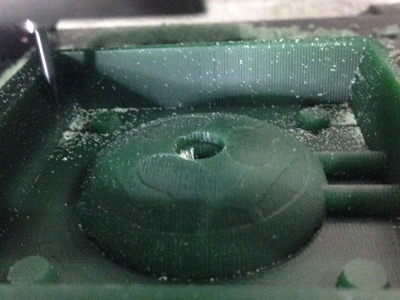

Casting the counter mold
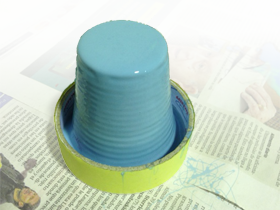
We had two options for our cast: metal or plastic. The metal is

Final casting
Metal casting
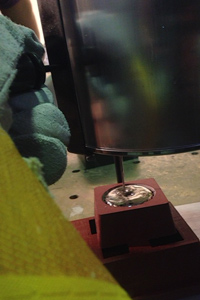
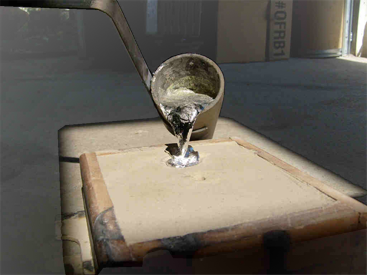
The metal is melted at a temperature of 2xxºC, and poured into the mold using a specialized apparatus.

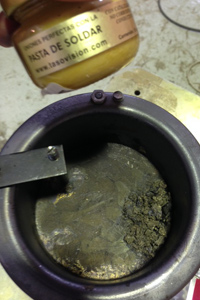
Flux, normaly used in soldering as a reducing agent to prevent oxides from forming on the surface of the molten metal, acts as a sponge that absorbs impurities into the slag which could be scraped off the molten metal. Add a teaspoon for 40ml of molten metal, and the impurities will precipitate to the surface→.

Casting the final object
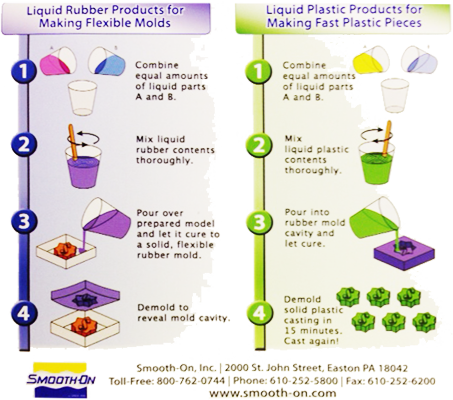
As I had made my mold with OOMOO I could not cast metal with that material, so I used the Liquid Plastic from Smooth-On→.
Liquid Plastic is quite convenient: it sets in only 15 minutes, so you could almost cast 3 iterations of your figure within an hour using the same mold... You can add tint to the plastic to make the color that you want.
Be aware that this product has a fairly short shelf life, so do not buy too much ahead of time. Once opened it's shelf life expectancy drops dramatically so plan your casting to optimise the use of the cans you open.
Mixing & coloring
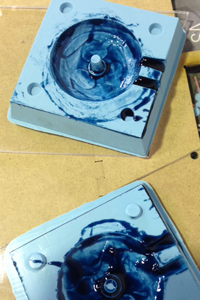
You should pay attention while performing the mixing of the two components: not doing it right will give you poor result or your cating will fail. As you can see on the left, my first attempt went wrong, so I will stress the points which I corrected the second time around:
- Stirring: you should give it a few more twist than when you're baking cookies. The first time I spent 30 seconds until it looked homogeneous; the second time I spent a good 3 minutes going at it with a purpose.
- Color: the recommended dosage is between 0.1% and 3%, it is not too easy to measure such quantity with the eye.
- Once tinted the mixture is dark and it's difficult to notice wether the mix is homogeneous; so keep on stirring (it won't be overstirred)

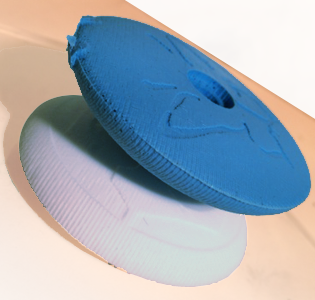
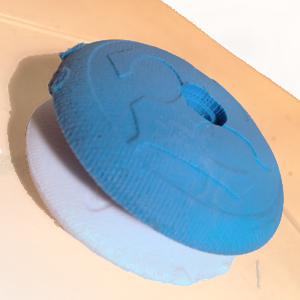

Assembling the Fab YoYo by Matthieu
That's all Folks.