W3.1"New template"Computer Controlled Cutting
This document is under Construction
- in this week "The assignments", I, WE will:
- characterize Our lasercutter's: Our lab is Full Spectrum laser cutter, Hobby Series, and it uses thies software :RetinaEngrave
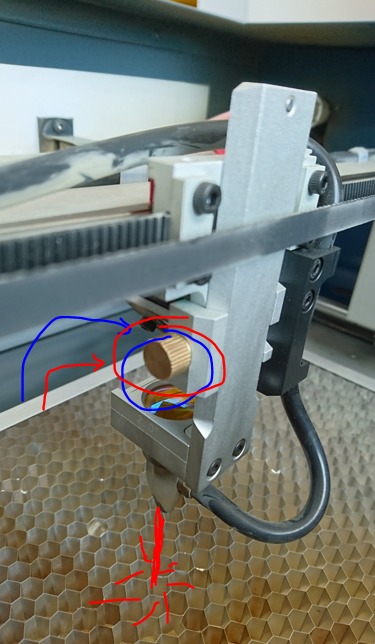
- Focus:
- Power & Speed and other specs: The laser tube can produce 40 W of power that can cut thies materails in the following sittings:
- Design, lasercut, and document a parametric press-fit construction kit, which can be assembled in multiple ways. Account for the lasercutter kerf:
- Cut something on the vinylcutter:
- See the video for more info about the design that I will cut in the vinyl:
Laser Cutting
-Group assignment:
check the link for the Group assignment :Group assignment
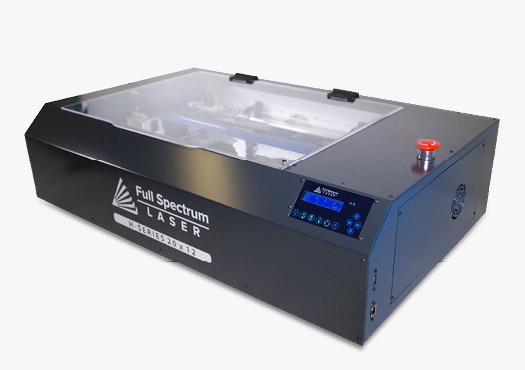
This Cutter has 40W power laser and we usally use it to cut cardboard, wood, acrylic and other things from time to time.
it has a working space of 500mm to 300mm, the foucse of the cutting laser is done manully by moving the last foucse lenss neer or far from the working area.the foucuse of this machin done manually by moving the laser foucsed head far, near that working surface.
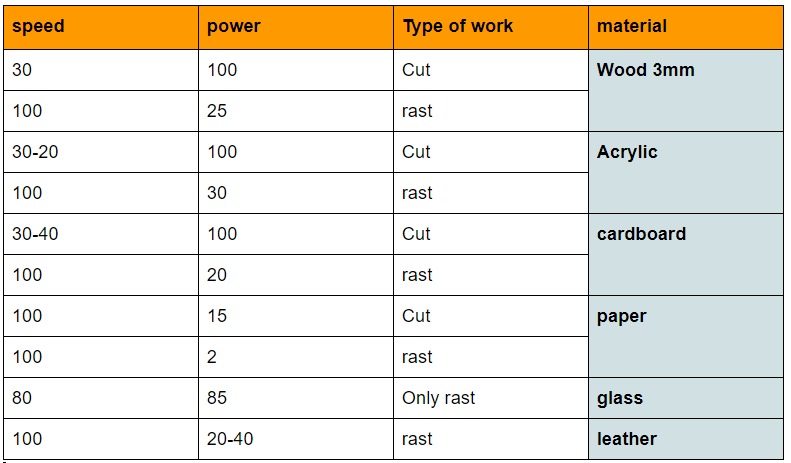
all thies number came with us in the lap after many many hours of use for this laser cutter, ofcource while using this machin it will need alot for mantainces and cleanning espacialy for the lencess...so after using it for a aweek(aproximatly) without cleaning , you may need to increase the power or lower the speed.. beacuase not all the power of leaser is converted to the cutting lense in the end
-Individual assignments:
***For extra credit include elements that aren't flat.
-Individual assignments, lets start with the Vinyl cutter :
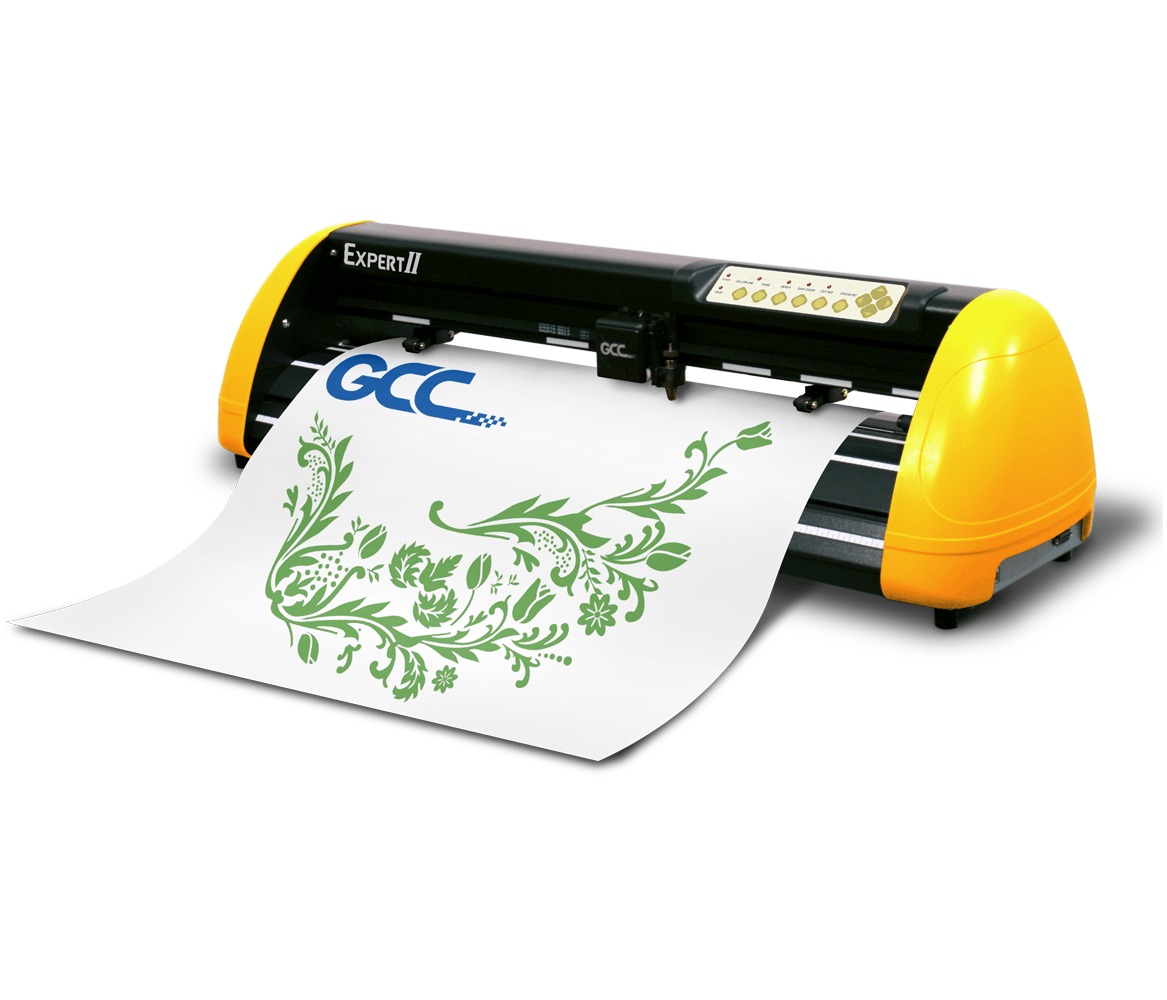
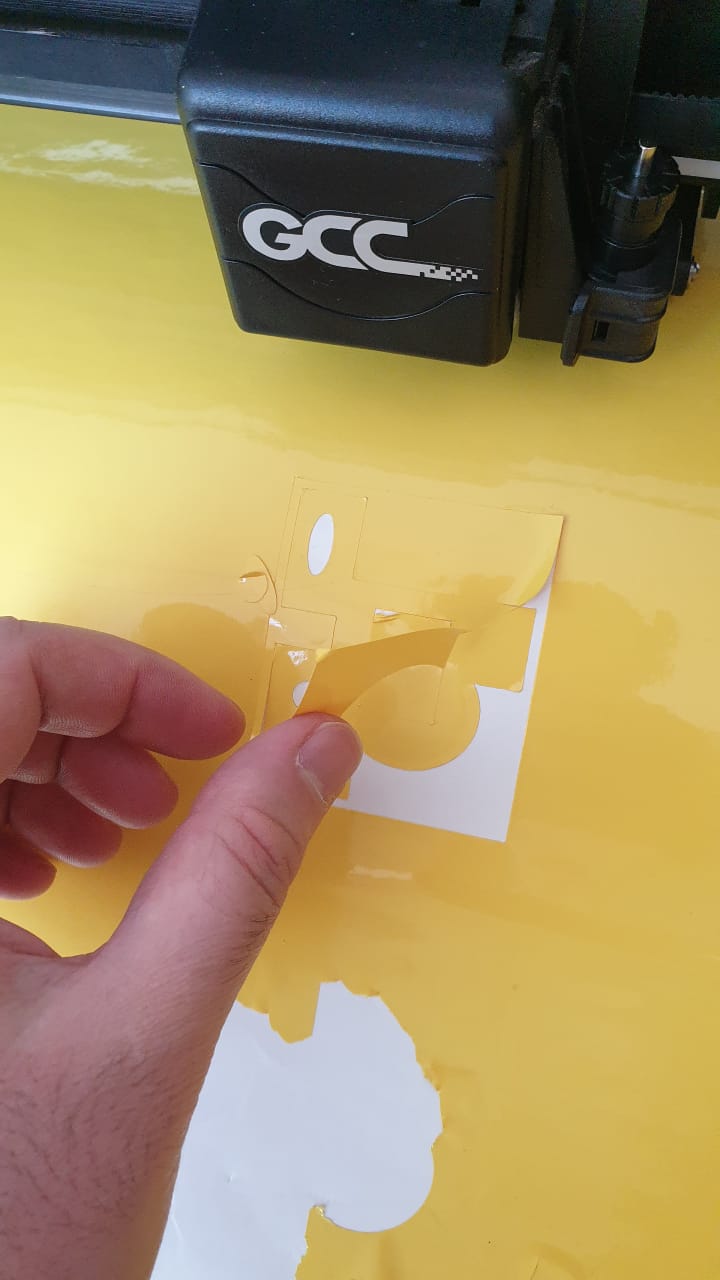
OK, the vinylcutter that we are using is GCC expert II with 24 inch wide, the software for designing is inkscape , and the converting program for the machin is Great Cut, both are grate softwares.
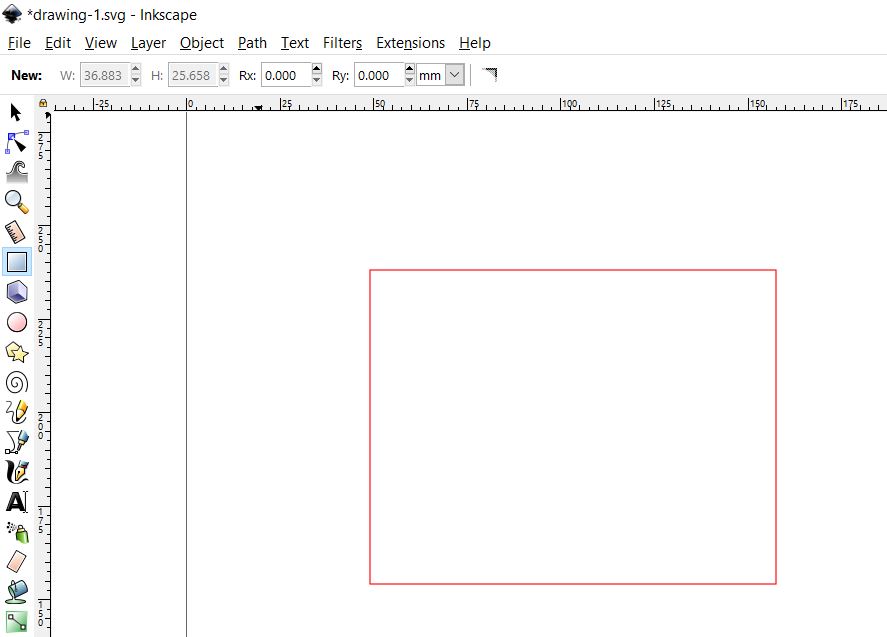
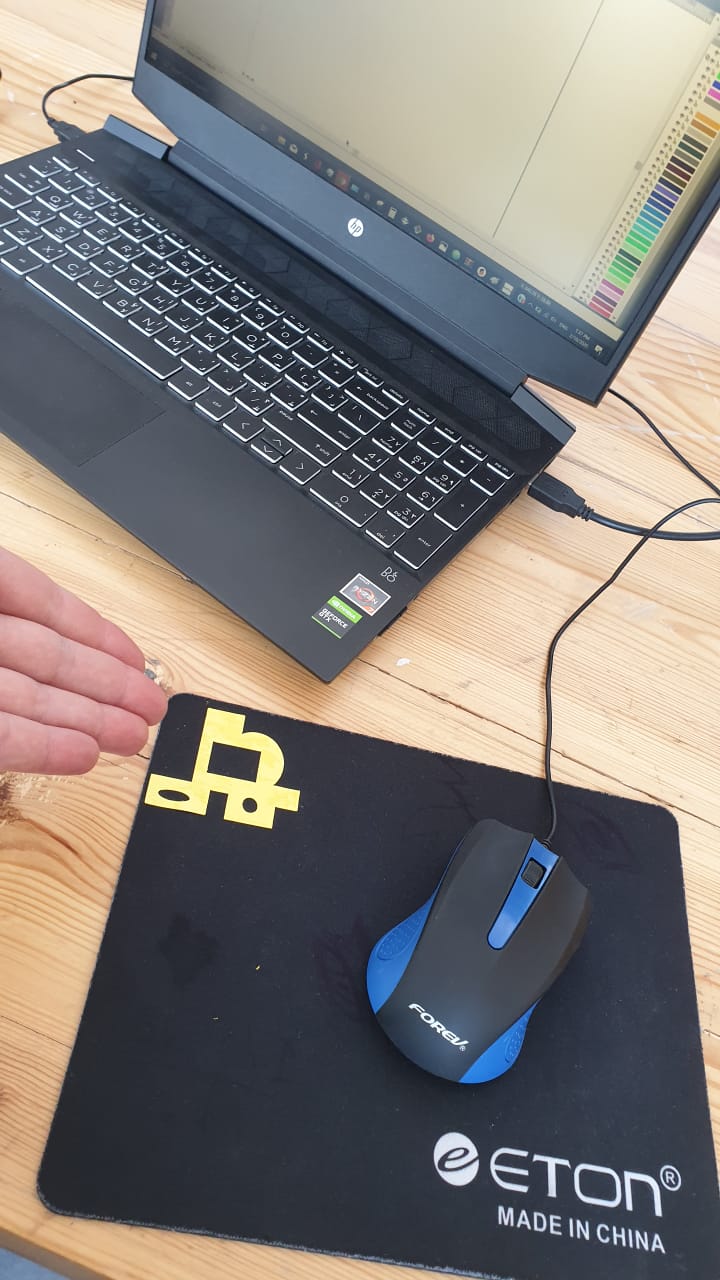
OK, what I did was drawing a simple logo using the tools in the left side of inksacpe program:

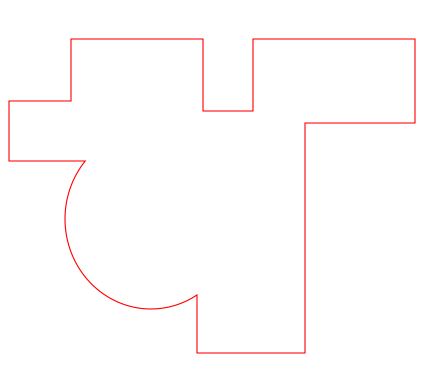
and started with a square
added some more shapes using the same tool

in toolba "path", after selecting 2 shapes that are needed to be cutted, I picked the order "Difference"
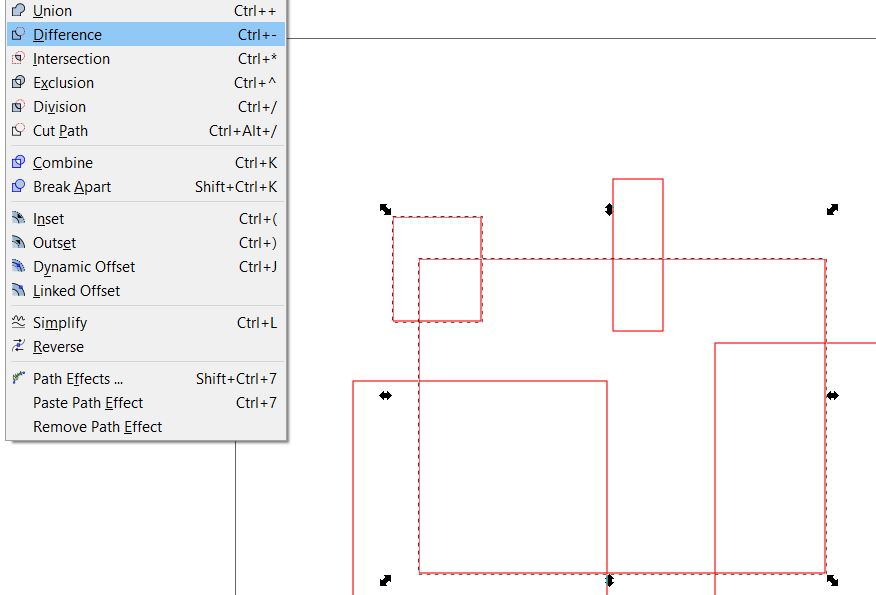
and the outcome was like this:
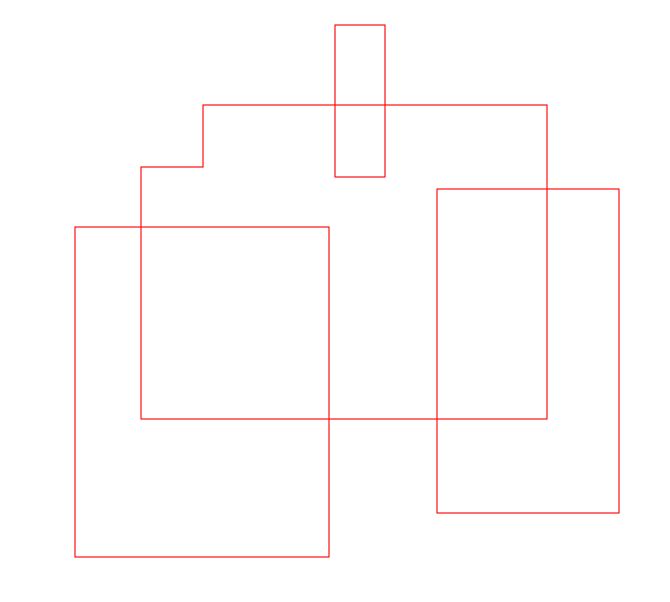
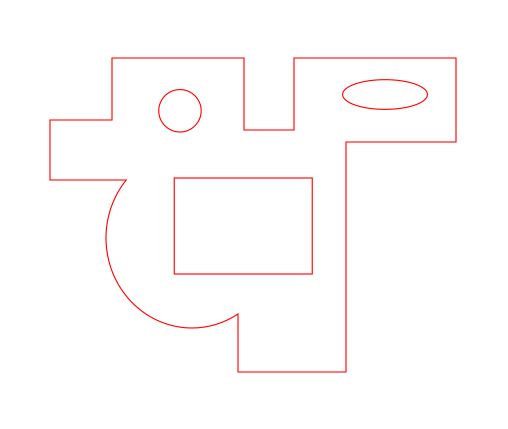
Lets do the same for the other parts:

and now, add a circle:
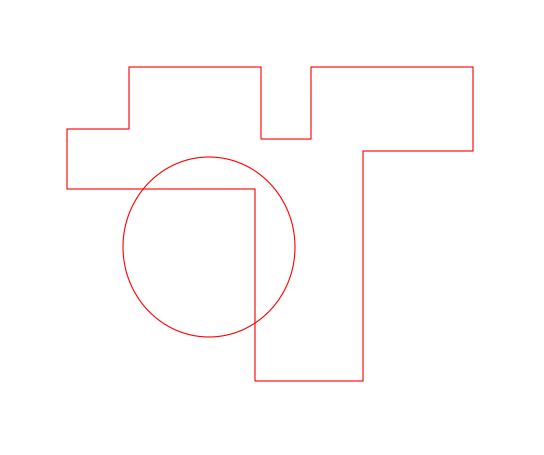
and from the top toolbar, lests go to the same "path", then "Union":

look how the shapes becom one part and united
add some more parts.....
then change the width of the light to the correct way of the vinyl, let "fill = X not active" and "Stroke paint= active --red =255" and finally the stroke style = 0.035mm
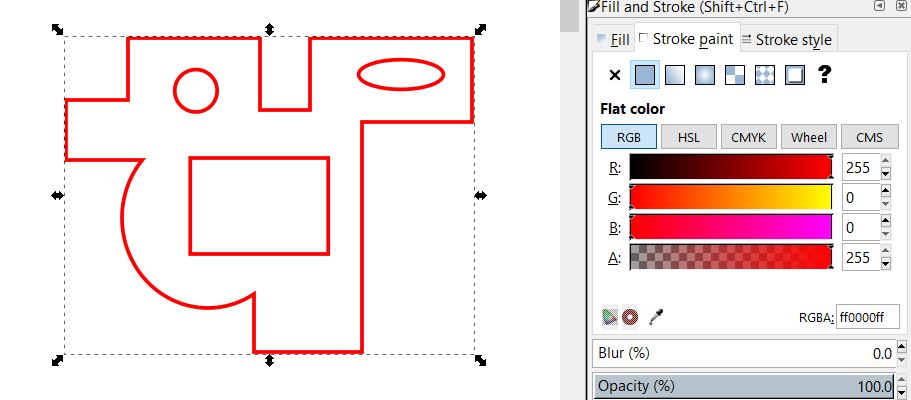
save your work in pdf or svg, it is up to the program that you are using for the cutting, I am using Great cut, so svg it is
Now lets go to Great Cut:
In Great Cut, lets add the design from top toolbar"file, improt" then add the desgin:
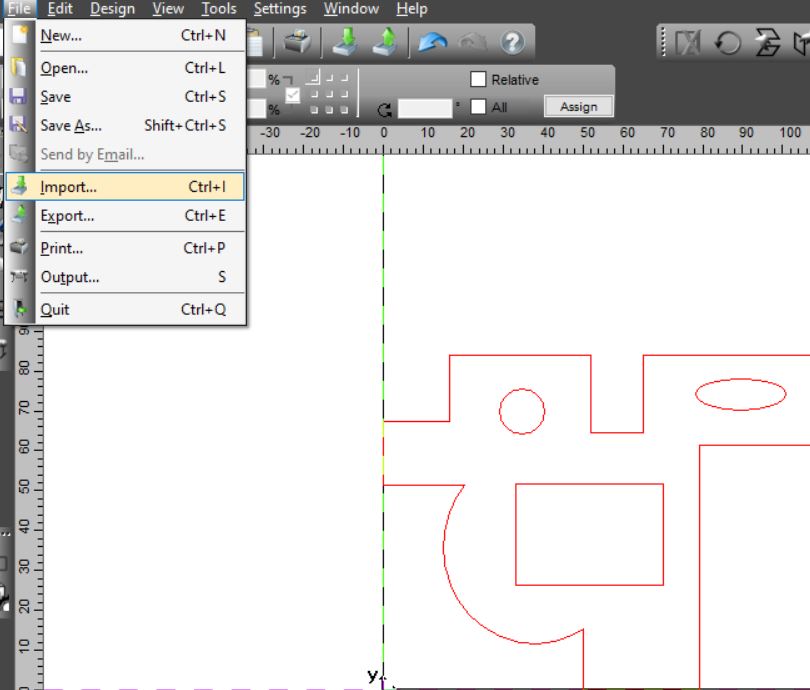
Now, change the size of the design, mine is changed to 50mm to 50mm
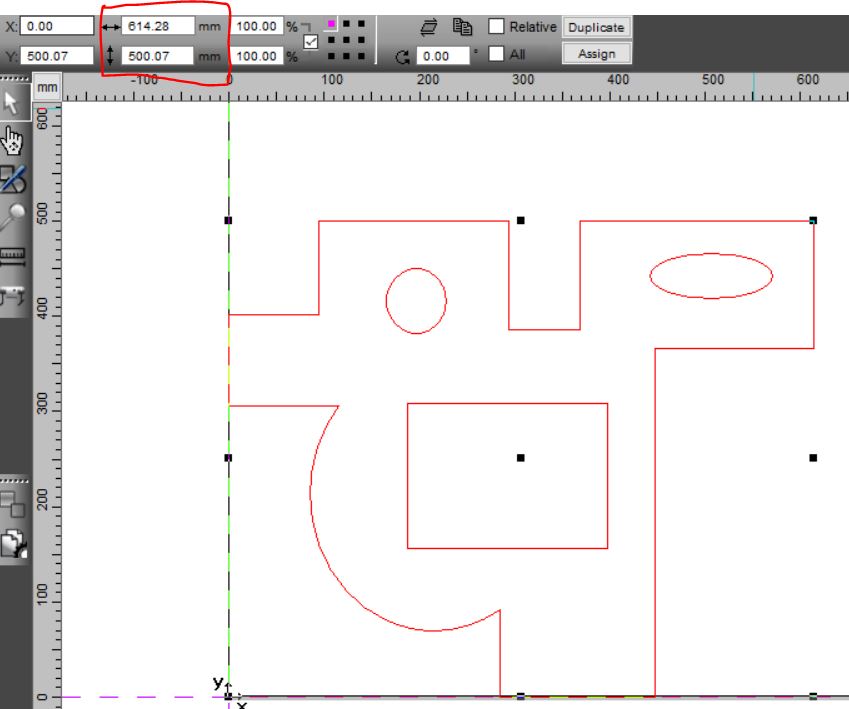
now from the right toolbar "Cut objects S", the cutting order of the design and extra dedails will be shown, you can cahnge more sitting in this screen like the operasion"cut", the power "pressur" and many others
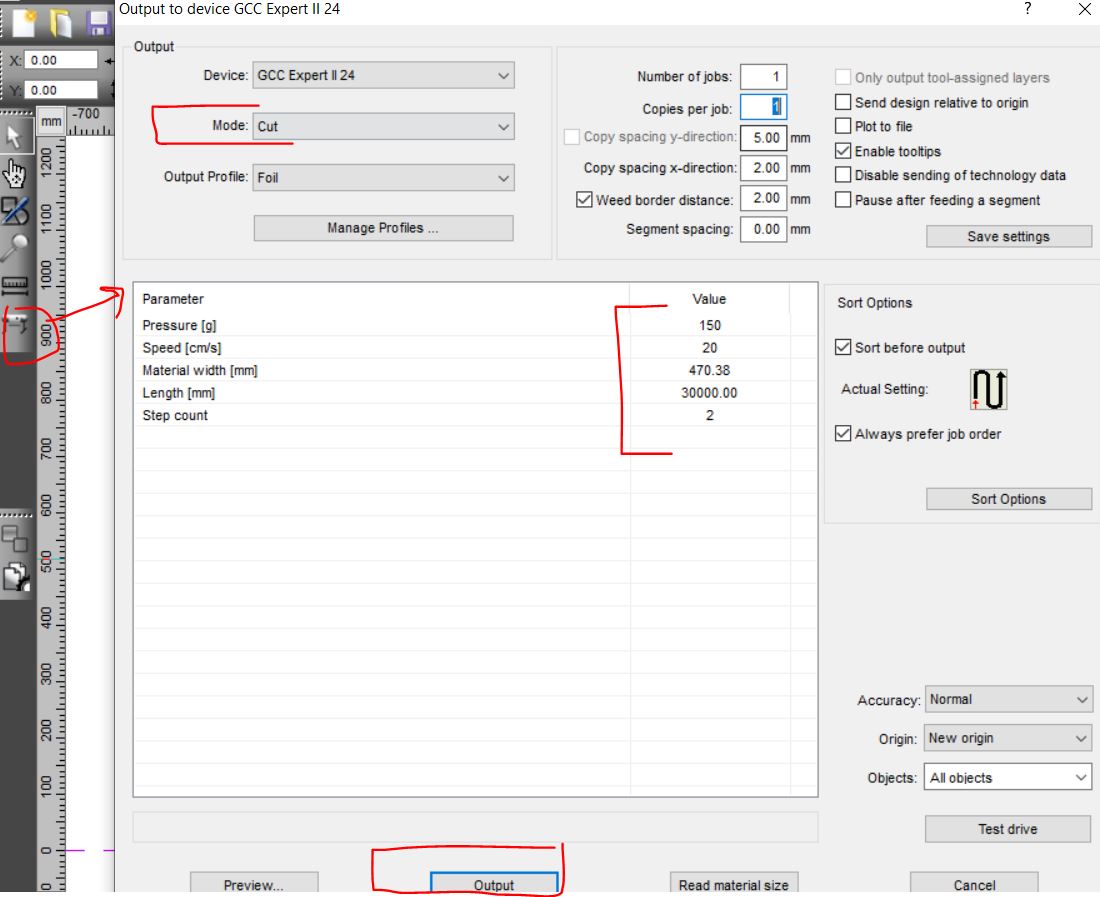
after changeing the sittings, go to "Output" to start cutting:

-Individual assignments, Now... lets go to the LASER CUTTER :
Design, lasercut, and document a parametric press-fit construction kit, which can be assembled in multiple ways. Account for the lasercutter kerf:
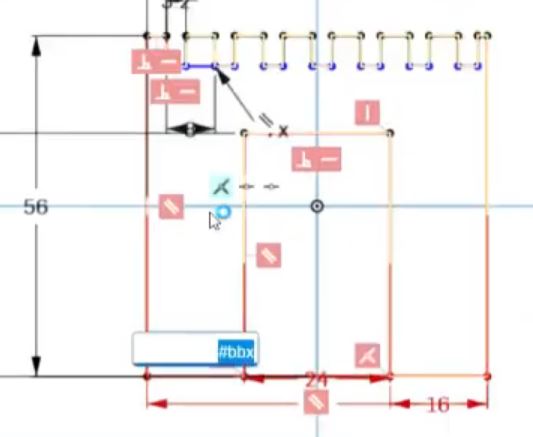
Now, lets desgin somthing in Parametric scales:
the disign will be a simple prototype of the "suggested" final project, it will be a press fit chair:
start with adding a variable naem and its value
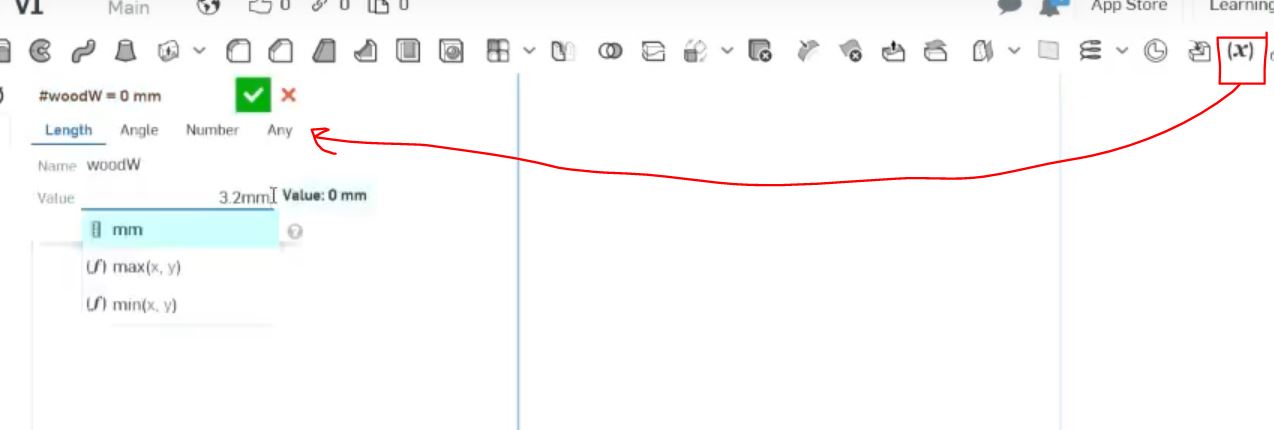
on the left side, you will see all variables you added, I have many to scale my desgin the way I need it to be:
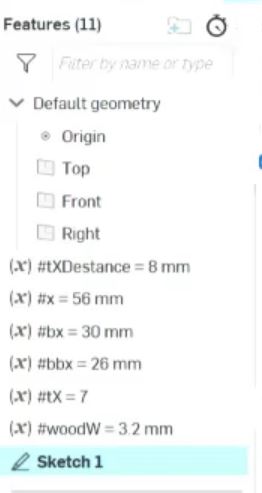
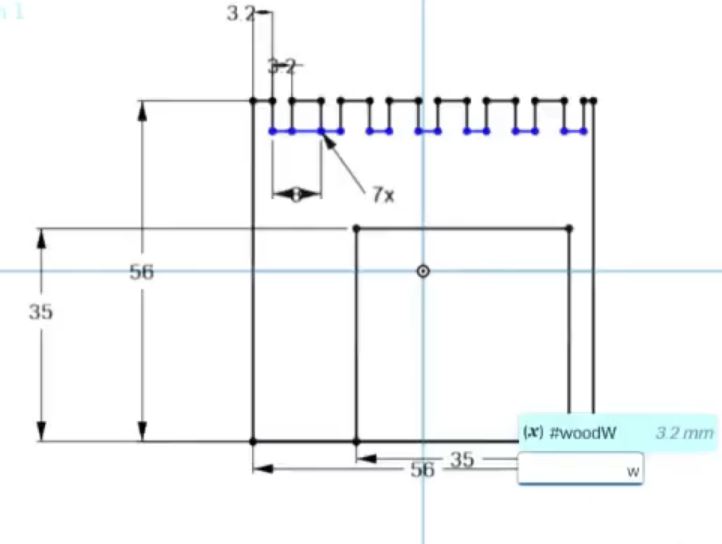
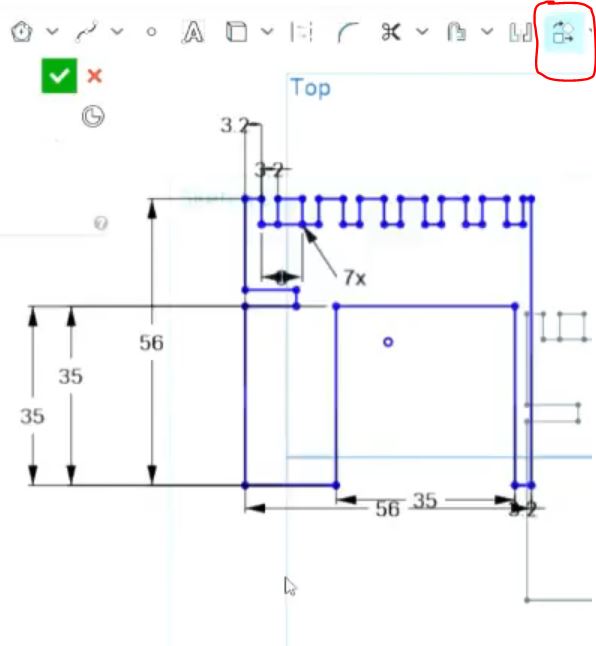
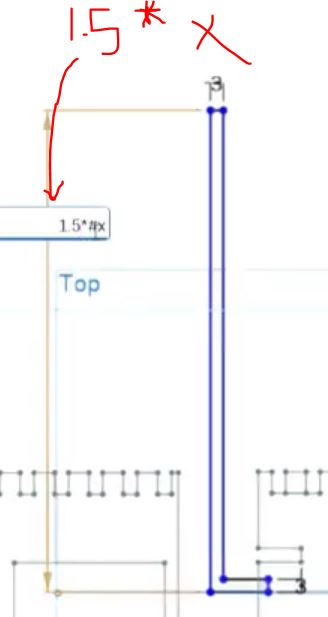
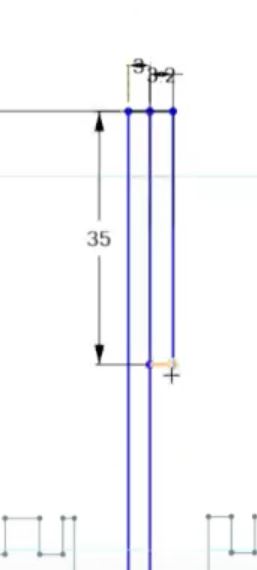
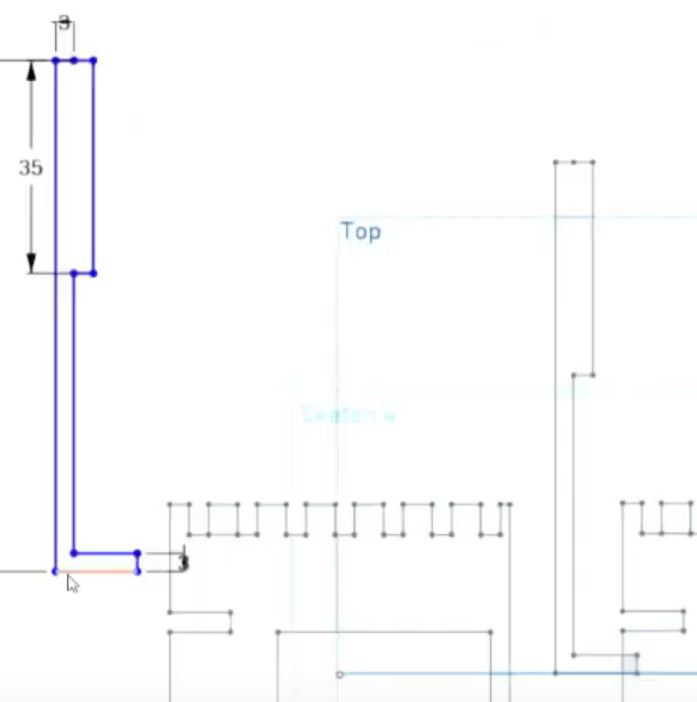
lets draw a square
and change it size with adding varible x to it

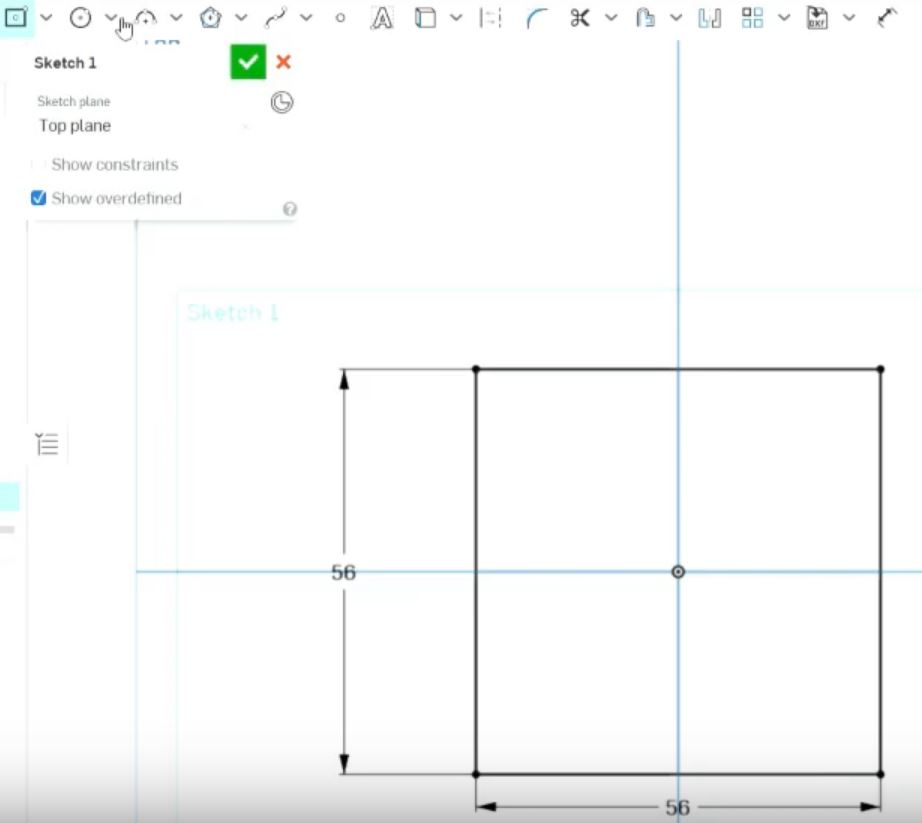
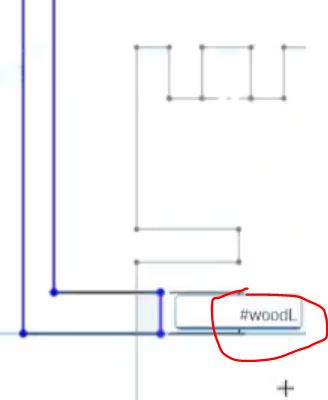
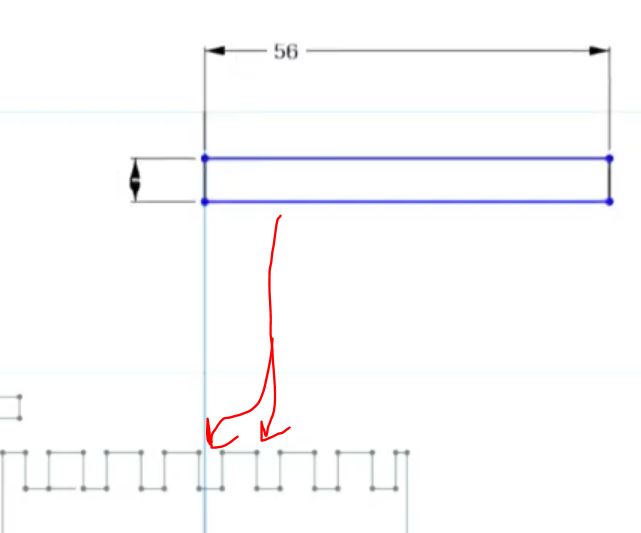
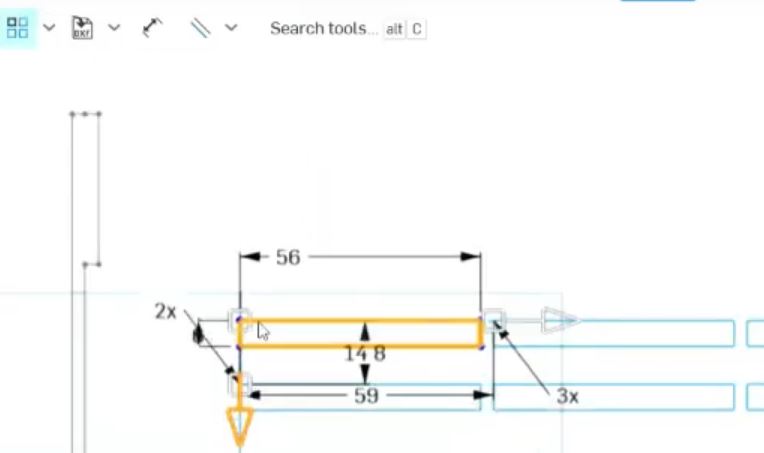
now add the holes that will connect the to side bars on the chair, the size of it will be determenid by varible woodW
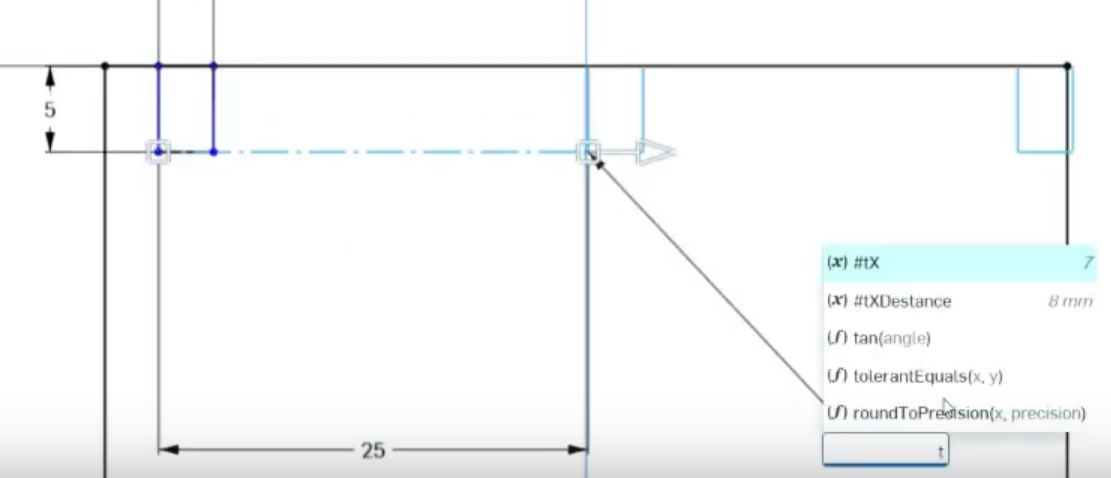
now, make other copies of the holes to all the top side by uisng linear pattern tool:
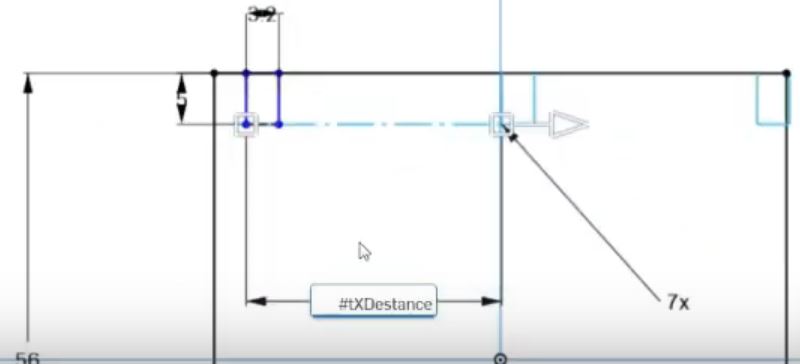
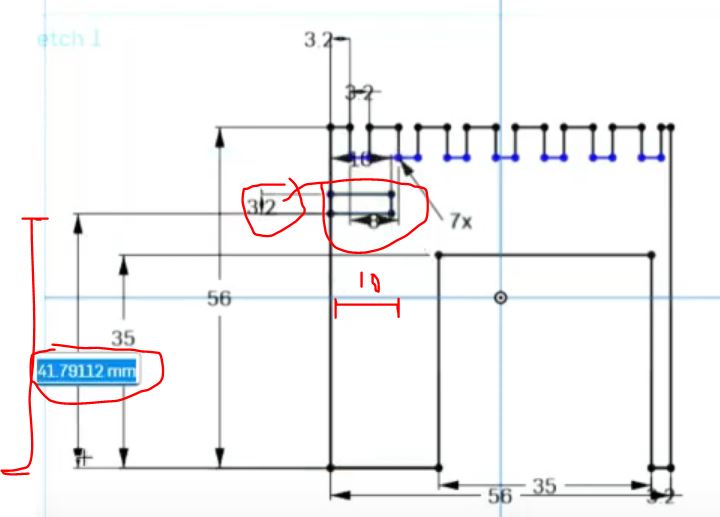
also the destance between each hole
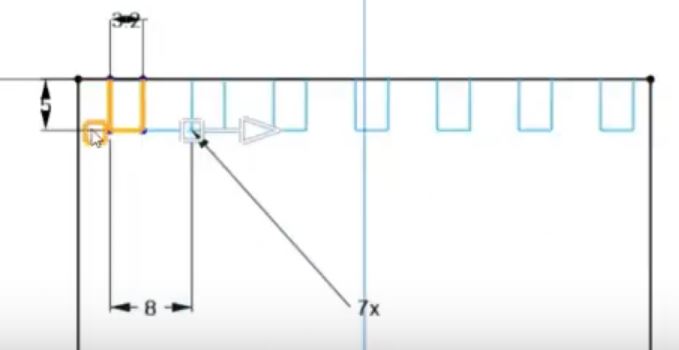
the number of holes will be also determined by tx vairable
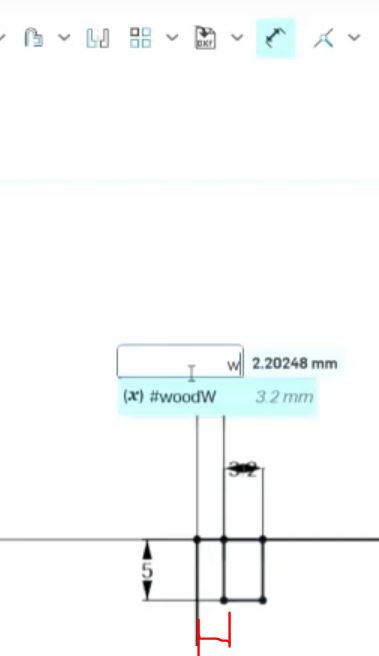
distance between first hole and the corner of the shape is detemined by woodW variable

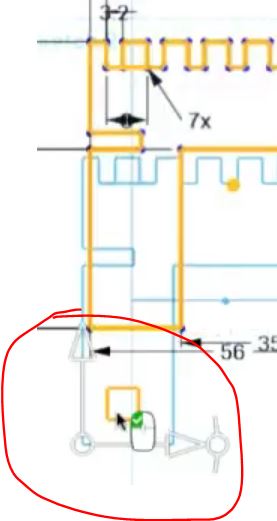
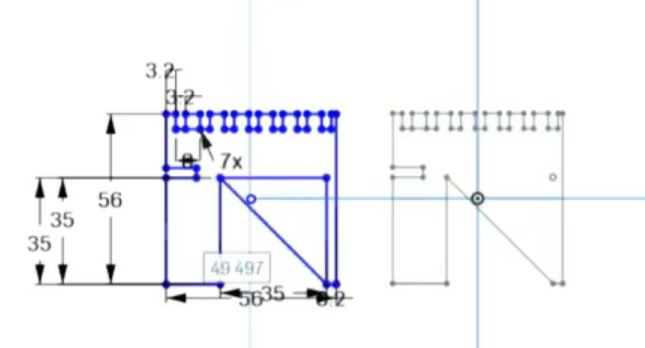
now lets cut the extra lines by uing trim tool
change the widghth of the leg with woodW variable too
lets add a hole to connect the base of the chair to its back,make sure to pich the correct scales adn virables, to not miss anything....
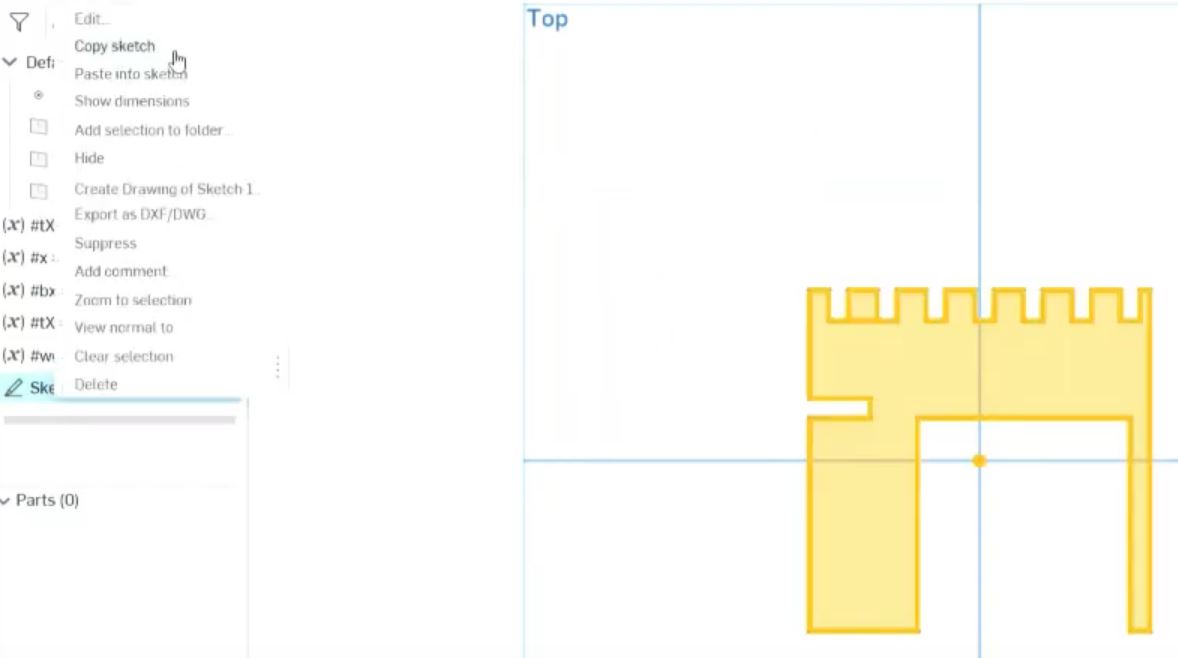
now copy skitch 1

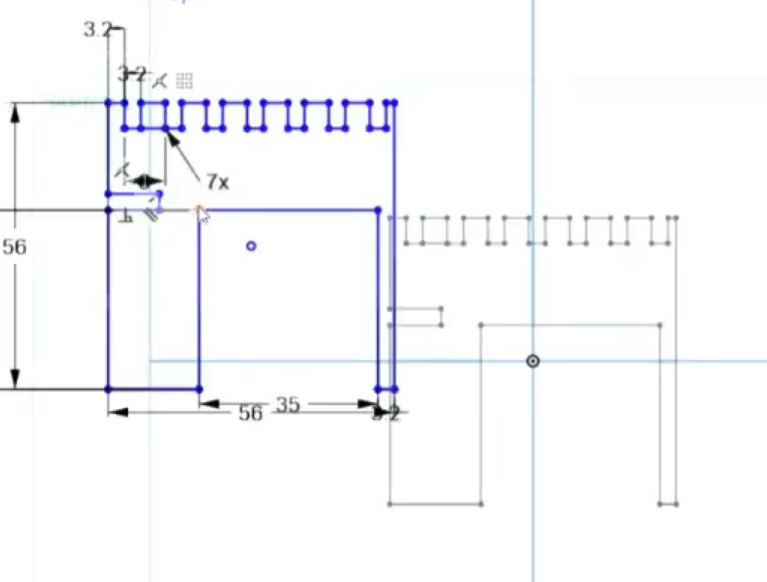
and change the location using transform tool
move the copy to the needed position
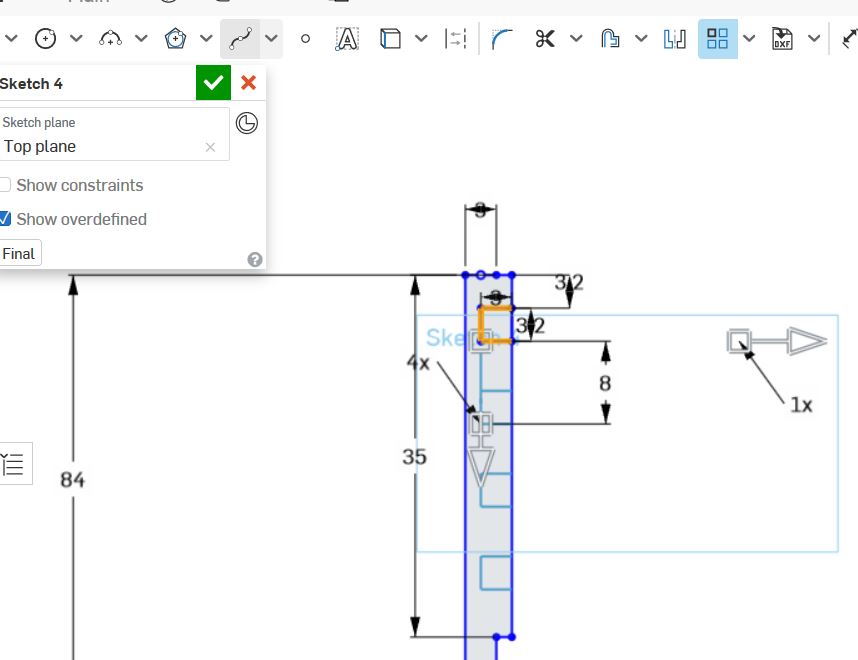
now, make the back part

sacle it using varibles
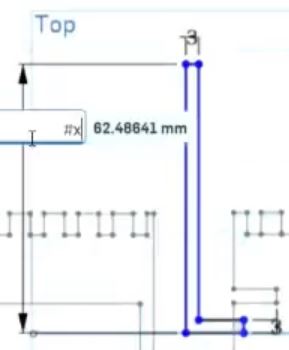
you can make additonal mathiamtic equations to the vairales when needed
make the top side of the bak more thicker
and make a copy of it
add the bars that will be palced in the chair
make the needed number of copies of it
a little tuouch on the design
adn add holes on the back to place the bars on it
fianl designing
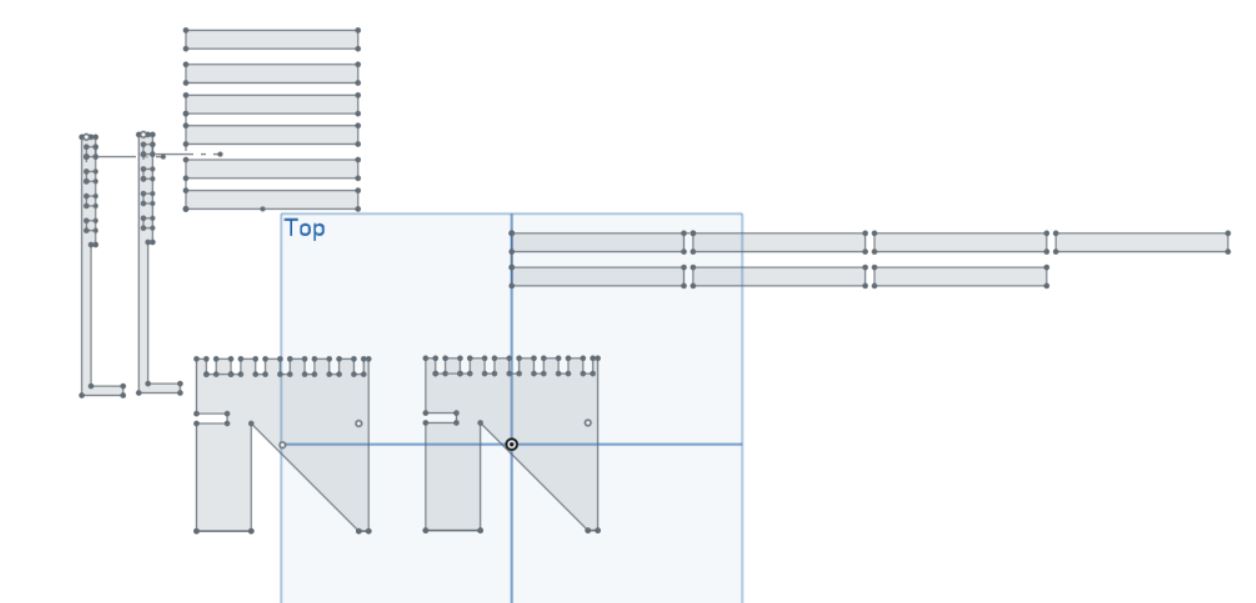
some problems............. make sure that you are suing the viarables correctly, and connect all equations togearther correctly, or you will get a lot of RED colors in your design:
Please see the video to understand the design
Laser CUT
lets cut the first prototypp, using cardboard to test, with the following sittings ((Vector mode, speed=100, power=100)):

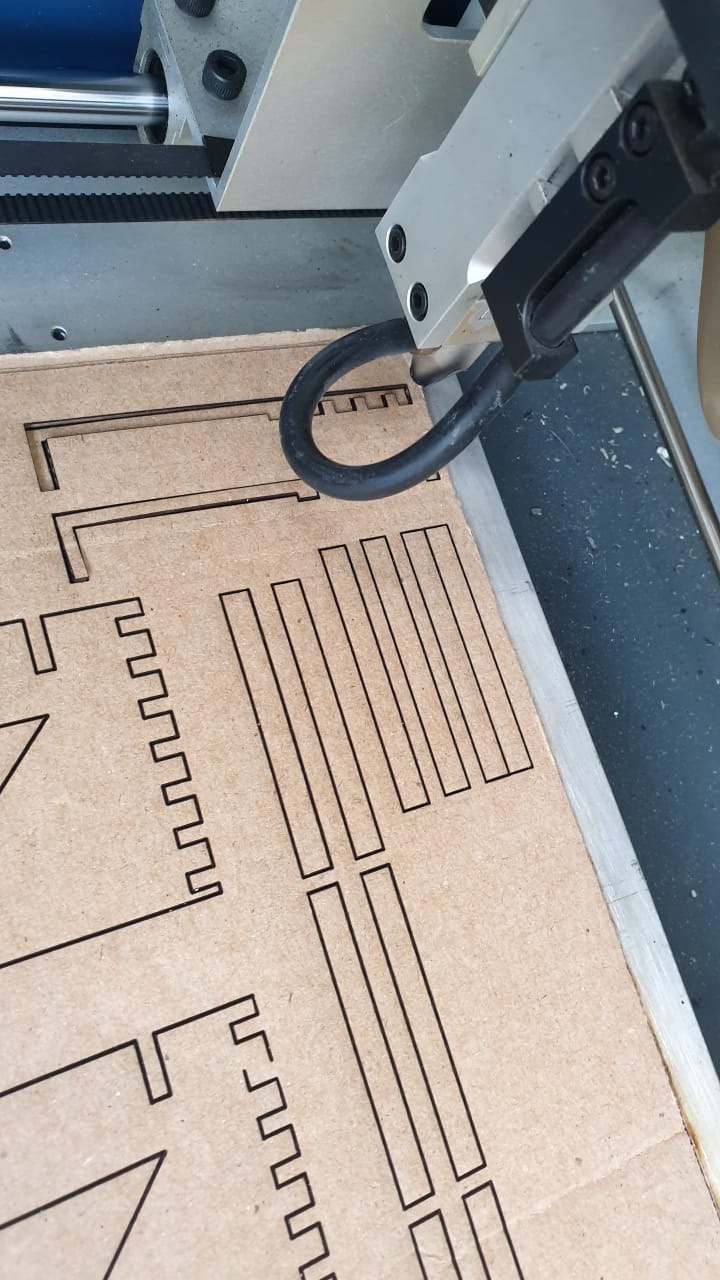
unfurtunatlly, cardbaord is the the best in taking pressure, and the design did not fit together when building....
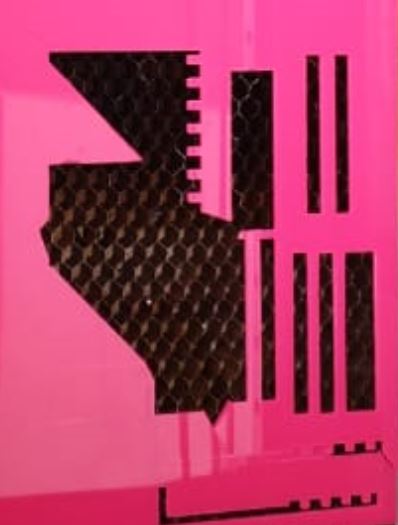
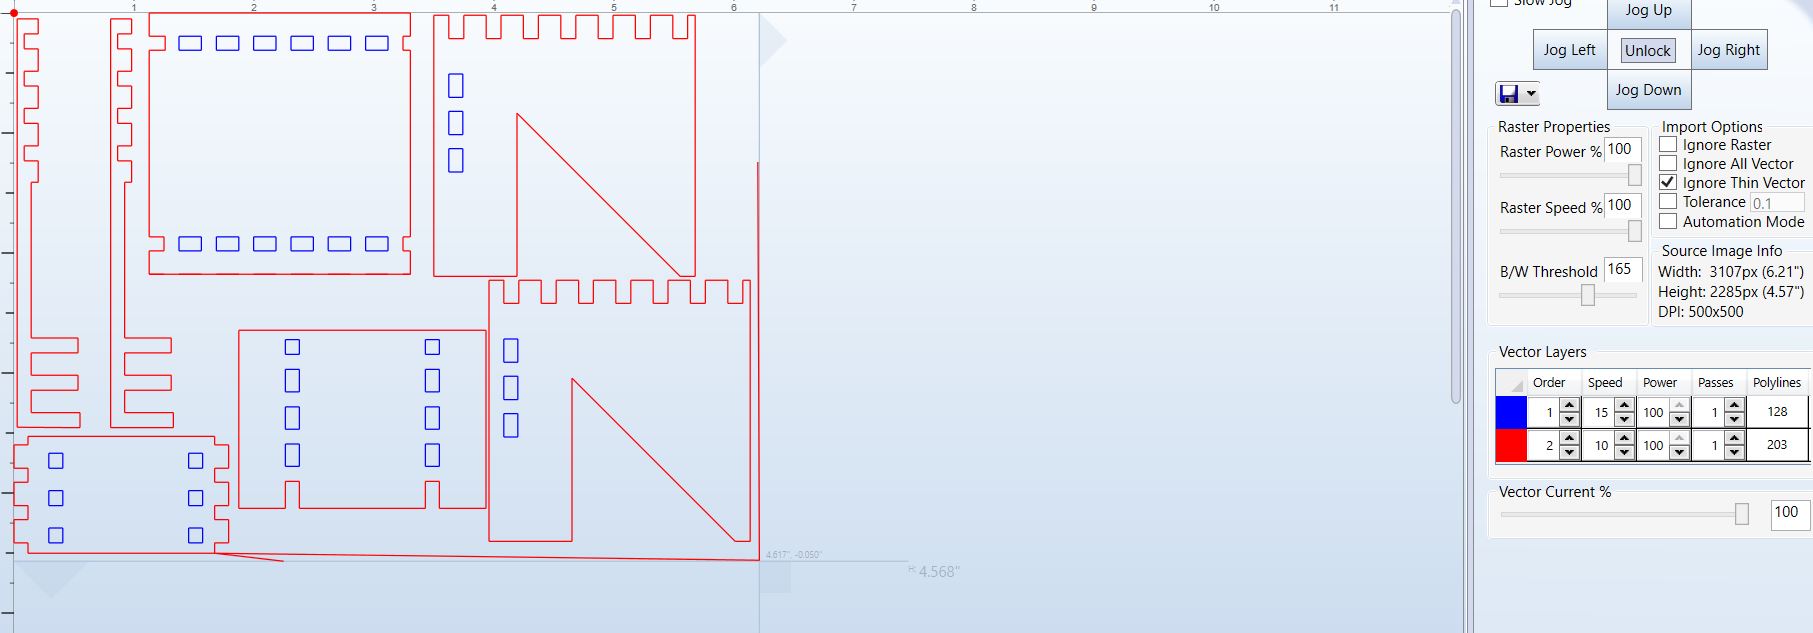
Lets try acrylic this time, but with deffirent sittings: ((also vector mode, speed=10, power=100)):

unfurtunatlly, the design has som missing lines when converting it, so it broke when taking it of....
fixing,,,fixing......but how about chainging hte design to realy make it "fittable" ?
OK, lets check tis new design in this video:
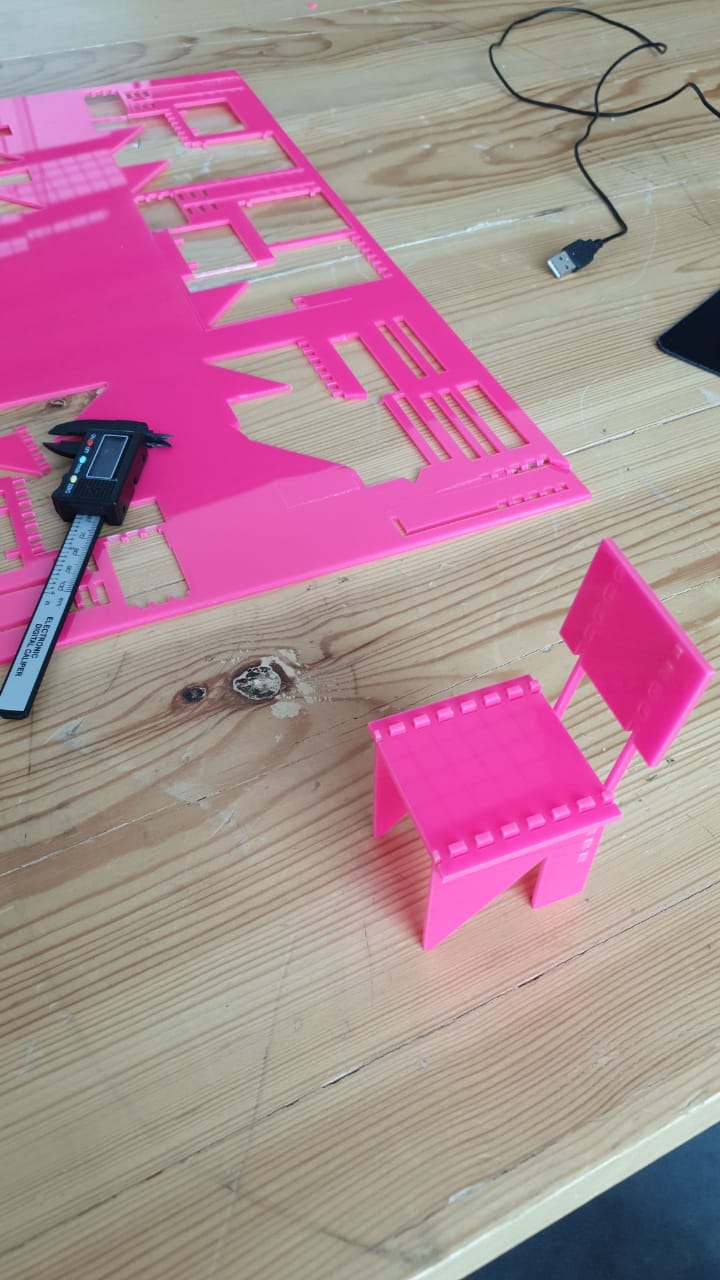
and the final design is :
Many cuts, many.... :

and the final prototype is :
You can find the final design at STEP form in this link: STEP chair
Some Problems WE faced
transformere of electricity 220/110 V fuse blow after suing the machine, for some reason:

we changed the fuse, and the machine start working agian
andther problem was moving the cutting sheet from its place becuase of the air pressure from the laser heating the acrylic and the air as kept closed, so when any pard is cutten, the pressured air blow and moved the sheet form its place...to fix that, we changed the air sucction fan with bigger one, and the problem is solved
